
French Tuiles

title 1
French Tuiles
⏱️ cook time 24 minutes
🍽️ servings 6
⚡ Difficulty medium

intro

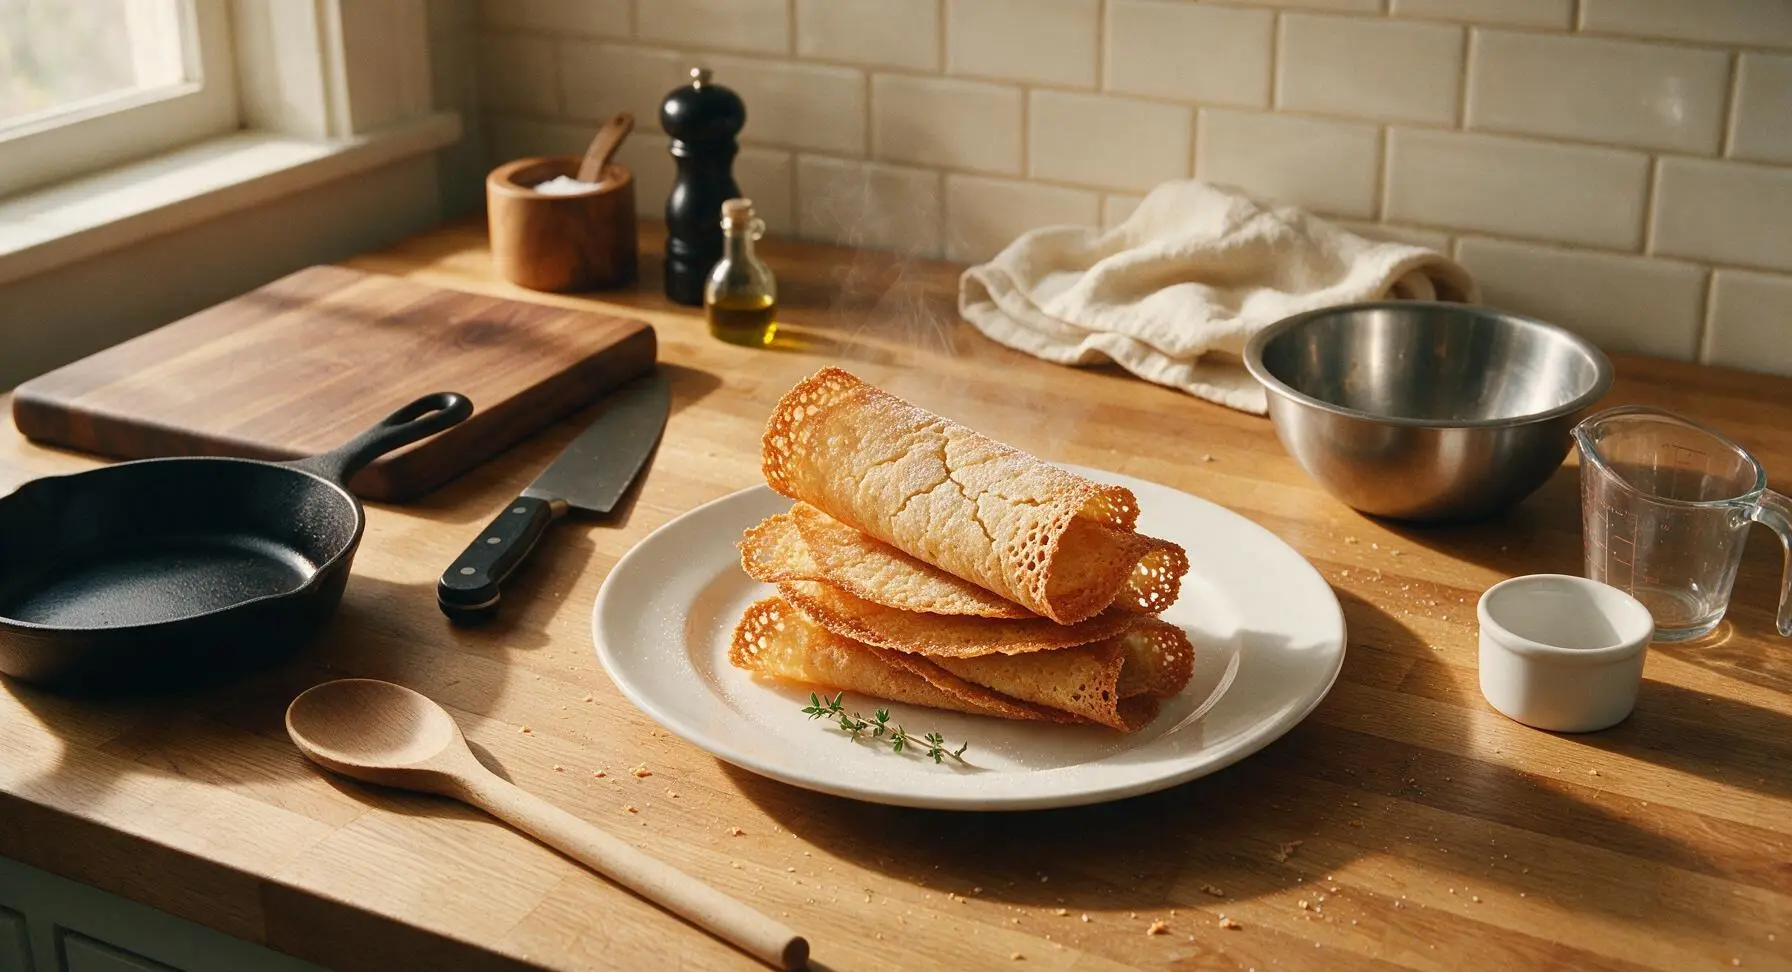
Delicate, crisp, buttery French tuiles with lacy golden edges, curved to resemble classic roof tiles, perfect for pairing with coffee, ice cream, or holiday dessert platters.

Ingredients
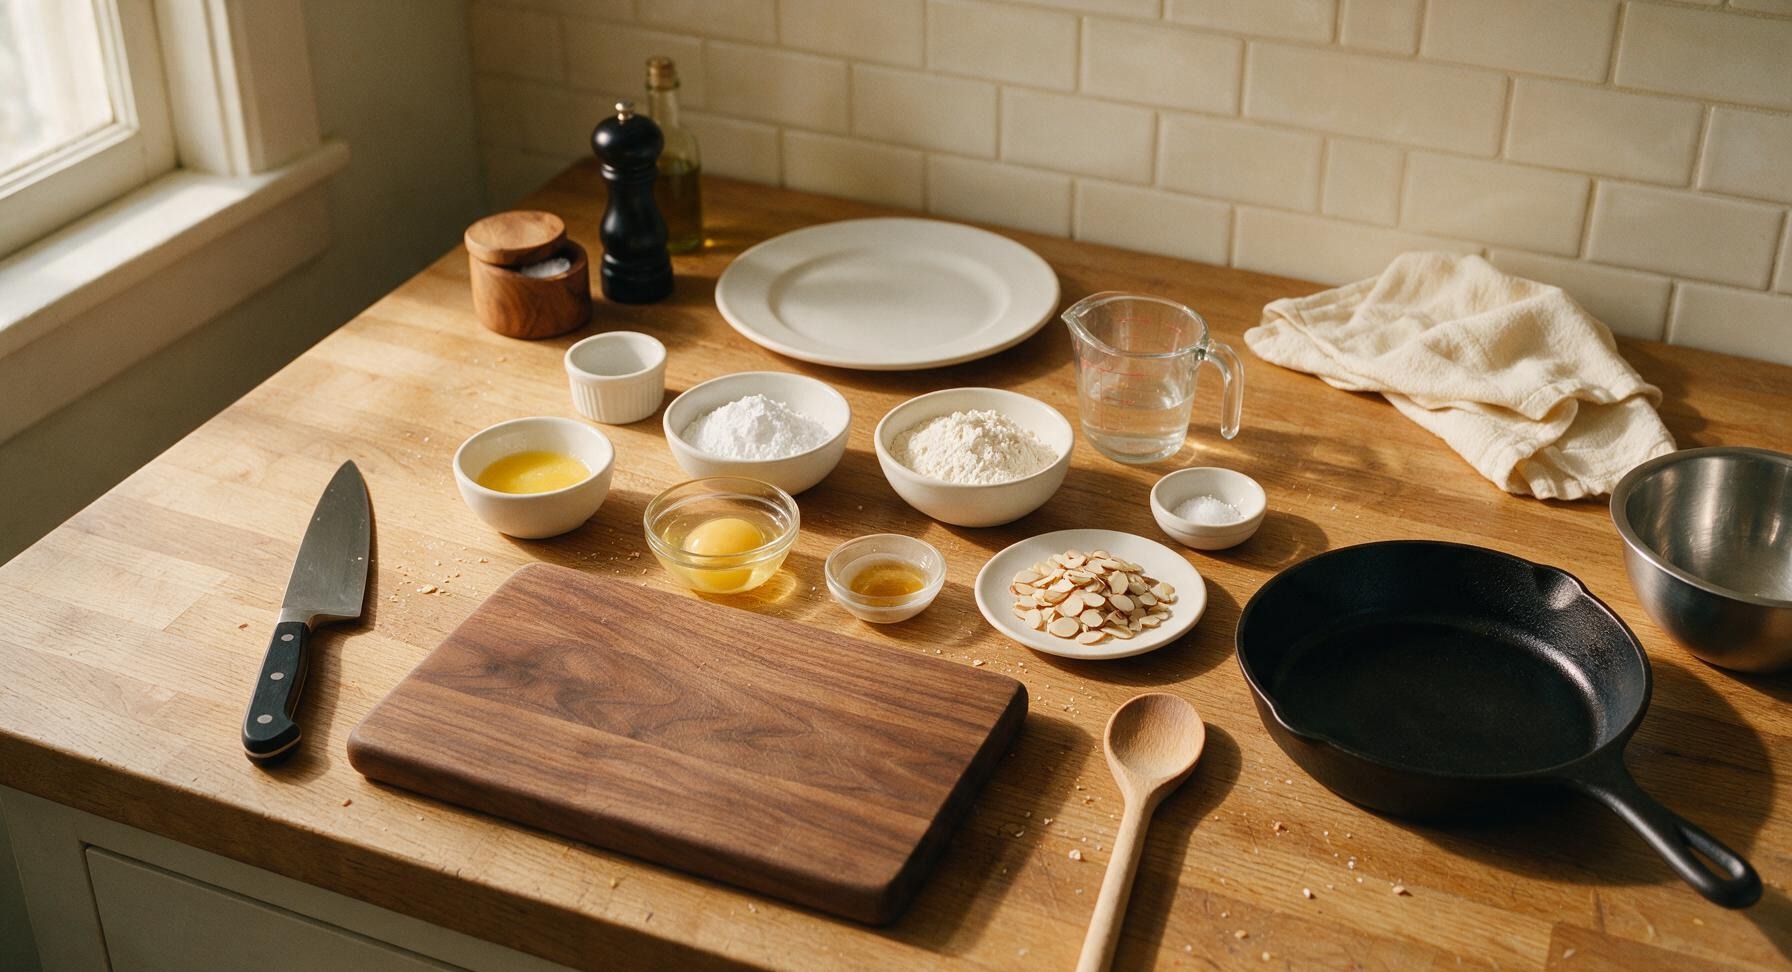
Unsalted butter, melted and cooled 55g (4 tbsp)
Powdered sugar 60g (1/2 cup)
All-purpose flour 40g (1/3 cup)
Large egg whites, room temperature 2 (60g)
Pure vanilla extract 1 tsp
Fine sea salt 1/8 tsp
Thinly sliced almonds 30g (1/4 cup)

Steps

1

Sift Dry Ingredients

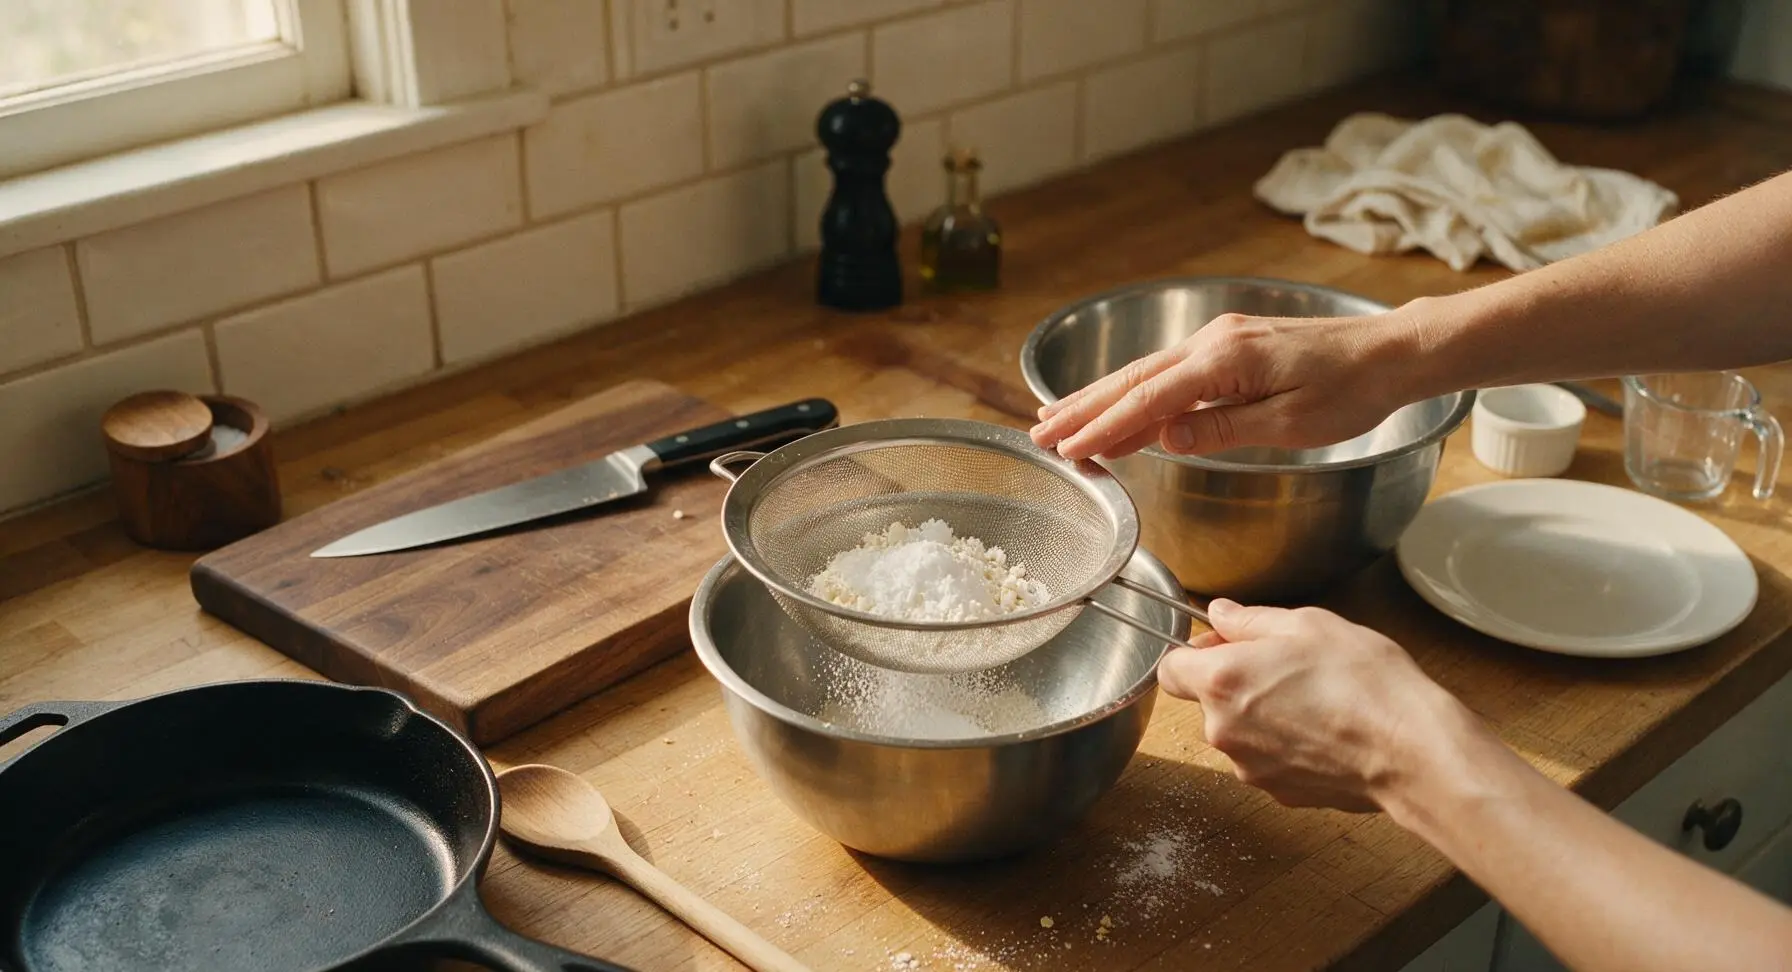
Set the fine-mesh stainless steel sieve over the medium stainless steel mixing bowl. Add the 60g powdered sugar, 40g all-purpose flour, and 1/8 tsp fine sea salt to the sieve. Tap the edge of the sieve gently until all dry ingredients pass through into the bowl, leaving no lumps. Whisk lightly to combine evenly.
Step 1
step1:Sift Dry Ingredients
2

Combine Wet Ingredients

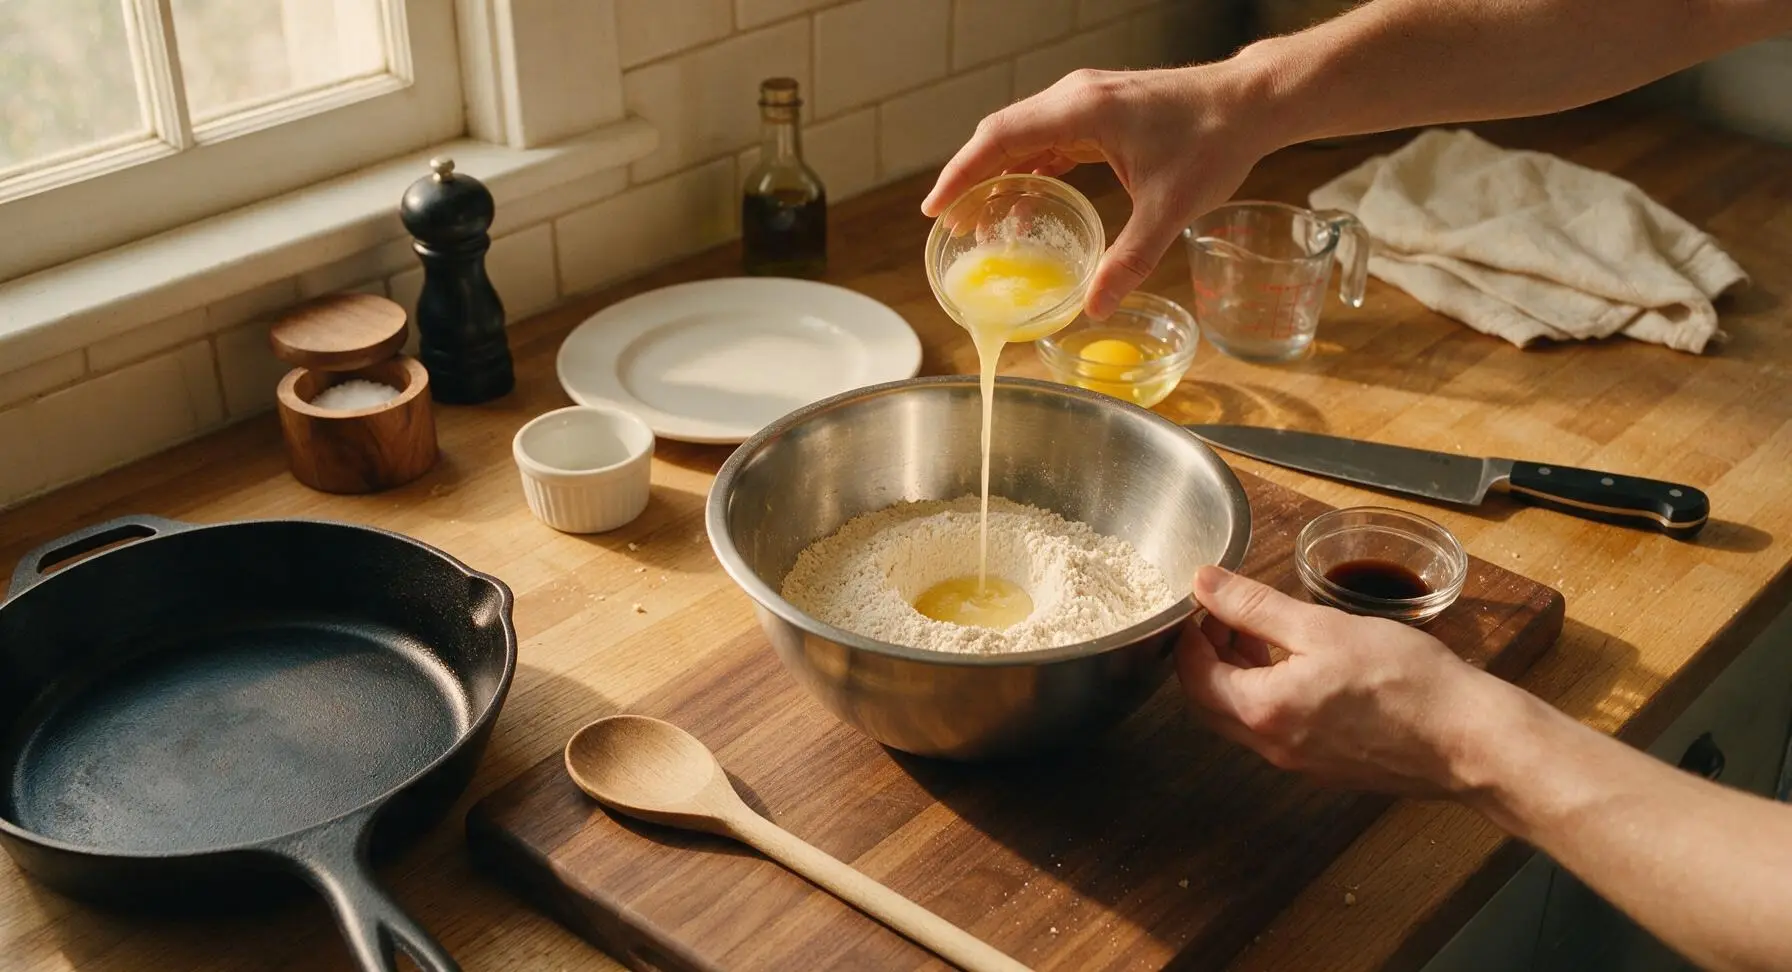
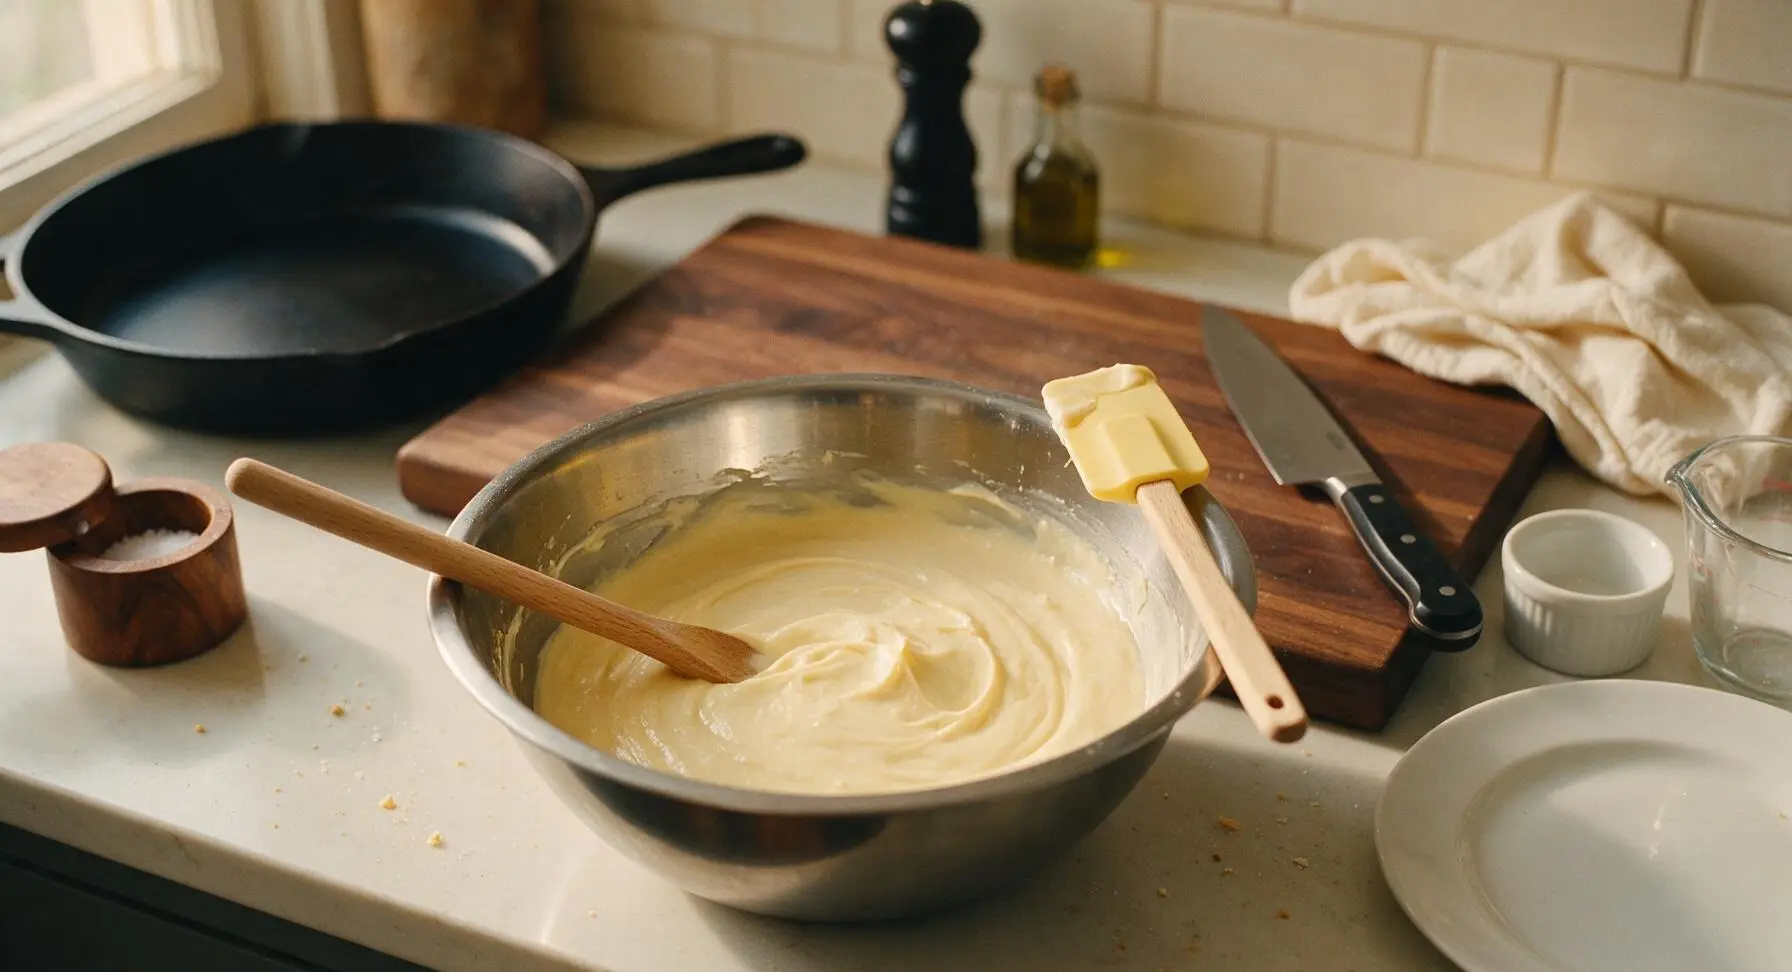
Make a small well in the center of the sifted dry ingredients. Add the two room-temperature egg whites, 1 tsp vanilla extract, and cooled melted butter to the well. Use the silicone spatula to fold the ingredients together gently, mixing just until no dry flour streaks remain; do not overmix, as this will create air bubbles that cause uneven baking. The finished batter will be smooth, thin, and pale creamy yellow, with the consistency of heavy cream.
Step 2
step2:Combine Wet Ingredients
Step 2
step2:Combine Wet Ingredients
3

Rest Batter Briefly

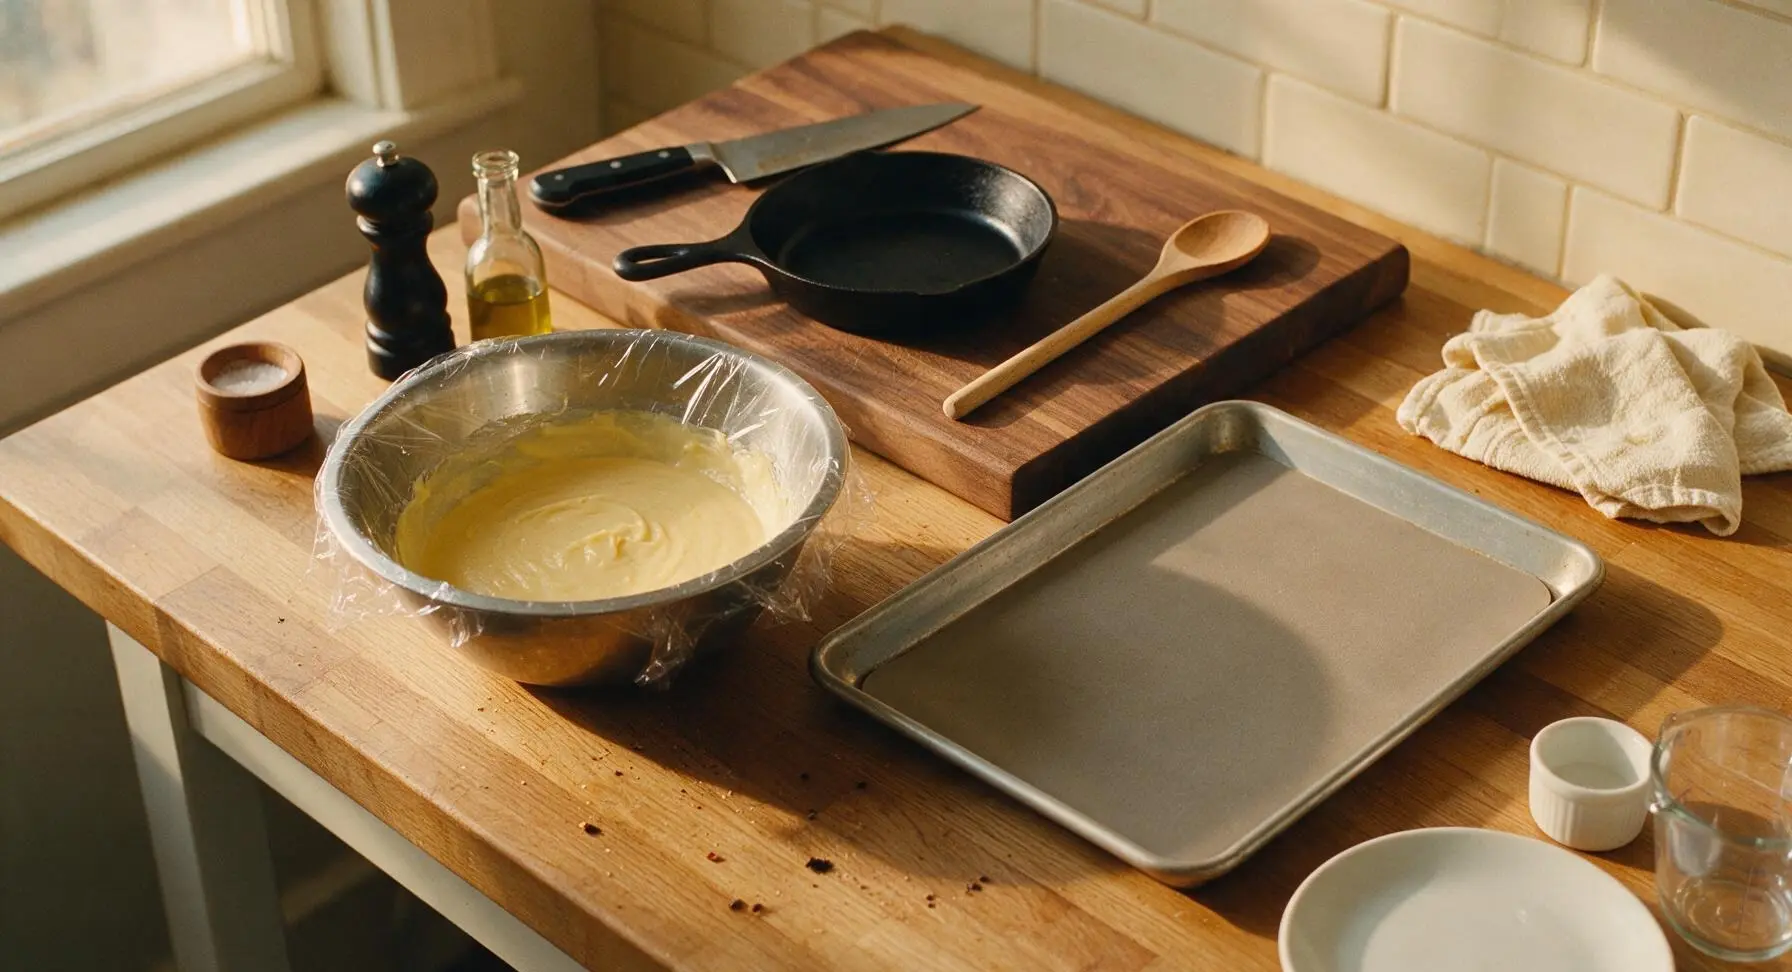
Cover the mixing bowl with a small piece of plastic wrap, and let the batter rest at room temperature for 15 minutes. This allows any air bubbles incorporated during mixing to dissipate, ensuring smooth, evenly flat tuiles without holes. While the batter rests, preheat the oven to 180°C (350°F), and line the heavy-gauge aluminum baking sheet with the matte light taupe silicone baking mat.
Step 3
step3:Rest Batter Briefly
4

Spread Thin Batter Circles

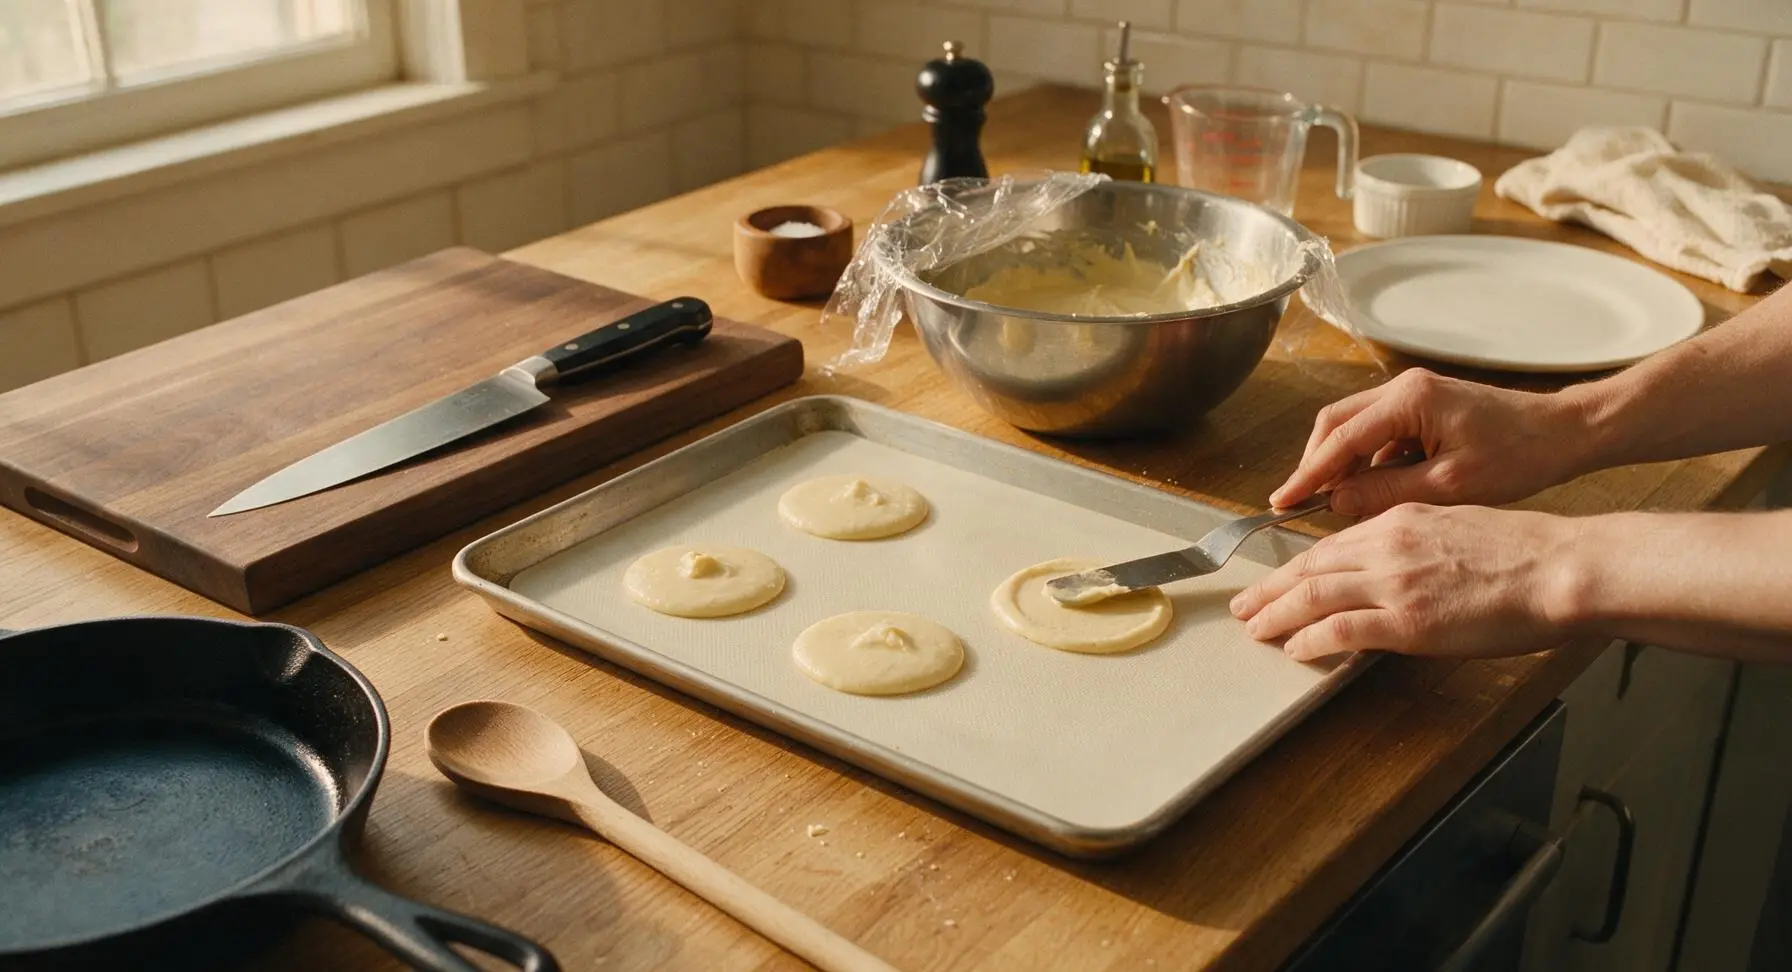
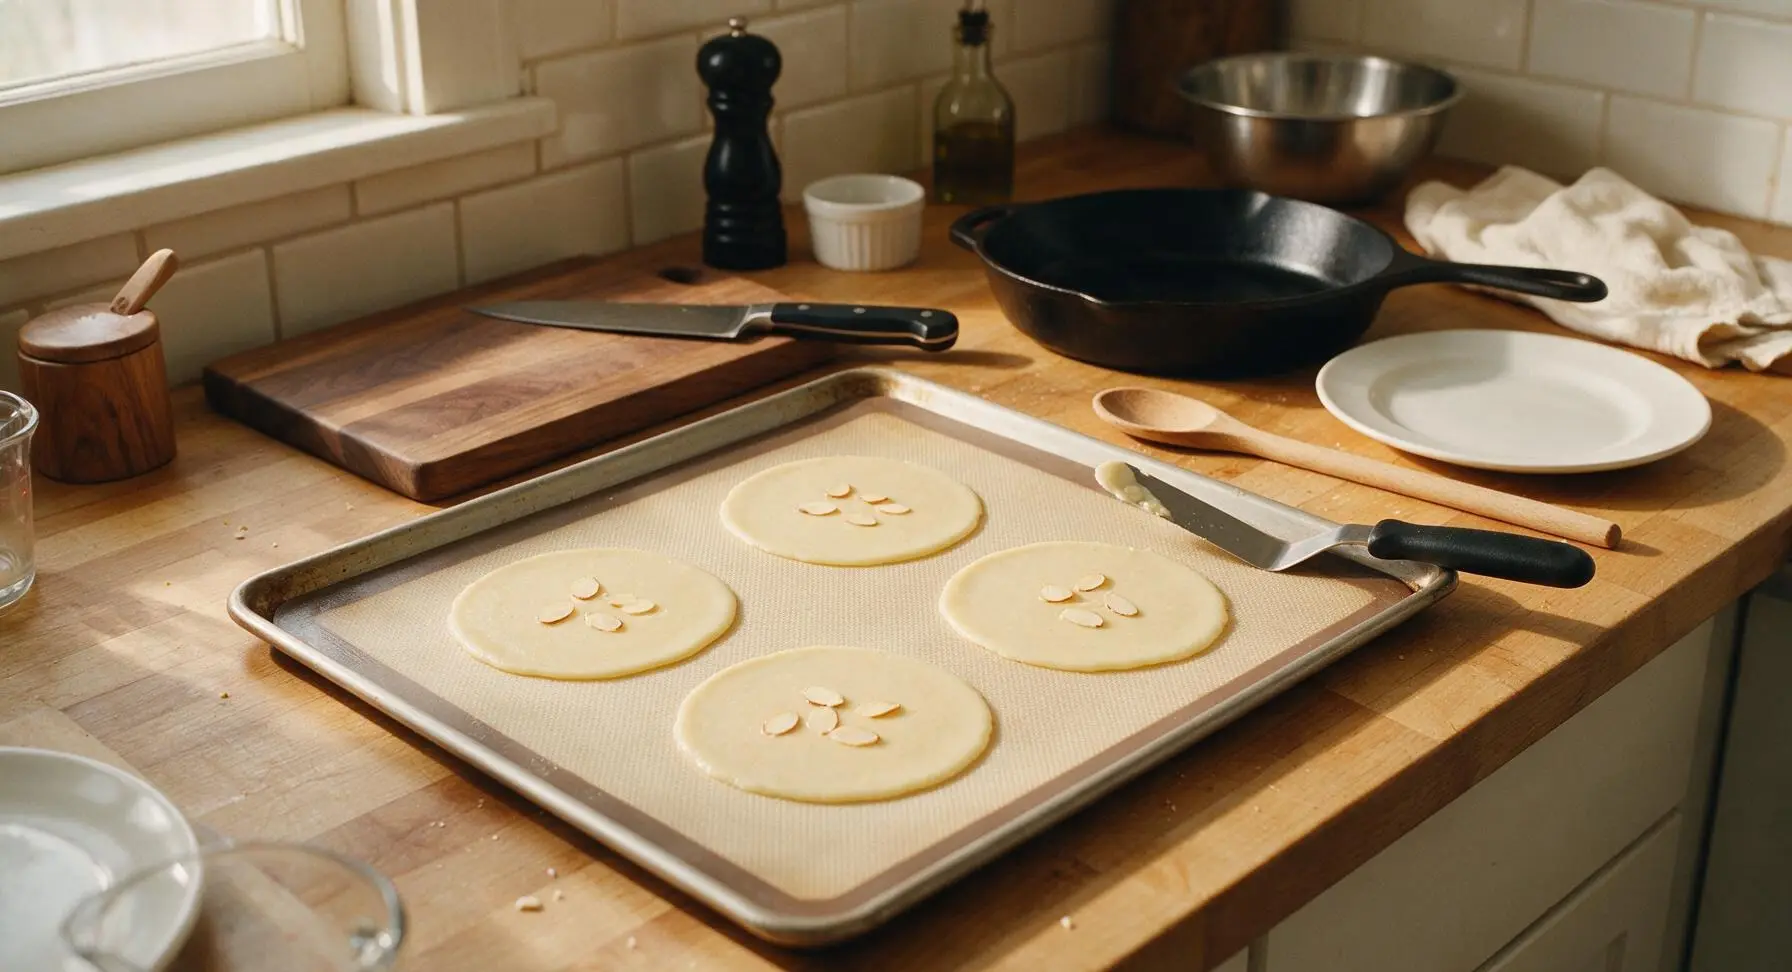
Once the batter has rested, drop 1 teaspoon-sized mounds of batter onto the silicone-lined baking sheet, leaving at least 8cm (3 inches) of space between each mound to allow for spreading. Use the small offset metal spatula to spread each mound into a thin, even 8cm (3 inch) diameter circle, as uniformly thick as possible (about 1.5mm thick). Sprinkle 3-4 thin sliced almonds over the top of each batter circle, if using. Only portion 4-5 circles per baking sheet, as tuiles set very quickly once removed from the oven and you will need time to shape them before they harden.
Step 4
step4:Spread Thin Batter Circles
Step 4
step4:Spread Thin Batter Circles
5

Bake to Golden Edges

Place the baking sheet on the middle rack of the preheated 180°C (350°F) oven. Bake for 6-7 minutes, watching closely after 5 minutes, until the tuiles are pale golden in the center and deep golden brown around the lacy edges. Do not overbake, as they will turn bitter quickly. Remove the baking sheet from the oven immediately once the edges color, and set it on the marble counter for 10 seconds to let the tuiles set just enough to lift without tearing.
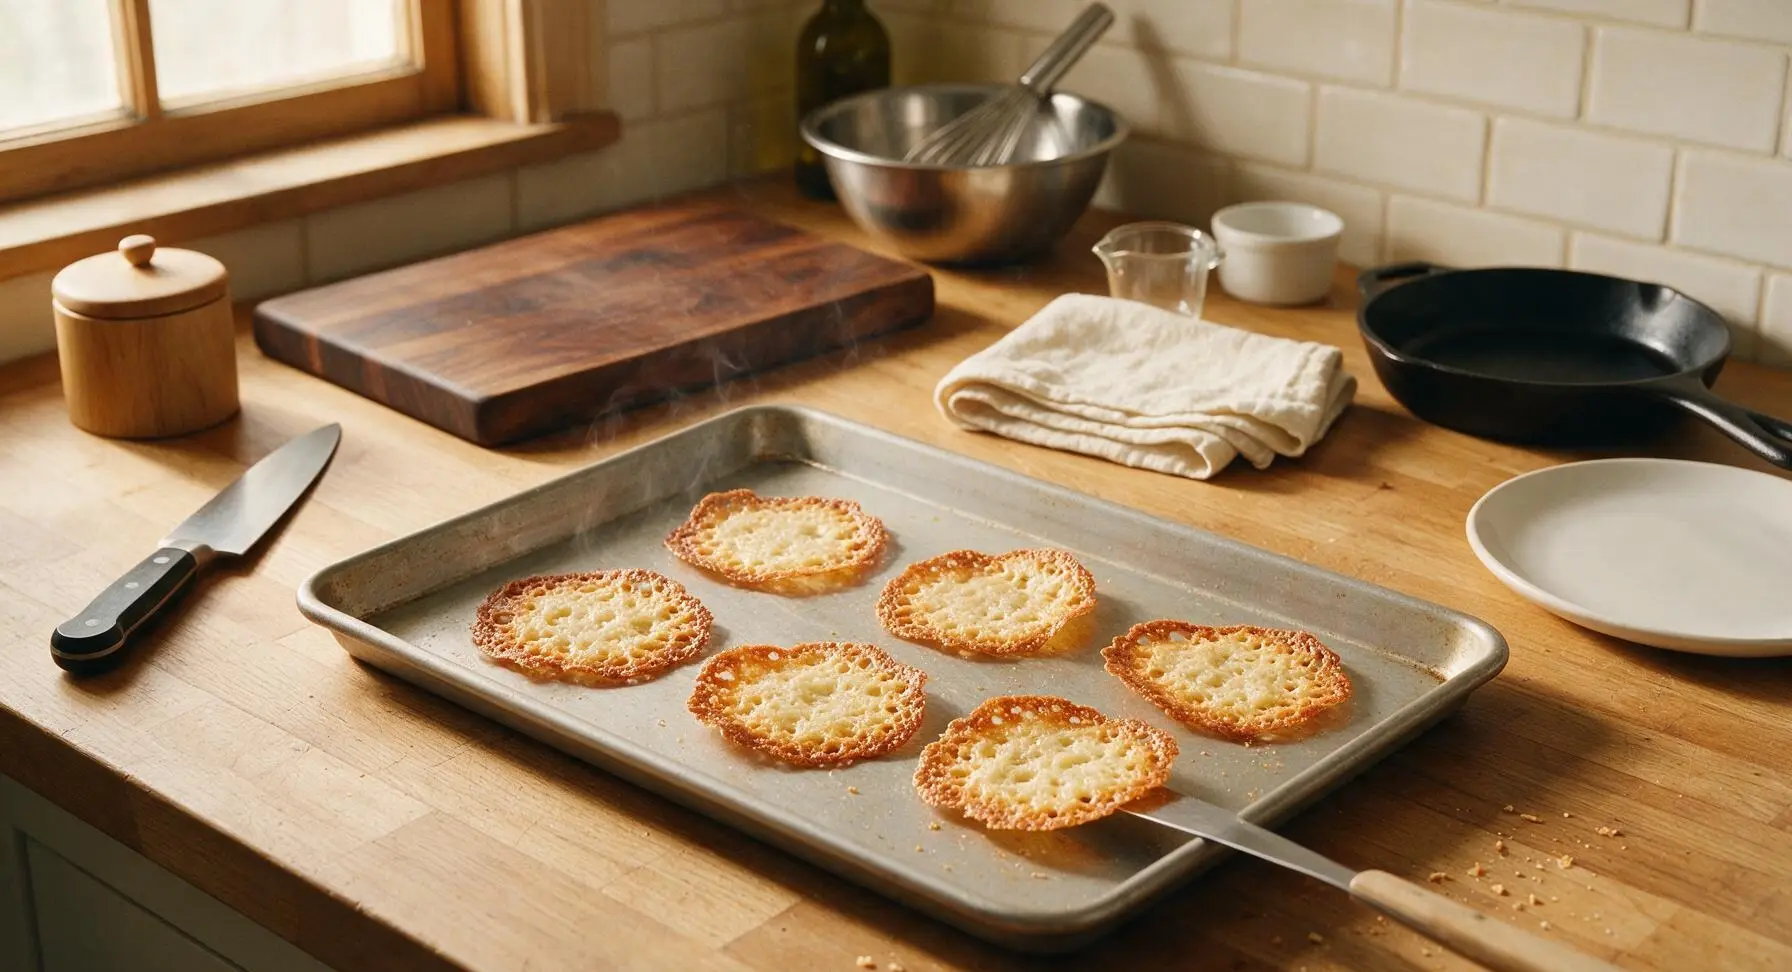
Step 5
step5:Bake to Golden Edges
6

Shape Warm Tuiles

Working quickly (tuiles will harden within 30 seconds of coming out of the oven), use the offset spatula to lift one warm tuile off the baking sheet, and immediately drape it over the wooden rolling pin, gently pressing the sides down to form a curved roof-tile shape. If the tuiles harden on the sheet before shaping, return the baking sheet to the oven for 30 seconds to soften them again. Hold each tuile on the rolling pin for 10 seconds until it holds its curved shape.
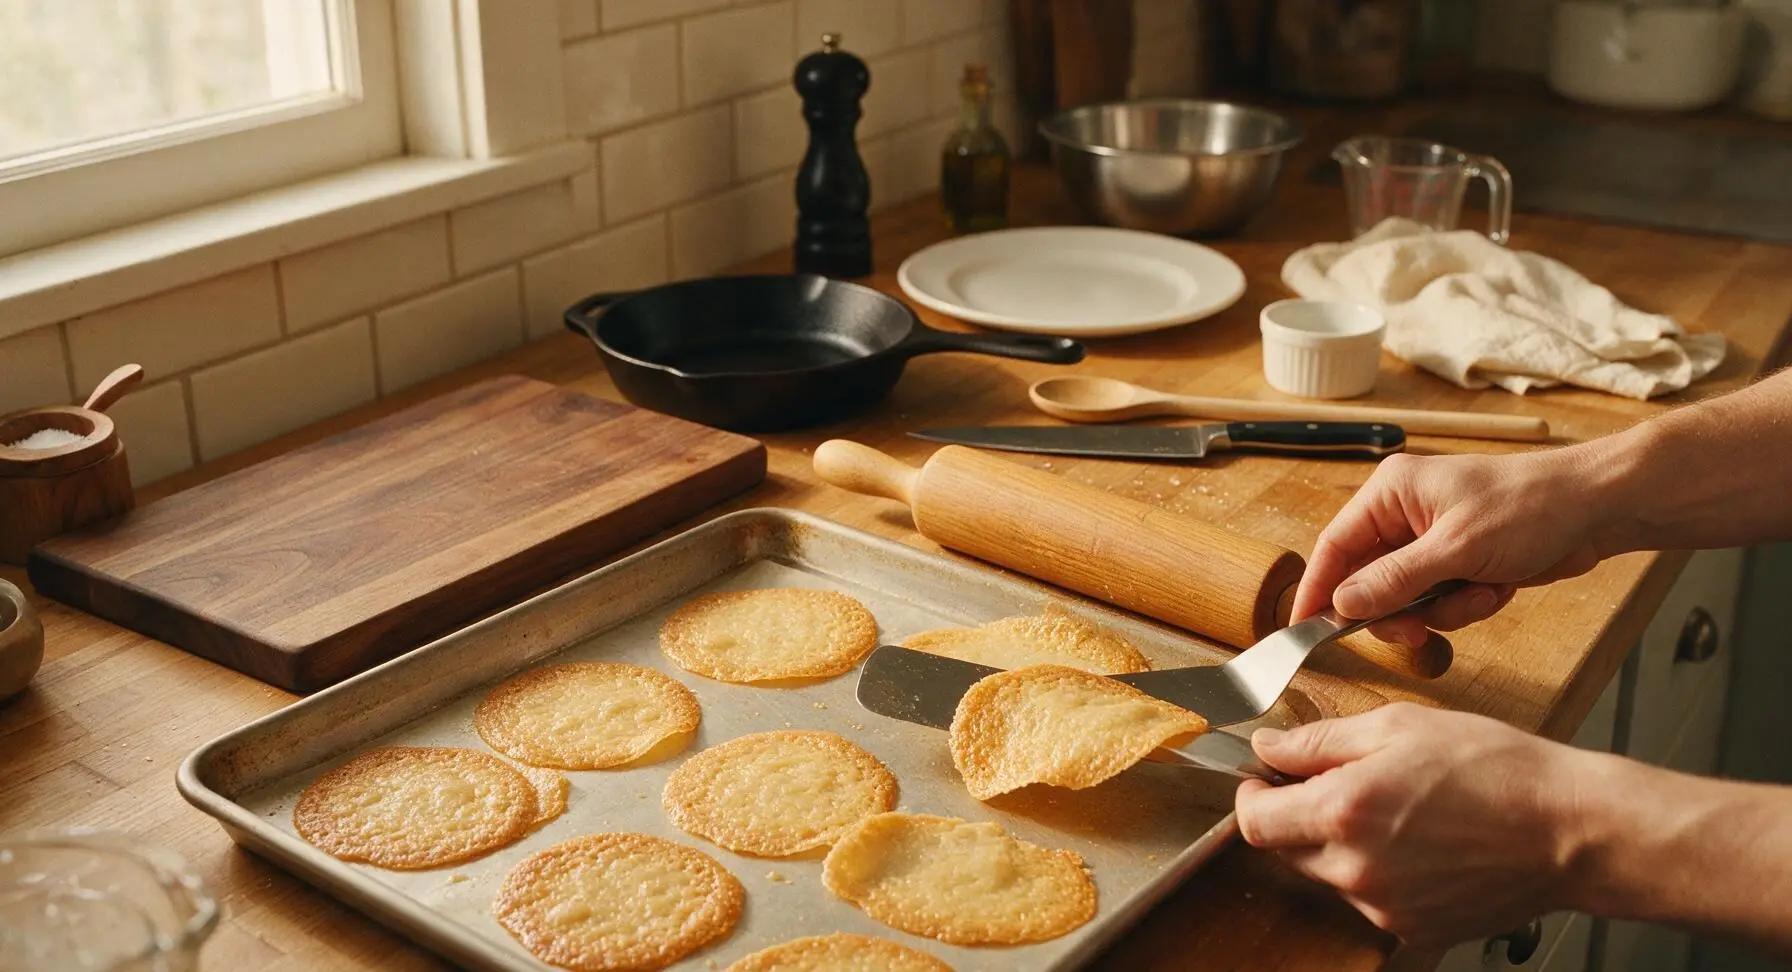
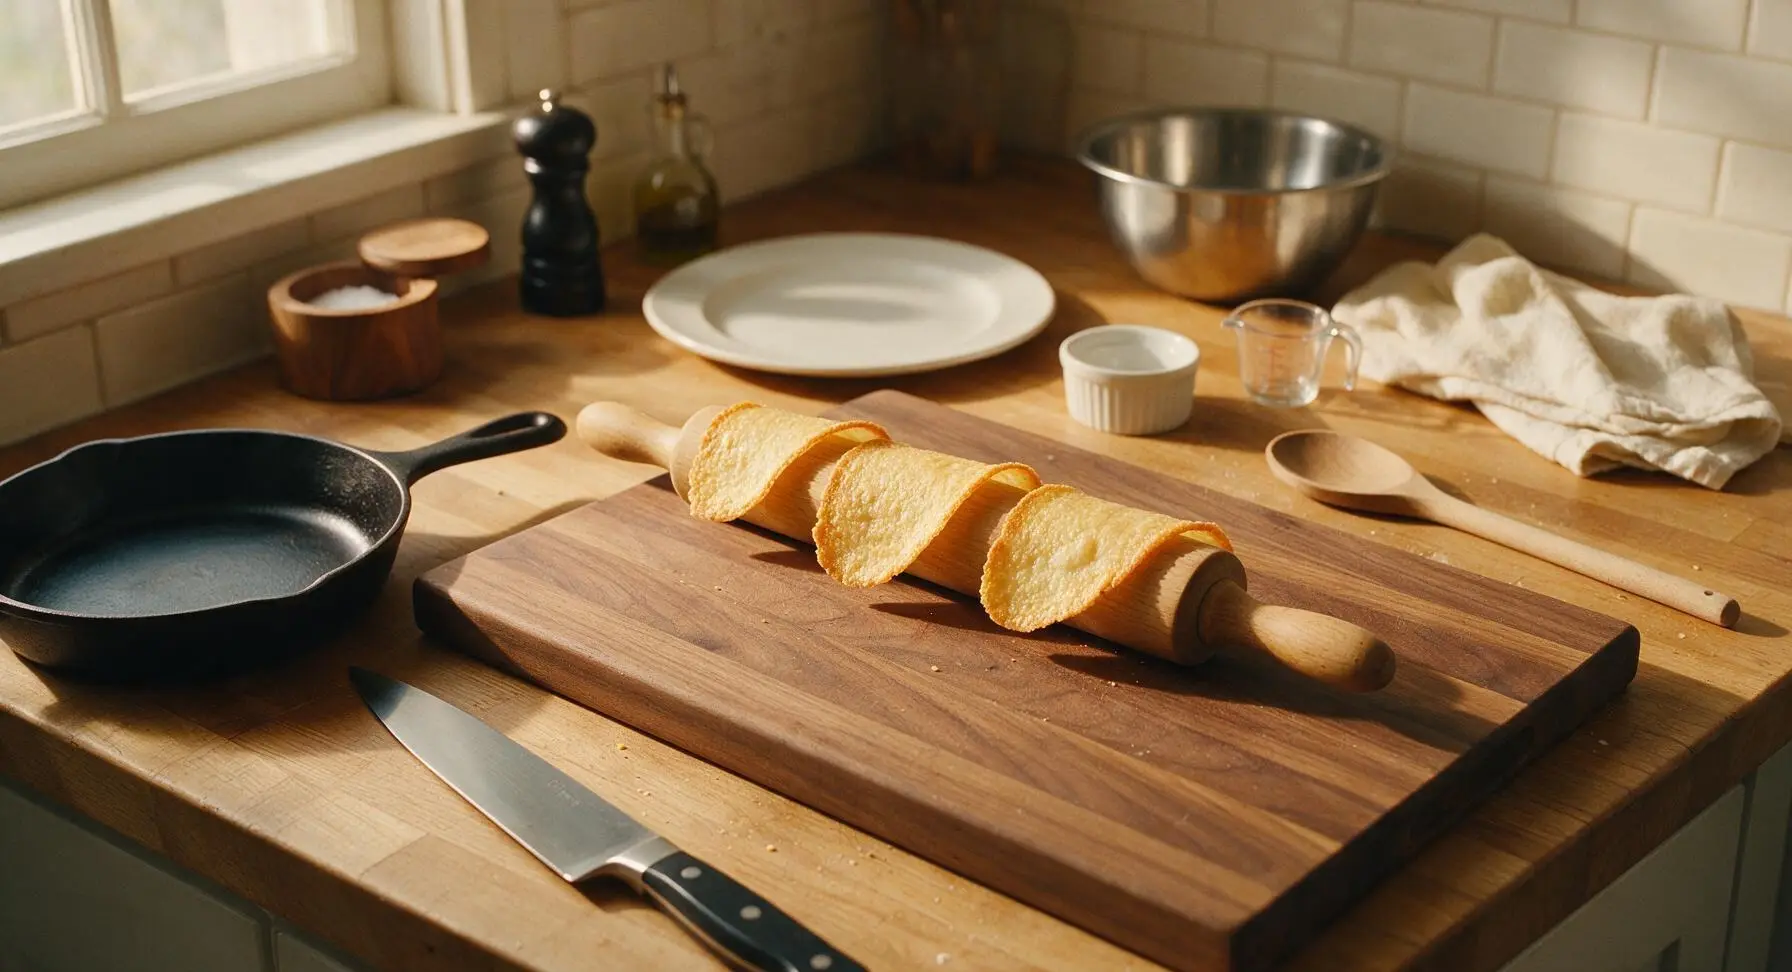
Step 6
step6:Shape Warm Tuiles
Step 6
step6:Shape Warm Tuiles
7

Cool Until Crisp

Transfer the shaped tuiles from the rolling pin to the chrome wire cooling rack. Let them cool completely for 5 minutes, until they are firm, crisp, and completely cool to the touch. Repeat the baking, shaping, and cooling process with the remaining batter, working in small batches until all batter is used.
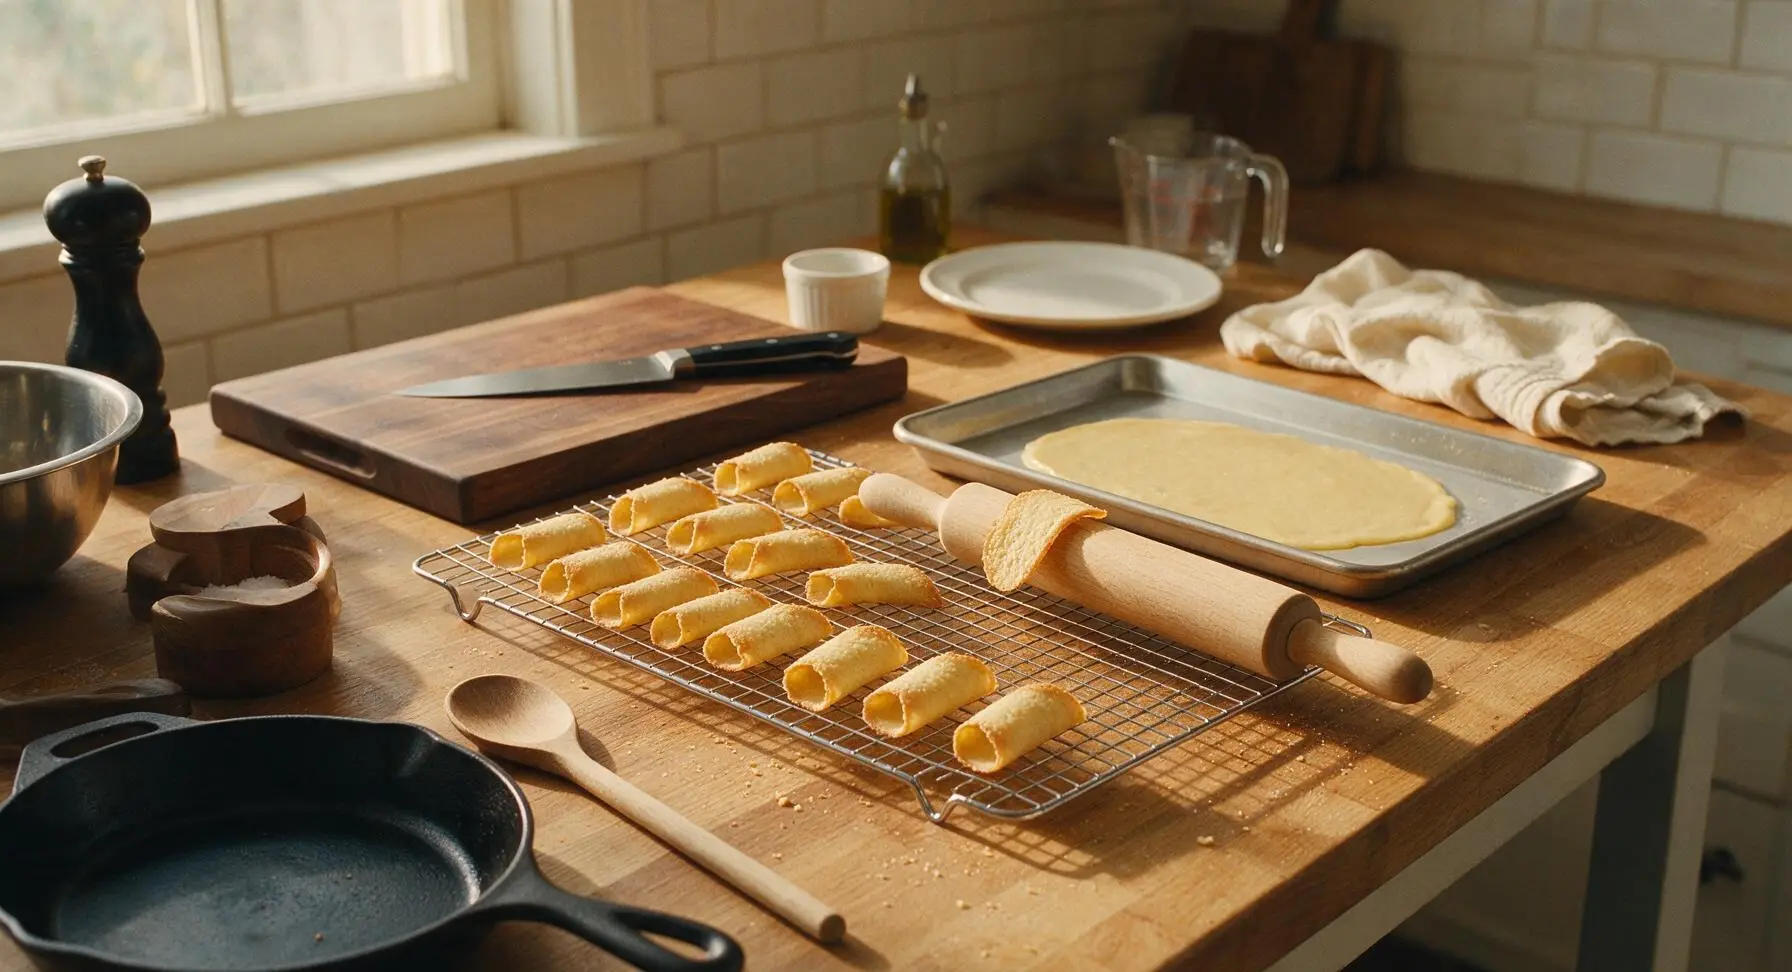
Step 7
step7:Cool Until Crisp
8

Plate for Serving

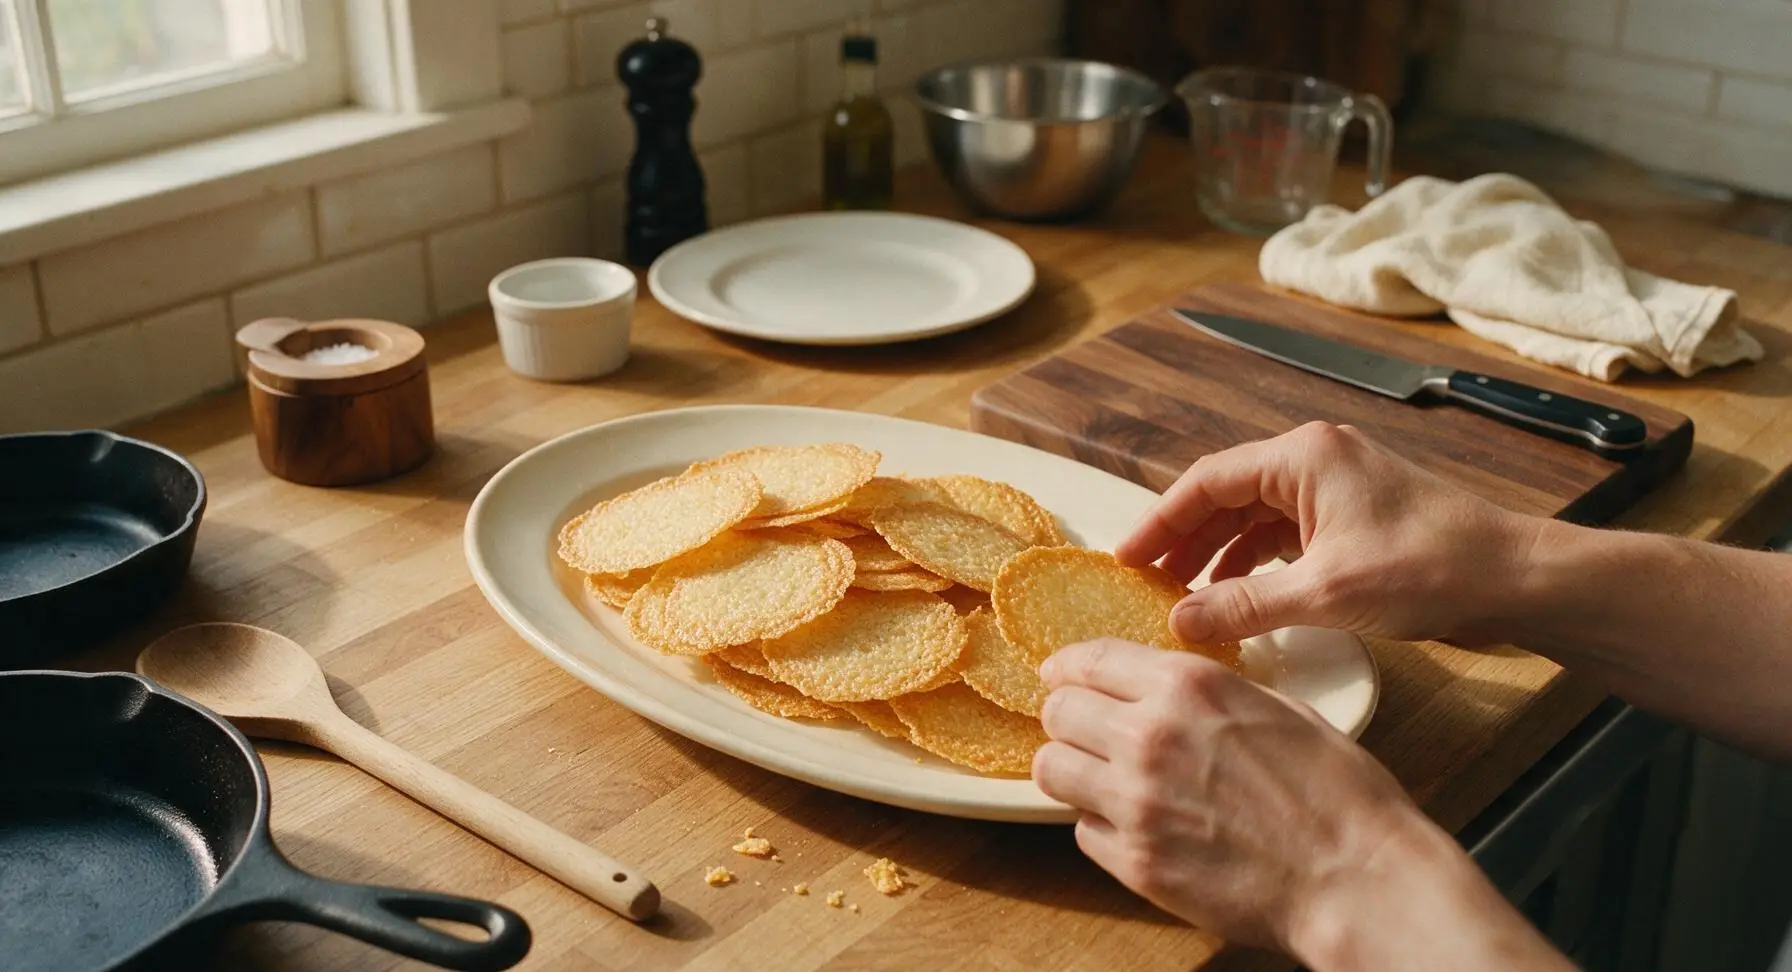
Once all tuiles are completely cool, arrange them in a loose overlapping stack on the oval cream white ceramic serving platter. Serve immediately, or store in an airtight container at room temperature for up to 3 days, away from humidity which will soften the crisp texture.
Step 8
step8:Plate for Serving

Tips

1.Only bake 4-5 tuiles per sheet: Tuiles harden completely within 30 seconds of being removed from the oven, so baking too many at once will leave you with flat, rigid discs that crack when you try to shape them. Small batches ensure you have time to form each tuile before it sets.
2.Spread batter to a perfectly uniform 1.5mm thickness: Thin, uneven spots will burn to a dark bitter brown in the oven, while thicker spots will remain chewy and soft instead of light and crisp. The offset spatula makes it easy to smooth each circle to an even layer.
3.Store fully cooled tuiles in an airtight container for up to 3 days: Tuiles absorb ambient moisture extremely quickly, which will turn them soft and soggy. If you live in a humid climate, tuck a food-safe silica gel packet into the container to absorb excess moisture and keep them crisp.


✨ You May Also Like

Desserts & Baking
🍜 Italy

Creamy, coffee-kissed classic Northern Italian no-bake dessert, with layers of rum-spiked mascarpone cream, soft ladyfingers, and a rich cocoa dusting.

⏱️ 4 hours 3Desserts & Baking ★ 4.7
Desserts & Baking
🍜 France

Flaky, shatteringly crisp, buttery French croissants with golden exteriors and soft, airy layered interiors, perfect for pairing with coffee for a special morning treat.

⏱️ 12 hours Desserts & Baking ★ 4.5
Desserts & Baking
🍜 United States

Warm, spiced baked apples topped with a fluffy golden biscuit crust, this cozy dessert pairs perfectly with vanilla ice cream for cool-weather comfort.

⏱️ 55 minuteDesserts & Baking ★ 4.6
Desserts & Baking
🍜 United States

A star-spangled classic American blueberry pie with buttery flaky crust and bright sweet-tart filling, perfect for summer patriotic gatherings.

⏱️ 1 hour 25Desserts & Baking ★ 4.7
Desserts & Baking
🍜 United States

A beloved no-bake regional Maine candy with a chewy coconut-potato center coated in rich dark chocolate, a New England holiday staple since the 1870s.

⏱️ 2 hours 3Desserts & Baking ★ 4.8
Desserts & Baking
🍜 France

Luxuriously creamy, floral frozen custard made with aromatic Tahitian vanilla beans, boasting a smooth, rich texture that melts slowly on the tongue.

⏱️ 3 hours 3Desserts & Baking ★ 4.5

French Tuiles:Frequently Asked Questions

1.Why do my tuiles turn soft instead of staying crisp after cooling? ▾
That’s almost always from underbaking or exposure to excess moisture! Bake until edges are deep golden (not pale blonde), then move them immediately to a dry cooling rack. In high humidity, tuck fully cooled tuiles into an airtight container with a small silica gel packet, and they’ll stay perfectly crisp for 3 to 4 days.
2.Do I really have to shape tuiles right after they come out of the oven? ▾
Absolutely! Thin tuile batter sets rock hard in as little as 60 seconds once it leaves the oven, since it cools ultra fast. Let them rest on the hot baking sheet for 10 to 15 seconds after baking, then drape over a rolling pin or curved mold to get that classic tile shape before they harden flat. Pop stiff tuiles back in the oven for 30 seconds to soften if needed.
3.Can I make tuile batter ahead of time? ▾
You definitely can! Once mixed, the batter stores beautifully covered in the refrigerator for up to 3 days. Give it a gentle stir before using, and let it sit at room temperature for 10 minutes so it spreads easily—cold batter is too thick to spread into the thin, lacy rounds that make perfect, delicate tuiles.
4.Why are my tuiles sticking to the baking sheet? ▾
Sticking almost always traces back to a poor nonstick surface or lifting tuiles too early. Line your baking sheet with a silicone baking mat (parchment works in a pinch, but silicone is far more reliable) and wait 10 to 15 seconds after pulling them from the oven before lifting; they’ll peel right off cleanly once set just enough to hold their shape.
5.How thin do I need to spread tuile batter before baking? ▾
Aim to spread each batter portion into a 3-inch wide circle that’s roughly 1/16 of an inch thick. Any thicker, and you’ll end up with chewy, dense cookie discs instead of delicate, lacy tuiles. A small offset spatula makes it easy to get even, thin spreads, and ragged edges are totally fine—those turn into the best crisp golden bits.
6.Can I add mix-ins like almond slices or citrus zest to the classic recipe? ▾
Absolutely—those are classic, delicious upgrades! Stir in 2 tablespoons of thinly sliced almonds, 1 teaspoon of finely grated orange zest, or a pinch of flaky sea salt right into the base batter before spreading. Just skip heavy, wet mix-ins like fresh fruit or large chocolate chunks, which will weigh the batter down and prevent crisping.
7.My tuiles brown really unevenly—what am I doing wrong? ▾
Uneven browning usually comes from inconsistent batter thickness or oven hot spots. First, double check that you’re spreading every batter round to the same uniform thinness. Halfway through baking, rotate your sheet pan 180 degrees to account for hot spots, and pull any tuiles that turn deep golden early if they cook faster than the rest.
8.What’s the best way to store baked tuiles? ▾
Wait until tuiles are 100% cool to the touch (that takes about 5 minutes after shaping) before tucking them into an airtight container, layered between parchment sheets to prevent breakage. Keep the container in a cool, dry cabinet away from stovetop steam, and skip the fridge—moist fridge air will turn tuiles soft and soggy in just a few hours.
9.Do I need special molds to get the classic curved tuile shape? ▾
You don’t need any fancy specialty equipment! A standard rolling pin, the curved side of a clean wine bottle, or even an overturned muffin tin works perfectly as a shaping surface. If you don’t want curved tuiles at all, leave them flat—they taste just as buttery and crisp, and make great garnishes for mousse or ice cream.

Comments (17)

2 days ago

OMG these tuiles came out SO good! I was intimidated because I thought French cookies were super fussy, but the instructions were so clear. I shaped mine over a rolling pin right out of the oven and they held that perfect curve perfectly. Brought them to my book club potluck last night and everyone asked for the recipe!

yesterday

So glad they were a hit at your book club, Liz! The rolling pin trick is such a classic hack for getting that iconic curved shape without special molds – nice work!

3 days ago

Took a couple tries to get the spread right on the first batch – my first few came out too lacy and burnt around the edges, but once I spaced them 3 inches apart like the recipe said they turned out great. My kids loved dipping them in vanilla ice cream after dinner last night.

2 days ago

Oh I had the same spacing issue on my first go! I ended up using a silicone baking mat with guide marks and that made it so much easier, no more merged tuile blobs lol

yesterday

Great tip from Mia! Spacing is so key with these because the butter melts fast and makes the batter spread wide. So glad you stuck with it and the kids enjoyed them!

5 days ago

I swapped the all purpose flour for a 1:1 gluten free baking flour and these still turned out incredibly crisp! Only reason I’m not giving 5 stars is I had to add an extra minute of bake time to get that golden edge, but that’s pretty standard for GF swaps for me. Will absolutely make these again for my sister’s bridal shower next month.

yesterday

Just made these for a little dinner party I’m hosting tonight and my whole apartment smells like buttery almond heaven. I dipped half of each tuile in dark chocolate and sprinkled a little flaky sea salt on top – chef’s kiss.

30 minutes ago

Adding dark chocolate and flaky salt is such a good call! I did that last time I made them and people went crazy for the sweet-salty combo, way better than plain tbh.

2 weeks ago

I really wanted to love these but mine came out super soft instead of crisp? I followed the bake time exactly but maybe my oven runs cool? Not sure what I did wrong, they tasted good texture just wasn’t right.

1 week ago

Oh I had that happen once! I realized I was taking them off the baking sheet too early – you have to let them cool on the sheet for like 30 seconds before shaping, otherwise they’re too soft and don’t set right.

5 days ago

Seconding the oven temp tip too! I bought a cheap oven thermometer a few months ago and found mine runs 25 degrees low, which totally messes up delicate cookies like these. Worth checking!

1 week ago

Brought a big batch of these to my office potluck last week and they were gone in 10 minutes flat! People kept guessing I bought them from a fancy French bakery, little did they know how straightforward the recipe was once I got the hang of working fast out of the oven.

5 days ago

That’s the best compliment ever, Tia! Working quickly while they’re hot is definitely the trickiest part, but it sounds like you nailed it. So happy they were an office hit!

2 hours ago

Total game changer for my morning coffee routine! These are the perfect little side treat for my morning latte! I made a mini batch yesterday and stored them in an airtight container, they’re still just as crisp today. Love that they’re not overly sweet so they don’t overpower my coffee.

3 days ago

Made these with my 10 year old this weekend, we had a blast shaping them over different cups and mugs to make little edible bowls for ice cream. Only mess up was we tried to make a few too many at a time on the first tray so some hardened before we could shape them.

yesterday

Oh I learned the hard way too! Now I only bake 4 tuiles at a time so I have plenty of time to shape each one before they cool, no more wasted hard cookies. Such a fun kid-friendly bake though right?

5 days ago

Tested this with vegan butter instead of dairy butter and it worked pretty well! The edges browned a tiny bit faster so I had to pull them 2 minutes earlier, but the flavor and crispness were almost identical to the regular version I made a few weeks back.

3 days ago

Thanks so much for sharing that vegan swap, Vee! That’s such helpful info for other plant-based bakers looking to try these – I’ll note the shorter bake time tip for future reference.

2 days ago

THANK YOU for testing the vegan version! I’ve been looking for a tuile recipe that works with dairy free butter, can’t wait to try this this weekend.

just now

Wow, medium difficulty was fair – I’m a pretty casual cook and I didn’t mess these up! I added a tiny bit of orange zest to the batter and it gave such a bright, nice pop of flavor that paired so well with the almond. Will be making these all summer for cookouts.

5 minutes ago

Love the orange zest addition, Randy! Citrus pairs so beautifully with the nutty almond flavor of classic tuiles, that’s such a creative twist. Can’t wait to hear how they go over at your cookouts!

30 minutes ago

Made these in my tiny dorm oven! They turned out way better than I expected, I was convinced my weird little half-sized oven would ruin them but I just baked two at a time and they came out perfectly crisp. Way cheaper than buying them from the fancy cafe down the street from campus.

2 weeks ago

I added these to my Christmas cookie platter last year and people are still asking me to make them again! I did a few with red and green sanding sugar sprinkled on top before baking for a festive touch, they looked so elegant on the plate.

1 week ago

The festive sprinkles sound adorable, Sue! Tuiles are such a great addition to holiday cookie spreads because they look so fancy without a ton of extra work. So glad they were a memorable hit last year!

3 days ago

I was really excited to meal prep these for the week but by day 3 they were totally soft and chewy, even in an airtight container. Did I store them wrong? Flavor was 10/10 but the texture didn’t hold up like I hoped.

2 days ago

I had that happen once too! Try putting a little silica gel packet (the kind that comes in shoe boxes or snack bags) in the container with them, it absorbs extra moisture and keeps them crisp for days. Total game changer.

yesterday

Sarah’s silica packet tip is spot on! Tuiles are super sensitive to humidity, so if you live in a more humid climate that can make them soften fast. You can also crisp them back up for 1 minute in a 300 degree oven if they go soft on you.

yesterday

Served these alongside my lemon ricotta pancakes at brunch yesterday and they were the star of the show! I curled a few into little cigar shapes to use as garnish for cocktails too, so fancy for how easy they are.

2 hours ago

The cocktail garnish idea is genius! I’m hosting a happy hour next week and I was trying to think of a little fancy edible touch, these are perfect. Can’t wait to try them.

1 week ago

Solid classic tuile recipe, ratios are spot on. I’ve been making these since culinary school and this matches the method I learned almost exactly, minus one trick I use: I brush a tiny bit of melted butter on my stencils to make spreading the batter even easier. Highly recommend for anyone who wants super uniform tuiles.

5 days ago

First time ever making any kind of French cookie and I was so nervous, but these came out perfect on my first try!!! I didn’t have any special molds so I just draped them over the handle of a wooden spoon like the tip said, and they held their shape perfectly. I’m so proud of myself lol.

3 days ago

That’s what we love to hear, Zoe! You don’t need any fancy equipment to make great tuiles, the wooden spoon handle trick works just as well as expensive molds. Great job nailing them on your first go!

2 days ago

This makes me feel so much better about trying them! I’ve been putting it off because I thought I needed all the special gear, can’t wait to give this recipe a shot this weekend.

2 days ago

Packed these for a picnic last weekend and they were the perfect portable treat! No messy frosting, no melting, just light crisp buttery cookies that everyone loved. Even held up great in the cooler for a few hours without getting soggy. Will be a staple for all my outdoor gatherings this year.



