
Fried Chicken
intro
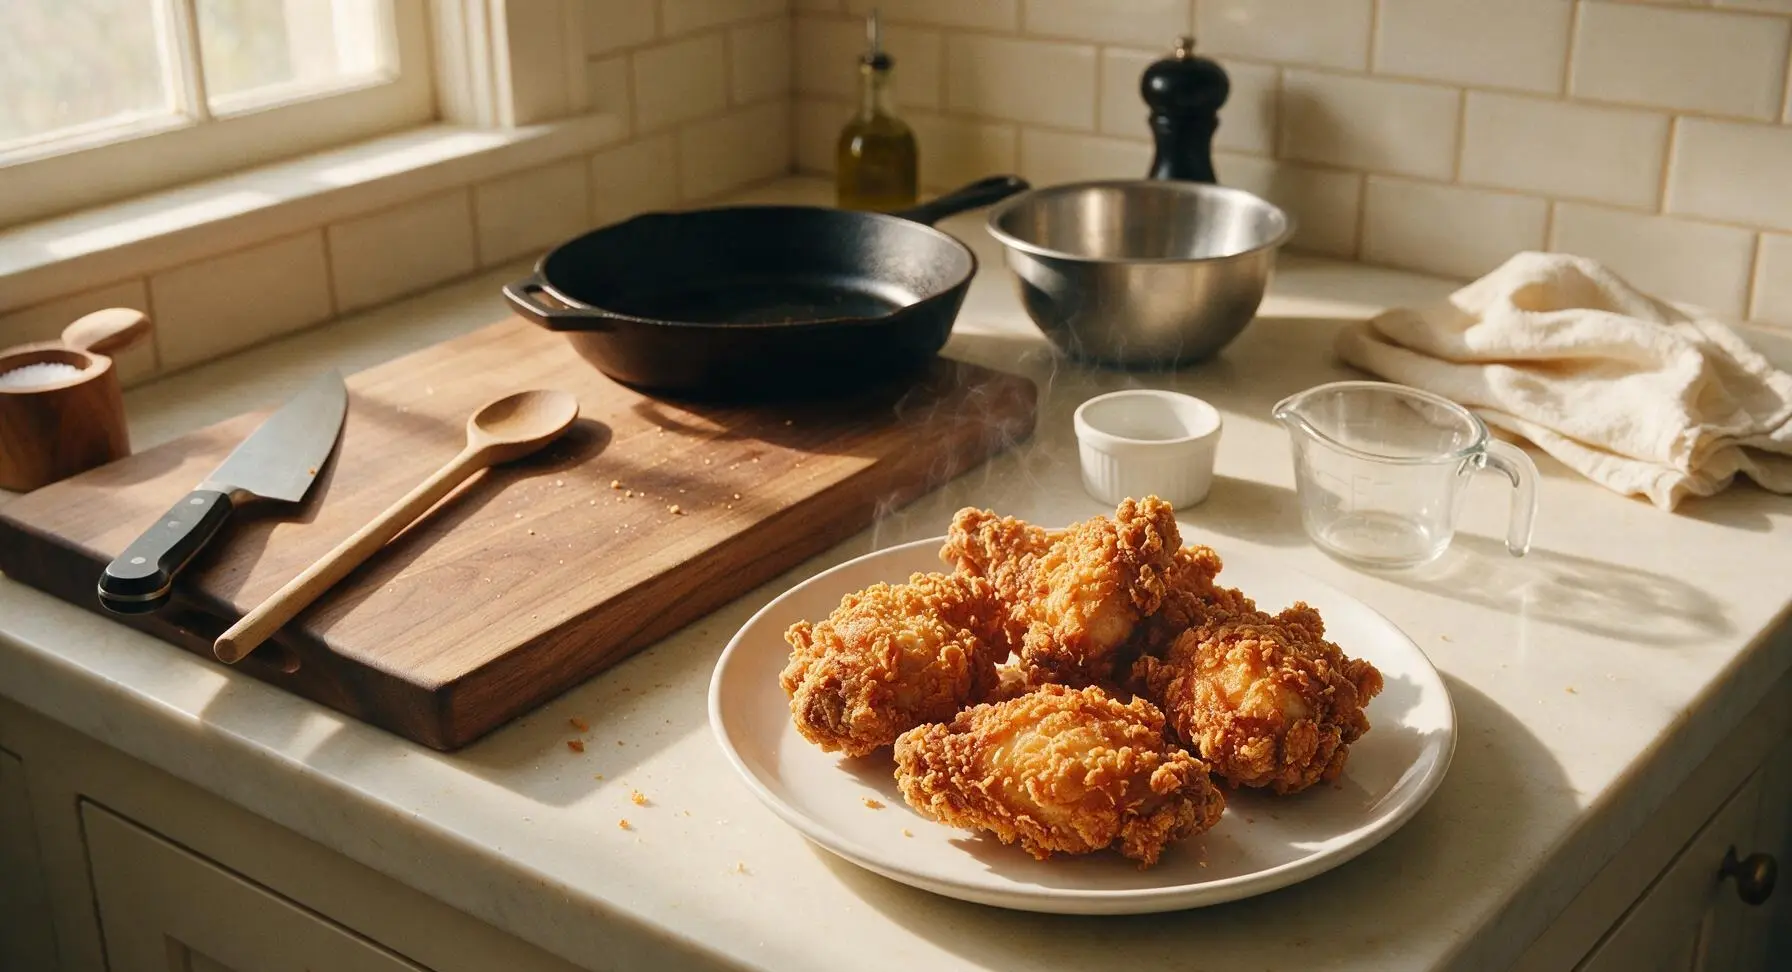
Shatteringly crisp, juicy Southern-style buttermilk fried chicken, seasoned to the bone, with a craggy golden crust that sticks perfectly to every bite. A timeless comfort food classic.
Ingredients
Steps
Prepare Buttermilk Brine
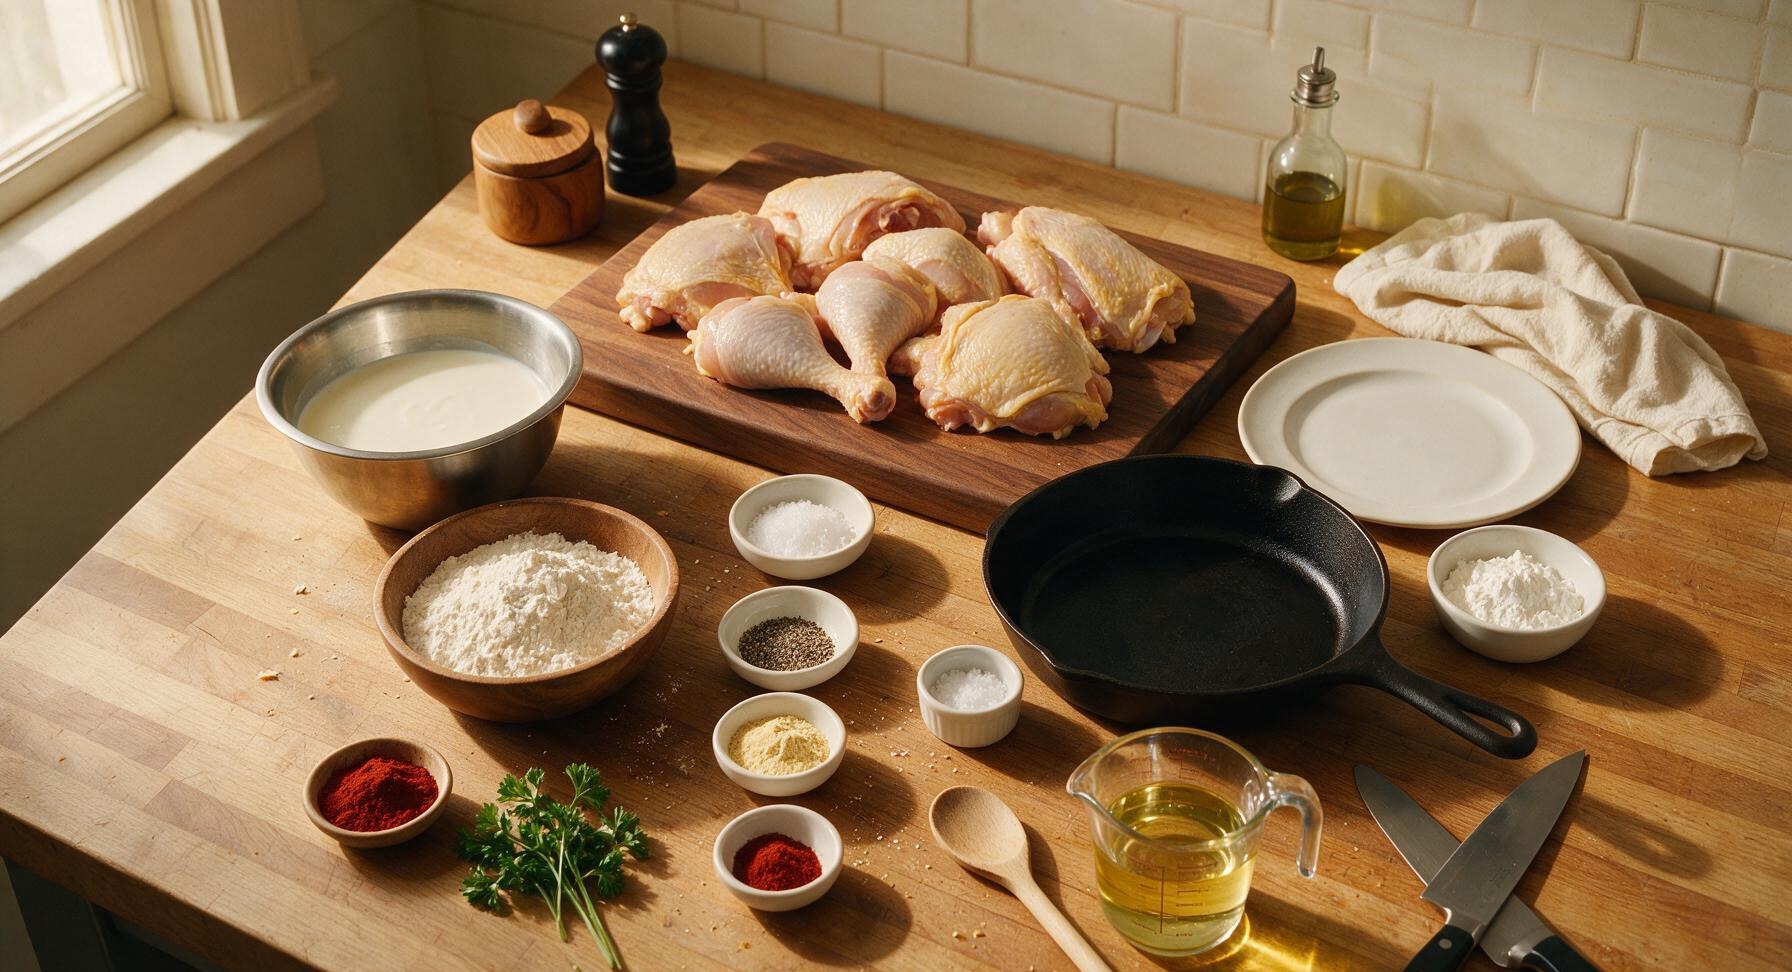
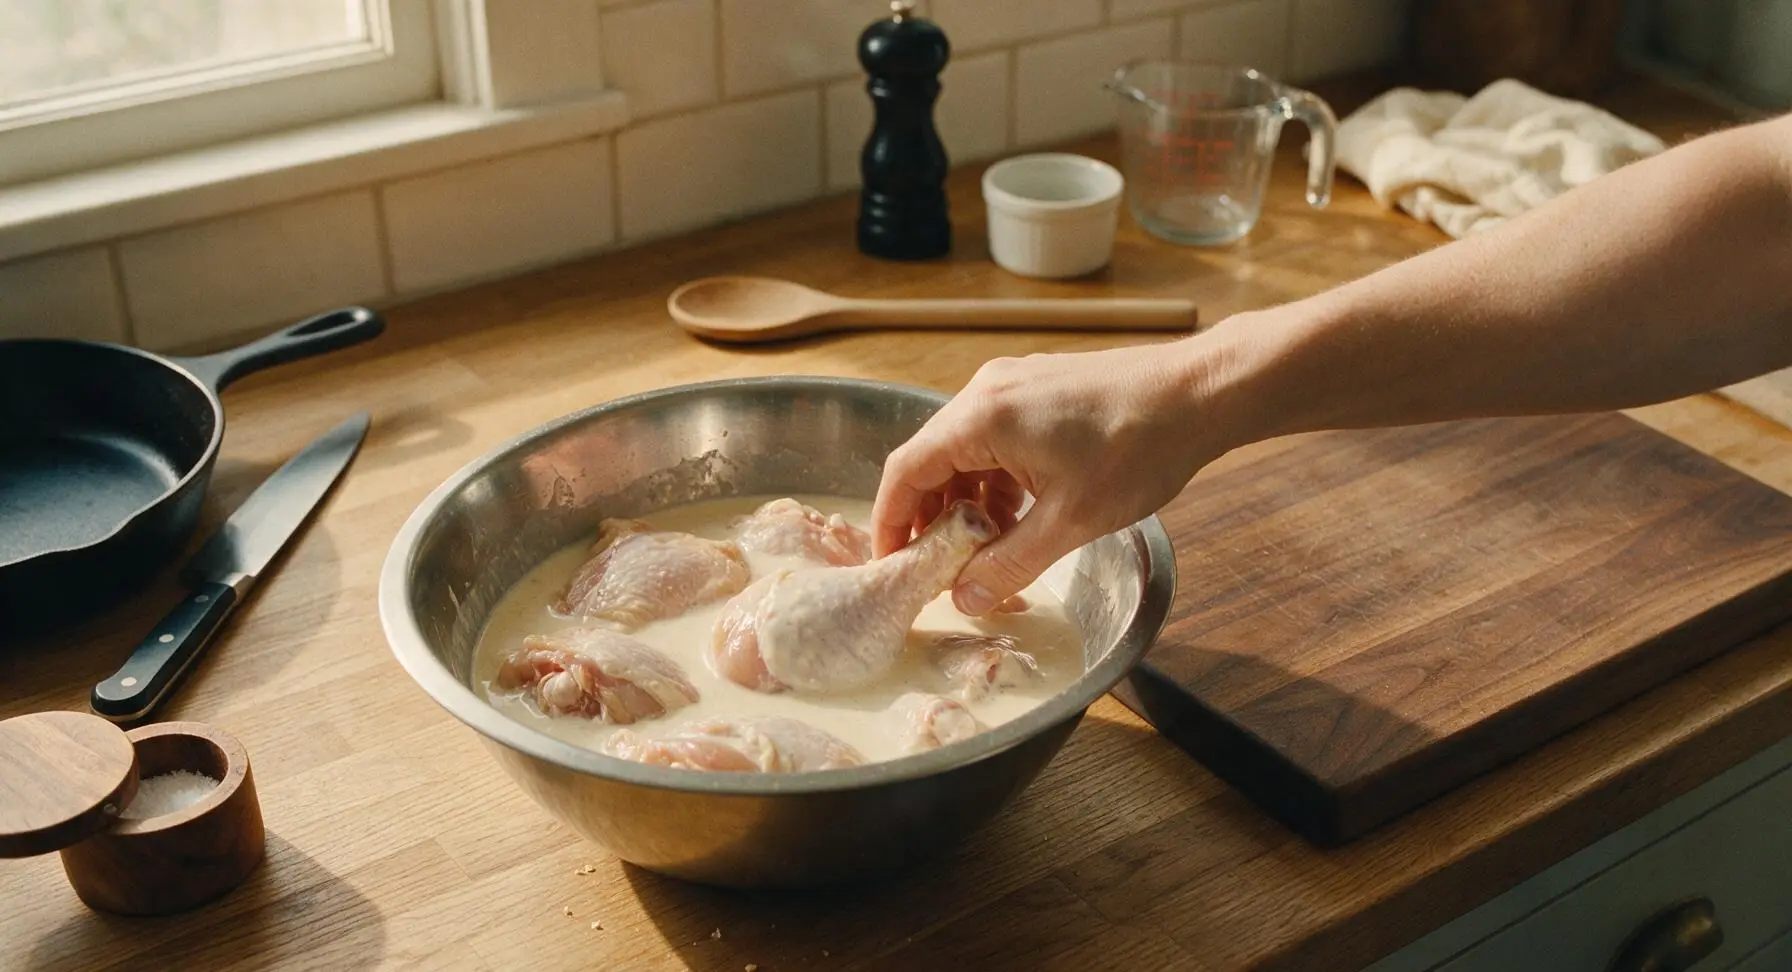
Pat 1.2kg bone-in, skin-on chicken pieces completely dry with paper towels, then place into the first large brushed stainless steel mixing bowl. Pour 500ml full-fat buttermilk over the chicken, add 1 tablespoon kosher salt, and turn each piece to coat fully. Cover the bowl and refrigerate for 8-12 hours (overnight) to tenderize the meat; remove from the fridge 30 minutes before frying to bring to room temperature, which prevents oil temperature drops when cooking.
Mix Seasoned Dredge
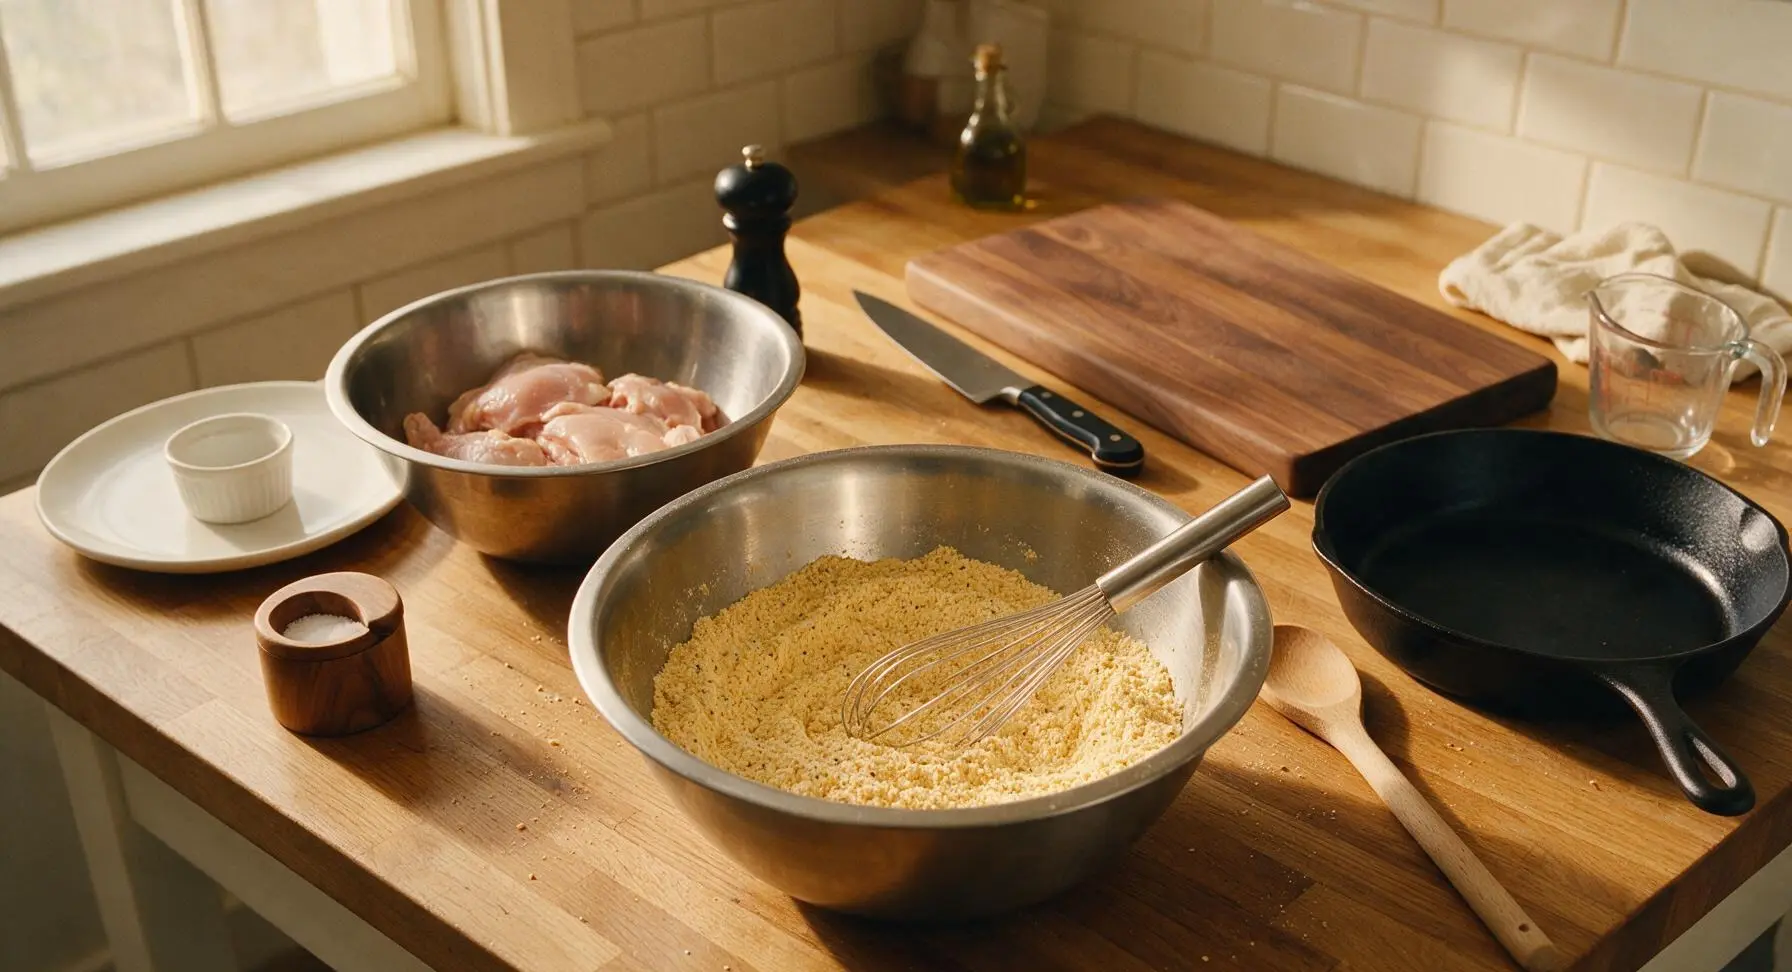
In the second large brushed stainless steel mixing bowl, combine 300g all-purpose flour, 3 tablespoons cornstarch, 1 tablespoon freshly ground black pepper, 1 tablespoon garlic powder, 1 teaspoon smoked paprika, and the remaining 1 tablespoon kosher salt. Use the stainless steel wire whisk to mix thoroughly for 30 seconds, evenly distributing all spices so no clumps of seasoning remain. Visual cue: The flour mixture is a uniform pale golden hue, with tiny dark spice flecks spread consistently throughout.
Dredge Chicken Pieces
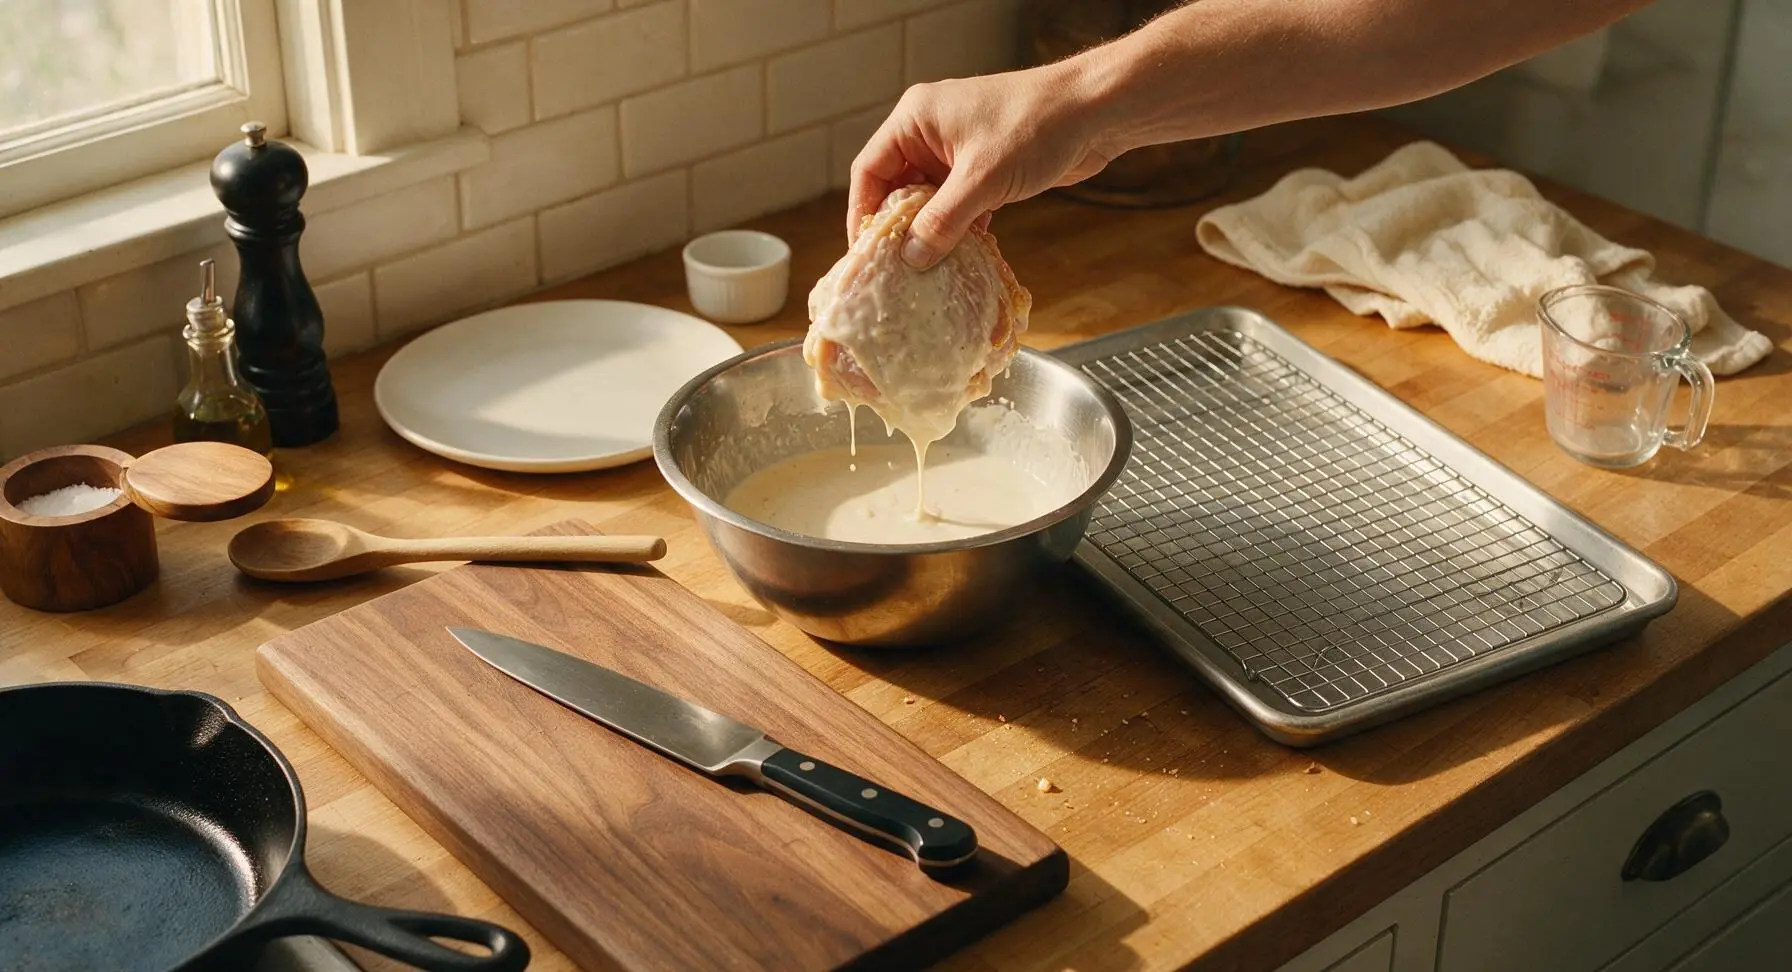
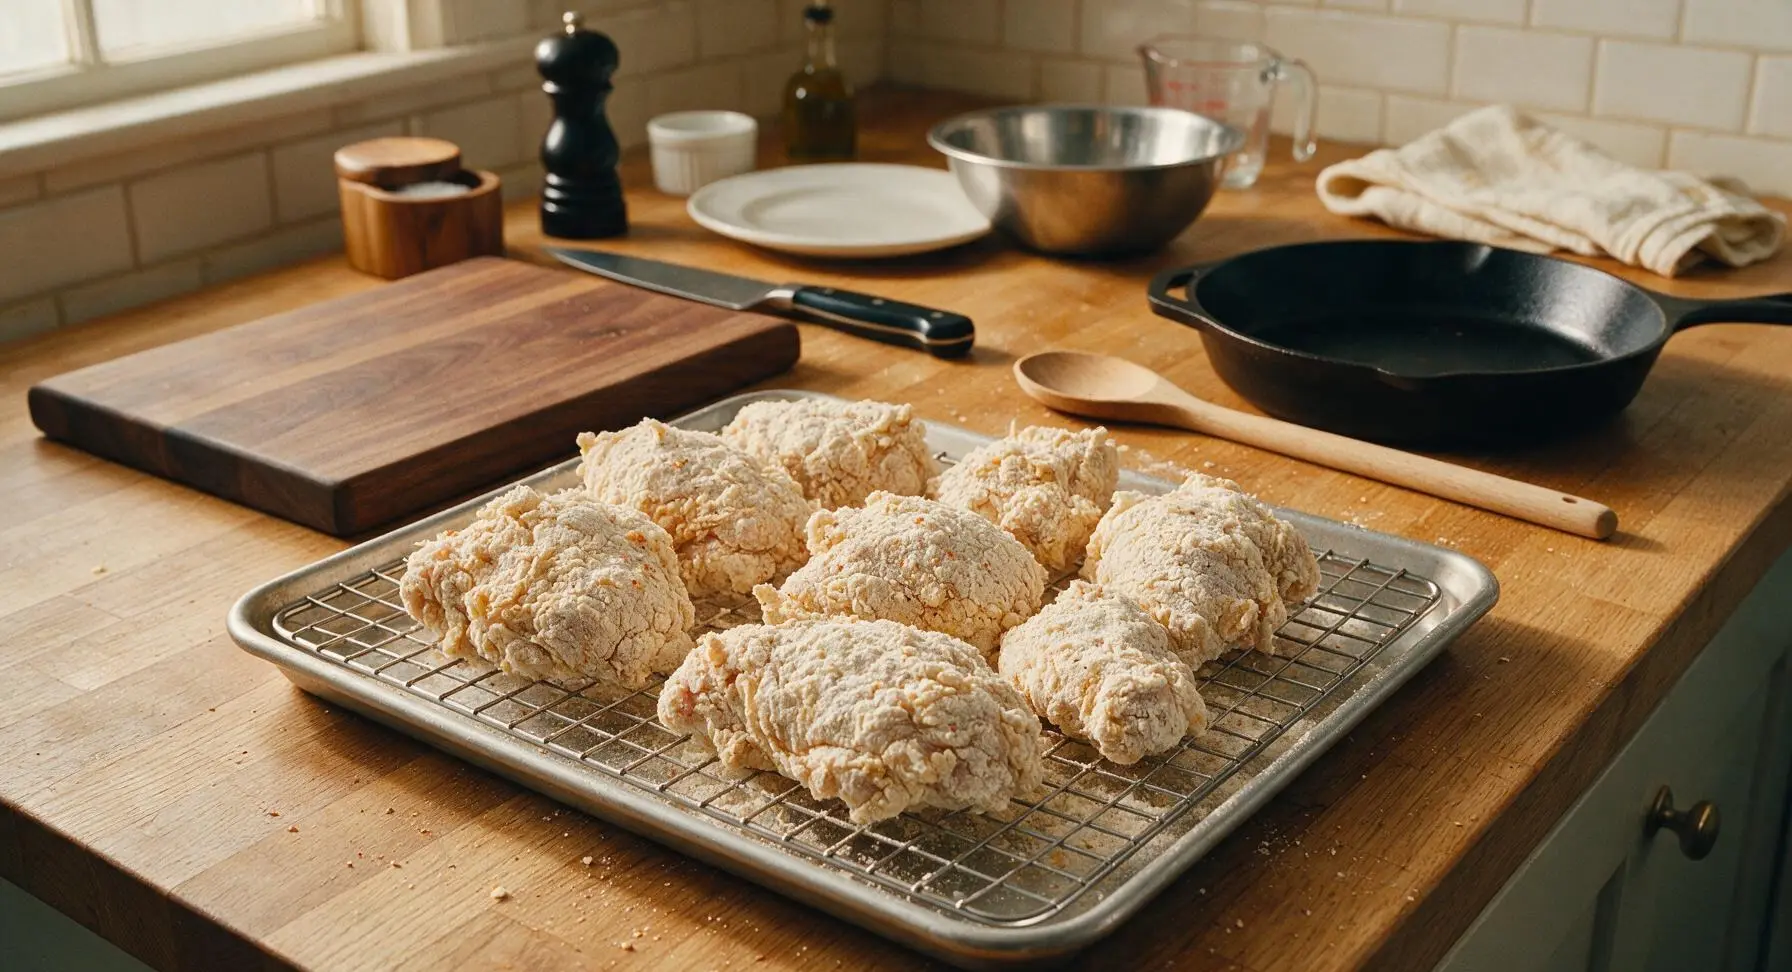
Working one piece at a time, lift chicken from the buttermilk brine, allowing excess buttermilk to drip off for 3 seconds. Drop the piece into the seasoned flour mixture, press firmly to coat every surface (including under loose skin flaps and bone crevices), then lift and shake off excess flour. Place dredged pieces on the chrome wire cooling rack set over the rimmed aluminum baking sheet, and let rest for 15 minutes to allow the coating to set—this creates a tight bond that prevents breading from falling off during frying. Visual cue: Each piece has a thick, uneven, slightly shaggy flour coating, with no wet buttermilk spots peeking through.
Heat Frying Oil
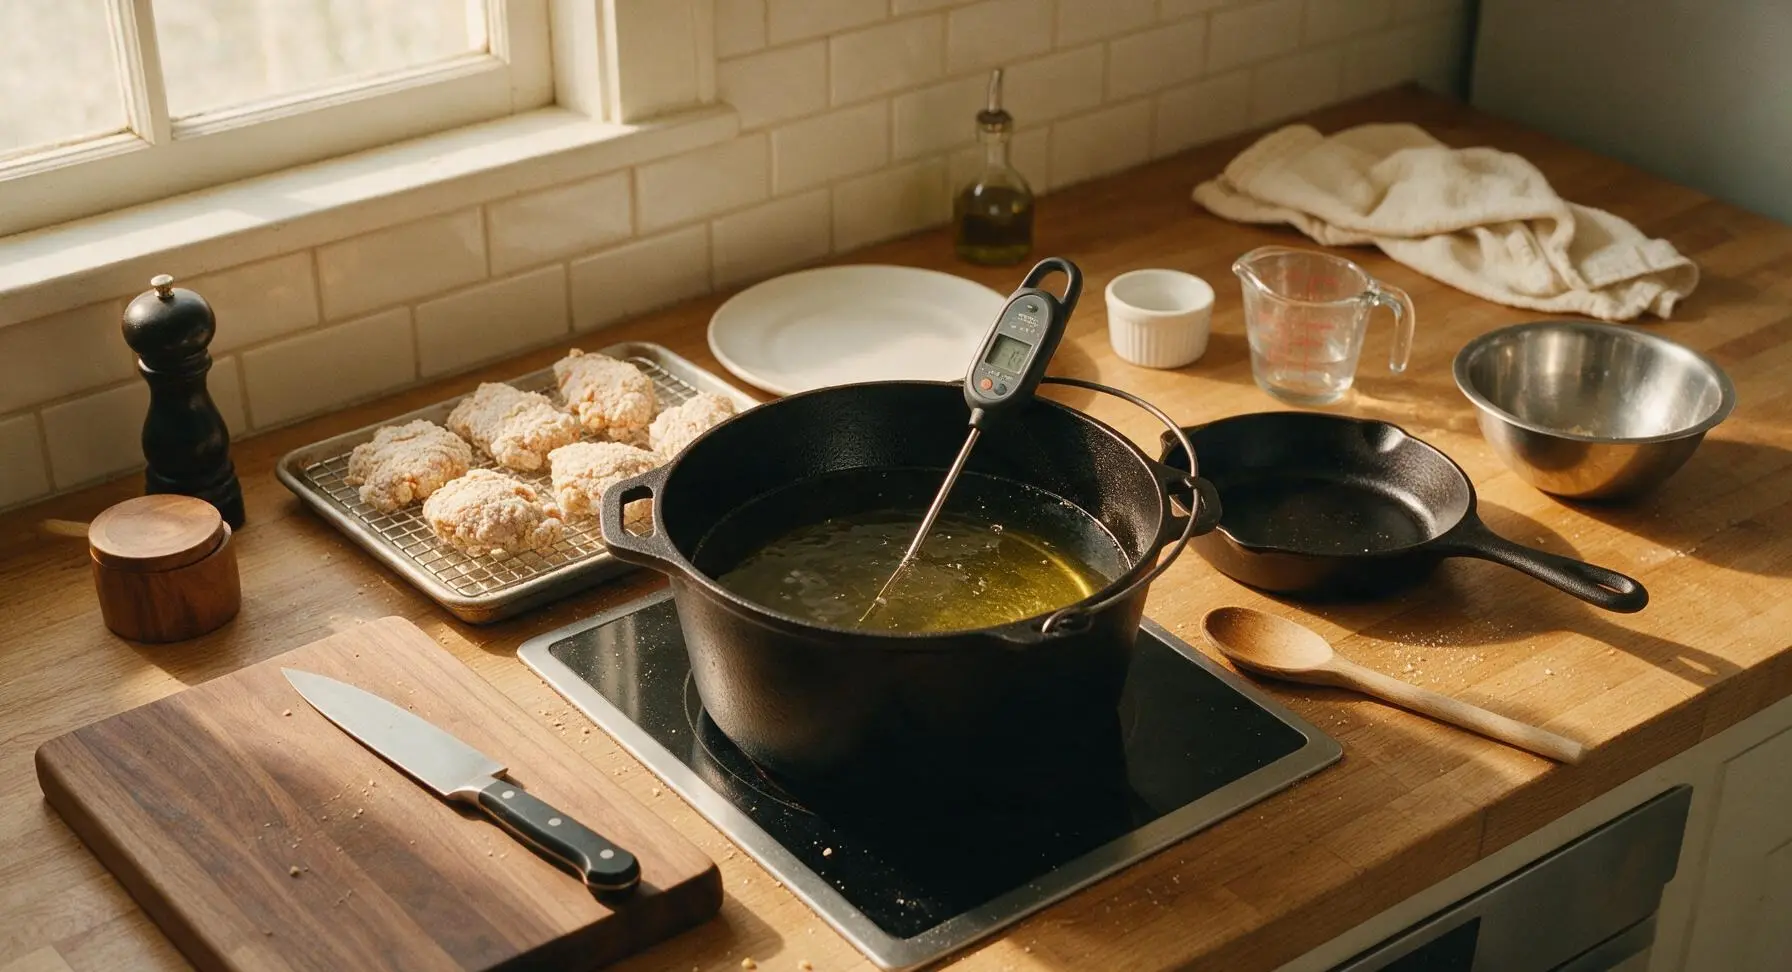
Pour 1.5L canola oil into the 12-inch matte black cast iron Dutch oven, set over medium-high heat. Heat the oil to exactly 175°C (350°F), checking temperature with the digital instant-read thermometer held in the center of the oil (ensure the probe does not touch the pot bottom for an accurate read). Maintain this temperature, adjusting stove heat as needed; oil that is too hot will burn the crust before the chicken cooks through, while too-cool oil results in greasy, soggy breading.
Fry Chicken in Batches
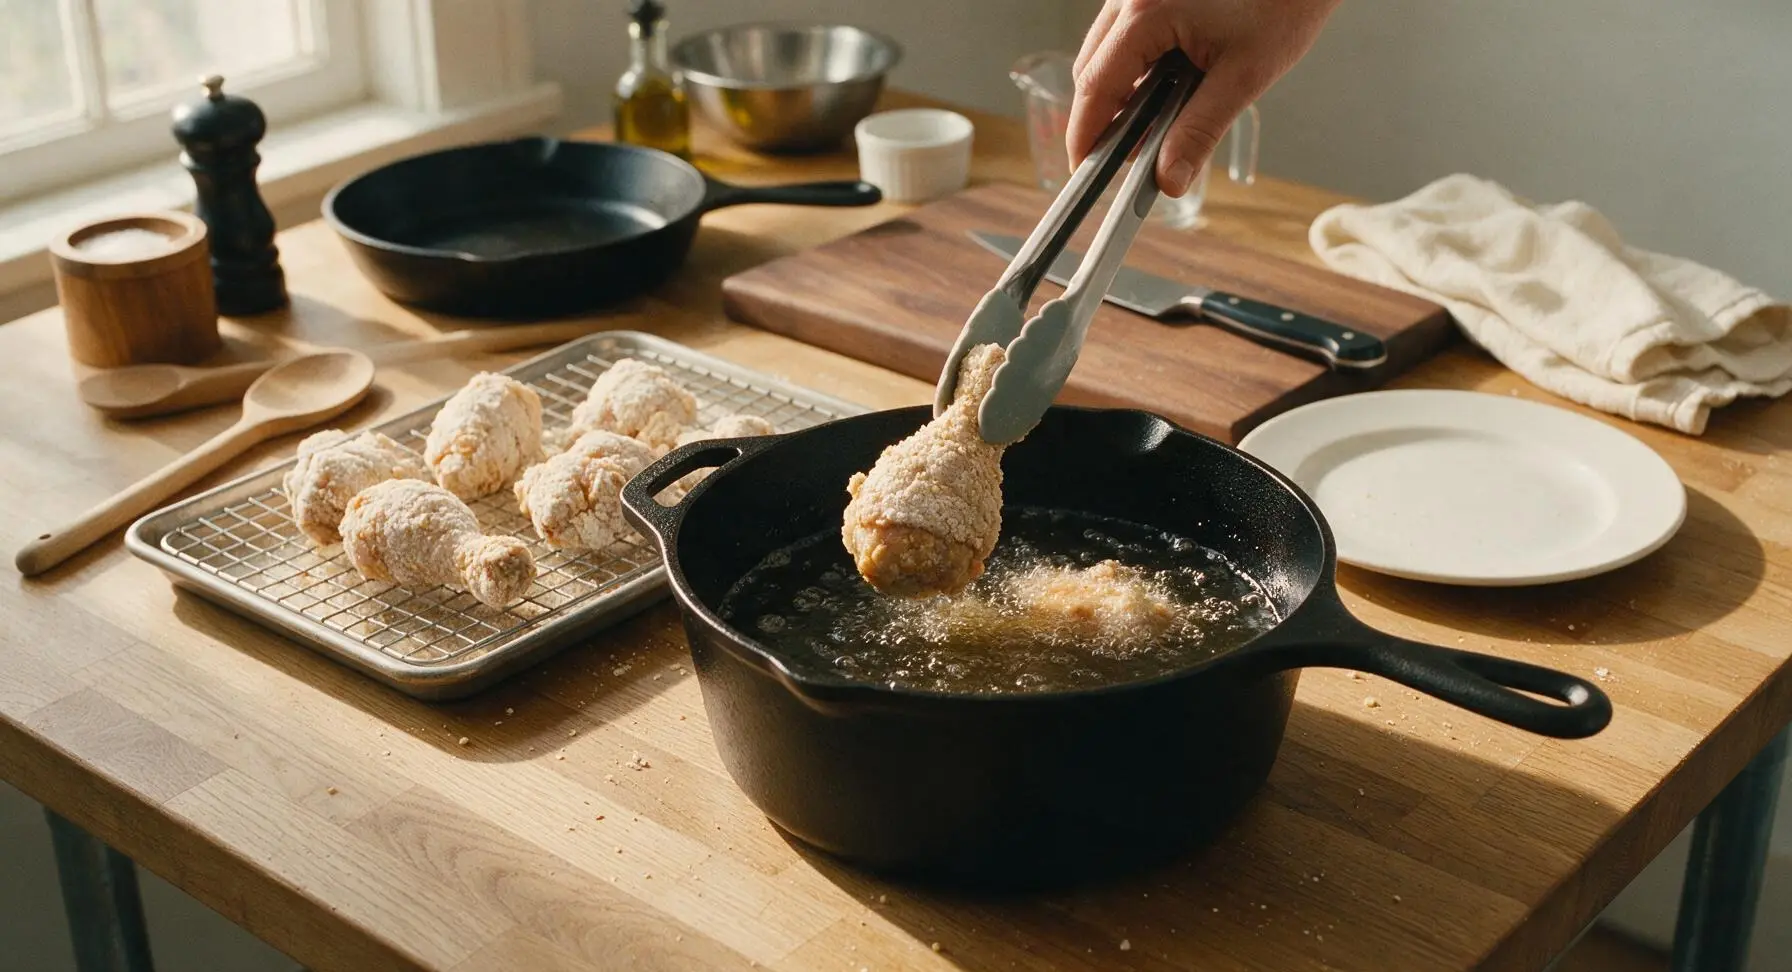
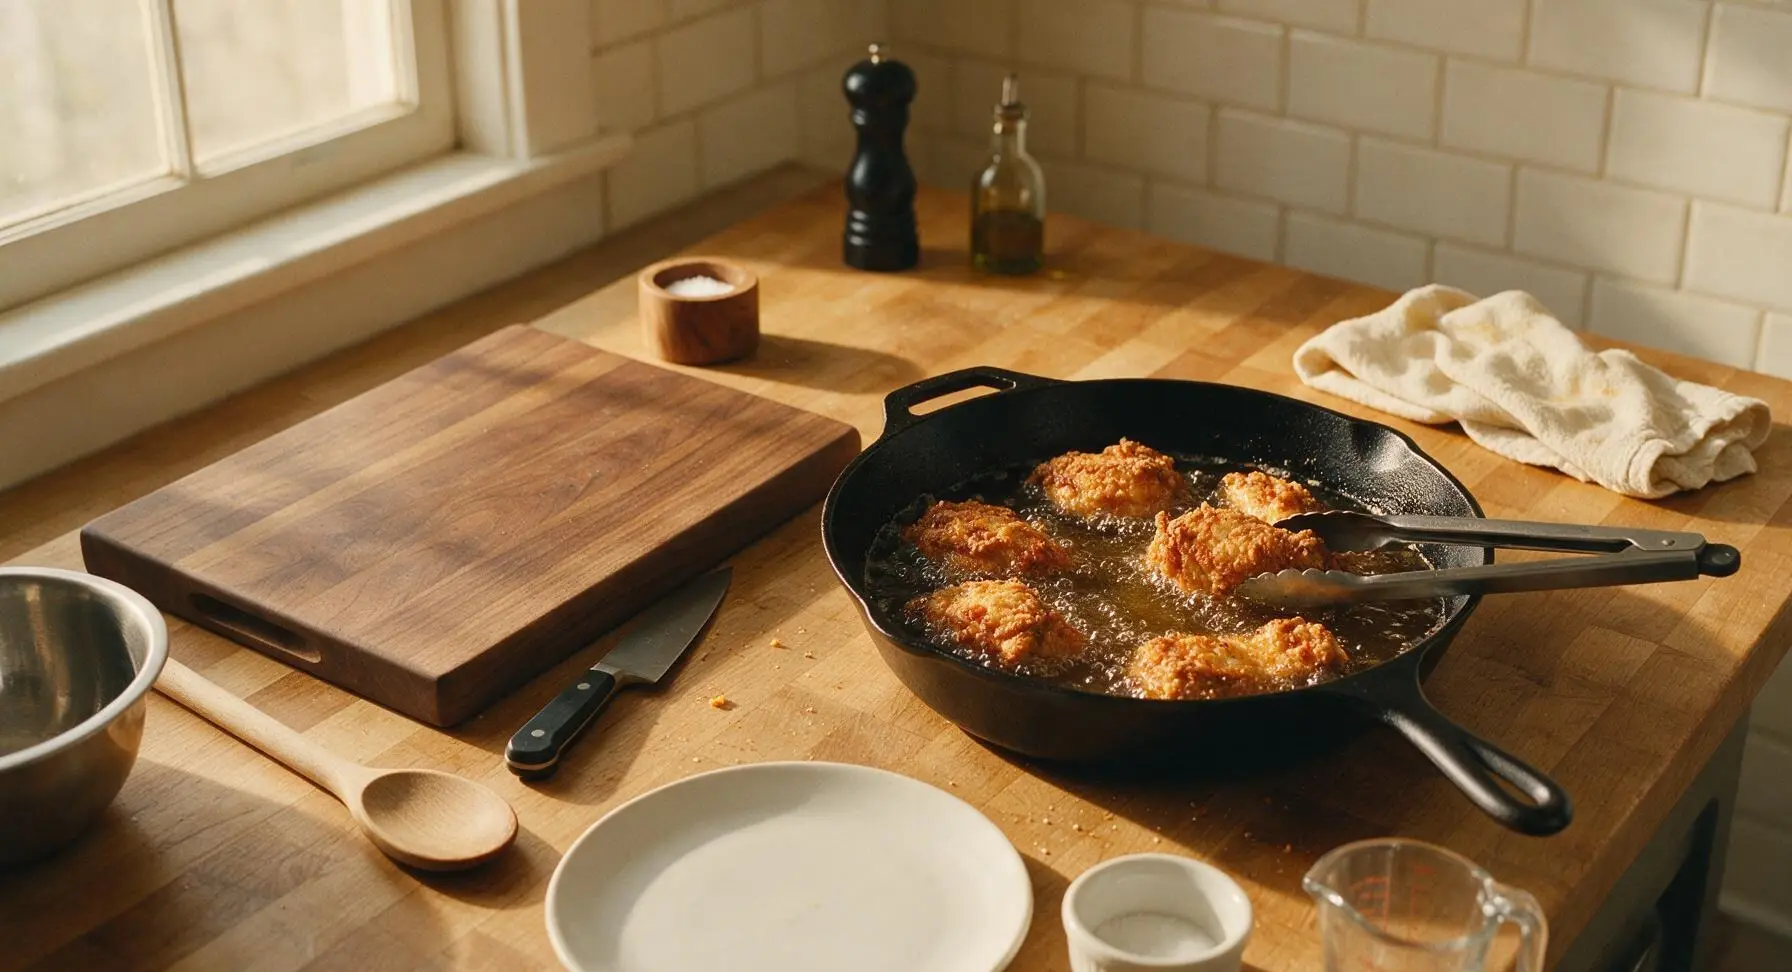
Using the long silicone-tipped stainless steel tongs, carefully lower 2-3 chicken pieces into the hot oil at a time—do not overcrowd the pot, as this will drop oil temperature too quickly. Fry for 12-14 minutes total, turning pieces every 4 minutes, until the crust is a deep, even golden brown and the internal temperature of the chicken reaches 75°C (165°F) at the thickest part (away from bone). Adjust heat as needed to hold a steady oil temperature of 160-165°C (320-330°F) during frying.
Drain and Season Hot
As each batch finishes frying, use the tongs to lift chicken from the oil, letting excess oil drip back into the pot for 5 seconds, then transfer pieces back to the chrome wire cooling rack set over the aluminum baking sheet. Immediately sprinkle the hot crust lightly with flaky sea salt, while the surface oil is still wet so the salt crystals adhere properly. Let chicken rest for 10 minutes before serving to allow juices to redistribute; do not drain on paper towels, as trapped steam will make the bottom crust soggy.
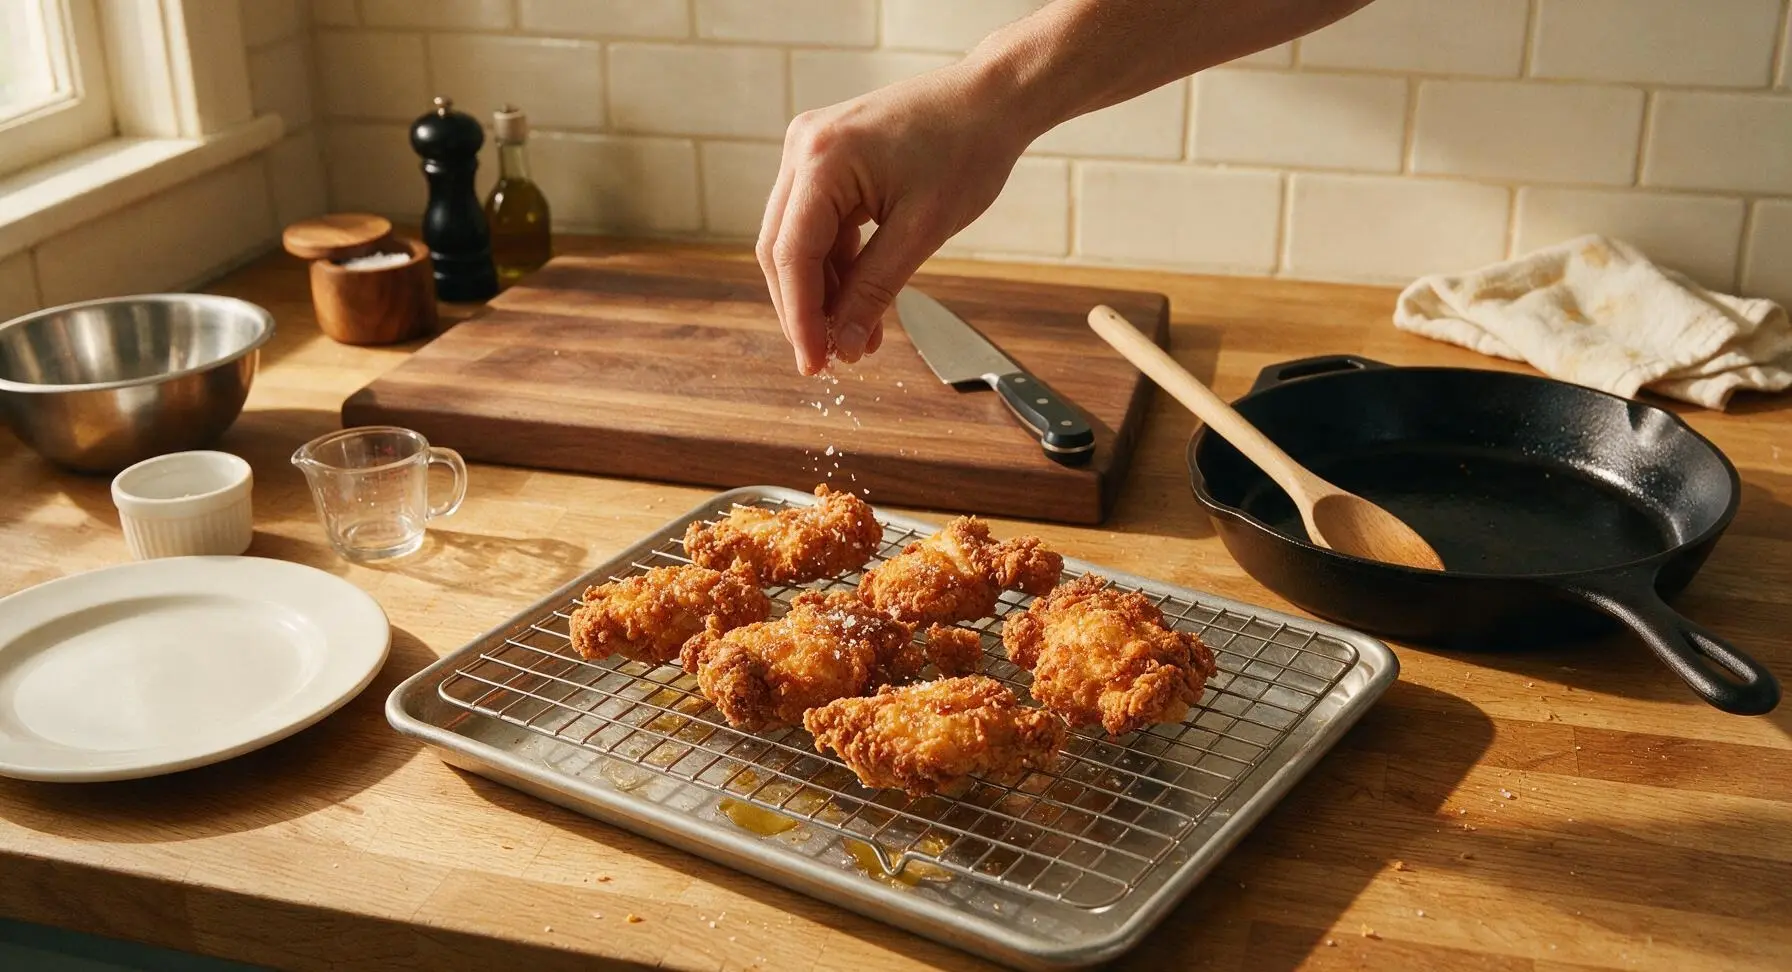
Plate and Garnish
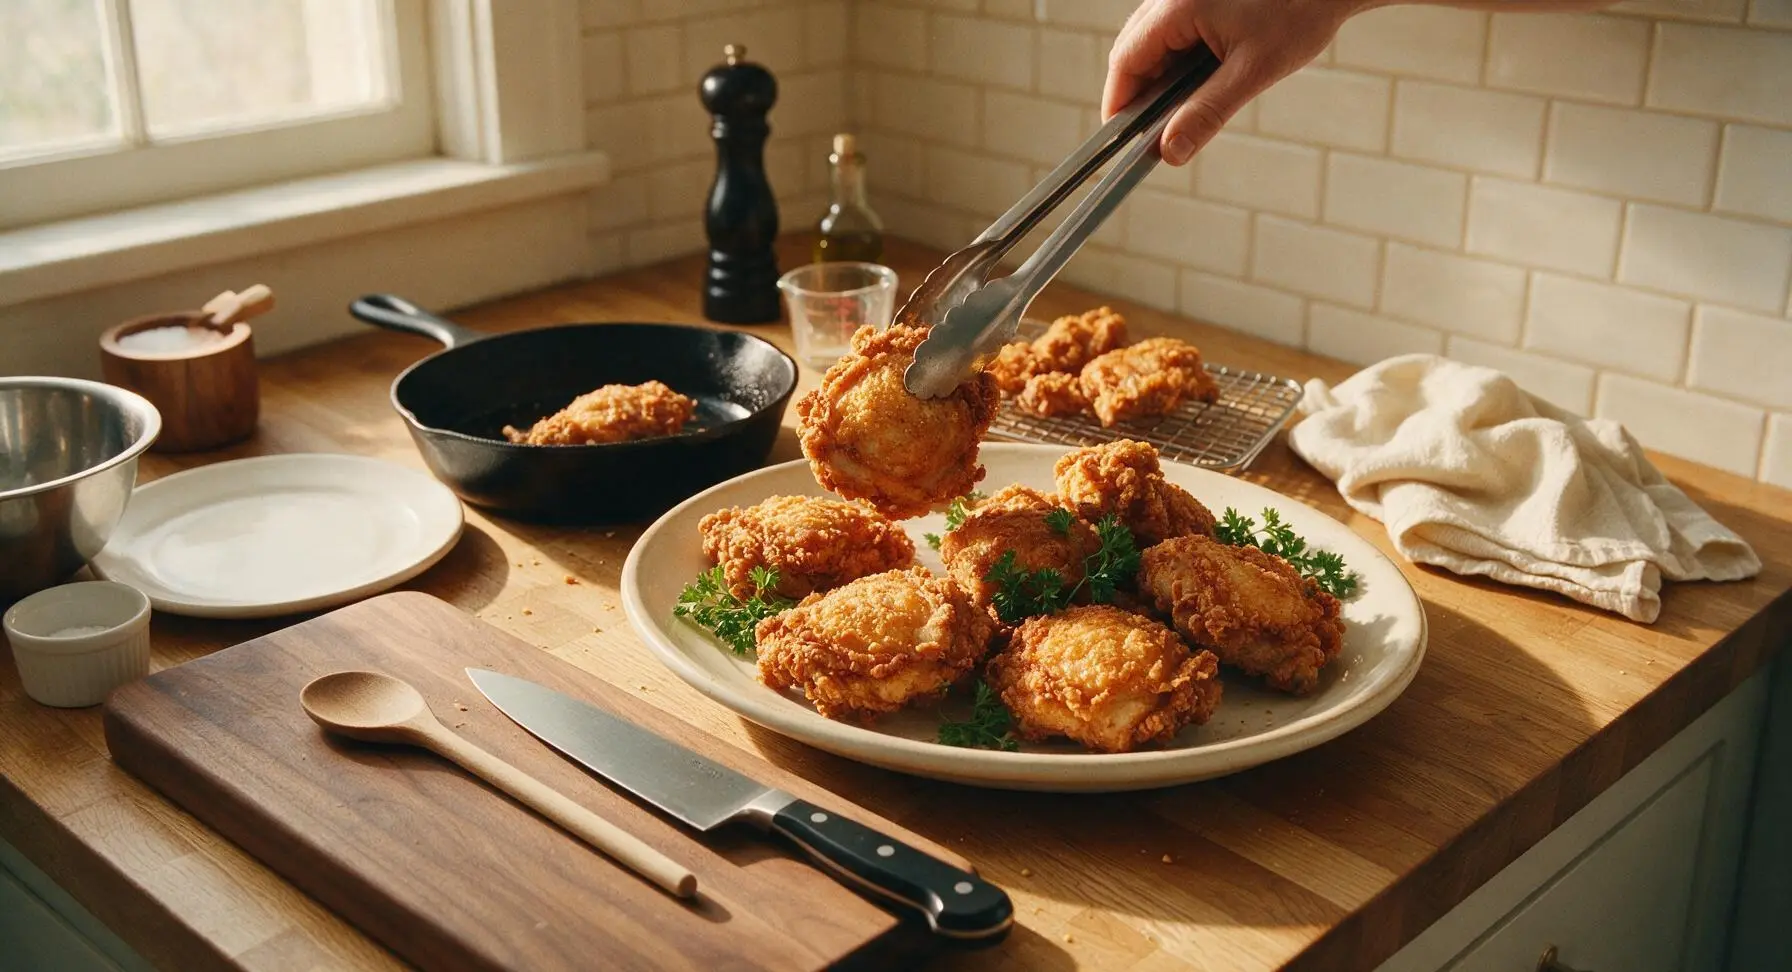
After the 10-minute rest, use the tongs to transfer fried chicken pieces to the large cream ceramic serving platter, piling them casually. Tuck sprigs of fresh curly parsley between the chicken pieces for a bright pop of green color. Serve warm, with classic sides like coleslaw, potato salad, or buttermilk biscuits.
Tips
2.Never overcrowd the frying pot: Adding more than 2-3 pieces at a time drops oil temperature by 20-30°C, which makes the breading absorb excess oil and turn soggy instead of crisp. Wait 1-2 minutes between batches to let oil return to 175°C before adding more chicken.
3.Drain fried chicken on a wire rack, not paper towels: A raised rack lets air circulate around all sides of the chicken to keep the crust crisp. Paper towels trap steam against the bottom of the chicken, turning that side soft and soggy in as little as 2 minutes. Season immediately with flaky salt while the crust is still oily, so crystals stick instead of falling off.






OMG y’all, this fried chicken came out SO crispy I could hear the crunch across the kitchen! My kids devoured 6 pieces between them before I even got the mac and cheese and collards on the table for Sunday dinner. I did add a little extra smoked paprika to the flour mix because we love a smoky kick, total game changer. 10/10 will make again for our next neighborhood potluck!
I was nervous to make fried chicken for the first time because I always thought it was super fussy, but this recipe was so straightforward! Cook time was right at 25 minutes like it said, no raw bits near the bone, and the crust stayed crispy even when I packed leftovers for my work lunch all week for meal prep. Only note: make sure your oil temp stays around 350F, I let mine get too hot on the first batch and the crust burned a little before the chicken cooked through.
Made this for our Fourth of July cookout potluck and people were asking me for the recipe before they even finished their first piece! The buttermilk brine makes the chicken so juicy, I didn’t have a single dry piece. I did use boneless thighs instead of bone-in because that’s what I had in the fridge, and it still turned out perfect. Even my picky teen who only eats fast food chicken nuggets asked for seconds!
Solid fried chicken recipe! Crunch was perfect, chicken was juicy, but I felt like it needed a little more salt for my taste. Next time I’ll add a bit more seasoned salt to the flour and maybe a pinch of cayenne for a tiny heat kick. Still way better than the fast food fried chicken I usually grab on busy weeknights.
I’ve been making my grandma’s fried chicken recipe for 20 years and decided to give this one a try to switch things up – wow, the buttermilk soak really does make such a difference in how tender the chicken stays! My husband said it might even rival grandma’s, which is the highest possible praise in our house. Will definitely be rotating this into our weekly Sunday dinner lineup.
Made this for my roommates last night for our first apartment dinner party and it was a total hit! Only thing is I didn’t have any buttermilk, so I used the regular milk + white vinegar trick and it worked just as well. Spent less than 30 minutes cooking total, which is perfect for my tiny college kitchen with zero fancy equipment. 10/10 no notes.
This is the third fried chicken recipe I’ve tried from this site and it’s by far the best. The crust doesn’t slide off the chicken when you pick it up, which is my biggest pet peeve with homemade fried chicken! My 7 year old helped me dip the chicken in the flour mix and had a total blast, it’s such a fun recipe to make with kids for family night.
Made this before a big day hike with my friends last weekend, and the chicken held up so well in the cooler even after a few hours. Crispy, juicy, not greasy at all – perfect trail food! We ate it cold with potato salad and coleslaw and it was still better than any takeout we could have picked up on the way to the trailhead.
Tossed the chicken in a couple tablespoons of hot honey right after pulling it out of the oil and OMG, that sweet and spicy combo with the crispy crust is insane. If you love a little heat and sweetness, do not sleep on that hack. My roommate walked in from the other end of the apartment asking what smelled so good before I even finished the last batch. SO good.
This recipe is so affordable to make for a crowd! I picked up a whole pack of chicken leg quarters for under $5, had the rest of the ingredients in my pantry already, and fed 4 people with leftovers for lunch the next day. Way cheaper than ordering fried chicken takeout, and tastes 10x better. The medium difficulty rating is totally fair, it’s not totally foolproof but even beginner cooks can nail it if they pay attention to the oil temp.