Fried Cornmeal Mush

Fried Cornmeal Mush
⏱️ cook time 25 minutes
🍽️ servings 4
⚡ Difficulty easy

intro

Crisp golden-fried cornmeal slices with a crunchy crust and velvety soft center, this nostalgic Appalachian staple is perfect drizzled with maple syrup for a cozy, satisfying meal.

Ingredients
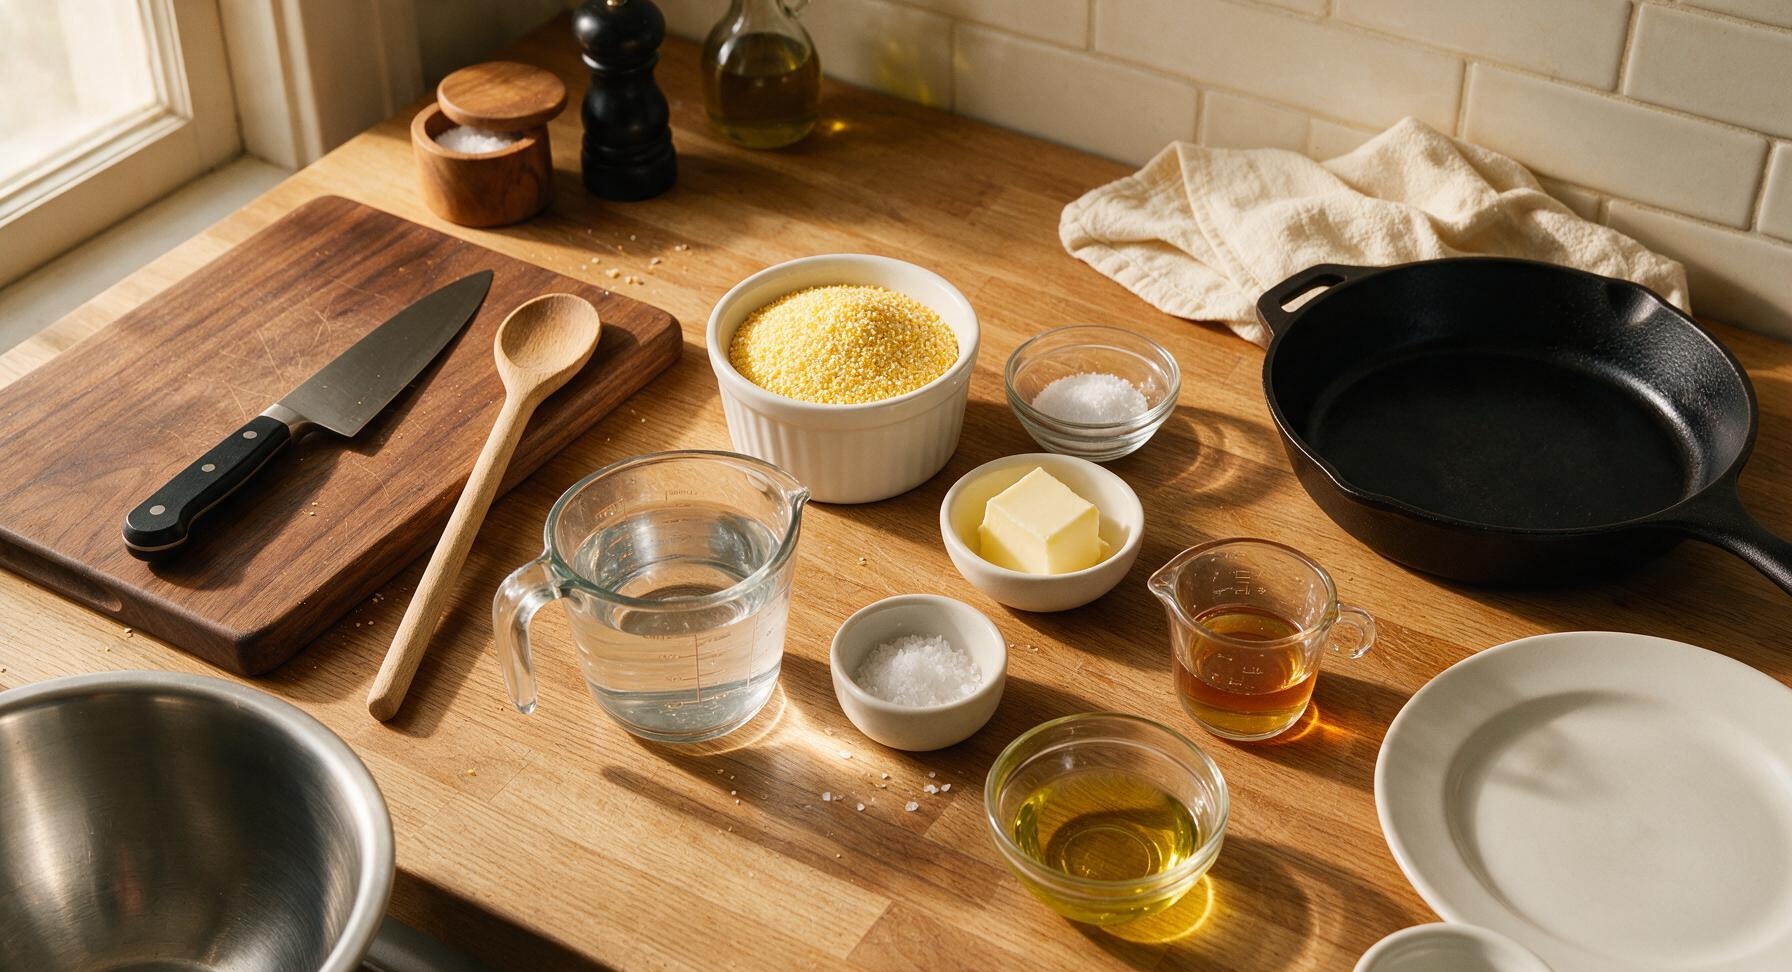
Coarse yellow cornmeal 1 cup (150g)
Cold water 4 cups (960ml)
Fine sea salt 1.5 teaspoons
Unsalted butter 2 tablespoons (28g)
Neutral canola oil 3 tablespoons
Pure maple syrup 1/4 cup (60ml)
Flaky sea salt 1/4 teaspoon

Steps

1

Prep the loaf pan

Cut a sheet of unbleached parchment paper to fit the base of the 9x5 inch matte silver metal loaf pan, leaving 2-inch overhangs along the long sides to easily lift set mush from the pan later. Lightly grease the exposed inner sides of the pan with a thin swipe of butter to prevent sticking. Set the prepared pan on the counter near the stovetop.
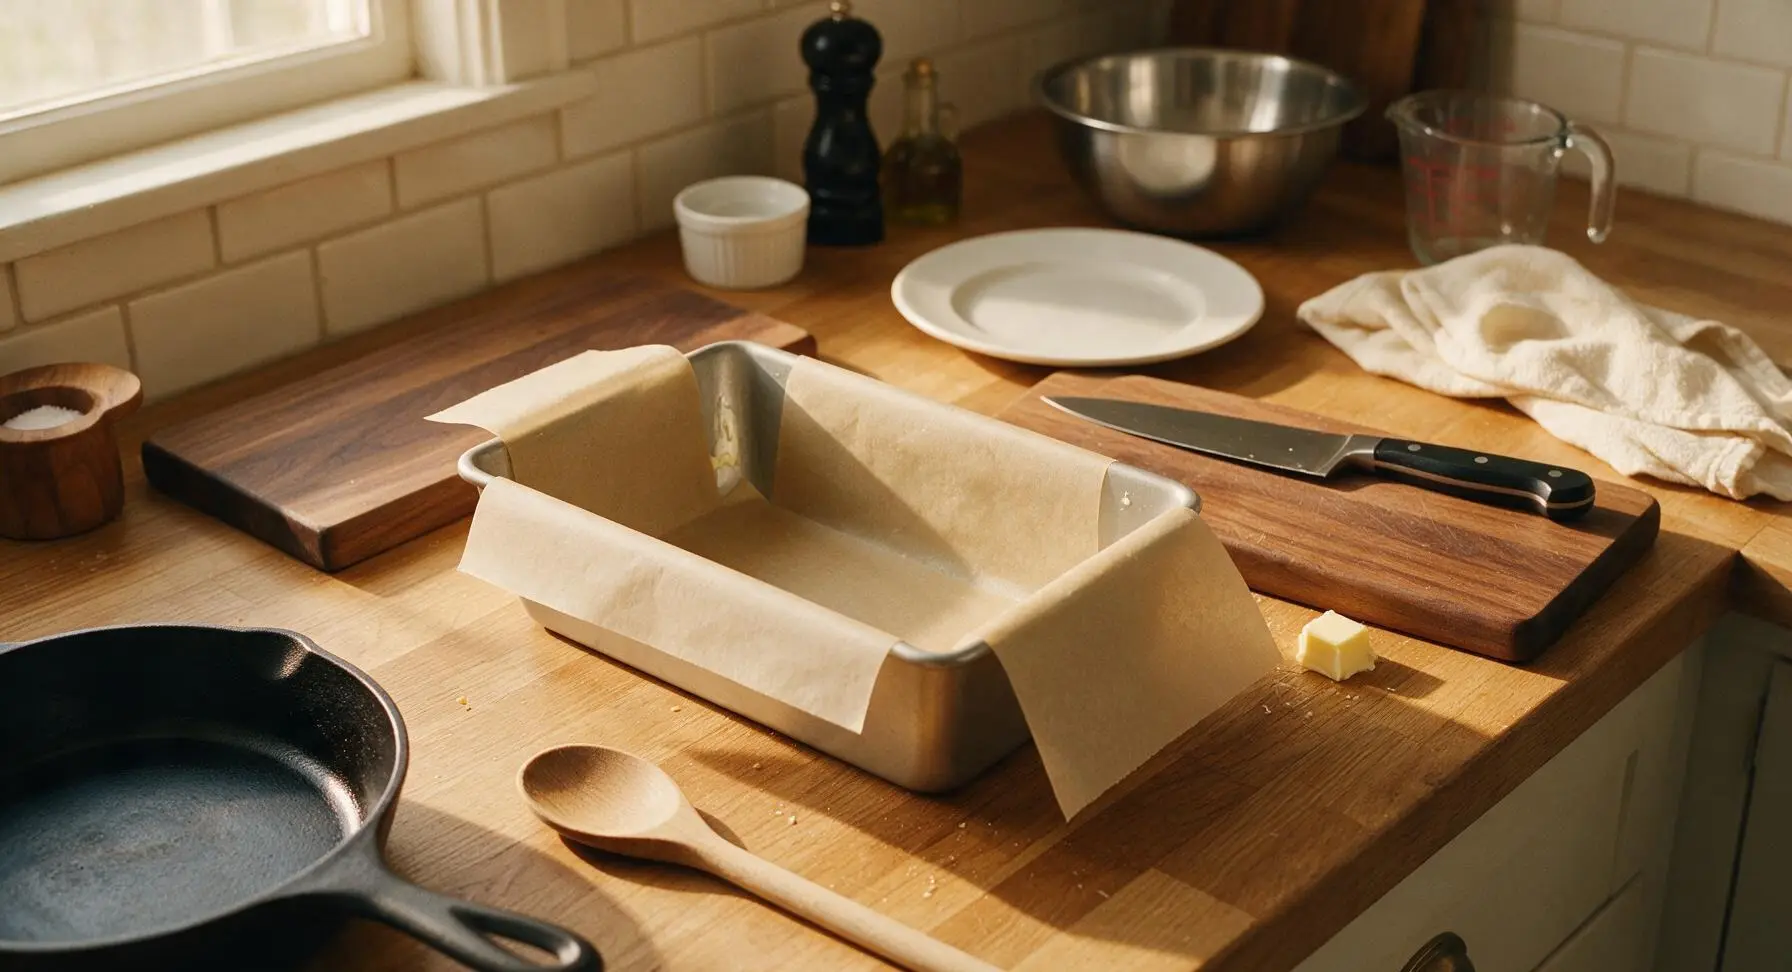
Step 1
step1:Prep the loaf pan
2

Simmer cornmeal base

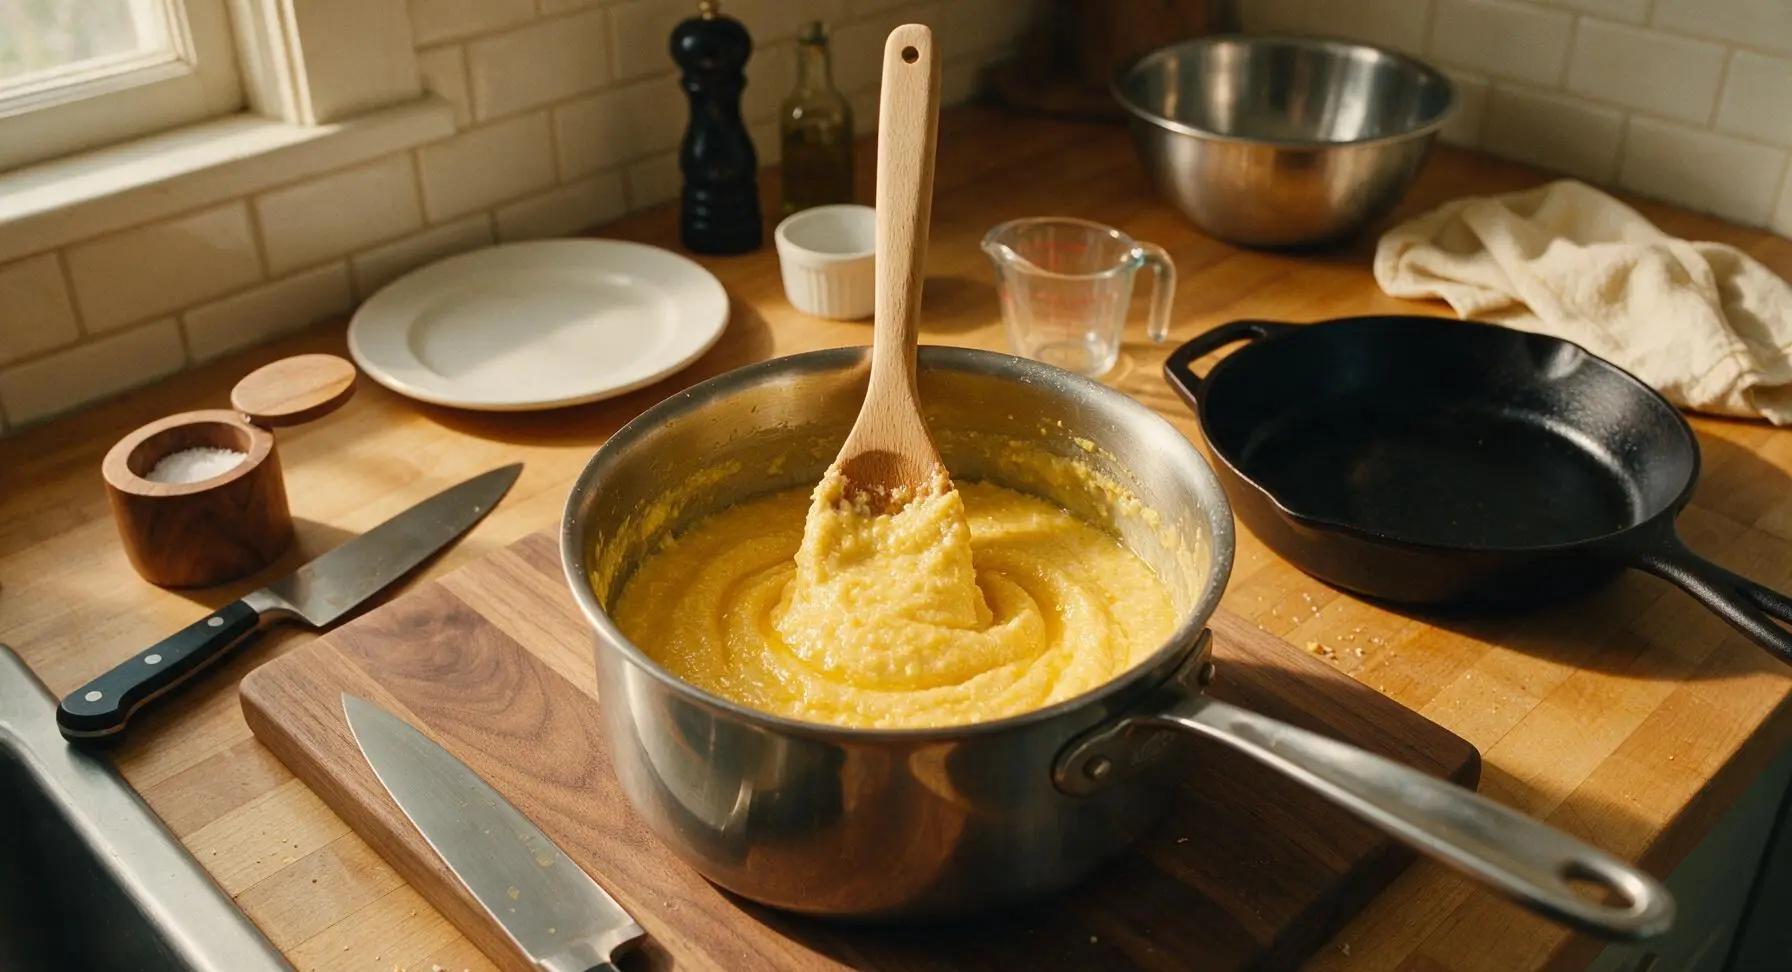
Pour 4 cups cold water into the 3-quart stainless steel saucepan, stir in 1.5 teaspoons fine sea salt, and bring to a rolling boil over medium-high heat (approximately 6-7 minutes). Slowly pour 1 cup coarse yellow cornmeal into the boiling water in a thin, steady stream, whisking constantly to avoid lumps. Reduce heat to medium-low, switch to the beech wood spoon, and stir constantly for 12-15 minutes, until the mush is very thick, pulls cleanly away from the pan sides, and holds a firm peak when the spoon is lifted from the mixture. Stir in 2 tablespoons unsalted butter until fully melted and incorporated, giving the mush a smooth, glossy golden finish.
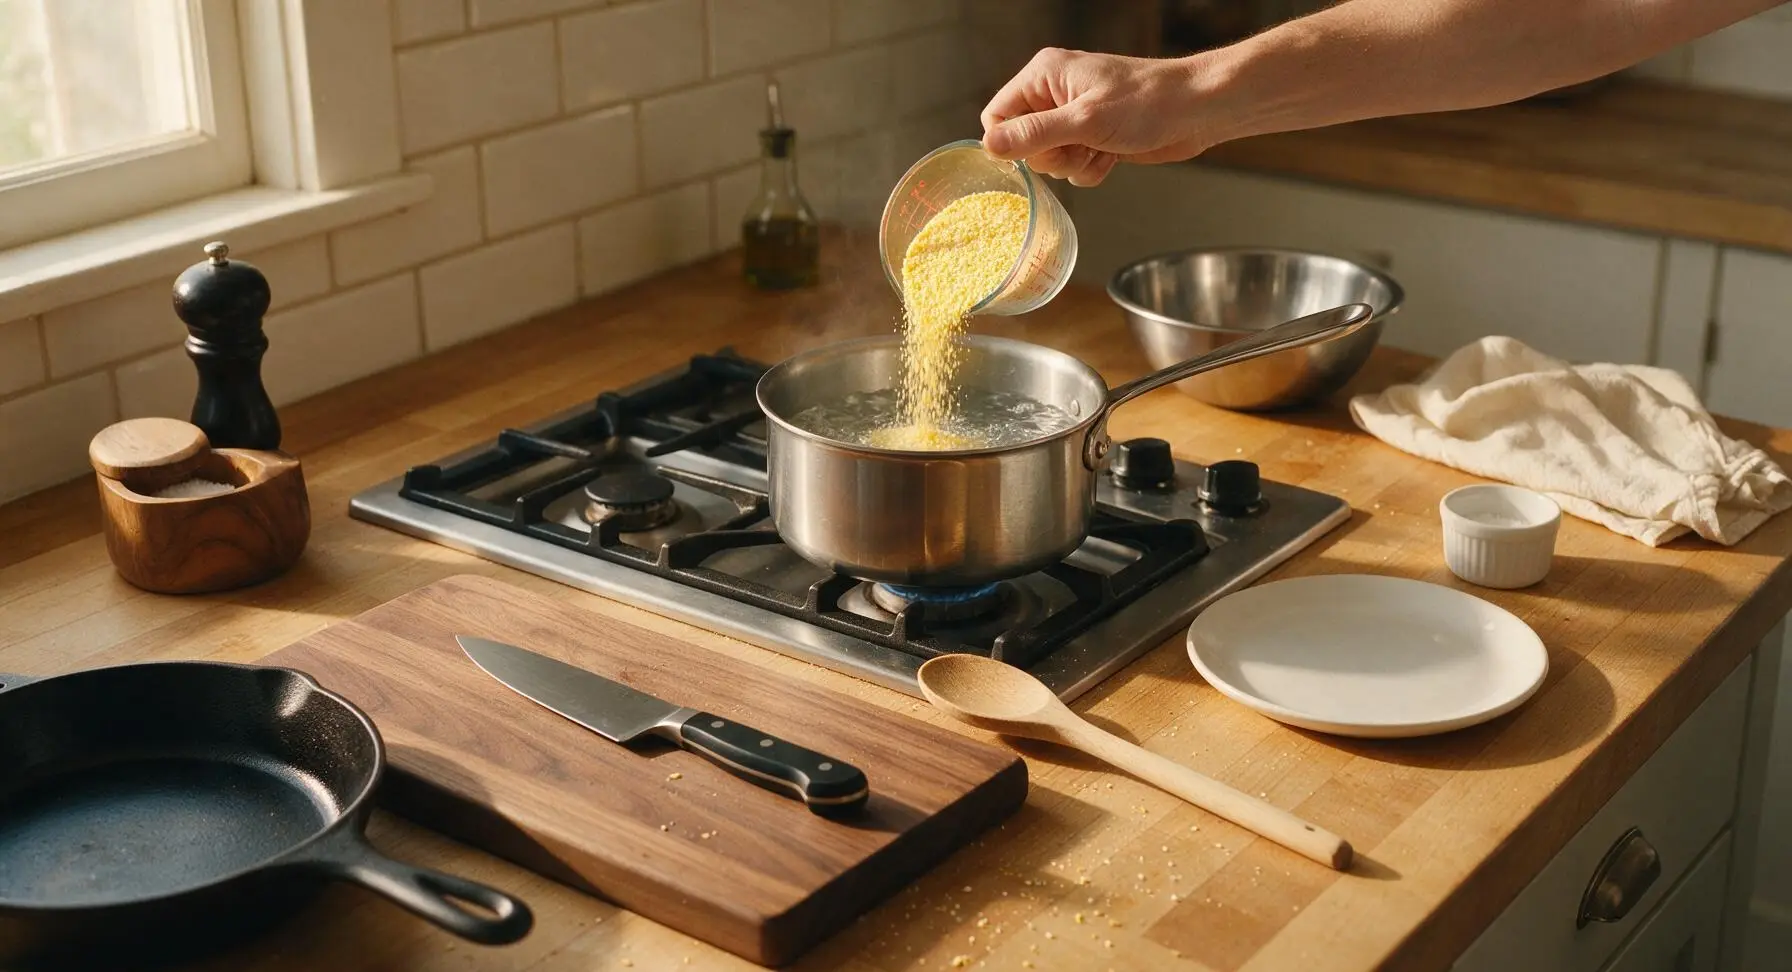
Step 2
step2:Simmer cornmeal base
Step 2
step2:Simmer cornmeal base
3

Pour mush to set

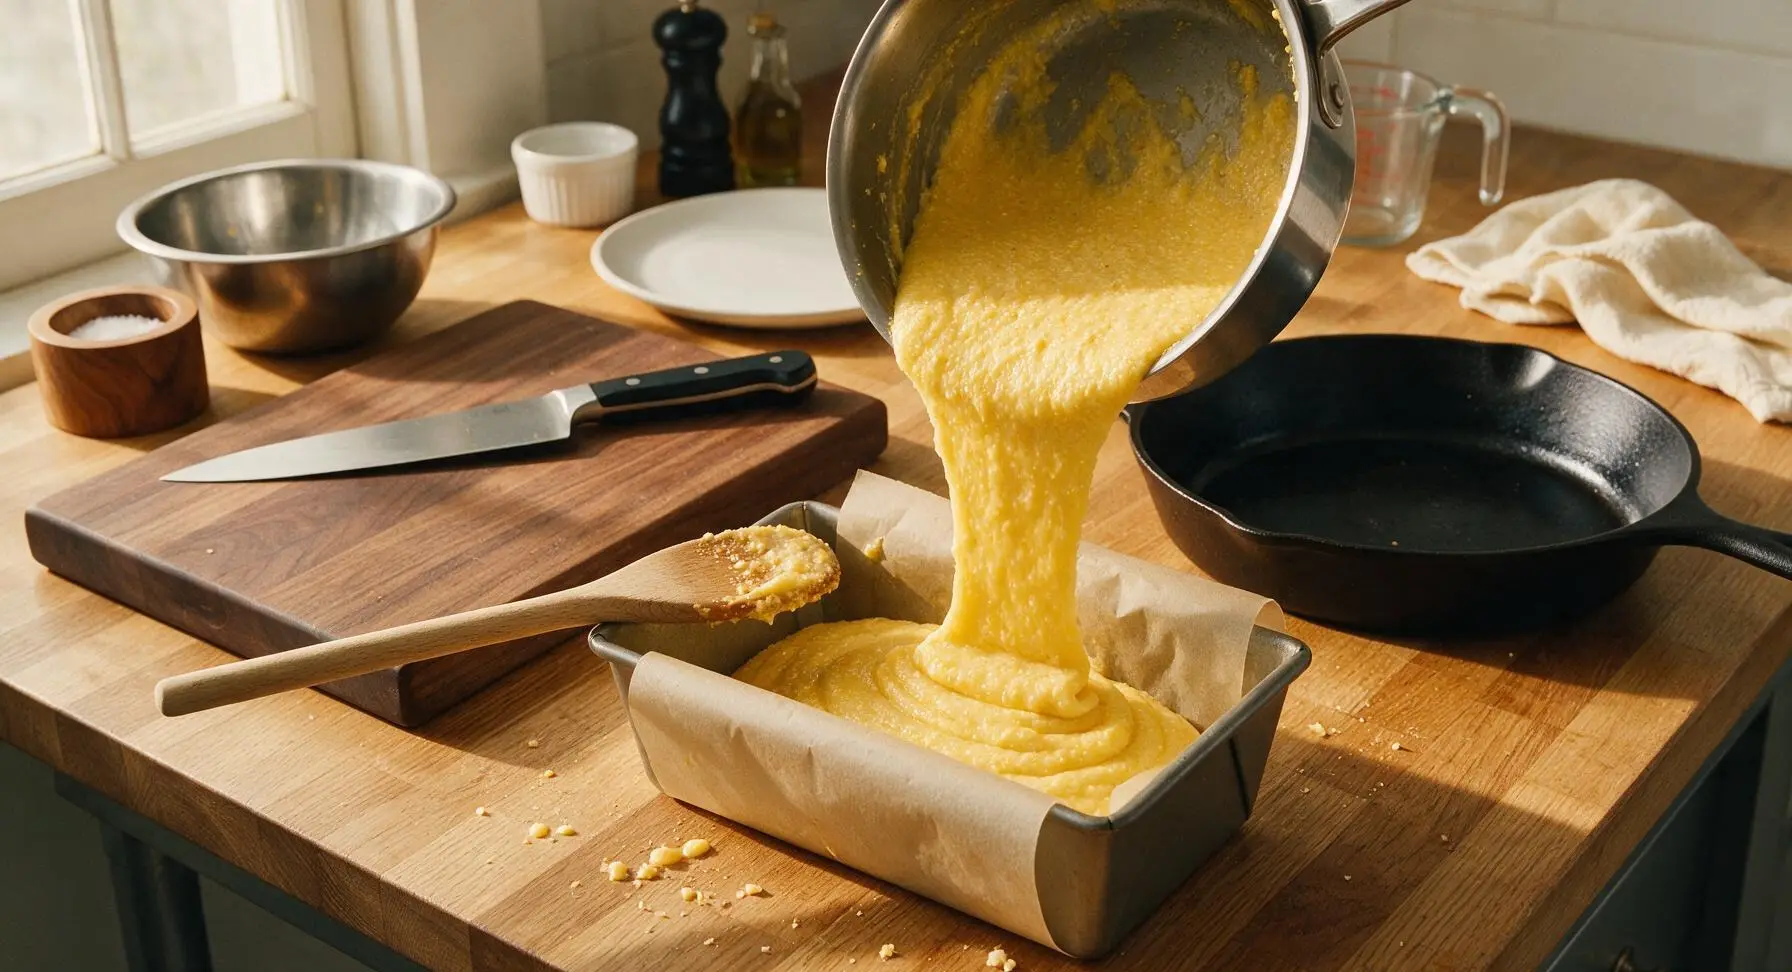
Immediately pour the hot, thick cornmeal mush into the prepared parchment-lined loaf pan, using the beech wood spoon to scrape every bit of mush from the saucepan. Smooth the top surface into an even, flat layer with the back of the spoon. Let the pan cool uncovered to room temperature for 30 minutes, then cover loosely with plastic wrap and refrigerate for a minimum of 4 hours (or up to 3 days, covered) until the mush is completely firm, with no visible jiggle when the pan is gently shaken.
Step 3
step3:Pour mush to set
4

Slice chilled mush

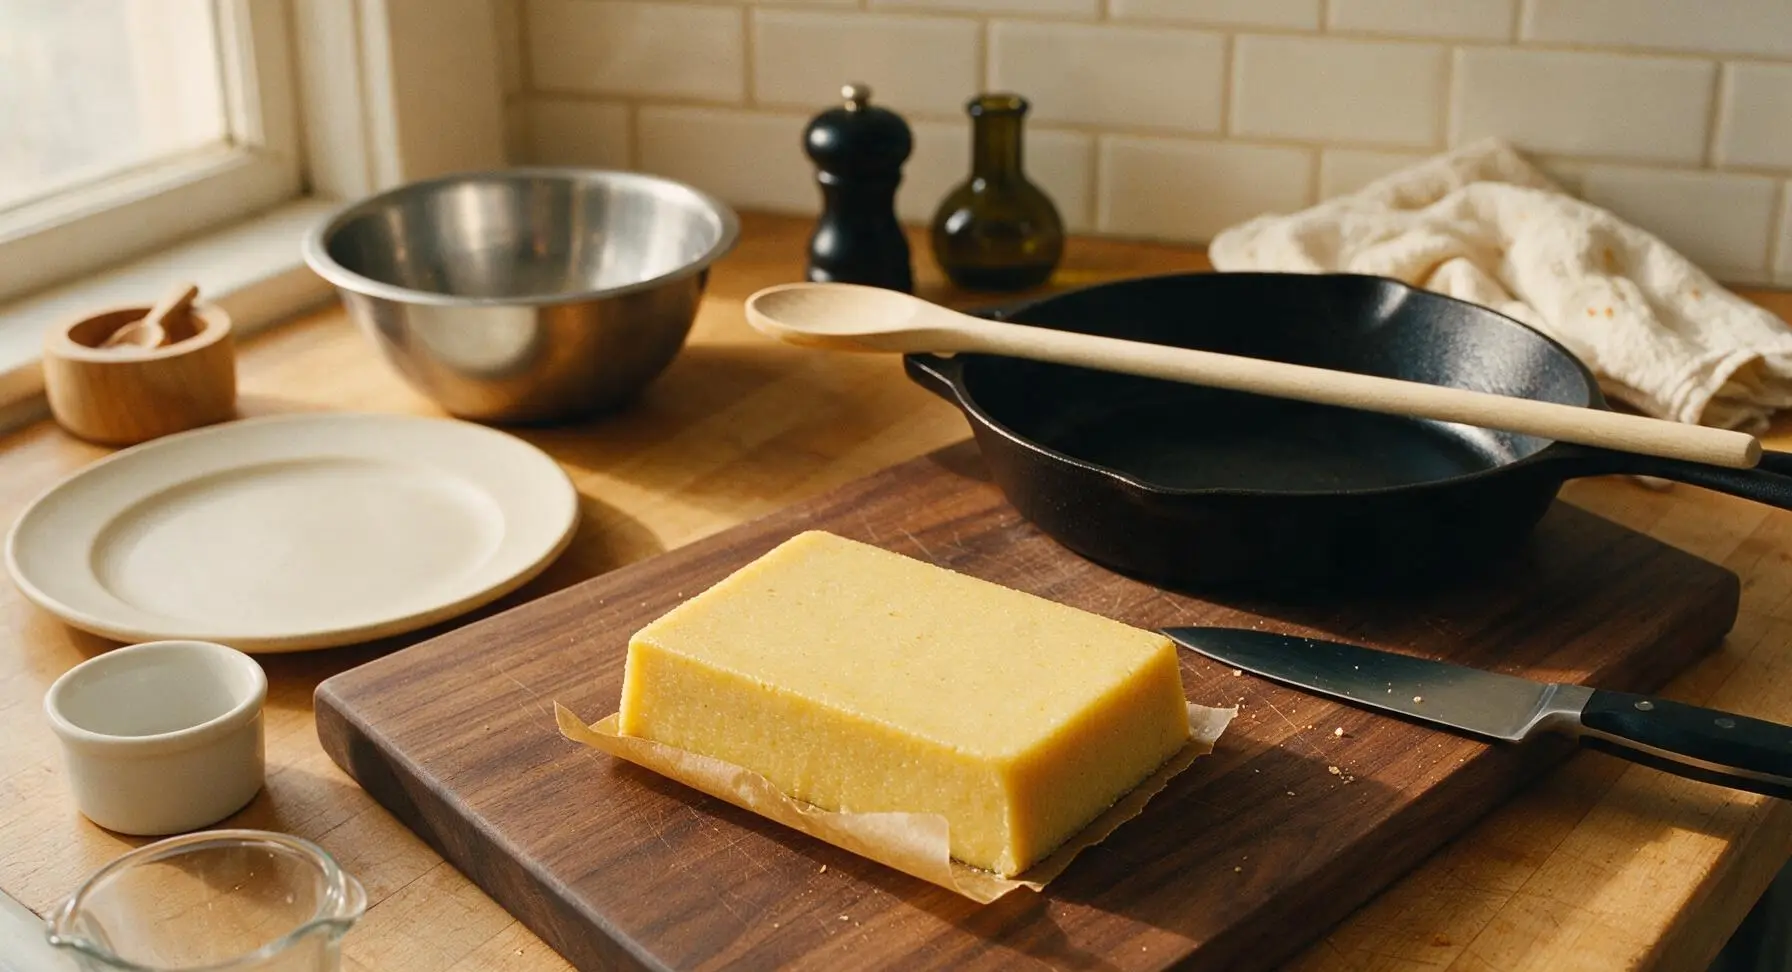
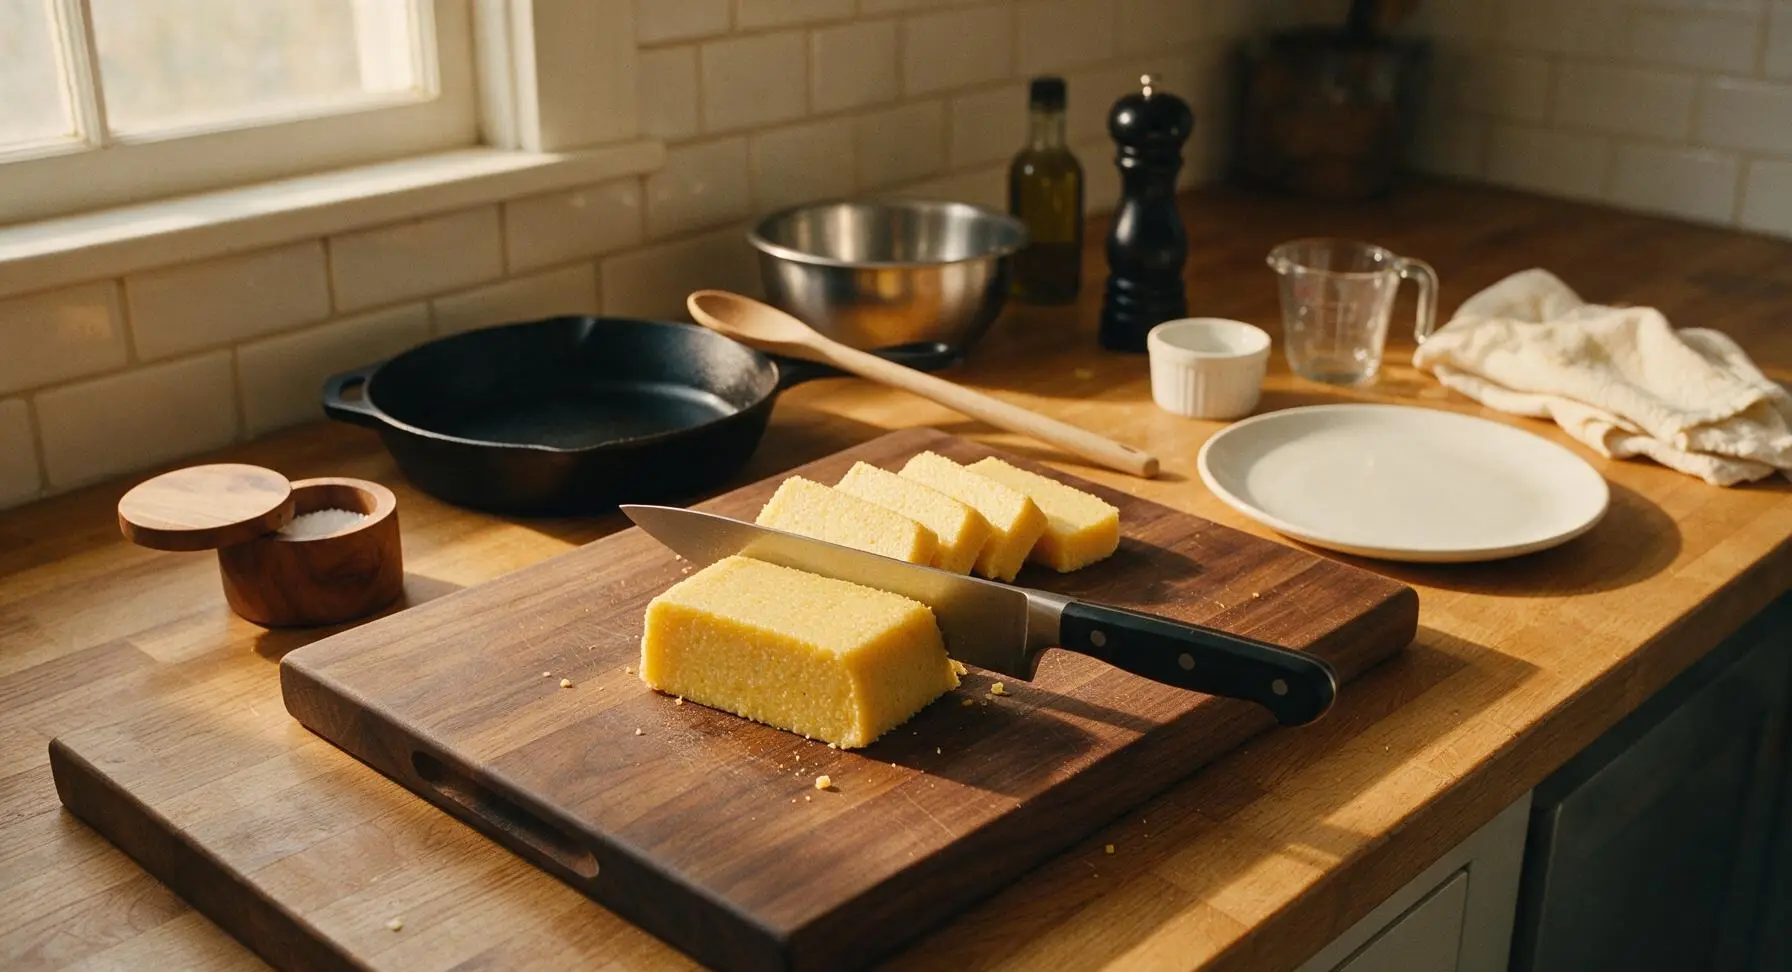
Once fully chilled and firm, use the parchment paper overhangs to lift the entire block of set cornmeal mush straight out of the loaf pan, and place it on the dark walnut cutting board. Using the 8-inch chef’s knife, slice the block crosswise into even 1/2-inch thick slices, wiping the knife blade clean with a paper towel between cuts to get smooth, neat edges. Do not slice thicker than 1/2 inch, as the center of thicker slices will not fully crisp during frying.
Step 4
step4:Slice chilled mush
Step 4
step4:Slice chilled mush
5

Heat skillet for frying

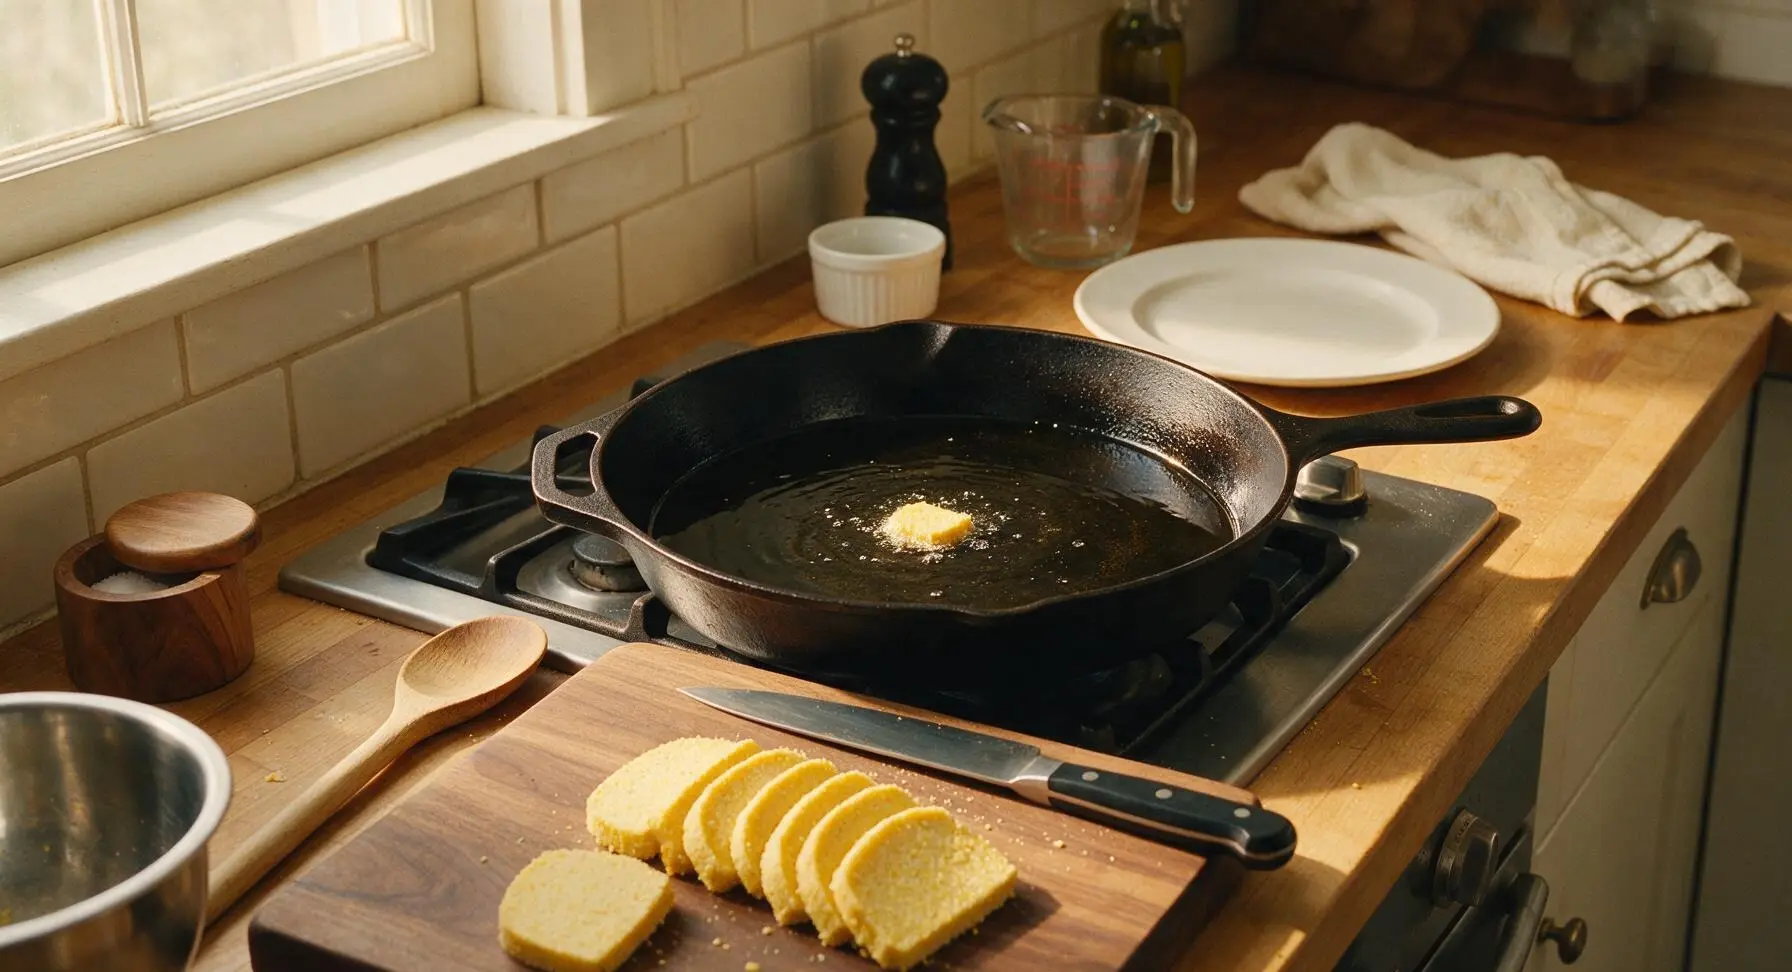
Place the 12-inch seasoned black cast iron skillet on the stovetop over medium heat, add 3 tablespoons neutral canola oil, and heat for 2-3 minutes until the oil shimmers across the pan surface but does not smoke. Test oil readiness by dropping a single small crumb of cornmeal into the pan: if it sizzles immediately and bubbles rise around it, the oil is at the correct 350°F (175°C) temperature for frying.
Step 5
step5:Heat skillet for frying
6

Fry until golden crisp

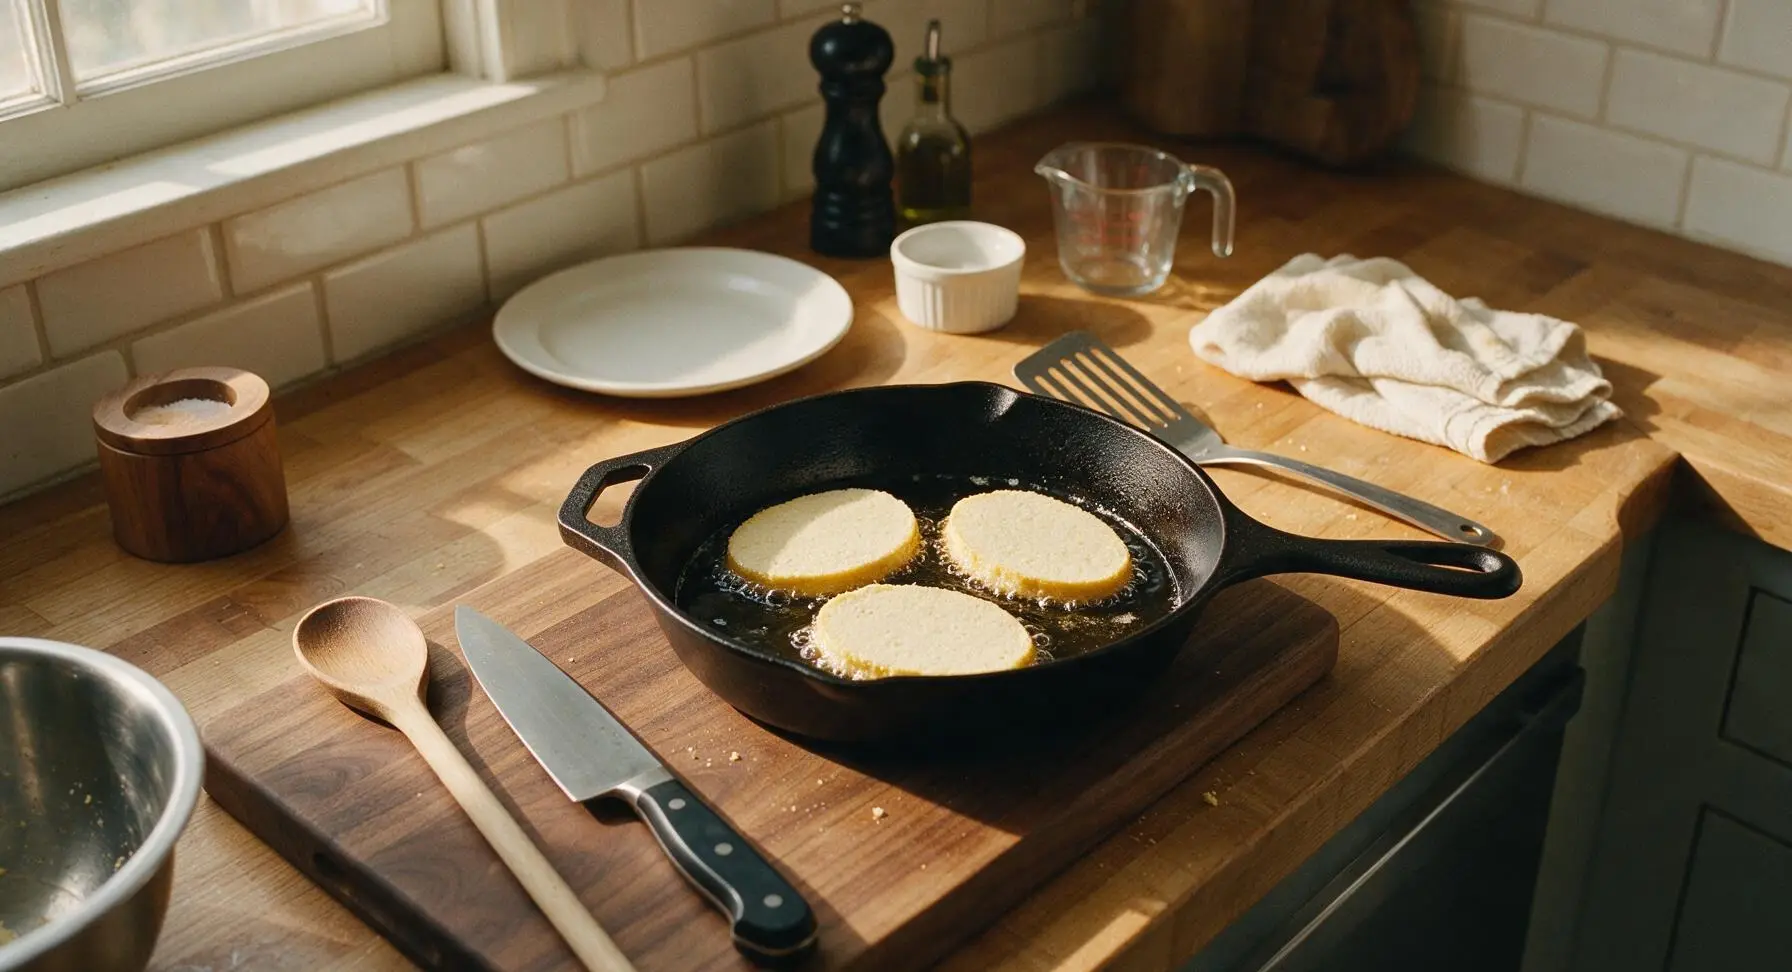
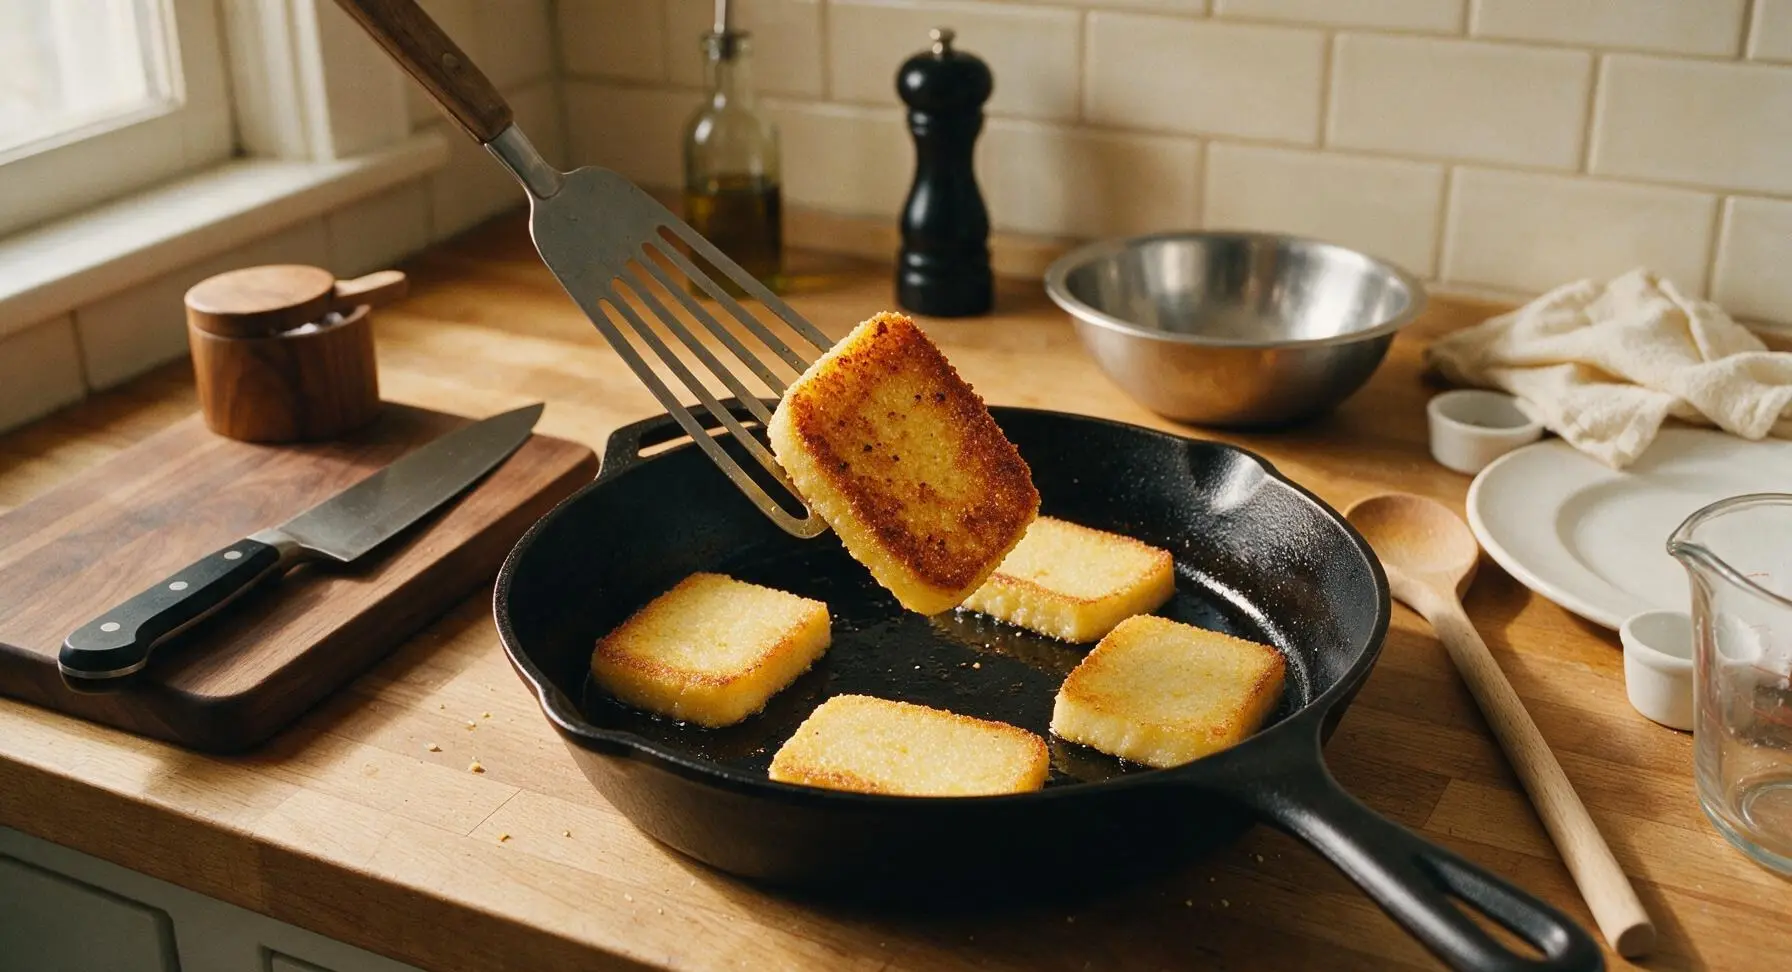
Carefully place 3-4 cornmeal slices into the hot skillet in a single layer, taking care not to overcrowd the pan (overcrowding drops oil temperature and leads to soggy, not crisp, slices). Fry for 4-5 minutes on the first side, undisturbed, until the bottom is deep golden brown and forms a crunchy, textured crust. Use the slotted metal spatula to flip each slice, then fry for an additional 3-4 minutes on the second side, until equally golden and crisp all over.
Step 6
step6:Fry until golden crisp
Step 6
step6:Fry until golden crisp
7

Drain excess oil

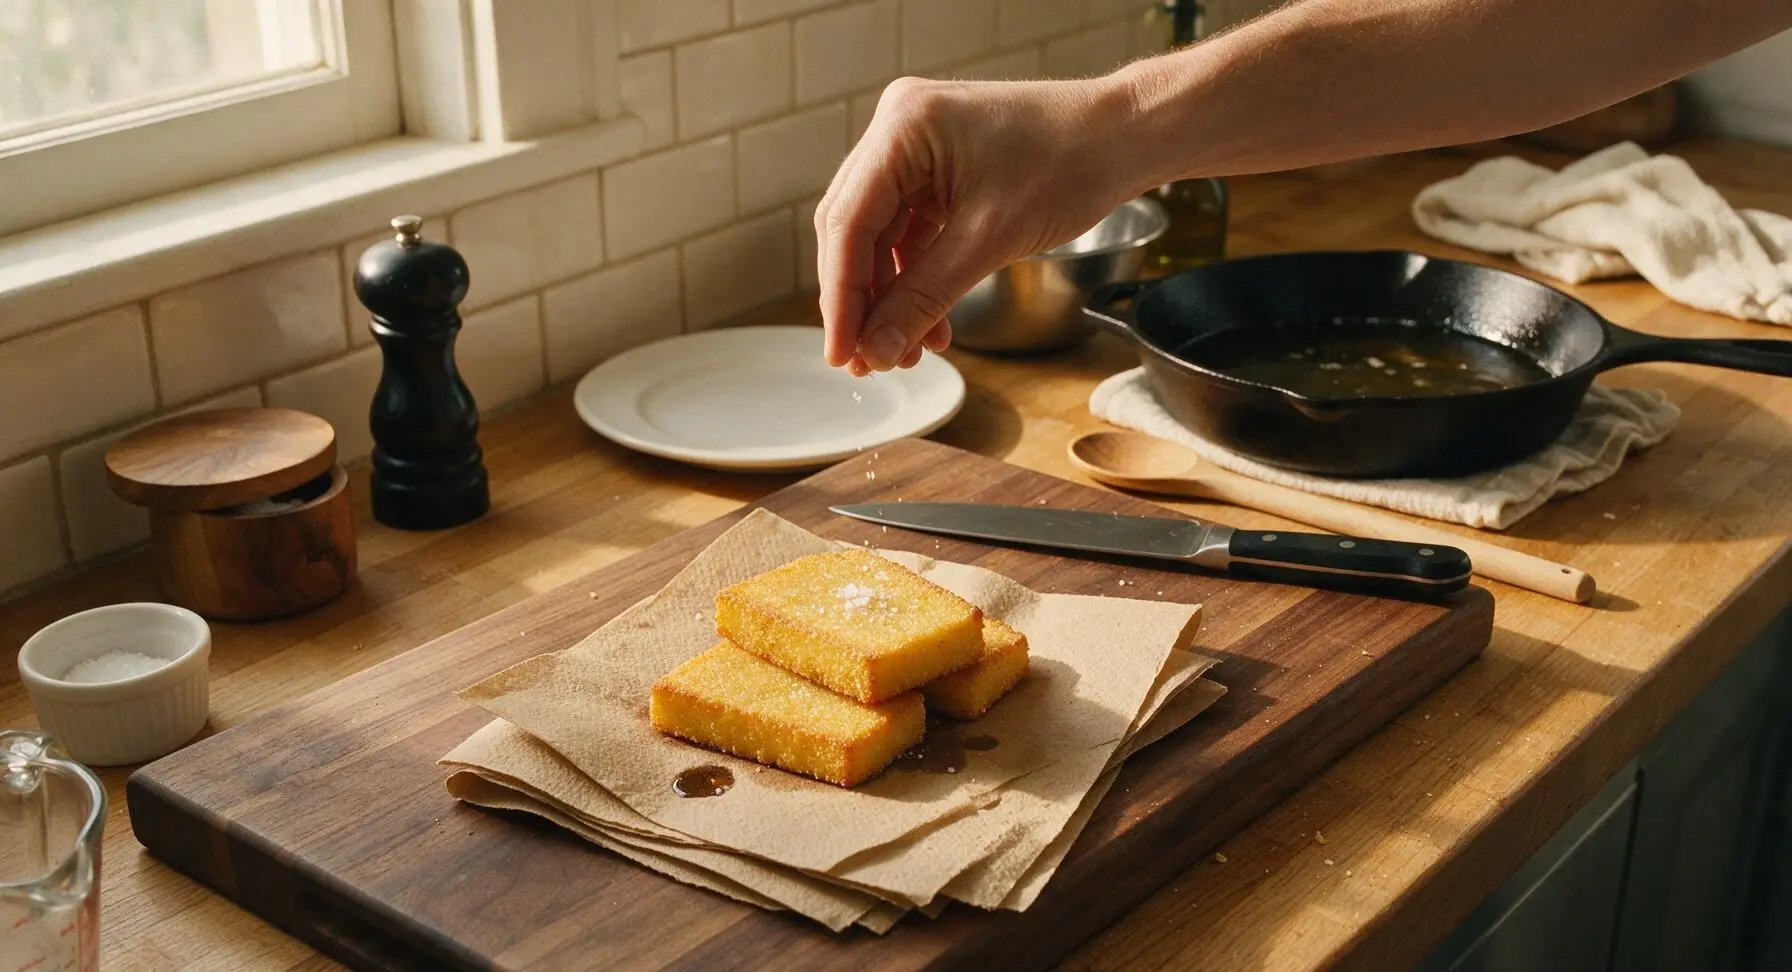
Once both sides are crisp and golden, use the slotted spatula to transfer the fried slices from the skillet to the double layer of unbleached paper towels placed on the counter next to the stove. Lightly pat the top of each slice with a clean corner of the paper towel to absorb excess surface oil, then sprinkle lightly with a pinch of flaky sea salt while the slices are still hot, so the salt adheres to the crust.
Step 7
step7:Drain excess oil
8

Plate and serve warm

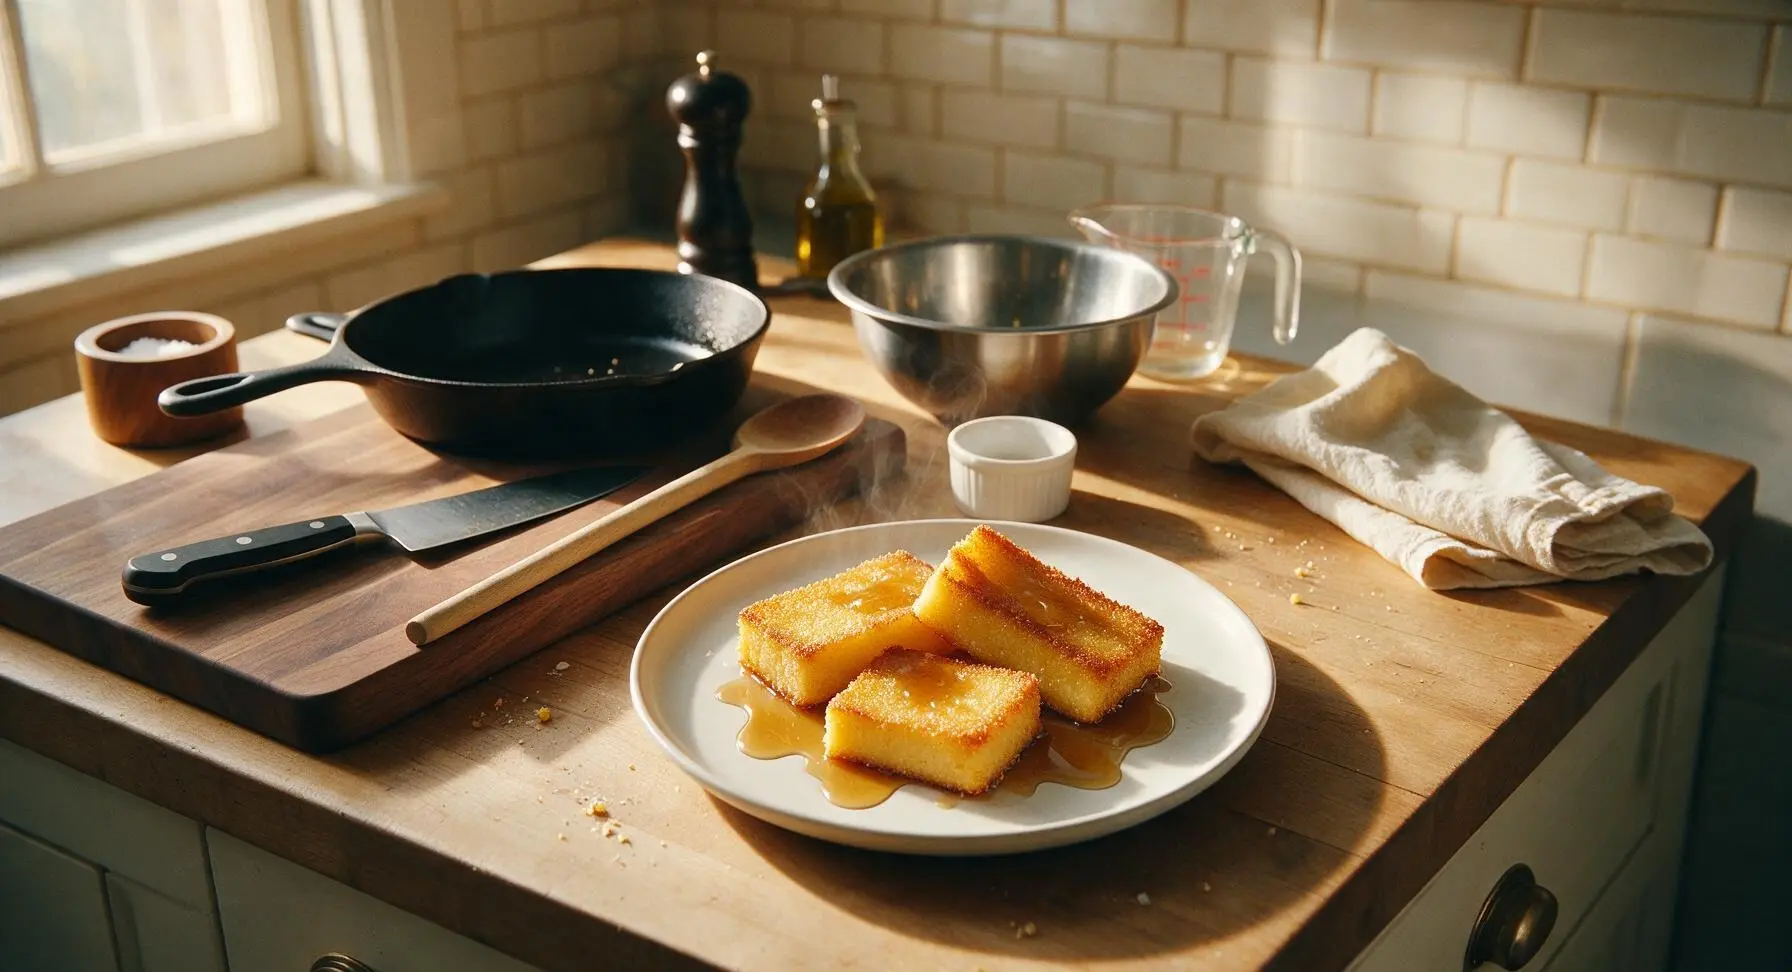
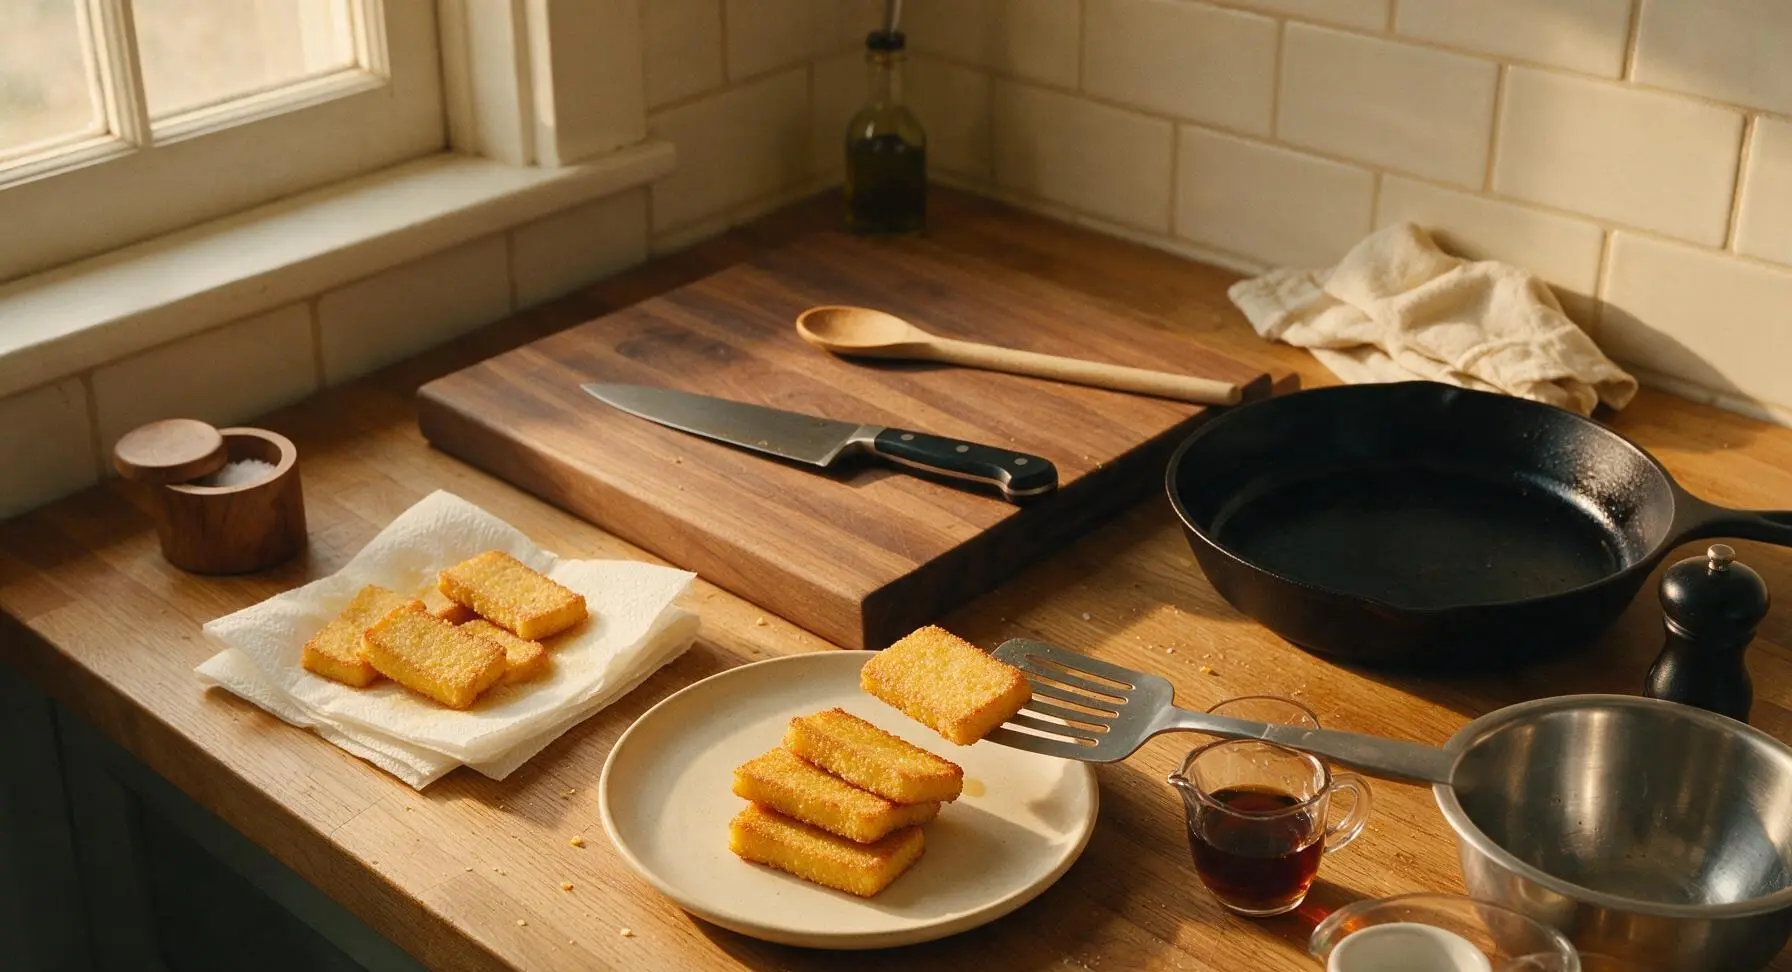
Arrange 3 fried slices per serving on the matte cream ceramic dinner plate, overlapping them slightly. Drizzle with warm pure maple syrup, and serve immediately while the crust is still shatteringly crisp and the center is soft and creamy. For a savory twist, skip the maple syrup and serve with warm sausage gravy and crumbled breakfast sausage instead.
Step 8
step8:Plate and serve warm

Tips

1.Always stream cornmeal slowly into boiling water while stirring nonstop: adding cornmeal too quickly creates dry, unhydrated lumps that will stay hard even after cooking, leading to uneven texture in your set mush and fried slices.
2.Chill the mush for a full 4 hours (or overnight, for even better results): partially set, soft mush will fall apart when sliced and break apart in hot oil instead of holding a neat shape and developing a crisp crust.
3.Don’t move the slices for the first 3 minutes of frying: letting them sit undisturbed allows the cornmeal crust to fully seal and crisp, so slices won’t stick to the pan or tear when you flip them.
✨ You May Also Like

Breakfast
🍜 United States

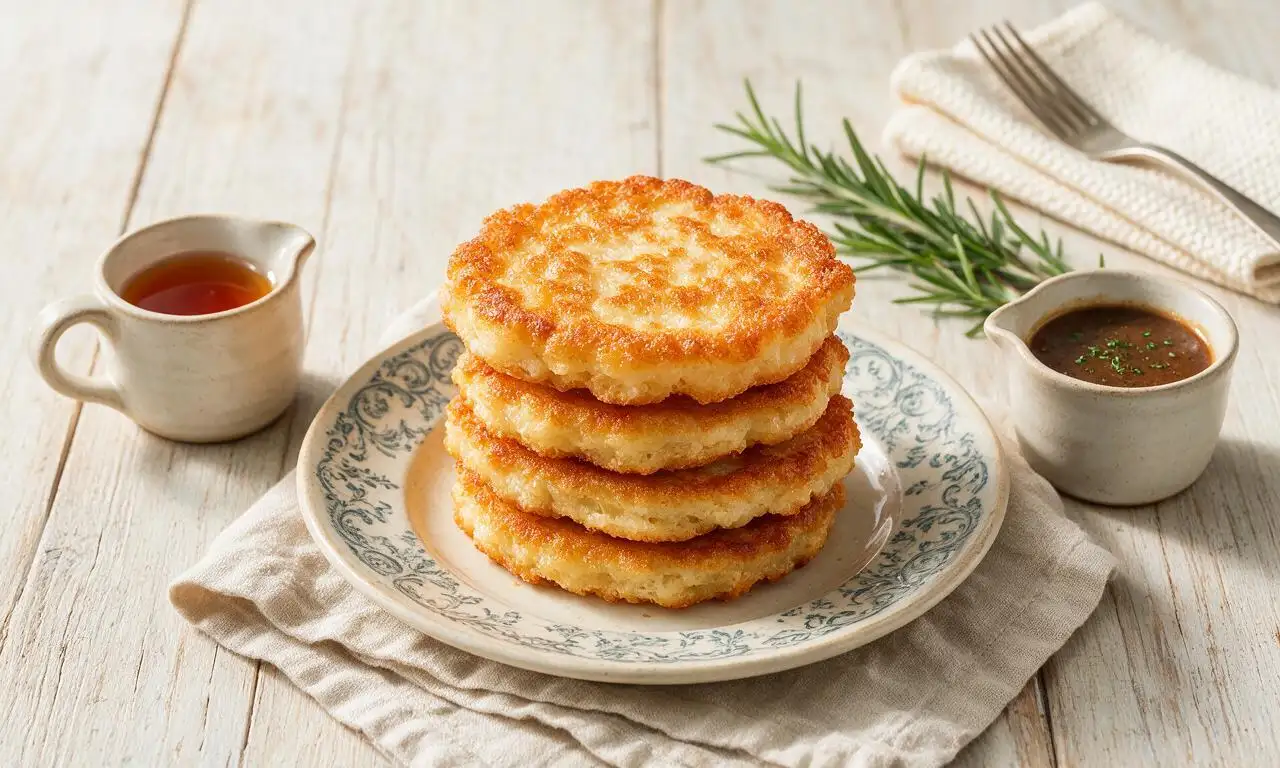
Crisp-edged, fluffy lard griddle cakes are a nostalgic homestyle staple, with rich savoriness from rendered lard, perfect topped with maple syrup or savory gravy.

⏱️ 25 minuteBreakfast ★ 4.8
Breakfast
🍜 United States

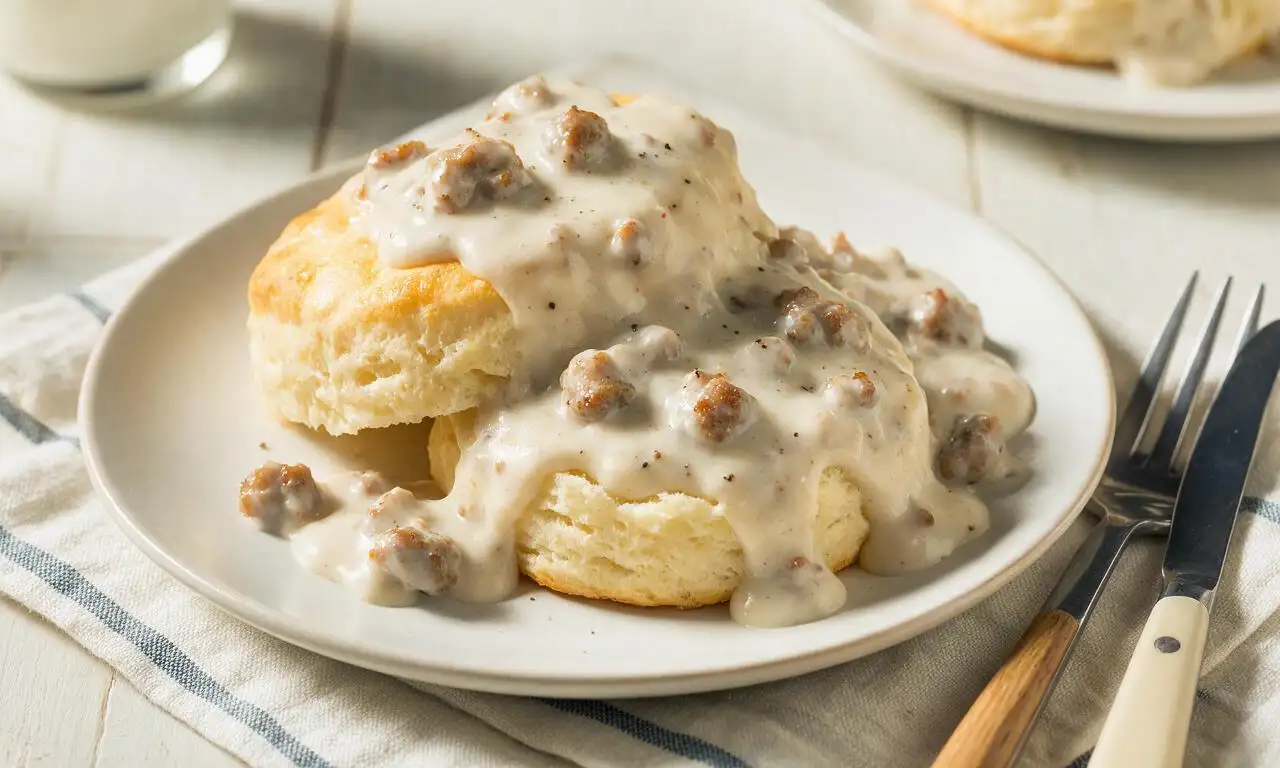
Flaky, buttery homemade buttermilk biscuits smothered in creamy, peppery pork sausage gravy: a beloved, hearty Southern American comfort food classic.

⏱️ 35 minuteBreakfast ★ 4.8
Breakfast
🍜 United States

Golden, custardy brioche stuffed with sweet cream cheese and fresh berries, pan-fried to crisp perfection. An indulgent, cozy breakfast perfect for slow weekend mornings.

⏱️ 30 minuteBreakfast ★ 4.7
Breakfast
🍜 United States

Flaky, buttery Southern-style biscuits stuffed with savory salty country ham, a portable, satisfying classic perfect for casual on-the-go meals.

⏱️ 25 minuteBreakfast ★ 4.8
Breakfast
🍜 United States

Iconic puffy baked pancake popularized in Seattle, with crisp golden edges and soft custardy center, served warm with classic sweet toppings.

⏱️ 35 minuteBreakfast ★ 4.6
Breakfast
🍜 United States

Fluffy, golden pancakes studded with juicy peak-summer mixed berries, drizzled with maple syrup for a bright, comforting, crowd-pleasing family breakfast.

⏱️ 25 minuteBreakfast ★ 4.7

Fried Cornmeal Mush:Frequently Asked Questions

1.Why does the recipe call for starting the cornmeal base with cold water instead of boiling water? ▾
Starting with cold water prevents stubborn lumps from forming, which is one of the most common missteps when making cornmeal porridges. If you dump cornmeal straight into boiling water, the outer granules gelatinize instantly and trap dry, clumpy bits inside. Whisking cornmeal and salt into cold water first gives you a perfectly smooth, even base every time.
2.How long do I need to chill the cooked cornmeal before I can fry it? ▾
You’ll need to chill it for a minimum of 4 hours, though overnight is ideal for the firmest, easiest-to-slice block. If you rush the chill step, slices will fall apart when you move them to the pan and won’t develop that crisp, even crust. Pour hot cooked mush into a greased loaf pan, cover, and refrigerate until completely solid.
3.Can I use a different oil instead of canola oil for frying? ▾
Absolutely, as long as you pick a neutral oil with a high smoke point. Great swaps include regular vegetable oil, avocado oil, or light refined olive oil. Skip strongly flavored options like toasted sesame oil or extra-virgin olive oil, since their low smoke points cause easy burning and their bold flavors overpower the mild, toasty taste of the cornmeal.
4.Why does the recipe use both butter and canola oil for frying? ▾
This combination gives you the best of both worlds: canola oil has a high smoke point that prevents burning and builds that shatteringly crisp golden crust, while butter adds rich, nutty, savory depth that pairs beautifully with cornmeal. Keep heat at medium so the milk solids in butter don’t burn and turn your slices bitter.
5.How thick should I slice the set cornmeal for frying? ▾
Aim for slices between ½-inch and ¾-inch thick. Any thinner, and slices will cook too fast, turn fully crispy, and lose that signature soft, velvety center. Any thicker, and the outside will burn before the center warms through. Use a sharp, thin-bladed knife for clean, even cuts so every slice cooks uniformly.
6.Can I make the cornmeal base ahead of time for meal prep? ▾
Definitely! The set, uncut cornmeal block will keep tightly wrapped in the fridge for up to 5 days, making it perfect for quick weekday breakfasts or side dishes. Don’t slice it until right before frying, though—pre-sliced mush will dry out around the edges and develop a tough, leathery texture that doesn’t fry up nearly as nicely.
7.My fried mush came out soggy instead of crisp—what did I do wrong? ▾
The most likely culprits are overcrowding the pan, frying at too low a temperature, or not chilling the mush long enough. Make sure your pan is hot enough that a drop of water sizzles and dances across the surface before adding slices, cook in small batches so slices don’t touch, and pat slices lightly with a paper towel first to cut down on excess surface moisture.
8.Is maple syrup the only topping that works for this dish, or are there other good options? ▾
Maple syrup is the classic nostalgic pairing, but you’ve got tons of great options! Try it with a drizzle of honey, a dollop of apple butter, a sprinkle of powdered sugar, or even savory toppings like crispy bacon bits, a fried egg, or a dash of hot sauce. It works equally well as a sweet breakfast or savory side.
9.Do I need to coat slices in flour or extra cornmeal before frying to get a crisp crust? ▾
You don’t! Properly chilled, firm cornmeal mush will develop a perfectly crunchy, golden crust all on its own when fried in hot oil and butter. Adding an extra coating of flour or cornmeal creates a thicker, heavier breading that distracts from the smooth, soft center and pure corn flavor that makes this dish special. Skip the extra step for authentic results.
10.Can I freeze leftover set cornmeal mush for later use? ▾
Yes, it freezes beautifully! Wrap the uncut set block tightly in plastic wrap and then a layer of aluminum foil, and it will keep in the freezer for up to 3 months. Thaw it completely in the fridge overnight before slicing and frying—don’t fry frozen slices, as excess moisture will cause splattering and lead to soggy, uneven crusts.
11.How should I adjust the salt if I only have regular table salt instead of fine sea salt? ▾
If you’re using regular table salt instead of fine sea salt, cut the measured amount by half. Table salt has much smaller, denser grains than fine sea salt, so a teaspoon of table salt tastes nearly twice as salty as the same volume of sea salt. Err on the lighter side first—you can always sprinkle a little extra flaky salt on top of fried slices if needed.
12.Can I make this fried cornmeal mush recipe dairy-free? ▾
Absolutely! To make this fully dairy-free, simply swap the unsalted butter for an equal amount of extra neutral oil, or use a high-heat, unflavored plant-based butter stick. The final dish will still have that rich, toasty corn flavor and shatteringly crisp crust, just without dairy. Skip flavored plant butters to keep the classic, mild, comforting taste intact.
13.How do I keep fried slices warm and crisp if I’m cooking for a crowd? ▾
As you finish frying batches, set cooked slices on a wire rack set over a baking sheet in a 200°F oven, instead of stacking them on a paper-towel lined plate. Stacking or setting slices directly on a plate traps steam and turns the crisp crust soggy in minutes. The rack lets air circulate, keeping slices crisp and warm for up to 30 minutes.
14.Is fried cornmeal mush the same thing as polenta? ▾
It’s very closely related, but traditional Appalachian cornmeal mush has a slightly softer, creamier set texture than firm Italian polenta, and it’s almost always sliced and pan-fried rather than served soft right after cooking. Classic mush also typically uses coarser yellow cornmeal, which gives it a more robust, earthy corn flavor than finer milled polenta.

Comments (15)

2 days ago

OMG I haven’t had fried cornmeal mush since I was a kid staying at my grandma’s house in Ohio! This recipe was so easy, 25 minutes total is no joke, I whipped it up for breakfast this morning and my three kids DEVOURED it. Drizzled a little maple syrup on top, chef’s kiss. 10/10 will be adding this to our weekly weekend rotation.

yesterday

Right?! My grandma used to make this with a side of crispy bacon, I swear it’s the coziest breakfast ever. I’m glad your kids loved it too!

2 hours ago

So happy this brought back sweet grandma memories for you! Maple syrup is such a classic topping, we also love a little sprinkle of cinnamon on top for extra warmth if you want to switch it up sometime!

3 days ago

Game changer! I always thought cornmeal mush was too fussy to make at home but this was dead simple. I made a big batch on Sunday for meal prep, fried up slices all week to go with eggs and sausage for breakfast. Way cheaper than buying those frozen breakfast patties, and tastes way better.

2 days ago

So glad the meal prep hack worked for you! A quick tip: if you let the set mush chill fully in the fridge overnight, it slices even cleaner for frying all week long.

1 week ago

Super easy recipe! I swapped the butter for olive oil to make it vegan and it still came out perfectly crispy on the outside, soft and creamy inside. Brought it to a potluck at my office last week and even the non-vegan folks were asking for the recipe. Only reason it’s not 5 stars is I forgot to add enough salt to the cornmeal while it was cooking, but that was totally my mistake!

30 minutes ago

Wait, is this supposed to be crispy all the way through? I followed the cook time exactly but my slices were a little mushy in the middle? Did I do something wrong? Tasted great regardless, my husband ate three servings with honey on top!

5 minutes ago

I had that problem the first time I made it too! Turns out I cut my slices too thick, like almost an inch. Stick to 1/2 inch slices and make sure your pan is hot before you put them in, that fixes it!

just now

Great tip from @DesertDwellerDee! Two other quick fixes: make sure you let the cooked cornmeal chill for at least 4 hours (or overnight) in the loaf pan before slicing, and don’t overcrowd the pan when frying so the slices get evenly crispy all over. So glad it still tasted good for you two!

yesterday

SO good. I’ve been making this for years but I always messed up the cornmeal to water ratio and it came out too runny to set up right. This ratio is perfect! Made it last night for dinner alongside pinto beans and collard greens, felt like a proper southern Sunday supper even on a Tuesday.

2 hours ago

We love serving this with pinto beans and collards too! It’s such a classic, hearty combo that never misses for a cozy family dinner. So happy the ratio worked out for you!

5 days ago

Wait how did I not know this was a thing? I had leftover cornmeal from making cornbread for a tailgate and found this recipe. Total cheap college meal win, cost me like $1 total to make, fed me and my two roommates for dinner last night. We put hot sauce on ours, 10/10.

3 days ago

Hot sauce on fried mush is UNDERRATED! I do a dash of cayenne in the cornmeal while it cooks too for a little extra kick, you should try it next time!

2 days ago

Love that you repurposed leftover cornmeal for this! Hot sauce is such a fun savory topping, we’ll have to add that cayenne tip to our recipe notes for fellow spicy food fans.

2 weeks ago

Great quick camping recipe! I pre-made the mush block at home, sliced it up, and fried it in a cast iron over the camp stove on our last trip. It was warm, filling, and didn’t require a ton of ingredients or cleanup. Will definitely be making this for future trips.

1 week ago

I’ve been making fried cornmeal mush for 40+ years and this recipe is spot on. I taught my teen granddaughter to make it last weekend and she had zero trouble with it, it’s that easy! We served it with a side of fried apples for breakfast, just like I did when her dad was little.

5 days ago

That is so special to hear—passing recipes down to the next generation is what cooking is all about! Fried apples sound like the perfect sweet side to pair with this, what a lovely tradition.

2 days ago

Wait a second, this is naturally gluten free? Why did no one tell me about this sooner?! I’ve been missing out on this my whole adult life since going GF. Made it for brunch today with friends and everyone was raving, even the people who eat gluten didn’t notice a difference.

yesterday

Right?! It’s the best hidden GF breakfast staple! I make a big pan of it every other weekend and freeze slices for quick breakfasts, they reheat perfectly in the toaster.

30 minutes ago

Yep, it’s naturally gluten free as long as your cornmeal is certified GF (to avoid cross-contamination)! The toaster reheat trick is genius, thanks for sharing that tip for other readers!

5 days ago

Made these as a side for our football watch party last weekend, cut them into little bite-sized squares and dipped them in queso. Absolute hit, people were hovering over the platter until they were all gone. Way more unique than chips or fries, will be making these for every game day this season.

3 days ago

Bite-sized game day dippers are such a brilliant idea! Queso sounds like an incredible pairing, we might have to test that out for our own watch parties this fall.

5 minutes ago

Solid easy recipe, perfect for busy weekdays. I add a little garlic powder and paprika to the cornmeal while it cooks for a savory version, fry slices up in the morning to take to work for breakfast. Holds me over until lunch no problem, way better than sugary cereal. Only knock is I wish the recipe had savory seasoning variations listed, but it’s easy enough to tweak on your own!

2 hours ago

My mom used to make this with leftover grits when I was a kid, I can’t believe how simple it is to make from scratch! I topped mine with a runny fried egg so the yolk ran all over the crispy slices, y’all. That is the bite of all time. No notes, perfect recipe.

30 minutes ago

Runny egg yolk on crispy mush is unmatched! I do a little sprinkle of parmesan on top too, *chef’s kiss*.

yesterday

Uh, total newbie question here. When you say let the cornmeal set, is that on the counter or in the fridge? I tried making this last night and it was still too soft to slice when I went to fry it this morning. Flavor was great though, I just ate it as a soft mush bowl instead, which was still good!

30 minutes ago

Fridge! You have to pour the hot cooked cornmeal into a greased loaf pan, let it cool to room temp on the counter first, then cover it and stick it in the fridge for at least 4 hours. It’ll be firm enough to slice like bread after that!

5 minutes ago

@HomeCookHank is exactly right! The chill time in the fridge is key to getting it firm enough for clean slices. So glad it still tasted good even as a soft bowl—we’ve definitely done that too when we’re too impatient to wait for it to set!

just now

Brought this to our neighborhood potluck last weekend, made a double batch and served it with both sweet (maple syrup, honey, cinnamon sugar) and savory (hot sauce, cheese dip, salsa) topping options. Everyone was going back for seconds, multiple people asked for the recipe. Easy to transport too, since I just brought the pre-set mush and fried it quick on the host’s stove!

2 hours ago

I was skeptical at first because I thought cornmeal mush would be bland, but wow, this is so versatile! I had it for breakfast with syrup, then had leftover slices for lunch with chili on top. Both ways were incredible. 25 minute cook time is so fast too, I don’t have a ton of time to cook after work so this is going into my regular rotation.

5 minutes ago

So glad you gave it a shot! It really is such a blank canvas for whatever toppings you’re craving, sweet or savory. Perfect for quick weeknight meals when you don’t have a lot of time to spare!