
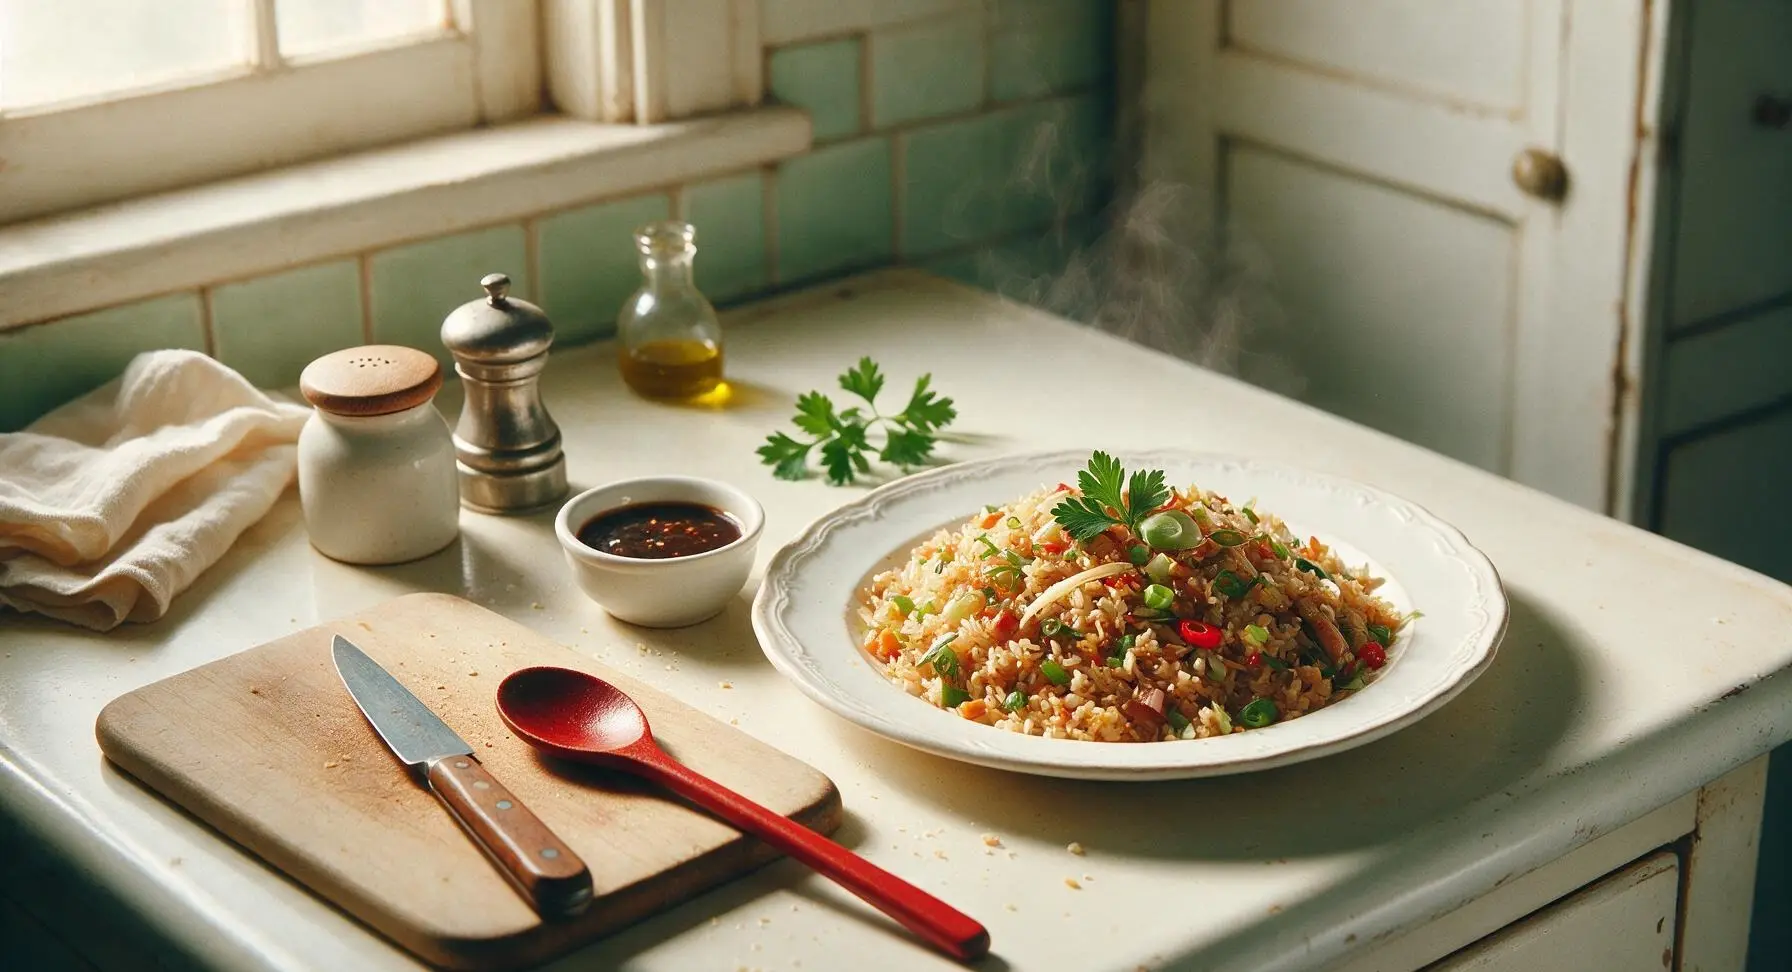
fried rice sauce

title 1
fried rice sauce
⏱️ cook time 0 minutes
🍽️ servings 5
⚡ Difficulty easy

intro

This perfectly balanced umami fried rice sauce cuts weeknight cooking time in half, delivering restaurant-style fried rice with zero last-minute measuring, and keeps for 3 weeks in the fridge.

Ingredients
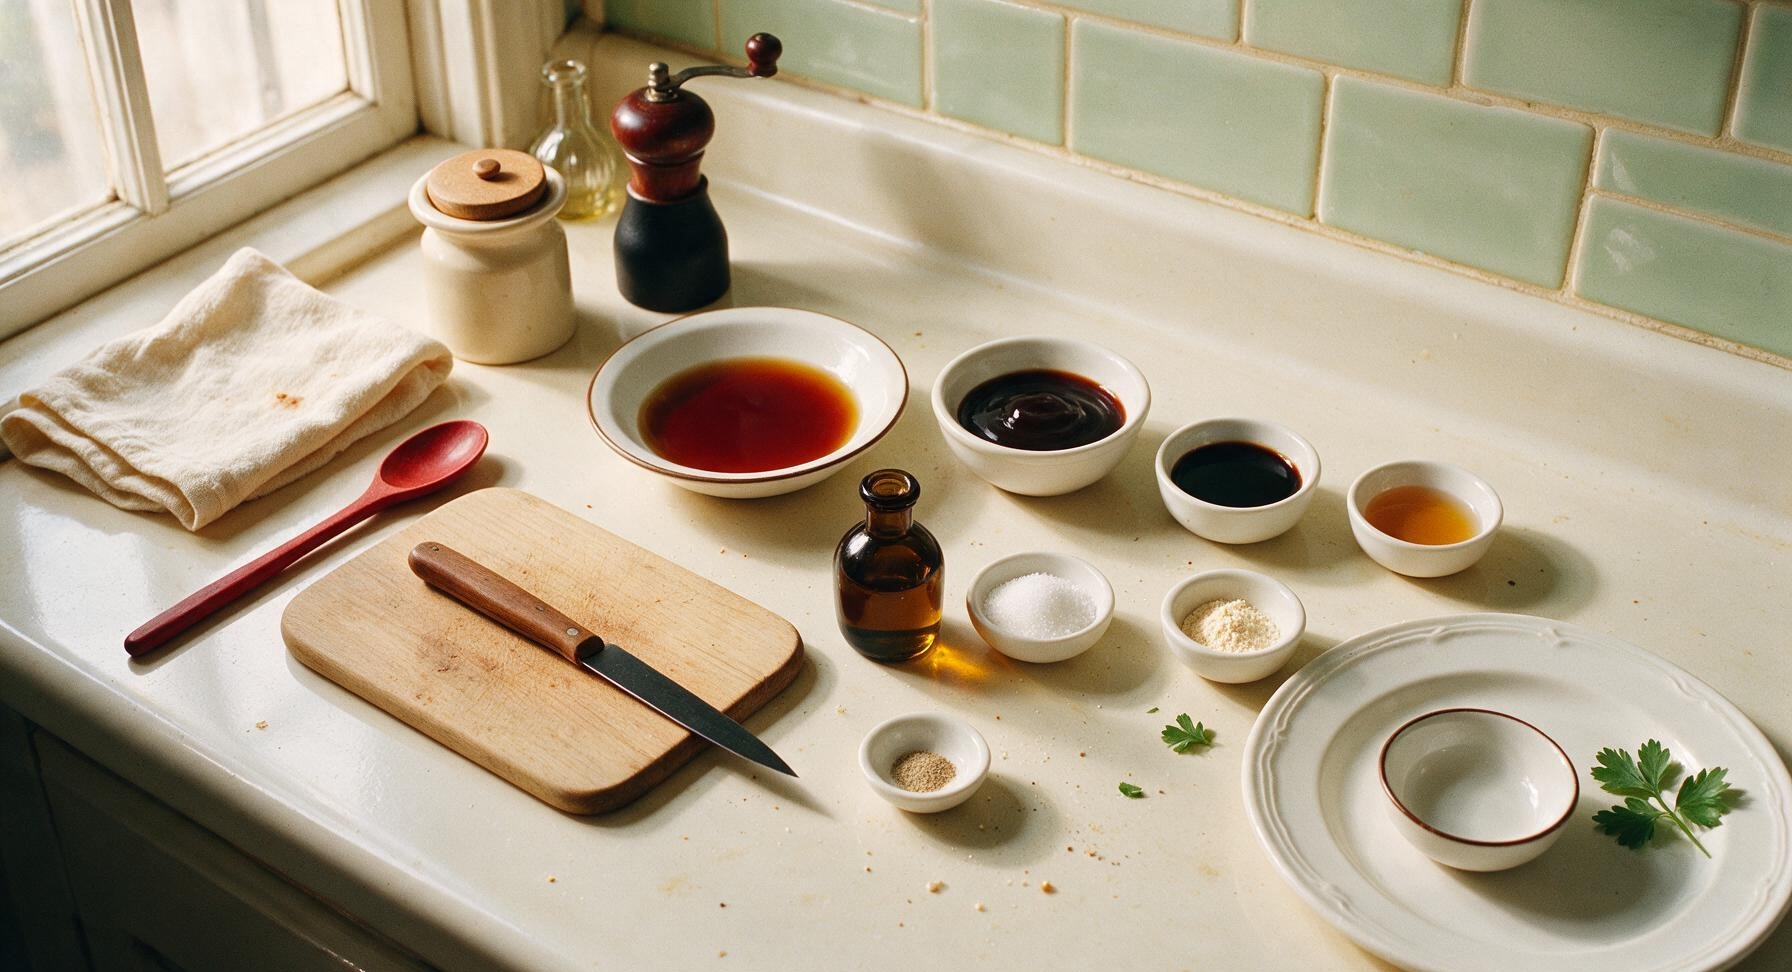
Low-sodium light soy sauce 6 tbsp (90ml)
Dark soy sauce 1 tbsp (15ml)
Oyster sauce (or vegetarian oyster sauce for vegan) 2 tbsp (30ml)
Toasted sesame oil 1 tsp (5ml)
Granulated white sugar 1 tsp (4g)
Ground white pepper 1/4 tsp
Garlic powder 1/2 tsp
Unseasoned rice vinegar 1 tsp (5ml)

Steps

1

Measure All Ingredients

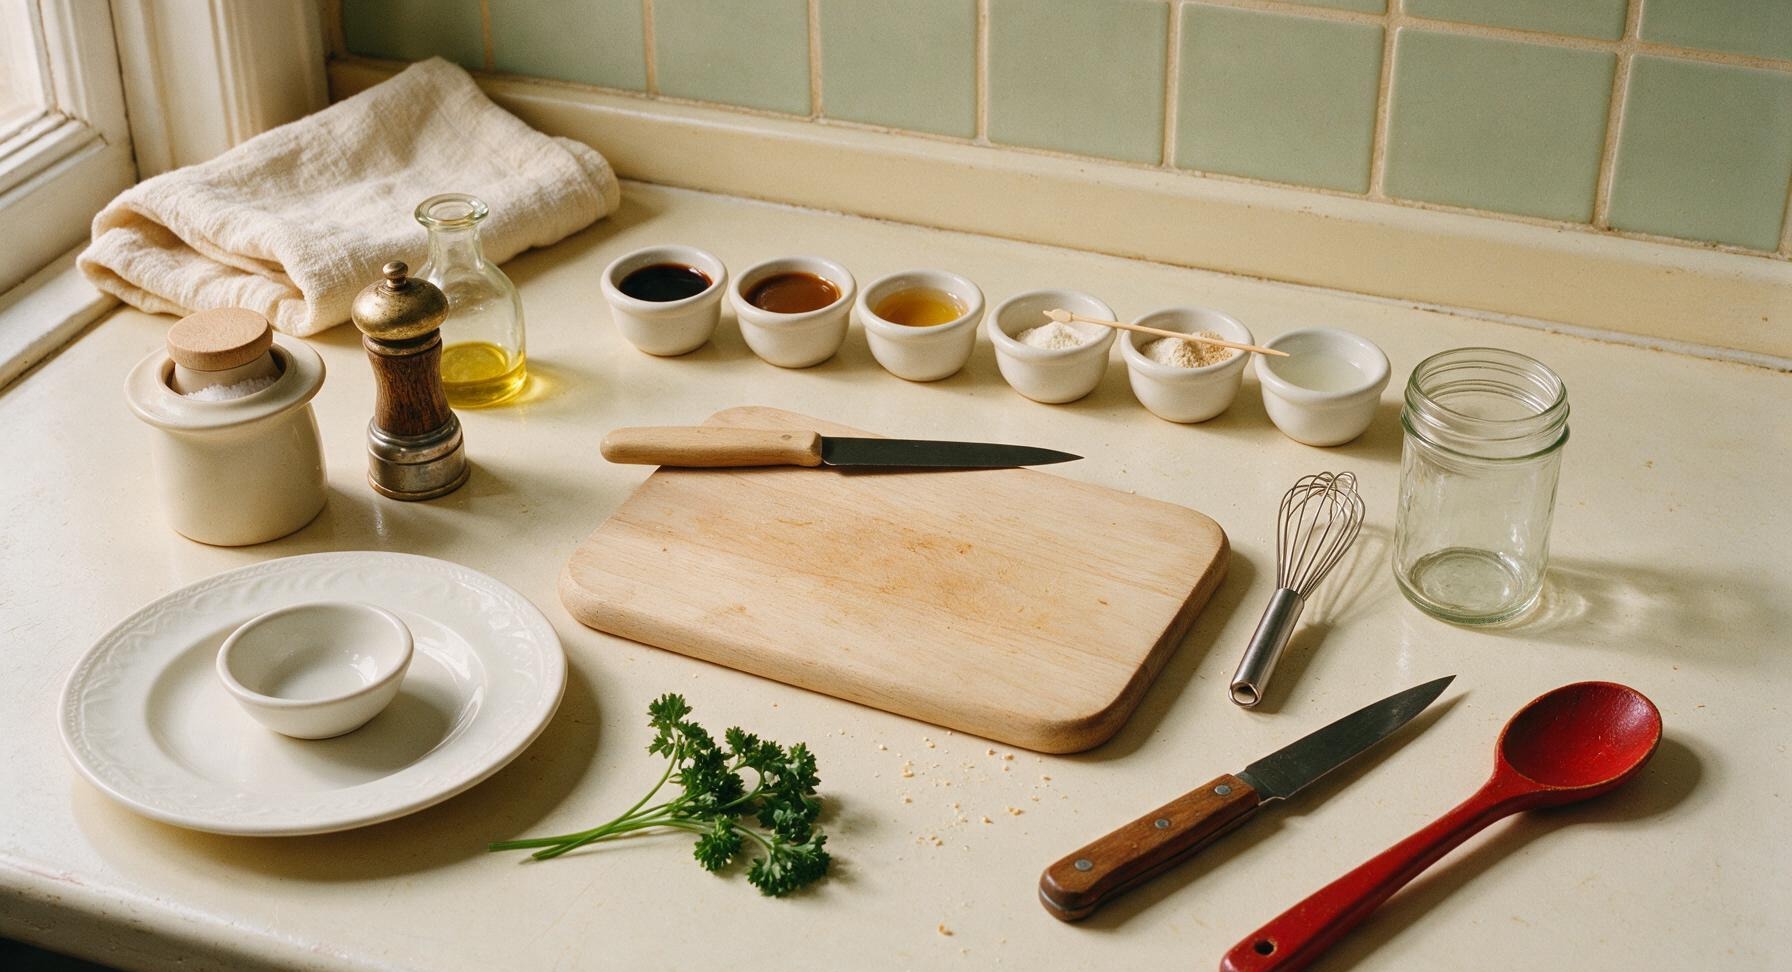
Set out the 8 small matte white pinch bowls on the counter above the acacia wood cutting board. Measure each ingredient into separate pinch bowls: 6 tablespoons low-sodium light soy sauce, 1 tablespoon dark soy sauce, 2 tablespoons oyster sauce, 1 teaspoon toasted sesame oil, 1 teaspoon granulated sugar, 1/4 teaspoon ground white pepper, 1/2 teaspoon garlic powder, and 1 teaspoon unseasoned rice vinegar. Double-check measurements to avoid over-salting the final sauce.
Step 1
step1:Measure All Ingredients
2

Combine Liquid Ingredients

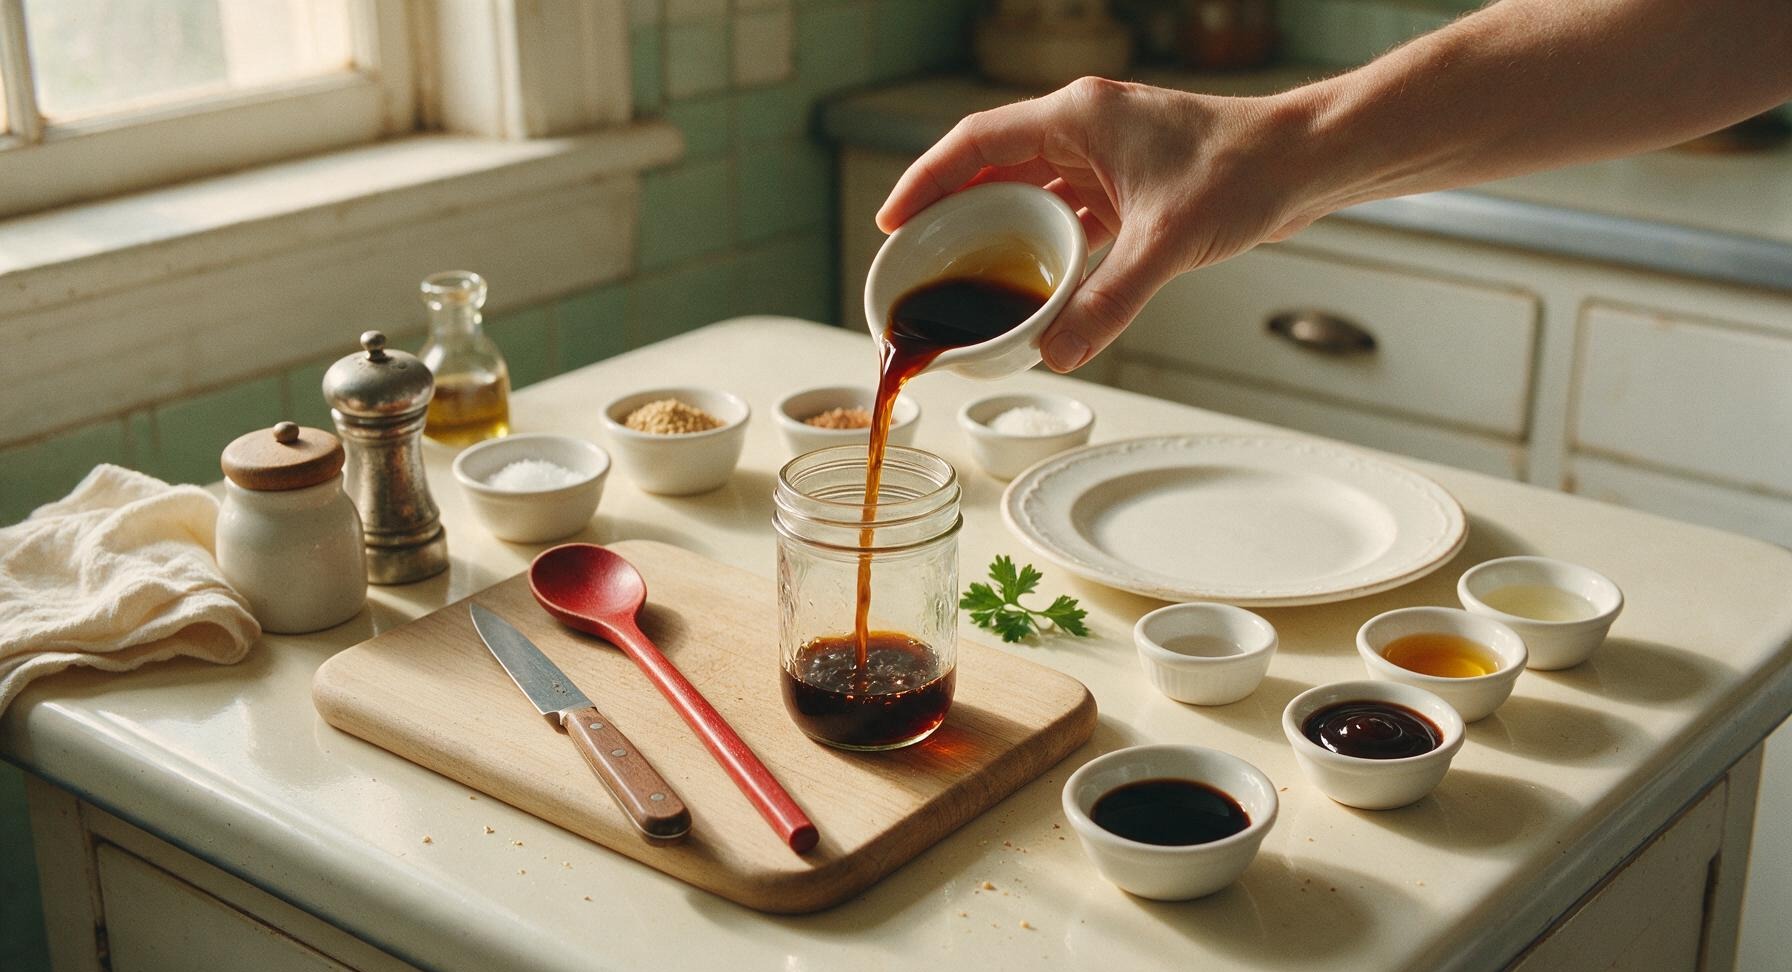
Remove the lid from the clean 250ml glass mason jar. Pour the measured light soy sauce, dark soy sauce, oyster sauce, toasted sesame oil, and rice vinegar into the jar in that order. Pour slowly to avoid splashing sauce on the outside of the jar.
Step 2
step2:Combine Liquid Ingredients
3

Add Dry Seasonings

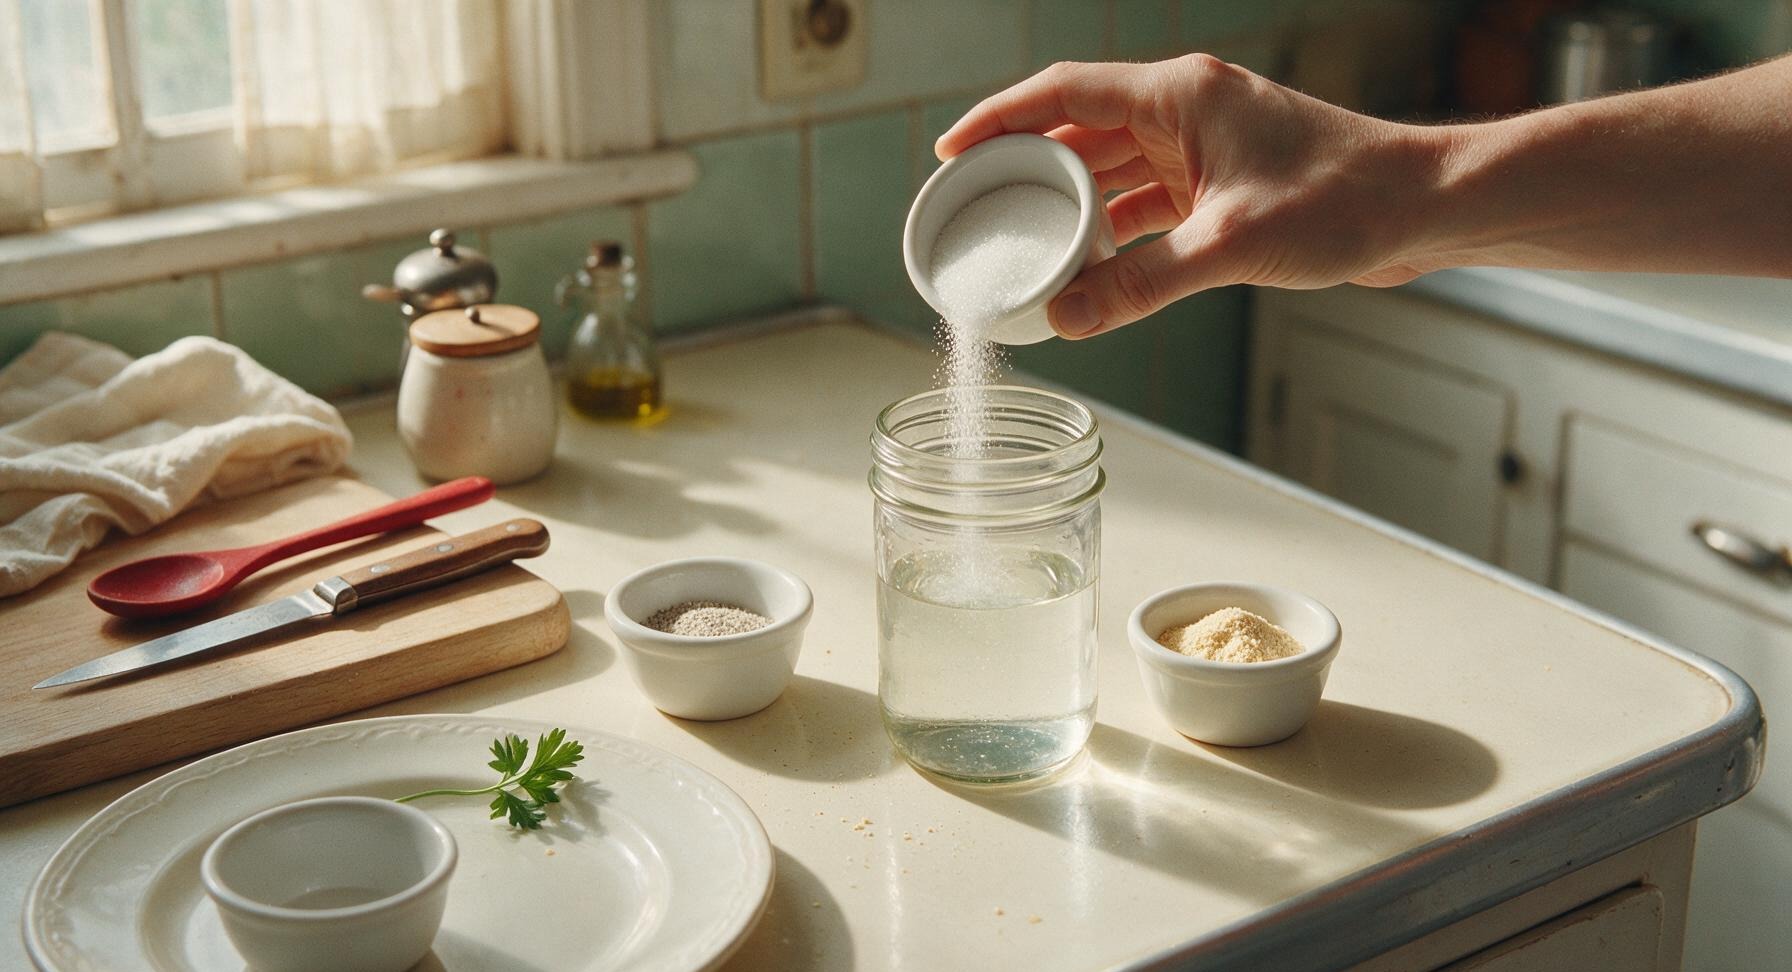
Add the measured granulated sugar, ground white pepper, and garlic powder to the mason jar with the liquid ingredients. Tap the sides of the pinch bowls gently to ensure all dry spices are added, with no residue left in the bowls.
Step 3
step3:Add Dry Seasonings
4

Whisk Until Smooth

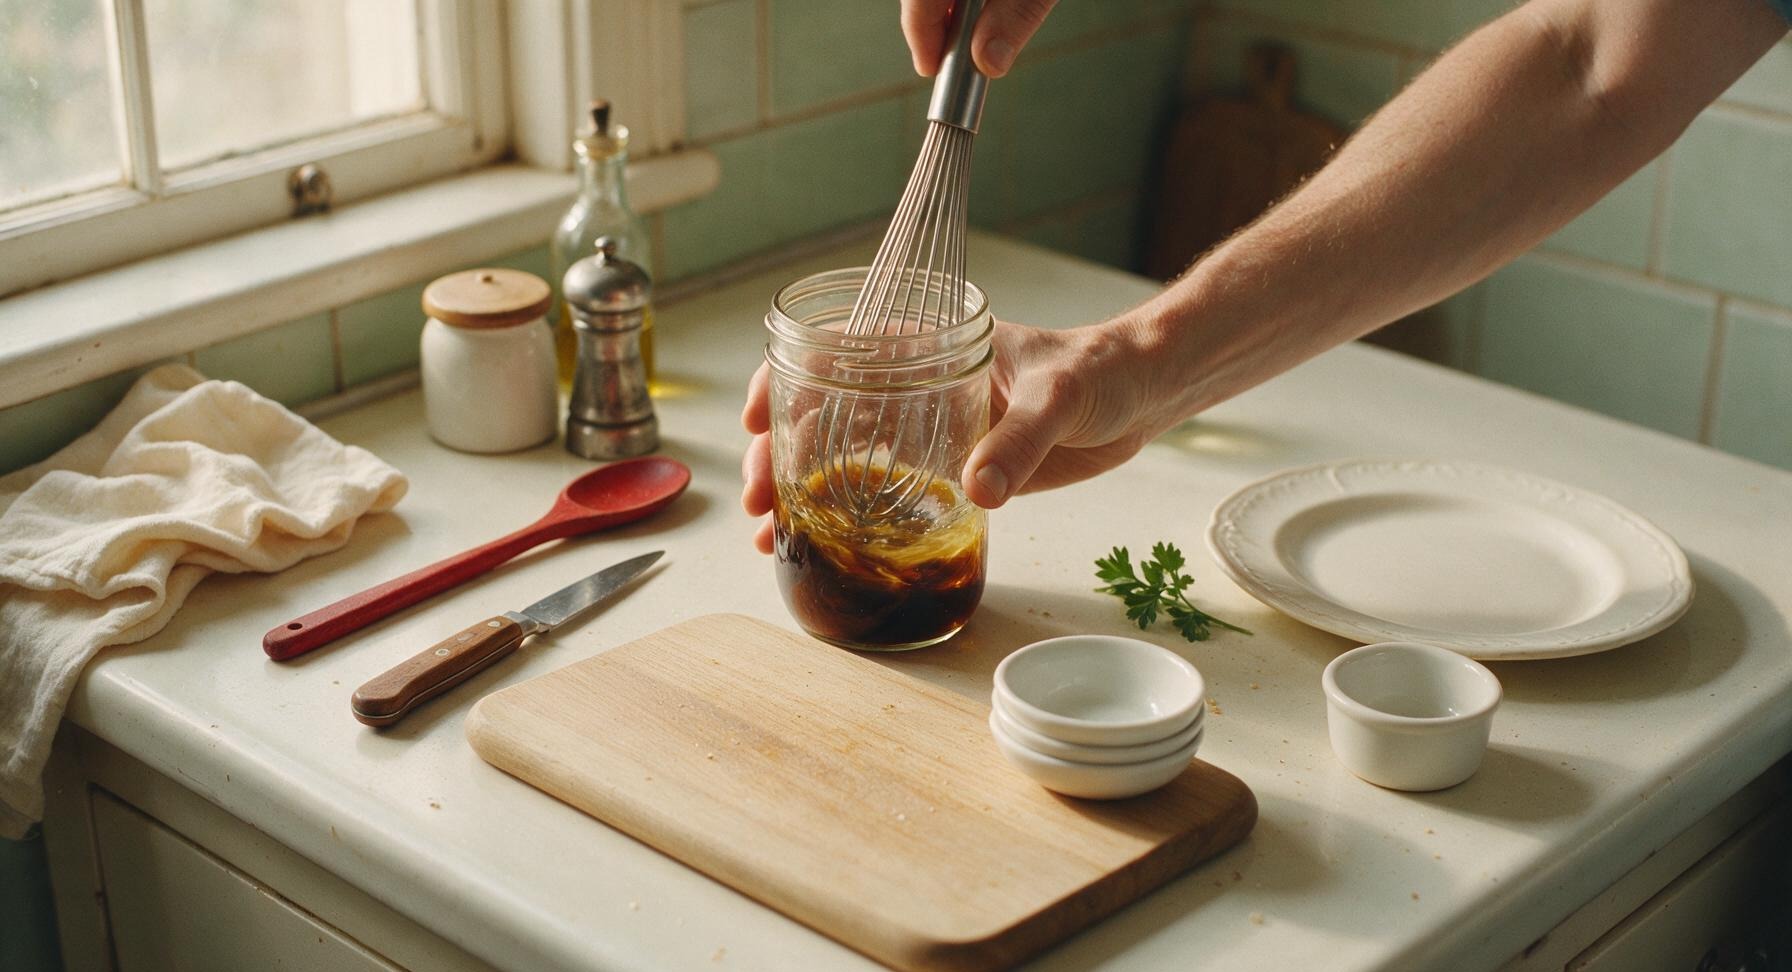
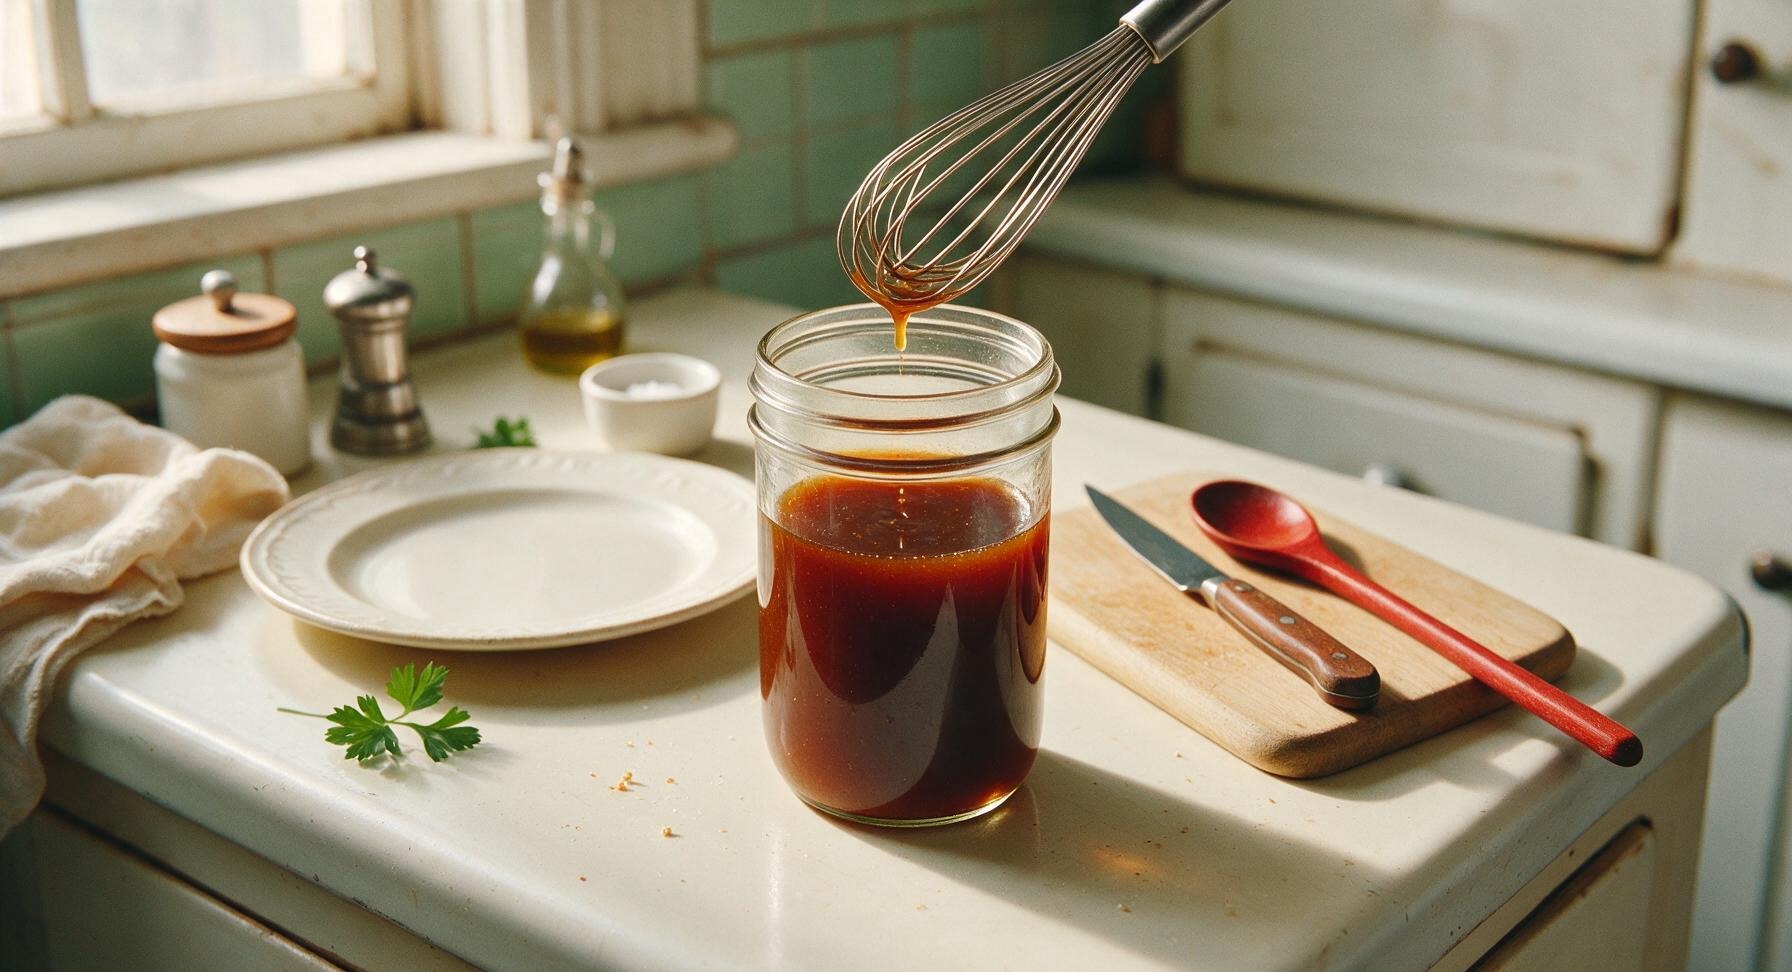
Insert the fine-mesh stainless steel whisk into the mason jar. Whisk vigorously for 30-45 seconds, making sure the sugar and spices fully dissolve into the liquid base. The finished sauce should be a uniform deep amber color, with no visible clumps of garlic powder or undissolved sugar at the bottom of the jar.
Step 4
step4:Whisk Until Smooth
Step 4
step4:Whisk Until Smooth
5

Seal Storage Jar

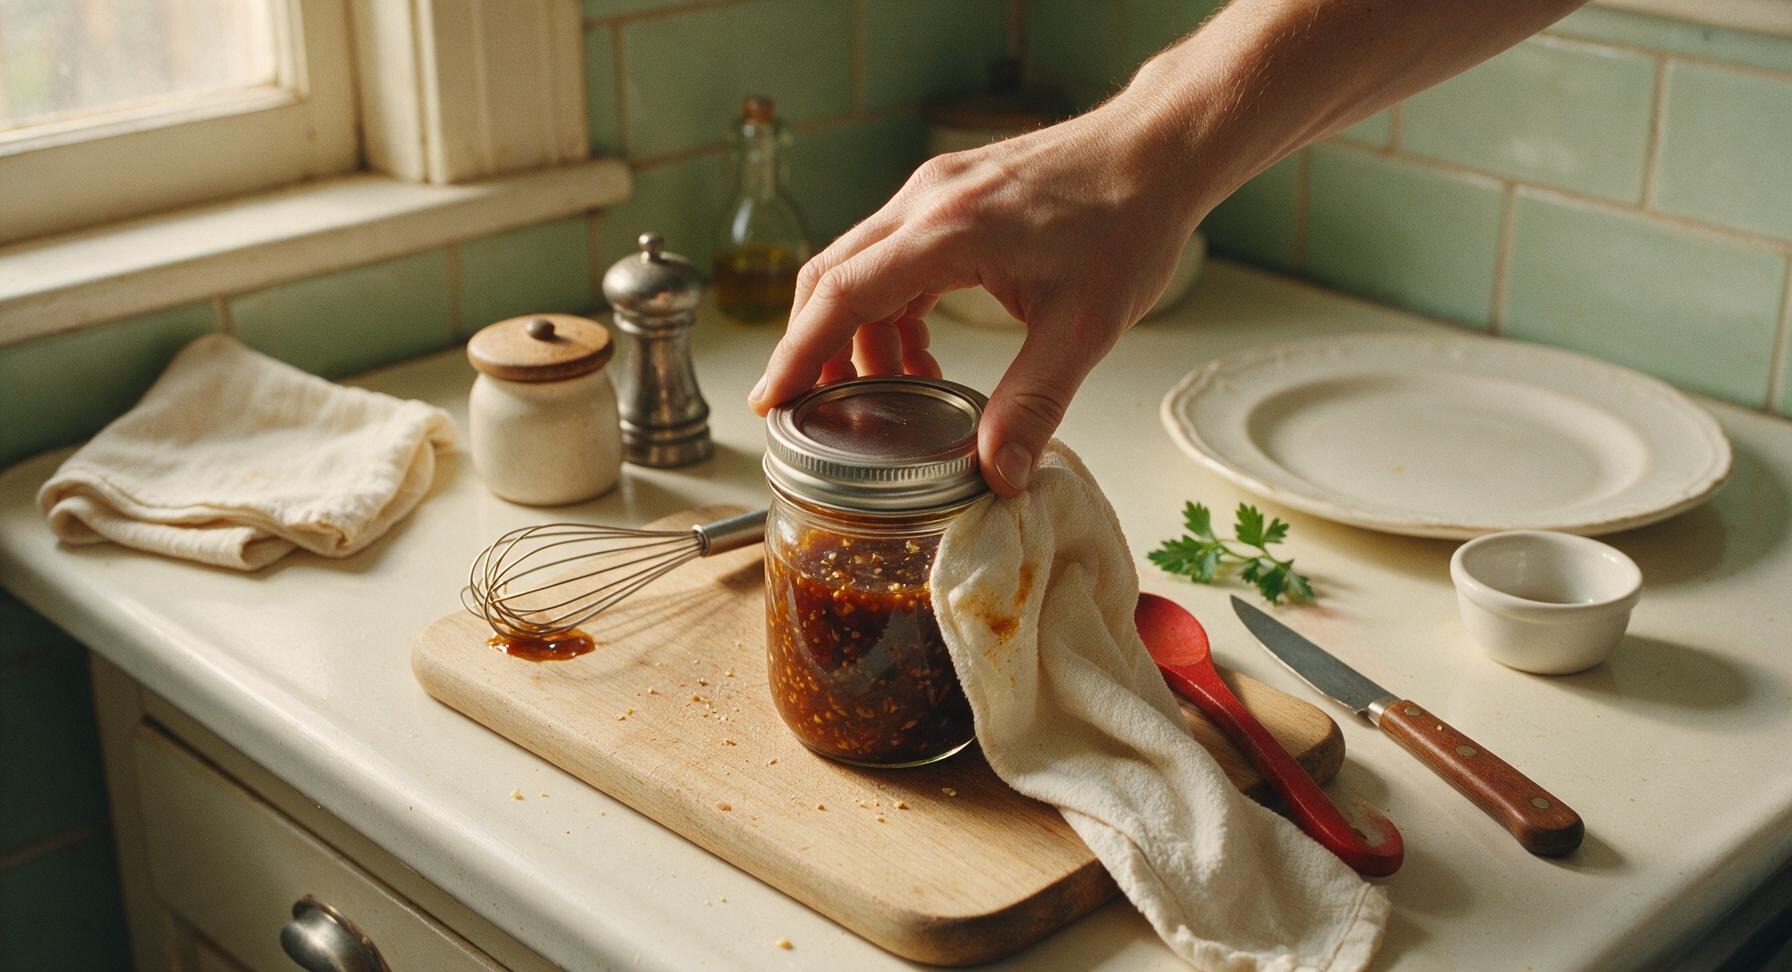
Remove the whisk from the jar, wiping any excess sauce off the whisk head with the edge of the jar to avoid drips. Wipe any splatters off the outside of the mason jar with a corner of the cream cotton kitchen towel, then screw the silver metal lid on tightly to create an airtight seal.
Step 5
step5:Seal Storage Jar
6

Portion Sauce for Use

Unscrew the jar lid and pour 2 tablespoons of the finished sauce into the small matte white ceramic sauce ramekin for immediate use, or store the sealed jar in the refrigerator for up to 3 weeks. Stir the sauce briefly before each use, as ingredients may separate slightly on standing.
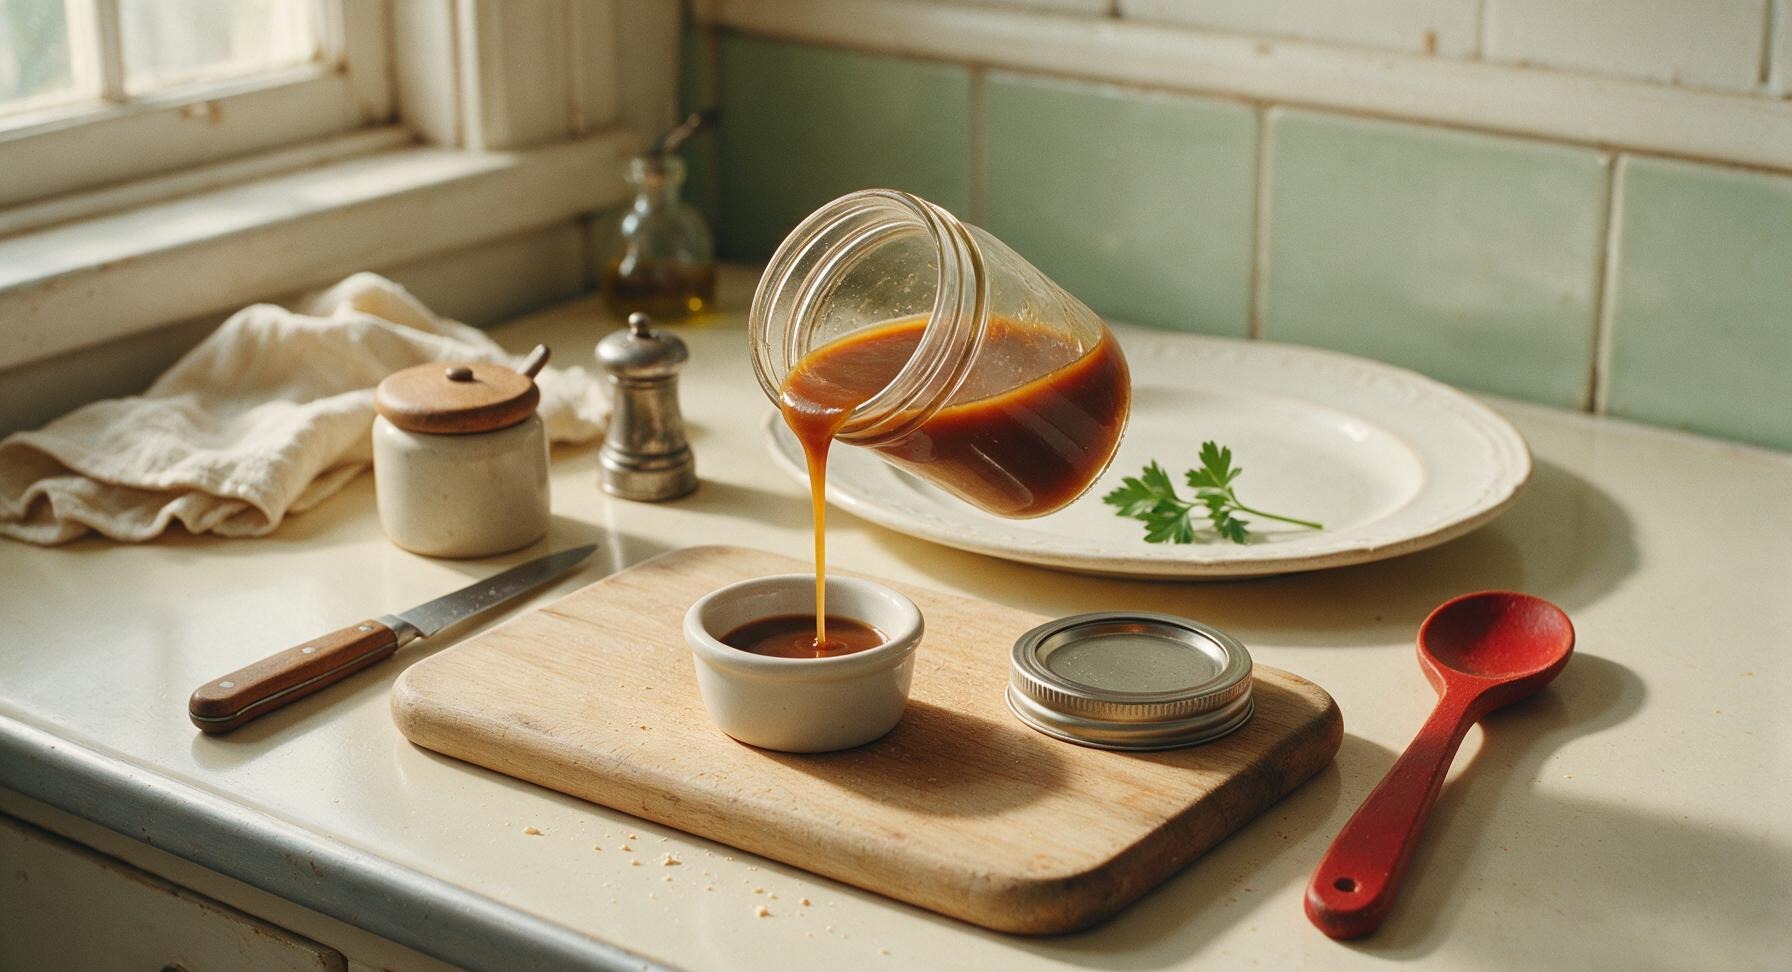
Step 6
step6:Portion Sauce for Use
7

Add Finishing Garnish

Cut one thin ring from the green top of the fresh scallions using the utility knife, and place it on the surface of the sauce in the ramekin as a bright garnish. There is no need to stir the garnish in; it will release its aroma when the sauce hits hot stir-fry oil.
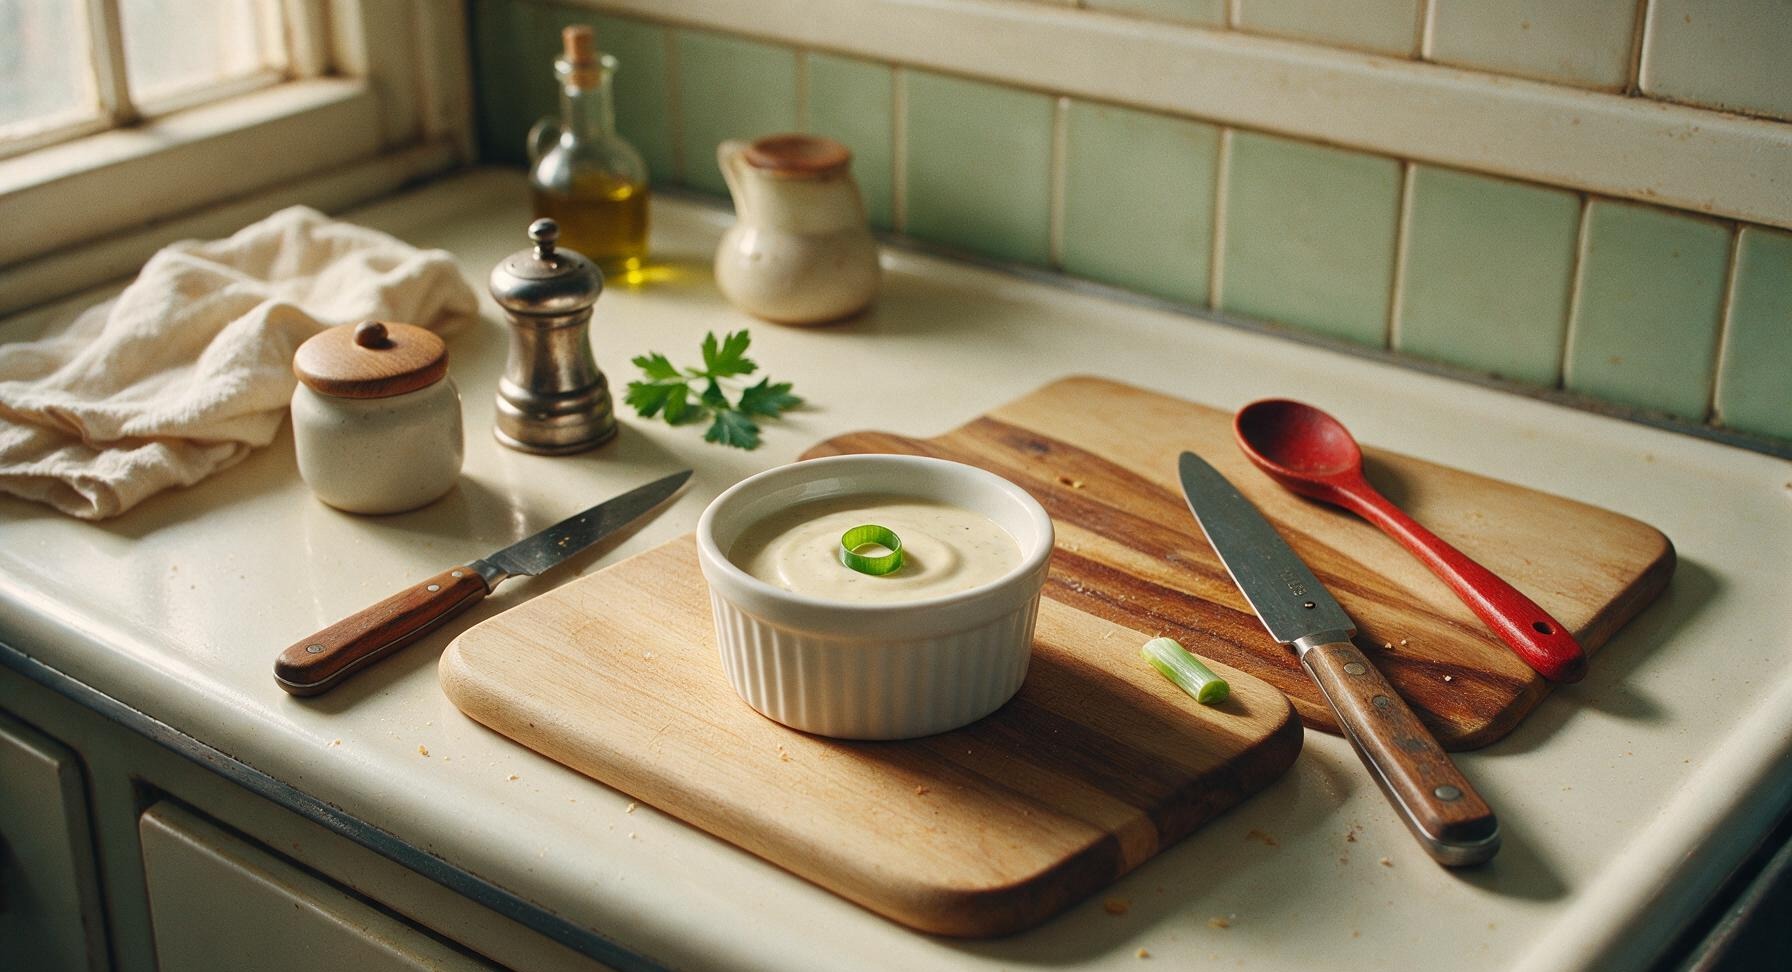
Step 7
step7:Add Finishing Garnish

Tips

1.Use low-sodium light soy sauce instead of regular full-sodium soy: regular soy paired with naturally salty oyster sauce will make the sauce overly briny, leading to fried rice that tastes unbalanced. You can always add a small pinch of extra salt at the end of frying if needed for your taste.
2.Do not skip the small amount of rice vinegar: it will not make the sauce taste sour, but cuts through the richness of stir-fry oil and scrambled egg in fried rice, brightening every bite so the dish does not feel heavy or cloying.
3.Stir or shake the sauce vigorously for 10 seconds before every use: the toasted sesame oil and heavier spice particles will settle to the bottom of the mason jar during refrigerated storage, so a quick mix ensures consistent, balanced flavor in every batch of fried rice.


✨ You May Also Like

Main Course
🍜 United Kingdom

A showstopping classic of tender seared beef, savory mushroom duxelles, and crisp prosciutto wrapped in flaky golden puff pastry, baked to juicy perfection.

⏱️ 2 hours 1Main Course ★ 4.7
Main Course
🍜 India

Tender charred marinated chicken simmered in a rich, spiced creamy tomato sauce, this iconic Anglo-Indian curry pairs perfectly with basmati rice or warm naan.

⏱️ 50 minuteMain Course ★ 4.6
Main Course
🍜 Thailand

Classic tangy, sweet, and savory Thai stir-fried rice noodles with shrimp, tofu, and crunchy garnishes, balancing all five core Thai flavor profiles.

⏱️ 30 minuteMain Course ★ 4.5
Main Course
🍜 United Kingdom

Crispy golden beer-battered cod and fluffy double-fried chips, served with tangy tartar sauce and malt vinegar: the timeless, beloved British pub comfort classic.

⏱️ 45 minuteMain Course ★ 4.7
Main Course
🍜 Mexico

Smoky, chile-marinated pork tacos with caramelized pineapple, fresh cilantro, and lime: a beloved classic Mexican street food perfect for casual summer gatherings.

⏱️ 1 hour 45Main Course ★ 4.8
Main Course
🍜 United States

Crunchy Fritos corn chips layered with savory beef chili and melted cheddar, topped with cool, zesty fixings for a beloved, cozy Tex-Mex comfort food.

⏱️ 35 minuteMain Course ★ 4.8

fried rice sauce:Frequently Asked Questions

1.How long will this umami fried rice sauce stay fresh in the refrigerator? ▾
Stored in a clean, airtight glass jar with a tight-sealing lid, this sauce stays fresh for a full 3 weeks in the fridge, as noted. Always use a clean, dry spoon to scoop out portions—never double-dip with used utensils—to avoid cross-contamination that would cut its shelf life short.
2.Can I make a vegan version of this all-purpose sauce? ▾
Absolutely! The only core swap you need is to replace regular oyster sauce with vegetarian oyster sauce (most often made from slow-simmered shiitake mushrooms) to make the recipe 100% vegan. Double-check your soy sauce labels for hidden animal additives if you follow a strict plant-based diet, and it will work perfectly.
3.How much of this sauce should I use per batch of fried rice? ▾
For a standard 4-cup batch of fried rice that serves 2 people, use 3 to 4 tablespoons of sauce, added right after your rice and mix-ins are fully heated through. Start with 3 tablespoons, taste, and add an extra splash if you want deeper savoriness to avoid over-salting your final dish.
4.Why does the recipe call for low-sodium light soy sauce instead of regular? ▾
Low-sodium light soy sauce lets you control the total salt level of the final sauce, since oyster sauce and dark soy sauce already carry a significant amount of natural sodium. Regular light soy sauce will make the final mix overly salty, throwing off the balanced umami and subtle sweet note we’re targeting for restaurant-style results.
5.Can I freeze this sauce to extend its shelf life? ▾
You can absolutely freeze this sauce for up to 3 months if you don’t think you’ll use it up within the 3-week fridge window. Portion it into ice cube trays first, pop frozen cubes into a labeled freezer bag, and thaw only what you need in the fridge overnight—there’s zero texture or flavor loss to worry about.
6.Do I need to cook or simmer this sauce before storing it? ▾
No cooking is required at all! Just measure all your ingredients into a jar, screw the lid on tight, and shake vigorously for 30 to 45 seconds until the sugar fully dissolves and everything is evenly combined. It comes together in 2 minutes flat, so you skip last-minute measuring and cut weeknight cook time in half.
7.What’s a good substitute if I don’t have dark soy sauce on hand? ▾
If you’re out of dark soy sauce, swap in 1/4 teaspoon of mild molasses per tablespoon of required dark soy, mixed with extra low-sodium light soy, to hit that deep, rich color and subtle caramel note. You can skip it entirely if you don’t mind lighter-colored fried rice, but it adds irreplaceable flavor depth.
8.Can I use this sauce for dishes other than fried rice? ▾
Definitely—this is an all-purpose umami sauce for a reason! Toss it with stir-fried noodles, drizzle it over sautéed veggies, use it as a quick marinade for chicken, tofu, or shrimp, or stir a spoonful into egg toppings for rice bowls. It works anywhere you want a quick savory-sweet umami boost.
9.Why is there white sugar in this savory fried rice sauce? ▾
That small amount of granulated white sugar isn’t there to make the sauce taste sweet—it balances out the salty, briny notes from the soy and oyster sauces, rounds out the nuttiness of the sesame oil, and replicates that perfectly balanced takeout fried rice flavor most home cooks struggle to nail. Don’t skip it!
10.What type of toasted sesame oil works best for this recipe? ▾
Always use plain, toasted Asian sesame oil (not cold-pressed, un-toasted sesame oil sold for high-heat cooking or salad dressings) for this recipe. Toasted sesame oil has that deep, nutty, aromatic note that ties the whole sauce together; un-toasted versions taste flat and won’t deliver that classic takeout flavor.
11.Is it normal for the sauce to separate in the fridge, and does that mean it’s spoiled? ▾
It’s totally normal for the toasted sesame oil to separate and rise to the top of the jar while the sauce chills—this is never a sign it’s gone bad. Just give the jar a vigorous 10-second shake right before measuring out what you need, and it will emulsify right back to its perfect, even consistency.
12.Can I cut back on the sugar if I prefer less sweet fried rice? ▾
You can absolutely cut the sugar by half if you prefer a more purely savory profile, but I don’t recommend omitting it entirely—it does critical work balancing the salt in the soy and oyster sauces. If you avoid refined sugar, swap the white granulated sugar for an equal amount of coconut sugar for nearly identical flavor.

Comments (9)

3 days ago

Game changer alert! I’ve been messing up fried rice for years because I could never get the sauce ratio right, and this zero-cook mix is so easy to throw together. Tossed it with leftover rice, frozen peas and carrots, and a couple scrambled eggs last night for family dinner, and even my super picky 7 year old asked for extra. Already made a double batch to keep in the fridge!

2 days ago

Same! My kiddo turns his nose up at any Asian-inspired dish usually but he ate two full bowls when I used this sauce last week. Wild.

2 days ago

So happy to hear the whole family loved it! Pro tip: this sauce stays good in an airtight jar in the fridge for up to 2 weeks, so that double batch will come in handy for quick weeknight meals.

5 days ago

Wait, cook time is zero minutes? Sign me up! I’m always looking for no-fuss sauces to keep on hand for weeknights when I don’t feel like putting a ton of effort in. Used this on my veggie fried rice last night and added a little extra garlic, SO good.

3 days ago

Love the extra garlic add-in! That’s such a great way to customize it to your taste — lots of folks also toss in a pinch of chili flakes for a little heat if that’s your vibe.

1 week ago

Perfect for my weekly Sunday meal prep! I mixed up a big jar of this on Sunday and used it for fried rice, hibachi-style veggies, and even drizzled a little on my grilled chicken bowls this week. Super versatile, way cheaper than buying the pre-made bottled sauce from the grocery store too.

2 weeks ago

Brought fried rice made with this sauce to our neighborhood potluck last weekend and literally everyone asked me for the recipe! People were going back for thirds, I was shocked. Never thought a simple sauce could make such a big difference.

5 days ago

Oh I did the same for our office potluck last month! I added some diced pineapple to the fried rice with this sauce and people lost their minds, it was the first empty dish on the table.

5 days ago

That potluck win is what we love to see! The pineapple addition sounds incredible — the sweet tang pairs perfectly with the savory umami notes of the sauce. Thanks for sharing that hack!

30 minutes ago

Bro this saved my dorm life. I don’t have a fancy kitchen setup, just a cheap rice cooker and a hot plate, and this sauce takes my sad microwave rice and frozen veggie mix to restaurant level. No fancy ingredients needed either, I already had everything in my tiny pantry.

5 minutes ago

Wait same! I’m in a dorm too and I thought I was gonna be stuck eating ramen all semester, but this plus day-old rice from the dining hall? Chef’s kiss, no fancy equipment required.

yesterday

So happy I found this! I swapped the regular soy sauce for tamari to make it gluten free, and it tastes exactly like the fried rice I get at my local takeout spot. I’ve already made it three times in two weeks, my husband is obsessed.

2 hours ago

This sauce is so solid! I added a tablespoon of chili crisp to mine for a little kick, and it’s perfect. My only note is that I wish it had a little more depth? Wait no, no, actually it’s perfect as a base, super easy to tweak to whatever you’re craving.

30 minutes ago

So glad you’re customizing it to your taste! Chili crisp is such a fantastic add — we’re huge fans of a little heat around here too. Play around with add-ins like a splash of oyster sauce or a pinch of white pepper if you want even more depth!

5 days ago

Who knew a 0-cook sauce could be this good? I work 12 hour shifts, so quick meals are non-negotiable for me. I keep a bottle of this mixed up in my fridge at all times now, it takes 2 minutes to throw fried rice together after a long day and it actually tastes like I put effort in. 10/10.

2 days ago

Right? I keep mine in a squeeze bottle so I can just squirt it straight into the pan without measuring, makes dinner even faster. Total weeknight win.

just now

I’ve been using this sauce for everything, not just fried rice! Tossed it with roasted broccoli, used it as a dip for potstickers, even mixed a little into my scrambled eggs this morning. It’s so umami-packed, I’m gonna need to make a bigger batch next time because I ran out in 3 days lol.



