
frozen beef and cheese burrito
intro
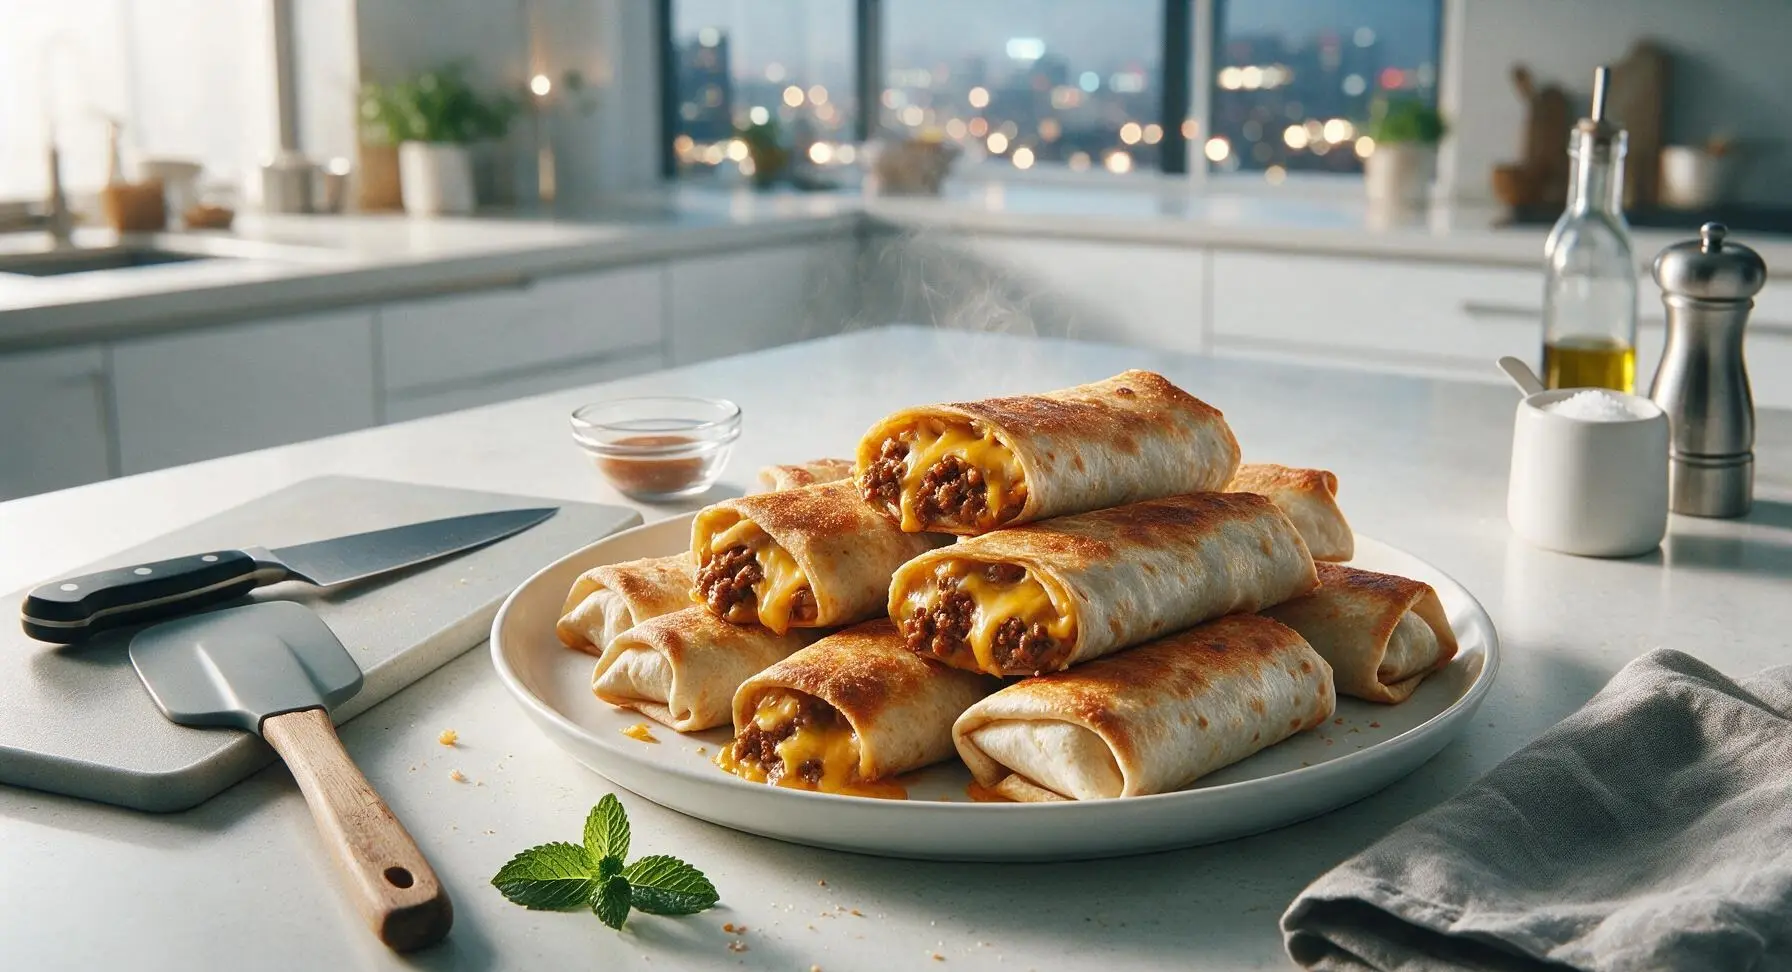
Hearty make-ahead Tex-Mex burritos loaded with seasoned ground beef and melted cheddar, frozen for quick, satisfying meals that reheat to crispy, gooey perfection.
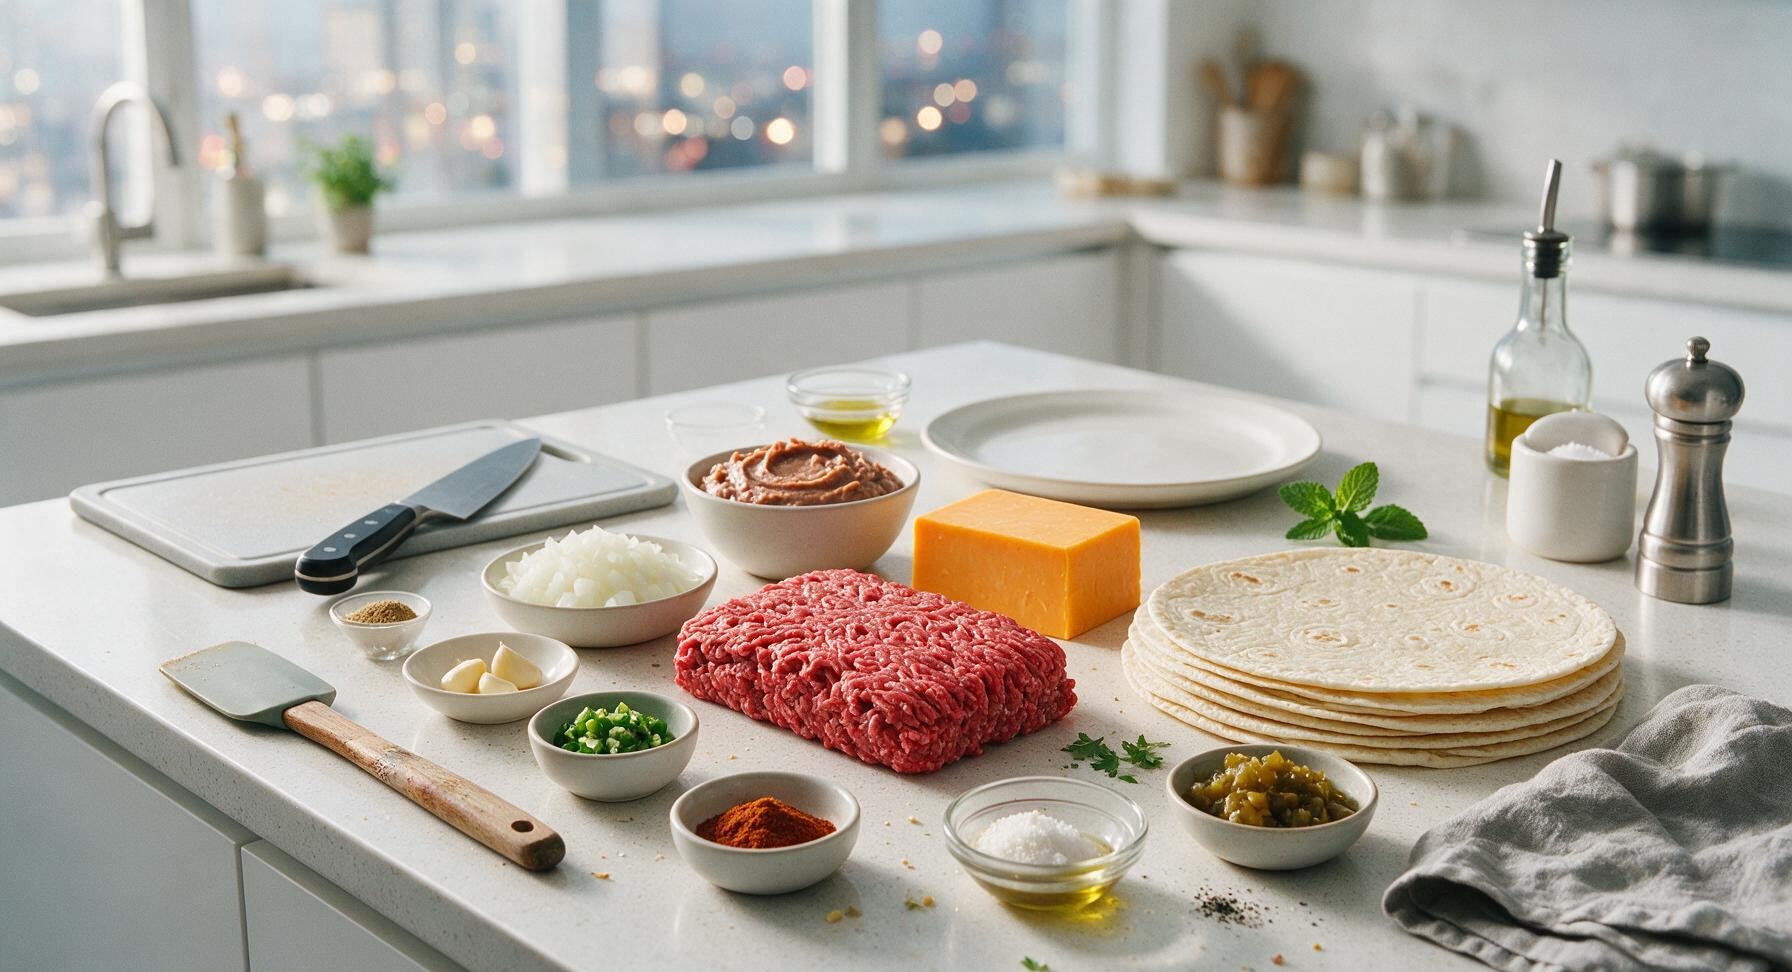
Ingredients
Steps
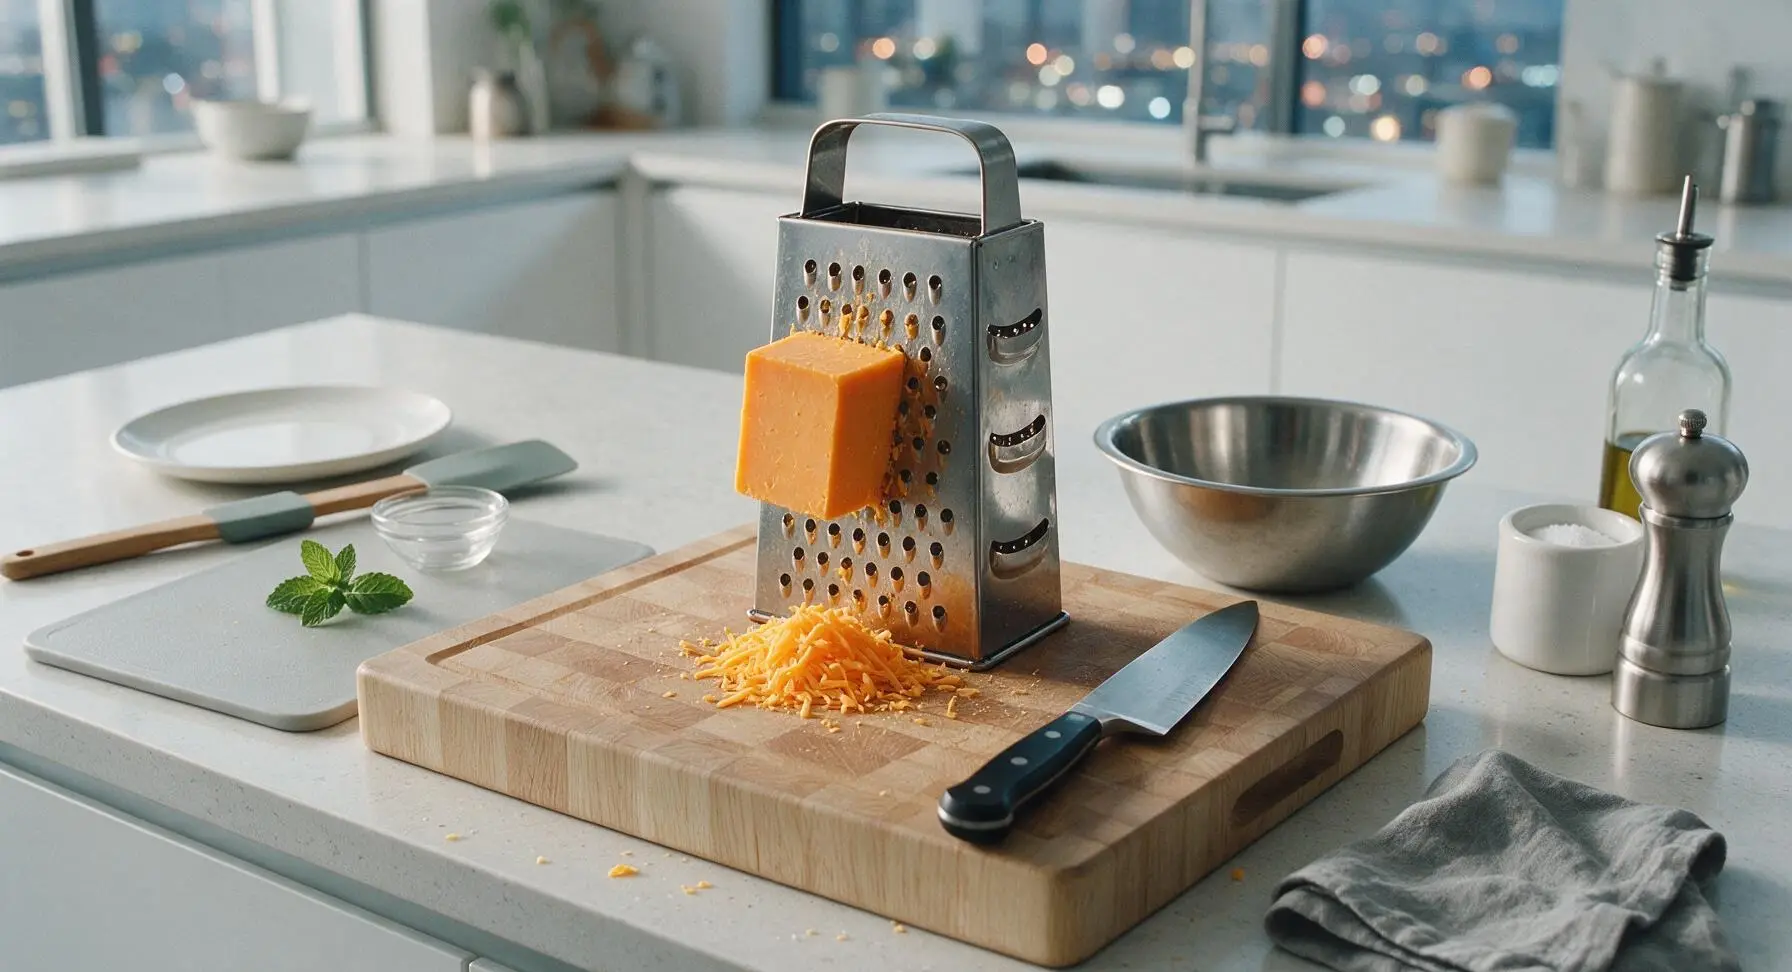
Grate Cheddar Cheese
Place the box grater on the end-grain cutting board. Hold the block of sharp cheddar against the large holes of the grater, applying even pressure to shred all 225g of cheese into a loose, coarse pile. Transfer shredded cheese to the stainless steel mixing bowl and set aside. Avoid grating too finely, as coarse shreds melt better and hold texture during freezing and reheating. This step takes approximately 3 minutes.
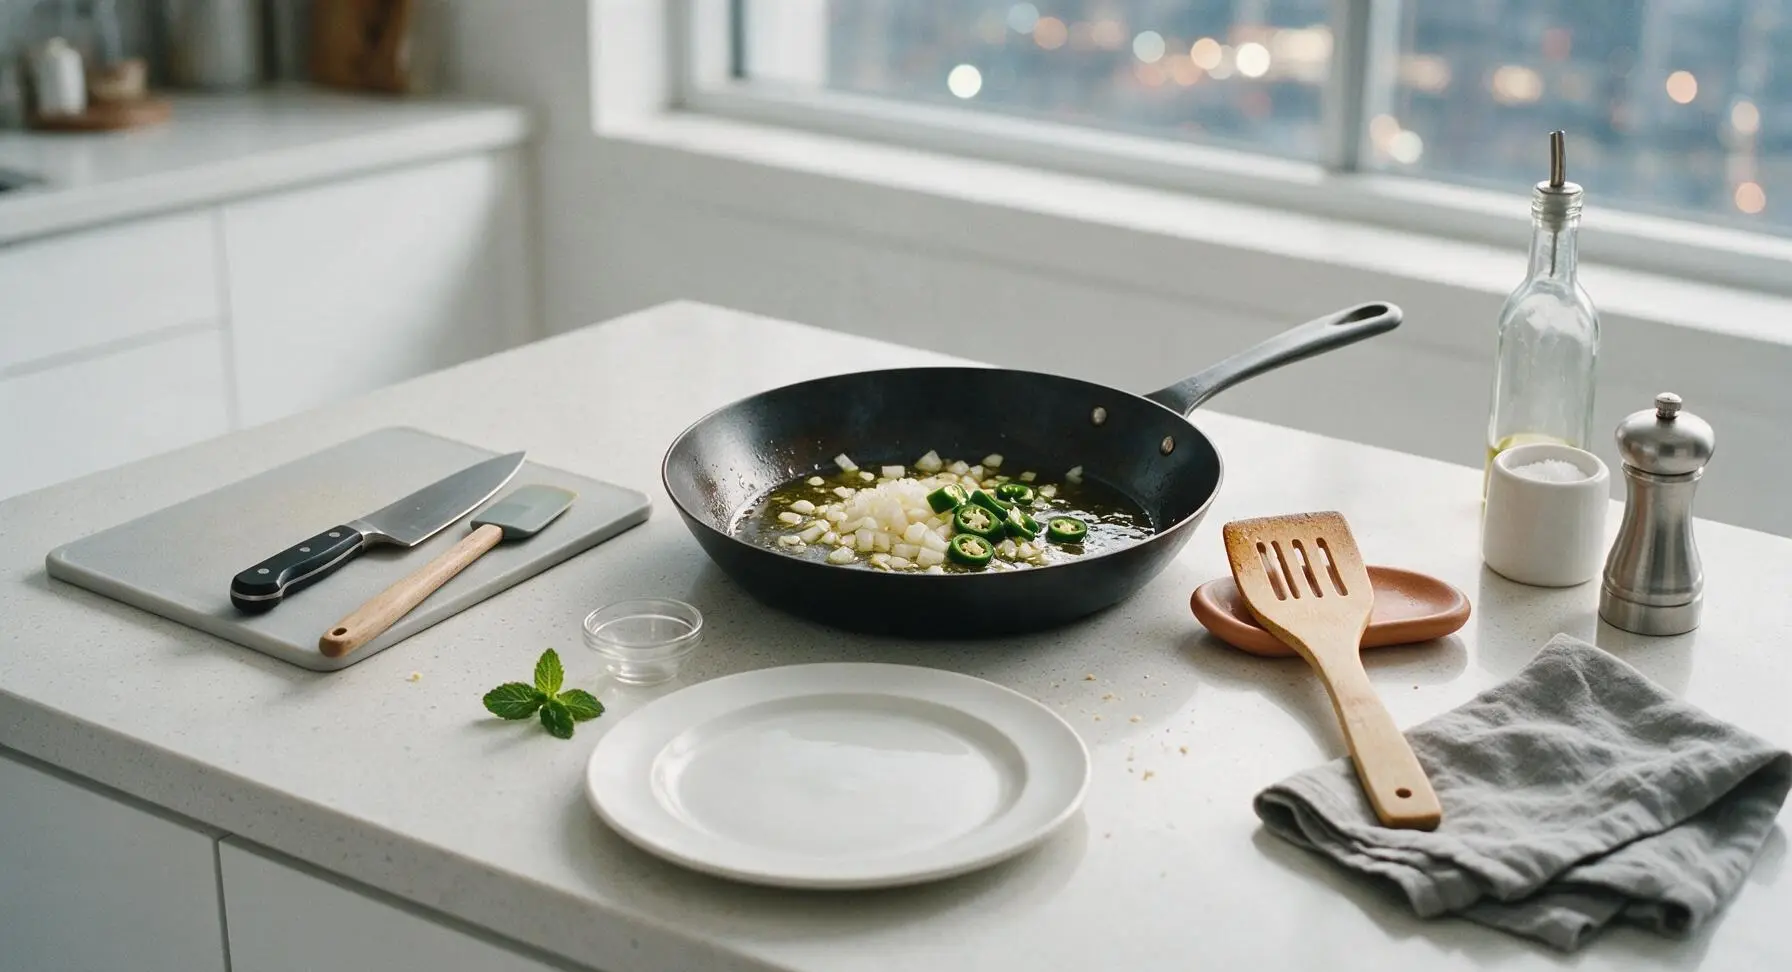
Sauté Aromatic Vegetables
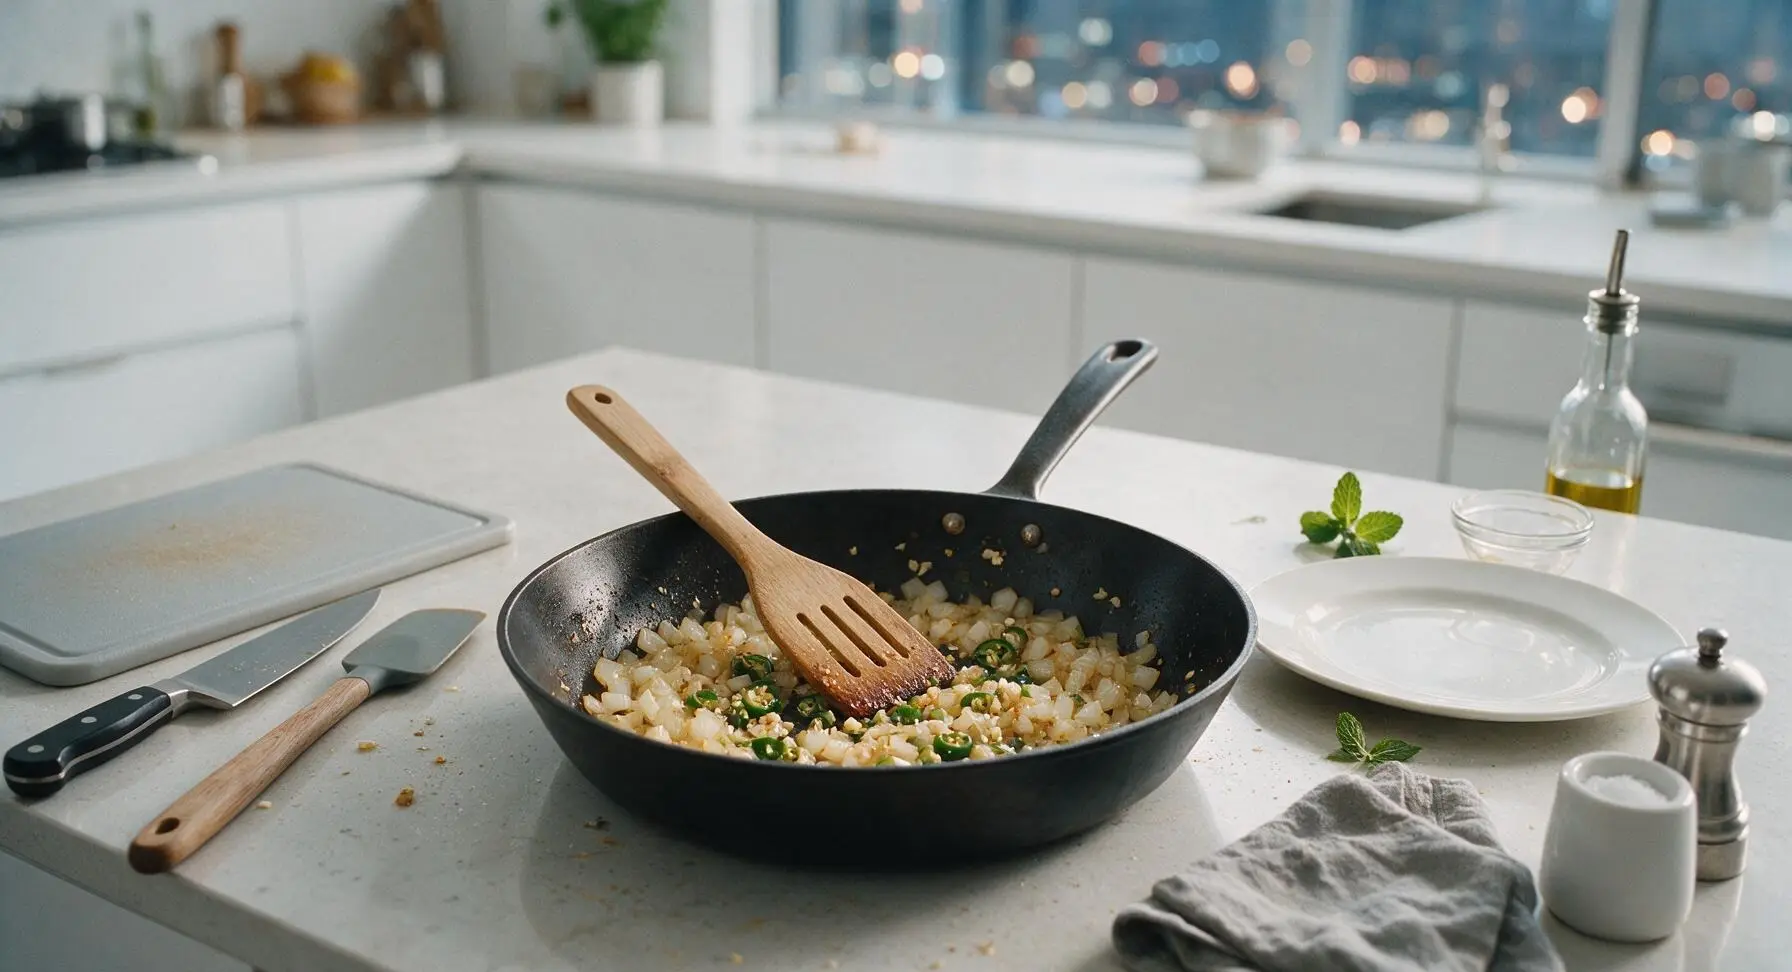
Heat 1 tablespoon of olive oil in the 12-inch matte black carbon steel skillet over medium heat (350°F/175°C). Add the diced yellow onion, seeded minced jalapeño, and a pinch of salt, cooking for 3 minutes until the onion turns translucent and soft at the edges. Add the minced garlic, stirring constantly with the slotted maple turner for 30 seconds until fragrant, taking care not to burn the garlic, as it will turn bitter if dark brown.
Cook Seasoned Ground Beef
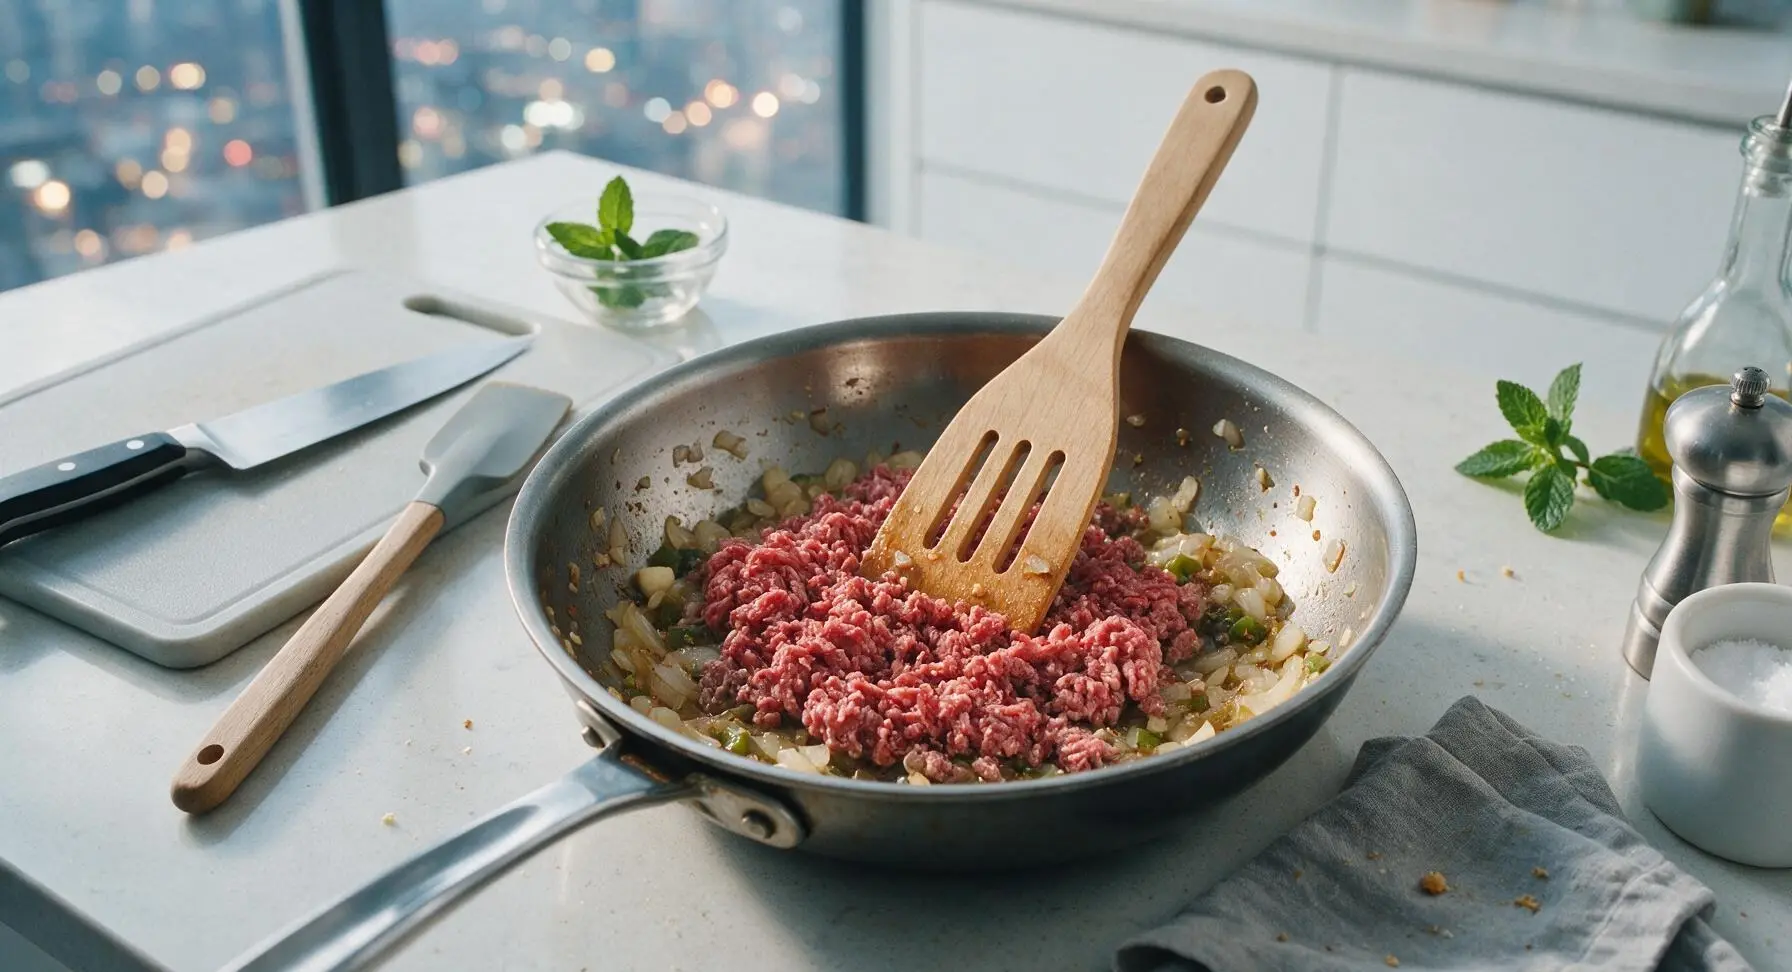
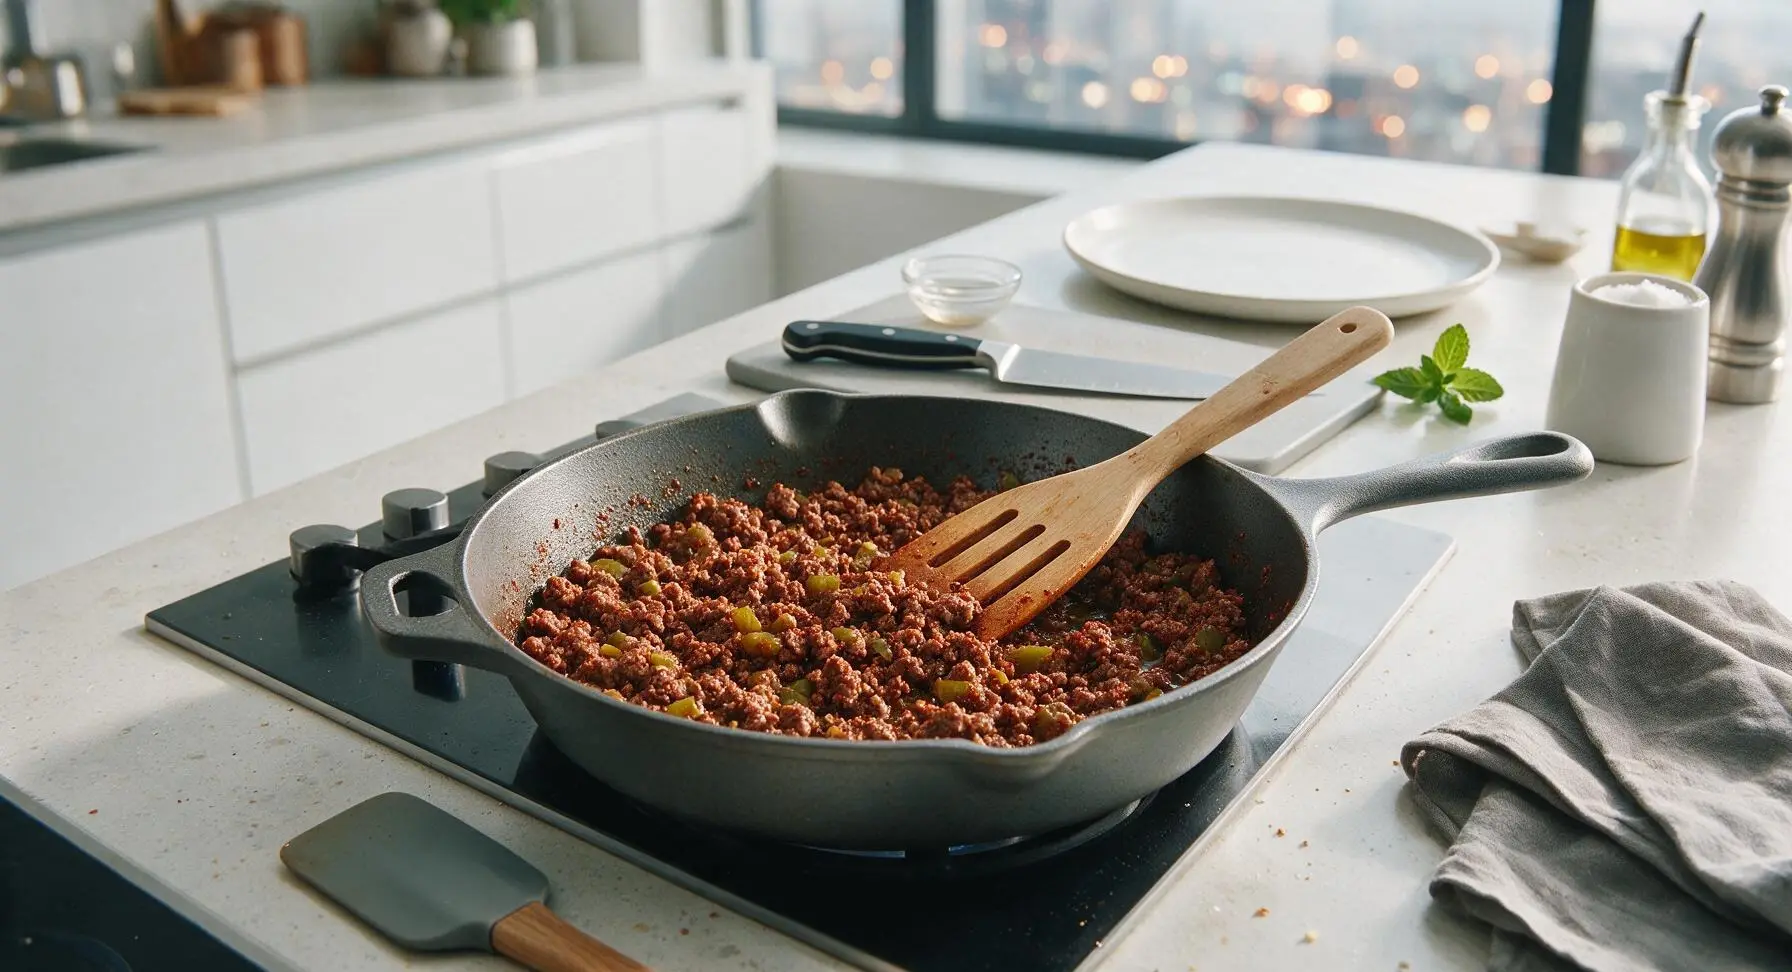
Add the 450g of 80/20 ground beef to the skillet with the cooked aromatics, breaking it apart into small crumbles with the edge of the slotted maple turner as it cooks. After 5 minutes, when the beef is no longer pink, drain all but 1 teaspoon of excess grease from the pan to keep filling flavorful without sogginess. Add the chili powder, ground cumin, garlic powder, remaining kosher salt, black pepper, and drained diced green chiles, stirring to coat all beef crumbles evenly. Cook for 2 more minutes until spices are fragrant, then remove the skillet from heat and let the filling cool for 10 minutes, as hot filling will tear tortillas and cause soggy burritos when frozen.
Warm Tortillas for Rolling
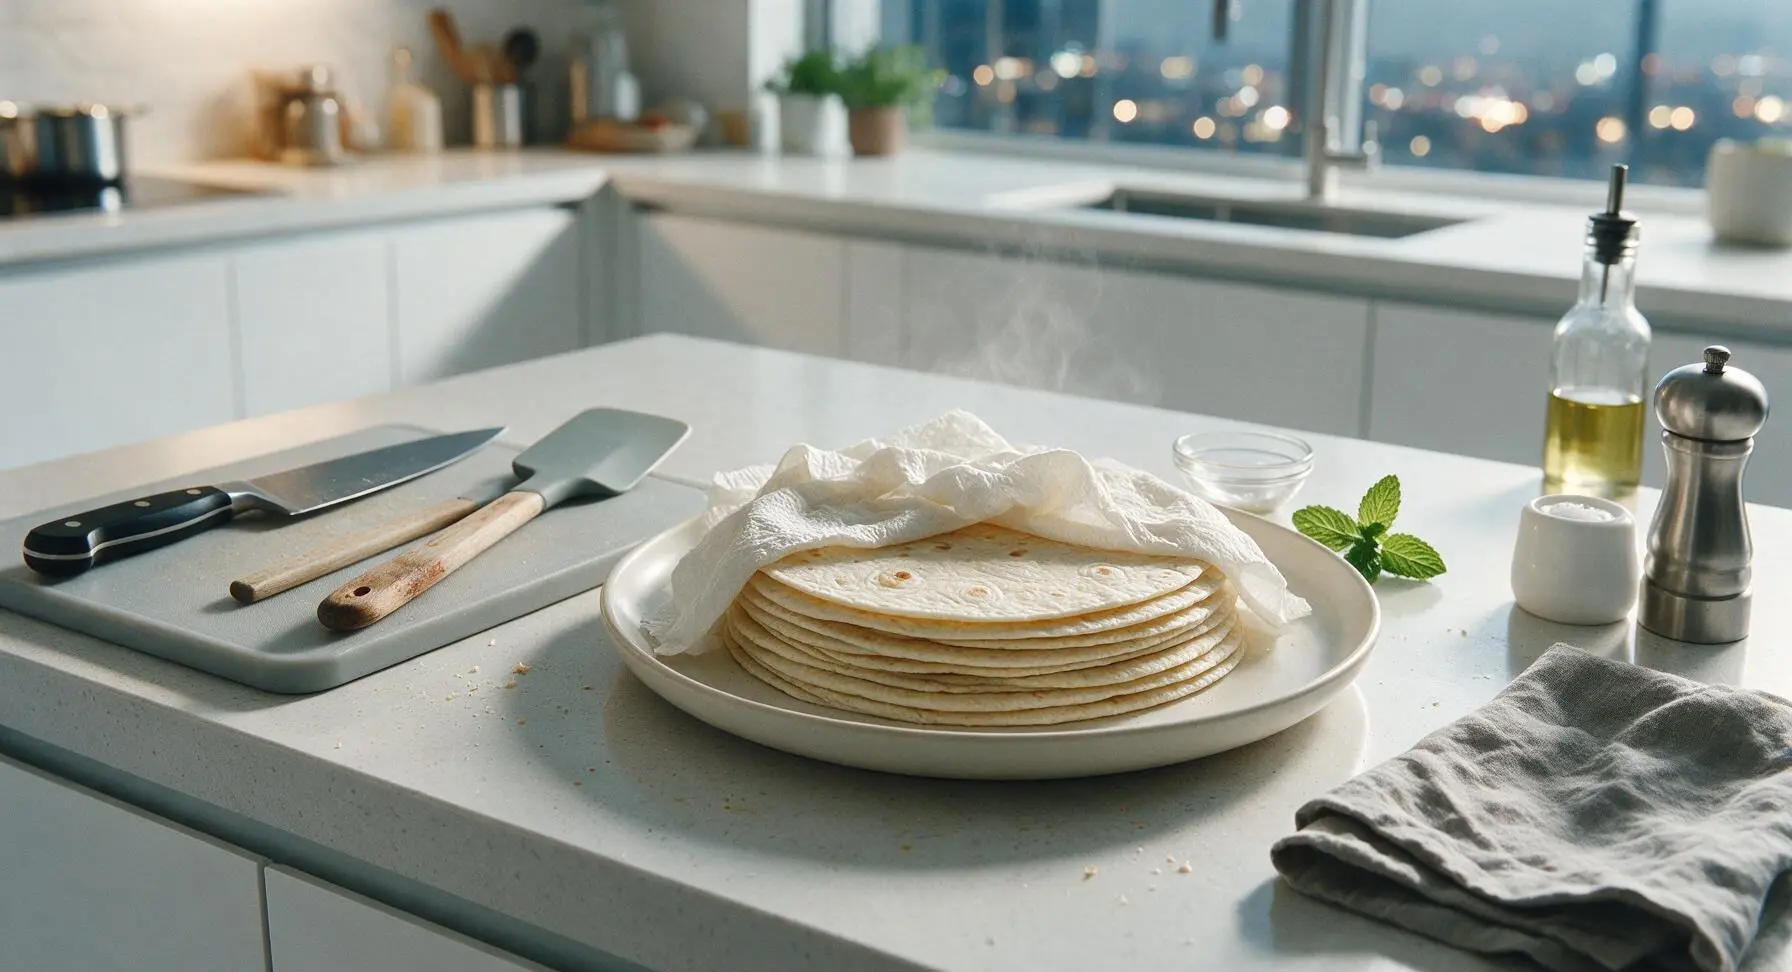
Stack the 8 10-inch flour tortillas on the top matte cream white ceramic dinner plate, cover with a slightly damp paper towel, and warm in the microwave for 45 seconds until soft and pliable. Cold or room temperature tortillas will crack and tear when rolled tight, so work with one tortilla at a time, keeping the rest covered to retain warmth as you assemble.
Fill and Roll Burritos
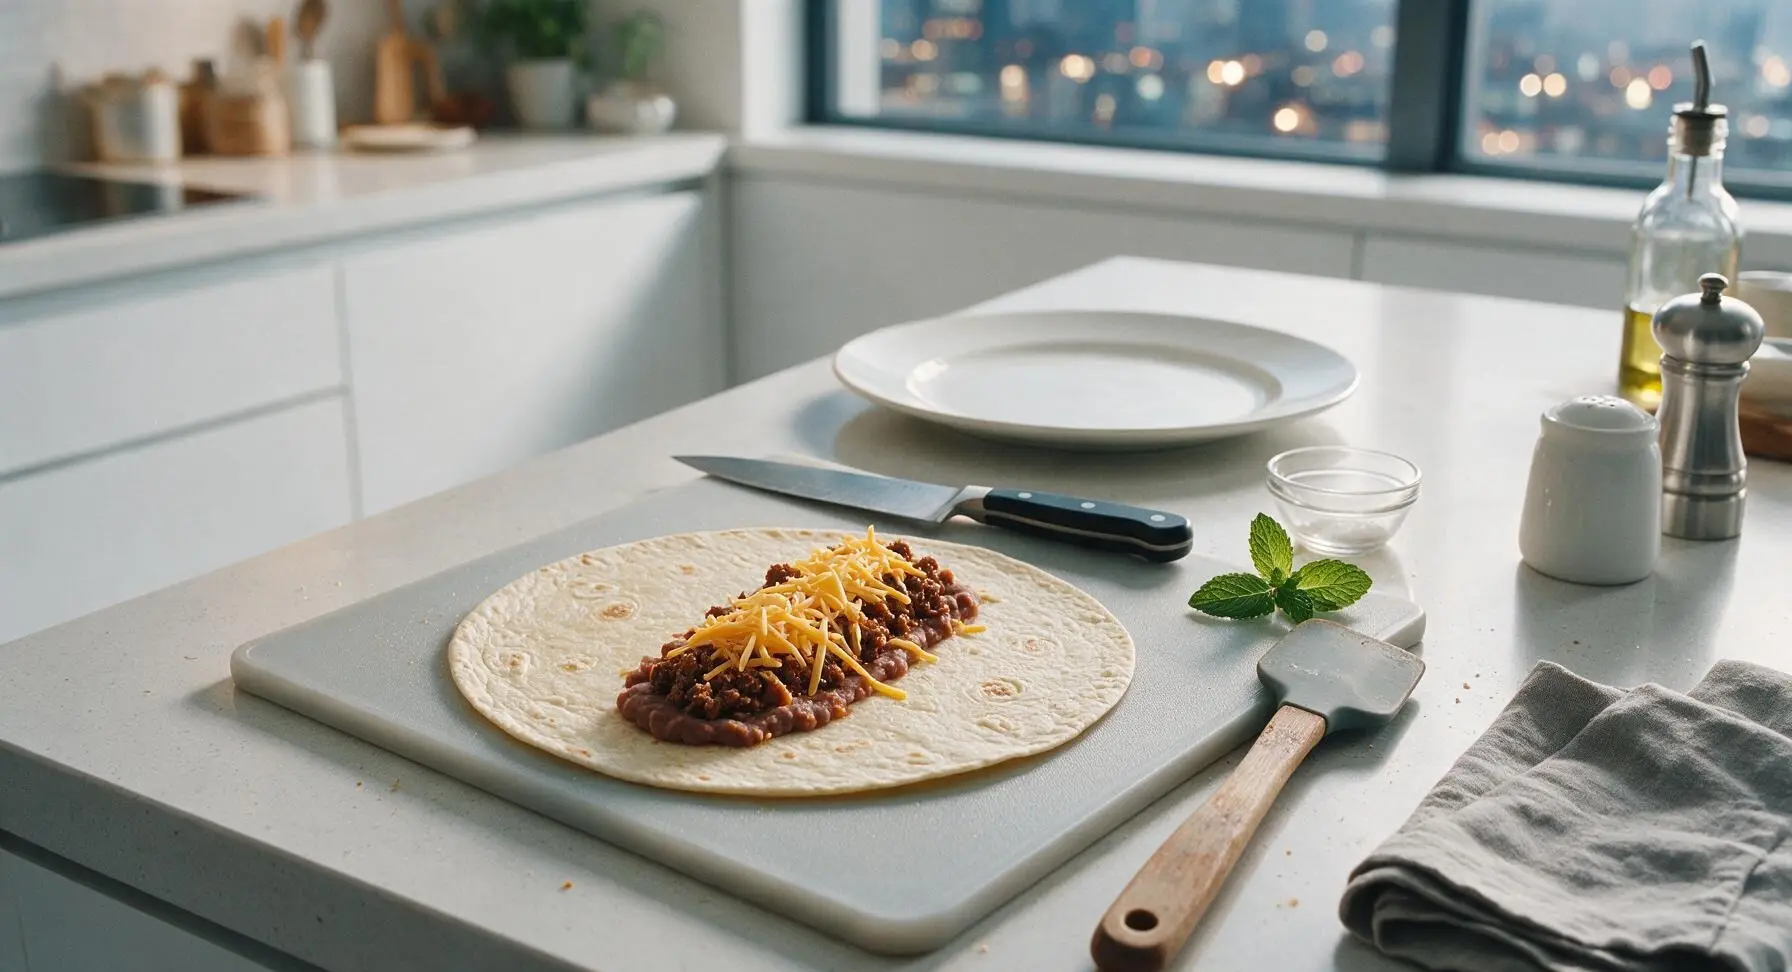
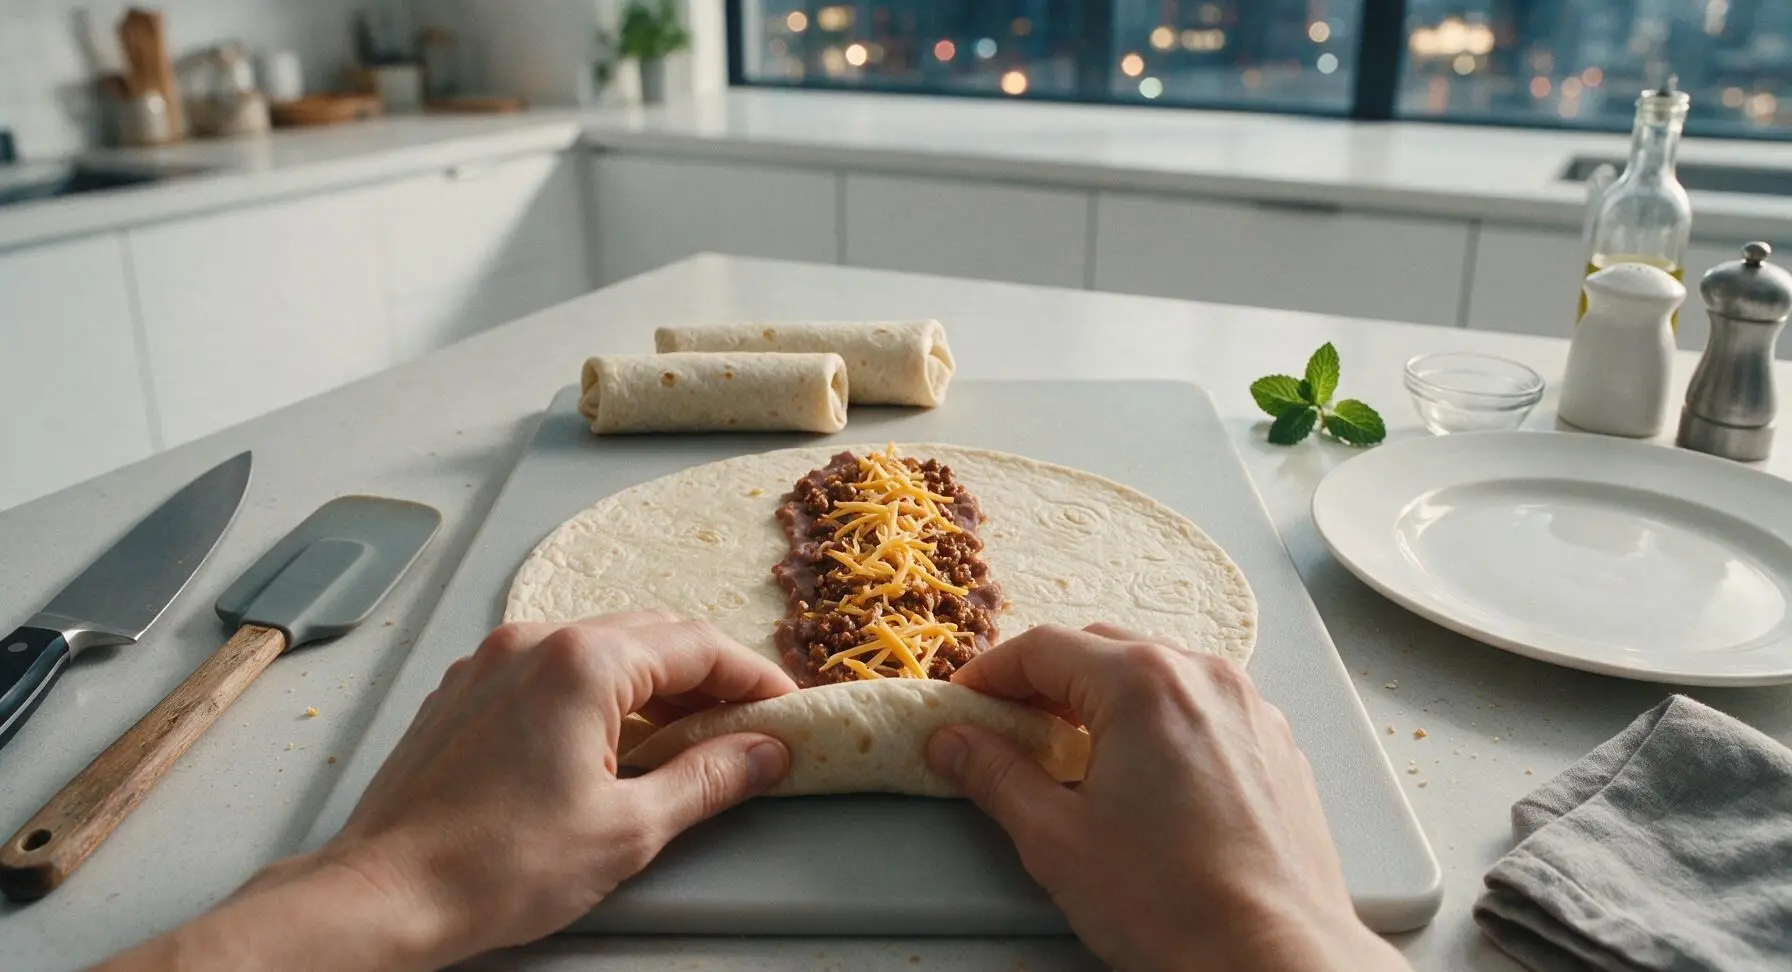
Lay one warm tortilla flat on the light oak end-grain cutting board. Spread 2 tablespoons of refried beans in a narrow 4-inch line down the center of the tortilla, leaving 2 inches of space at the top and bottom for folding. Top the beans with 1/8 of the cooled seasoned beef mixture, then 1/8 of the shredded cheddar cheese, taking care not to overfill, as overstuffed burritos will burst when rolled or frozen. Fold the short top and bottom edges of the tortilla in over the filling, then roll tightly from one long side to the other to form a compact, sealed burrito with no gaps for filling to leak out during reheating. Repeat with all remaining tortillas, beans, beef, and cheese.
Wrap Burritos for Freezing
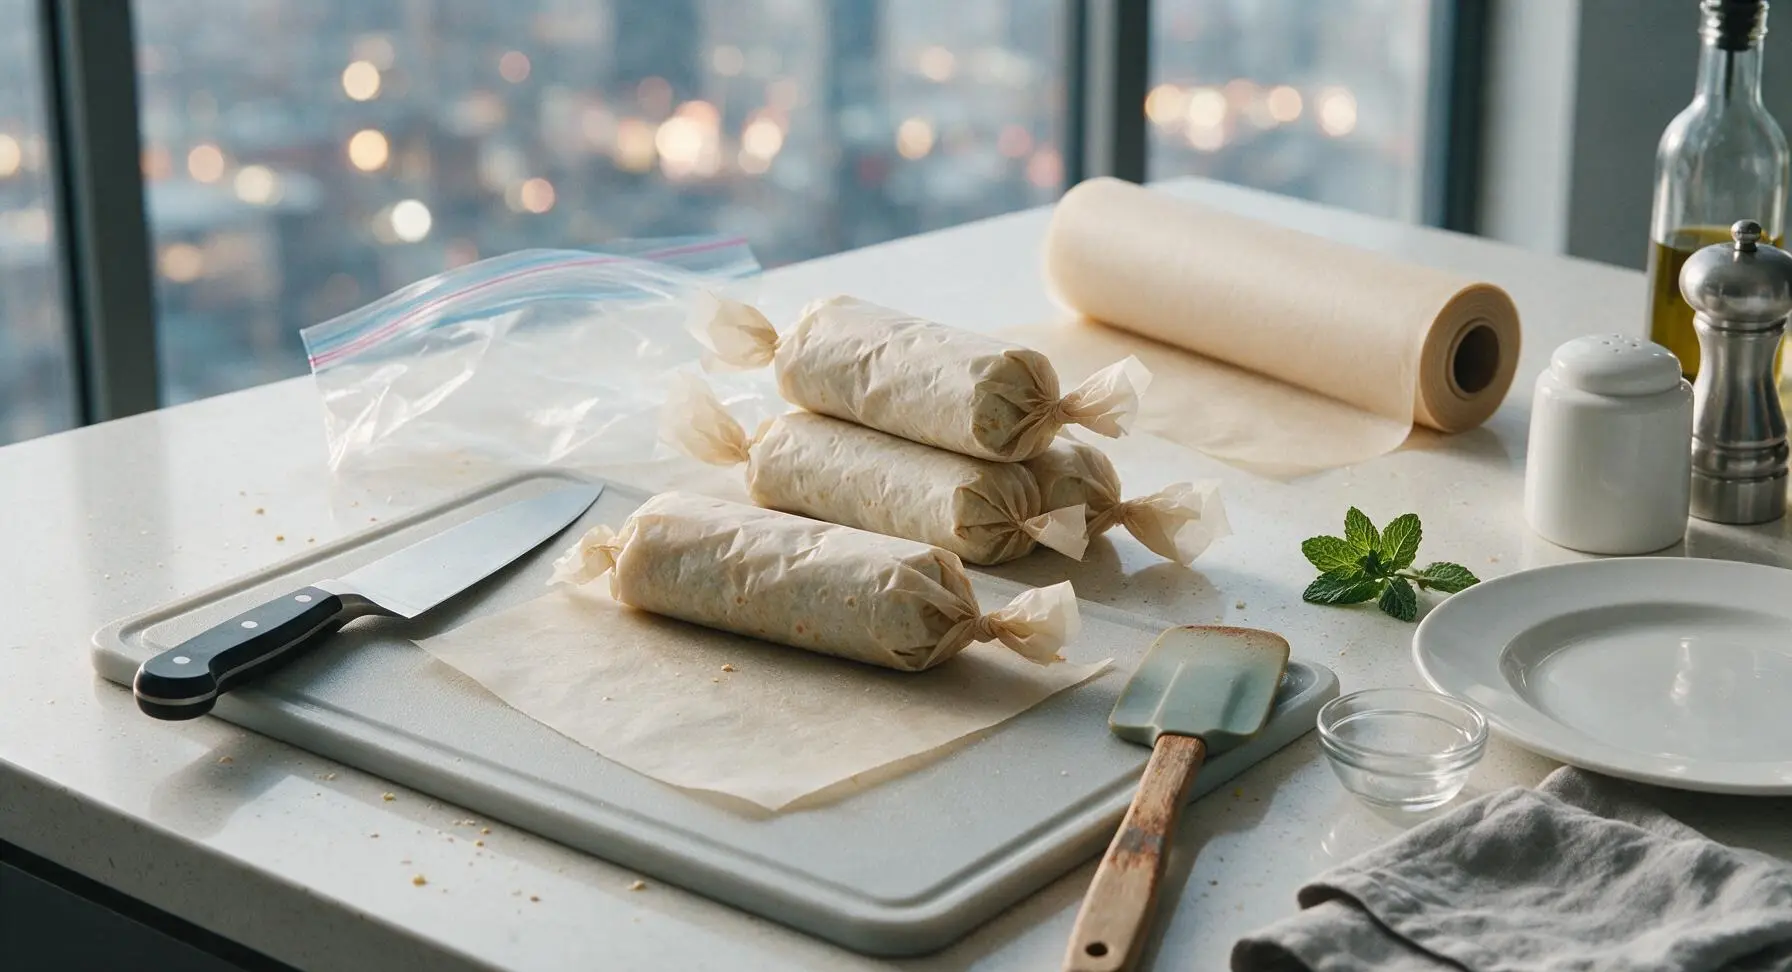
Tear 8 8x8 inch squares of unbleached parchment paper from the roll. Wrap each tightly rolled burrito individually in a parchment square, twisting the ends slightly to seal like a candy wrapper. Place all wrapped burritos into the 1-gallon freezer-safe zip-top bags, squeezing out as much excess air as possible before sealing to prevent freezer burn. Label the bag with the preparation date, and store in the freezer for up to 3 months.
Reheat to Serve
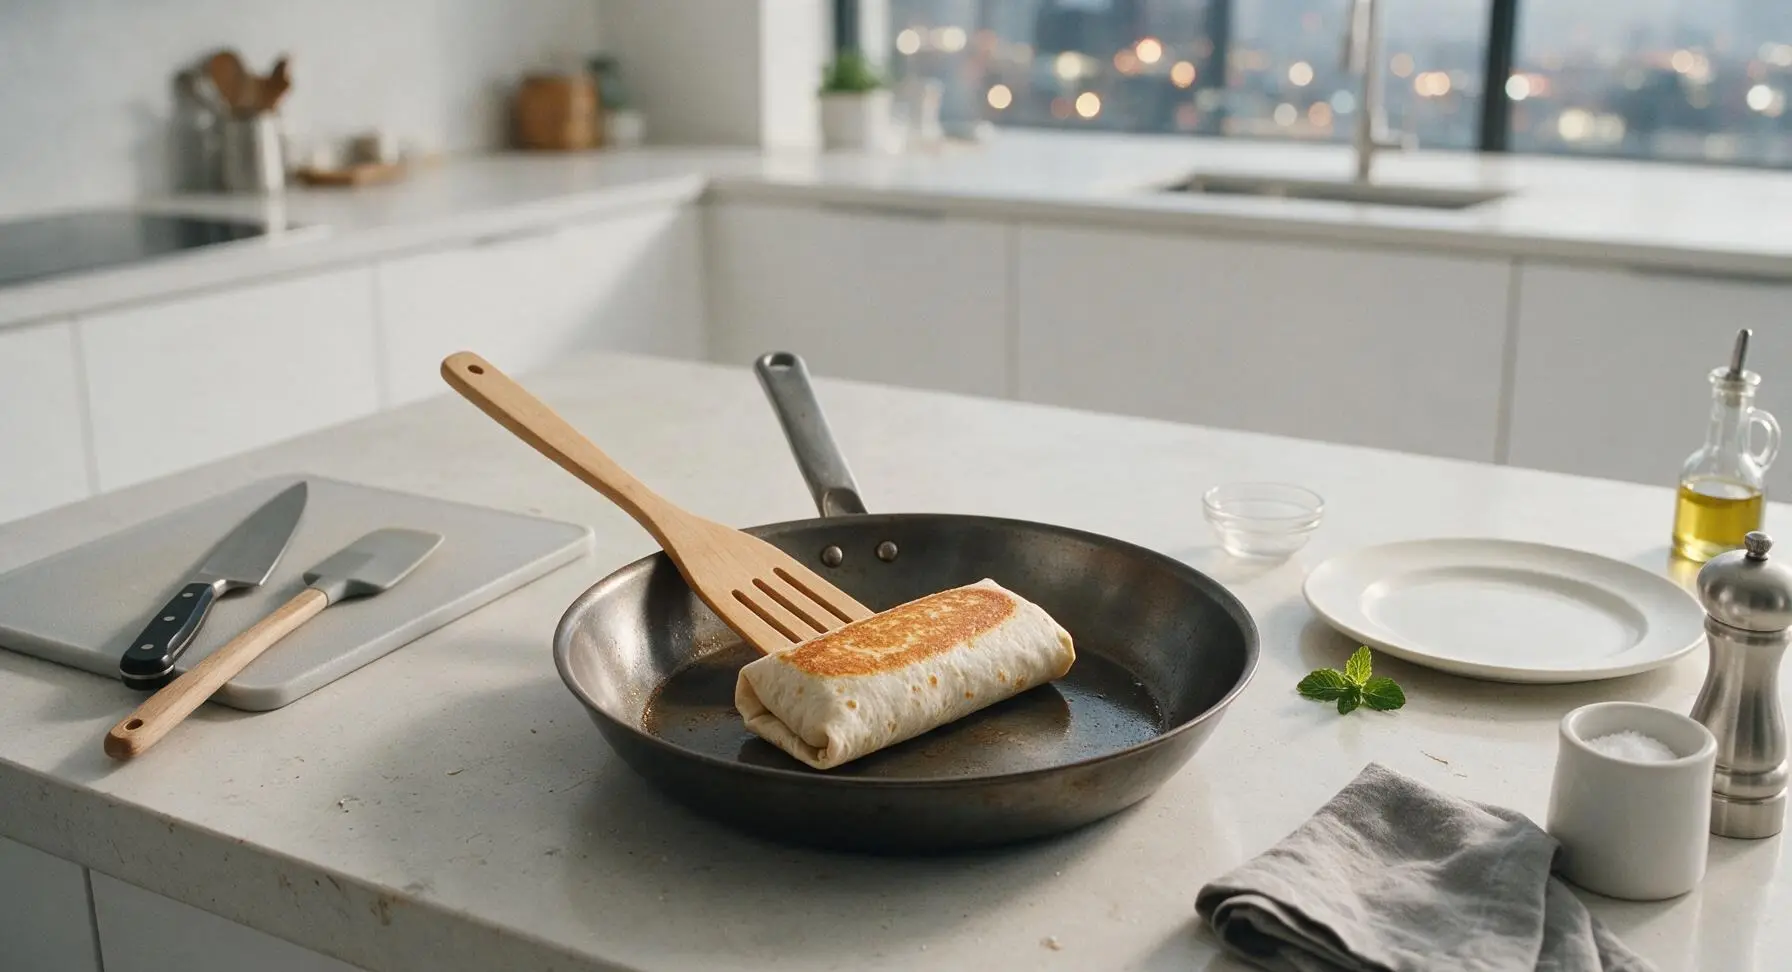
When ready to eat, remove a frozen burrito from its parchment wrapper. Reheat in a 400°F (200°C) oven or toaster oven for 18-20 minutes, flipping halfway through, until the tortilla is crispy and golden on the outside, and the internal temperature reaches 165°F (74°C) with fully melted cheese. For a faster option, microwave on high for 1 minute, then pan-fry in the dry 12-inch carbon steel skillet over medium heat for 2 minutes per side to crisp the tortilla exterior. Do not reheat burritos directly in parchment paper, as it is not oven-safe at high temperatures.
Tips
2.Squeeze every bit of excess air out of freezer bags before sealing: trapped air causes freezer burn, which creates dry, gray, off-flavored spots on tortillas and filling, shortening storage life from 3 months to just 2-3 weeks.
3.Grate your own cheddar from a block instead of using pre-shredded cheese: pre-shredded cheese is coated in potato starch and natamycin to prevent caking, which stops it from melting into a smooth, gooey texture, resulting in clumpy, separated cheese after reheating.






OMG these are a total game changer for my weeknight meal prep! I used to buy the store brand frozen burritos and they always taste so bland, but this homemade version is SO good. My three boys devoured two each the first night I made them, and I love that I can pull one out for a quick lunch on days I work from home too. 10/10 will be making a double batch next month!
Super easy to make! I was a little worried the burritos would get soggy after freezing but they held up really well when I baked them. Only knock is I wish there was a little more cheese, but that’s just my personal preference because I’m a total cheese fiend. Great for late study nights when I don’t want to order takeout!
Made these for our annual tailgate potluck last weekend and they were a massive hit! I kept a cooler of them frozen, threw them on the portable grill for a few minutes to heat through, and people were coming back for thirds. Way better than the sad gas station burritos we usually bring to games. Will be a regular in our tailgate rotation from now on!
I swapped the regular flour tortillas for gluten-free ones and this recipe still worked perfectly! I’ve been looking for easy make-ahead meals I can eat after my morning runs, and these hit the spot. No weird aftertaste, the beef is seasoned perfectly, and the cheese gets all melty and gooey just how I like it.
Wait why did I never think to make my own frozen burritos before?? This took me 25 minutes total to assemble a whole tray, cook time was a breeze, and they taste exactly like the ones I used to get from my favorite taco shop as a kid. My husband was shocked I made them from scratch instead of buying them from the grocery store.
Solid recipe. I added a scoop of refried beans to each burrito to bulk them up a little for my post-gym meals, and they came out great. Only note is I’d recommend wrapping them really tight in plastic wrap before freezing so they don’t get freezer burn. Mine had a tiny bit of ice crystal buildup after 10 days, but it didn’t affect the taste at all.
My 7 year old is the pickiest eater on the planet and she ate an entire burrito without complaining at dinner tonight!!! That’s basically a miracle in our house. She even asked if we could have them again tomorrow. I added a little dollop of sour cream on the side for dipping and she was over the moon.
Taste was great, but I tried to microwave one instead of baking it because my apartment oven is broken right now and the tortilla got a little chewy. Maybe I just cooked it too long? Not sure. Flavor was on point though, the beef seasoning was really good.
Brought these to my office potluck last week and every single one was gone before I even got a second one! People were asking me for the recipe left and right. I set out little cups of salsa and guac on the side for dipping and it was the perfect easy office food, no messy serving required.
Threw a pack of these in the cooler for our last camping trip and they were the easiest camp dinner ever! We wrapped them in foil and heated them over the campfire for 10 minutes, and they tasted better than any fancy camp meal I’ve ever made. No messy prep at the campsite, just heat and eat. Absolute win.
I’m literally 20 and this is the first thing I’ve ever cooked that didn’t come out burnt or totally bland!!! It was so easy, I didn’t even have to look up a how-to video. The instructions were super straightforward, and my roommate said they’re better than the burritos we get from the spot down the street. I feel so proud right now lmao
This recipe saved my grocery budget this month! Ground beef was on sale, cheese was BOGO, tortillas were cheap, and I made 12 burritos for like $8 total. That’s way cheaper than buying frozen burritos at the store, and they taste 10x better. I ate them for lunch every day last week and didn’t get bored at all.
Really good base recipe! I added a tablespoon of chipotle powder to the beef and a handful of pickled red onions to each burrito before rolling, and they came out so flavorful with a nice smoky kick. Next time I’m gonna add some seasoned rice to the filling too to make them a little more filling. Great easy recipe to customize!
Just pulled my first batch out of the oven for lunch and wow, these slap. I was worried freezing them would make the texture weird, but the tortilla gets perfectly crispy on the edges in the oven and the cheese is all melty in the middle. Already planning to make a batch with shredded chicken next month to switch it up.
I made these for my grandkids when they stayed over last weekend and they kept saying ‘grandma these are better than fast food!’ That made my whole week. I added a little bit of taco sauce to the filling before rolling, just how my mom used to make burritos when I was a kid, and it was perfect. So easy to make, even with my old arthritis hands.
These are pretty close to the famous fast food frozen burritos I loved as a teen, but way less greasy. I dipped mine in queso and it was chef’s kiss. Only thing I’ll change next time is adding a little more onion powder to the beef mix, I felt like it was missing a tiny bit of savoriness, but that’s a super easy fix.