
frozen beef burritos

title 1
frozen beef burritos
⏱️ cook time 20 minutes
🍽️ servings 8
⚡ Difficulty easy

intro

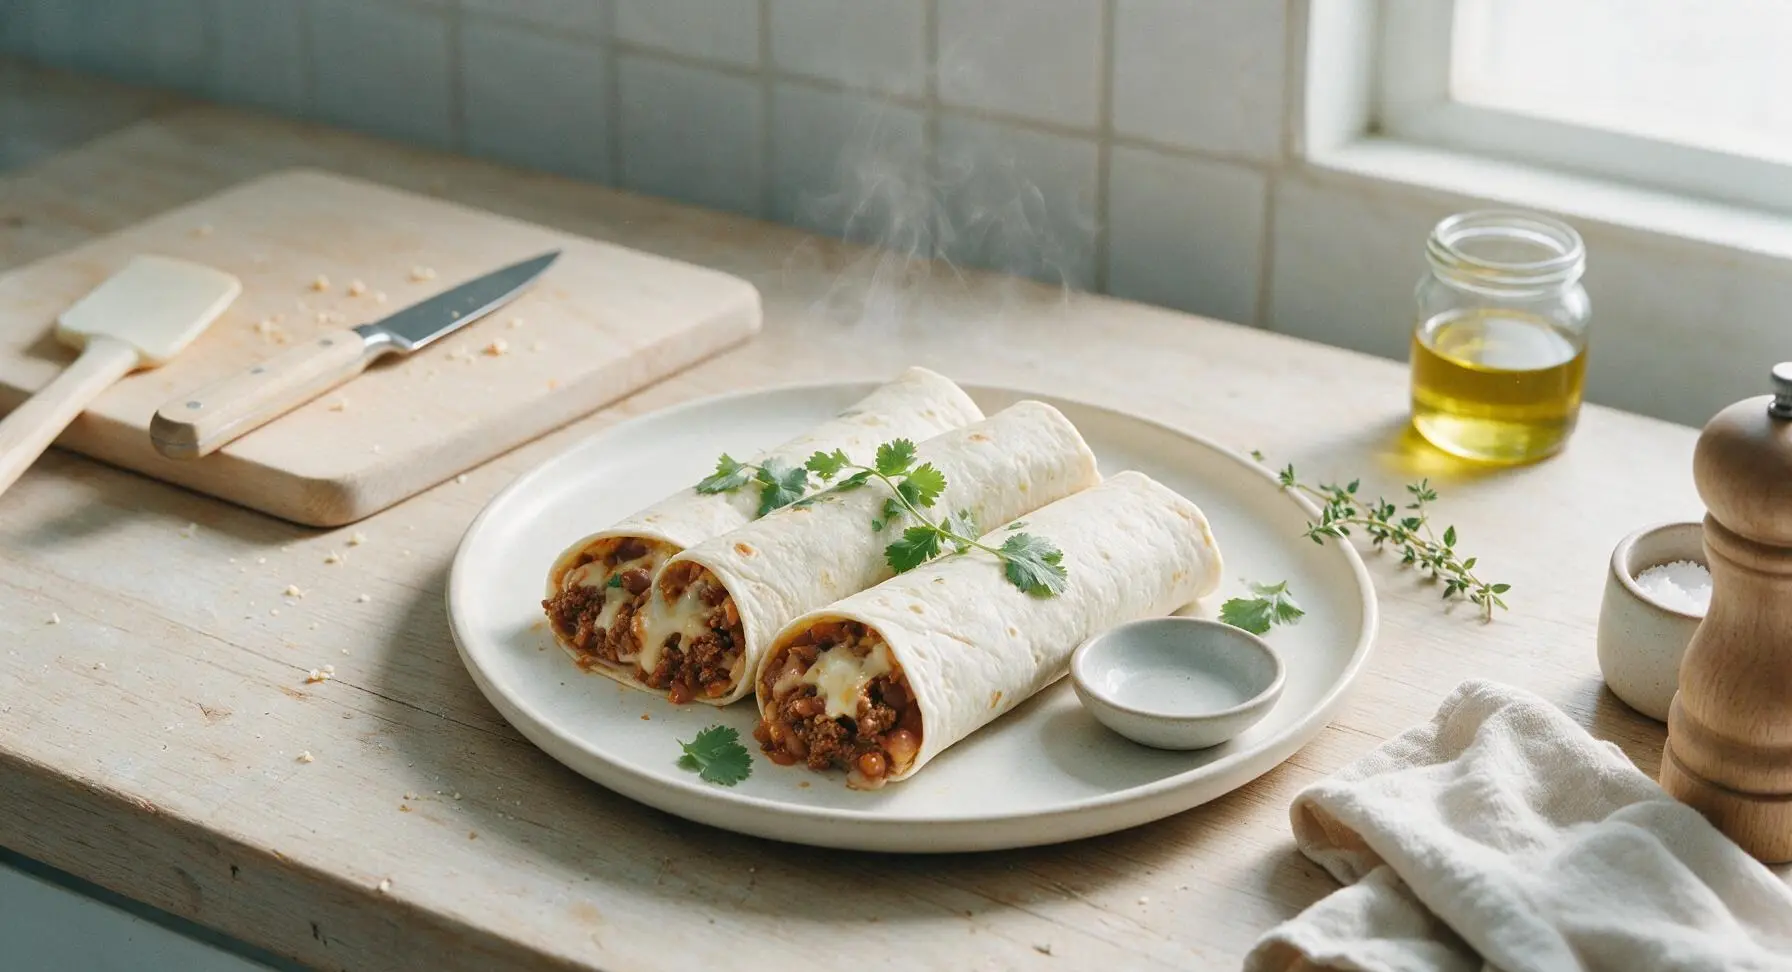
Hearty make-ahead Tex-Mex beef burritos packed with seasoned ground beef, creamy beans, and melty cheese, frozen for quick, satisfying weeknight meals ready in minutes.

Ingredients
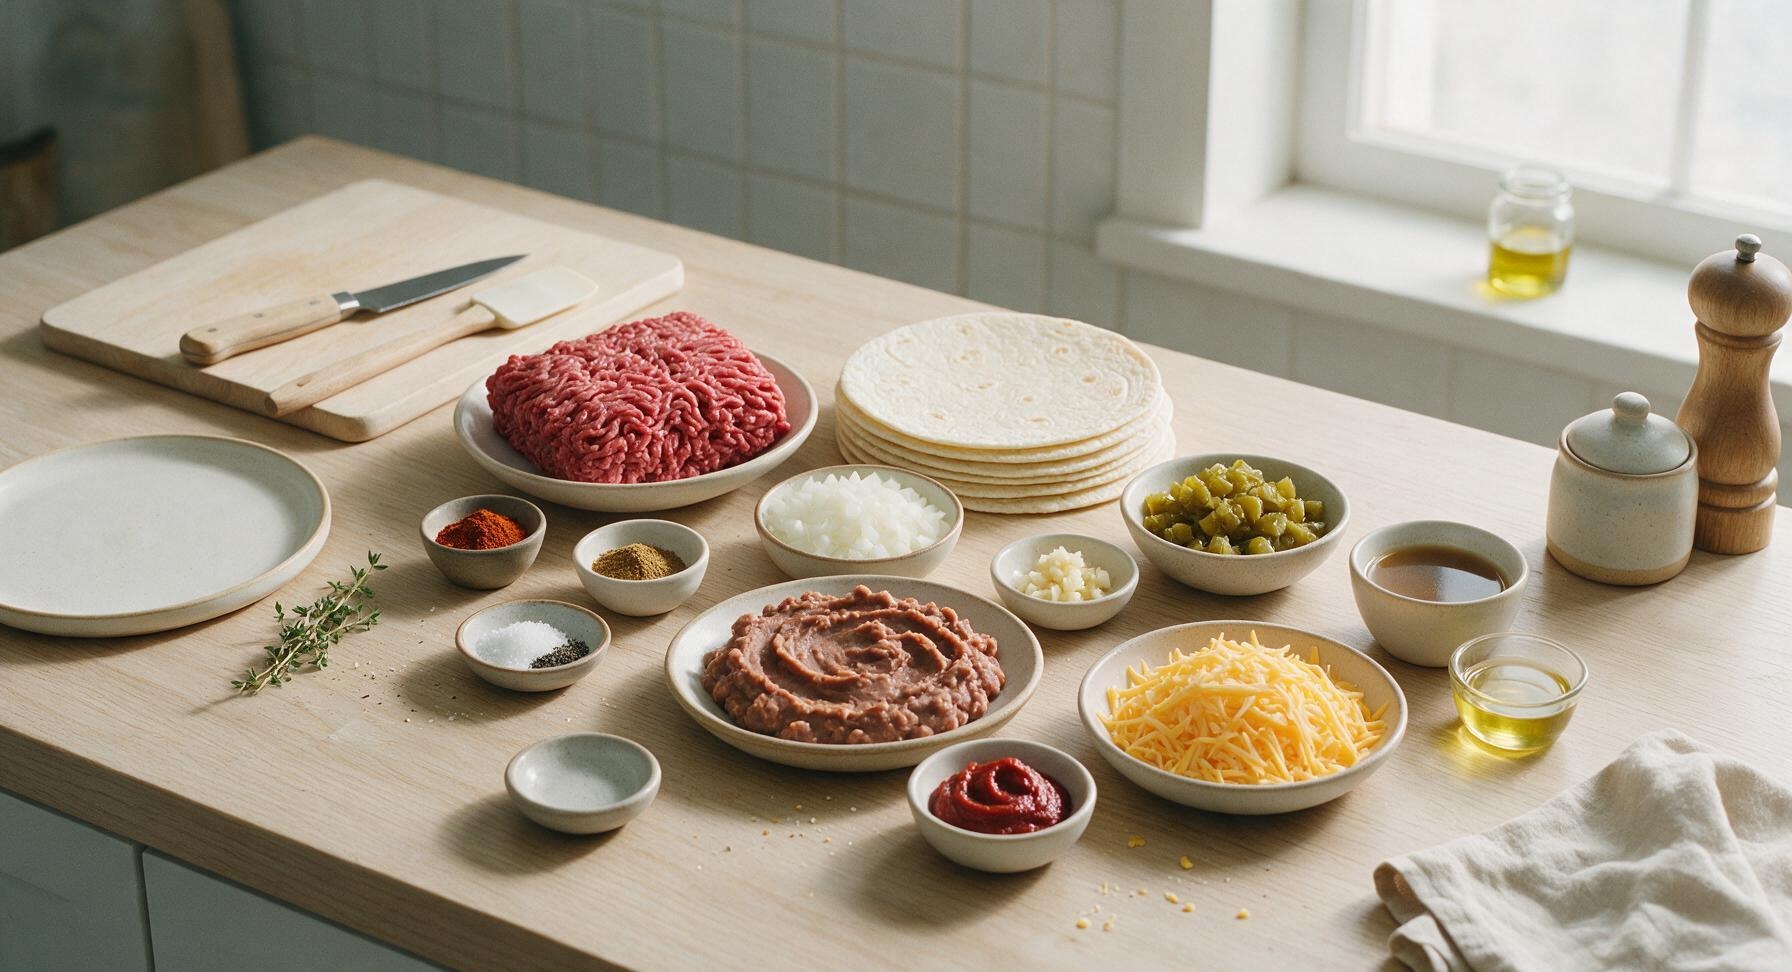
Lean ground beef (90/10) 500g
10-inch flour tortillas 8 each
Canned refried pinto beans 420g (1 can, lightly drained)
Sharp cheddar cheese, shredded 200g
Small yellow onion 120g (1 small, finely diced)
Garlic cloves 6g (2 cloves, minced)
Canned diced green chiles 113g (1 small can, drained)
Tomato paste 30g (2 tbsp)
Low-sodium beef broth 60ml (1/4 cup)
Chili powder 8g (1 tbsp)
Ground cumin 2g (1 tsp)
Kosher salt 5g (1 tsp)
Black pepper 1g (1/2 tsp)
Neutral canola oil 15ml (1 tbsp)

Steps

1

Prep Base Aromatics

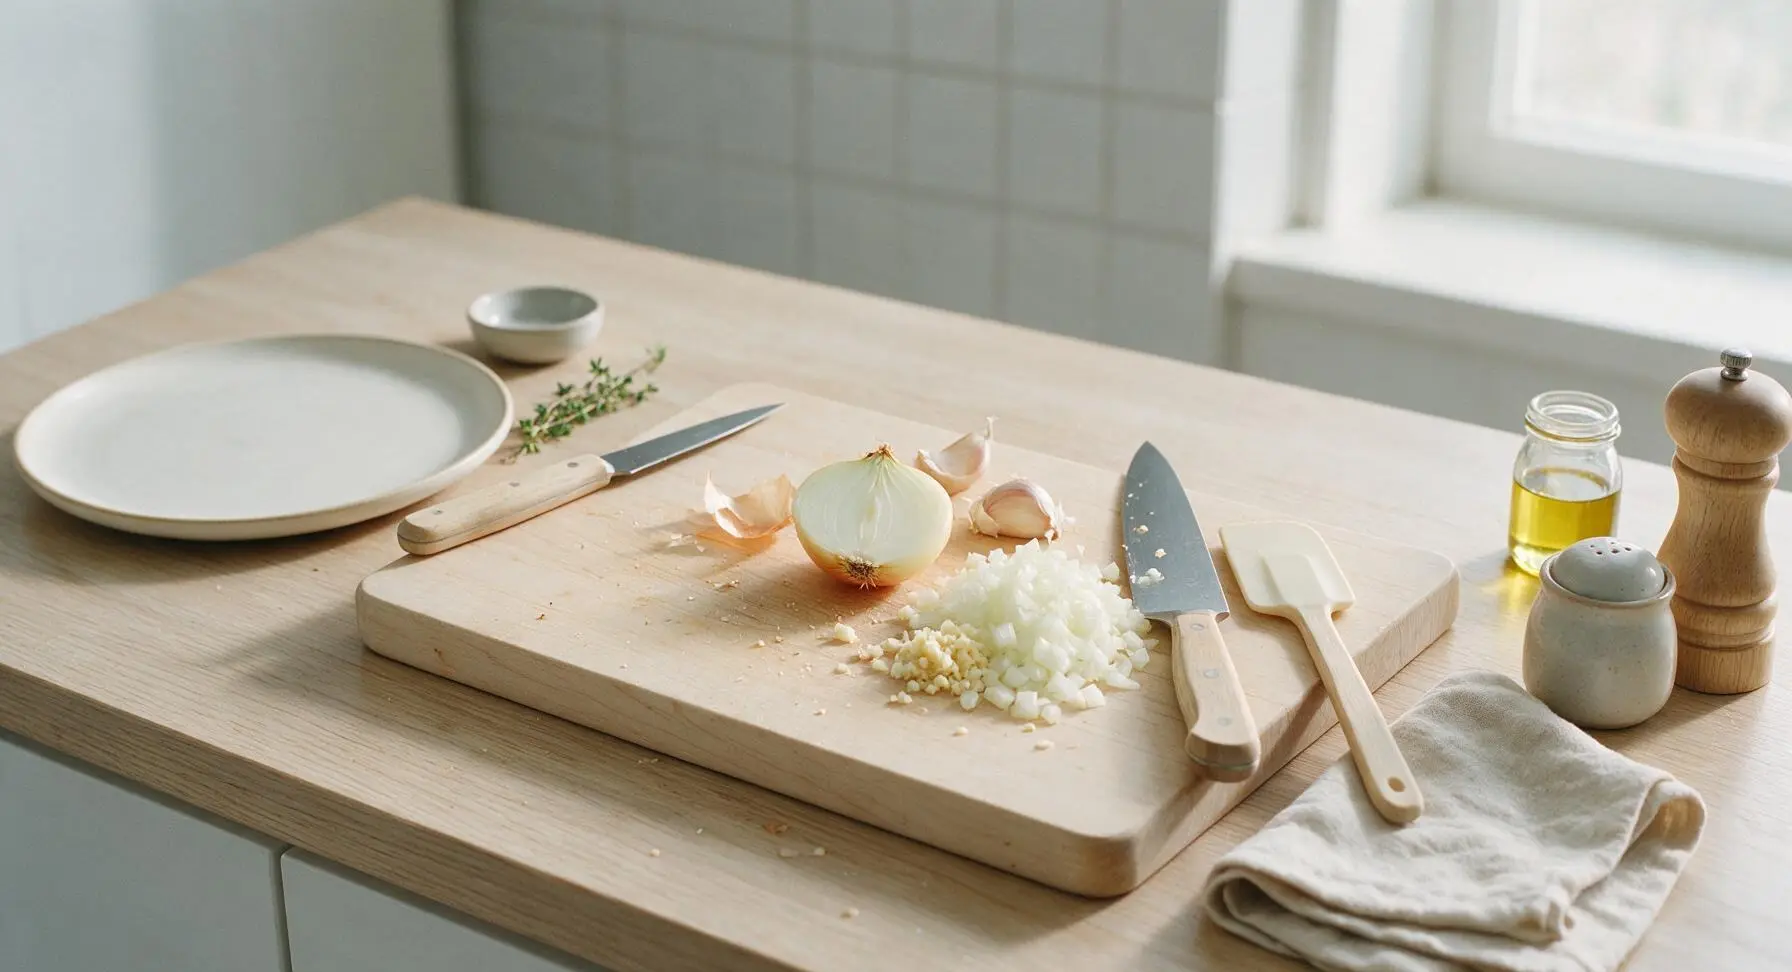
Place the small yellow onion and garlic cloves on the maple cutting board. Using the chef’s knife, dice the onion into uniform 5mm pieces, then mince the garlic finely. Pile the prepped onion and garlic on the edge of the cutting board, setting aside for cooking. Discard dry outer peels into an off-frame scrap bowl. Evenly sized pieces ensure consistent cooking without burnt garlic bits or undercooked onion chunks.
Step 1
step1:Prep Base Aromatics
2

Brown Ground Beef

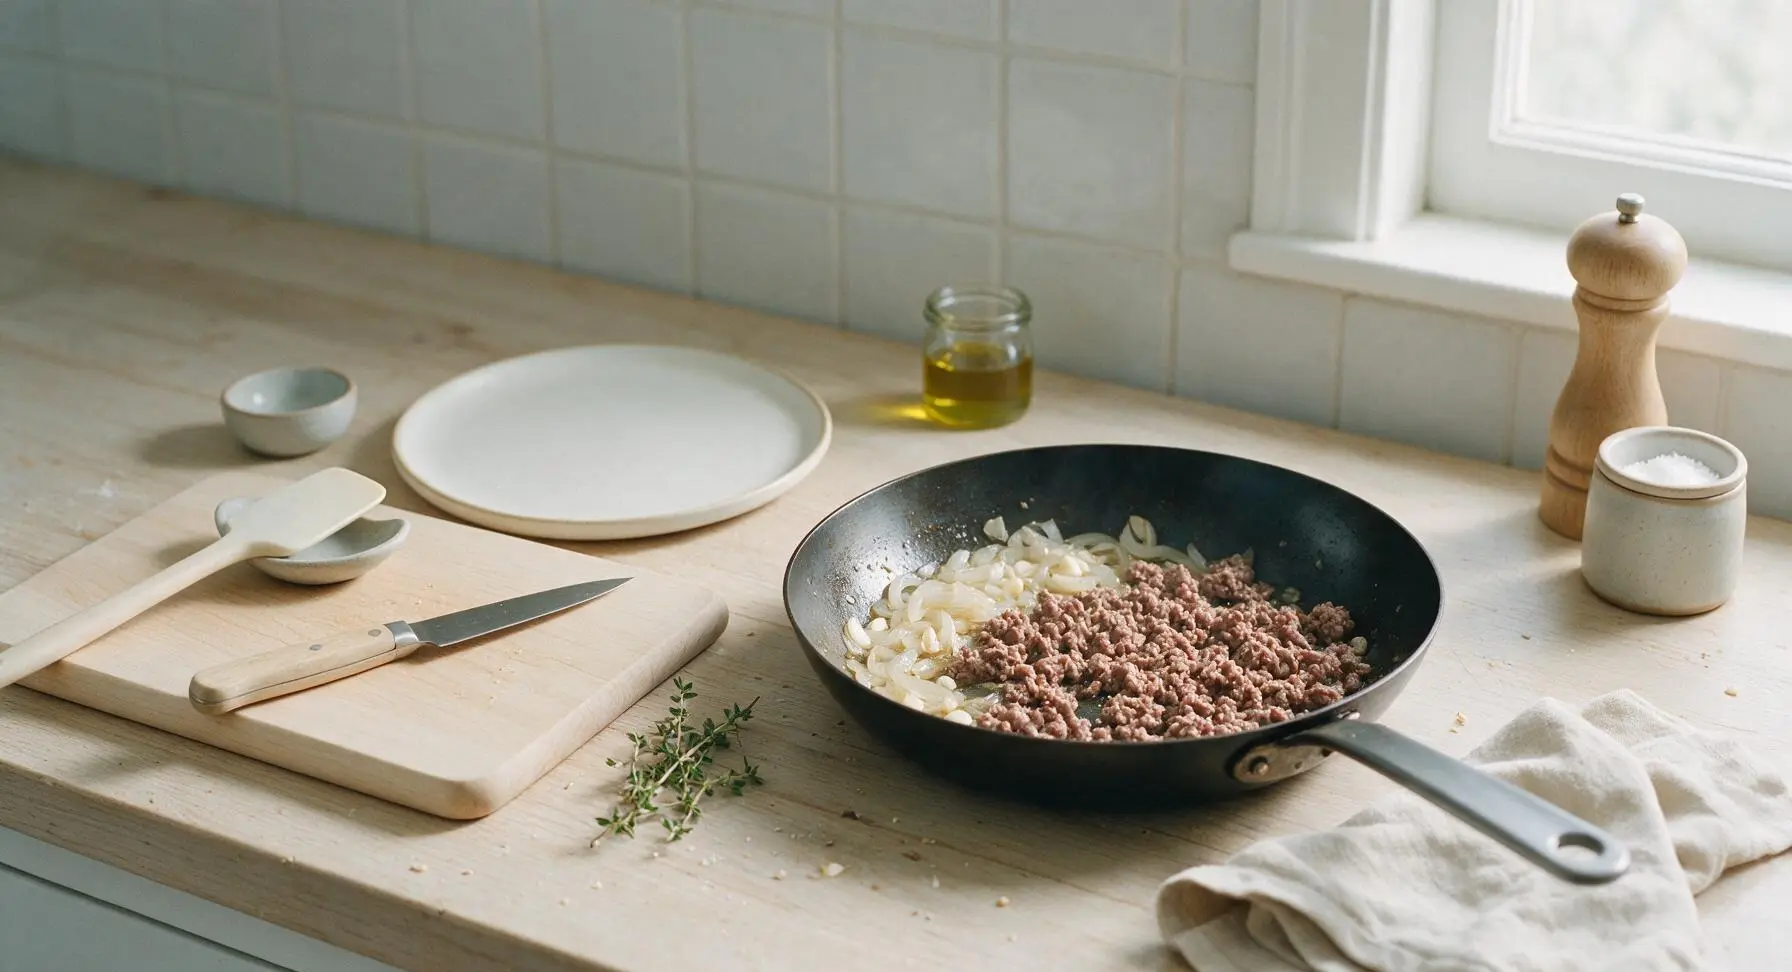
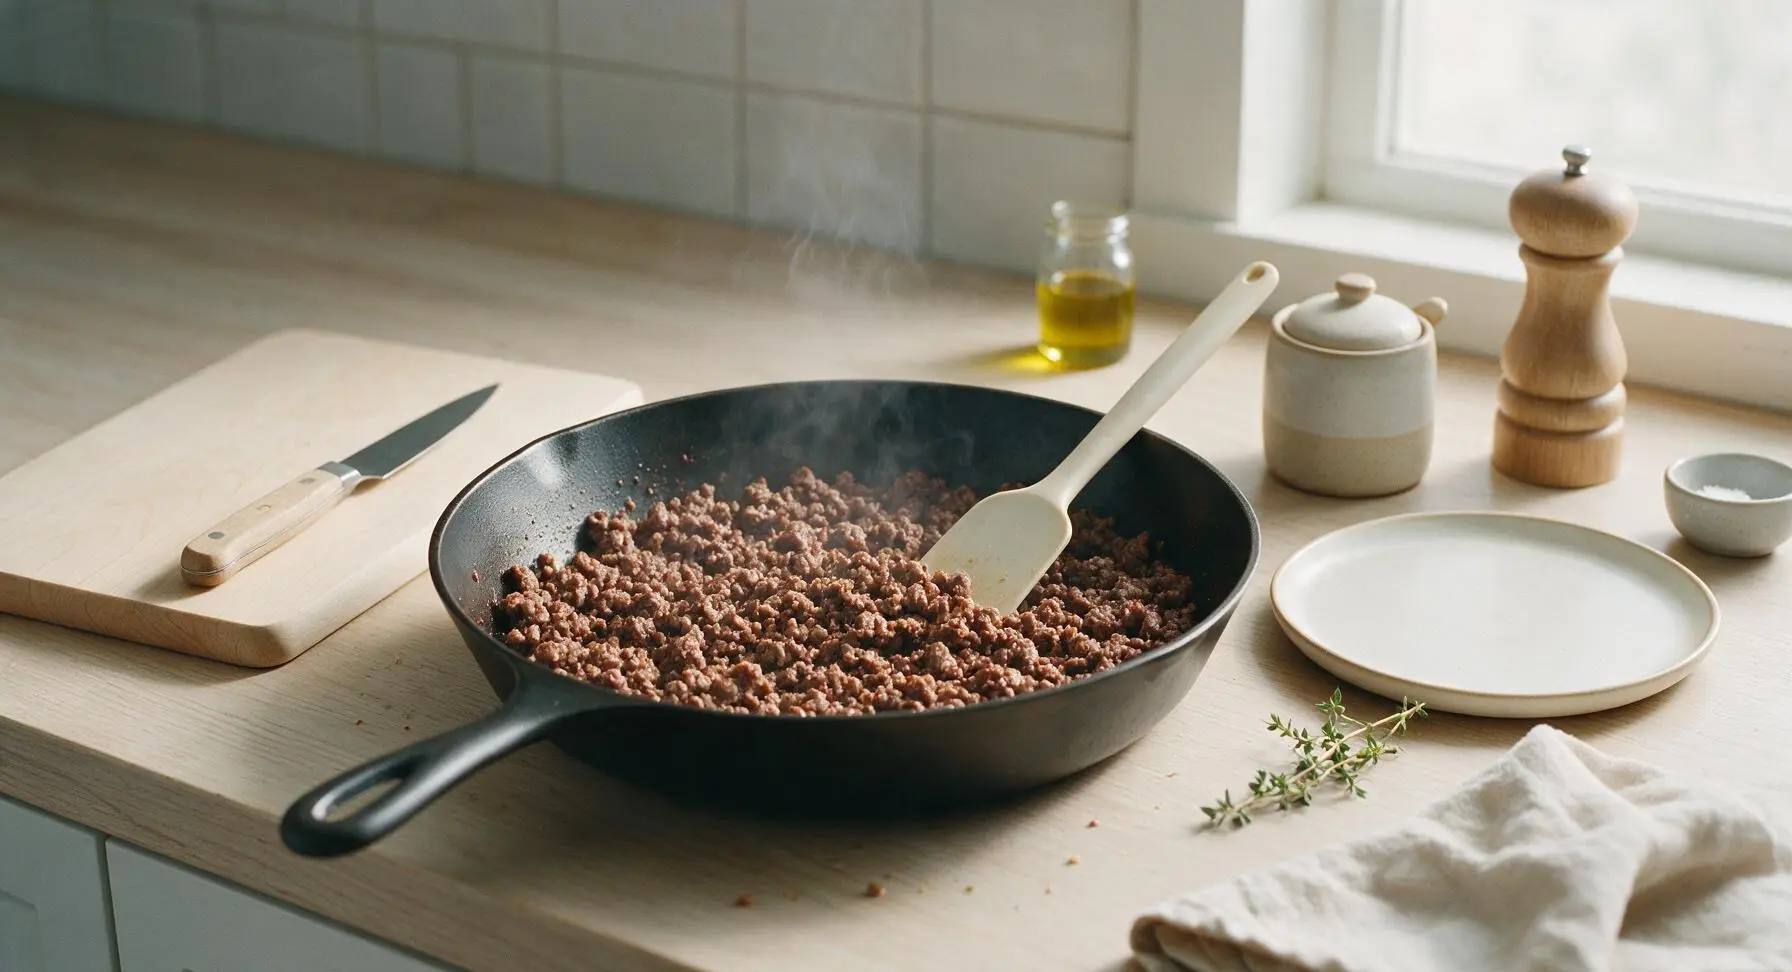
Place the 10-inch matte black carbon steel skillet in its fixed position right of the cutting board, heat over medium heat (175C/350F) for 2 minutes, then add 1 tablespoon neutral cooking oil. Add the diced onion to the skillet and sauté for 3 minutes until soft and translucent, stirring occasionally with the grey silicone spatula. Add minced garlic and cook for 30 seconds until fragrant, then crumble the 500g ground beef into the skillet. Break beef into small, even crumbles with the spatula as it cooks, for 5-6 minutes, until no pink remains and beef is evenly golden brown. Drain any excess rendered grease from the skillet if needed.
Step 2
step2:Brown Ground Beef
Step 2
step2:Brown Ground Beef
3

Season Beef Filling

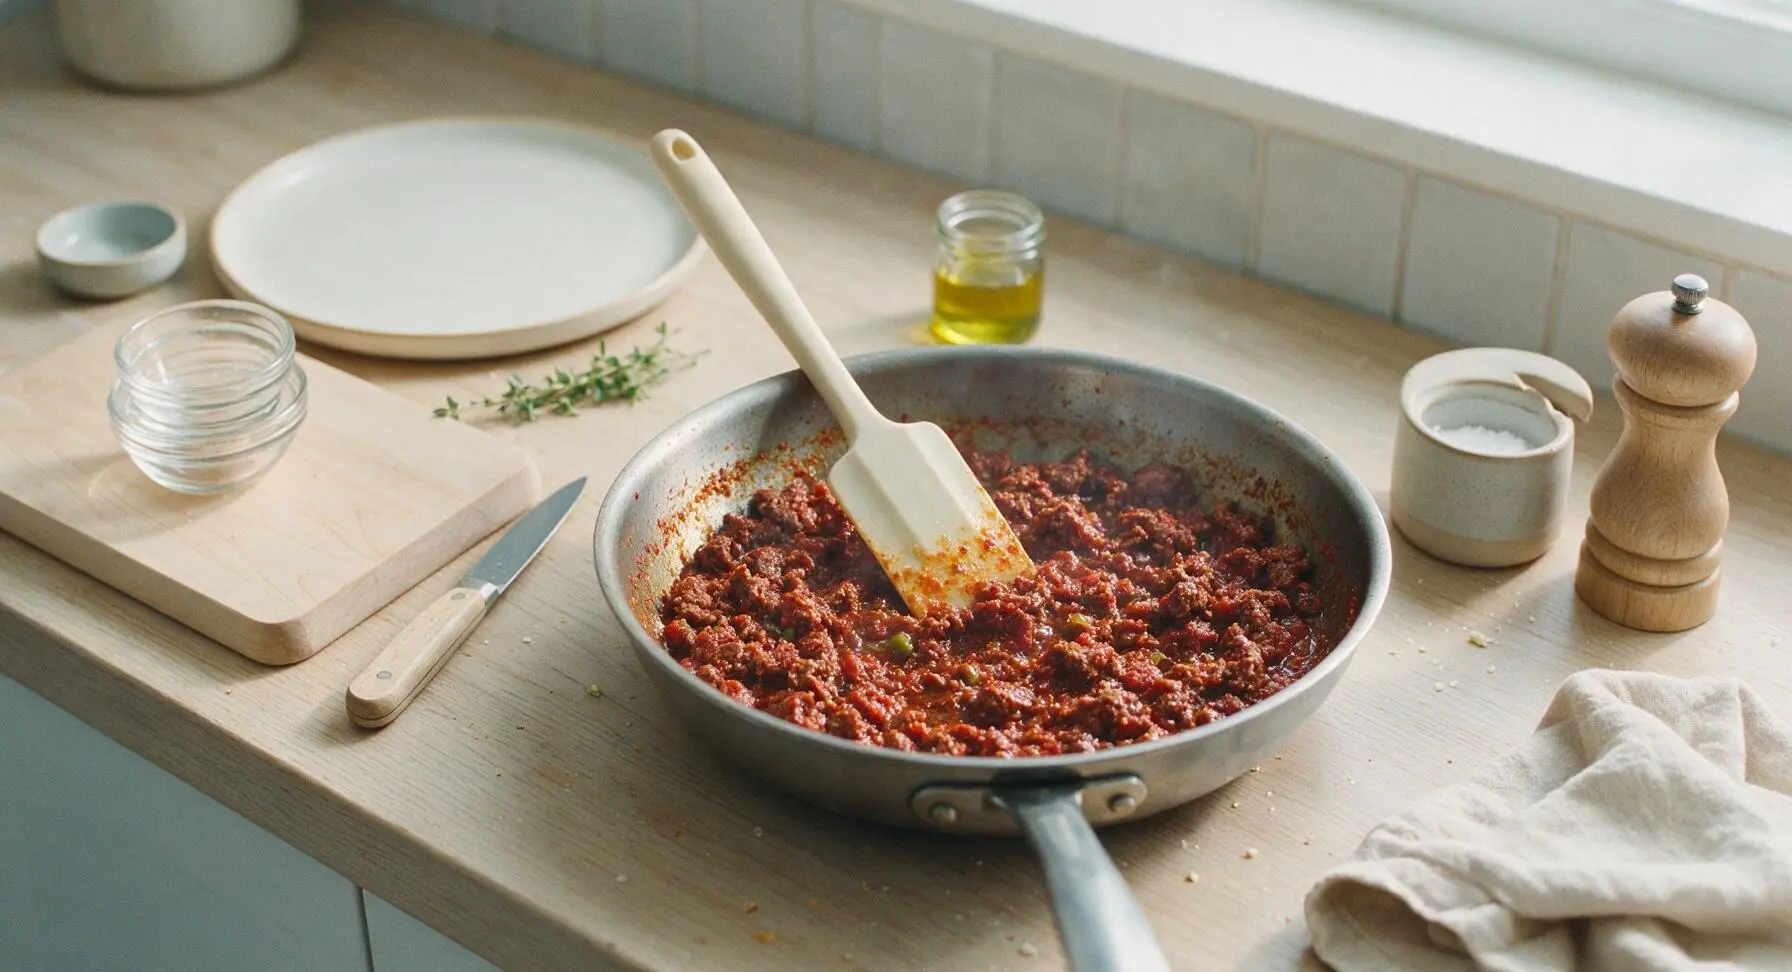
Add 2 tablespoons tomato paste to the skillet with browned beef, stirring to coat evenly, and cook for 1 minute until the paste darkens to a deep rust color. Add chili powder, ground cumin, kosher salt, and black pepper, stirring to toast spices for 30 seconds until aromatic. Pour in 60ml low-sodium beef broth and drained diced green chiles, stirring to combine. Bring to a gentle simmer, reduce heat to low, and cook 4 minutes until liquid reduces by half, creating a thick, moist filling with no runny excess (runny filling causes soggy frozen burritos).
Step 3
step3:Season Beef Filling
4

Mix Beans and Cool

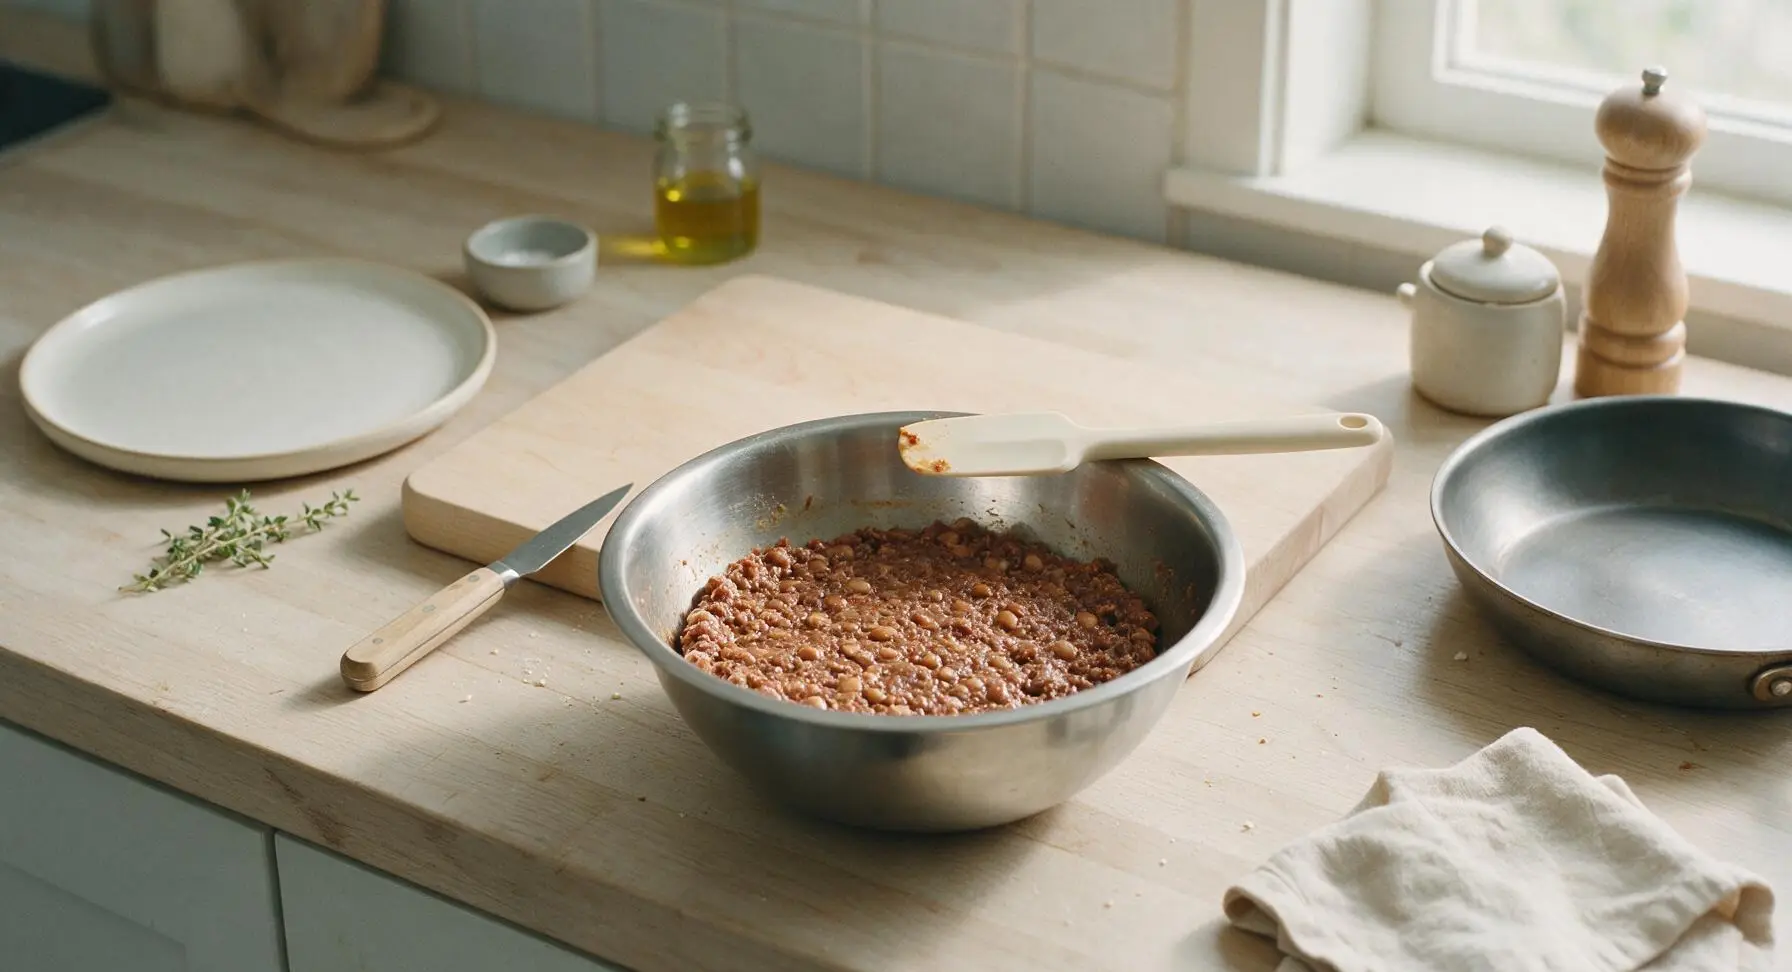
Remove the skillet from heat. Stir in the 420g refried pinto beans until fully combined with the beef mixture, creating a thick, cohesive filling that holds its shape when lifted with the spatula. Transfer the filling to the stainless steel mixing bowl, spread in an even 2cm layer across the bowl bottom, and let cool 10 minutes at room temperature. Never use hot filling to wrap burritos, as it creates condensation that leads to soggy tortillas and freezer burn.
Step 4
step4:Mix Beans and Cool
5

Roll Tight Burritos

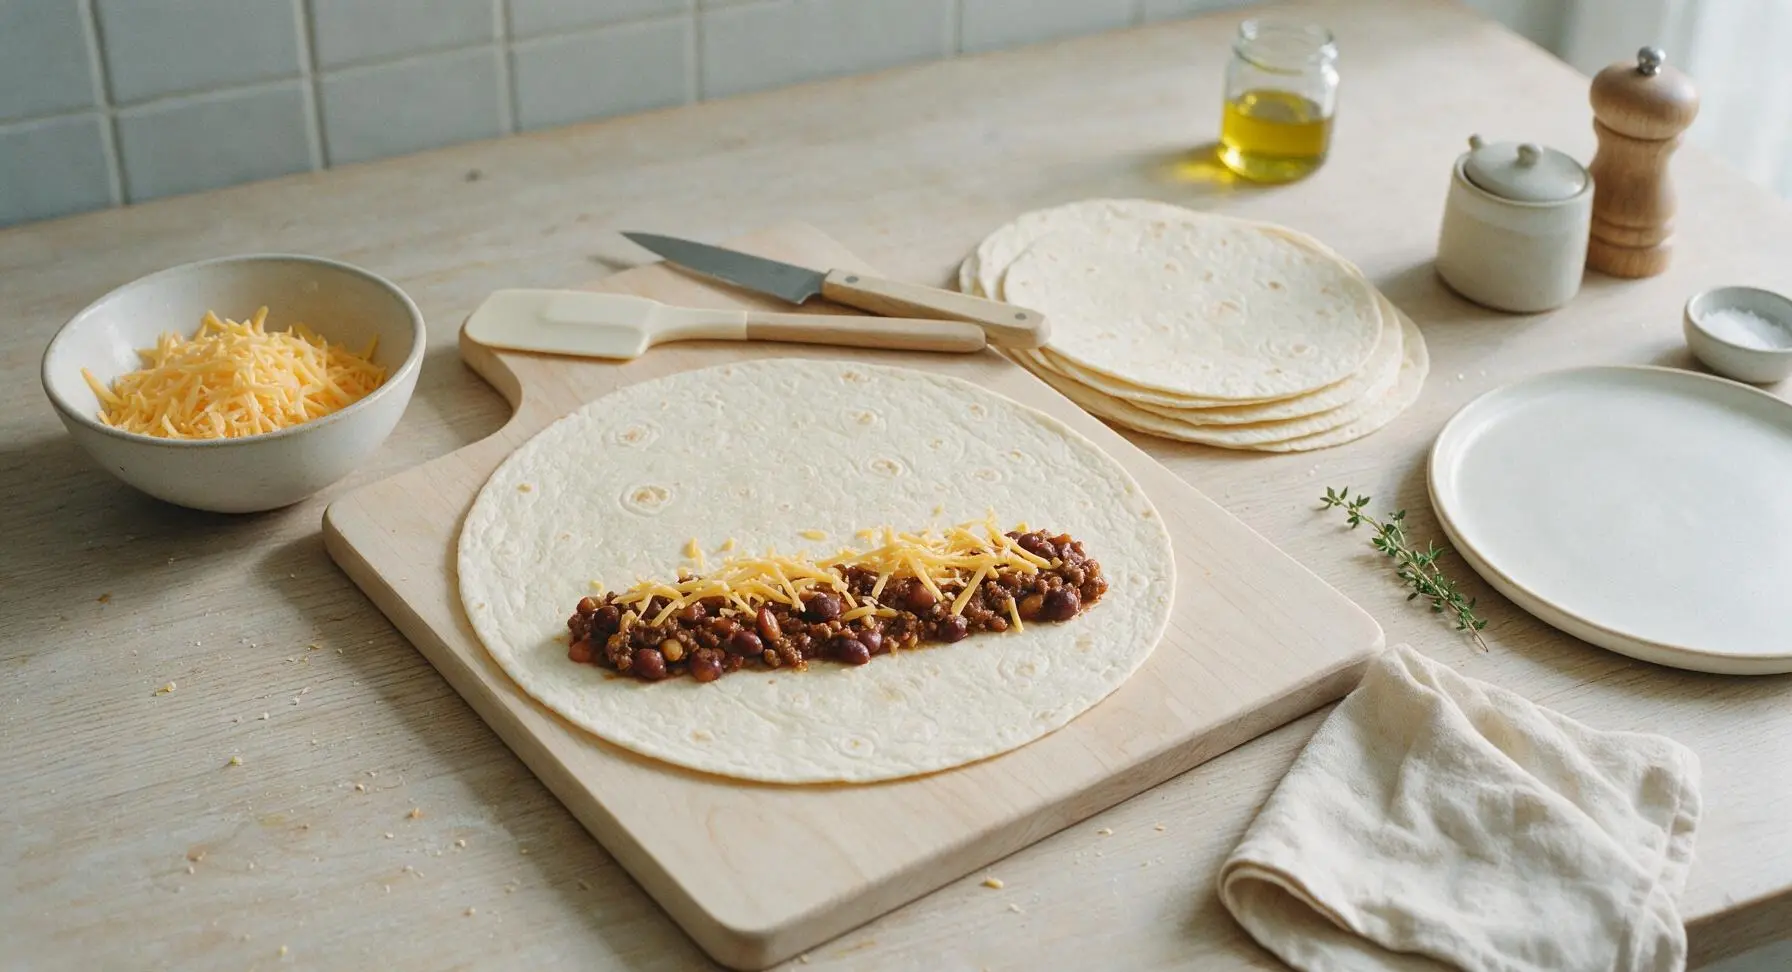
Lay one 10-inch flour tortilla flat on the maple cutting board. Scoop 1/8 of the cooled filling (~100g) in a horizontal line across the lower third of the tortilla, leaving a 2cm border on the left and right edges. Top the filling with 25g of shredded sharp cheddar cheese. Fold the left and right tortilla edges inward over the filling, then roll tightly from the bottom up to create a firm, sealed cylinder with no open gaps. Repeat with all remaining tortillas, filling, and cheese.
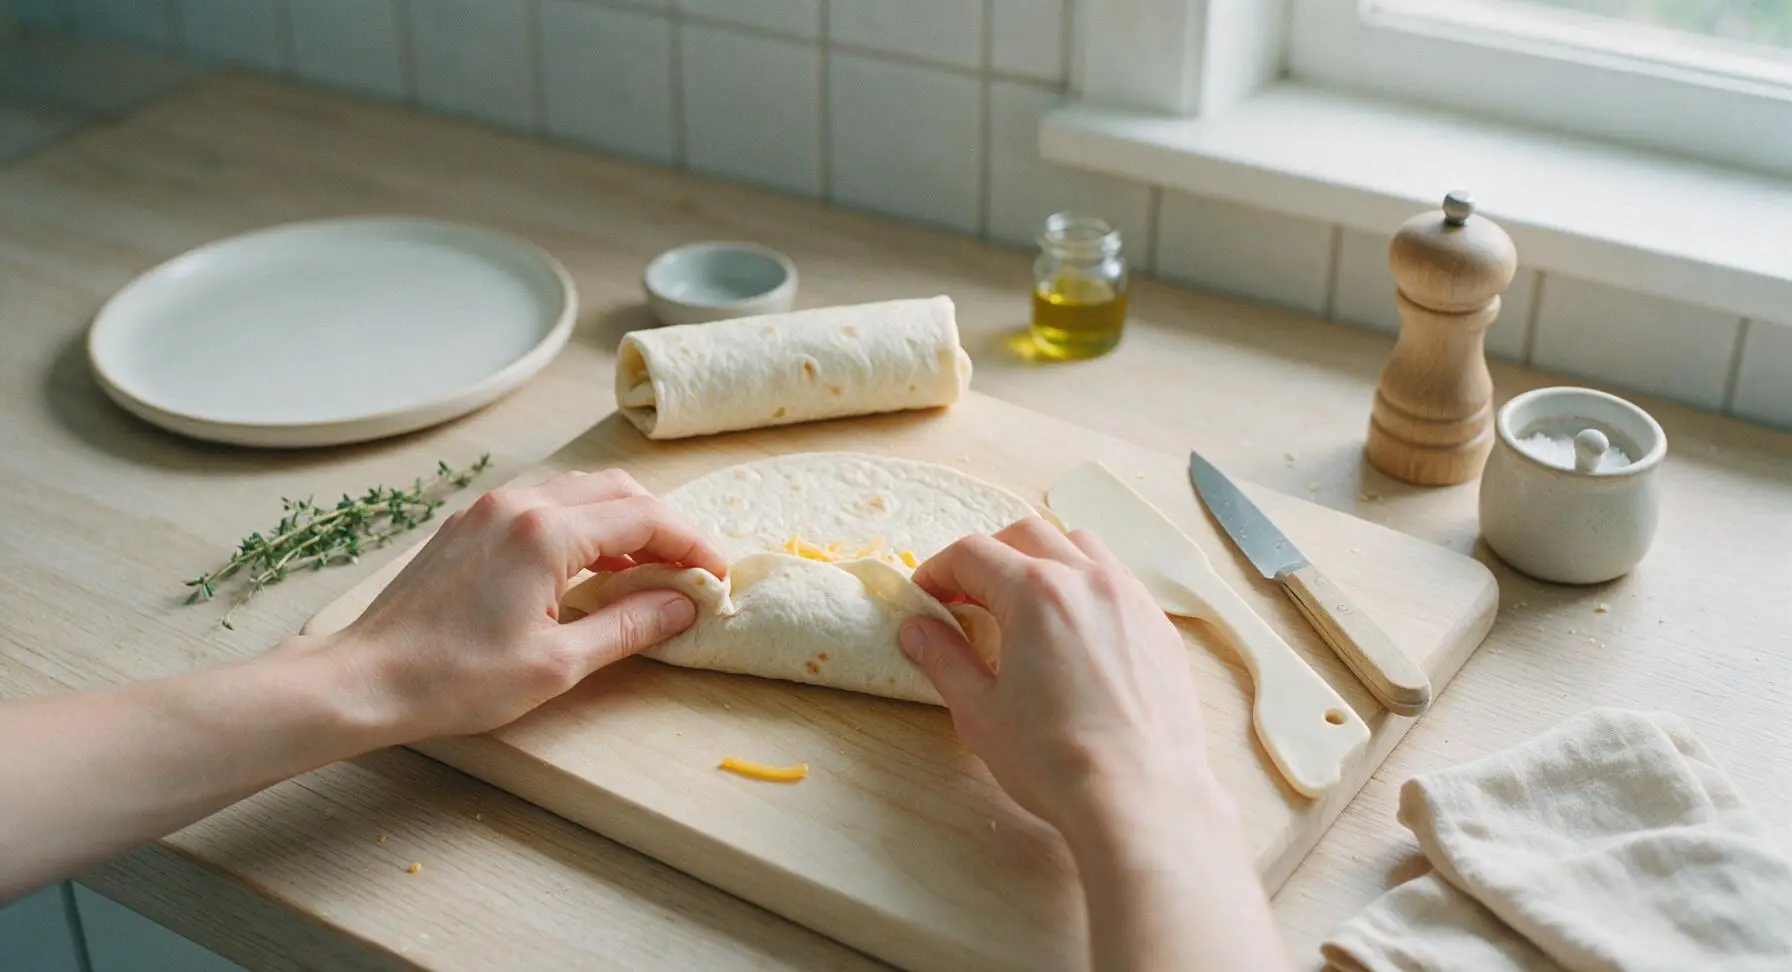
Step 5
step5:Roll Tight Burritos
Step 5
step5:Roll Tight Burritos
6

Freeze Burritos Solid

Arrange all rolled burritos seam-side down on the parchment-lined aluminum baking sheet, leaving 2cm of space between each to prevent sticking. Place the baking sheet in the freezer for 4-6 hours, until burritos are completely rock-hard with no soft spots when pressed gently. This flash-freeze step ensures individual burritos can be removed from storage without thawing the whole batch.
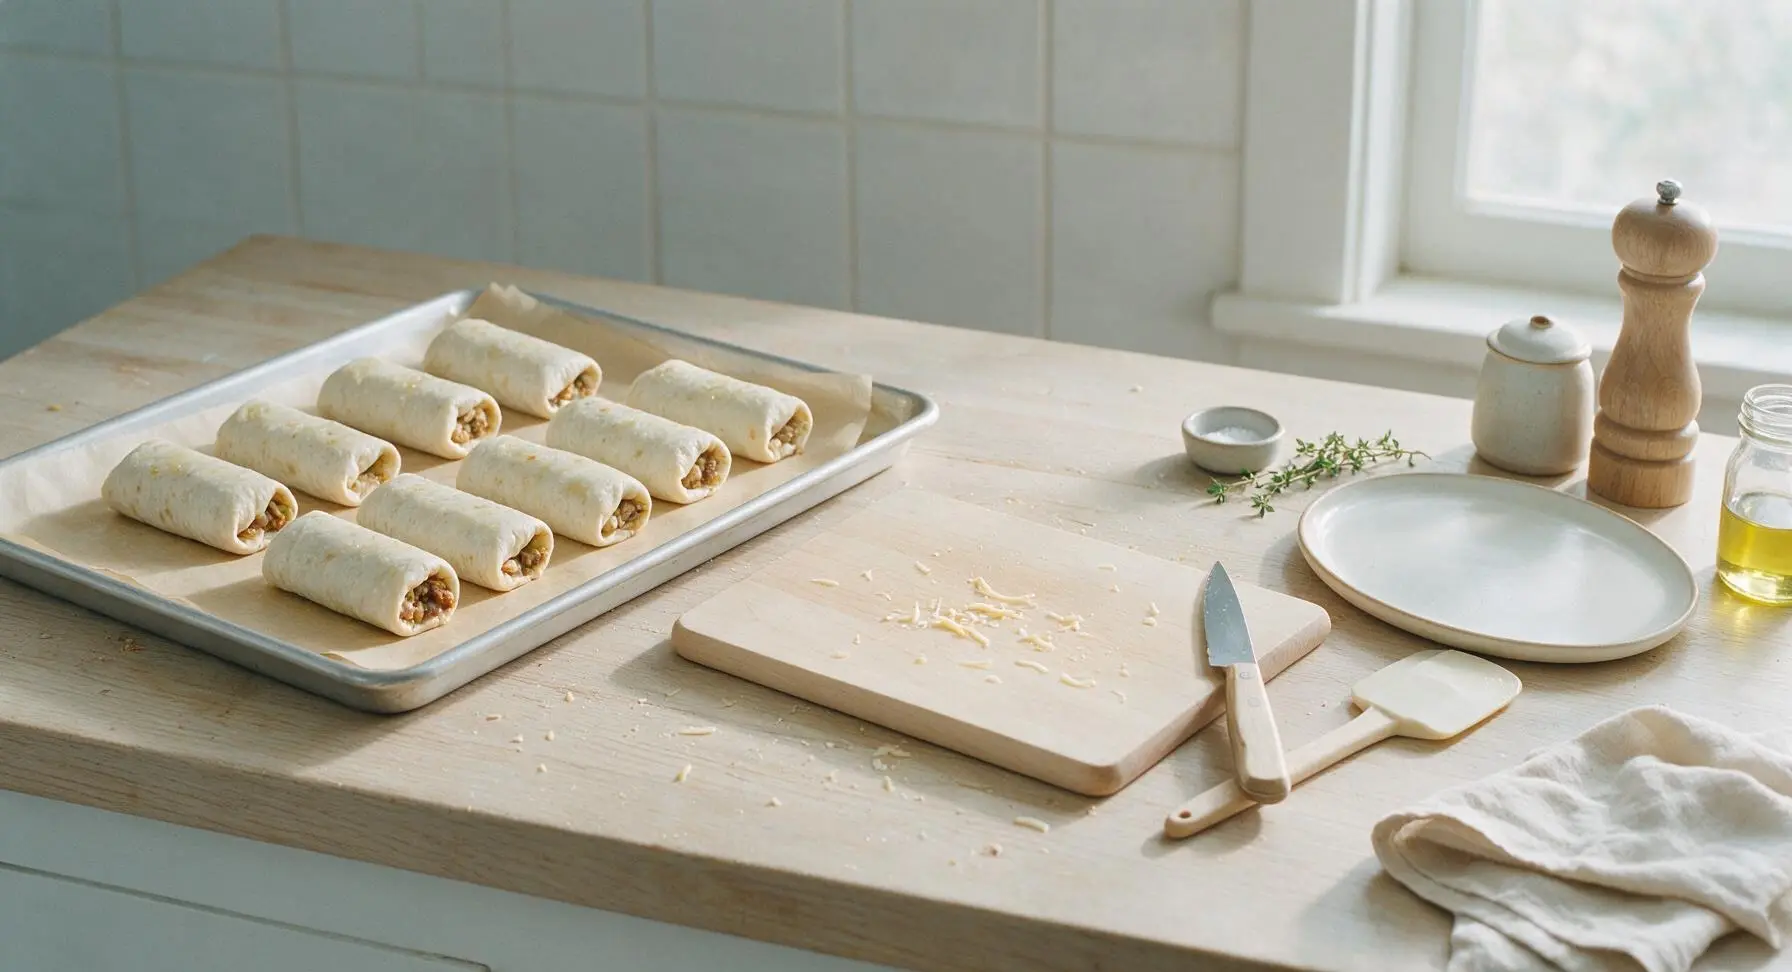
Step 6
step6:Freeze Burritos Solid
7

Package for Storage

Once burritos are fully frozen solid, transfer them from the baking sheet to labeled 1-gallon freezer-safe zip-top bags, pressing out all excess air before sealing. Store sealed bags in the freezer for up to 3 months. To reheat, wrap a burrito in a damp paper towel and microwave 2-3 minutes, flipping halfway, until internal temperature reaches 74C/165F, or bake at 180C/350F for 20 minutes for a crispier tortilla.
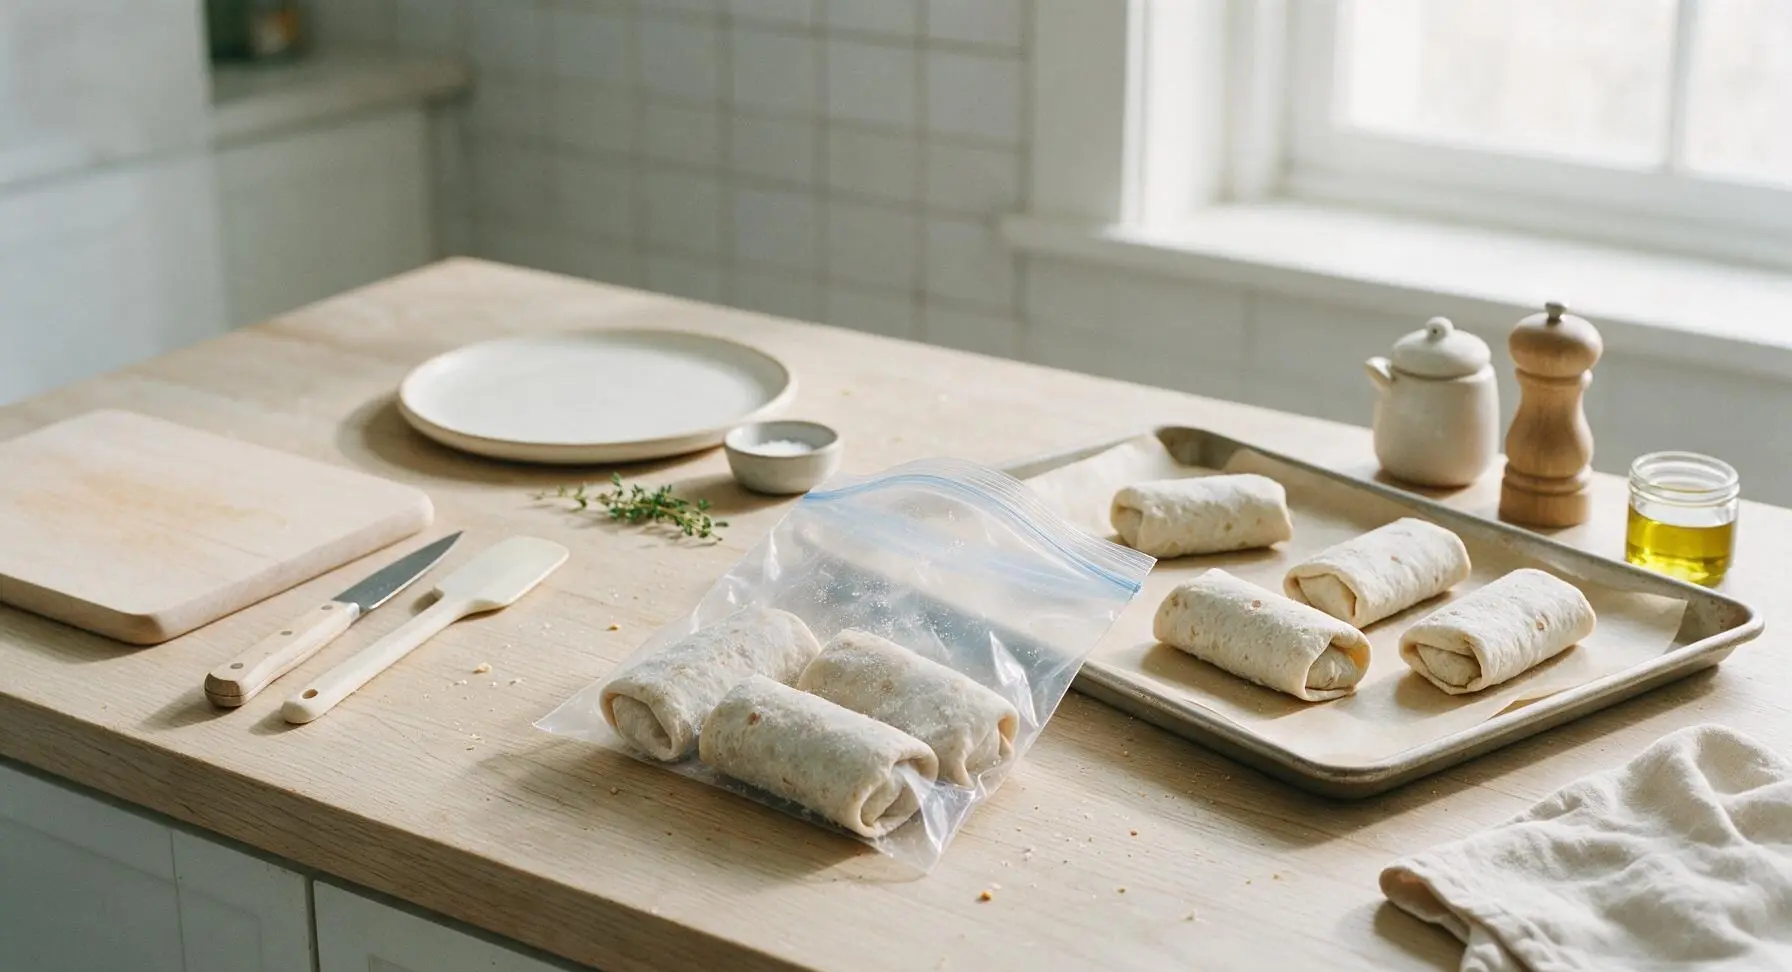
Step 7
step7:Package for Storage

Tips

1.Cool filling completely before rolling: Hot filling creates condensation inside tortillas, leading to soggy texture and icy freezer burn that ruins burrito quality after 1-2 weeks in storage.
2.Flash-freeze burritos on a baking sheet before bagging: This prevents burritos from fusing into a solid frozen block, so you can pull out one single serving at a time without thawing the entire batch.
3.Roll burritos as tightly as possible, tucking sides in fully: Loose rolls trap air pockets that cause freezer burn, and lead to filling spilling out during reheating for messy eating.


✨ You May Also Like

Main Course
🍜 United Kingdom

A showstopping classic of tender seared beef, savory mushroom duxelles, and crisp prosciutto wrapped in flaky golden puff pastry, baked to juicy perfection.

⏱️ 2 hours 1Main Course ★ 4.7
Main Course
🍜 India

Tender charred marinated chicken simmered in a rich, spiced creamy tomato sauce, this iconic Anglo-Indian curry pairs perfectly with basmati rice or warm naan.

⏱️ 50 minuteMain Course ★ 4.6
Main Course
🍜 Thailand

Classic tangy, sweet, and savory Thai stir-fried rice noodles with shrimp, tofu, and crunchy garnishes, balancing all five core Thai flavor profiles.

⏱️ 30 minuteMain Course ★ 4.5
Main Course
🍜 United Kingdom

Crispy golden beer-battered cod and fluffy double-fried chips, served with tangy tartar sauce and malt vinegar: the timeless, beloved British pub comfort classic.

⏱️ 45 minuteMain Course ★ 4.7
Main Course
🍜 Mexico

Smoky, chile-marinated pork tacos with caramelized pineapple, fresh cilantro, and lime: a beloved classic Mexican street food perfect for casual summer gatherings.

⏱️ 1 hour 45Main Course ★ 4.8
Main Course
🍜 United States

Crunchy Fritos corn chips layered with savory beef chili and melted cheddar, topped with cool, zesty fixings for a beloved, cozy Tex-Mex comfort food.

⏱️ 35 minuteMain Course ★ 4.8

frozen beef burritos:Frequently Asked Questions

1.How long will these frozen beef burritos stay good in the freezer? ▾
When wrapped tightly in plastic wrap followed by a layer of aluminum foil, or sealed in a heavy-duty freezer bag with all air pressed out, these burritos stay high-quality for up to 3 months. They’re technically safe to eat longer, but may develop freezer burn that dulls texture and flavor. Always label packs with the prep date for easy tracking.
2.Do I need to thaw frozen burritos before reheating them? ▾
No thawing is required, which is part of what makes these such a convenient weeknight win! Cook them straight from frozen: microwave for 2 to 3 minutes per side for a fast meal, or bake at 400°F for 35 to 40 minutes wrapped in foil if you prefer a crispier, less soft tortilla.
3.Can I swap the 90/10 lean ground beef for a different protein? ▾
Absolutely! Ground turkey, ground chicken, or crumbled plant-based meat crumbles all work as direct 1:1 swaps for the ground beef here. No matter which protein you pick, be sure to drain all excess grease after browning to prevent soggy, greasy tortillas once the burritos are frozen and reheated.
4.How do I keep my burritos from getting soggy after freezing and reheating? ▾
The number one rule is to let your cooked filling—sautéed diced yellow onion, seasoned beef, and beans—cool completely to room temperature before assembling. Never fill tortillas with hot filling, which creates condensation that leads to sogginess. Also, skip watery mix-ins like fresh salsa or sour cream before freezing; save those for post-reheat toppings.
5.Can I use corn tortillas instead of 10-inch flour tortillas for this recipe? ▾
Stick with 10-inch flour tortillas for the best results, as they’re flexible enough to tuck tightly around filling without tearing and hold up perfectly to freezing. Corn tortillas are too small, prone to cracking when rolled and frozen, and don’t have the sturdiness needed for these make-ahead burritos.
6.What extra mix-ins can I add to the filling without ruining the frozen texture? ▾
Low-moisture add-ins work great: try sautéed bell peppers, roasted corn, or diced green chiles, just be sure to cook them first and drain off all excess liquid before mixing into the filling. Skip high-moisture picks like fresh diced tomatoes or lettuce, which turn mushy and watery in the freezer.
7.What’s the best way to wrap burritos to prevent freezer burn and leaks? ▾
Start by folding the two side edges of the tortilla in over the filling, then roll tightly from the bottom up to enclose all ingredients completely. Wrap each individual burrito in a tight layer of plastic wrap, then a layer of aluminum foil, before tucking them into a labeled, airtight freezer bag.
8.Can I use a different cheese instead of sharp cheddar? ▾
Of course! Shredded Monterey Jack, spicy pepper Jack, or a pre-mixed Mexican cheese blend all work beautifully as direct swaps for sharp cheddar. For the creamiest melt, shred cheese from a block yourself—pre-shredded cheese has anti-caking agents that can create a slightly grainy texture after reheating.
9.Do I need to cook the canned refried beans before adding them to the filling? ▾
Canned refried beans are fully cooked, so you don’t have to simmer them separately, but I recommend warming them slightly and stirring them into your seasoned cooked beef right before letting the filling cool. This helps the beans spread evenly, meld with the beef spices, and stay creamy after freezing and reheating.
10.Can I reheat these frozen burritos in an air fryer? ▾
Absolutely, and the air fryer creates an extra crispy tortilla that’s hard to beat! Cook unwrapped frozen burritos at 380°F for 15 to 18 minutes, flipping halfway through, until the filling hits 165°F internally and the tortilla is golden crisp. Let them rest 2 minutes before eating to avoid burns from hot, melty filling.

Comments (4)

3 days ago

OMG these are a total game changer for my weeknight family dinner rotation! I made a double batch during my Sunday meal prep, stuffed them with a little extra pepper jack and diced green chiles, and my kids loved them — they devoured two each after soccer practice this week. No more last minute fast food runs when we’re running between activities! Cook time was actually even faster than the listed 20 minutes for the filling, which was such a nice bonus for a busy mom.

2 days ago

Wait quick question — did you wrap them in parchment or plastic before freezing? I tried making frozen burritos once a couple months back and they got all icy and freezer burned, plus the tortillas got soggy when I reheated them. Really want to give these a shot if they hold up better!

2 hours ago

So glad these are working out for your busy schedule! The trick to avoiding freezer burn and soggy tortillas is to let the beef filling cool completely first, then wrap each burrito tightly in plastic wrap before tucking them into a labeled zip-top freezer bag. They stay perfect for up to 3 months! Reheat straight from frozen in the microwave for 2-3 minutes, or pop them in the oven for 20 minutes if you want a slightly crispy outside.

yesterday

Made these for our neighborhood block party potluck last weekend and people were begging for the recipe! I used a mix of ground beef and black beans because I had a half can of beans open in the fridge, and they were SO good. Super easy to throw together even after a long work day, no fancy skills or weird ingredients required. My only tweak was adding a little extra cumin to the filling for extra smokiness.

5 days ago

Tried a small test batch of these last night and they’re perfect for my dorm room! I only have a tiny mini fridge/freezer and a microwave, so make-ahead meals that don’t require a ton of space are a win. Quick question though — how long do these actually stay good in the freezer? I want to stock up so I don’t blow my food budget on Uber Eats during midterms.

3 days ago

Great question! These stay fresh in the freezer for up to 3 months when wrapped tightly, which makes them perfect for stocking up for busy study weeks. A quick tip to avoid soggy tortillas: don’t add salsa or sour cream before freezing — save those to top with right after reheating, and they’ll taste just as good as fresh!

1 week ago

These are my new go-to car camping meal! I wrapped a half batch in foil and tossed them in my cooler last weekend, reheated them over the camp stove on our lunch break during a hike and they were chef’s kiss. Way cheaper and tastier than those overpriced freeze-dried camp meals I used to buy. Next time I’m adding some roasted corn and extra lime to the filling for a little zing.

5 days ago

Wait that is such a smart hack! I’ve been dragging my feet on planning our next camping trip because I hate how much work meal prep for the site is, this is perfect. Do you reheat them straight in the foil over low heat, or do you unwrap them?



