
frozen breakfast burritos healthy

title 1
frozen breakfast burritos healthy
⏱️ cook time 25 minutes
🍽️ servings 8
⚡ Difficulty easy

intro

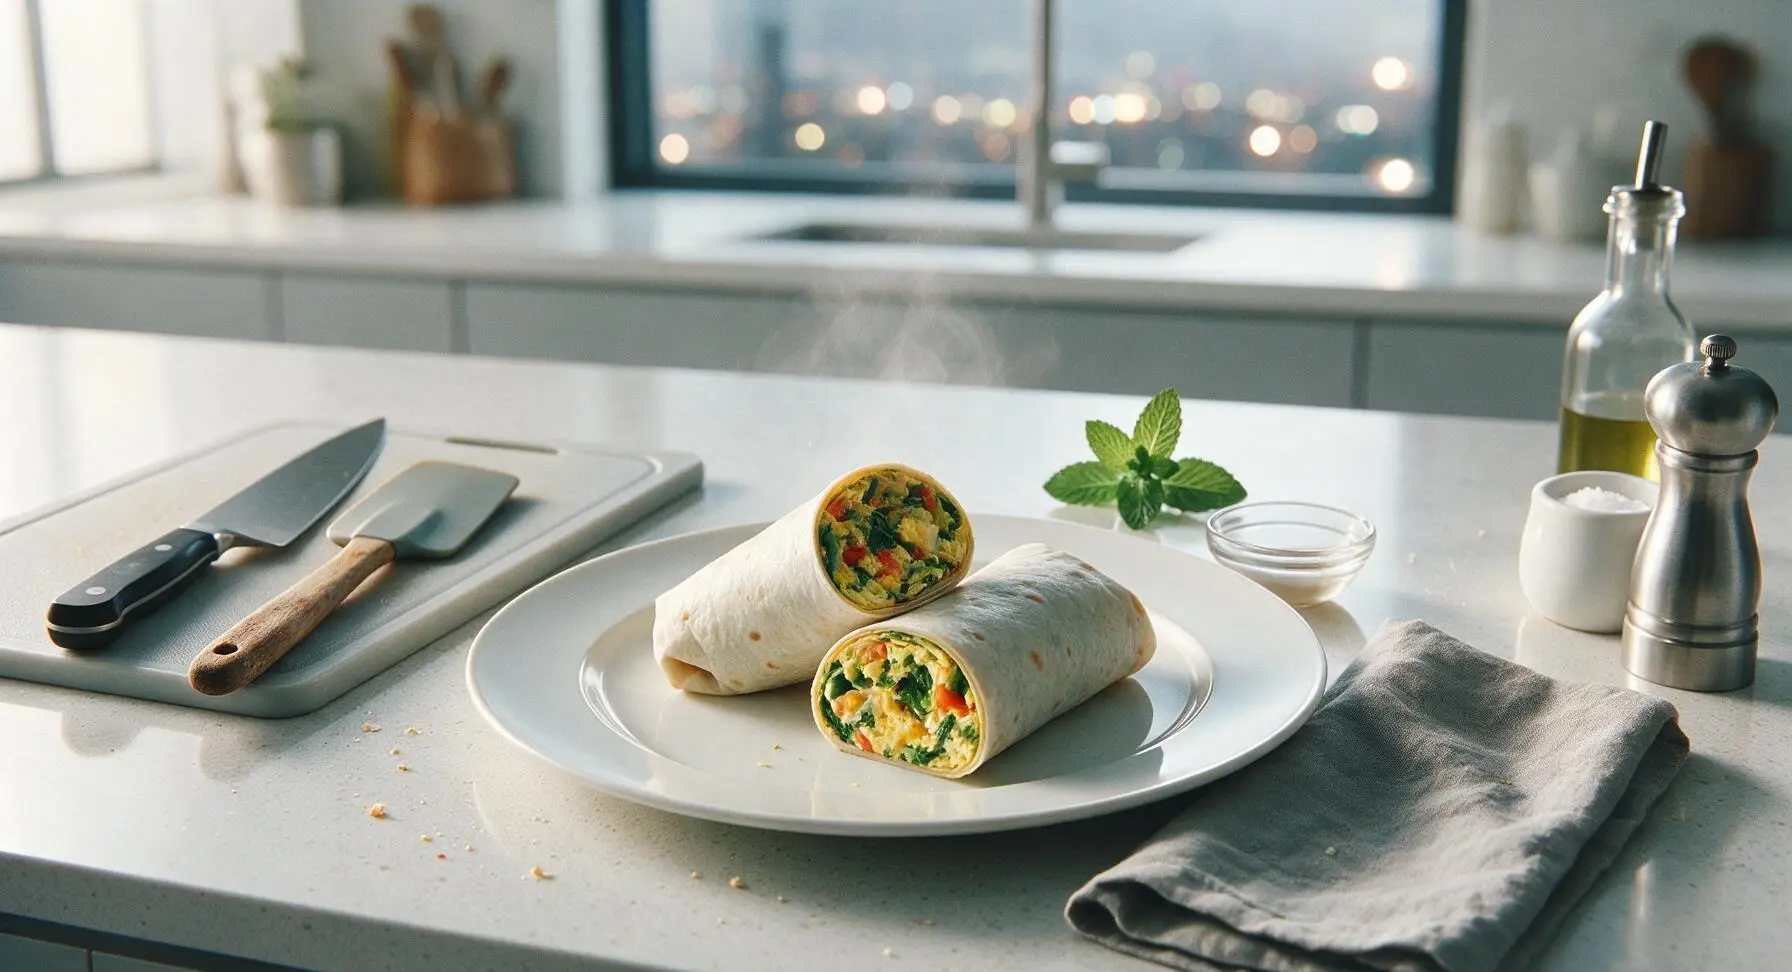
Protein-packed, veggie-loaded healthy frozen breakfast burritos you prep once, freeze, and reheat in 3 minutes for busy mornings or quick weeknight meals—no soggy tortillas, all bright flavor.

Ingredients
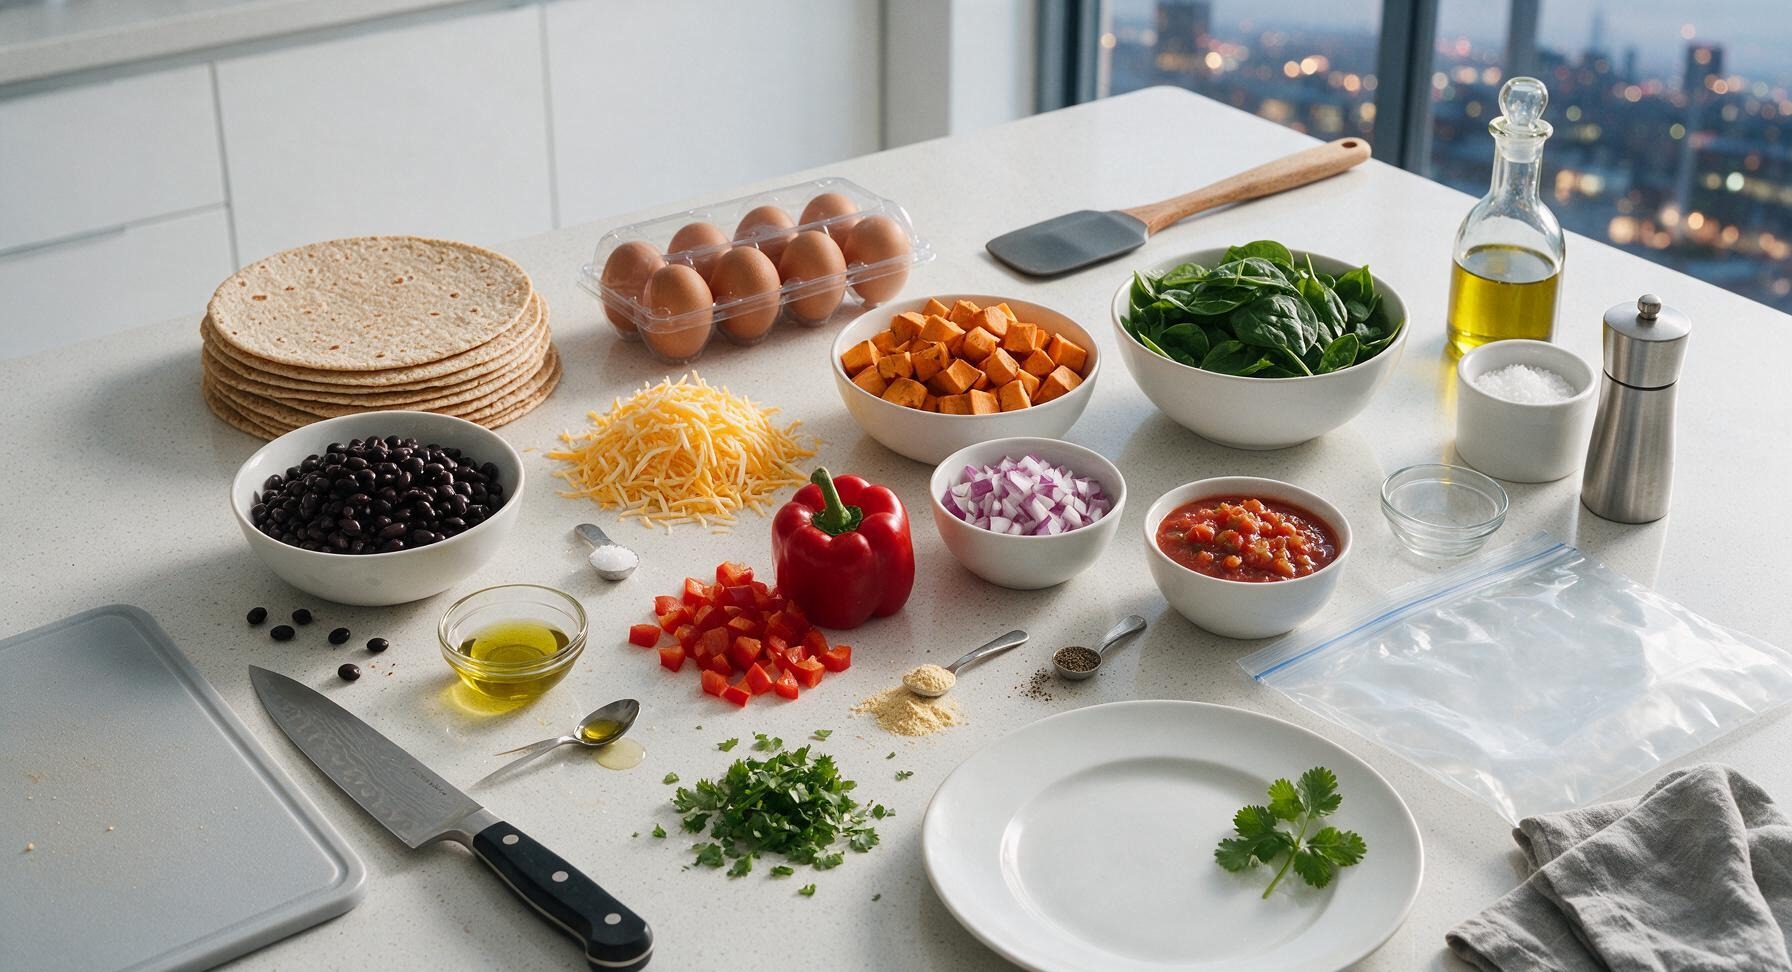
10-inch whole wheat tortillas 8 each
Large eggs 8 each
Low-fat shredded cheddar cheese 1 cup (113g)
Medium sweet potato 1 each (200g, 1/2-inch diced)
Canned black beans (rinsed, drained) 1 can (15oz / 425g)
Baby spinach 2 cups (60g)
Red bell pepper 1 medium (150g, diced)
Red onion 1/2 cup (75g, diced)
Mild red salsa (for serving) 1/2 cup (120g)
Extra-virgin olive oil 1 tablespoon (15ml)
Kosher salt 1/2 teaspoon
Black pepper 1/4 teaspoon
Garlic powder 1/2 teaspoon
Fresh cilantro 1/4 cup (10g, chopped)
Gallon-sized resealable freezer bag 1 each

Steps

1

Roast Sweet Potato Cubes

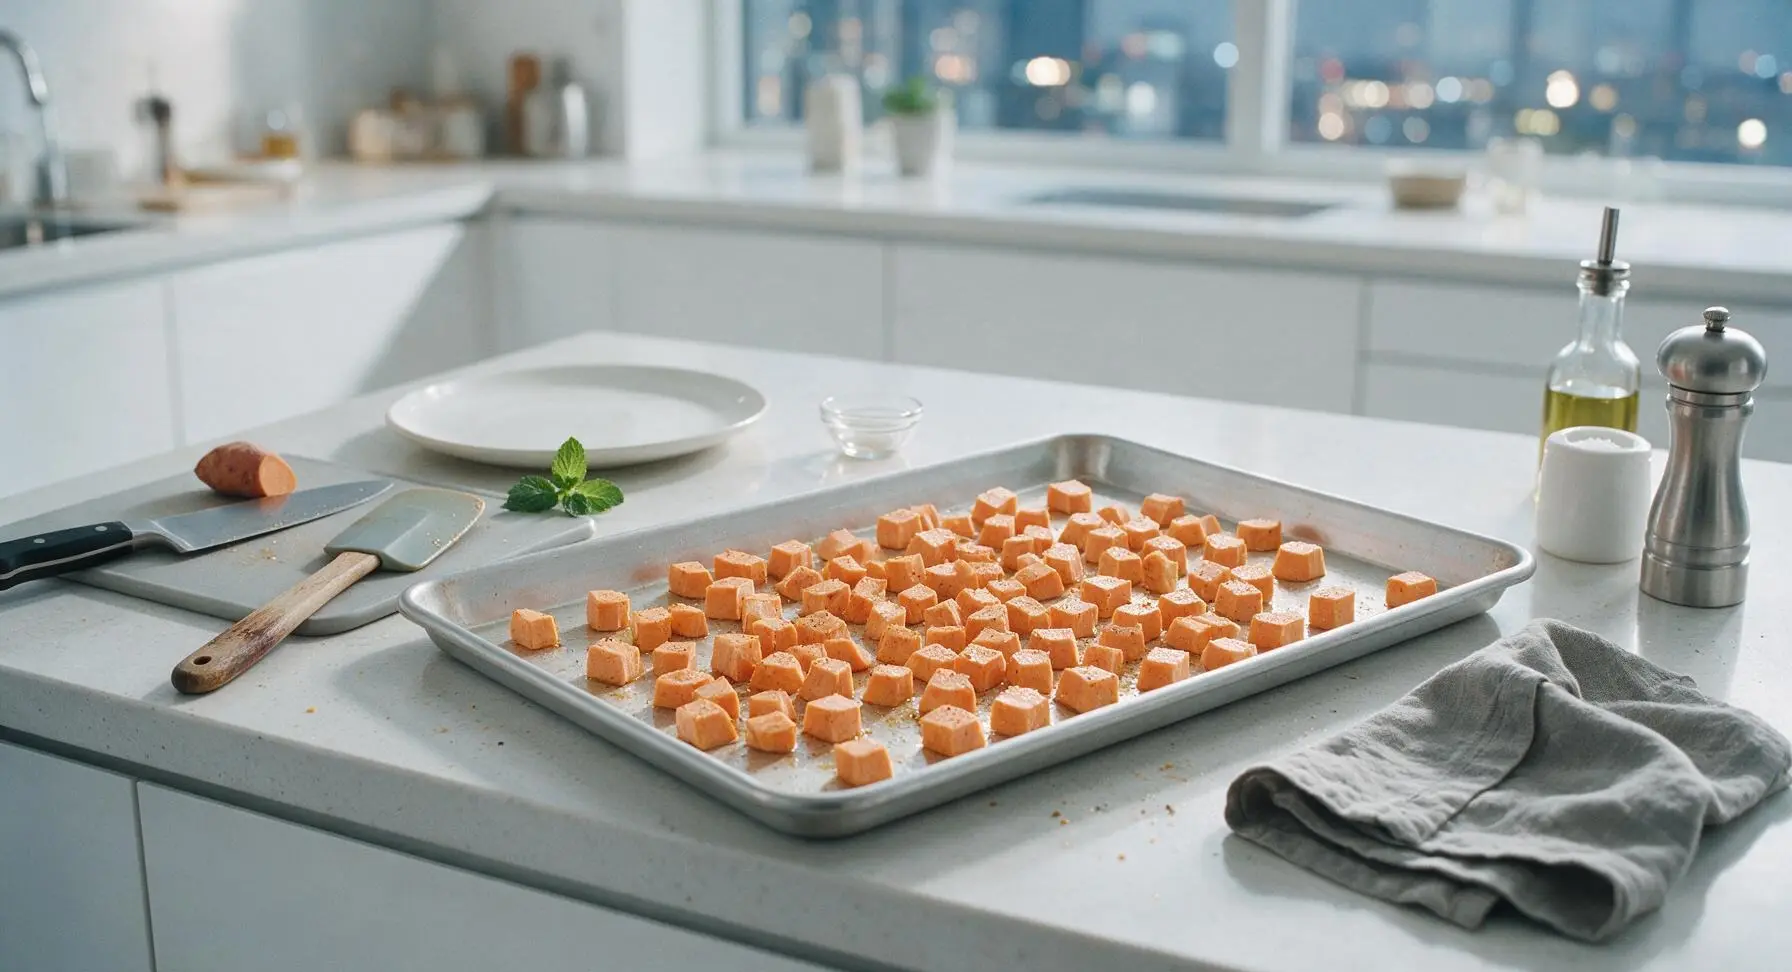
Preheat oven to 400°F (200°C). Toss diced 1/2-inch sweet potato cubes with 1 teaspoon olive oil, 1/4 teaspoon kosher salt, and a pinch of black pepper until evenly coated. Spread in a tight single layer on the aluminum baking sheet, then roast for 15 minutes until fork-tender and lightly golden at the edges. Transfer to a plate and let cool completely to room temperature (about 10 minutes) before assembling, to prevent condensation buildup.
Step 1
step1:Roast Sweet Potato Cubes
2

Sauté Veggie Fillings

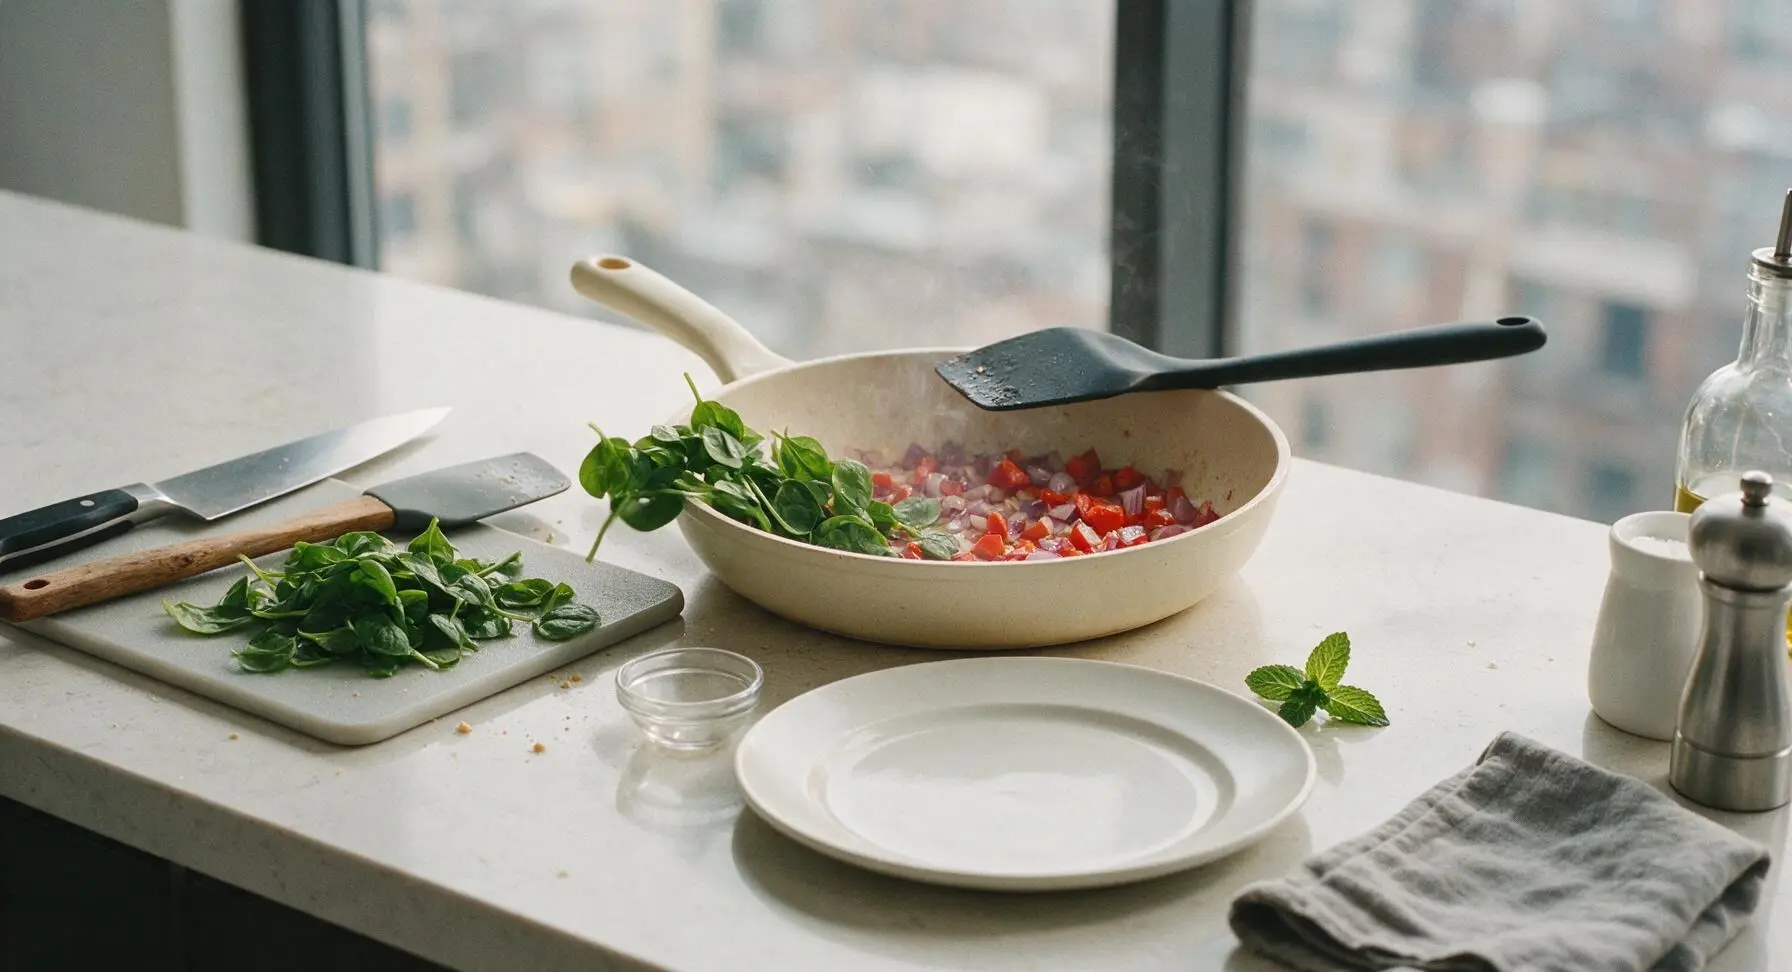
Heat the remaining 2 teaspoons of olive oil in the ceramic skillet over medium heat. Add diced red onion and red bell pepper, cooking for 5 minutes and stirring occasionally with the silicone spatula, until vegetables are soft and slightly caramelized at the edges. Add baby spinach and garlic powder, stirring constantly for 1 minute until spinach is fully wilted. Transfer the vegetable mixture to a plate, drain off any excess released liquid, and let cool completely to room temperature.
Step 2
step2:Sauté Veggie Fillings
3

Cook Fluffy Eggs

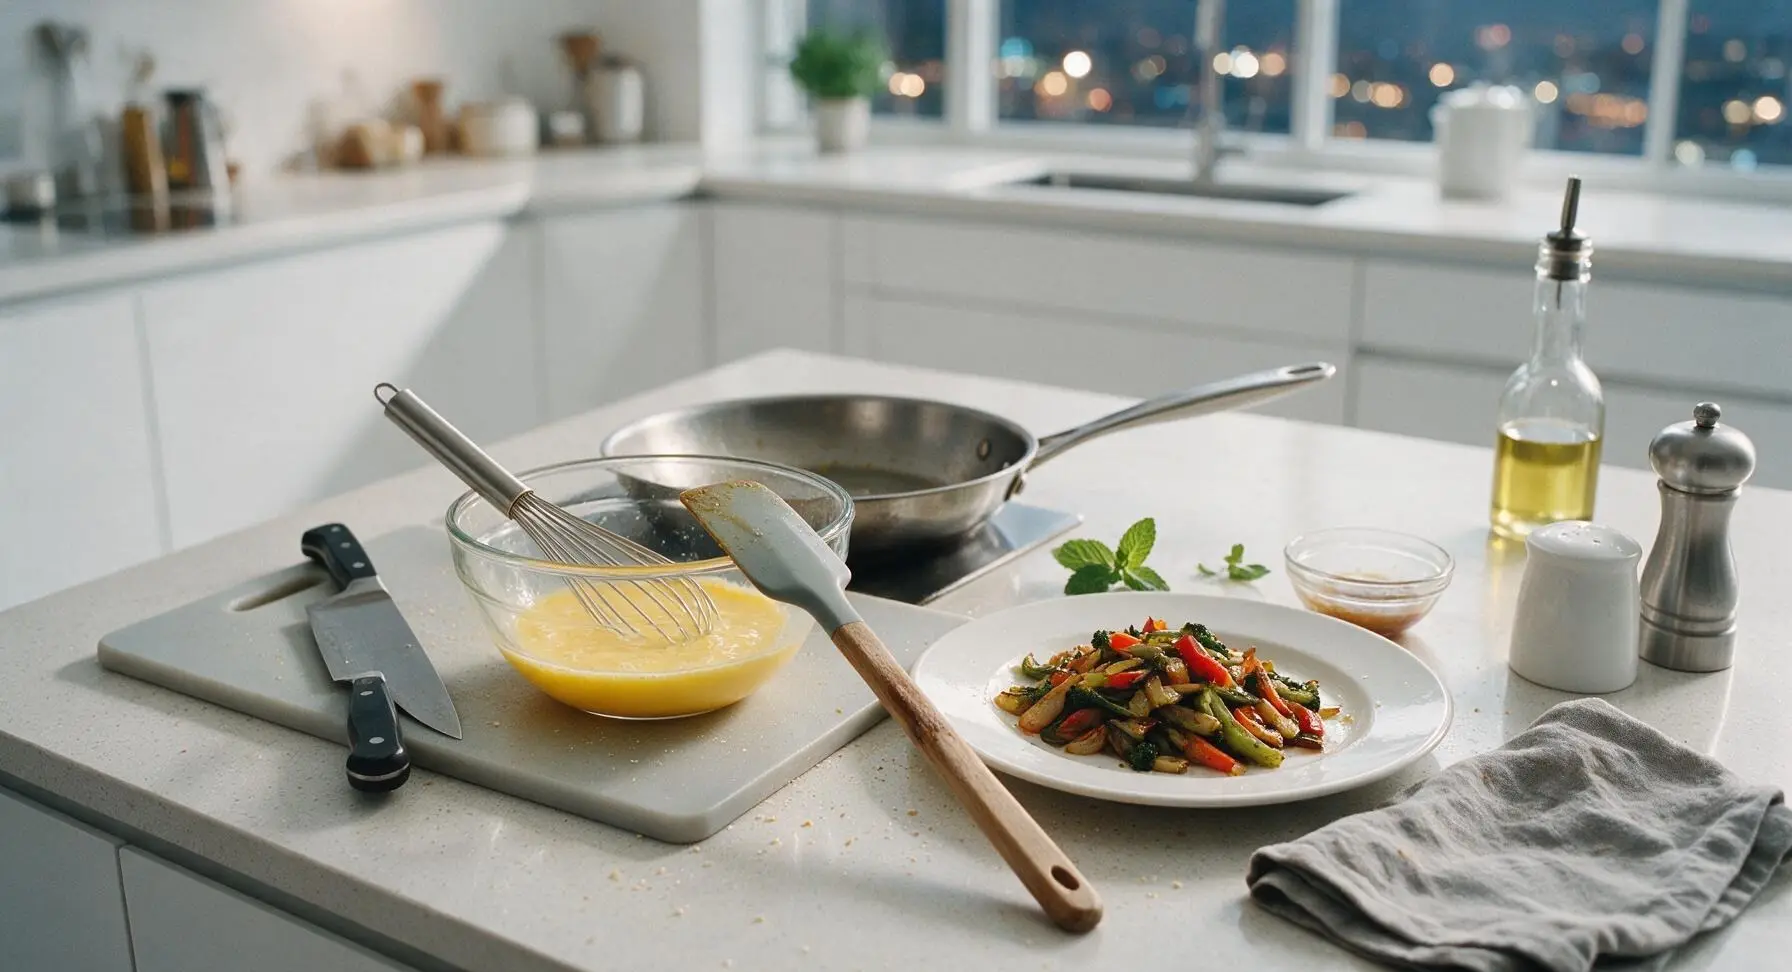
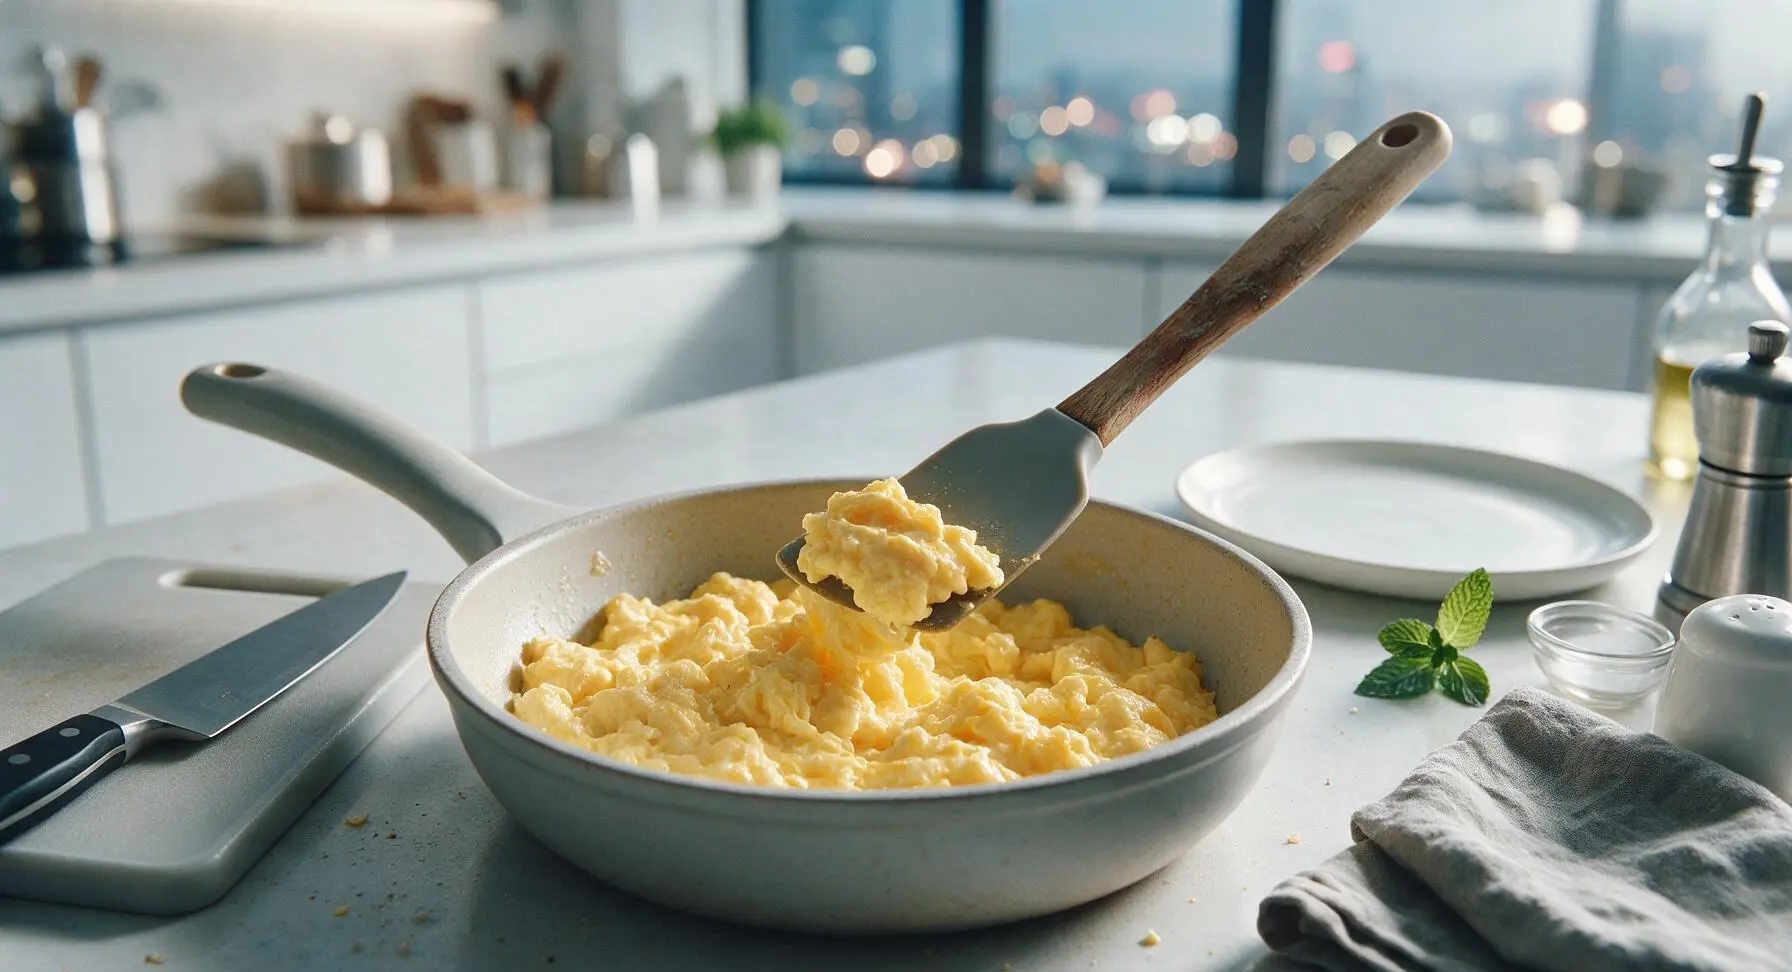
Crack all 8 eggs into a clear glass prep bowl, add remaining 1/4 teaspoon kosher salt and 1/4 teaspoon black pepper, then whisk with the stainless steel whisk until fully combined with no visible streaks of egg white. Lower the skillet heat to medium-low, pour in the egg mixture, and cook slowly, stirring gently with the silicone spatula to form soft curds. Cook for 4-5 minutes until eggs are just set (no runny liquid remains, but curds are tender and not browned or rubbery). Transfer eggs to a plate to cool completely to room temperature.
Step 3
step3:Cook Fluffy Eggs
Step 3
step3:Cook Fluffy Eggs
4

Prep Assembly Station

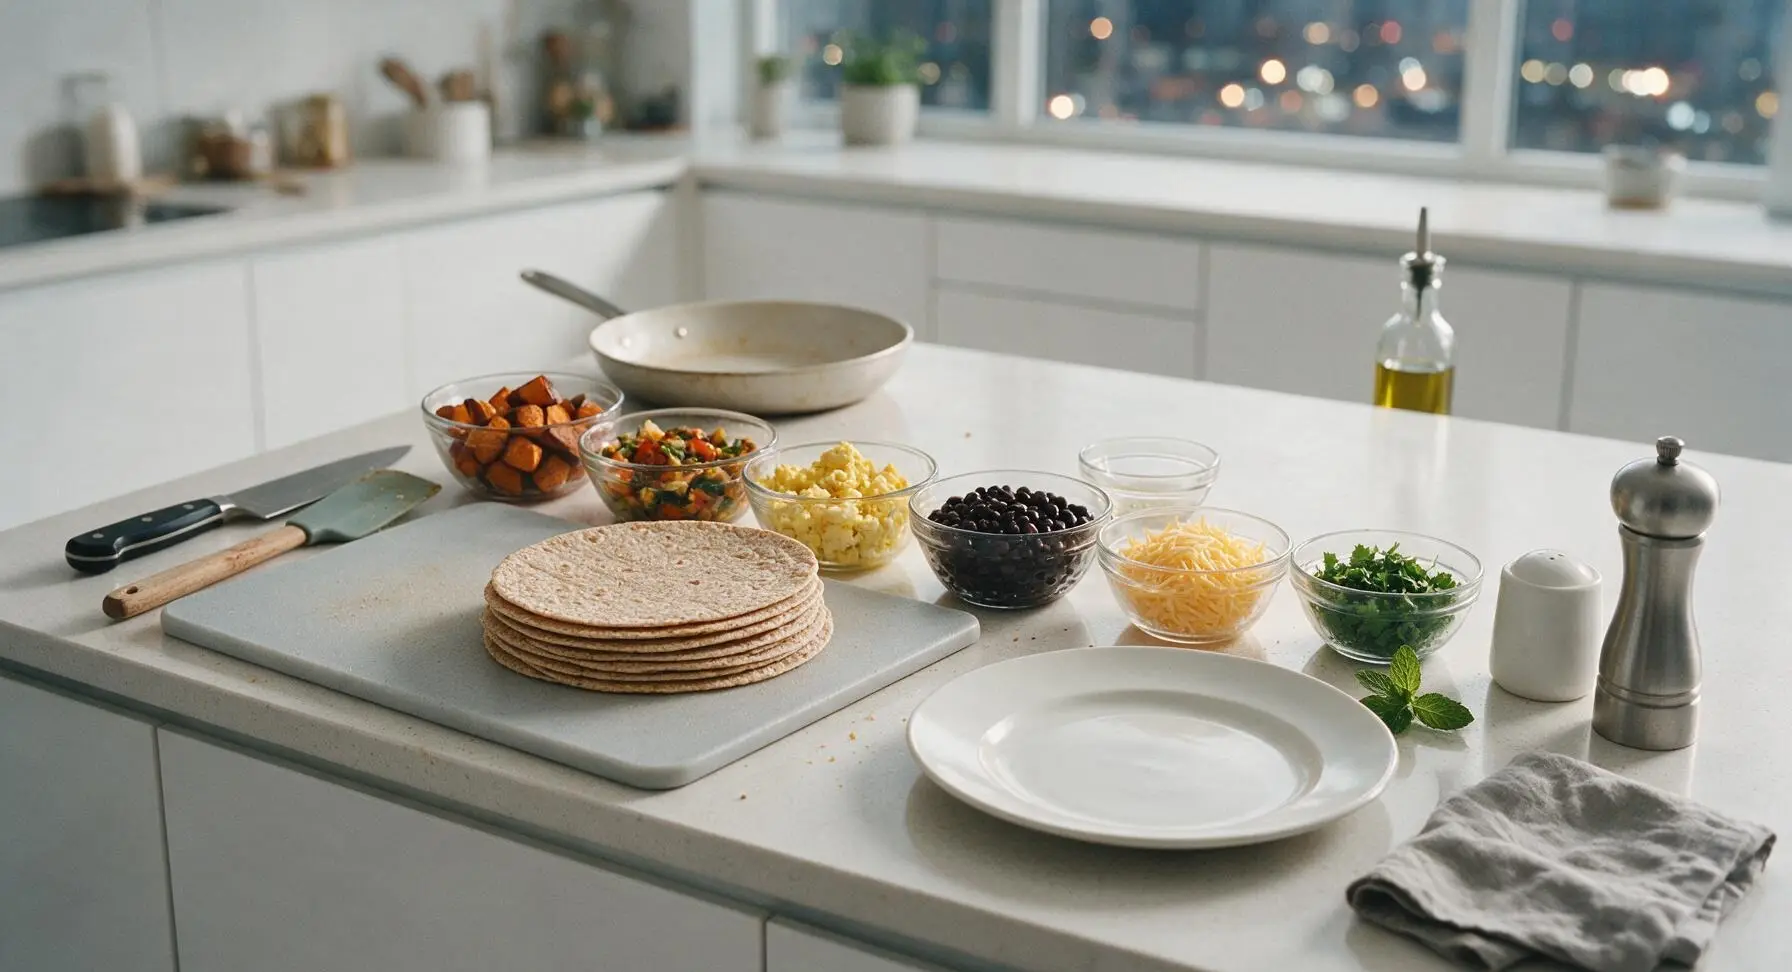
Arrange all fully cooled fillings in individual clear glass prep bowls for easy assembly: roasted sweet potato, sautéed vegetable mixture, scrambled eggs, rinsed and thoroughly drained black beans, shredded low-fat cheddar, and chopped cilantro. Pat the top of any fillings gently with a paper towel to soak up any excess surface moisture before assembling.
Step 4
step4:Prep Assembly Station
5

Fill and Roll Burritos

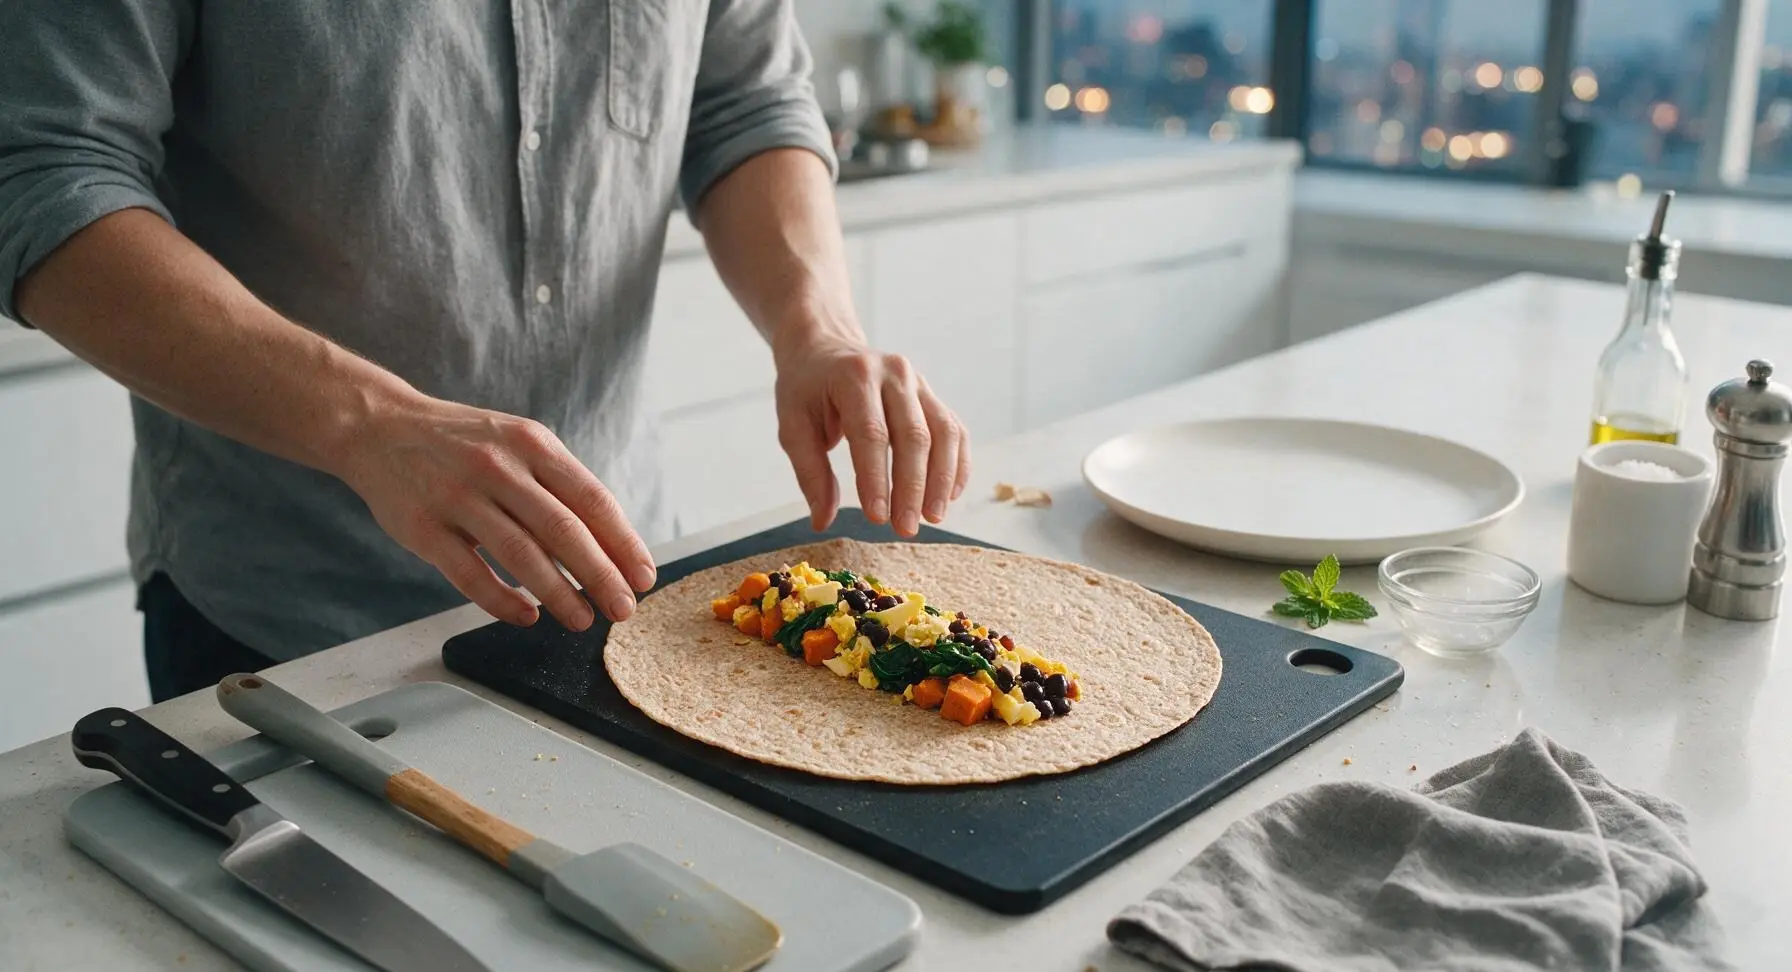
Lay one whole wheat tortilla flat on the black cutting board. Scoop 1/8 of each filling (about 2 tablespoons per component) in a narrow, straight line down the center of the tortilla, leaving a 2-inch border at the top and bottom. Do not overfill, as this will cause burritos to burst when rolling or reheating. Fold the short top and bottom edges of the tortilla in over the filling, then roll tightly from the long side closest to you to form a firm, compact burrito, with the seam side facing down to hold its shape.
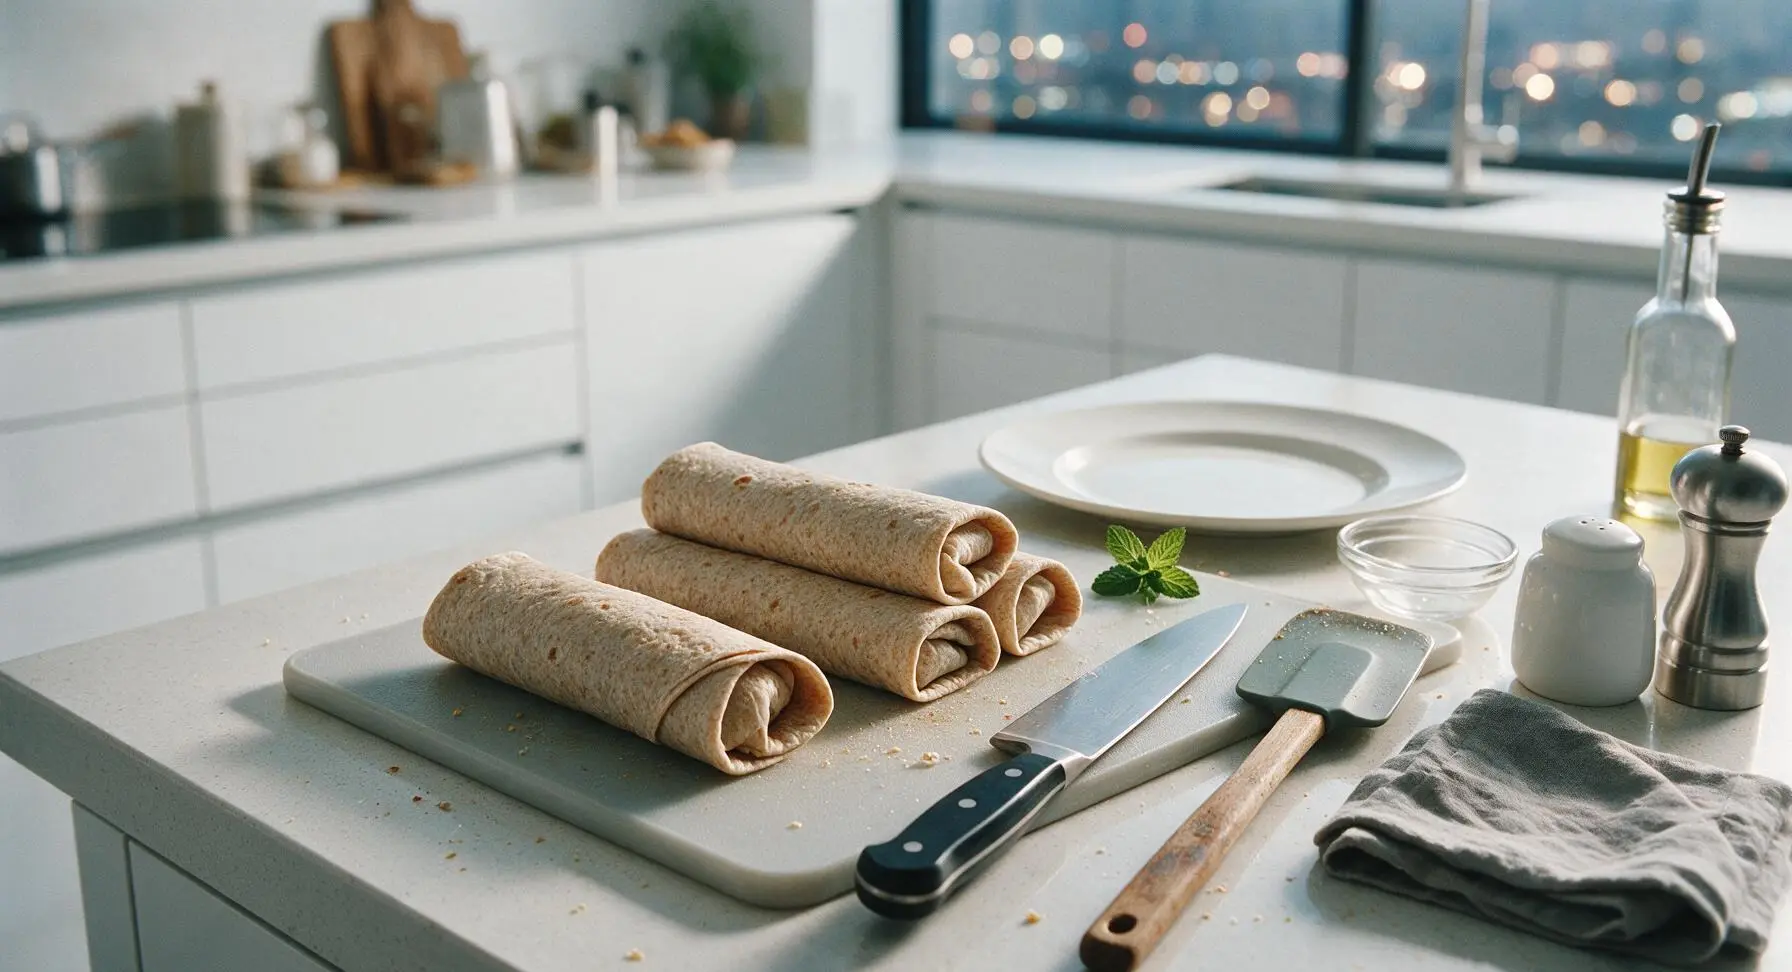
Step 5
step5:Fill and Roll Burritos
Step 5
step5:Fill and Roll Burritos
6

Wrap and Freeze

Cut eight 12x12 inch squares from the parchment paper roll. Wrap each rolled burrito tightly in a single parchment square, twisting the ends slightly to create a sealed packet. Place all parchment-wrapped burritos into the gallon-sized freezer bag, press out as much excess air as possible, seal the bag tightly, and store in the freezer for up to 3 months.
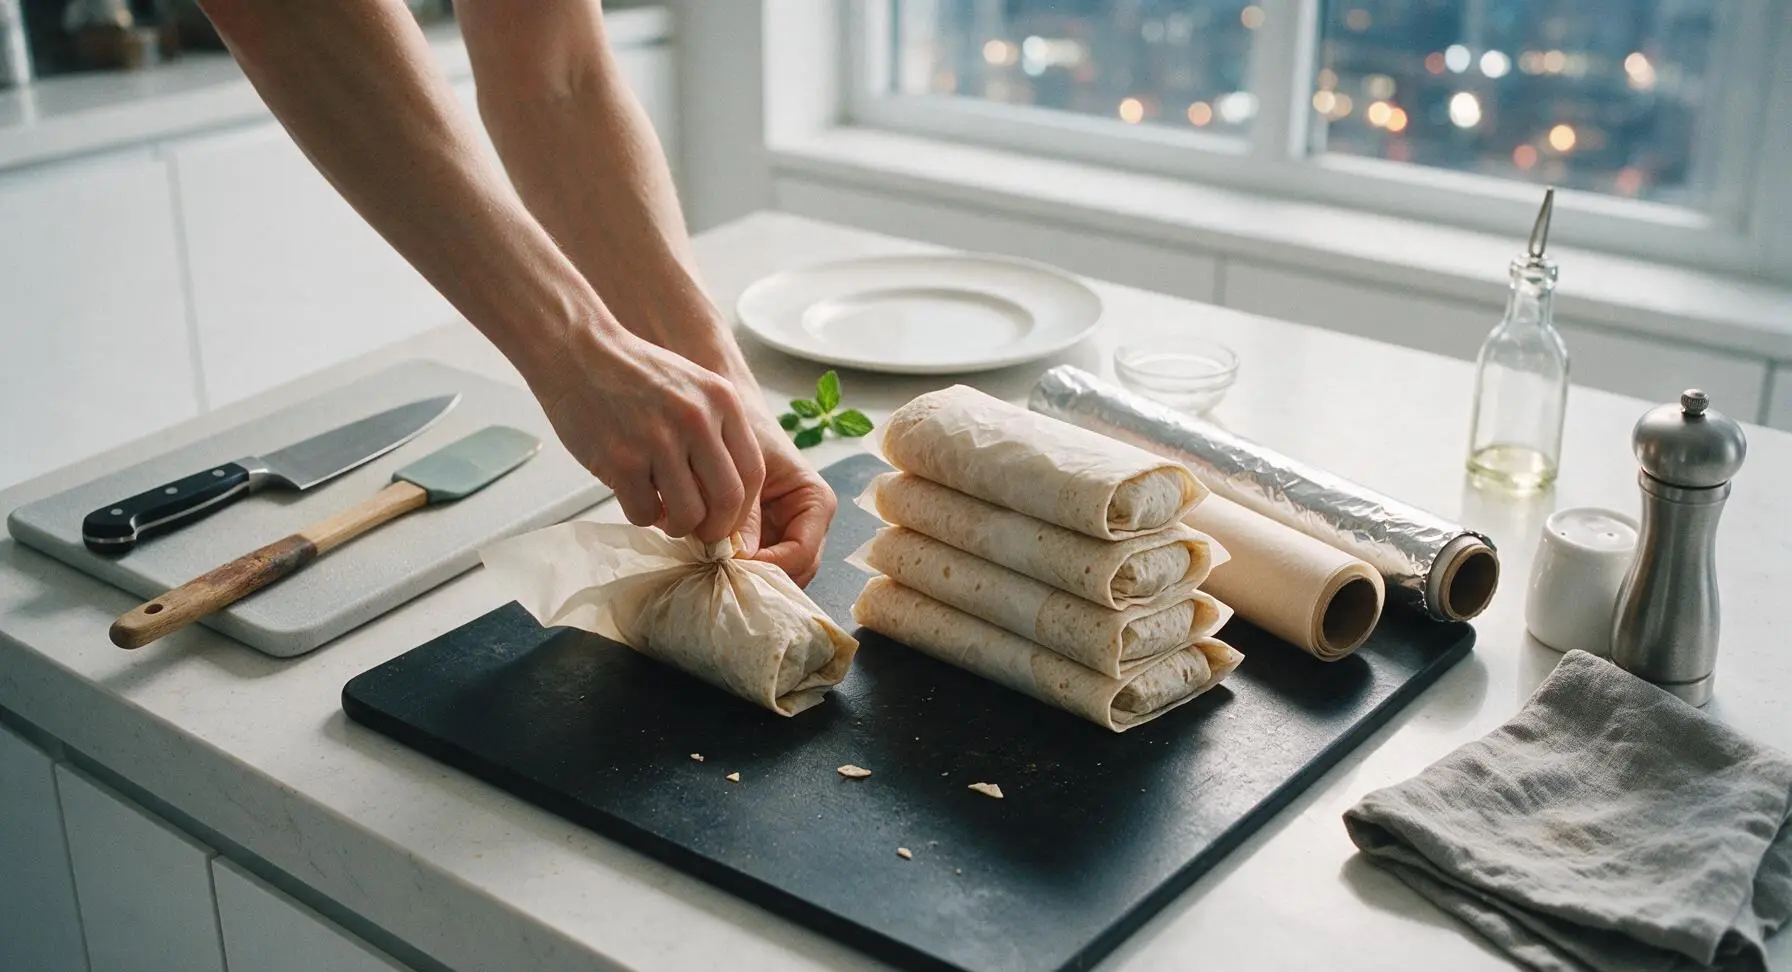
Step 6
step6:Wrap and Freeze
7

Reheat to Serve

When ready to eat, remove one burrito from the freezer and unwrap all parchment and foil. Wrap the burrito in a slightly damp paper towel, place on the off-white ceramic plate, and microwave on high for 90 seconds, flip, then microwave for another 60 seconds until the internal temperature reaches 165°F (74°C). For a crisp tortilla exterior, sear the reheated burrito for 1 minute per side in the dry ceramic skillet over medium heat after microwaving, then serve with salsa on the side.
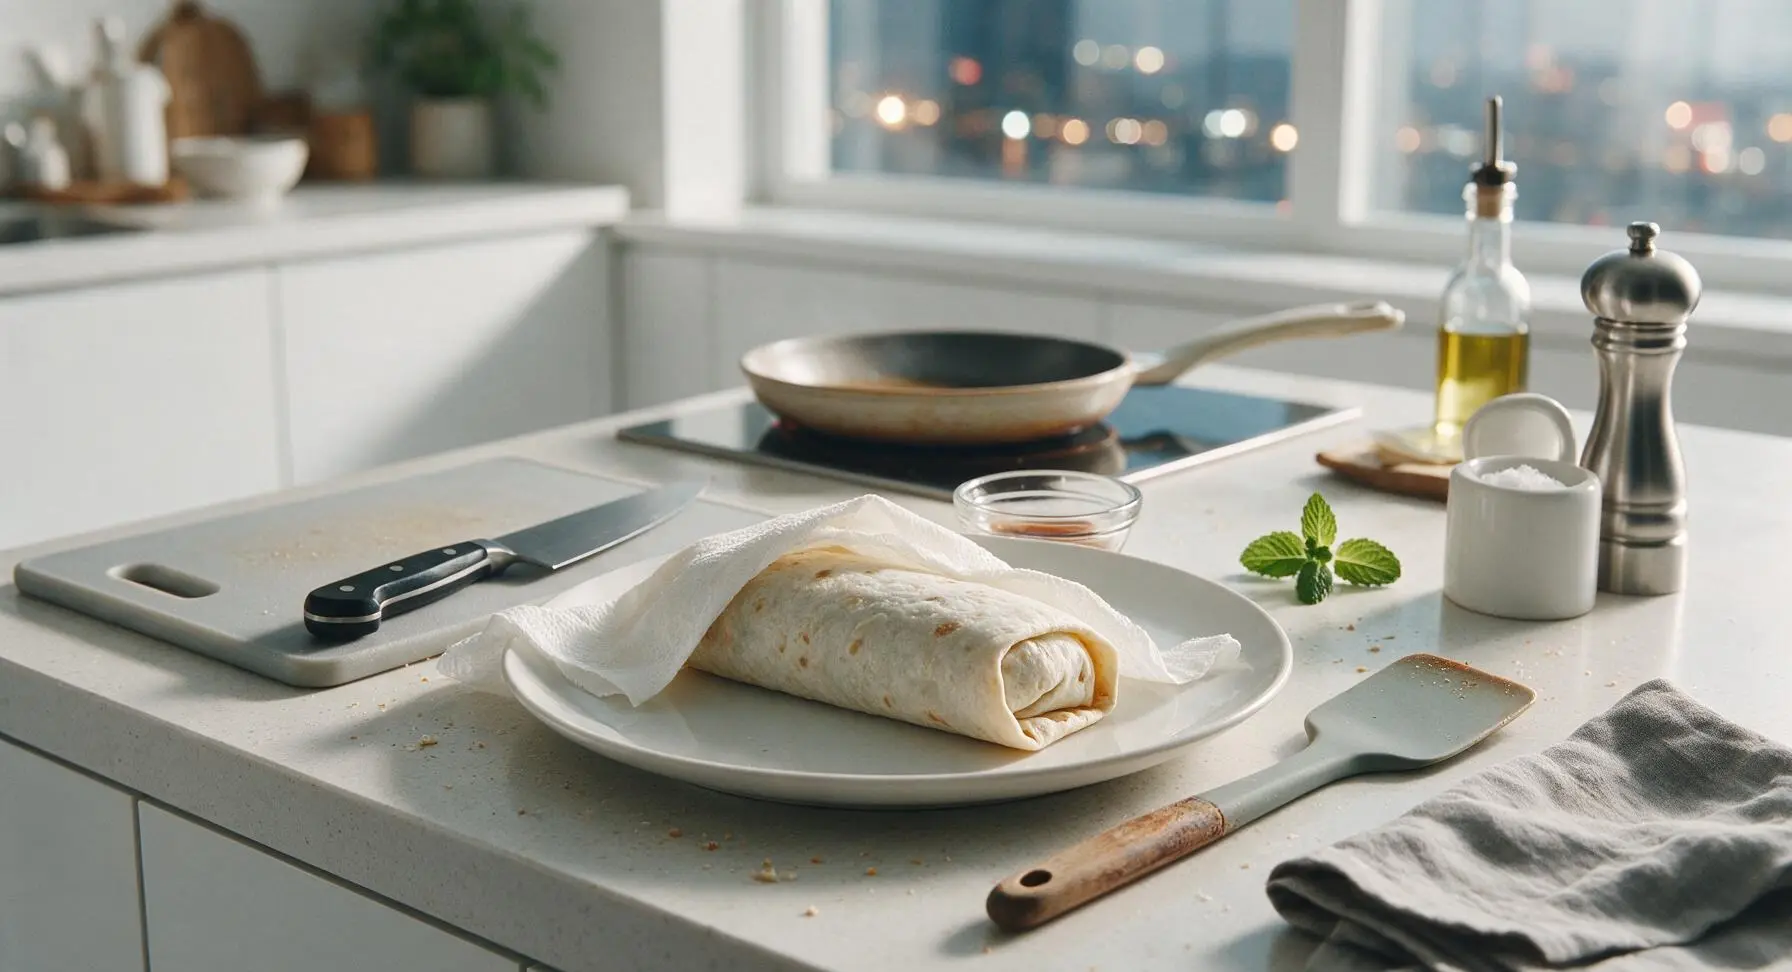
Step 7
step7:Reheat to Serve

Tips

1.Always cool all cooked fillings completely before assembling: Warm fillings release condensation inside the wrapped tortilla, which causes soggy, mushy texture after freezing. Spread fillings in a thin layer on a plate to cut cooling time to 10 minutes.
2.Do not add high-moisture ingredients like fresh salsa, sour cream, or sliced avocado inside burritos before freezing: These break down in the freezer and make tortillas soggy. Add these as fresh toppings right after reheating for best flavor and texture.
3.Press every bit of excess air out of the freezer bag before sealing: Trapped air causes freezer burn, which creates dry, off-flavored patches on tortillas and fillings. For storage longer than 1 month, double-bag the burritos for extra protection.


✨ You May Also Like

Breakfast
🍜 United States

Crisp-edged, fluffy lard griddle cakes are a nostalgic homestyle staple, with rich savoriness from rendered lard, perfect topped with maple syrup or savory gravy.

⏱️ 25 minuteBreakfast ★ 4.8
Breakfast
🍜 United States

Flaky, buttery homemade buttermilk biscuits smothered in creamy, peppery pork sausage gravy: a beloved, hearty Southern American comfort food classic.

⏱️ 35 minuteBreakfast ★ 4.8
Breakfast
🍜 United States

Golden, custardy brioche stuffed with sweet cream cheese and fresh berries, pan-fried to crisp perfection. An indulgent, cozy breakfast perfect for slow weekend mornings.

⏱️ 30 minuteBreakfast ★ 4.7
Breakfast
🍜 United States

Flaky, buttery Southern-style biscuits stuffed with savory salty country ham, a portable, satisfying classic perfect for casual on-the-go meals.

⏱️ 25 minuteBreakfast ★ 4.8
Breakfast
🍜 United States

Iconic puffy baked pancake popularized in Seattle, with crisp golden edges and soft custardy center, served warm with classic sweet toppings.

⏱️ 35 minuteBreakfast ★ 4.6
Breakfast
🍜 United States

Fluffy, golden pancakes studded with juicy peak-summer mixed berries, drizzled with maple syrup for a bright, comforting, crowd-pleasing family breakfast.

⏱️ 25 minuteBreakfast ★ 4.7

frozen breakfast burritos healthy:Frequently Asked Questions

1.How do I keep my burrito tortillas from getting soggy after freezing and reheating? ▾
Pat all fillings completely dry first—squeeze excess moisture from beans, roast sweet potato so it’s tender but not mushy, and let every filling component cool fully before wrapping. Skip watery add-ins like fresh salsa or sour cream pre-freeze; tuck those in after reheating for sturdy, non-soggy tortillas every time.
2.How long do these breakfast burritos stay fresh in the freezer? ▾
When wrapped tightly in a layer of plastic wrap pressed directly to the burrito, then sealed in a labeled airtight freezer bag with all air pressed out, they’ll stay free of freezer burn and great tasting for up to 3 months. Jot the prep date on each wrapper to easily track freshness on busy mornings.
3.What’s the best way to reheat a frozen burrito if I don’t have a microwave? ▾
You don’t need a microwave for delicious results! Remove plastic first, leave a loose foil wrap on, and bake at 375°F for 25 to 30 minutes, or crisp it in an air fryer at 350°F for 15 to 18 minutes, flipping halfway. You’ll get a slightly crispy tortilla that’s even better than microwaved versions, in my book.
4.Can I swap the whole wheat tortillas for a gluten-free alternative? ▾
Absolutely! Look for 10-inch gluten-free flour tortillas—cassava or almond flour blends hold up best to freezing and reheating without cracking. Warm them for 10 seconds in the microwave before filling to make them extra pliable, so they don’t split when you roll them tight for the freezer.
5.Do I need to cook the sweet potato before adding it to the burrito filling? ▾
Yes, always cook sweet potato first—raw cubes won’t soften fully during quick reheating. I recommend dicing it into ¼-inch cubes, tossing with a tiny bit of olive oil, and roasting at 400°F for 18 minutes until tender but not mushy, so it holds texture and doesn’t leak moisture to make tortillas soggy.
6.Can I add extra veggies to the filling without ruining the texture? ▾
Definitely, just stick to low-moisture veggies and cook them fully first. Roasted bell peppers, squeezed-dry sautéed spinach, caramelized onions, or roasted corn all work beautifully. Skip raw veggies or watery picks like fresh tomato, which will turn mushy and seep into tortillas as they freeze.
7.How do I roll burritos so filling doesn’t leak out during reheating? ▾
Warm tortillas for 10 seconds first so they’re flexible, not stiff. Spoon filling in a tight line down the center, leaving 1.5 inches of space at the top and bottom. Fold the short ends in over the filling, then roll tightly from one long side to the other, keeping even pressure to eliminate gaps for filling to bubble out.
8.Can I adapt these burritos to be vegan or dairy-free? ▾
That’s a super easy swap! Replace the eggs with crumbled extra-firm tofu seasoned with turmeric, garlic powder, and a pinch of black salt for an eggy flavor, and use your favorite meltable shredded dairy-free cheddar. Double check that your dairy-free cheese melts smoothly for that classic gooey texture after reheating.
9.If I use a microwave, how long do these take to reheat fully? ▾
For the advertised 3-minute busy-morning breakfast, unwrap the plastic, wrap the burrito in a damp paper towel, and microwave on high for 1.5 minutes, flip, then heat for another 1 to 1.5 minutes until the center hits 165°F for food safety. Let it rest 30 seconds before biting in to avoid burnt tongues.
10.Why do the instructions say to rinse and drain the canned black beans? ▾
That thick, starchy canning liquid clinging to unrinsed beans adds unnecessary extra sodium and excess moisture that will make your burritos soggy as they freeze. Rinsing beans under cool running water for 30 seconds, then shaking off all excess water, cuts sodium by roughly 30% and keeps filling texture perfect.
11.Are these burritos suitable to pack for kids’ school lunches? ▾
Absolutely—they’re perfectly portable! Reheat a frozen burrito fully in the morning, let it cool for 5 minutes, then wrap it in foil and tuck it into an insulated lunch bag. It’ll stay warm until lunchtime, and you can pack a small side of salsa or guac for dipping without sogginess risks.
12.Can I use egg whites instead of whole eggs to cut extra fat? ▾
Sure! You can swap all or half of the whole eggs for liquid egg whites if that fits your nutrition goals. Just scramble them gently until they’re just set (don’t overcook into rubbery curds!) and let them cool fully before adding to filling, so they stay tender after reheating instead of turning tough.
13.Should I add salsa or hot sauce inside the burrito before freezing? ▾
I don’t recommend it! Salsa, vinegary hot sauce, or sour cream have high water content that seeps into the tortilla during freezing, leading to that mushy, soggy texture everyone hates. Pack a small container of your favorite hot sauce, salsa, or plain Greek yogurt dip to add after reheating for bright, fresh flavor.
14.How do I prevent freezer burn from forming on my stored burritos? ▾
The key is eliminating as much air exposure as possible. After rolling each burrito tight, wrap it first in a layer of plastic wrap pressed directly to the tortilla surface, then tuck wrapped burritos into a labeled zip-top freezer bag, squeezing every last bit of air out before sealing. Loose foil alone won’t block air well enough.
15.Can I reheat frozen burritos straight from frozen on a stovetop skillet? ▾
Yes! Unwrap all packaging, place the frozen burrito seam-side down in a dry nonstick skillet over medium-low heat, cover, and cook for 8 to 10 minutes, turning every 2 minutes, until the outside is lightly crispy and the center is hot all the way through. You’ll get a delicious toasted tortilla crunch the microwave can’t match.

Comments (6)

2 days ago

OMG these are a total game changer for my weekday mornings! I work 9 hour shifts and have zero time to cook breakfast before running out the door, so I whipped up a batch on Sunday, tossed em in the freezer, and now I just grab one, microwave for 2 minutes and go. I swapped the regular sausage for turkey sausage to cut extra fat and my kids loved them so much they stole two from my stash for their own breakfasts this week! SO good.

yesterday

So happy these fit into your busy weekday routine! Great call swapping in turkey sausage — that’s one of my go-to easy swaps too. Pro tip: wrap them in a paper towel when microwaving to keep the tortilla from getting soggy!

1 week ago

Super easy to throw together, cook time was actually a little under 25 minutes for me which was a win. Only note is I wish I’d added a little extra taco seasoning to the egg mix, mine came out a touch bland. Still solid for a quick frozen breakfast though, will make again.

5 days ago

Oh I had the same issue the first time I made them! I added a handful of diced pickled jalapeños and a sprinkle of chili powder to the egg mix last batch and it was chef’s kiss.

3 days ago

Great feedback! I usually add 1 tsp of smoked paprika and a pinch of garlic powder to my egg base for extra depth, I’ll make sure to note that variation in the recipe card soon. So glad you’re enjoying them otherwise!

3 days ago

I made a vegetarian version of these by swapping the meat for roasted sweet potato and black beans, and they’re INCREDIBLE. Perfect to grab before early morning yoga, no messy prep, no food waste because I can just take one at a time straight from the freezer. Already ranted and raved about them to my whole yoga studio group!

yesterday

Tried these for our last camping trip, pre-made them, froze em, and we heated them up over the campfire grate wrapped in foil. Absolute hit with the whole crew, even my picky 7 year old asked for seconds. Way cheaper and healthier than buying the pre-made frozen ones from the grocery store too.

2 hours ago

That campfire idea is straight up genius! We’re going on a weekend trip next week and I was stressing about easy, no-mess breakfasts, I’m definitely making a double batch now.

5 minutes ago

As a broke college student who hates the dining hall breakfast options, these are a total lifesaver. I made a whole batch for under $12, they last forever in the freezer, and I don’t have to wake up 20 minutes early to cook before my 8am lectures. 10/10, zero notes.

2 weeks ago

I brought a platter of these (reheated, cut into bite-sized halves) to my office potluck last week and people were practically begging me for the recipe! Everyone was shocked they were homemade make-ahead frozen ones, they taste so fresh even after weeks in the freezer. I set out a little bowl of salsa for dipping and it was chef’s kiss.

1 week ago

Wait I was at that potluck! I ate three of those burrito halves, no shame. Had no idea they were make-ahead frozen, I need to whip up a batch for my early morning gym days.

5 days ago

That makes me so happy to hear! They’re such a perfect potluck pick because you can prep them days ahead and just pop them in the oven to reheat right before the event. Thanks for sharing your win!



