
frozen burrito casserole with enchilada sauce
intro
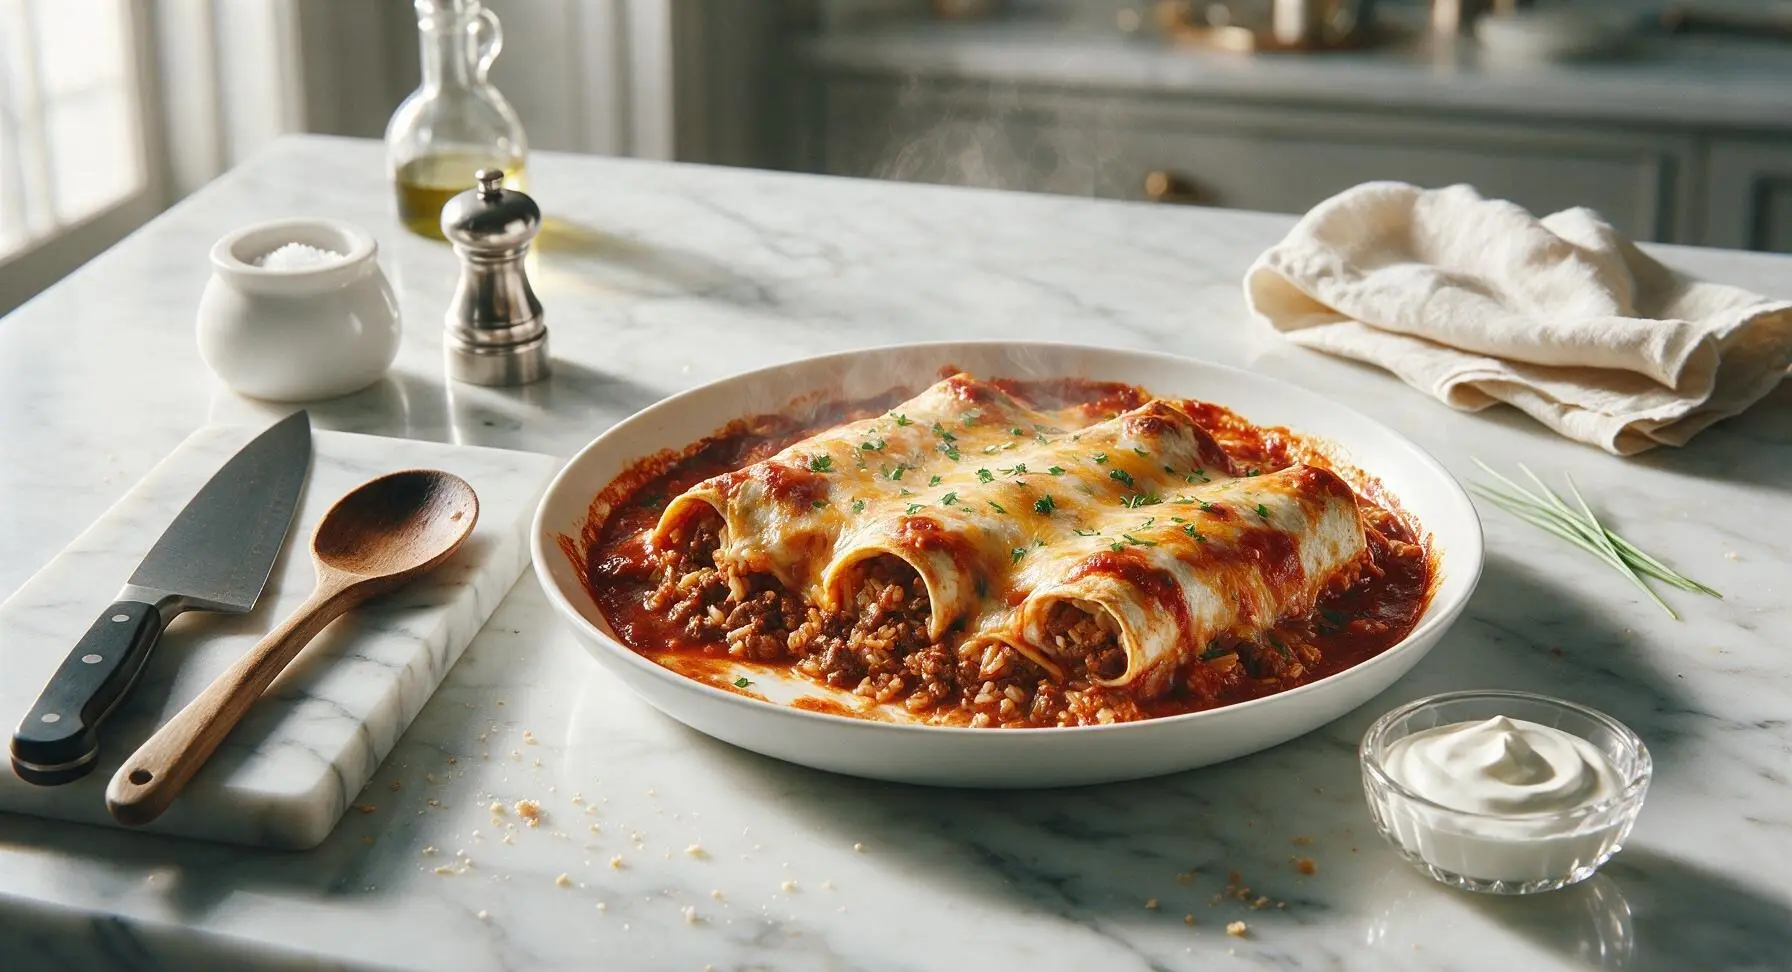
This cozy, cheesy Tex-Mex casserole turns frozen store-bought burritos into a hearty, satisfying meal with just 10 minutes of prep, perfect for busy weeknights.
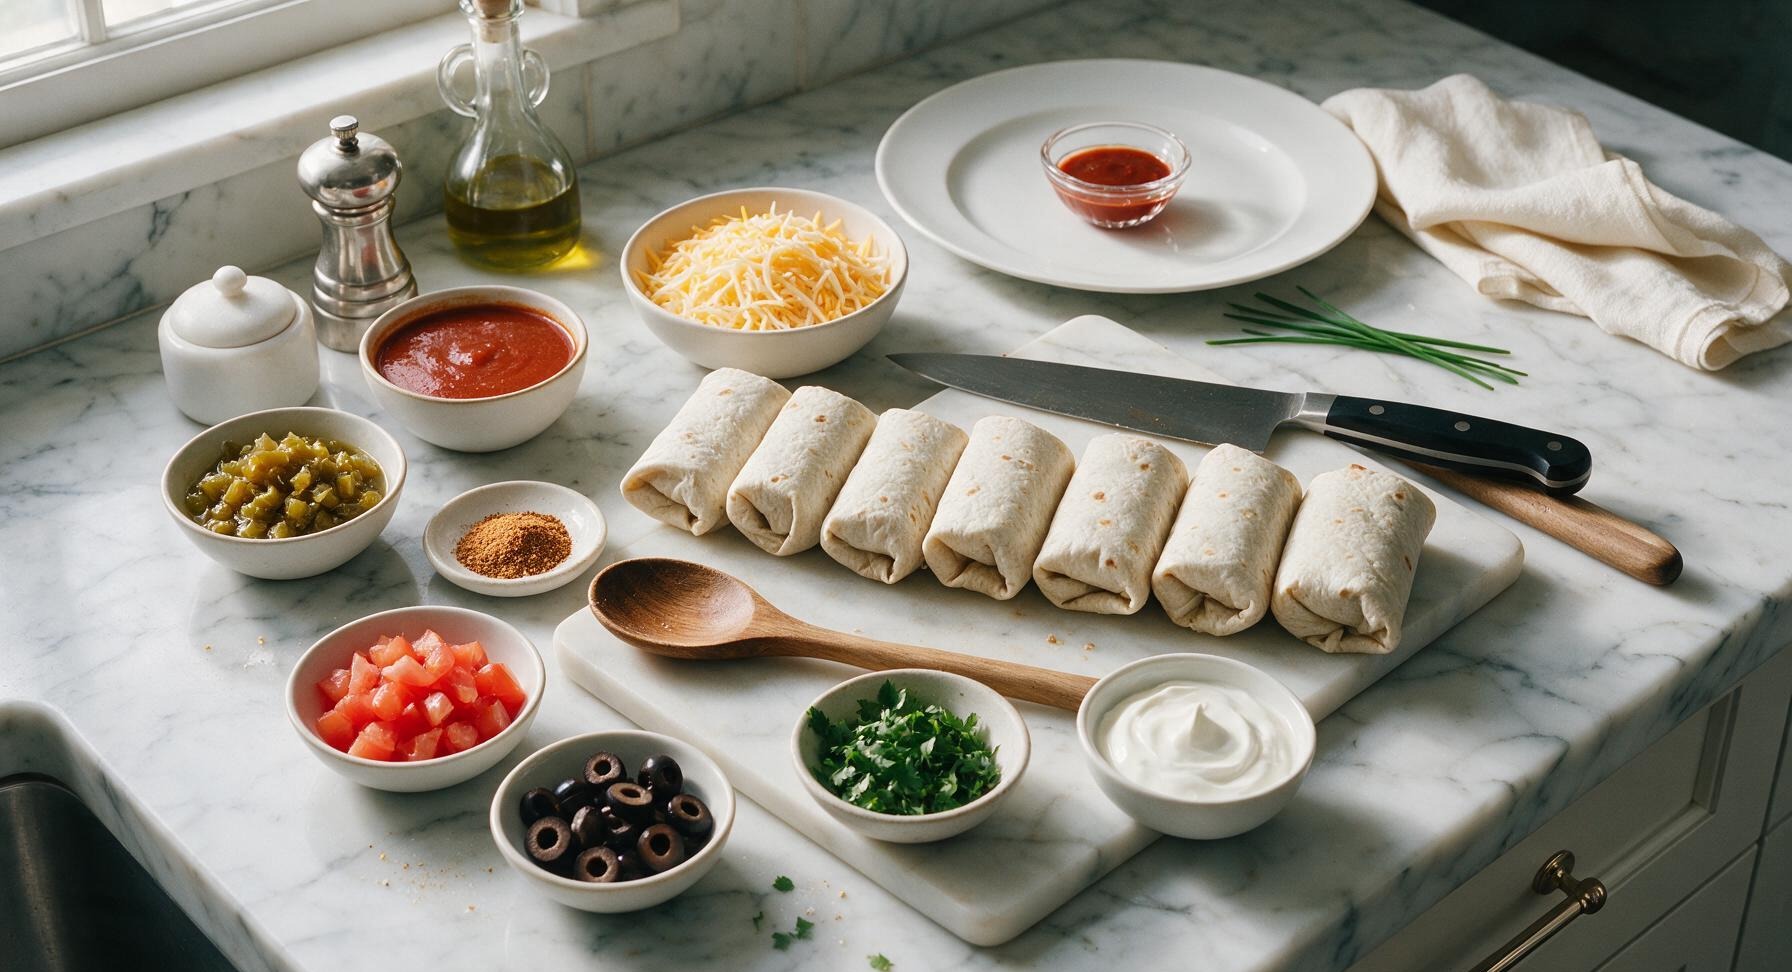
Ingredients
Steps
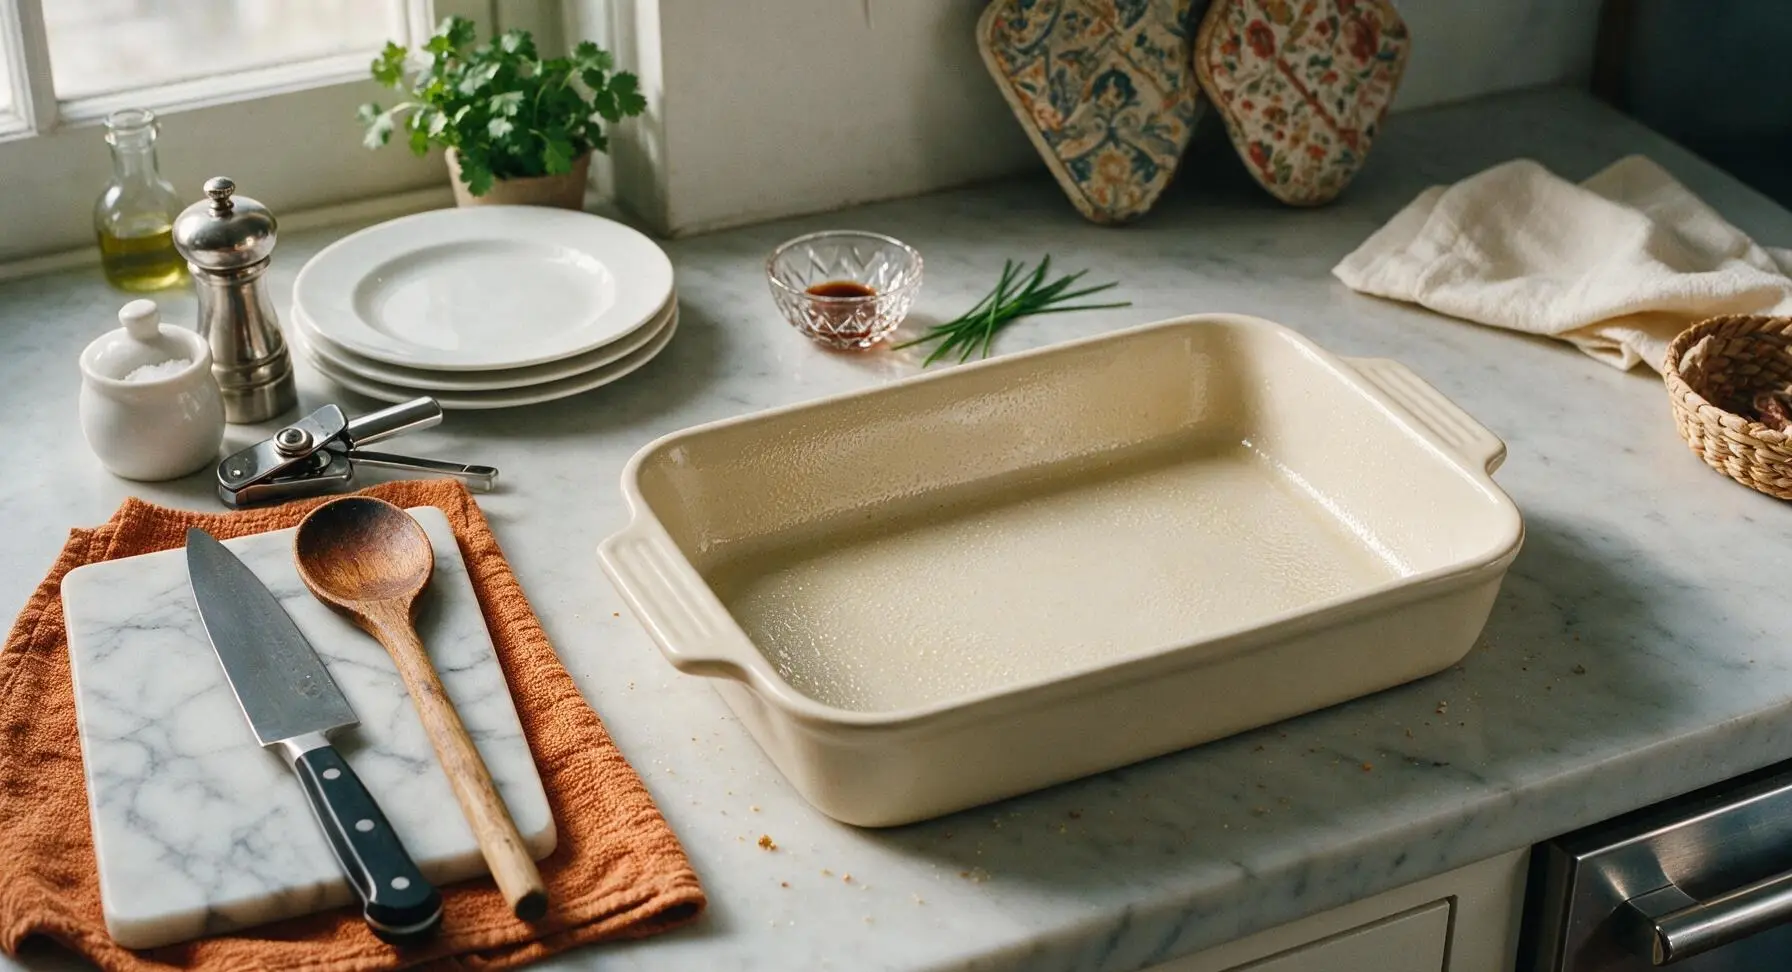
Prep Baking Dish
Adjust oven rack to the middle position, then preheat oven to 375°F (190°C). Place the 9x13 cream ceramic baking dish in the center counter work zone, then coat the entire interior surface evenly with neutral cooking spray to prevent burritos and cheese from sticking during baking.
Add Base Sauce Layer
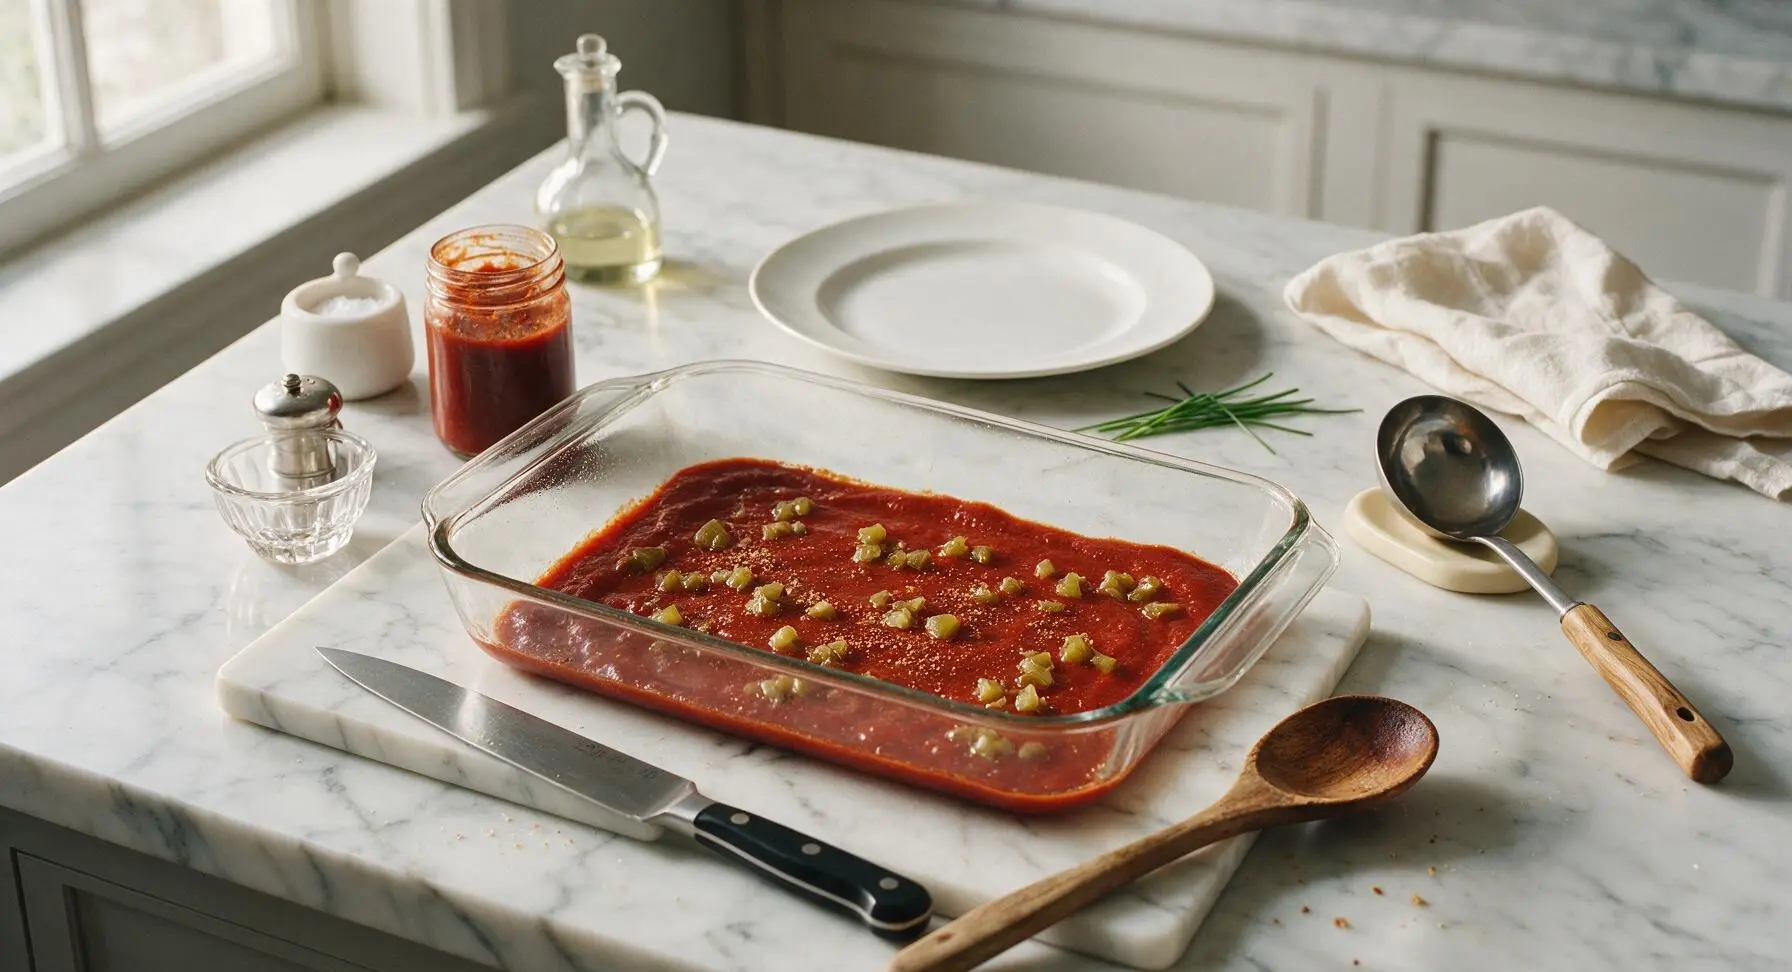
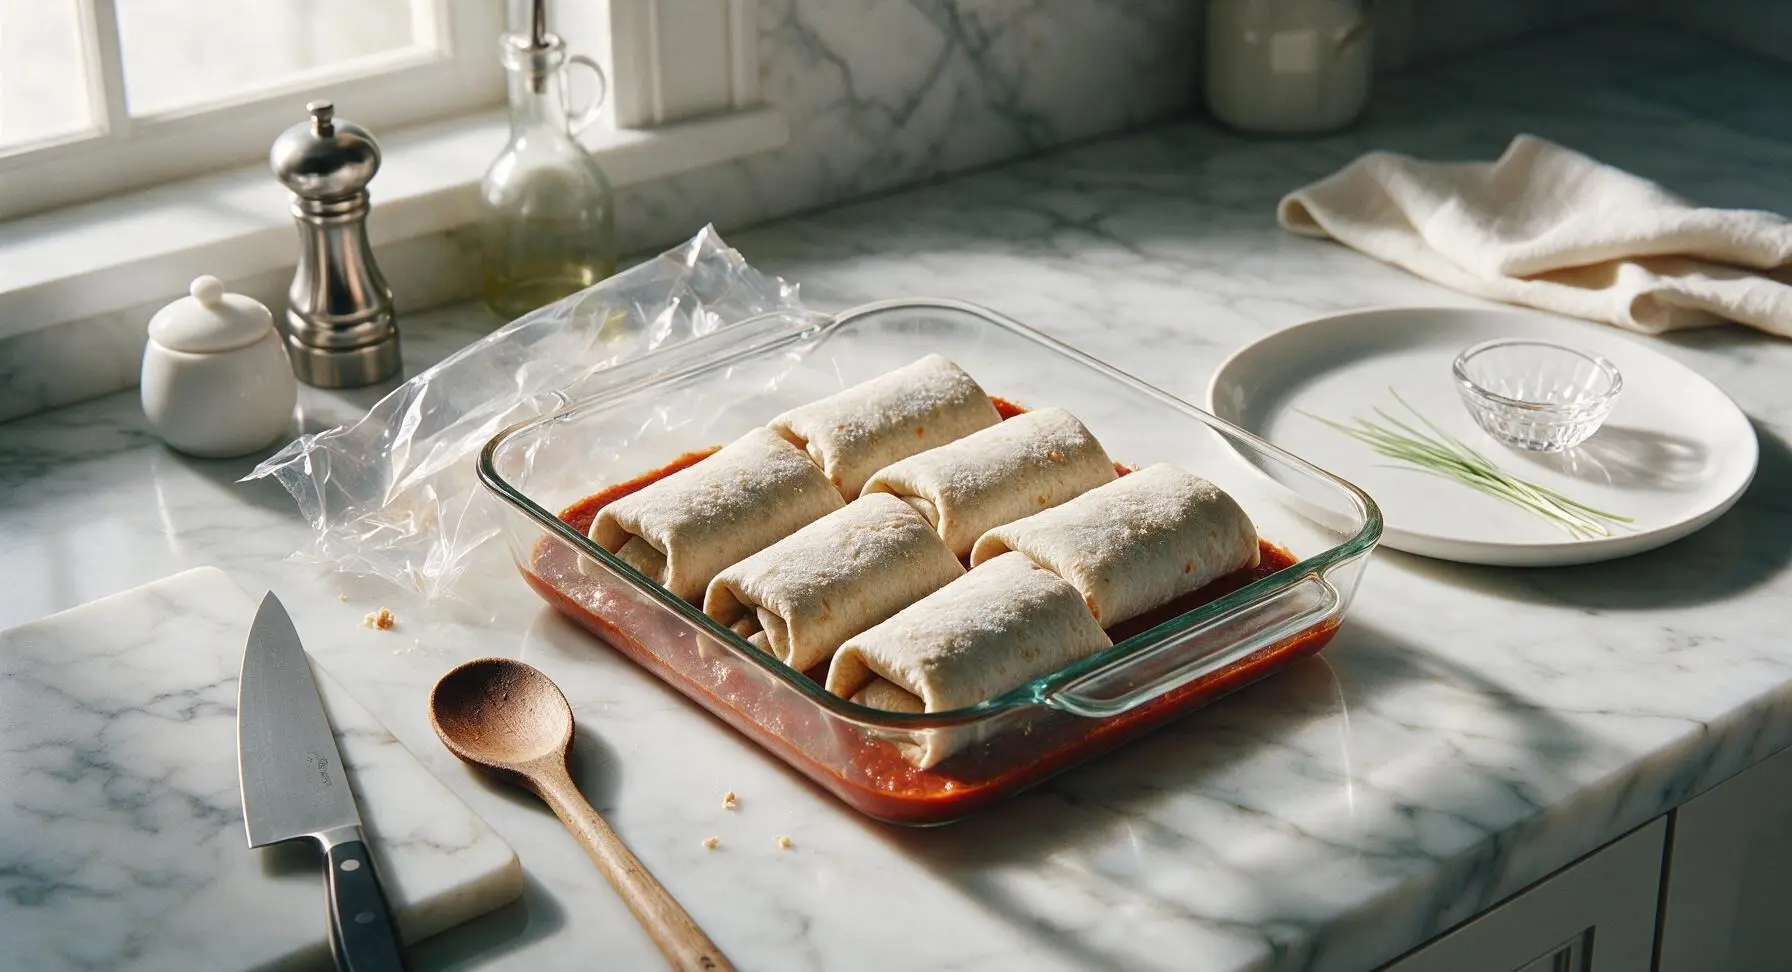
Open the can or jar of red enchilada sauce using the matte black manual can opener. Use the acacia-handled ladle to scoop 1 cup of enchilada sauce, spreading it in an even, thin layer across the entire bottom of the greased baking dish. Sprinkle the drained 4oz can of diced green chiles and 1 teaspoon of optional taco seasoning evenly over the base sauce layer.
Arrange Frozen Burritos
Remove the 6 frozen beef and bean burritos from their packaging; do not thaw. Arrange them in a single tight, even layer across the sauced bottom of the baking dish, seam-side down. Fit all 6 burritos in two rows of three, leaving small ½-inch gaps between them for sauce to seep down as they bake.
Top with Remaining Sauce
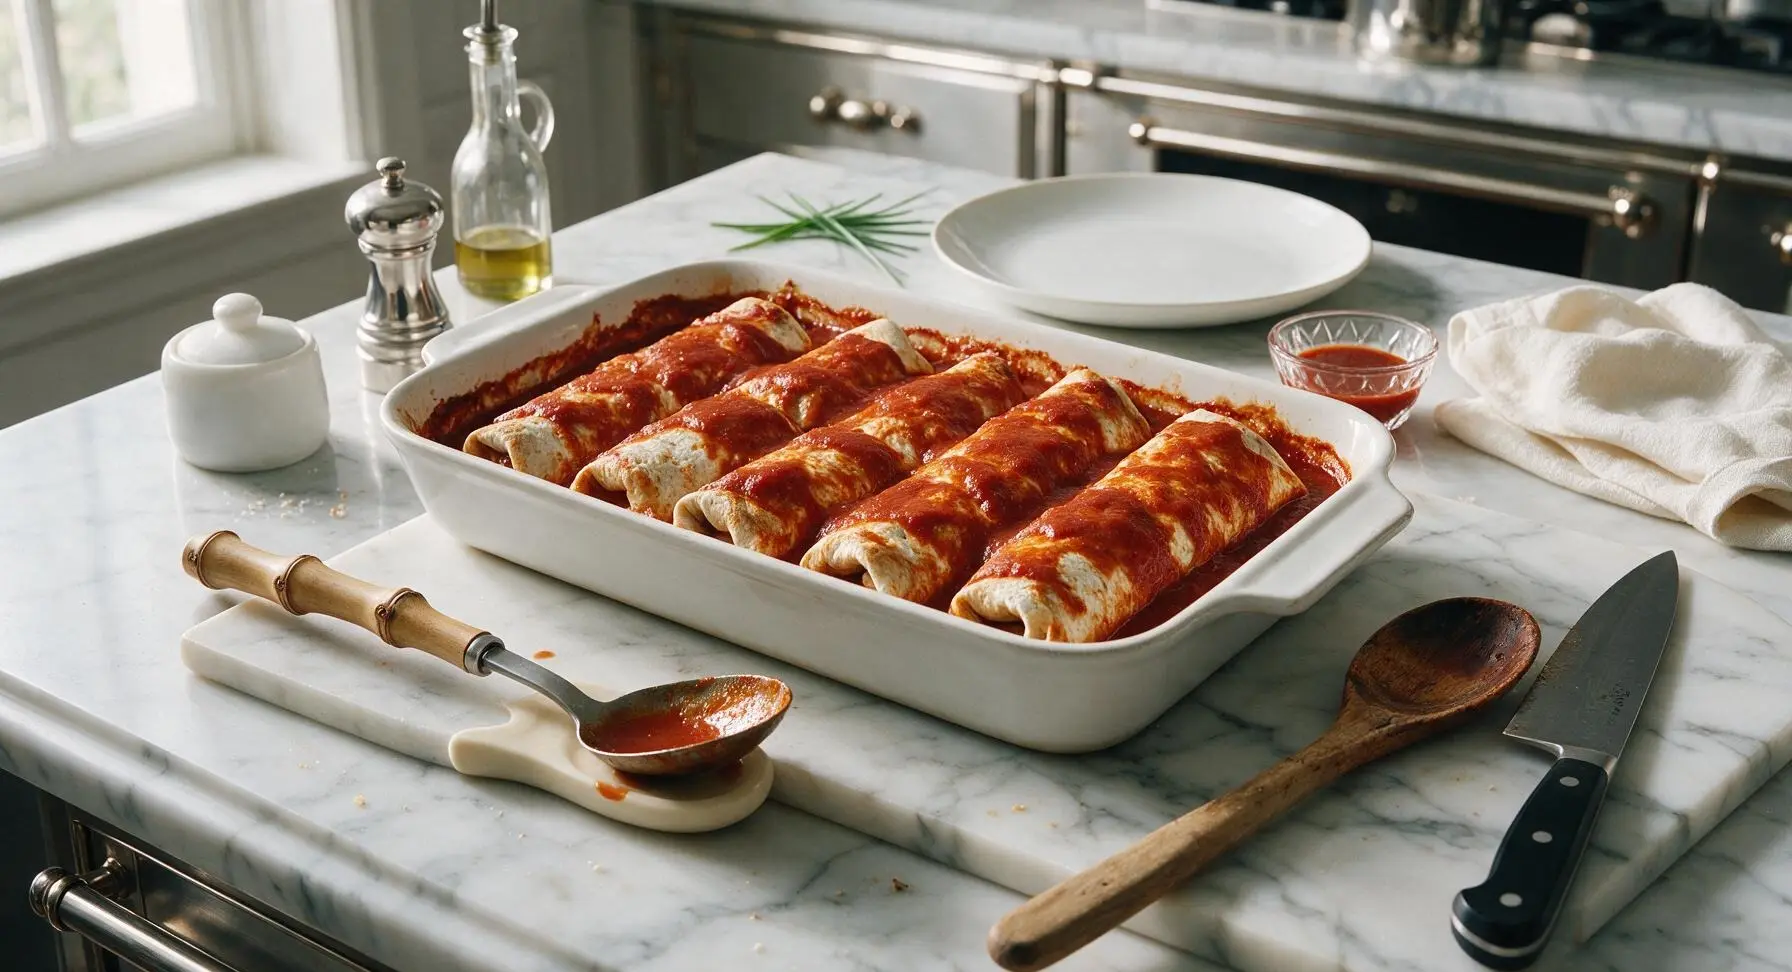
Use the acacia-handled ladle to pour the remaining 1 cup of enchilada sauce evenly over the top of the arranged frozen burritos, making sure to coat every exposed burrito surface so no dry tortilla is left exposed. Dry tortilla will turn hard and crunchy during baking instead of softening.
Add Initial Cheese Layer
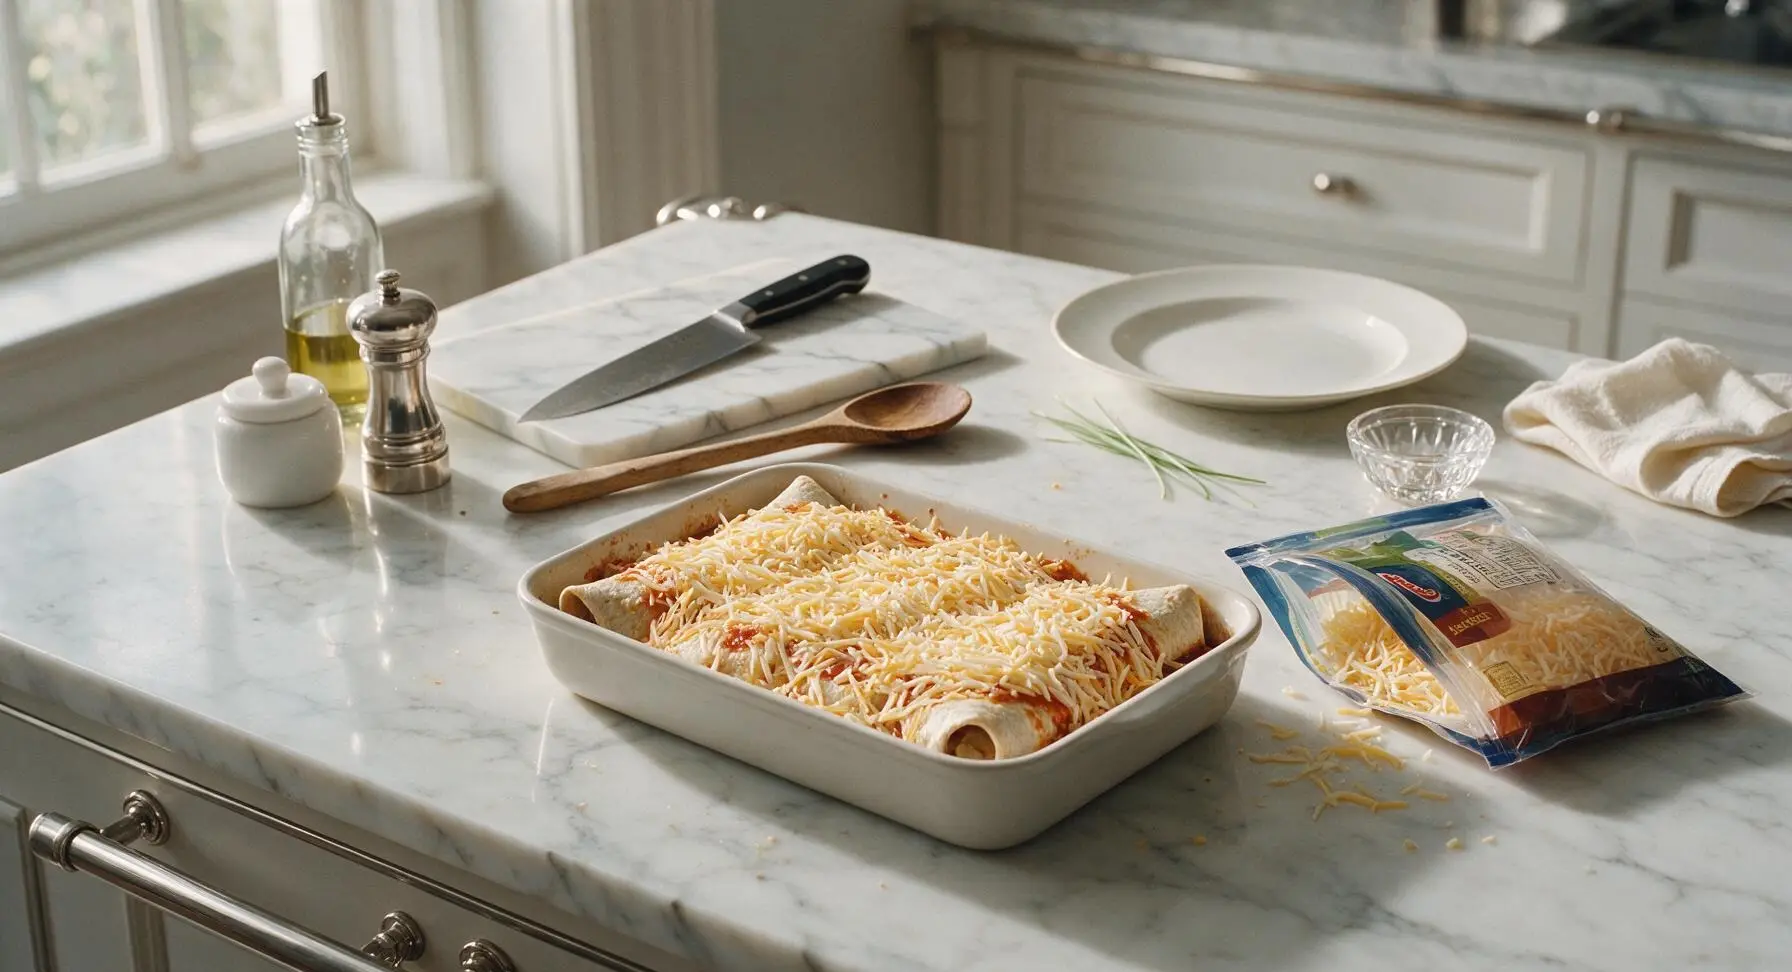
Sprinkle 1 ½ cups of the shredded Mexican blend cheese evenly over the top of the sauced burritos, spreading it gently with the back of the ladle if needed to create an even layer. Reserve the remaining ½ cup of cheese to add at the end of baking for extra gooeyness.
Cover for Initial Bake
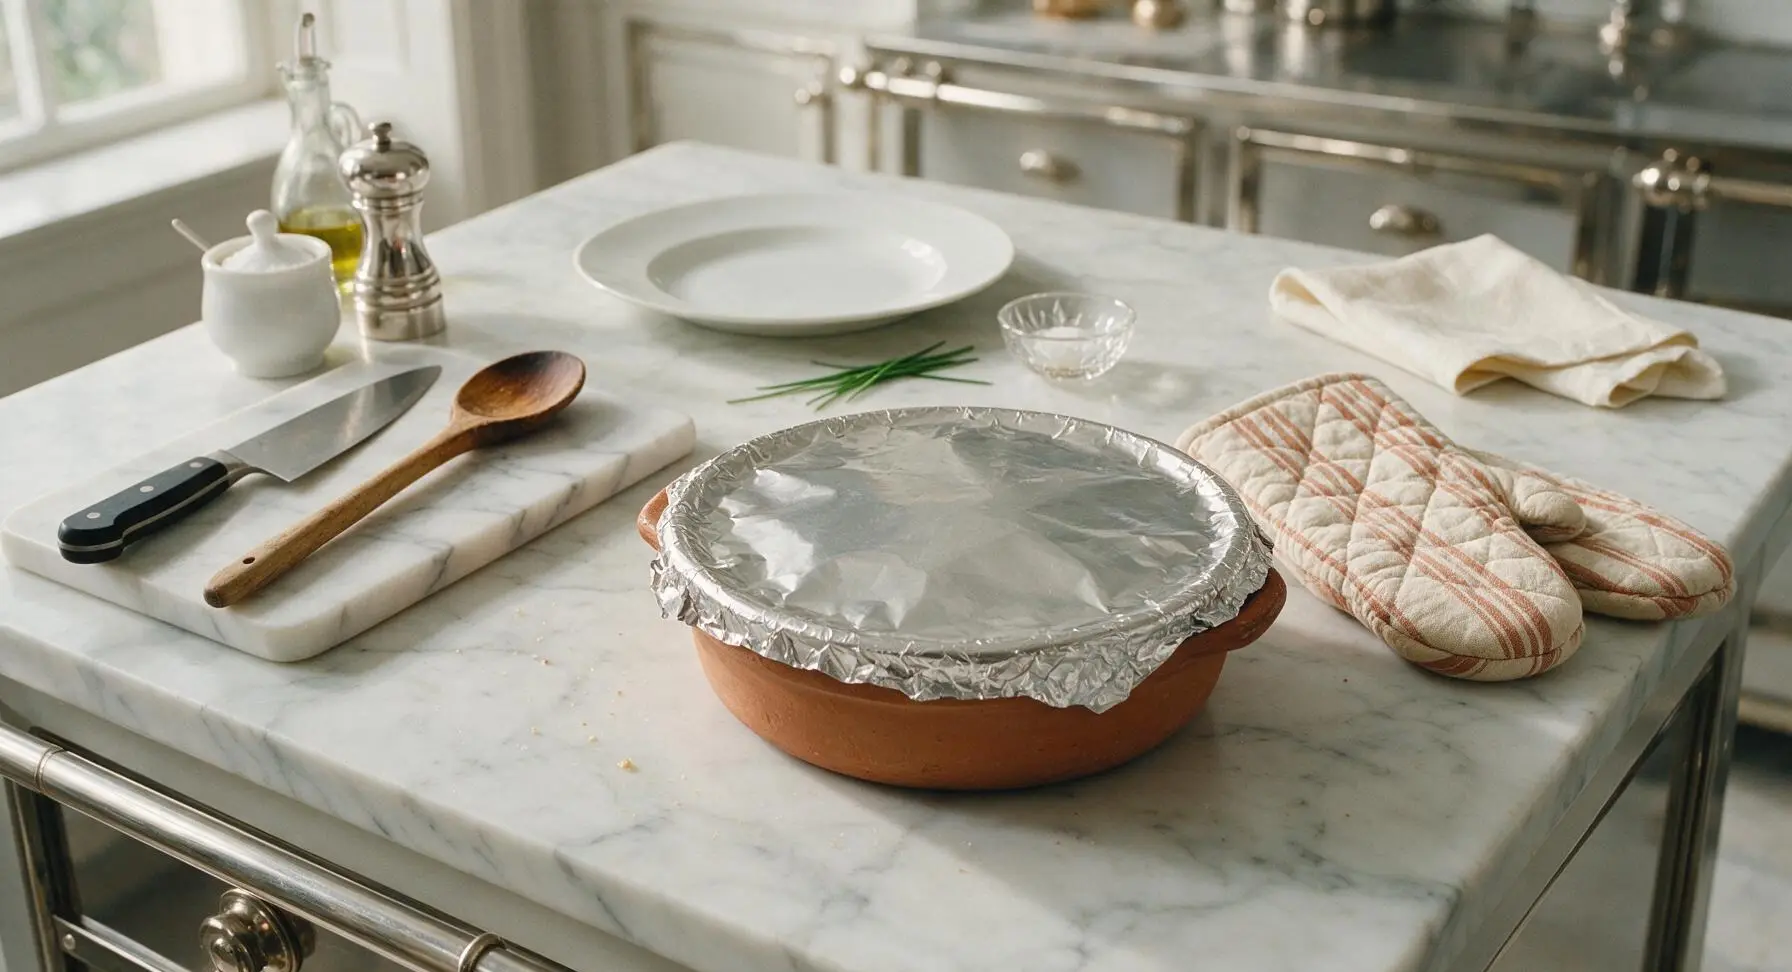
Tear an 18-inch sheet of aluminum foil, and tightly cover the top of the baking dish, crimping the edges firmly around the terracotta rim to create an airtight seal that traps steam. Use the quilted terracotta-striped oven mitts to place the dish on the middle oven rack, and bake for 25 minutes covered. The trapped steam will soften the frozen burritos evenly and prevent the cheese from burning during this first baking stage.
Uncover and Add Cheese
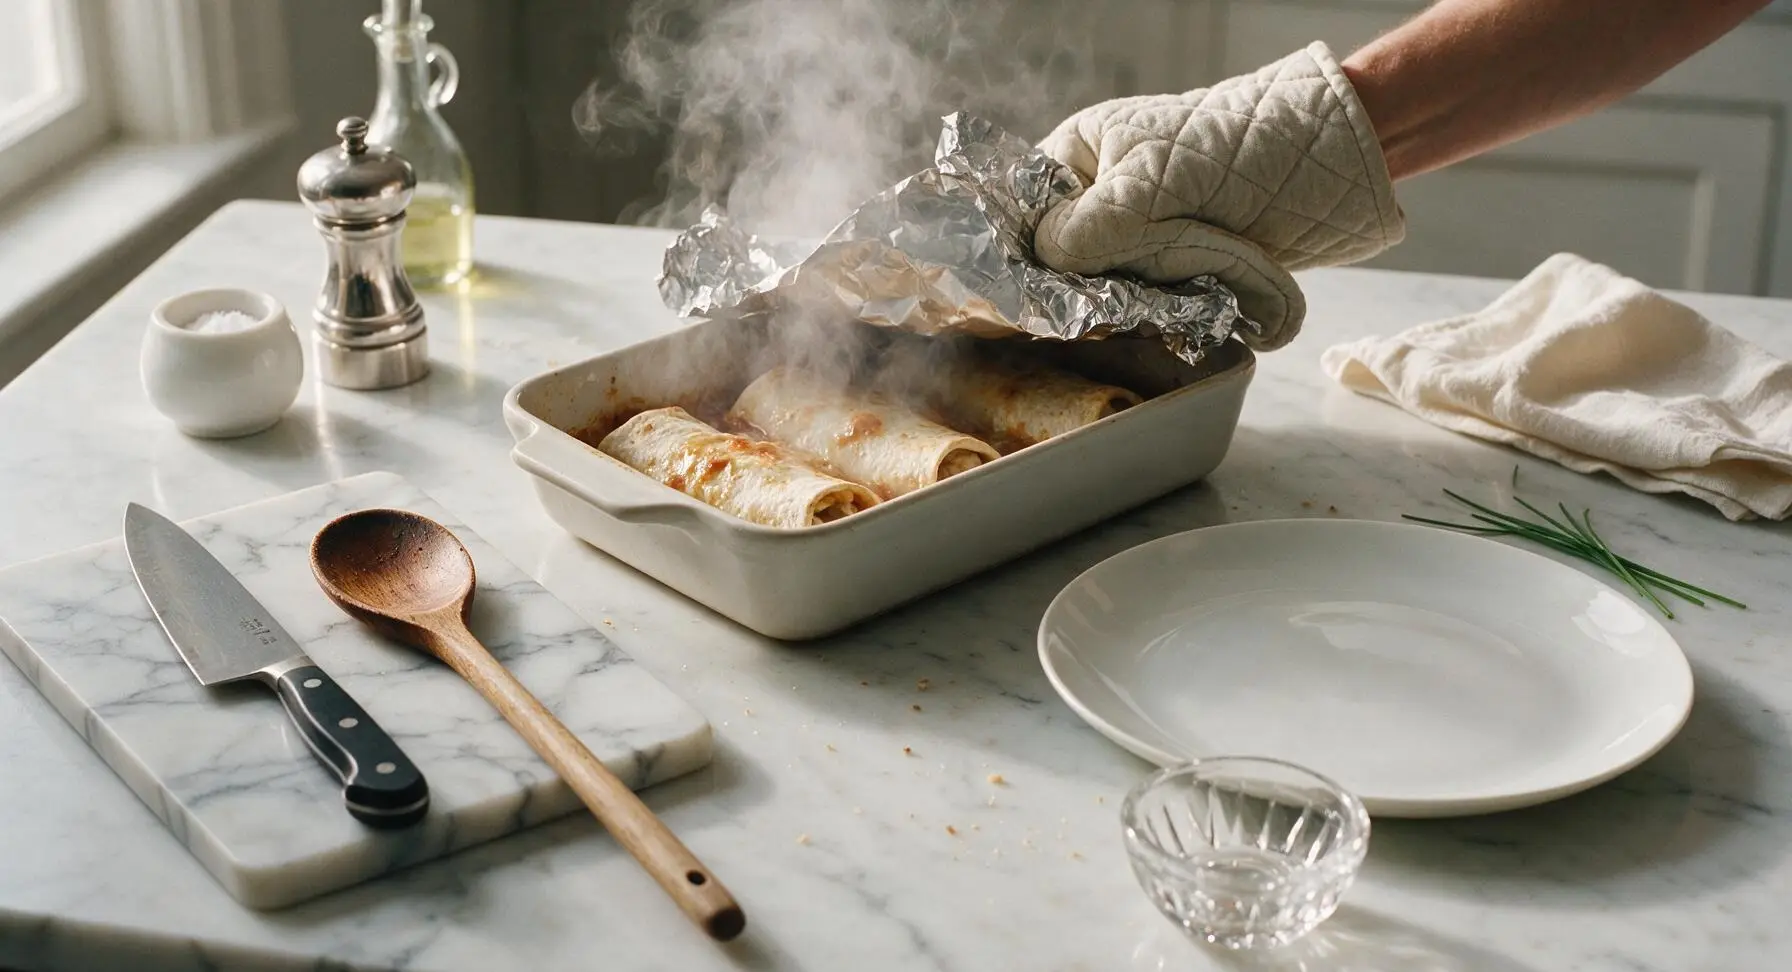
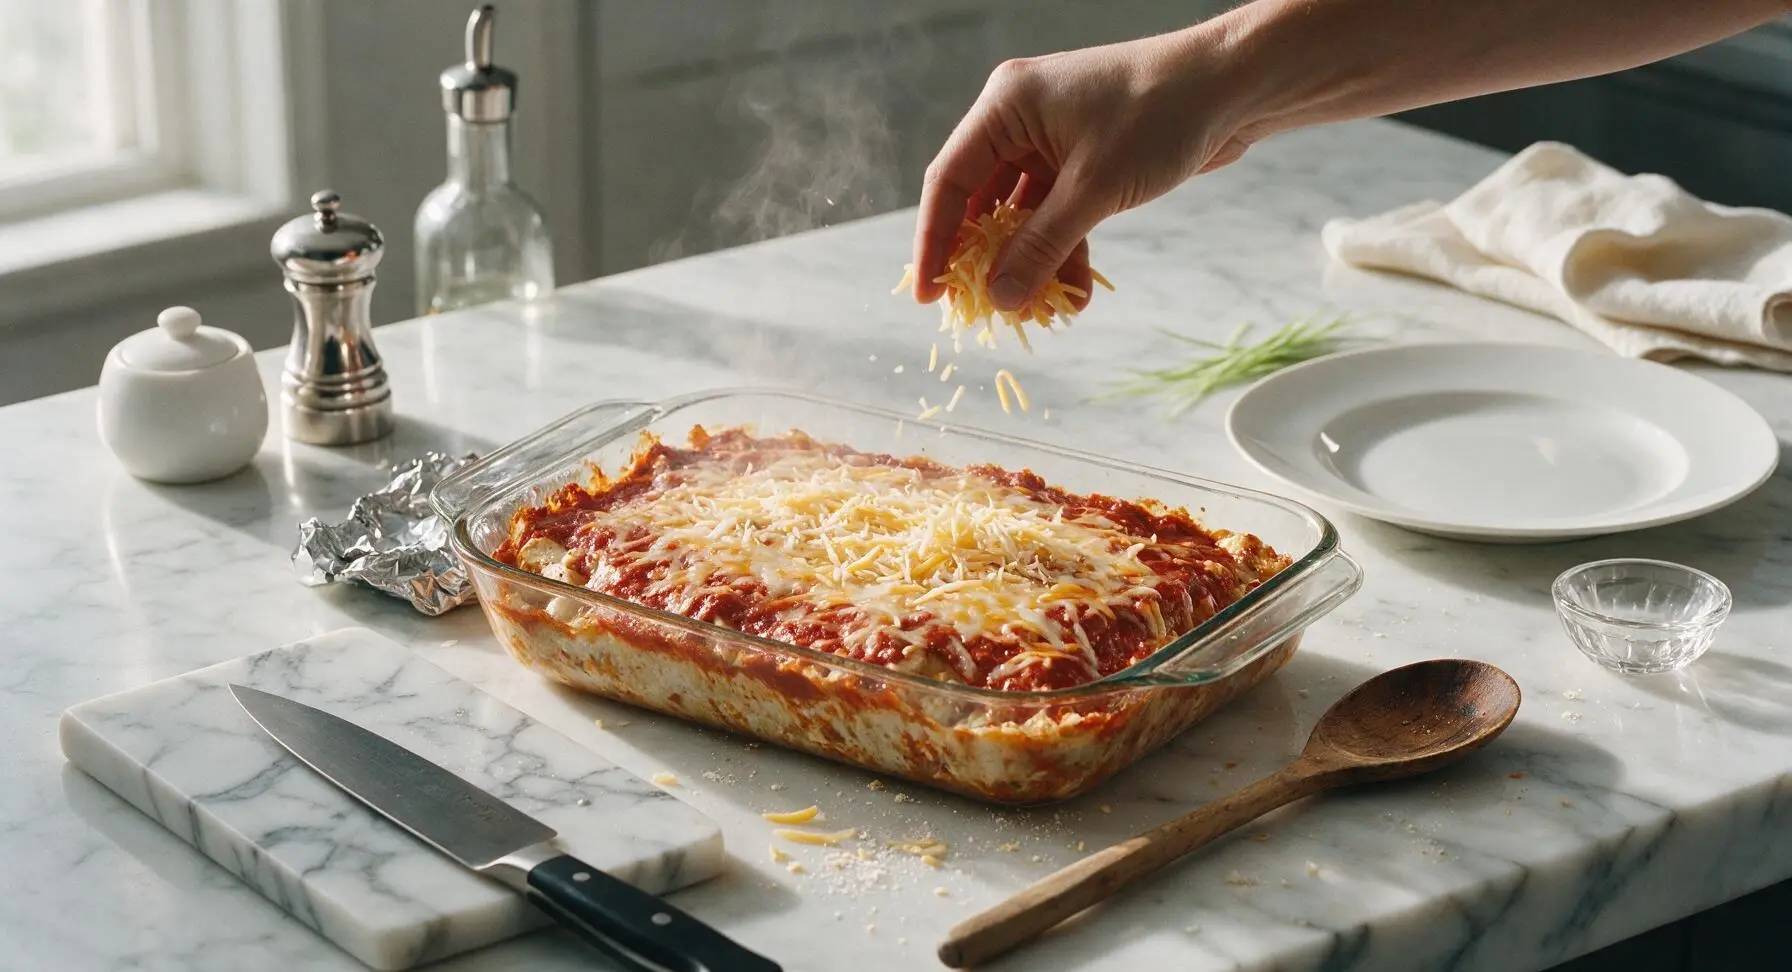
After 25 minutes of covered baking, use the quilted oven mitts to carefully pull the hot dish from the oven, setting it back on the center counter work zone. Lift the far edge of the aluminum foil first, tilting it away from your face to let hot steam escape away from your skin, then remove the foil entirely. Sprinkle the reserved ½ cup of shredded Mexican blend cheese in an even layer across the top of the partially cooked casserole.
Bake Until Golden Bubbly
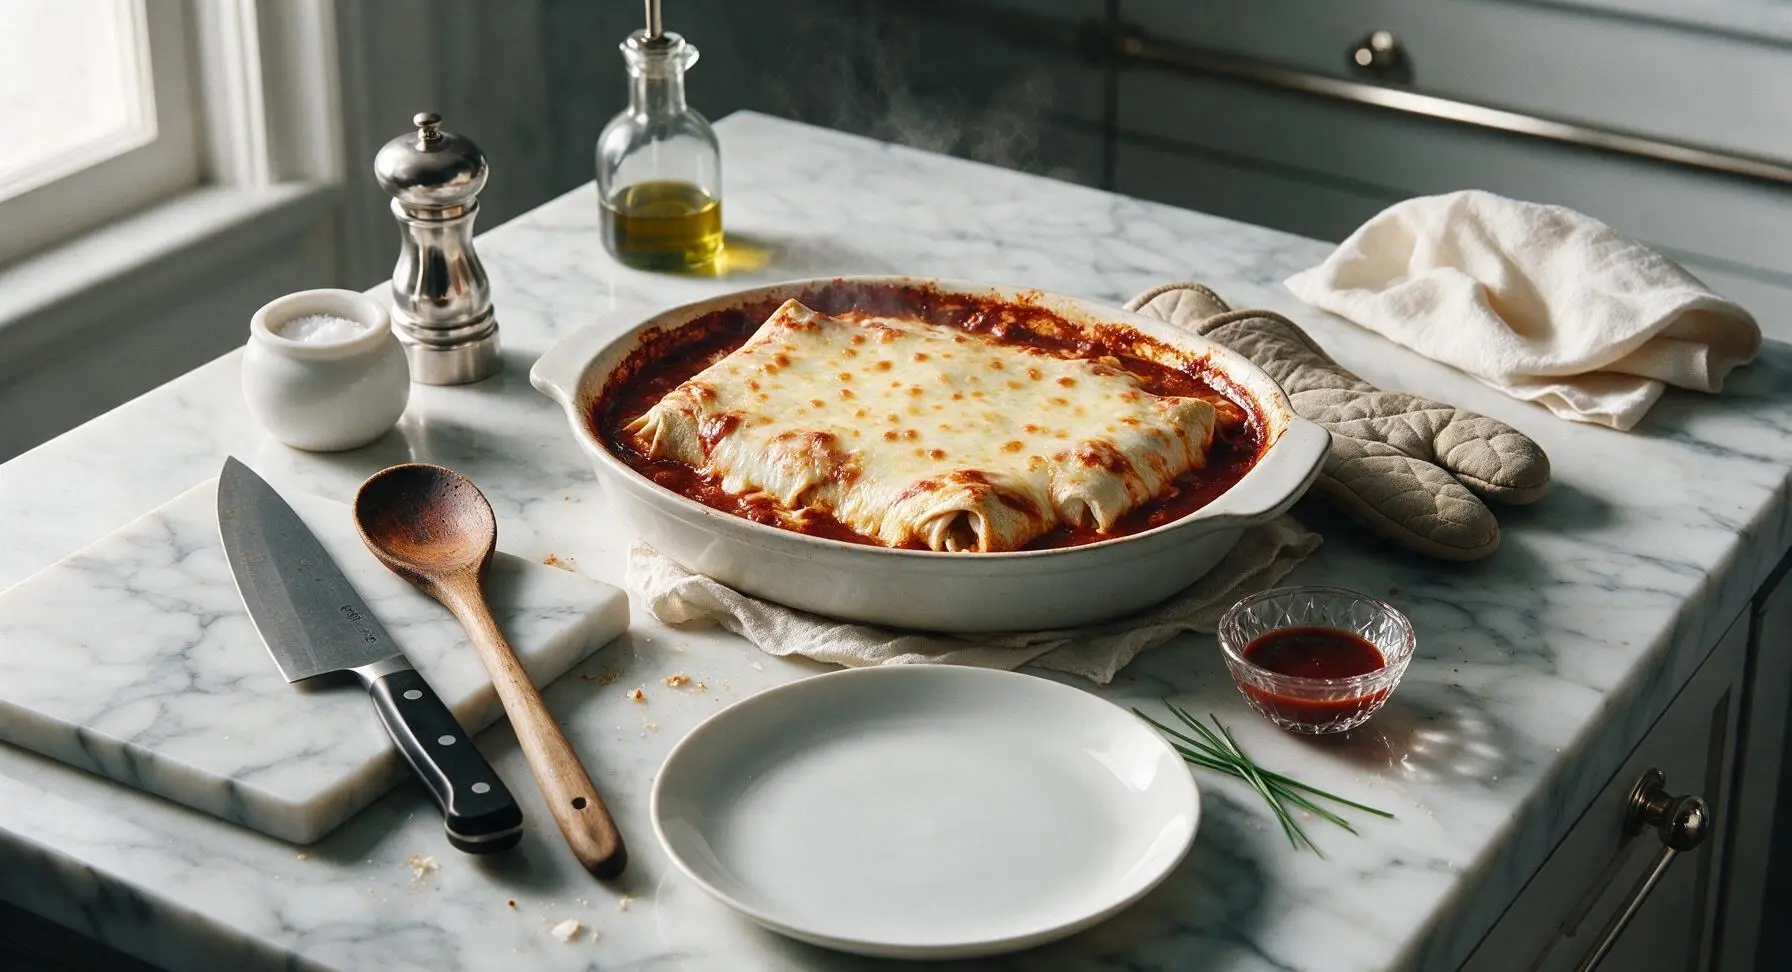
Return the uncovered dish to the middle oven rack, and bake for 15 additional minutes. The casserole is done when the cheese is fully melted, deep red enchilada sauce bubbles vigorously around the dish edges, and light golden brown spots appear across the cheese surface. For food safety, confirm the center of the burritos reaches 165°F (74°C) with an instant-read thermometer if available.
Rest and Add Garnish
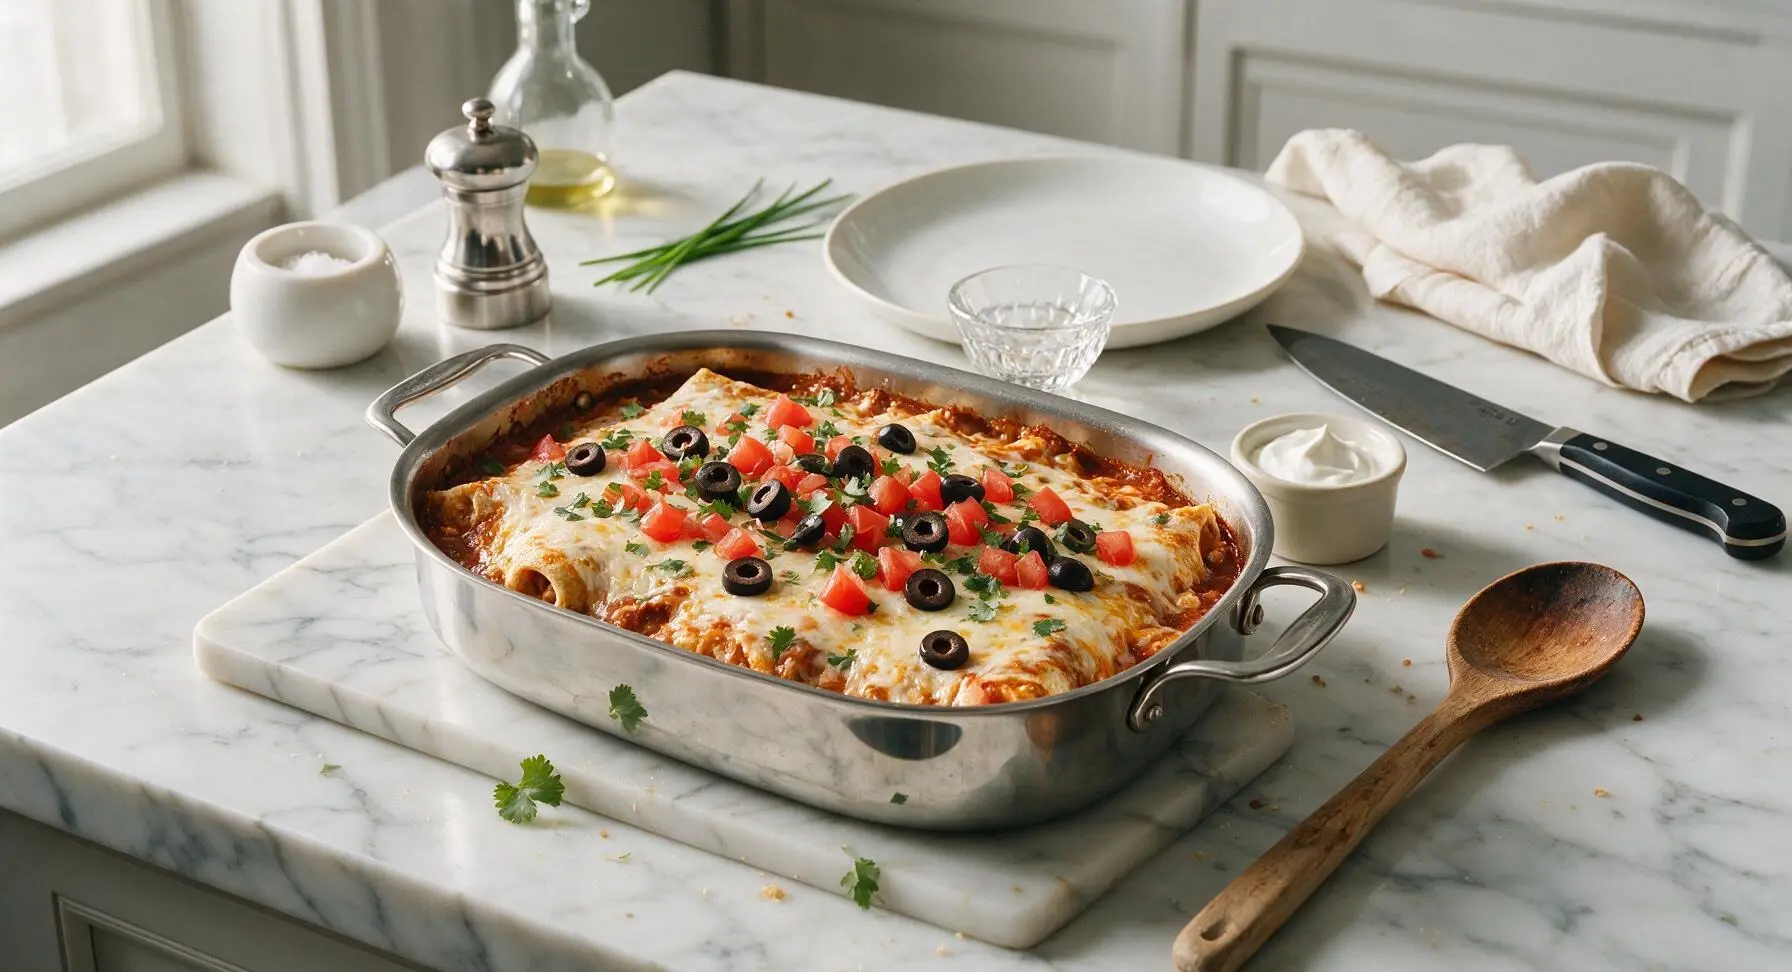
Transfer the finished casserole back to the center counter using the oven mitts, and let it rest for 5 full minutes at room temperature. This rest period lets the sauce and cheese set, so scoops hold their shape instead of sliding apart when served. Top the whole casserole evenly with diced Roma tomato, sliced black olives, and 1 tablespoon of fresh chopped cilantro. Serve with sour cream on the side in the small cream ramekins.
Tips
2.Coat every exposed burrito surface with enchilada sauce before adding cheese: Any dry tortilla left uncovered will turn hard and crunchy during baking instead of softening into the casserole layers.
3.Let the casserole rest the full 5 minutes after baking: Cutting into it immediately causes runny sauce and sliding cheese, while the short rest lets layers set for clean, easy-to-serve slices.






OMG this is such a game changer for busy weeknights! I grabbed a bag of frozen beef and bean burritos on my way home from work, dumped a can of red enchilada sauce over them, sprinkled cheese, and popped it in the oven. 40 minutes total and my entire family cleaned their plates? Even my super picky 7 year old asked for seconds! 10/10 will be making this for our weekly rotation.
So good! I used green enchilada sauce instead of red because that’s what I had in the pantry, and tossed a handful of frozen corn in between the burrito layers. Cooked it for exactly 40 minutes like the recipe said and it came out perfectly bubbly. Meal prepped 4 servings for lunches this week and I’m already excited to eat it tomorrow.
Wait, you don’t even have to thaw the frozen burritos first?? That’s insane, I always thought you had to defrost them before baking anything like this. Made this last night in my tiny dorm oven and it came out perfect, no weird frozen spots at all. Total lifesaver for when I don’t feel like ordering takeout.
Brought this to my neighborhood block party last weekend and people were begging me for the recipe! I topped it with extra shredded cheese and a can of diced green chiles for a little heat, and it was gone in 10 minutes flat. So easy to throw together last minute too, I didn’t even have to run to the grocery store for extra ingredients.
Was worried this wouldn’t work with gluten free frozen burritos but I gave it a shot and it came out amazing! The enchilada sauce soaked into the burritos just right, no soggy mess, no crunchy frozen edges. My husband who eats literally everything said he couldn’t even tell they were GF. Only knock is I wish I’d added a little extra taco seasoning to the sauce for more flavor, but that’s just personal preference! Will make again.
Made this last night when I was on kid duty while my wife was out for the night. Let me tell you, I am NOT a good cook, like I burn toast half the time. This was so idiot proof I couldn’t mess it up! Kids loved it, I loved it, no cleanup hassle. 10/10, adding to my very short list of recipes I can actually make.
Pro tip: add a layer of pickled jalapeños between the burritos and the cheese before baking! It adds the perfect little zing that cuts through all the cheesy, savory goodness. I made this for my roommate and she’s already asked me to make it again next week. SO good.
This is my new go-to for Sunday meal prep! It reheats like a dream in the microwave, no weird texture changes even after 4 days in the fridge. I swapped the regular cheese for a Mexican blend and added a can of black beans drained and rinsed on top for extra protein. Perfect for grabbing on my way out to early morning work meetings.
This is so budget friendly! I used the cheapest store brand frozen burritos, a dollar can of enchilada sauce, and the shredded cheese I already had in my fridge, and the whole meal cost me like $6 to feed 3 people. Way cheaper than getting takeout burritos and tastes just as good, if not better. 10/10 for anyone trying to save money on groceries right now.