
frozen burrito enchilada

title 1
frozen burrito enchilada
⏱️ cook time 35 minutes
🍽️ servings 4
⚡ Difficulty easy

intro

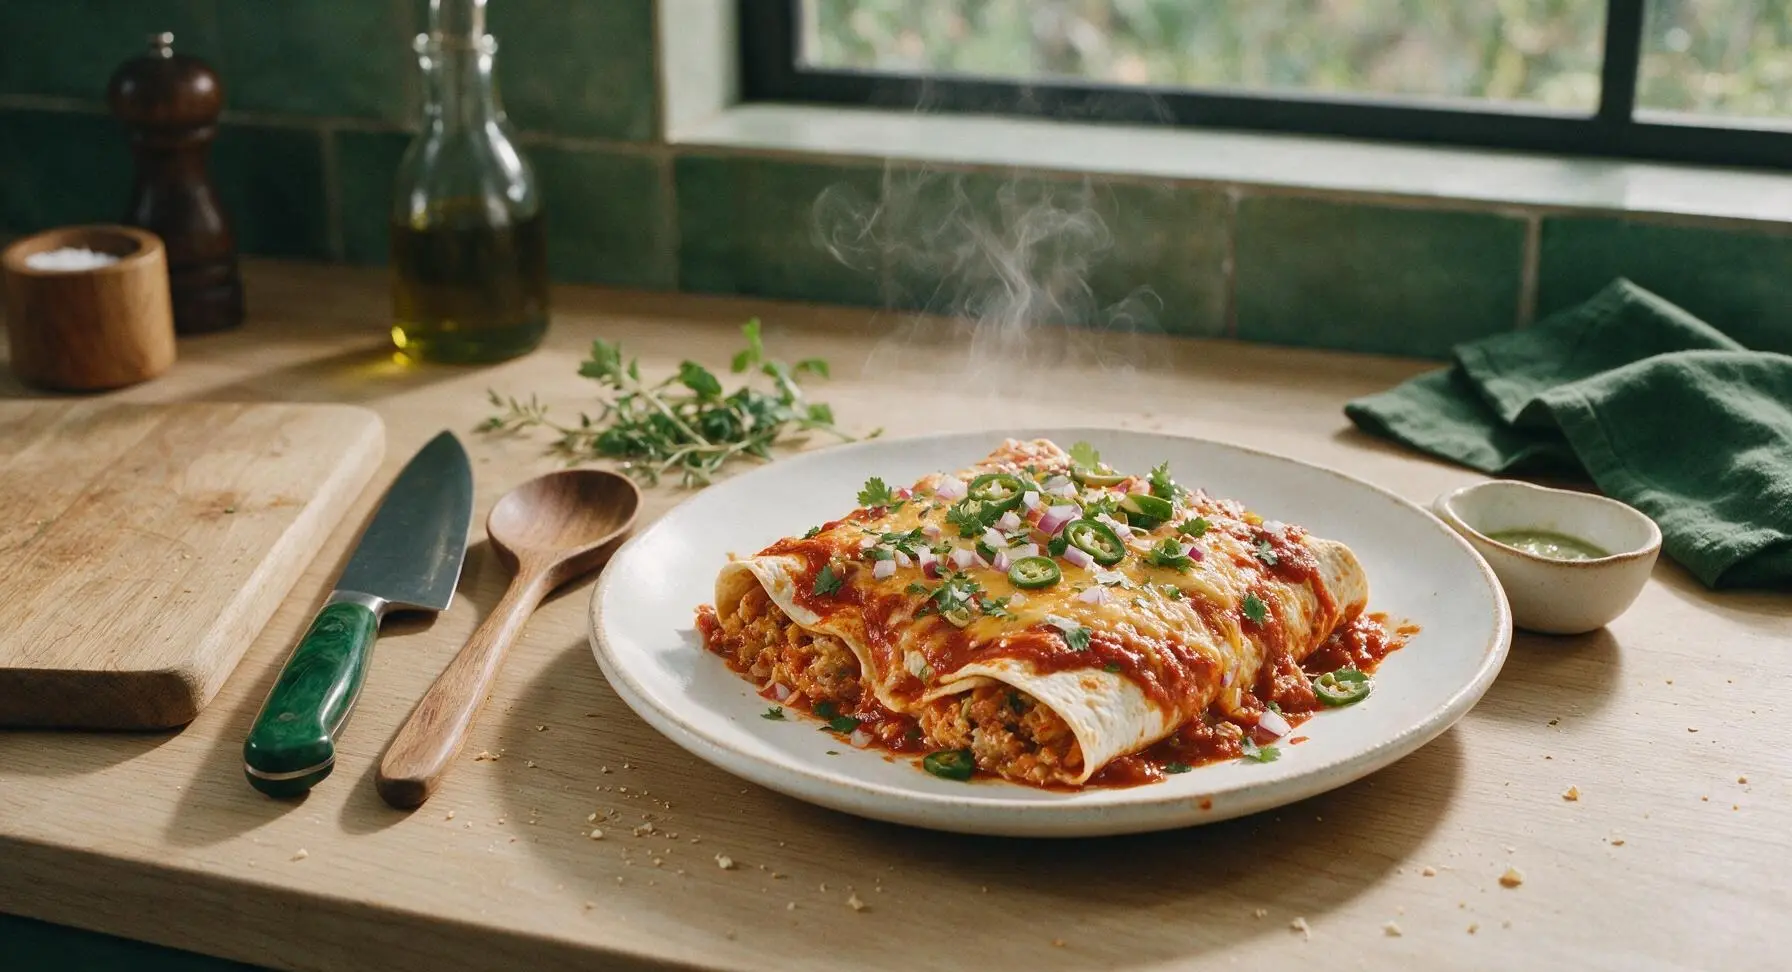
A cozy, shortcut Tex-Mex bake that transforms store-bought frozen burritos into cheesy, saucy enchilada-style comfort food, with minimal prep and bold, crowd-pleasing flavor.

Ingredients
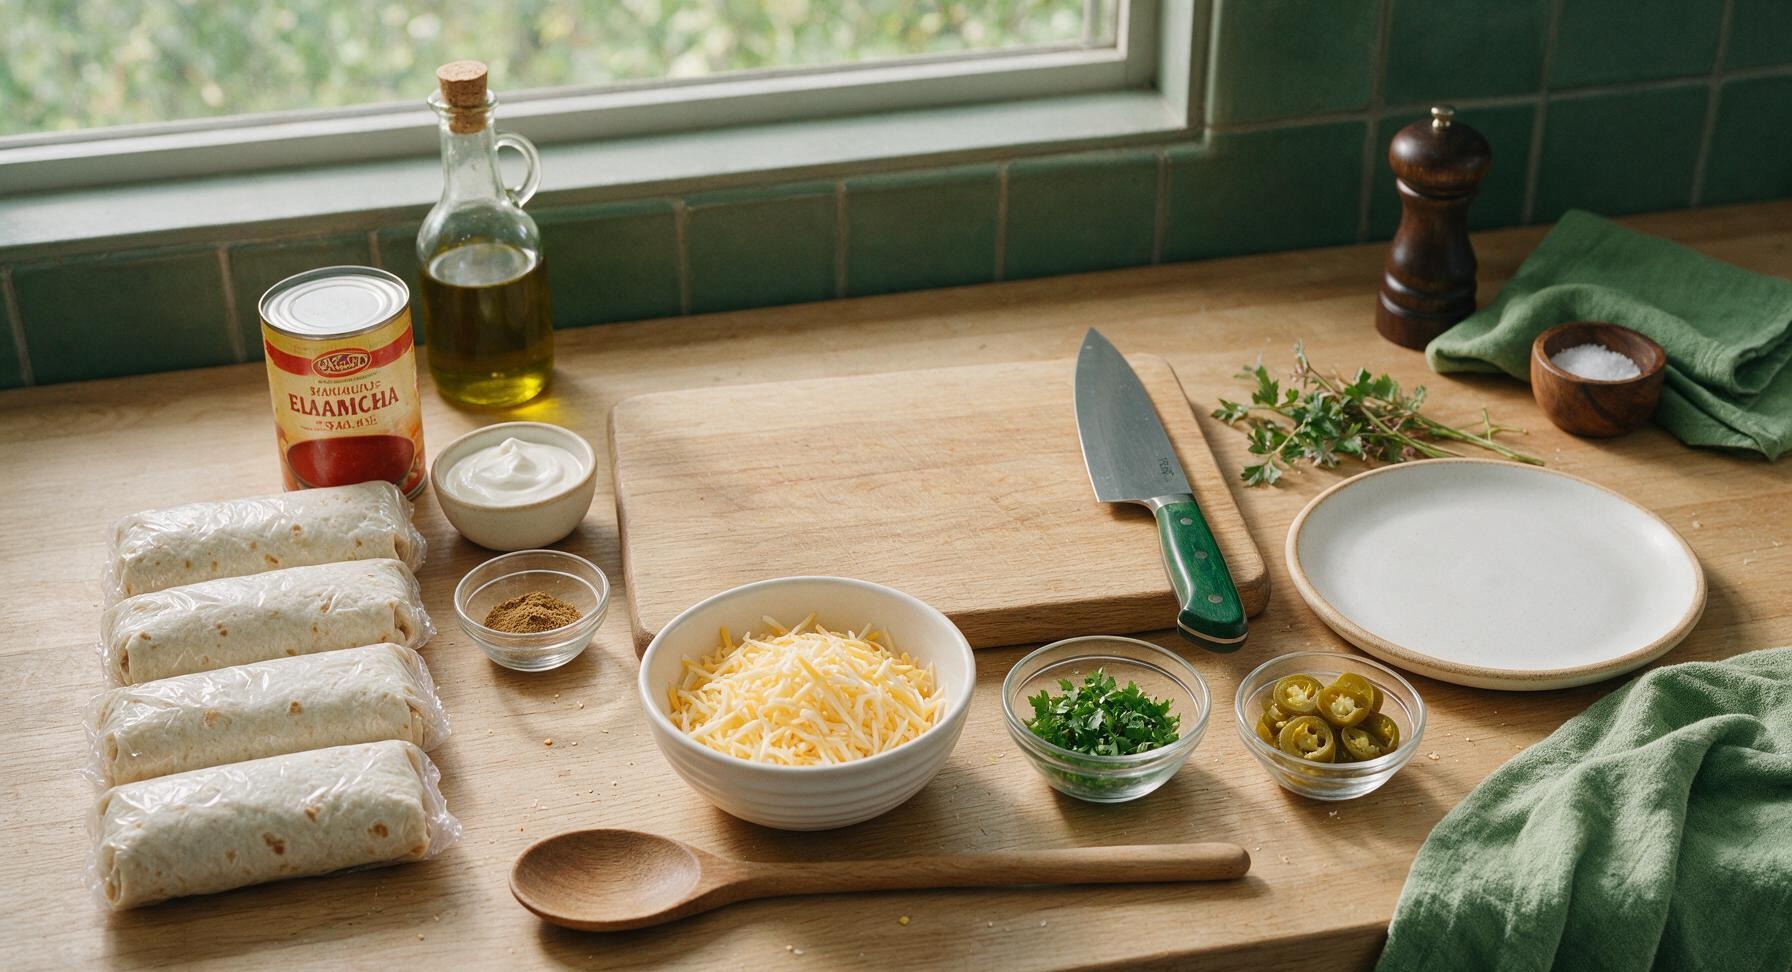
Frozen beef and bean burritos (store-bought, 5oz each, unthawed) 4 count
Canned red enchilada sauce (mild) 20 oz (two 10oz cans)
Shredded Mexican cheese blend (cheddar & Monterey Jack) 2 cups
Ground cumin 1 tsp
Sour cream ½ cup
Fresh cilantro ¼ cup, chopped
Sliced pickled jalapeños ¼ cup

Steps

1

Preheat and Prep Dish

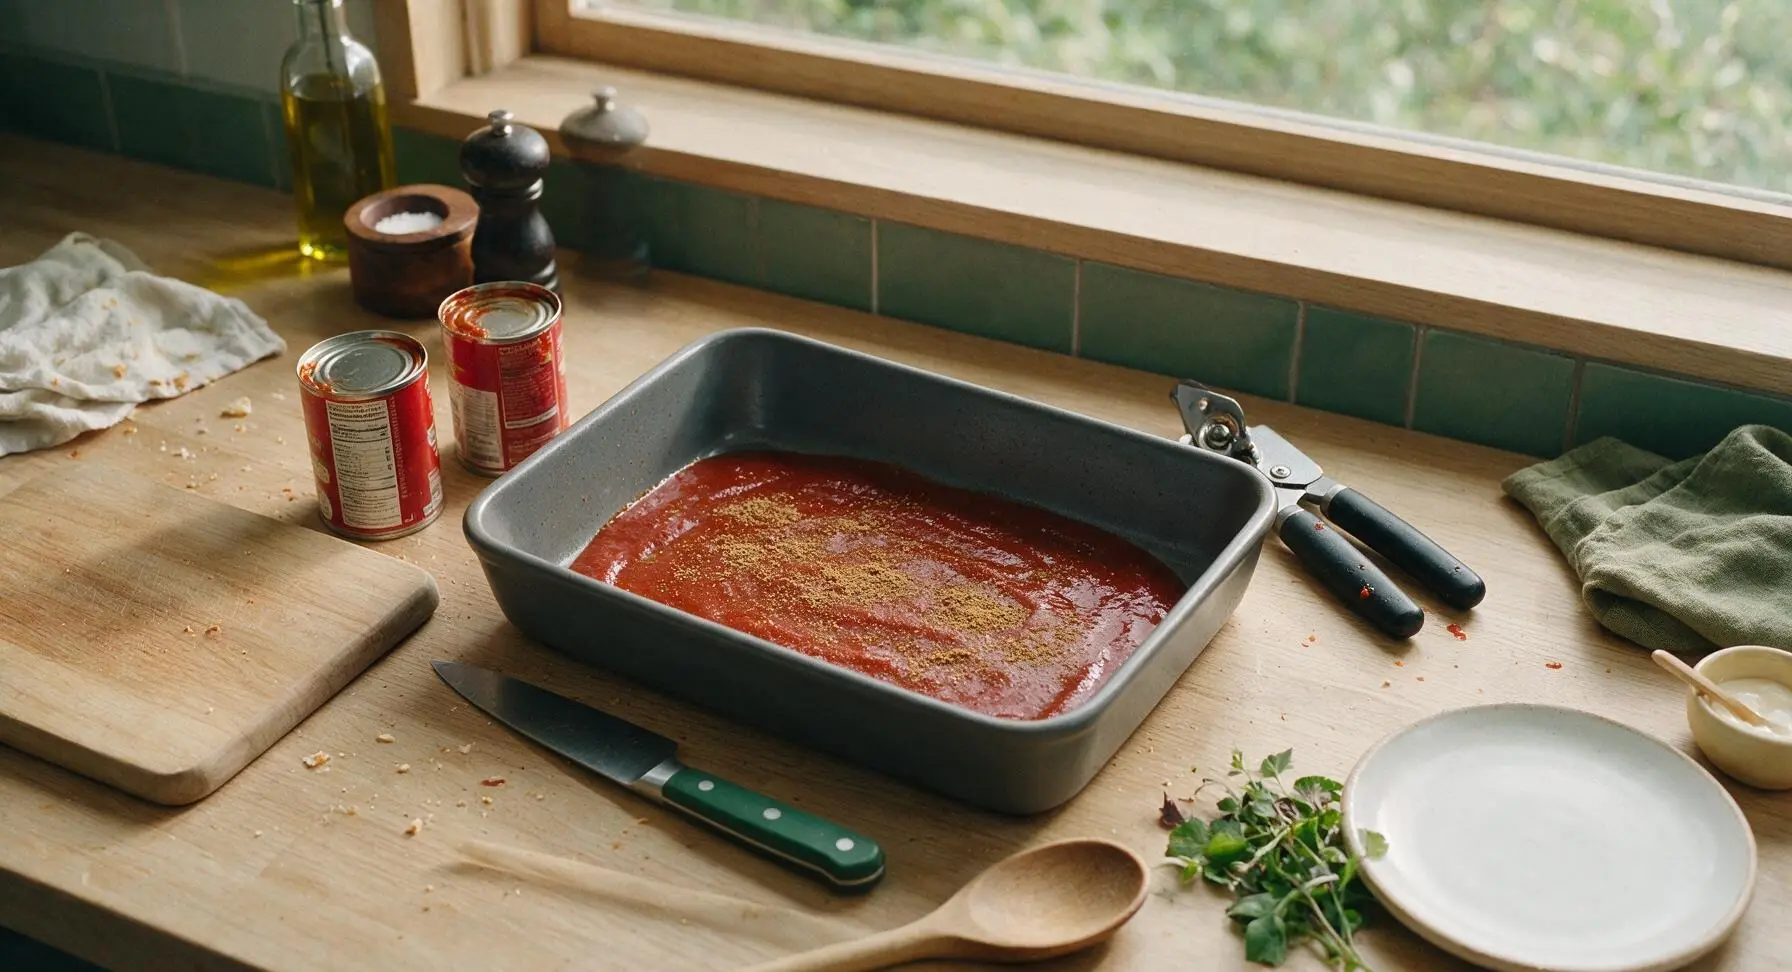
Adjust oven rack to the middle position, then preheat oven to 375°F (190°C). Retrieve the 9x13 inch matte dark grey ceramic baking dish and place it centered on the counter. Pour ⅔ cup of enchilada sauce (roughly ⅓ of total sauce) across the bottom of the dish, spreading it in a thin, even layer with the back of the stainless steel spoon to prevent burritos from sticking. Sprinkle 1 teaspoon of ground cumin evenly over the sauced dish bottom for warm, earthy depth of flavor.
Step 1
step1:Preheat and Prep Dish
2

Arrange Frozen Burritos

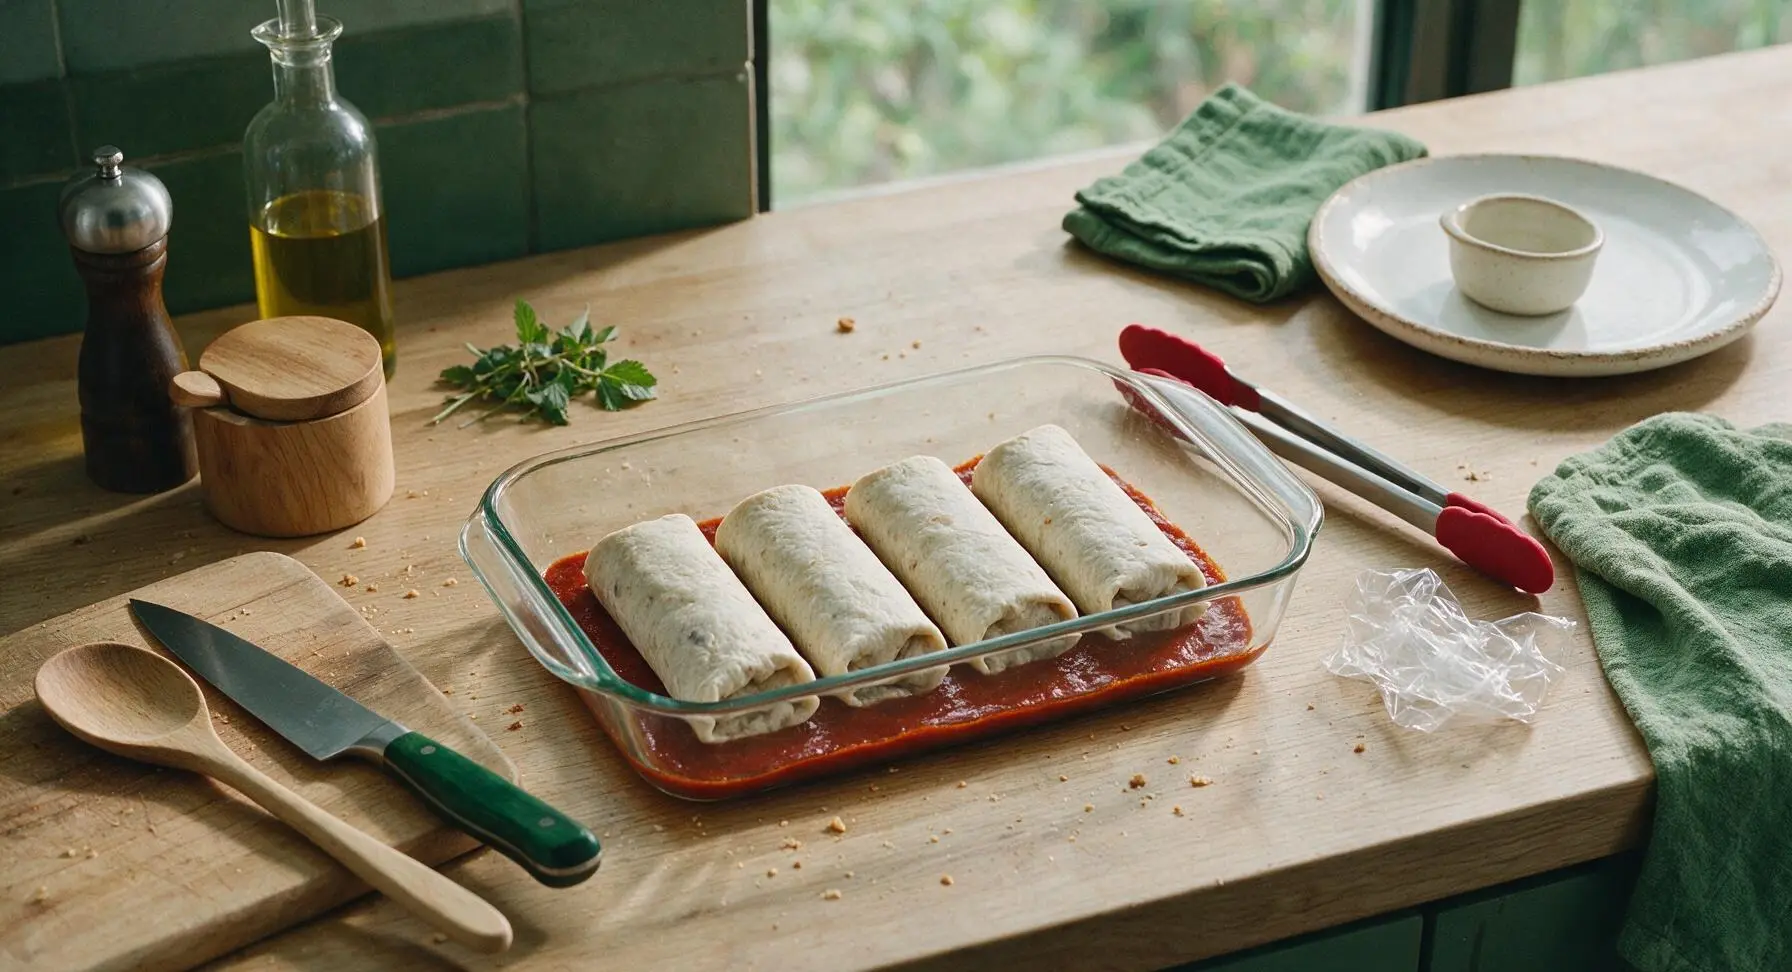
Unwrap all four 5oz frozen beef and bean burritos (do not thaw first—thawing leads to soggy, mushy burritos during baking). Place them in a single snug row in the sauced baking dish, leaving ½ inch of space between each burrito to allow sauce to circulate and cheese to melt into the gaps.
Step 2
step2:Arrange Frozen Burritos
3

Top with Enchilada Sauce

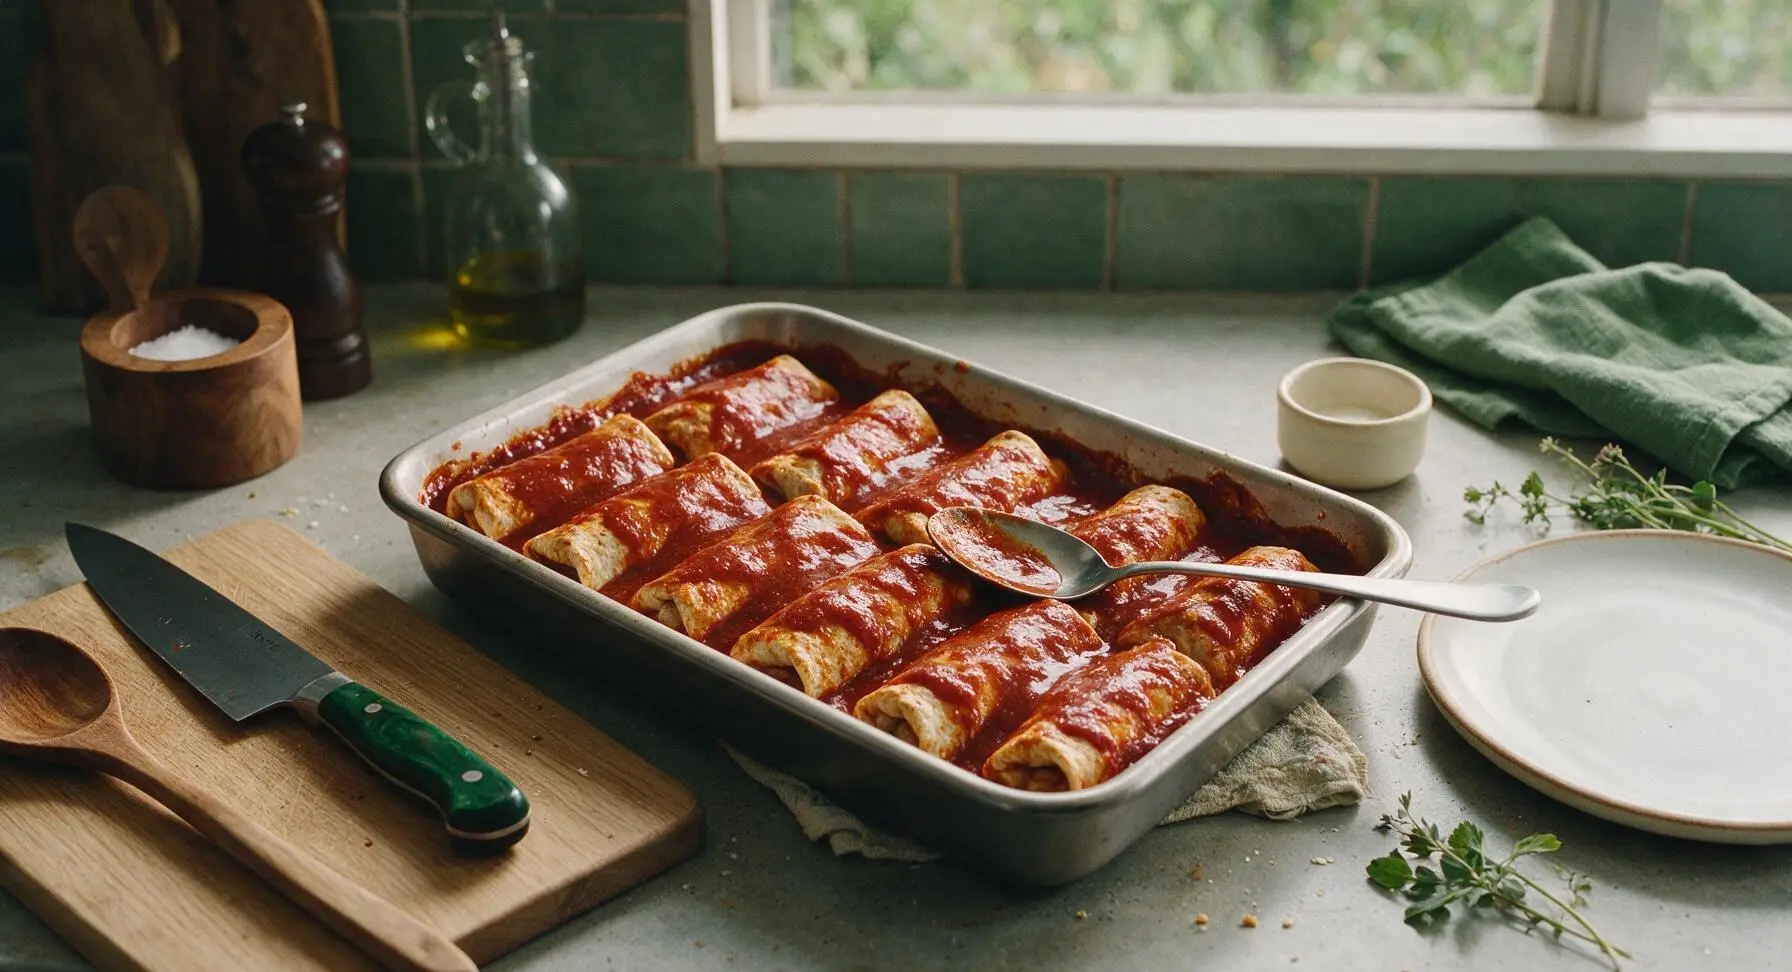
Pour the remaining 13 ⅓ oz of enchilada sauce evenly over the top of the frozen burritos, making sure every part of the burrito surface is coated with sauce. Use the back of the stainless steel spoon to spread sauce into the gaps between burritos, so no dry tan tortilla is exposed—exposed tortilla will turn hard and crispy during baking instead of softening into tender enchilada texture.
Step 3
step3:Top with Enchilada Sauce
4

Top with Shredded Cheese

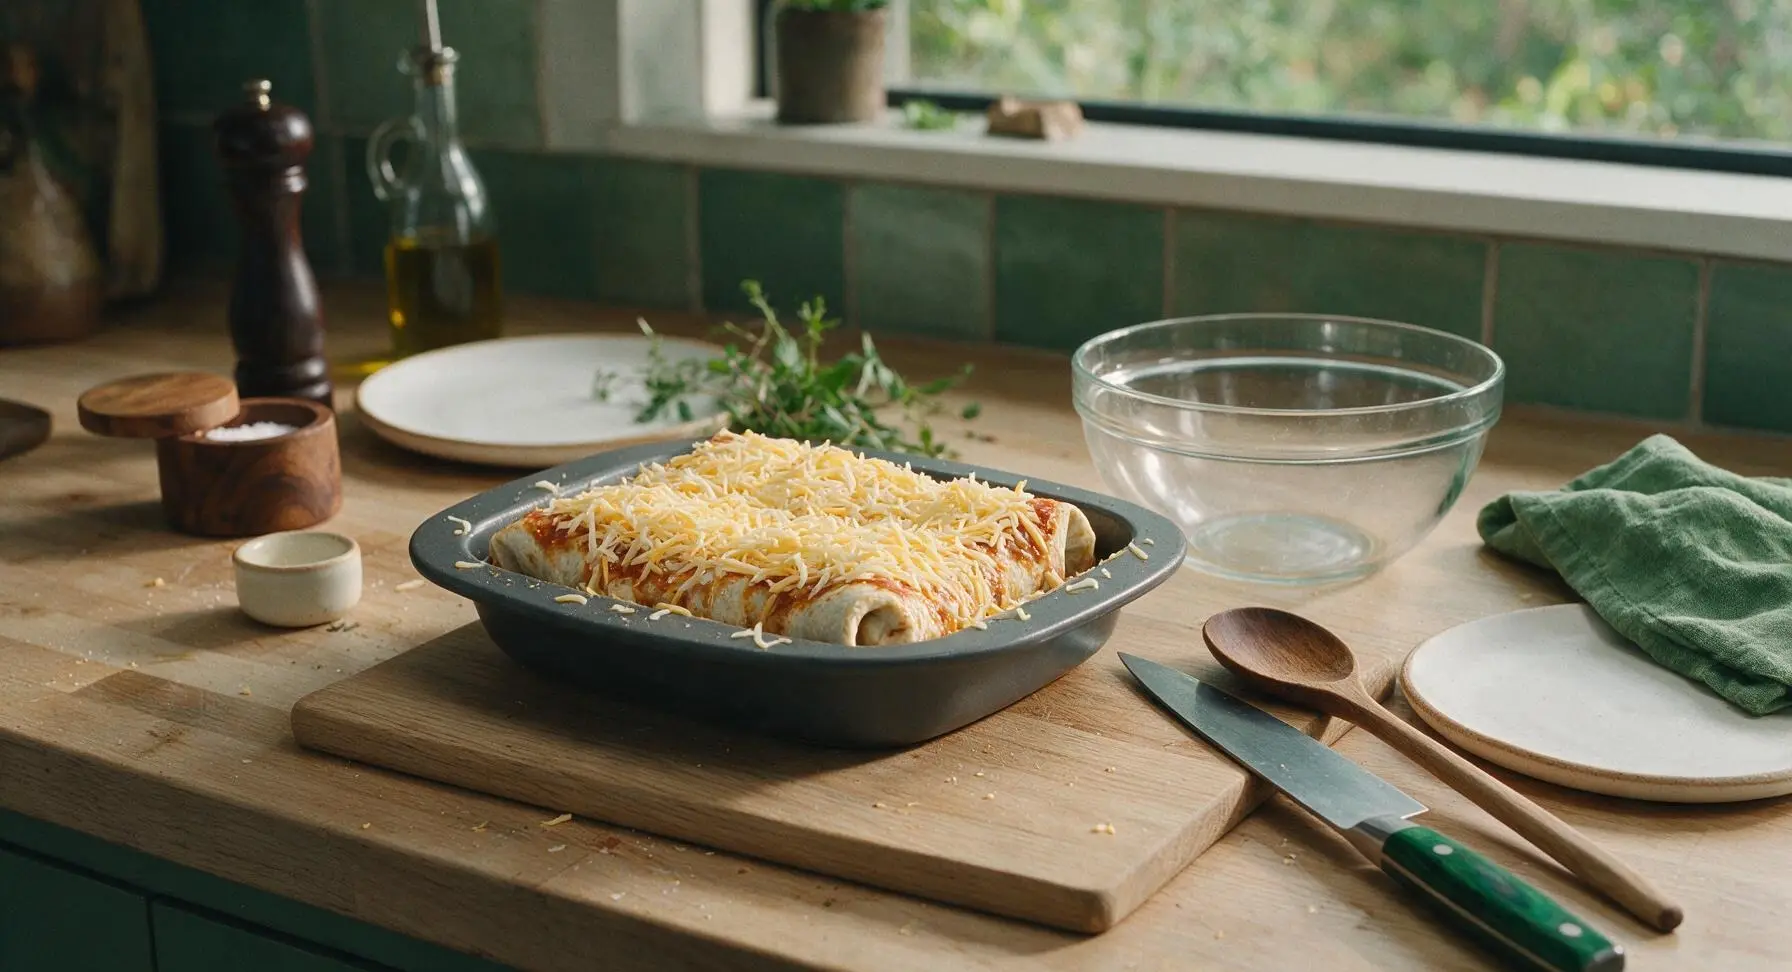
Sprinkle the full 2 cups of shredded Mexican cheese blend evenly over the sauced burritos, making sure to cover the sauce completely and let some cheese fall into the gaps between burritos. Loose cheese shreds on the dish rim are totally fine—they will crisp up into tasty cheesy bits as they bake.
Step 4
step4:Top with Shredded Cheese
5

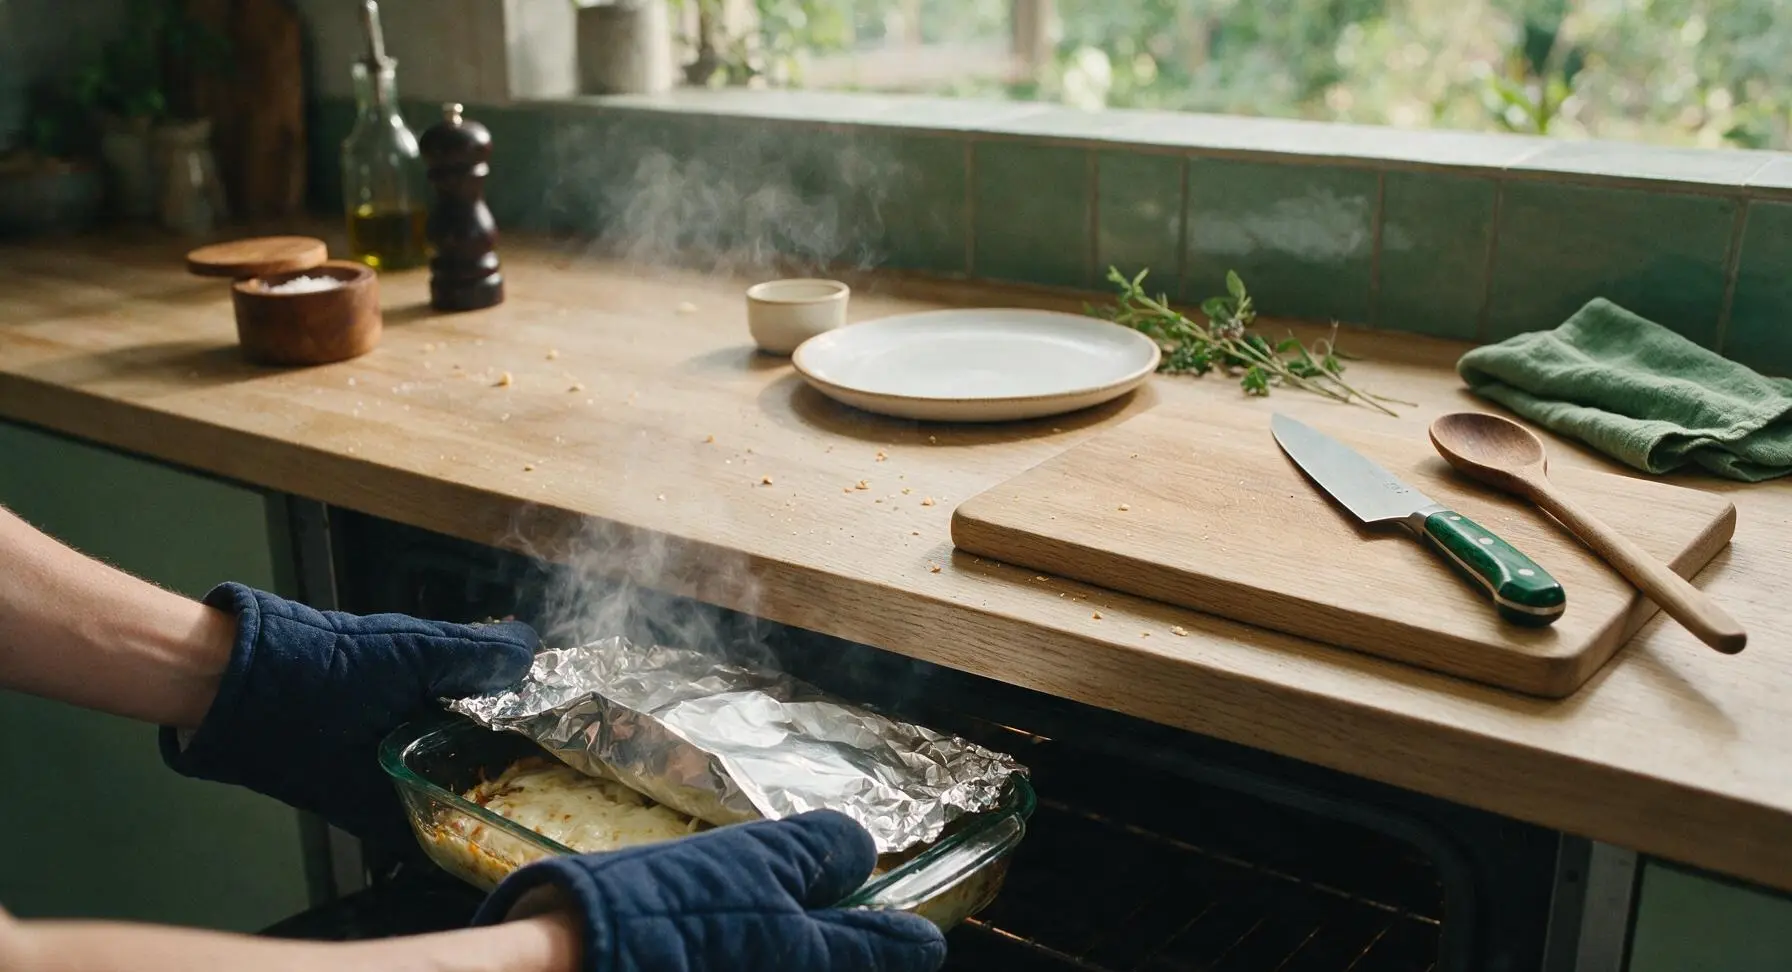
Cover and Bake 25 Minutes

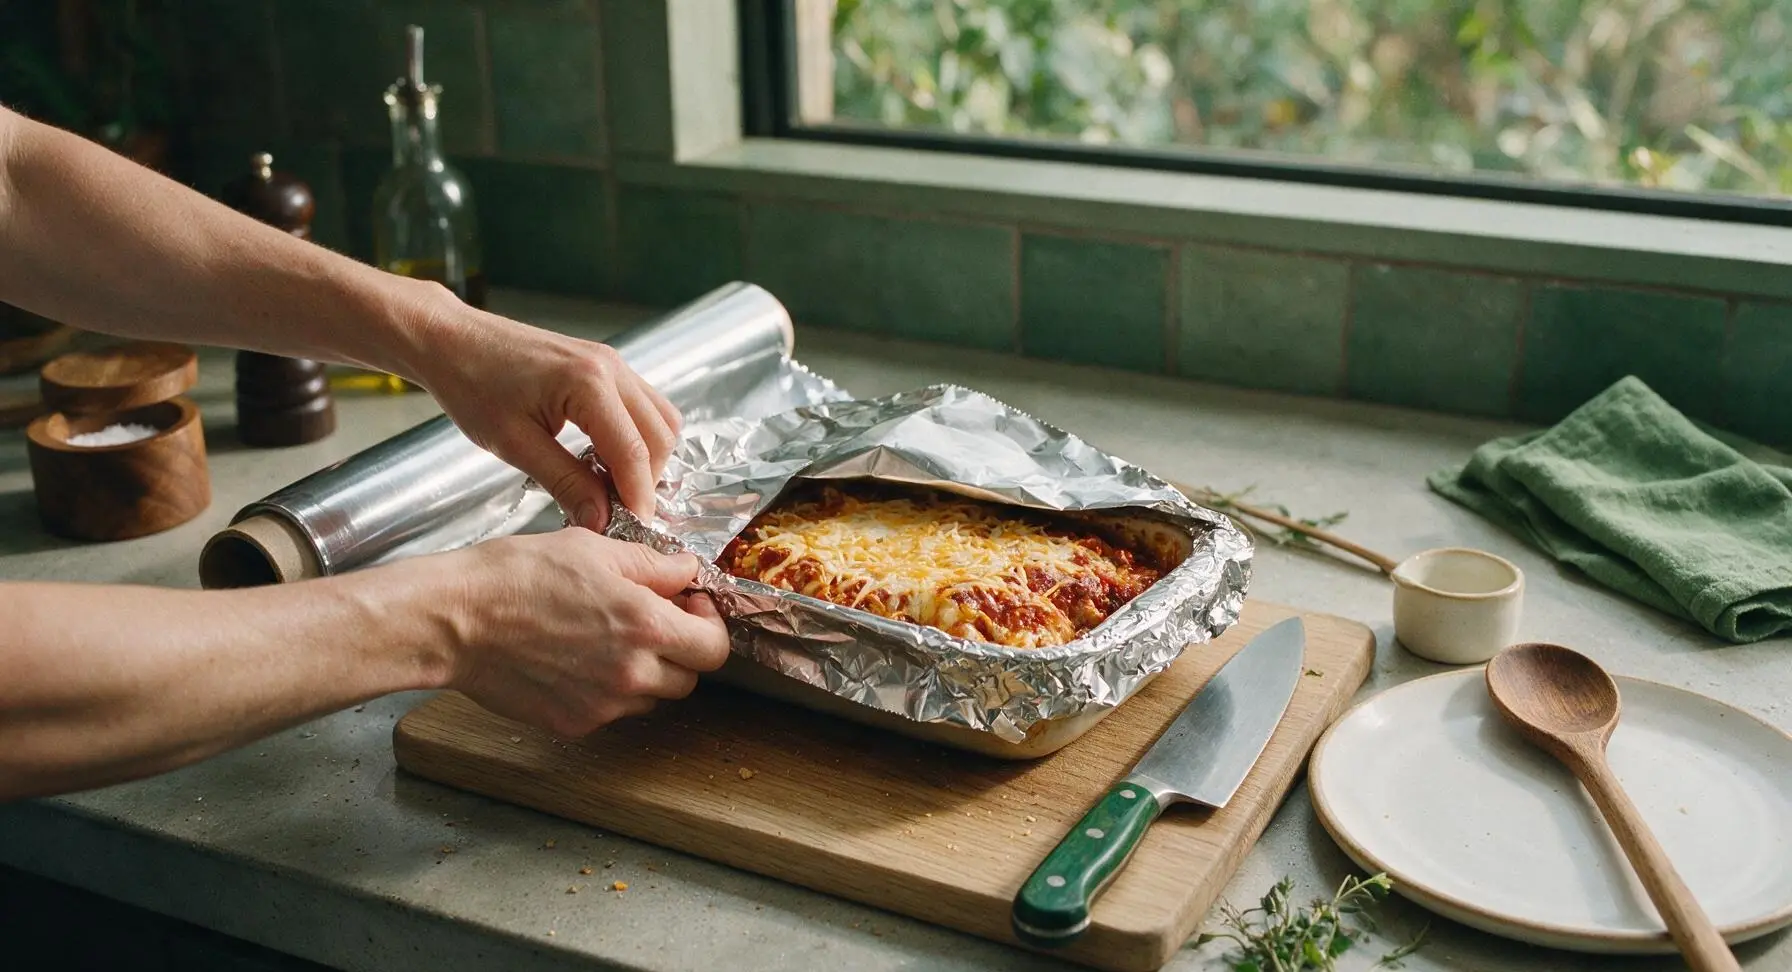
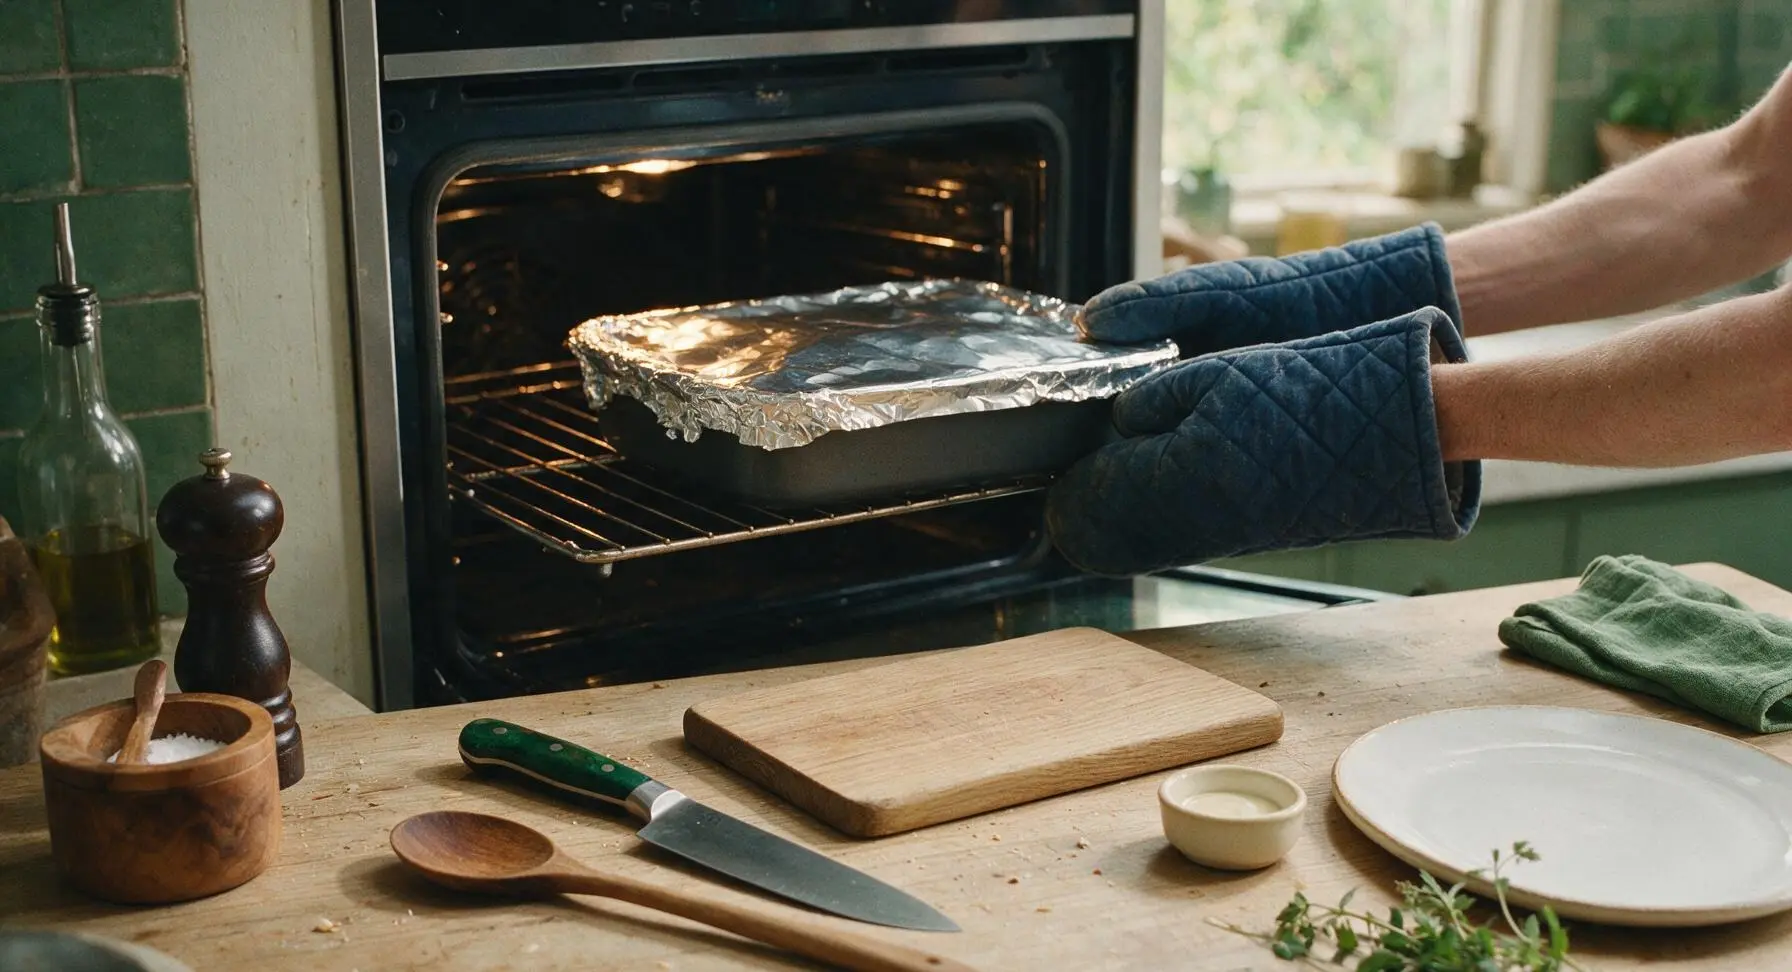
Tear a 14-inch sheet of aluminum foil from the roll stored on the back left counter. Tightly cover the top of the baking dish with the foil, crimping the edges around the dish rim to create a tight seal that traps steam. Place the dish on the middle oven rack, and bake for 25 minutes at 375°F. The steam from the sealed dish will cook the frozen burritos through evenly without drying them out.
Step 5
step5:Cover and Bake 25 Minutes
Step 5
step5:Cover and Bake 25 Minutes
6

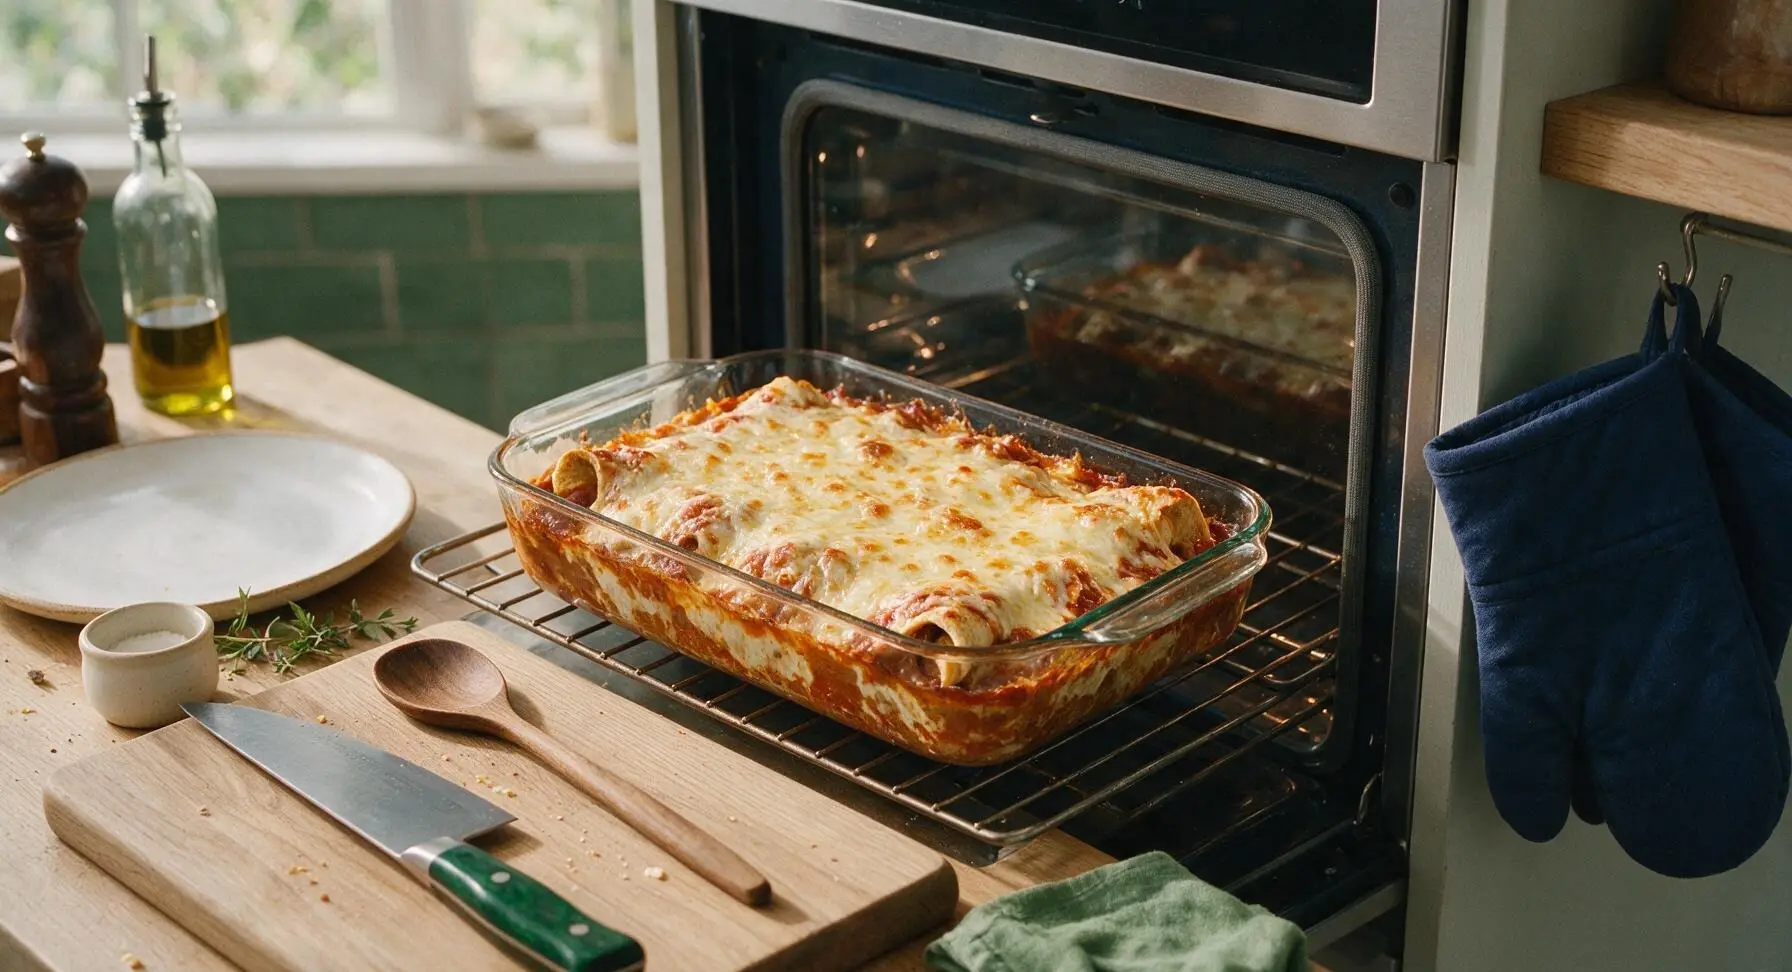
Uncover to Brown Cheese

After 25 minutes of covered baking, carefully pull the oven rack out (use oven mitts!) and peel the foil off the dish, tilting the foil away from your face to avoid escaping steam. Return the uncovered dish to the oven, and bake for an additional 10 minutes, until the cheese is fully melted, bubbly around the edges, and dotted with light golden-brown spots. Confirm burrito centers reach 165°F for food safety.
Step 6
step6:Uncover to Brown Cheese
Step 6
step6:Uncover to Brown Cheese
7

Rest Before Serving

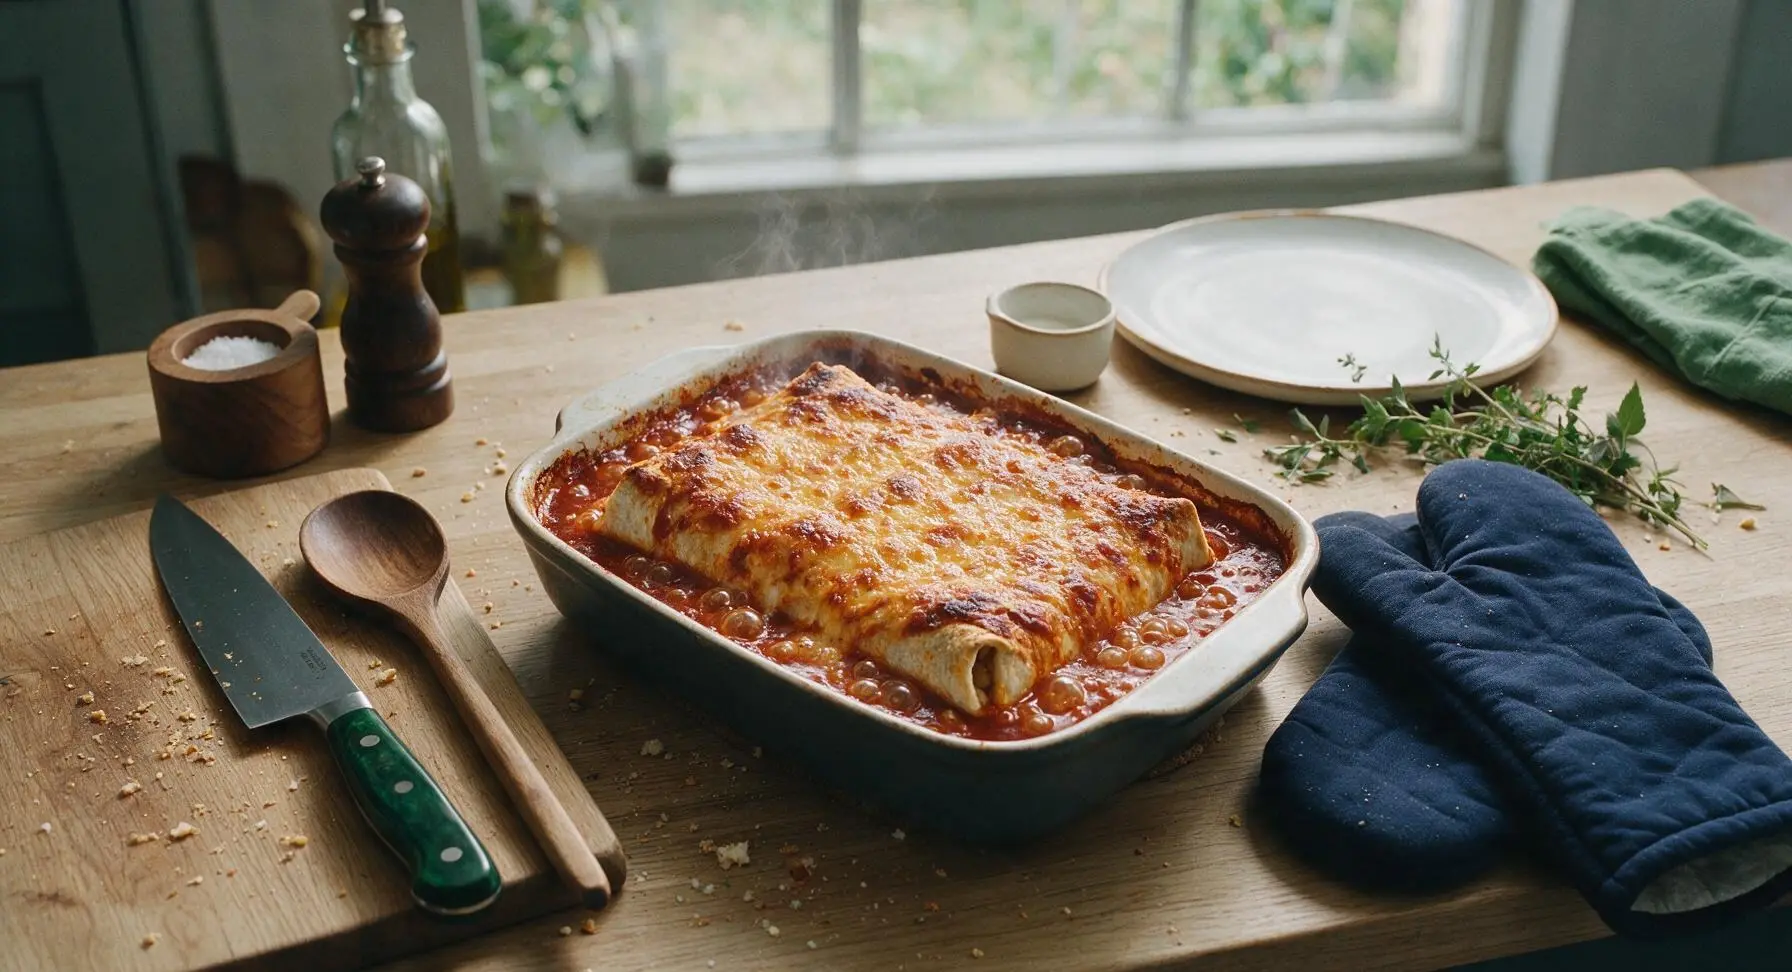
Once done baking, carefully remove the dish from the oven using oven mitts, and set it back on the center of the counter. Let the bake rest for 5 minutes to allow the sauce to set and the cheese to cool slightly, which makes serving cleaner and prevents burnt mouths. The dish will bubble gently as it rests.
Step 7
step7:Rest Before Serving
8

Plate and Add Garnishes

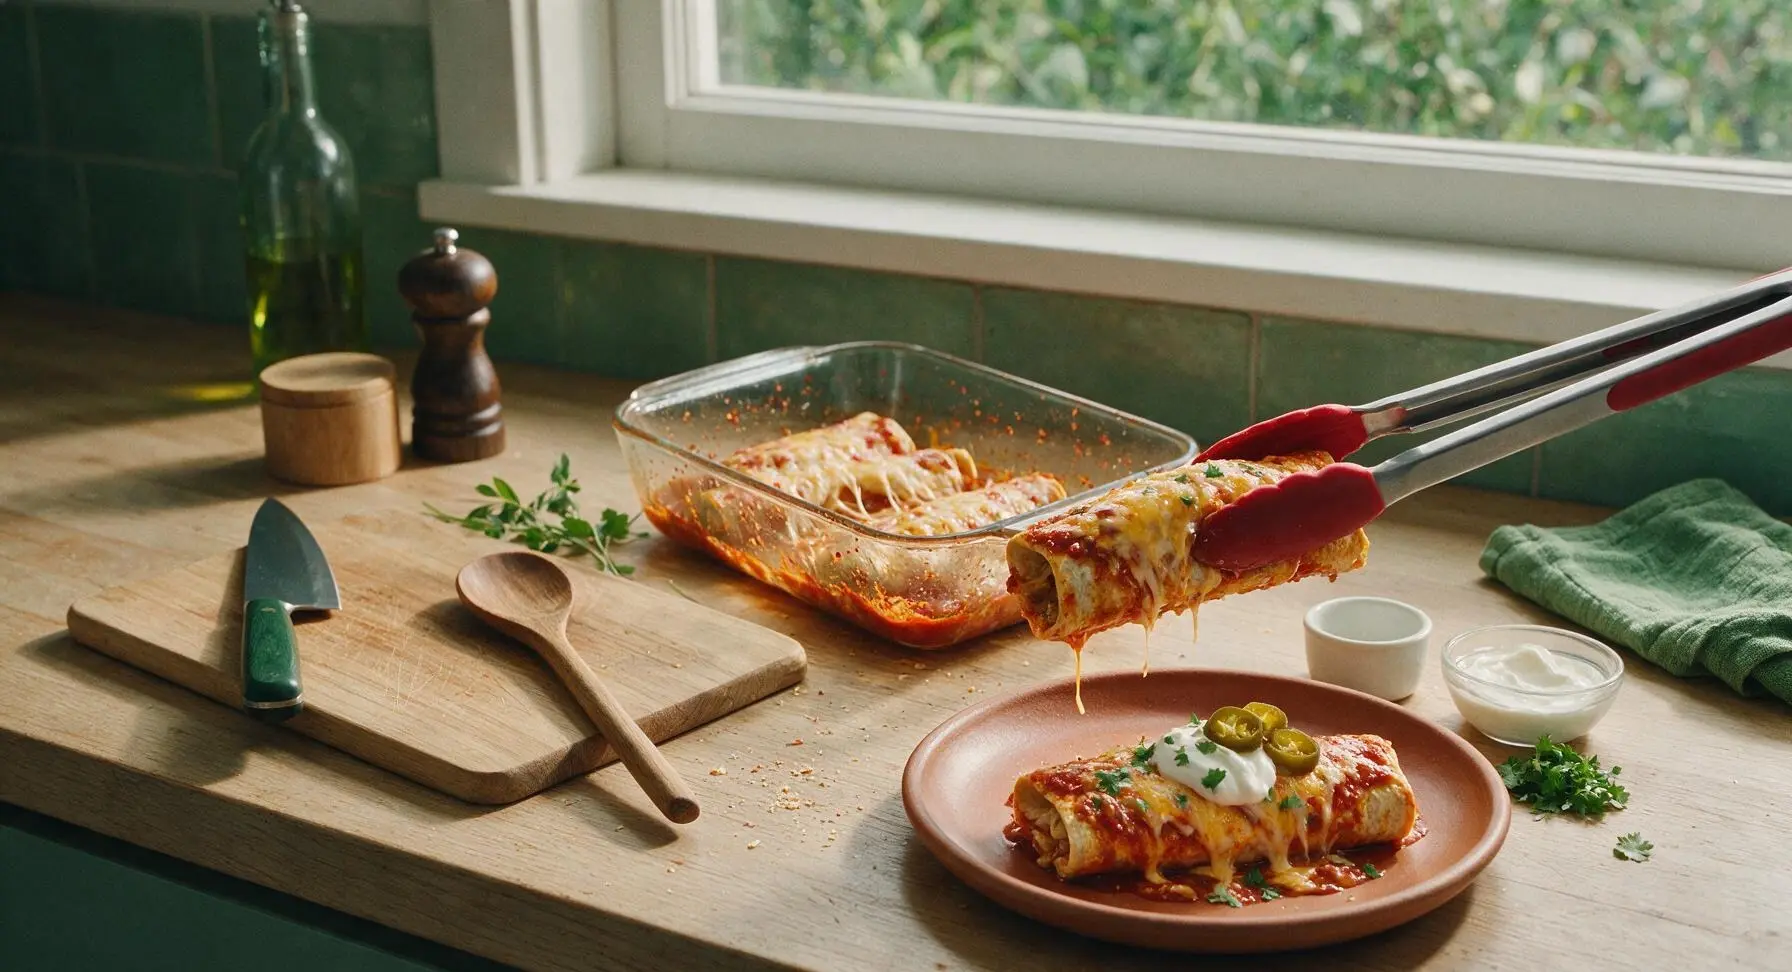
Use the silicone-tipped tongs to lift one sauced, cheese-topped burrito from the baking dish, and place it centered on the 10-inch terracotta dinner plate. Top the burrito with a 2-tablespoon dollop of sour cream, a light sprinkle of fresh chopped cilantro, and 3-4 slices of pickled jalapeño (if using) for a bright, tangy contrast to the rich, cheesy bake.
Step 8
step8:Plate and Add Garnishes

Tips

1.Skip thawing your frozen burritos: Cooking burritos straight from the freezer allows the tortillas to steam gradually under foil, keeping their structure intact for a soft-but-not-soggy bite, while thawed burritos absorb excess sauce and turn mushy.
2.Seal foil tightly around the baking dish edges: A loose seal lets steam escape during the first 25 minutes of baking, which can dry out tortilla edges and leave the center of the burritos still frozen when the cheese is done browning. Crimp edges firmly to trap all steam.
3.Let the bake rest the full 5 minutes after removing from the oven: Straight from the oven, the sauce and cheese are runny and hot enough to cause painful mouth burns; resting lets layers set for clean, easy serving and brings the temperature down to a pleasant eating level. Use this time to chop cilantro and set out garnishes to save time.


✨ You May Also Like

Main Course
🍜 United Kingdom

A showstopping classic of tender seared beef, savory mushroom duxelles, and crisp prosciutto wrapped in flaky golden puff pastry, baked to juicy perfection.

⏱️ 2 hours 1Main Course ★ 4.7
Main Course
🍜 India

Tender charred marinated chicken simmered in a rich, spiced creamy tomato sauce, this iconic Anglo-Indian curry pairs perfectly with basmati rice or warm naan.

⏱️ 50 minuteMain Course ★ 4.6
Main Course
🍜 Thailand

Classic tangy, sweet, and savory Thai stir-fried rice noodles with shrimp, tofu, and crunchy garnishes, balancing all five core Thai flavor profiles.

⏱️ 30 minuteMain Course ★ 4.5
Main Course
🍜 United Kingdom

Crispy golden beer-battered cod and fluffy double-fried chips, served with tangy tartar sauce and malt vinegar: the timeless, beloved British pub comfort classic.

⏱️ 45 minuteMain Course ★ 4.7
Main Course
🍜 Mexico

Smoky, chile-marinated pork tacos with caramelized pineapple, fresh cilantro, and lime: a beloved classic Mexican street food perfect for casual summer gatherings.

⏱️ 1 hour 45Main Course ★ 4.8
Main Course
🍜 United States

Crunchy Fritos corn chips layered with savory beef chili and melted cheddar, topped with cool, zesty fixings for a beloved, cozy Tex-Mex comfort food.

⏱️ 35 minuteMain Course ★ 4.8

frozen burrito enchilada:Frequently Asked Questions

1.Do I need to thaw the frozen burritos before making this bake? ▾
No, you do not need to thaw your frozen burritos first! Using them straight from the freezer prevents them from getting soggy as they bake, and helps them hold their structure so they don’t turn mushy under sauce and cheese. Just arrange them unthawed in your baking dish as directed, with no extra prep required.
2.Can I use a different flavor of frozen burritos instead of beef and bean? ▾
Absolutely! This recipe is extremely flexible, so you can swap in any 5oz frozen burrito variety you prefer—chicken and cheese, bean and cheese, vegetarian, even spicy breakfast burritos work great. Just stick to the 5oz size so cook time stays consistent, and adjust sauce heat level to match your personal taste.
3.What size baking dish works best for this recipe? ▾
A standard 9x13 inch glass or ceramic baking dish is ideal for this bake. It fits 6 to 8 of the 5oz frozen burritos in a single layer with just enough space for sauce to sink in, without crowding that causes uneven cooking or soggy spots. If using a metal pan, shave 2-3 minutes off total bake time.
4.How can I make this dish spicier if I don’t love mild enchilada sauce? ▾
It’s easy to amp up the heat to your taste! Swap the mild red enchilada sauce for medium or hot canned sauce, or stir in 1/4 teaspoon cayenne, diced pickled jalapeños, or a teaspoon of your favorite hot sauce into the sauce before pouring. You can also sprinkle red pepper flakes on top with the cheese for extra kick.
5.How do I keep the top cheese from burning before the burritos heat all the way through? ▾
To prevent scorched cheese, cover the baking dish tightly with aluminum foil for the first 25 minutes of baking. This traps steam to heat the frozen burritos evenly through the center, then remove the foil for the last 10 to 12 minutes to let the cheese melt into a bubbly, golden, perfectly crisp top.
6.Can I add extra mix-ins or toppings to this bake? ▾
You absolutely can! Great layered mix-ins to tuck between burritos include drained canned black beans, sweet fire-roasted corn, mild diced green chiles, or sliced briny black olives. After baking, top warm servings with fresh add-ons like diced avocado, chopped cilantro, sliced green onion, ripe diced tomato, or extra sour cream.
7.How do I tell when the bake is fully done and safe to eat? ▾
The bake is done when the center of the middle burrito reaches 165°F on an instant-read food thermometer, the sauce bubbles vigorously around the dish edges, and the top cheese is fully melted and lightly golden. This usually takes 35 to 38 minutes in a 375°F oven, but always verify temp for food safety.
8.Can I assemble this bake ahead of time for meal prep? ▾
You can assemble the bake up to 24 hours ahead! Keep it tightly covered in the refrigerator, but note that since burritos will thaw slightly in the fridge, reduce total bake time by 5 to 7 minutes, and still check for that 165°F internal temp before serving. Wait to add fresh toppings until right after baking.
9.What sides pair well with this enchilada bake for a full meal? ▾
This rich, cheesy bake pairs perfectly with light, fresh sides to cut through its bold, savory richness. Try serving it with tortilla chips and salsa, a crisp green salad with lime vinaigrette, cilantro-lime rice, roasted street corn, or creamy refried beans for a hearty, well-rounded Tex-Mex family meal that everyone will love.
10.Can I freeze leftover baked enchilada bake for later? ▾
Yes, leftovers freeze beautifully! Let the baked dish cool completely to room temperature, then cut it into individual portions, wrap each tightly in plastic wrap and foil, and freeze for up to 3 months. Reheat portions in a 350°F oven for 20-25 minutes (or microwave for 3-4 minutes) until heated to 165°F.
11.How should I incorporate the ground cumin and sour cream listed in the ingredients? ▾
Stir the ground cumin directly into the canned enchilada sauce before pouring it over the burritos—it adds warm, earthy depth that makes shortcut canned sauce taste more homemade. For the sour cream, stir half into the sauce for extra creaminess, and reserve the rest to dollop on top of finished servings for a cool, tangy contrast.

Comments (3)

3 days ago

OMG this is such a game changer for busy weeknights! I grabbed a bag of frozen beef and bean burritos on my way home from work, dumped a can of red enchilada sauce over them, sprinkled a ton of shredded cheddar, and popped it in the oven. 35 minutes later, exactly like the recipe said, we had a full dinner that my two picky toddlers actually ate without complaining — my kids loved it! Even my husband went back for seconds. Will 100% be adding this to our regular weeknight rotation, especially on soccer practice nights when I have zero energy to cook from scratch.

2 days ago

Wait did you add any extra toppings after baking? I’m making this for our neighborhood potluck this weekend and wanna know if sour cream and diced avocado on top works well!

5 minutes ago

Great question! Sour cream, diced avocado, chopped cilantro, and a squeeze of fresh lime all make fantastic toppings for this bake. It holds up really well for potlucks too — just keep it covered in a warm oven until you’re ready to serve so the cheese stays melty!

1 week ago

SO good, I made a big pan of this Sunday for my weekly meal prep and it lasted me all work week for lunches. I accidentally grabbed frozen breakfast burritos from the freezer once and it was still insane? Pro tip: toss a handful of frozen corn between the burritos before pouring the sauce for a little extra veg and texture. Super easy, barely any cleanup, way cheaper than dropping $12 on takeout for lunch every day.

5 days ago

Love that frozen corn tip, Jake! Thanks for sharing that easy hack — tossing in extra frozen veggies like corn or diced bell peppers is such a simple way to bulk this up without adding extra prep time. So glad it worked out for your weekly meal prep!

2 weeks ago

Made this last night for my roommates in our tiny dorm oven and it was a total hit! We used frozen bean and cheese burritos, green enchilada sauce because that’s all the corner store had, and topped it with crushed tortilla chips for extra crunch. Zero fancy ingredients, super hard to mess up even if you barely know how to turn an oven on. 10/10 would make again for late night study sessions when we don’t wanna order overpriced delivery.



