
frozen burrito in oven

title 1
frozen burrito in oven
⏱️ cook time 35 minutes
🍽️ servings 4
⚡ Difficulty easy

intro

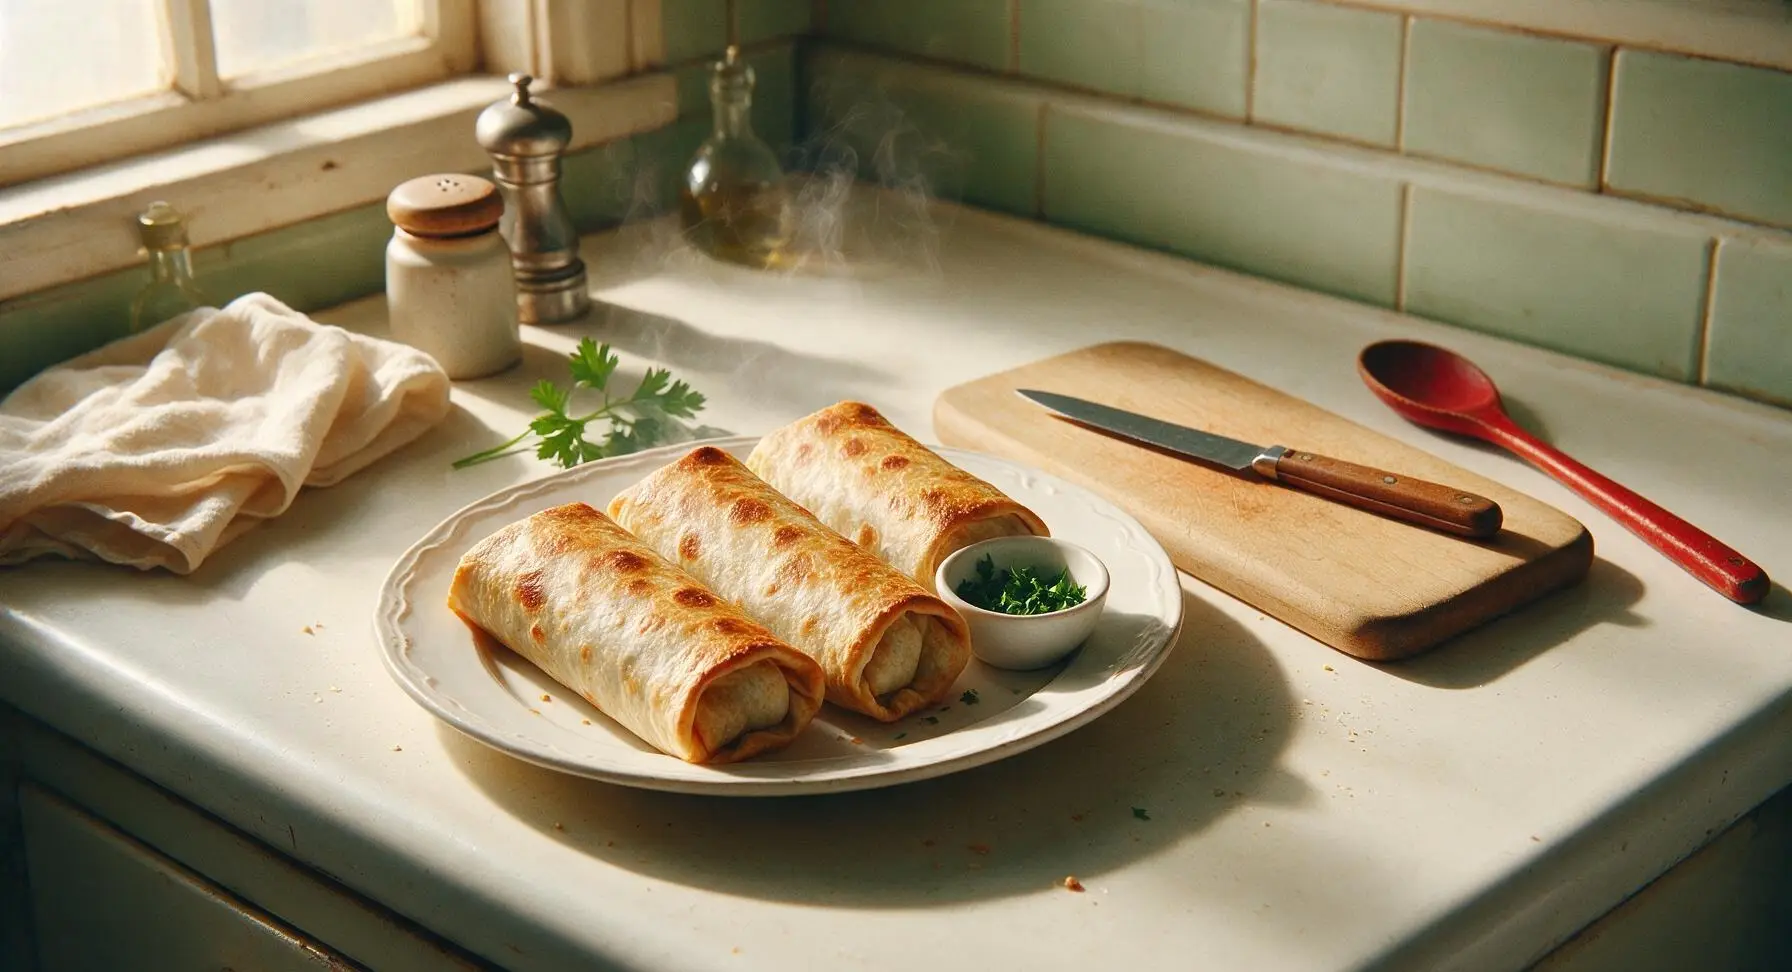
Skip the soggy microwave result—these oven-baked frozen burritos have shatteringly crisp golden tortilla shells and piping hot, flavorful fillings, ready with almost zero prep for a no-fuss meal.

Ingredients
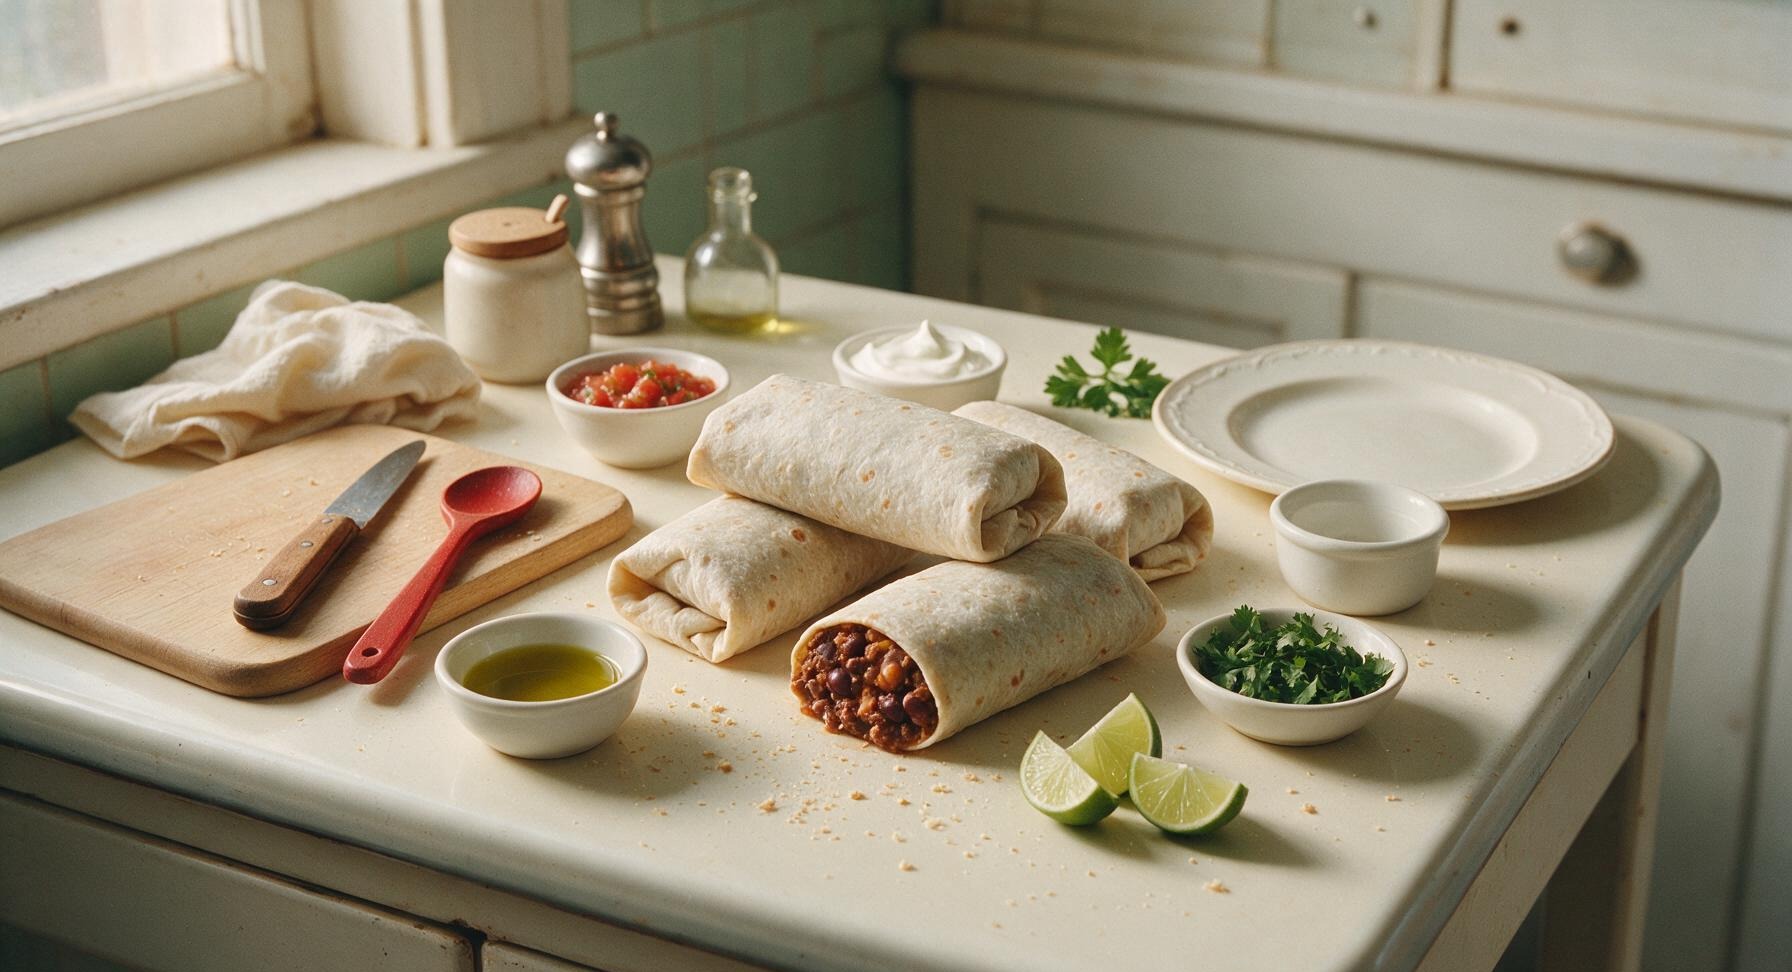
Frozen beef and bean burritos (store-bought, solidly frozen) 4 large (4 oz / 113g each)
Extra-virgin olive oil 1 tablespoon
Chunky tomato salsa 1/2 cup
Full-fat sour cream 1/4 cup
Fresh cilantro 2 tablespoons, chopped
Small lime 1 each, cut into 4 wedges

Steps

1

Preheat and Line Sheet

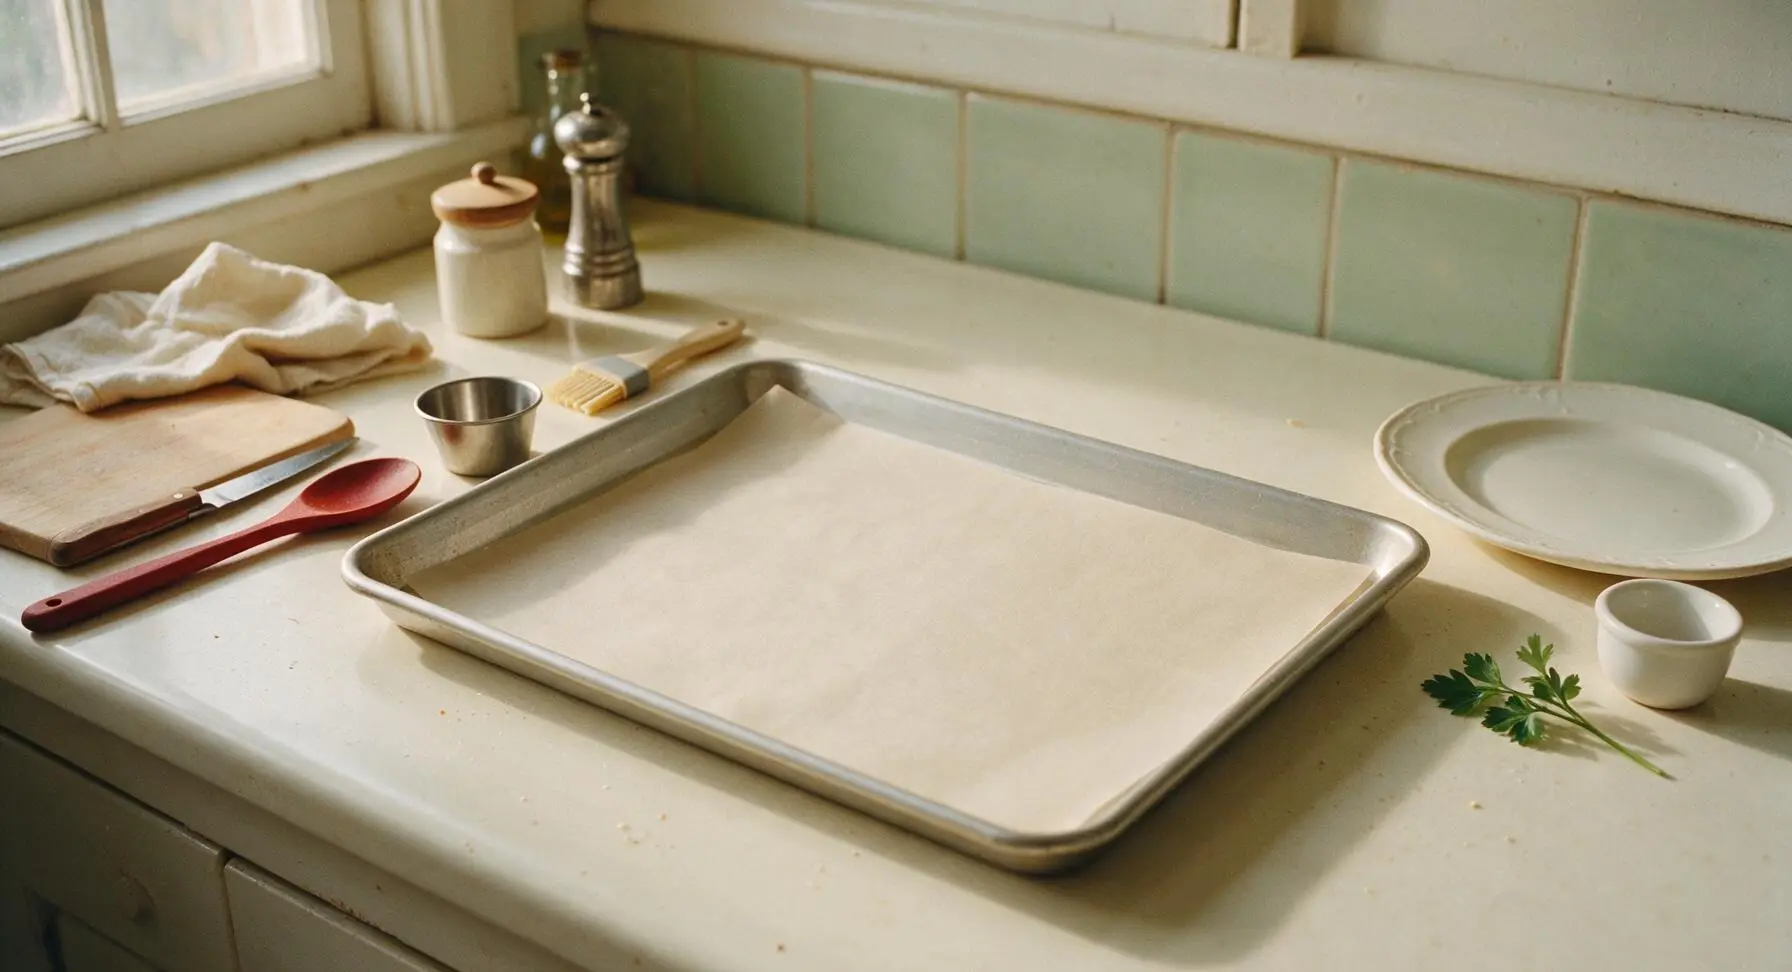
Adjust your oven rack to the middle position to ensure even air flow around the burritos. Preheat oven to 400°F (200°C). Line the 13x18 inch aluminized steel baking sheet with the cut sheet of unbleached parchment paper, smoothing out any wrinkles so it lies completely flat across the pan surface. This prevents burritos from sticking and cuts down on cleanup time.
Step 1
step1:Preheat and Line Sheet
2

Oil Frozen Burritos

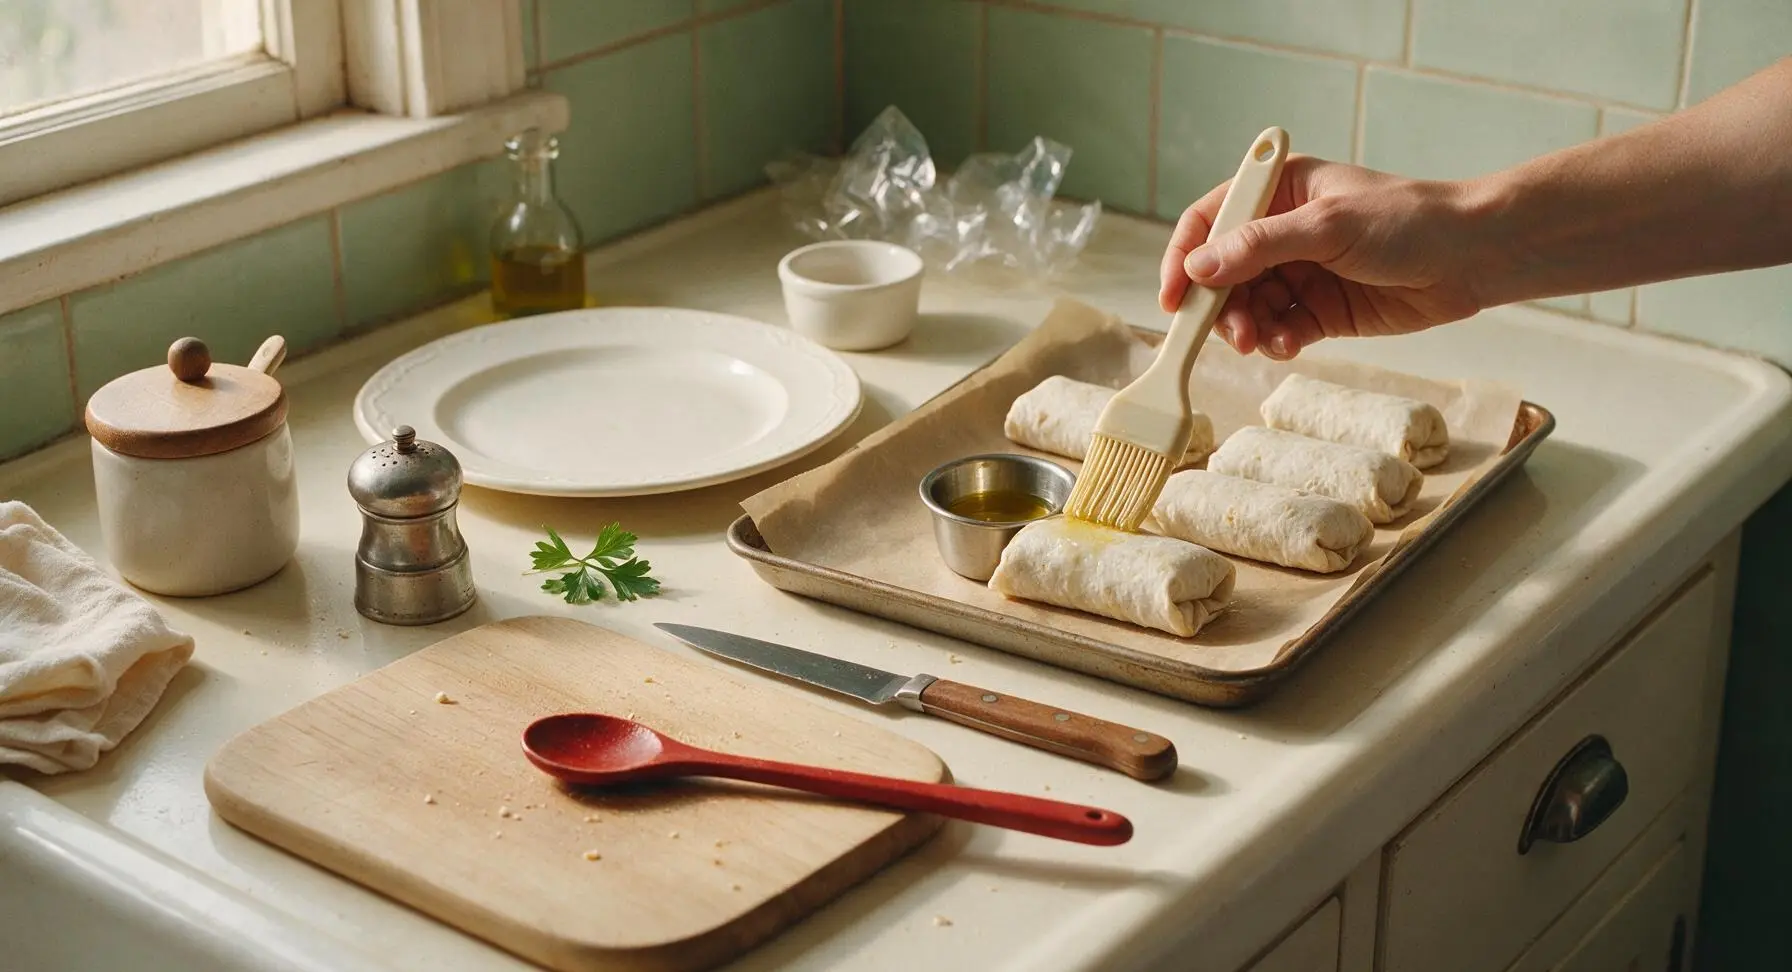
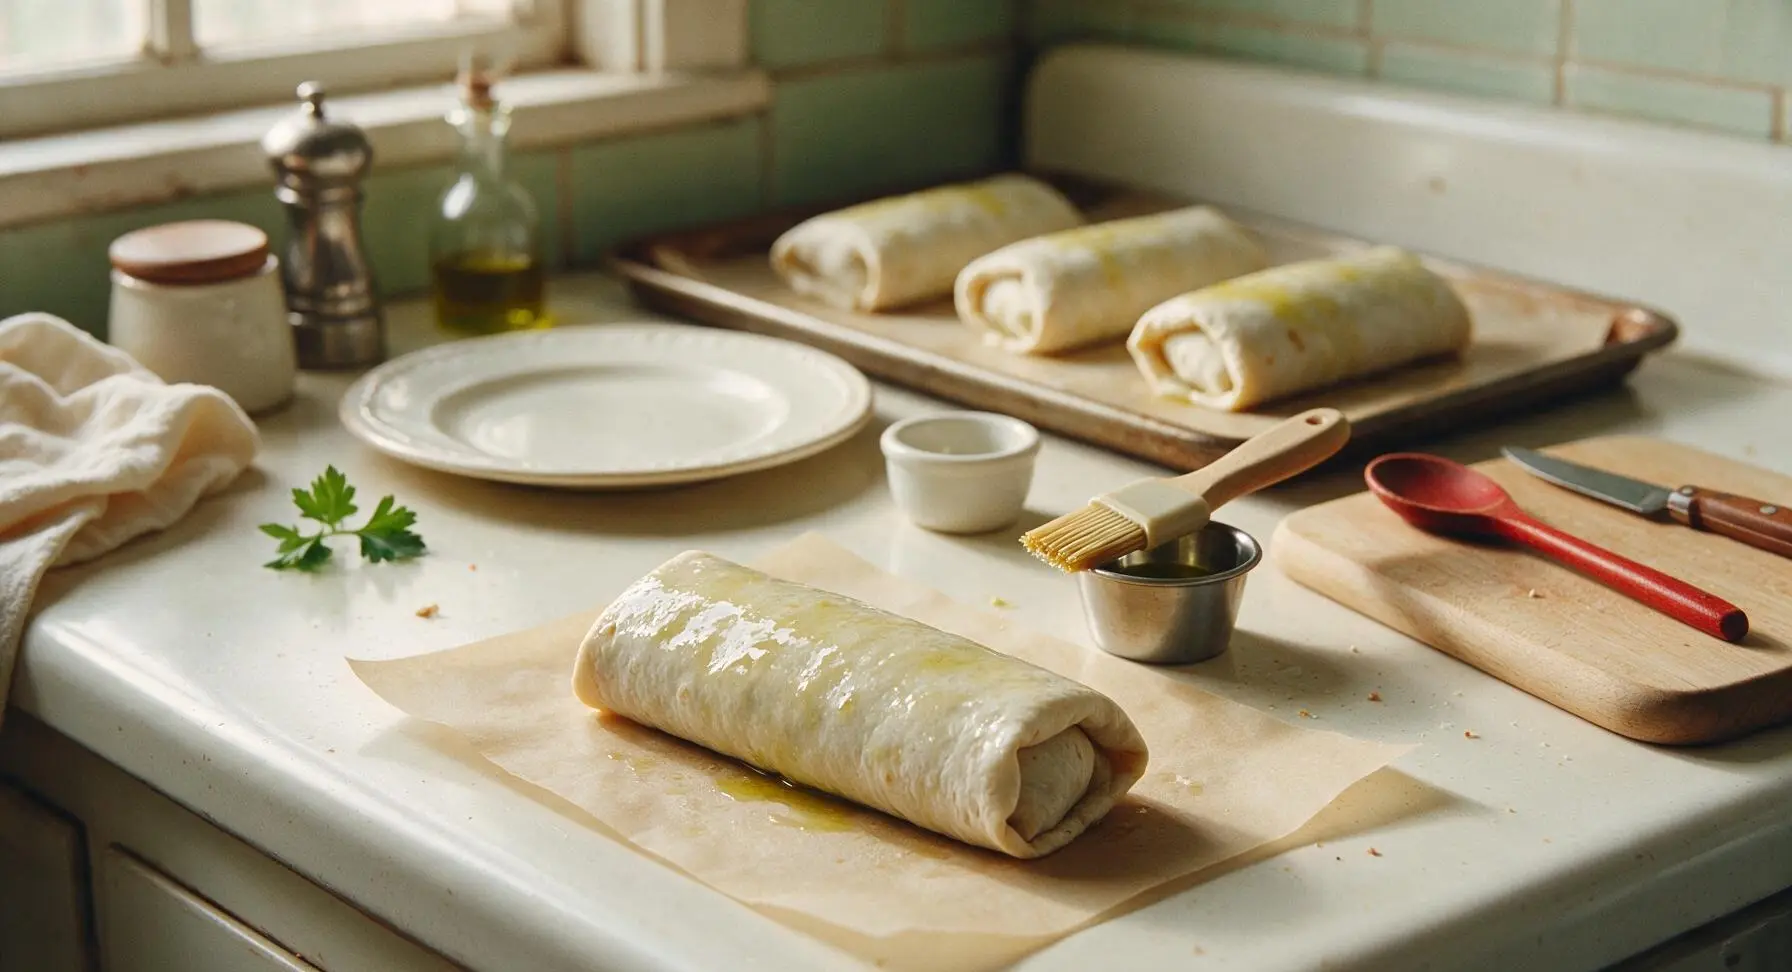
Unwrap all 4 solidly frozen burritos, discarding the plastic packaging. Pour 1 tablespoon of extra-virgin olive oil into the small brushed stainless steel ramekin. Use the silicone basting brush to coat the entire outer tortilla surface of each frozen burrito with a thin, even layer of oil. Avoid applying thick pools of oil—just a light sheen is enough to create a crispy, golden shell as it bakes, rather than a dry, tough tortilla.
Step 2
step2:Oil Frozen Burritos
Step 2
step2:Oil Frozen Burritos
3

Space Burritos Evenly

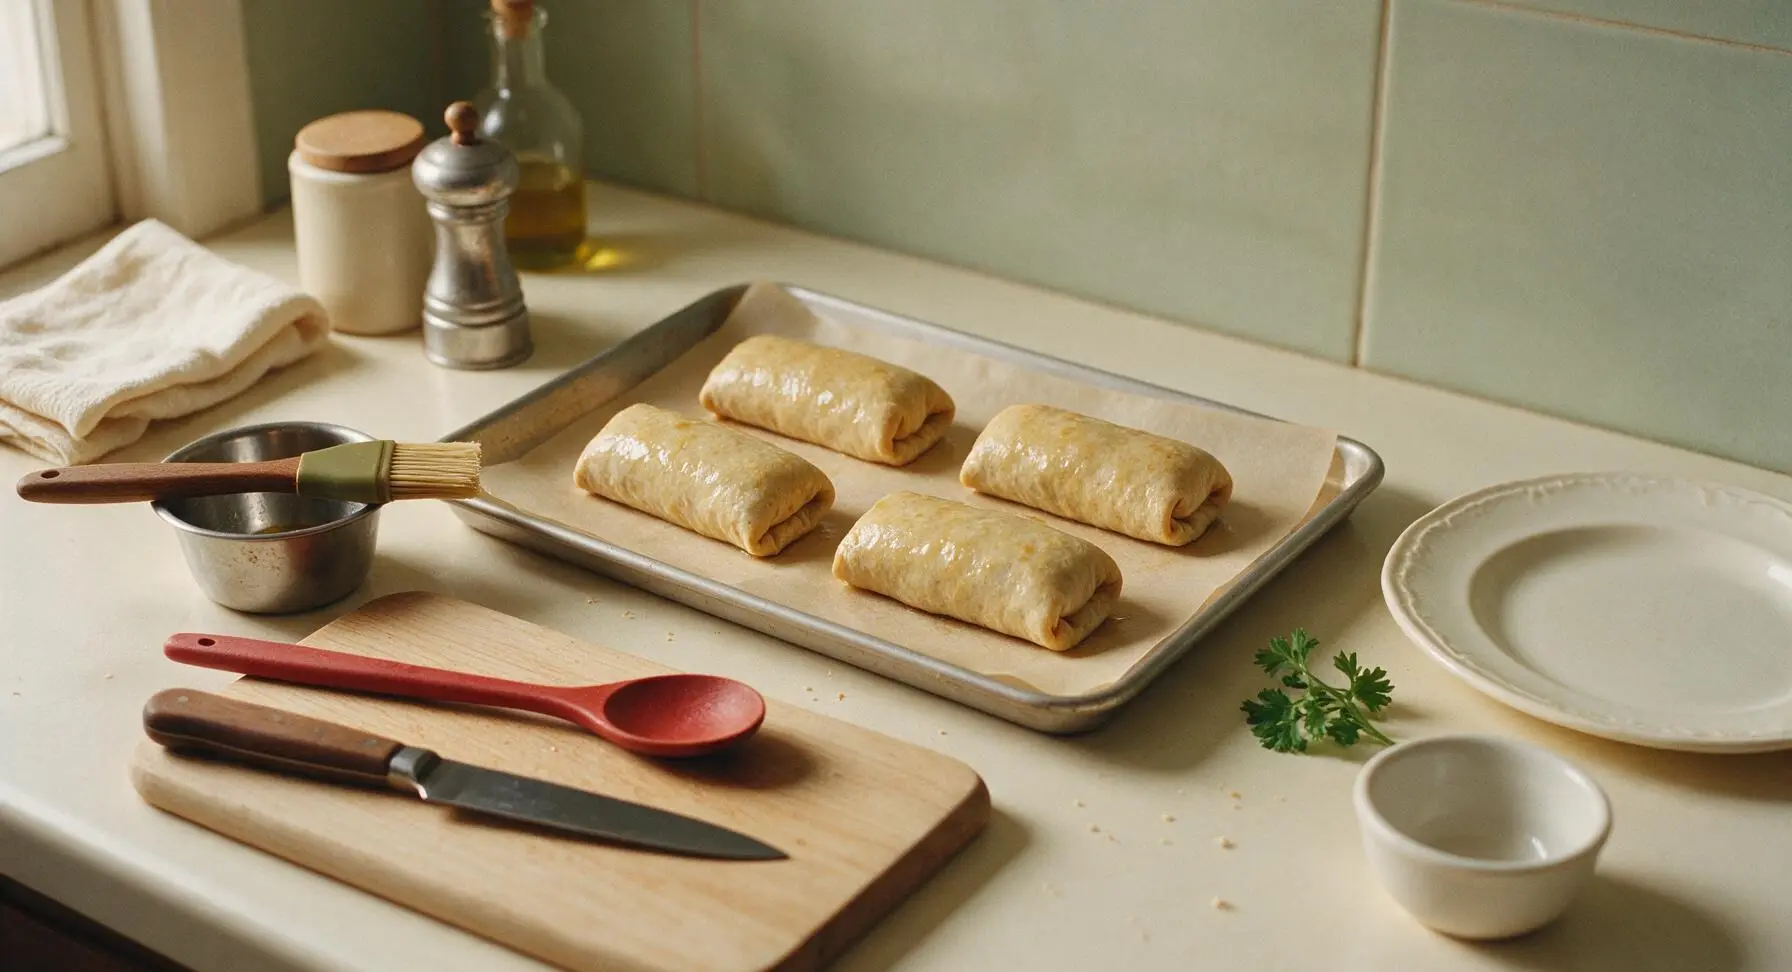
Arrange the oiled frozen burritos on the parchment-lined baking sheet with at least 1 inch of open space between each one, positioned seam-side down. Do not crowd the pan—circulating hot air between burritos ensures every side crisps evenly, rather than steaming into a soft, soggy texture.
Step 3
step3:Space Burritos Evenly
4

Bake First Side

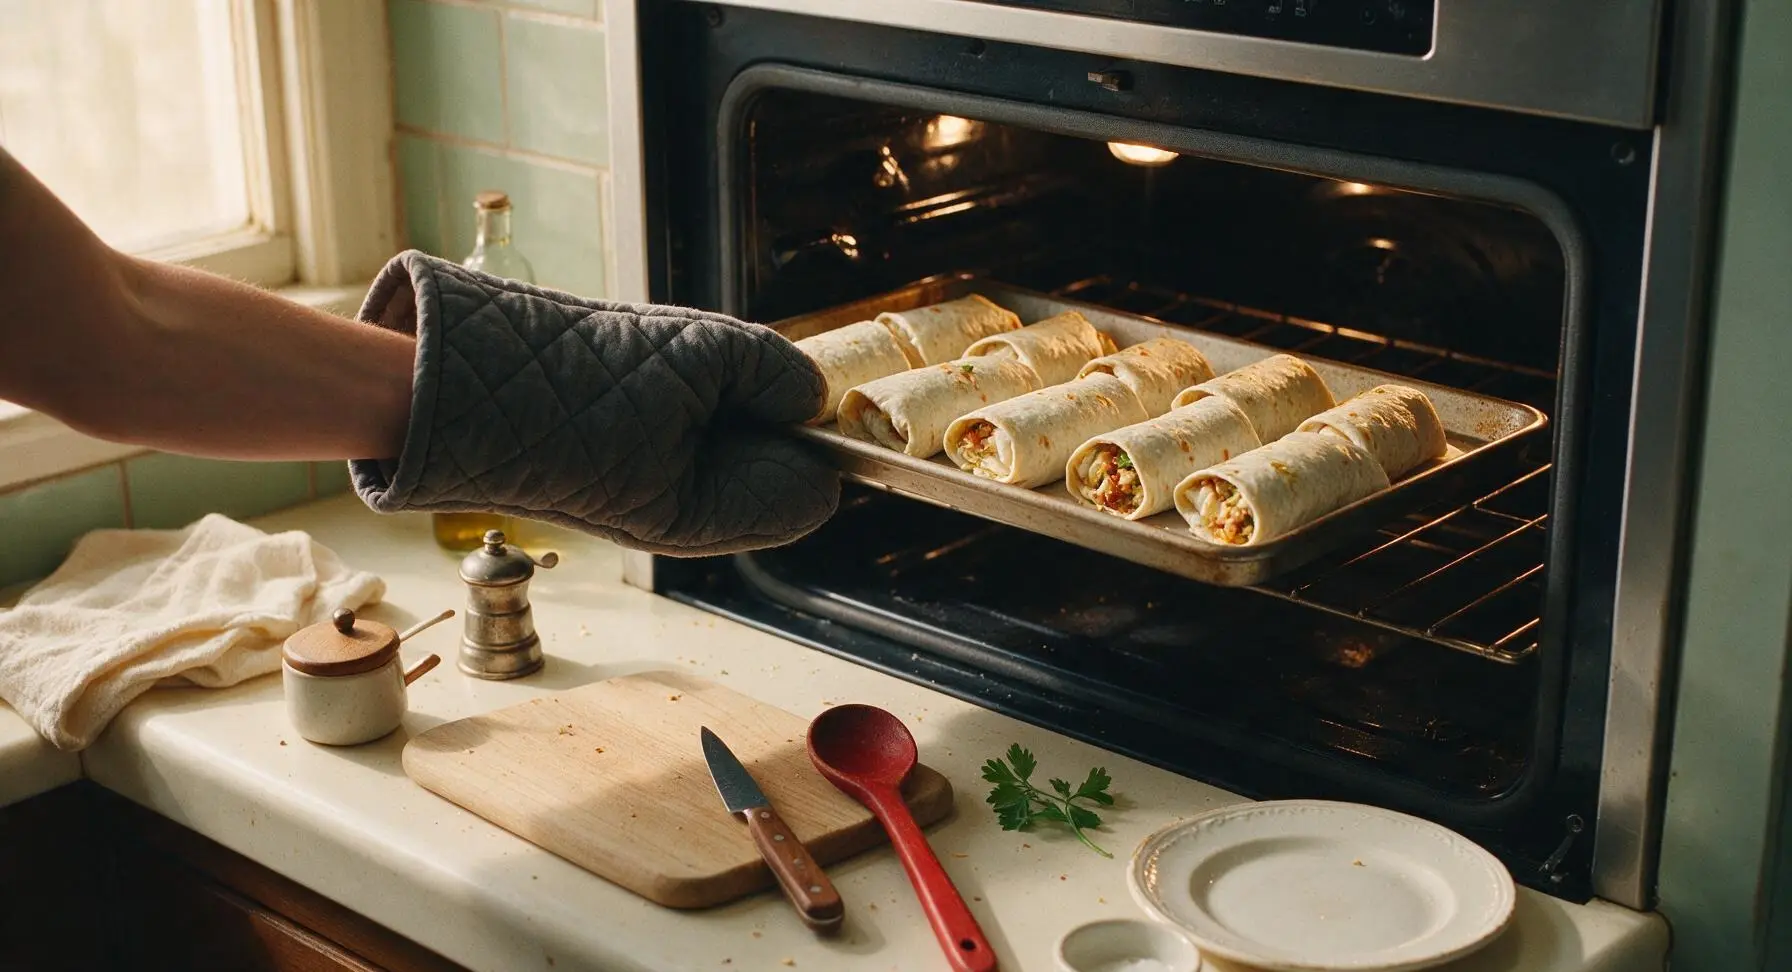
Carefully place the baking sheet on the middle oven rack. Bake for 20 minutes at 400°F (200°C). Resist the urge to open the oven door during this first bake period, as sudden temperature drops will slow crisping and lead to uneven heating of the frozen filling.
Step 4
step4:Bake First Side
5

Flip Burritos Halfway

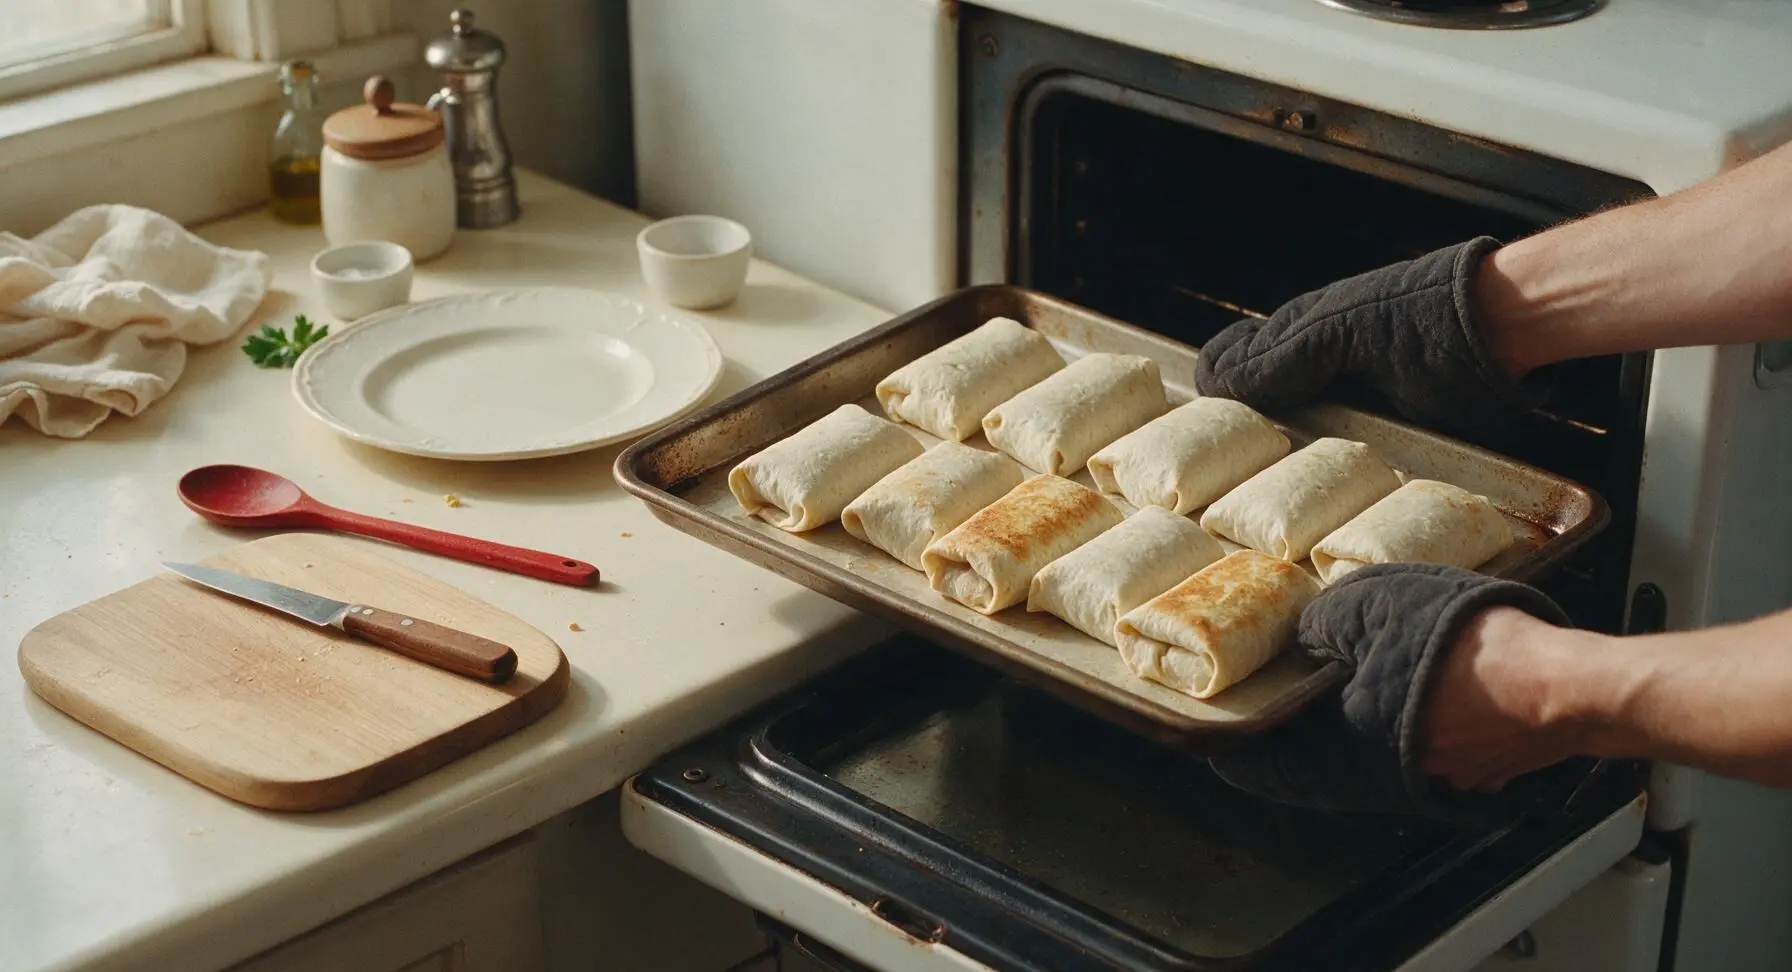
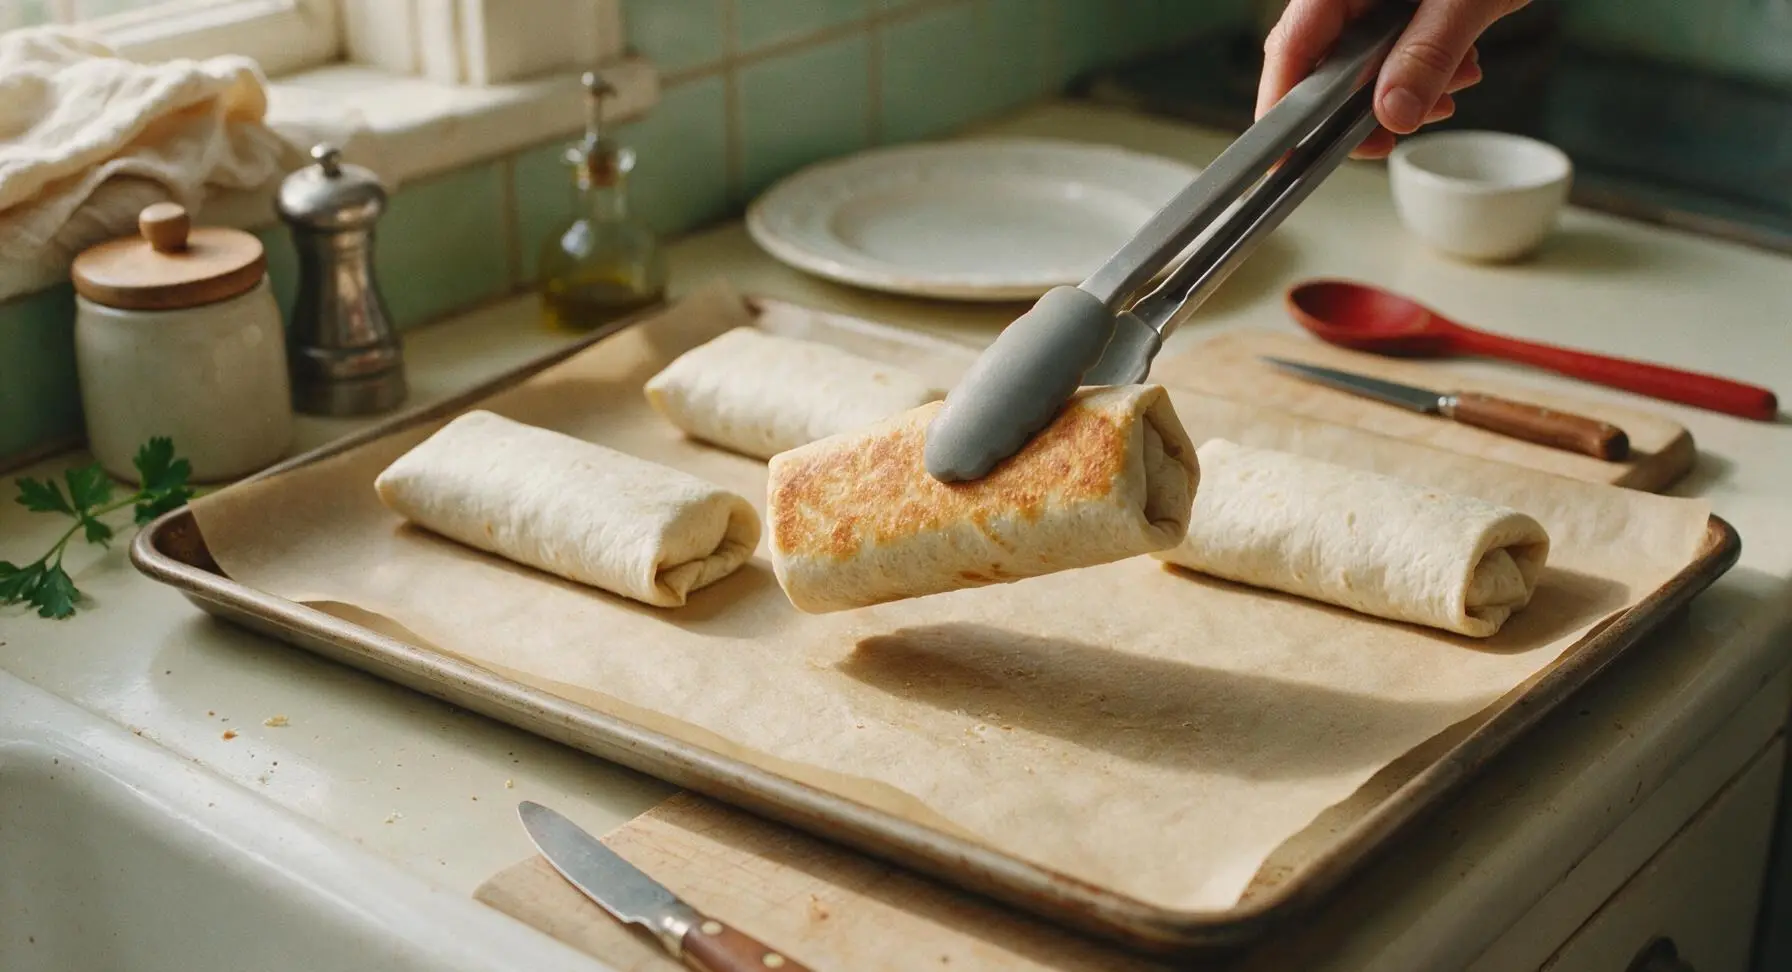
After 20 minutes, pull the baking sheet out of the oven (close the oven door immediately to retain heat) and use the stainless steel tongs to carefully flip each burrito to its opposite side. The previously down-facing side should be light golden brown and slightly firm to the touch; if it is still pale and doughy-looking, bake for 2-3 minutes longer before flipping.
Step 5
step5:Flip Burritos Halfway
Step 5
step5:Flip Burritos Halfway
6

Bake to Crisp Finish

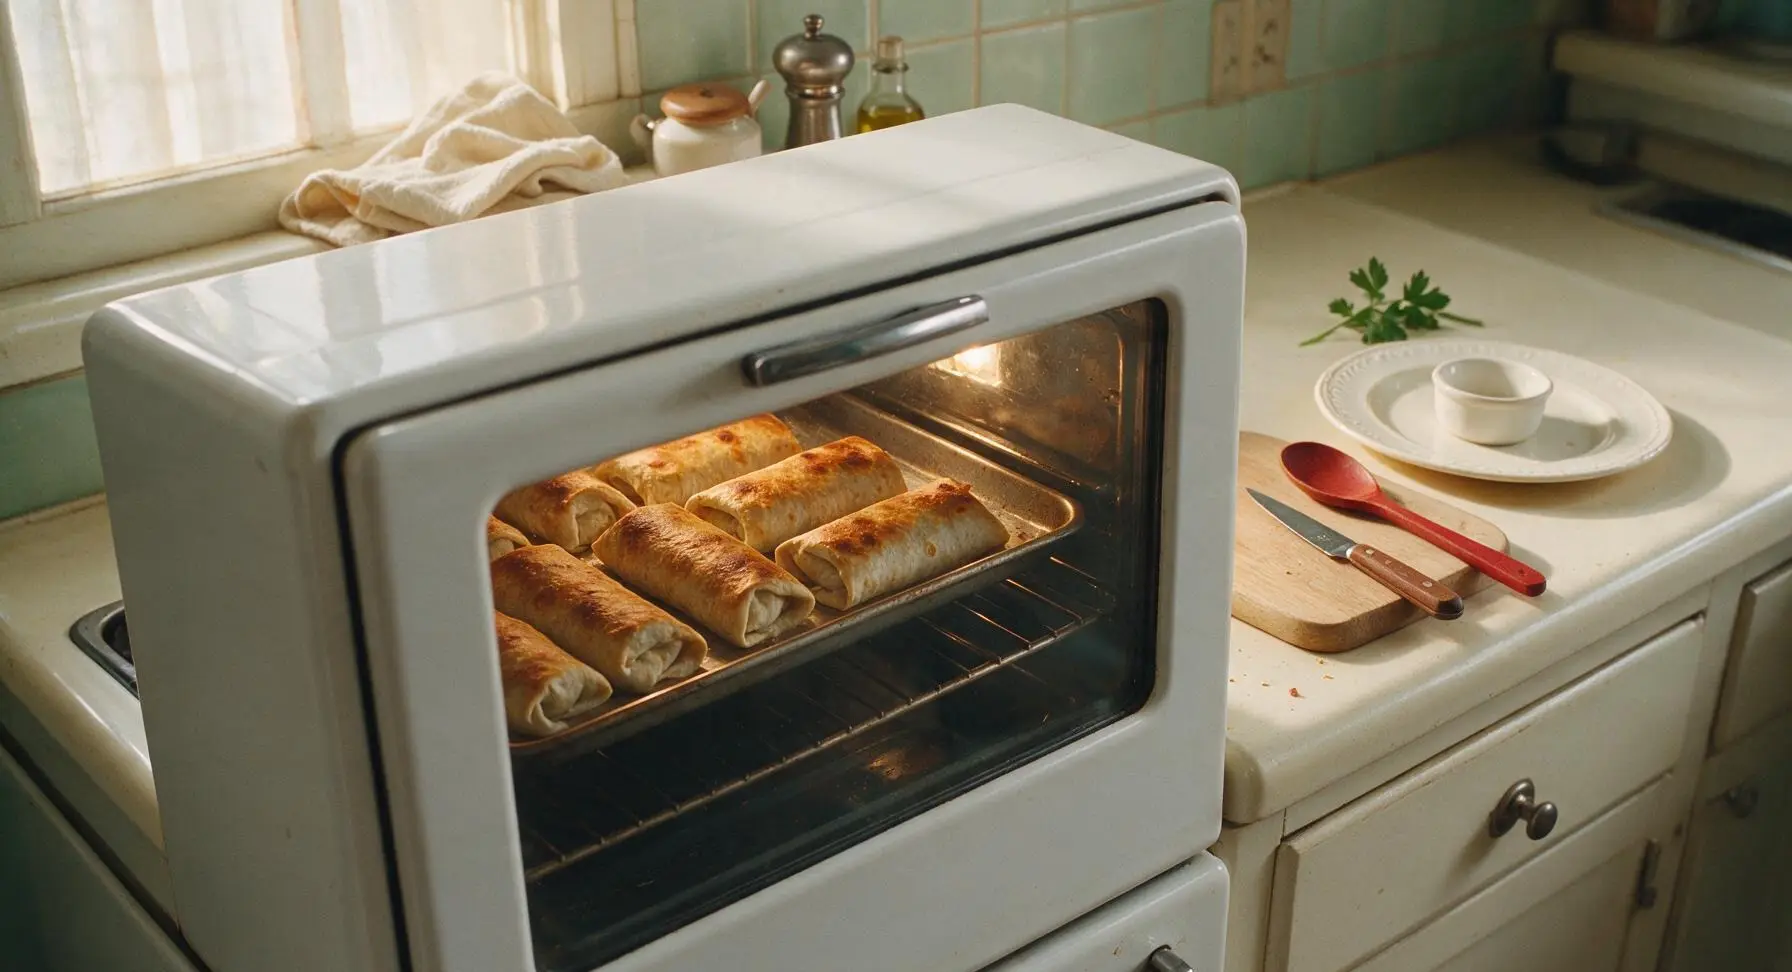
Return the baking sheet to the middle oven rack. Bake for an additional 15 minutes at 400°F (200°C), until the entire tortilla surface is deep golden brown, crispy to the touch, and the internal filling temperature reaches 165°F (74°C) when checked with a food thermometer, with no cold frozen spots in the center.
Step 6
step6:Bake to Crisp Finish
7

Rest Burritos Briefly

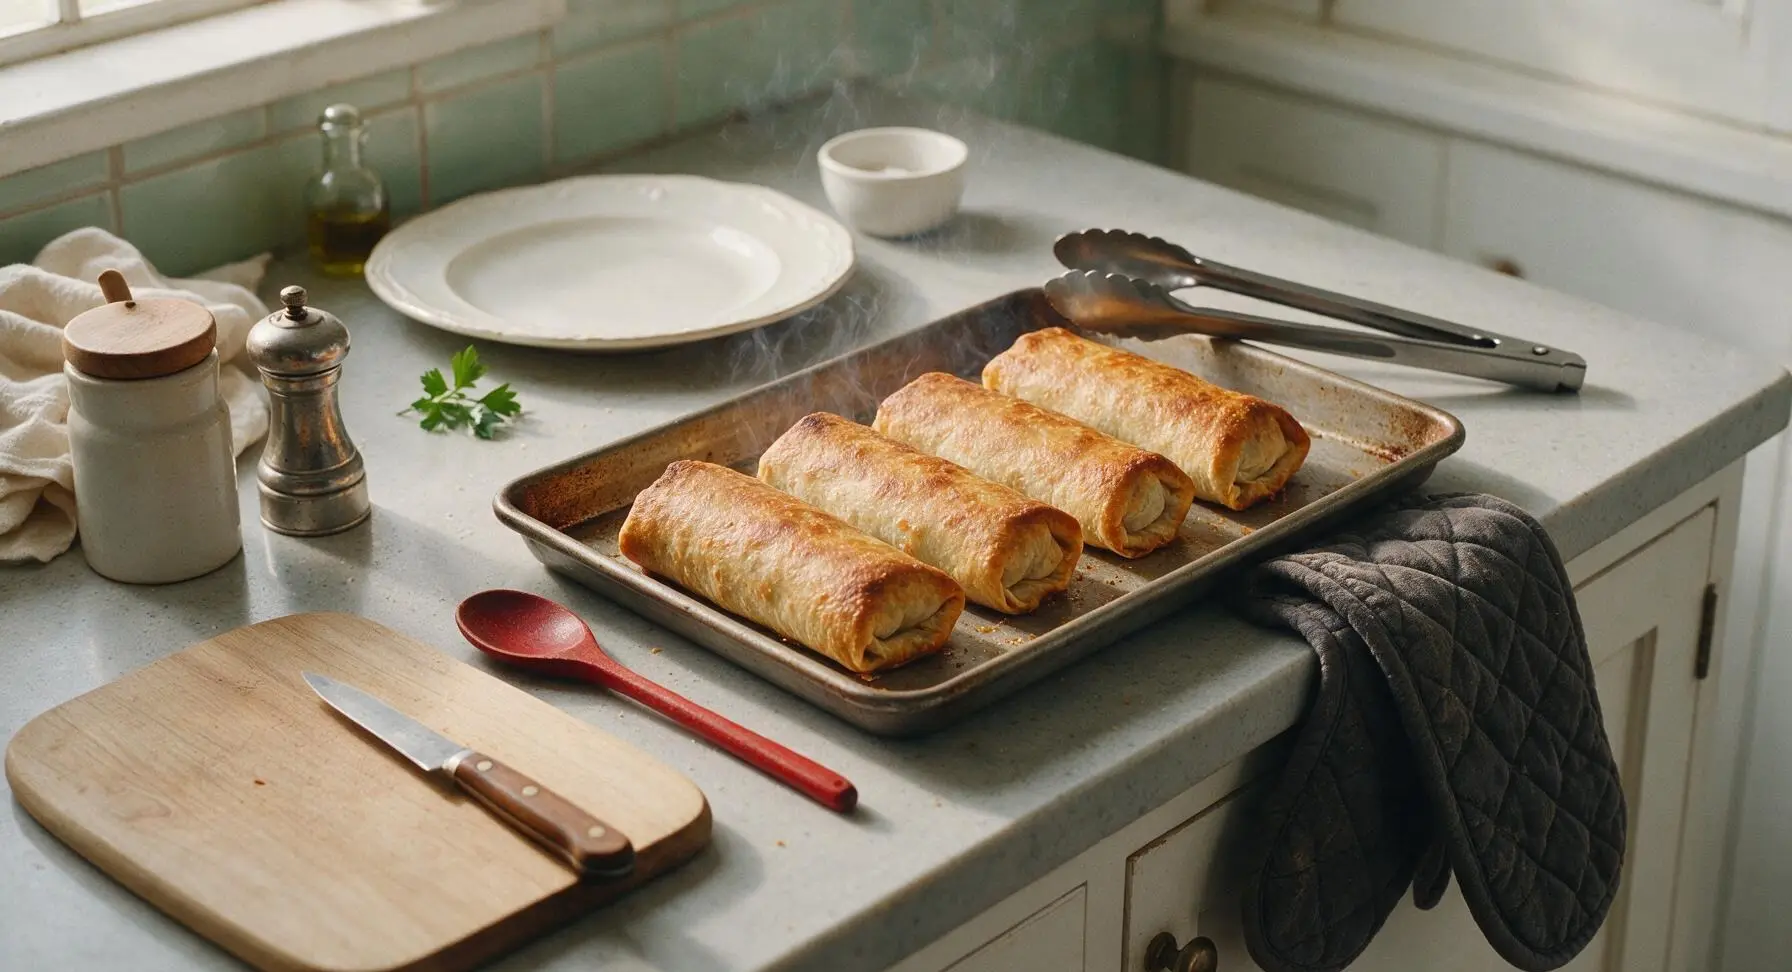
Use the quilted charcoal oven mitts to pull the fully baked burritos out of the oven, transferring the sheet to a heat-safe section of the counter. Let the burritos rest for 3 full minutes—this allows the molten, piping-hot filling to cool slightly so it does not burn your mouth when bitten, and helps the crispy tortilla set so it does not crack when picked up.
Step 7
step7:Rest Burritos Briefly
8

Plate and Garnish

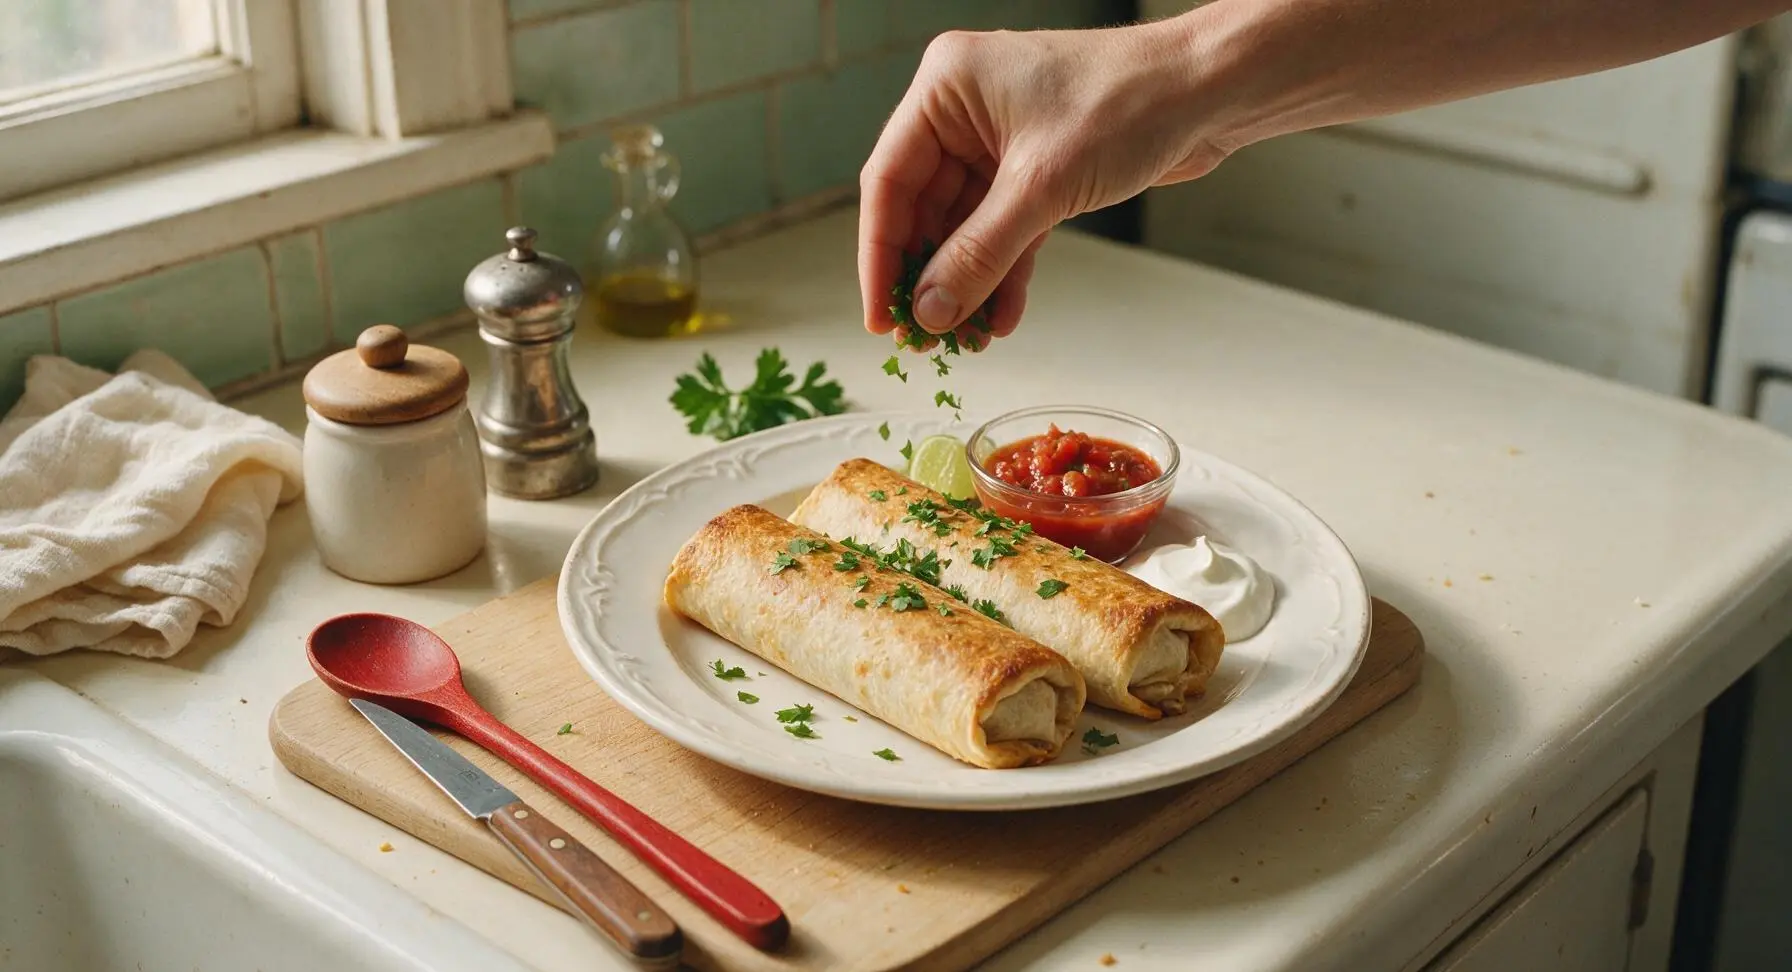
Use the stainless steel tongs to transfer 1 burrito per serving to the matte terracotta dinner plate (serve 2 per plate for heartier appetites). Cut burritos in half on a slight bias if desired, to show the savory filling. Top with a dollop of sour cream, a spoonful of chunky salsa, a light sprinkle of chopped cilantro, and serve with a lime wedge for squeezing over top.
Step 8
step8:Plate and Garnish

Tips

1.Skip aluminum foil if you want crispy shells: Wrapping burritos in foil traps steam against the tortilla, resulting in a soft, soggy texture. If you prefer softer burritos, wrap in foil for the first 30 minutes of baking, then unwrap for the final 5 minutes to crisp the outer surface slightly.
2.Always place burritos seam-side down on the baking sheet: As the tortilla heats up, it softens and can curl open at the seam if facing up, causing hot filling to leak out, burn on the parchment, and leave you with a dry, less flavorful burrito.
3.Add cheese at the right time for melty results: If you want cheesy burritos, cut a 1-inch slit in the top of each burrito during the last 2 minutes of baking, tuck in 1 tablespoon of shredded cheddar or Monterey Jack, and return to the oven until the cheese bubbles. Adding cheese earlier will cause it to burn long before the frozen filling heats all the way through.


✨ You May Also Like

Main Course
🍜 United Kingdom

A showstopping classic of tender seared beef, savory mushroom duxelles, and crisp prosciutto wrapped in flaky golden puff pastry, baked to juicy perfection.

⏱️ 2 hours 1Main Course ★ 4.7
Main Course
🍜 India

Tender charred marinated chicken simmered in a rich, spiced creamy tomato sauce, this iconic Anglo-Indian curry pairs perfectly with basmati rice or warm naan.

⏱️ 50 minuteMain Course ★ 4.6
Main Course
🍜 Thailand

Classic tangy, sweet, and savory Thai stir-fried rice noodles with shrimp, tofu, and crunchy garnishes, balancing all five core Thai flavor profiles.

⏱️ 30 minuteMain Course ★ 4.5
Main Course
🍜 United Kingdom

Crispy golden beer-battered cod and fluffy double-fried chips, served with tangy tartar sauce and malt vinegar: the timeless, beloved British pub comfort classic.

⏱️ 45 minuteMain Course ★ 4.7
Main Course
🍜 Mexico

Smoky, chile-marinated pork tacos with caramelized pineapple, fresh cilantro, and lime: a beloved classic Mexican street food perfect for casual summer gatherings.

⏱️ 1 hour 45Main Course ★ 4.8
Main Course
🍜 United States

Crunchy Fritos corn chips layered with savory beef chili and melted cheddar, topped with cool, zesty fixings for a beloved, cozy Tex-Mex comfort food.

⏱️ 35 minuteMain Course ★ 4.8

frozen burrito in oven:Frequently Asked Questions

1.What oven temperature works best to get crispy, not soggy, frozen burritos? ▾
Preheat your oven to 425°F for the best crisp. That high, dry heat quickly toasts the tortilla instead of steaming it into sogginess. For even crunch all around, set burritos on a wire rack placed over a rimmed baking sheet so air circulates under every side, eliminating flat, soggy bottom spots.
2.Do I need to thaw frozen burritos before baking them? ▾
No, absolutely do not thaw them first! Thawing lets the tortilla absorb excess moisture from the filling as it cooks, leading to a mushy, limp shell and oozing, leaked filling all over your pan. Keep burritos solidly frozen right up until you slide them into the oven for the best texture.
3.Do I really need to brush the burritos with olive oil, or can I skip that step? ▾
Don’t skip that light olive oil brush! The thin coat of oil helps the tortilla brown evenly, develop that rich, toasty crunch, and keep it from drying out into a papery, brittle shell in high oven heat. You only need about 1/4 teaspoon per burrito, so it adds no heavy greasiness.
4.How long do I need to bake frozen burritos for them to be fully heated through? ▾
At 425°F, plan for 35 to 40 minutes total for standard-sized store-bought frozen beef and bean burritos. The filling will hit a safe 165°F internal temperature, and the tortilla will be deep golden and crisp all over. For extra-large burritos, add 5 to 7 minutes of bake time to ensure the center is piping hot.
5.Why do my baked burritos always end up with soggy bottoms? ▾
Soggy bottoms almost always happen when burritos sit directly on a solid baking sheet with no air flow underneath. Trapped steam from the cooking burrito condenses against the pan, softening the lower tortilla. Fix this by setting burritos on a wire rack over your baking sheet, and always place them seam-side down to seal in filling moisture as they cook.
6.Can I use cooking spray instead of extra-virgin olive oil for coating the burritos? ▾
Absolutely, cooking spray works as a fine substitute if you don’t have olive oil on hand. Hold the can 6 inches away from the burritos to get a light, even coat—don’t douse them, as too much spray can make the tortilla overly greasy. For the richest, nuttiest toasty flavor, though, a quick brush of olive oil is still my top pick.
7.Do I need to flip the burritos halfway through baking? ▾
If you’re using a wire rack for full air circulation, you don’t need to flip them at all! The elevated rack lets hot oven air reach every side evenly as they cook. If you’re baking directly on a sheet pan (which I don’t recommend for maximum crisp), flip them at the 20-minute mark to avoid soggy spots.
8.Can I use other flavors of frozen burritos instead of beef and bean for this method? ▾
This baking method works for every variety of frozen burrito, no matter the filling! Chicken, cheese, bean and veggie, even breakfast burritos turn out perfectly crisp using the same temperature, light oil coat, and wire rack setup. Just cut bake time slightly for mini burritos, which usually only need 22 to 25 minutes total.
9.How do I know when the burritos are done baking? ▾
You’ll know they’re ready when the tortilla is a deep, even golden brown all over, dotted with tiny crispy, blistered spots across the surface. For food safety, double-check that the center of the filling hits 165°F on an instant-read thermometer, with no cold, frozen spots left in the middle when you cut into one.
10.Can I add extra cheese on top of the burritos while they bake? ▾
You absolutely can! For melty, bubbly cheese on top, sprinkle shredded cheddar, Monterey Jack, or queso blanco over the burritos during the last 5 minutes of bake time. Adding it earlier will make the cheese burn and turn crispy-bitter before the burrito filling is fully heated through, so save that add-on for the very end.
11.What’s the best way to serve these crispy baked burritos? ▾
Serve them right out of the oven, while the shell is still shatteringly crisp, with the classic suggested toppings: a scoop of chunky tomato salsa for bright tang, a dollop of full-fat sour cream for cool creaminess, and a sprinkle of fresh chopped cilantro for bright, herby flavor. Add guac or pickled jalapeños if you want extra zing.
12.Can I bake these frozen burritos in a toaster oven instead of a full-size oven? ▾
Definitely! Toaster ovens work great for smaller batches, and they often preheat faster than full-size ovens. Use the same 425°F temperature, light oil coat, and place burritos on the toaster oven’s included wire rack. Keep a close eye on them after the 25-minute mark, since compact toaster ovens can run hot and burn tortillas faster.
13.Why are my burrito tortillas turning out hard and cracker-like instead of nicely crisp? ▾
That usually happens if you skipped the light oil coat, your oven temperature is running too high, or you baked them too long. The thin oil layer keeps the tortilla flexible enough to bite easily while still getting crisp, instead of drying out into a hard, cracker-like shell. Double-check your oven temp with a thermometer to rule out hot spots.
14.Do I need to line my baking sheet with foil or parchment for easy cleanup? ▾
Lining the lower baking sheet (the one sitting under your wire rack) with foil or parchment is a great call for super fast cleanup, since any small drips of filling or oil will land on the liner instead of burning onto your pan. Don’t line the wire rack itself, though— that blocks air flow and creates soft, soggy spots.
15.Can I make these ahead for meal prep, and how do I reheat them to stay crisp? ▾
These work great for quick meal prep! Once baked, let burritos cool completely, then store them in an airtight container in the fridge for up to 3 days. To reheat and bring back that signature crisp, place them back on a wire rack in a 400°F oven for 10 to 12 minutes; skip the microwave, which will turn the shell soggy instantly.
16.Is there a way to add extra flavor to the burrito shells as they bake? ▾
Absolutely! After brushing the tortillas with olive oil, you can sprinkle on a pinch of taco seasoning, chili powder, garlic powder, smoked paprika, or even a tiny bit of flaky sea salt for an extra flavor boost. Keep the seasoning light so it doesn’t burn, and stick to fine-ground spices that stick evenly to the oiled shell.
17.My burritos sometimes split open while baking—how do I prevent that? ▾
Minor splits are totally normal, but you can cut down on major blowouts by keeping burritos fully frozen before baking (thawing makes filling expand faster and split the tortilla), placing them seam-side down on the rack, and not overcrowding the pan so heat circulates evenly. Small splits are no big deal—just scoop any leaked filling back on top when serving.

Comments (11)

2 hours ago

OMG this is such a game changer! I always thought frozen burritos came out soggy no matter what I did, but these came out perfectly crispy all over in 35 minutes? My kids devoured two each and asked for more for their school lunches tomorrow. Total weeknight dinner win when I don’t have energy to cook from scratch!

30 minutes ago

Wait did you put them directly on the oven rack or on a baking sheet? I tried making these once on a sheet and they were still soggy on the bottom!

5 minutes ago

Great question! For maximum crispiness, place them directly on the middle oven rack with a baking sheet on the rack below to catch any drips. That lets air circulate all around them so no soggy bottoms!

3 days ago

SO good! I brought these to our neighborhood potluck last week after prepping a big batch, and people kept asking me where I got the “homemade crispy burritos” – little did they know they were straight from the freezer! 10/10 will make again.

2 days ago

Love that potluck hack! So glad they were a hit with your neighbors – no one has to know your secret for easy, crispy burritos 😉

1 week ago

Added these to my Sunday meal prep rotation! I make a big batch on Sunday, pop them in the freezer, and bake them up on busy nights when I get home late from the gym. Way crispier than the microwave method, and no messy deep fryer to clean up. 5 stars easy.

yesterday

Wait a second, 35 minutes total cook time from frozen? That’s faster than waiting for delivery, and way cheaper. Mine came out with that perfect crunchy crunch on the tortilla, oozing cheese just like the takeout spot down the street. My teenager said it’s “actually fire” which is high praise from him.

2 hours ago

LMAO “actually fire” is the highest possible teen compliment, congrats on the win! Did you flip them halfway through cook time?

30 minutes ago

I flipped mine at 20 minutes and they were evenly crispy on both sides! No burnt spots, no sogginess, total dream.

2 days ago

Tried this for our office potluck yesterday and it was the first dish gone! I did a mix of bean and cheese, chicken, and beef frozen burritos, all came out equally crispy. Even my gluten-free coworker was able to enjoy the GF options I picked up with this method. So easy!

yesterday

Wait this is genius for our next team lunch! I’ve been stressing about what to bring that doesn’t require hours of prep, this is perfect.

5 days ago

As someone who only has a tiny apartment oven and basically lives off frozen food, this changed my whole dinner routine. No more sad soggy microwave burritos! I sprinkled a little extra taco seasoning on top before baking and *chef’s kiss* so good. Super easy even for someone who can barely boil water.

1 week ago

I was worried this method wouldn’t work with my gluten-free frozen burritos, since GF tortillas usually get weirdly mushy or rock hard when baked. Nope! These came out perfectly crispy on the outside, soft and warm on the inside, zero weird texture. Served with a side of guac and sour cream, chef’s kiss.

5 days ago

Wait which brand of GF burritos did you use? I’ve had such bad luck with them getting rock hard in the oven!

3 days ago

So glad this method worked for your gluten-free burritos! We’ve tested it with a few GF brands and found that spritzing the tortilla lightly with olive oil before baking helps keep the texture perfect, no rock hard edges!

30 minutes ago

Wait, do I need to thaw the burritos first? I almost pulled them out of the freezer to thaw before I read through the recipe, but I don’t wanna mess up the crisp factor. Tried a test one last night and it was good but I think I messed up the temp, excited to nail it for game night with the guys!

5 minutes ago

No thawing needed! Pop them straight from the freezer into a 400°F oven for the full 35 minutes, no defrosting required. That helps keep the tortilla crispy instead of getting soggy as it thaws. Enjoy game night!

5 minutes ago

I used to air fry my frozen burritos but my air fryer broke last week, so I tried this oven method and honestly? It’s just as crispy, and I can fit way more burritos on the oven rack than I ever could in my tiny air fryer. Perfect for when my whole crew comes over for movie night. Loaded them up with salsa and queso, no leftovers.

just now

Wait how many can you fit at once? I have 3 racks in my oven, can I load all of them up for my kid’s birthday party next weekend?

2 weeks ago

Work 12 hour shifts, so quick easy meals are non-negotiable for me. These take basically zero prep, cook while I’m changing out of my scrubs and catching up with my dog, and come out crispy every single time. Way better than stopping for fast food on my way home from the hospital. Thank you for this simple recipe!

just now

I added a little sprinkle of cotija cheese and a squeeze of lime on mine right when they came out of the oven, and it tasted exactly like the crispy burritos I get at my favorite local TexMex spot. For how easy this is, I’m never paying $8 a burrito for takeout again. Absolute game changer.

just now

Oh the cotija addition is genius! I’m definitely stealing that for my next batch, I bet that salty kick is perfect with the crispy tortilla.

just now

That cotija and lime hack sounds incredible! We love when people add their own little twists to make the recipe their own – thanks for sharing that tip!



