
frozen casseroles
intro
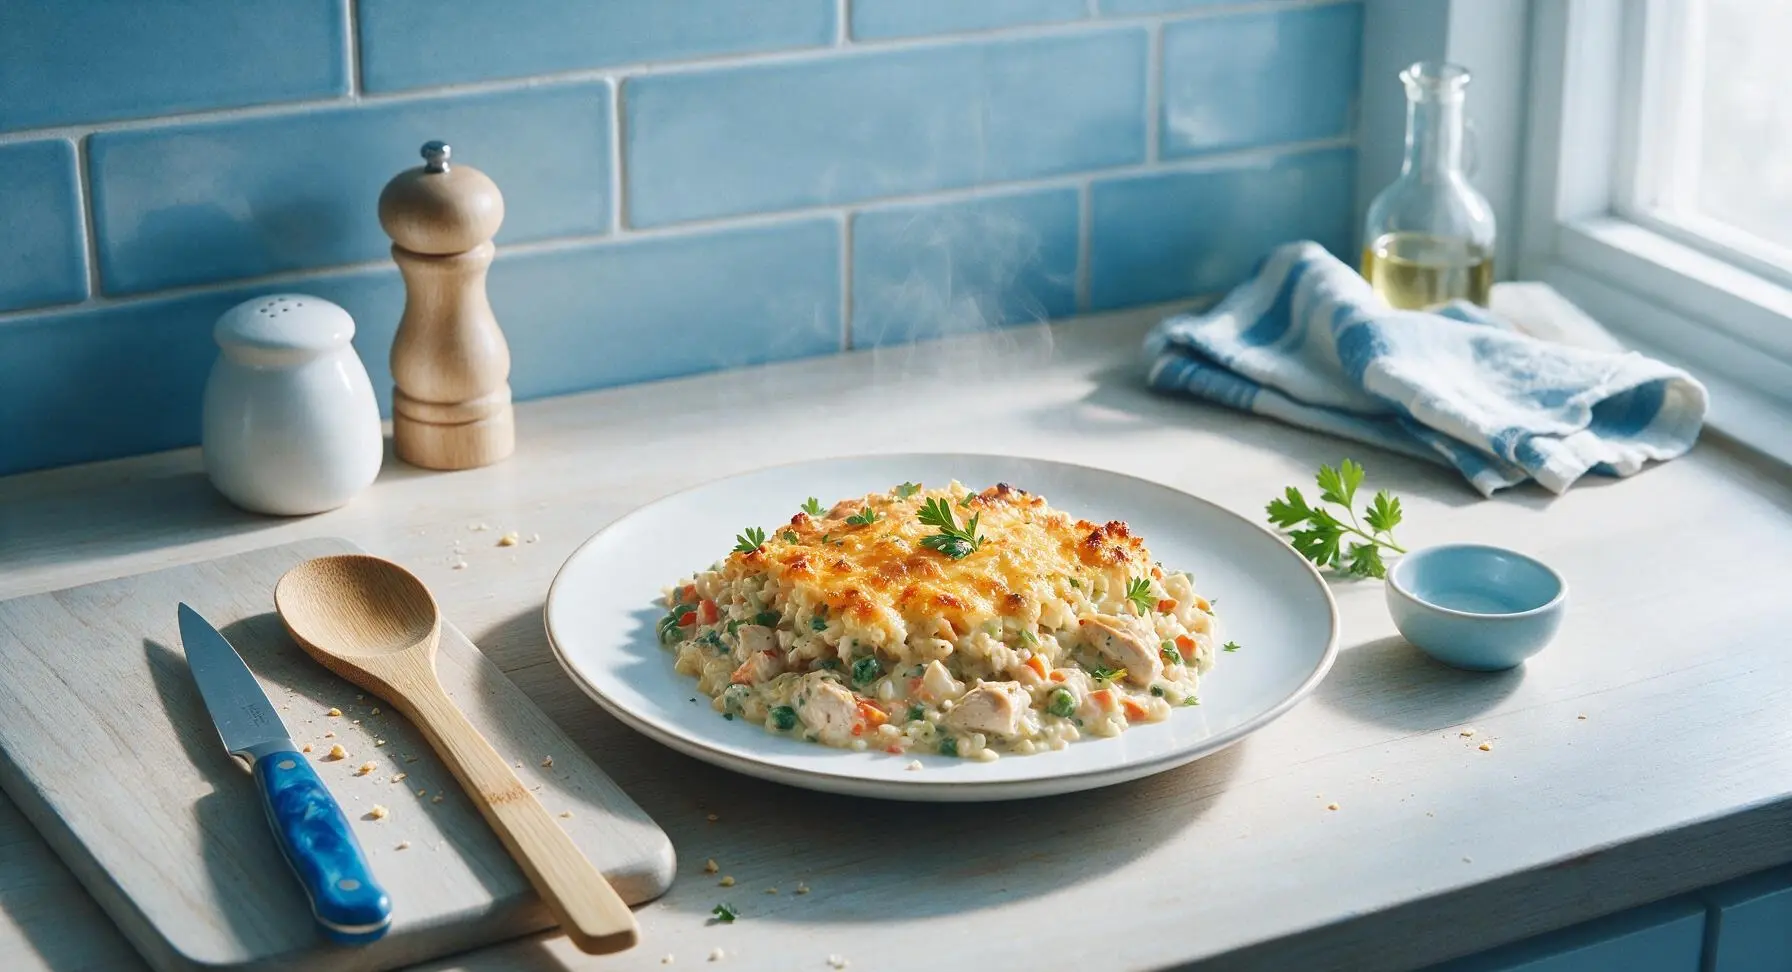
Creamy, veggie-packed make-ahead frozen chicken and rice casserole, baked straight from the freezer for cozy, no-fuss weeknight dinners with zero last-minute prep.
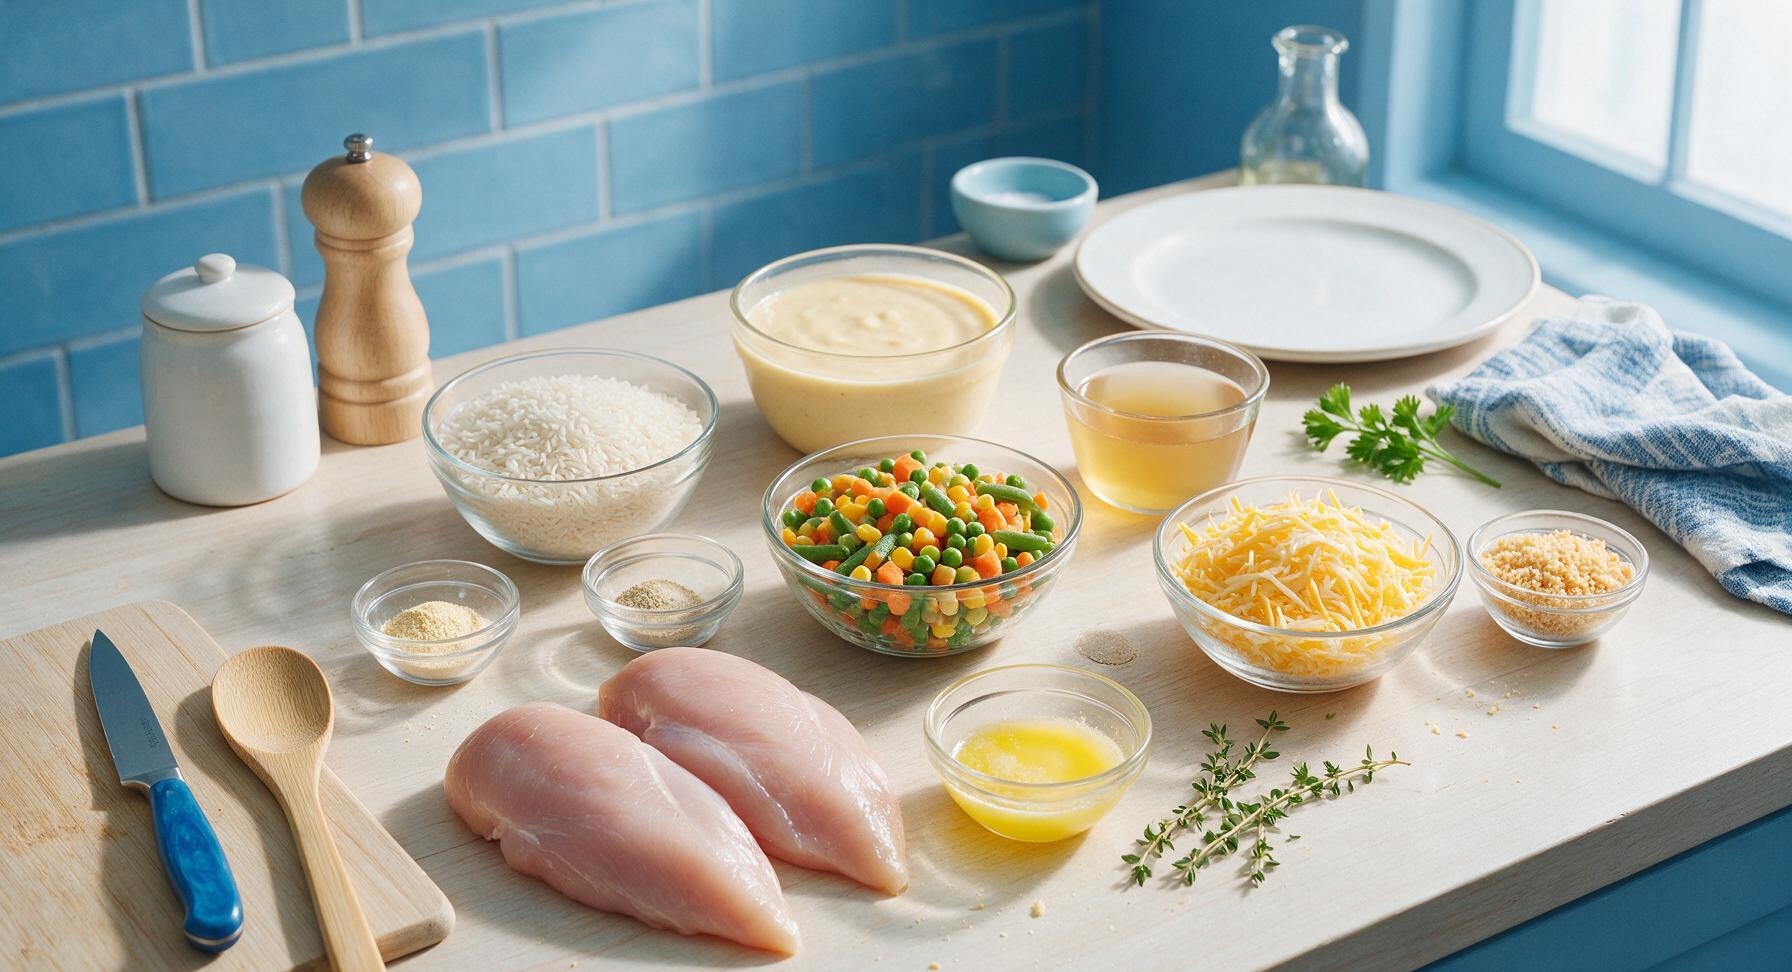
Ingredients
Steps
Cook and Dice Chicken
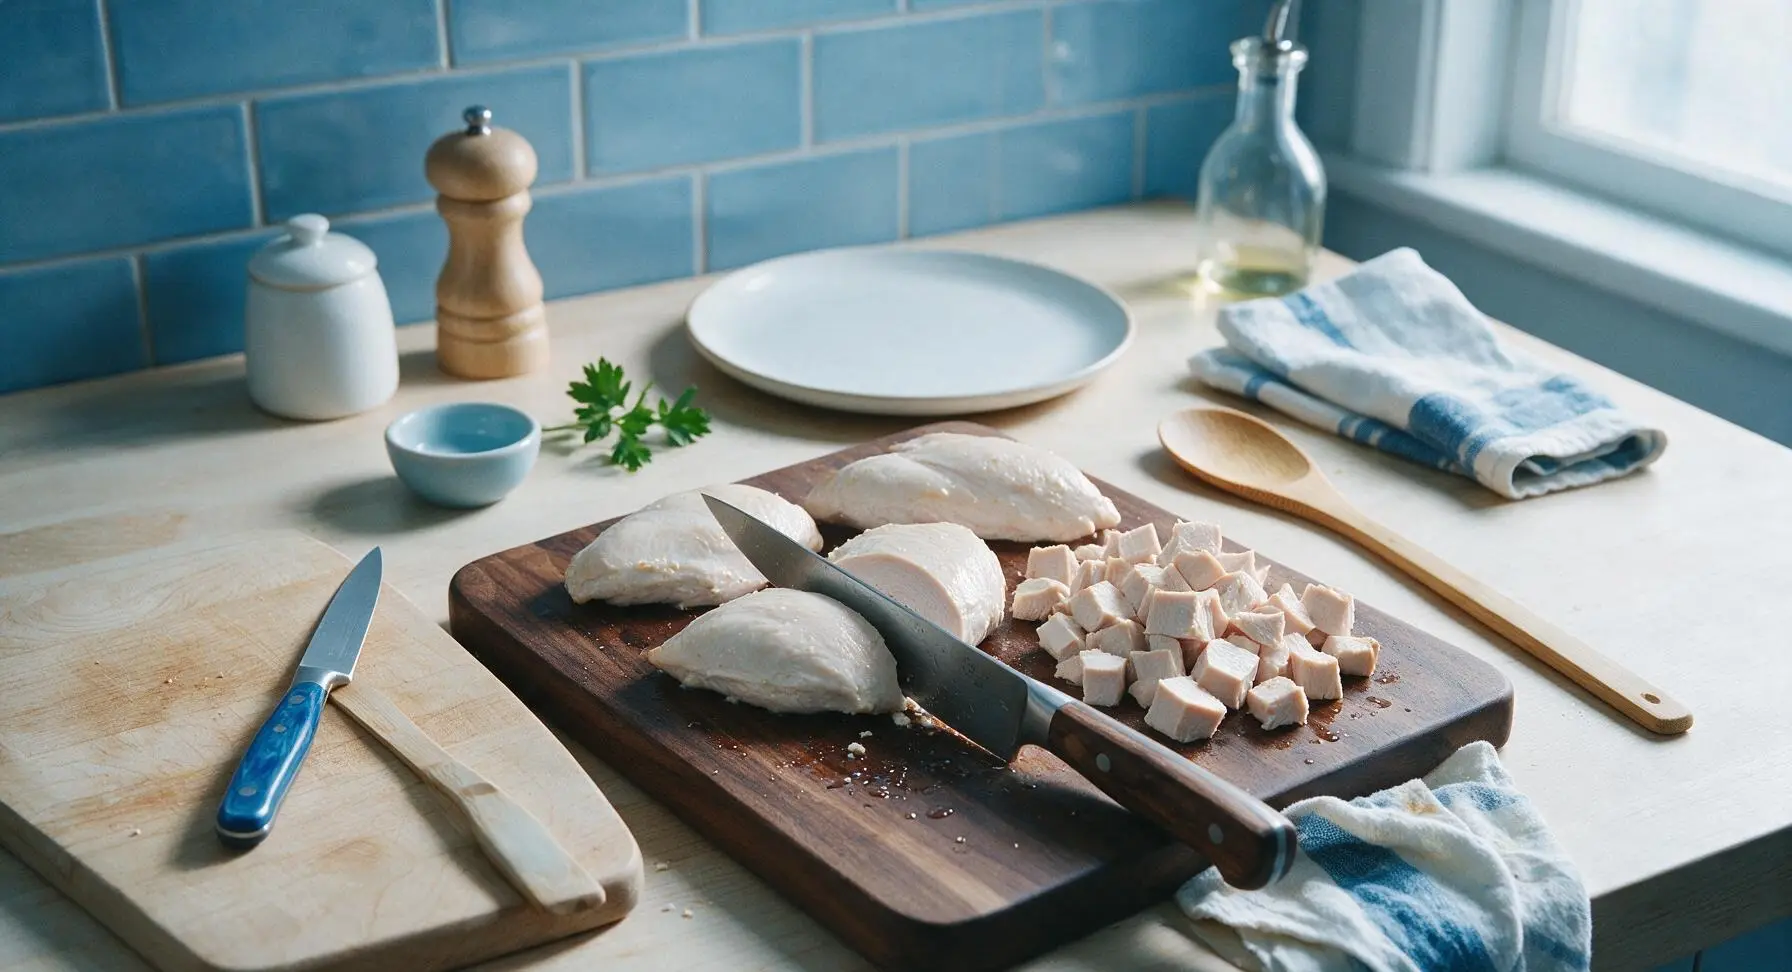
Bring a small pot of salted water to a rolling boil, add 450g boneless skinless chicken breasts, reduce to a simmer, and cook for 12-15 minutes until internal temperature reaches 74°C (165°F) and no pink remains in the center. Remove chicken from water, let rest 5 minutes, then cut into 1cm (1/2 inch) dice on the dark walnut cutting board using the chef knife. Do not over-chop; pieces should be uniform for even texture.
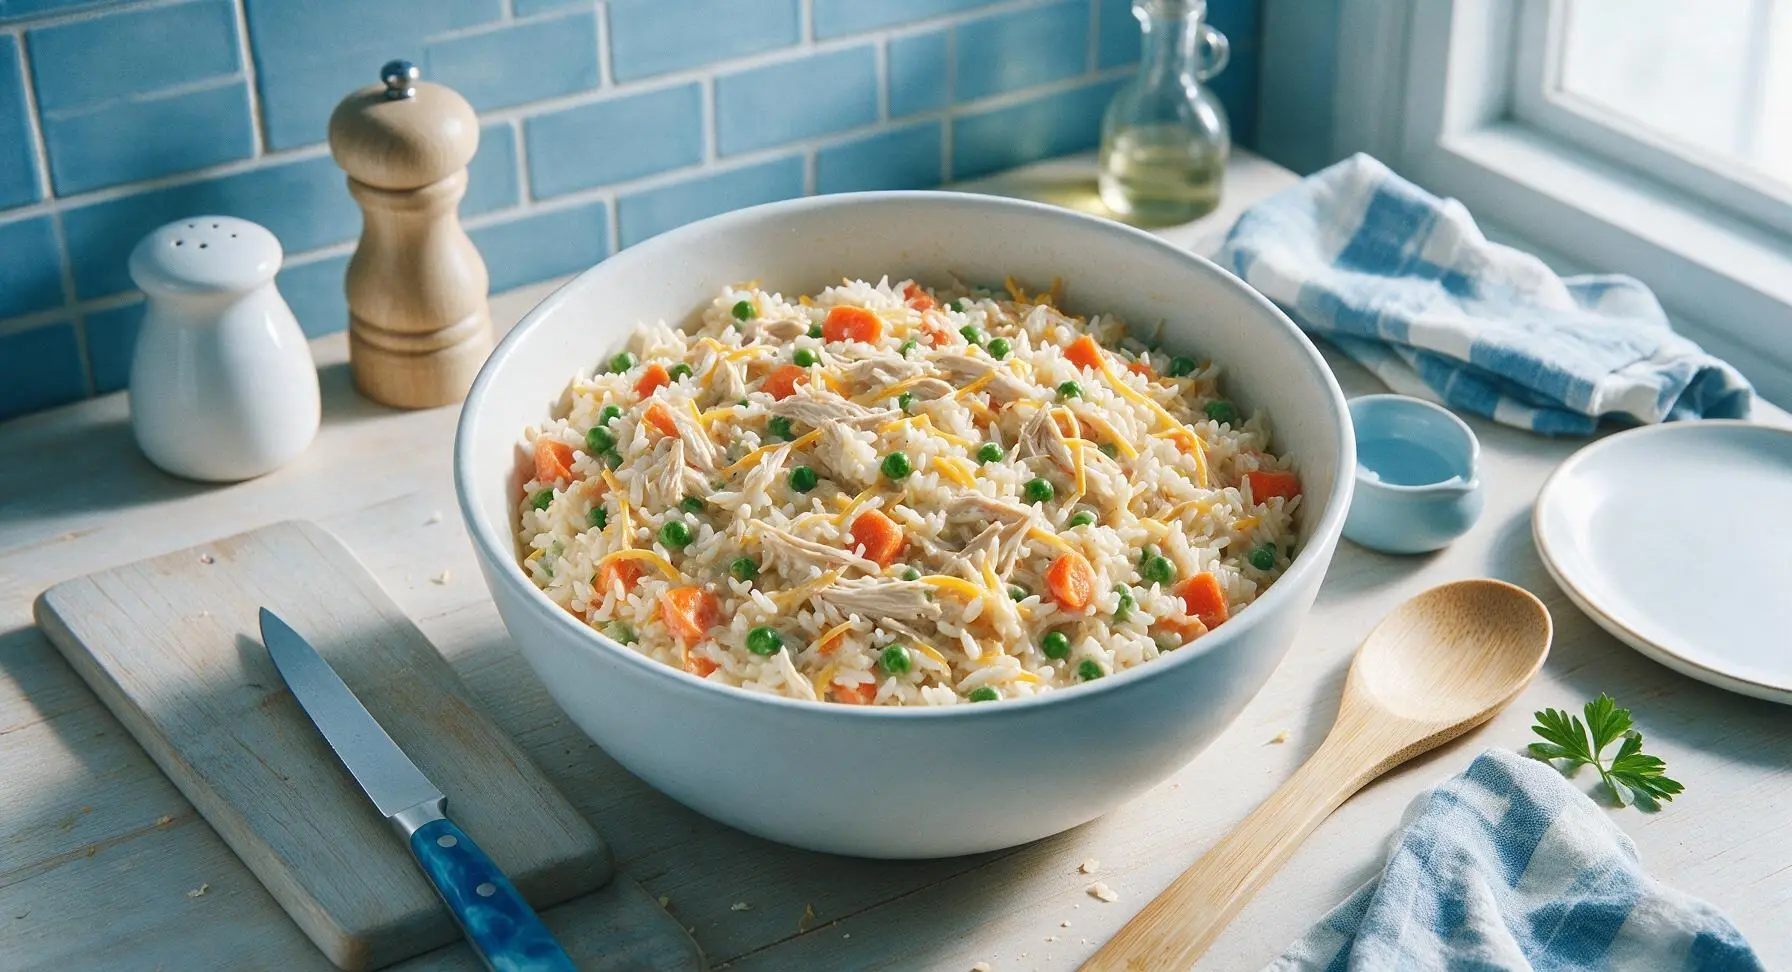
Mix Casserole Filling
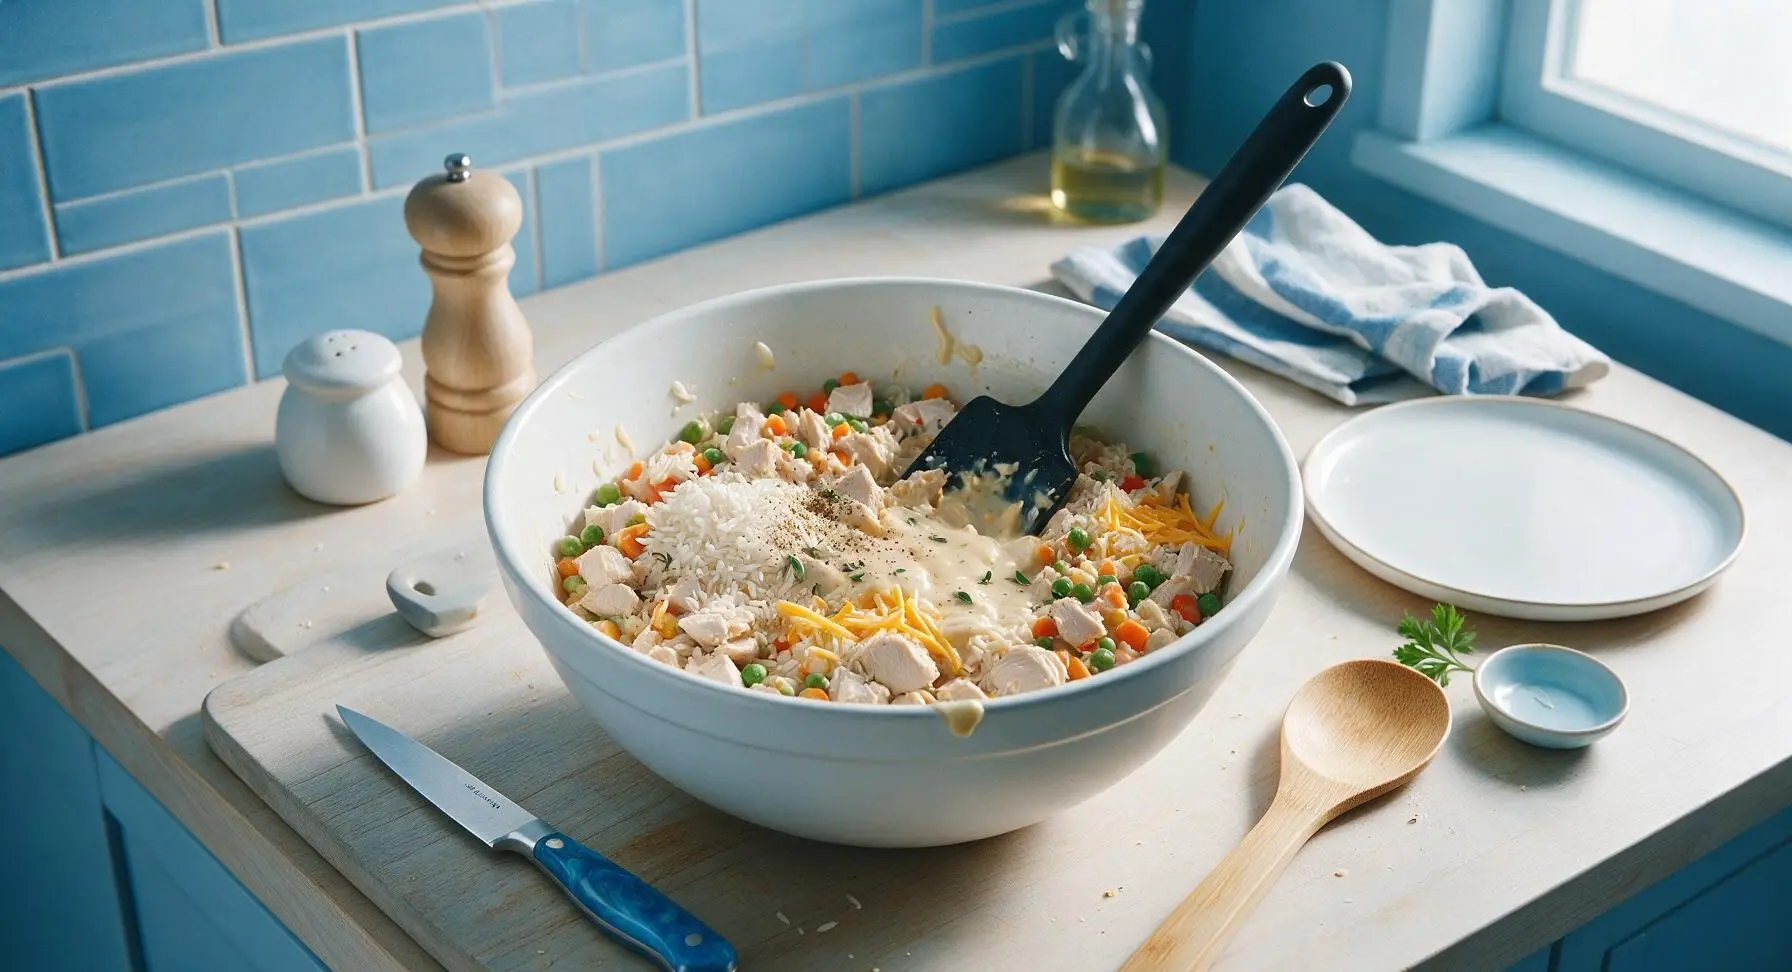
In the 24cm matte white ceramic mixing bowl, combine the diced cooked chicken, 270g uncooked long-grain white rice, 300g unthawed frozen mixed vegetables, 600g condensed cream of chicken soup, 240ml low-sodium chicken broth, 1 tsp onion powder, 1 tsp garlic powder, 1/2 tsp black pepper, leaves from 3 thyme sprigs, and 100g (2/3 of the total) shredded cheddar cheese. Stir thoroughly with the black silicone spatula until every grain of rice is fully coated in creamy sauce, and ingredients are evenly distributed with no dry rice clumps at the bottom of the bowl.
Transfer Filling to Dish
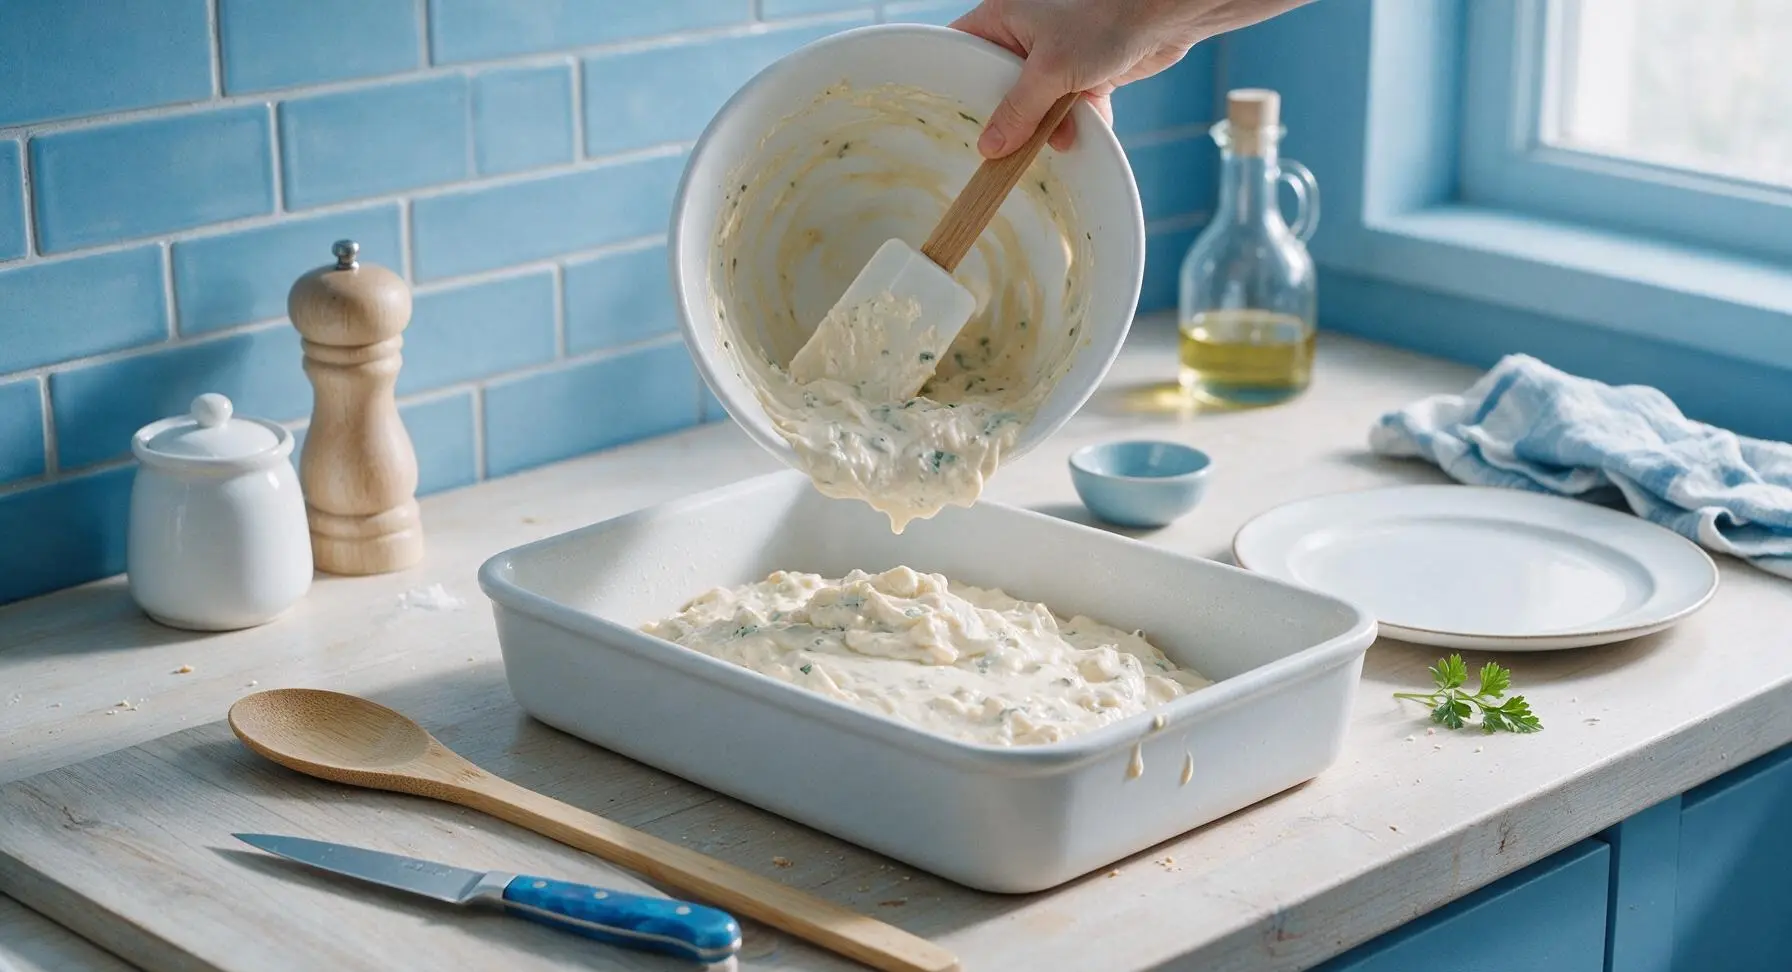
Pour the entire mixed filling into the 23x33cm (9x13in) matte white ceramic freezer-to-oven baking dish positioned in the center of the counter. Use the silicone spatula to spread the filling into an even, flat layer across the entire dish, ensuring no mounds or thin spots so the casserole cooks evenly when baked.
Add Crispy Topping
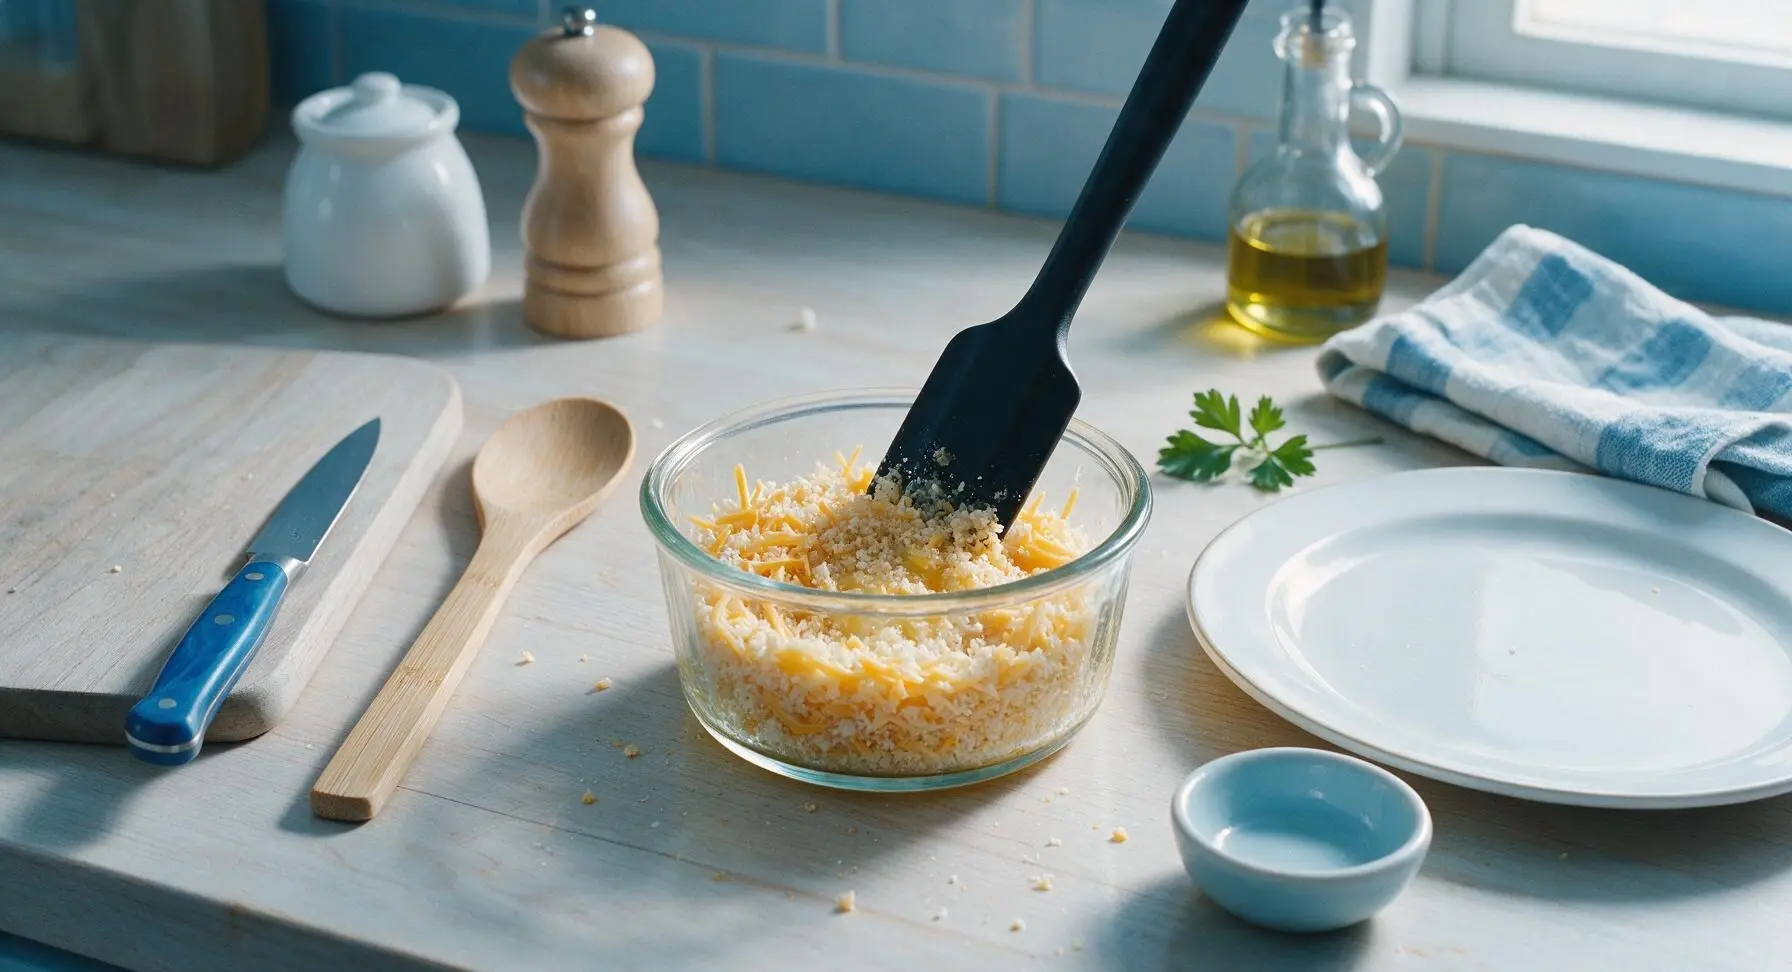
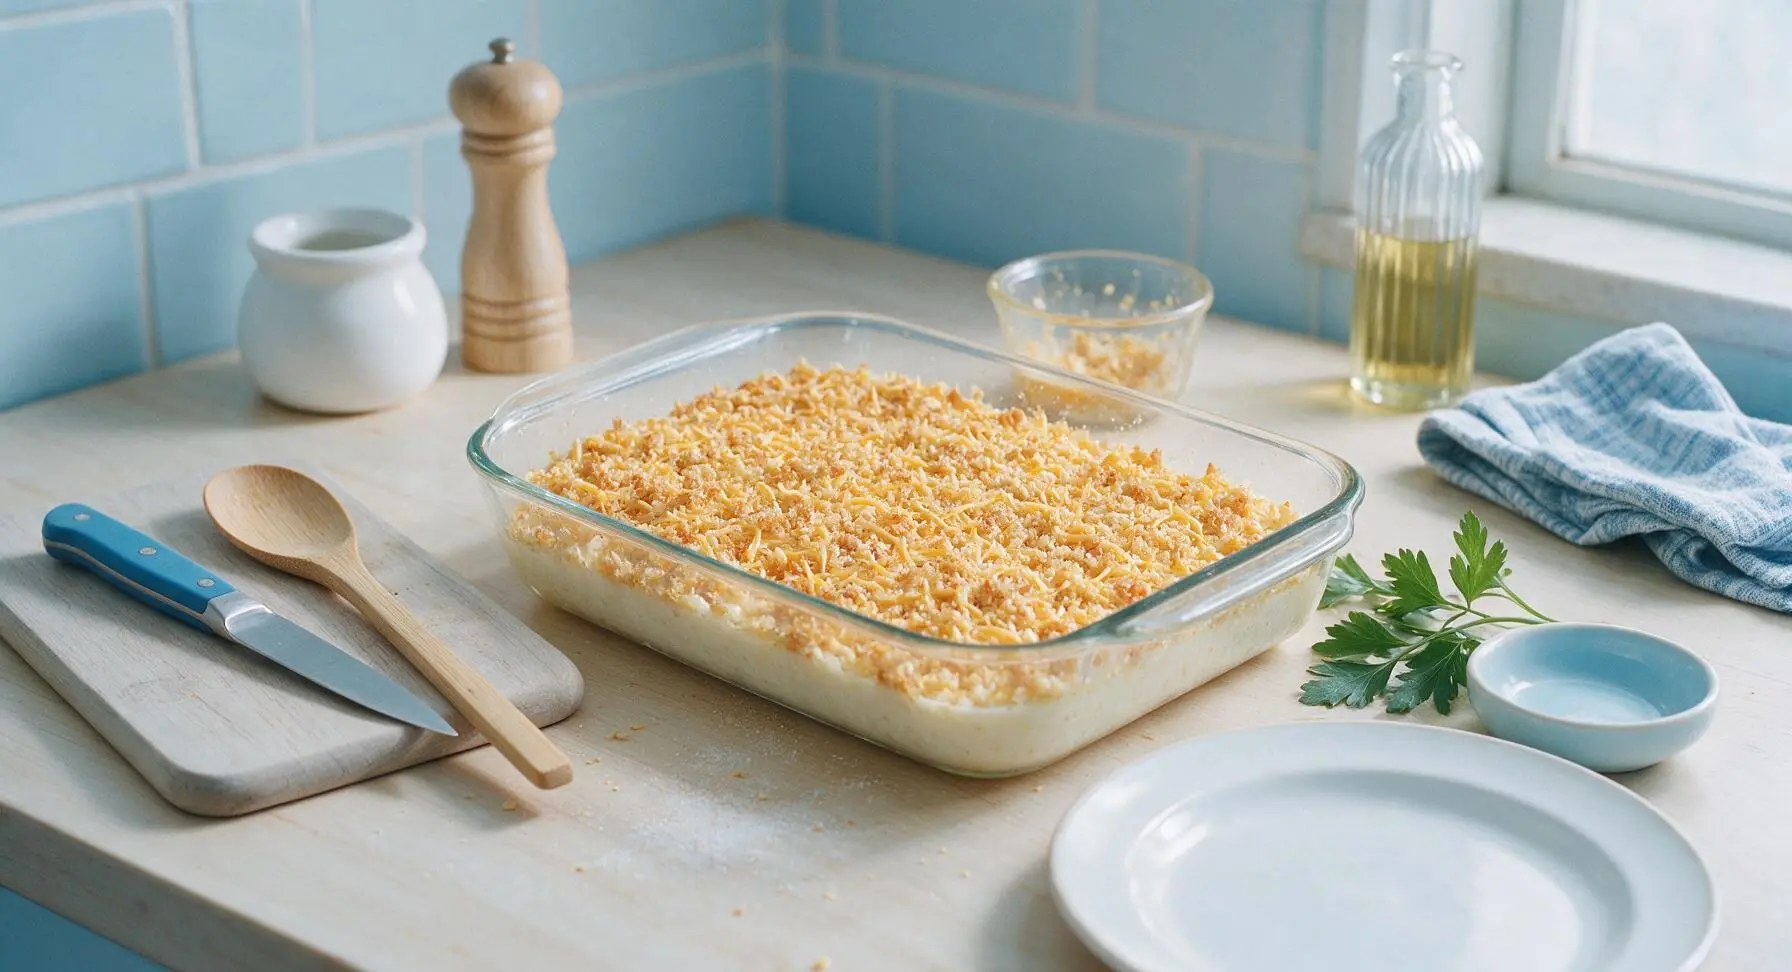
In the 7cm clear glass ramekin, mix the remaining 50g shredded cheddar cheese, 30g panko breadcrumbs, and 28g melted unsalted butter until breadcrumbs are evenly coated in butter. Sprinkle the mixture in an even layer across the entire top of the casserole filling, leaving no bare spots.
Wrap Tightly for Freezing
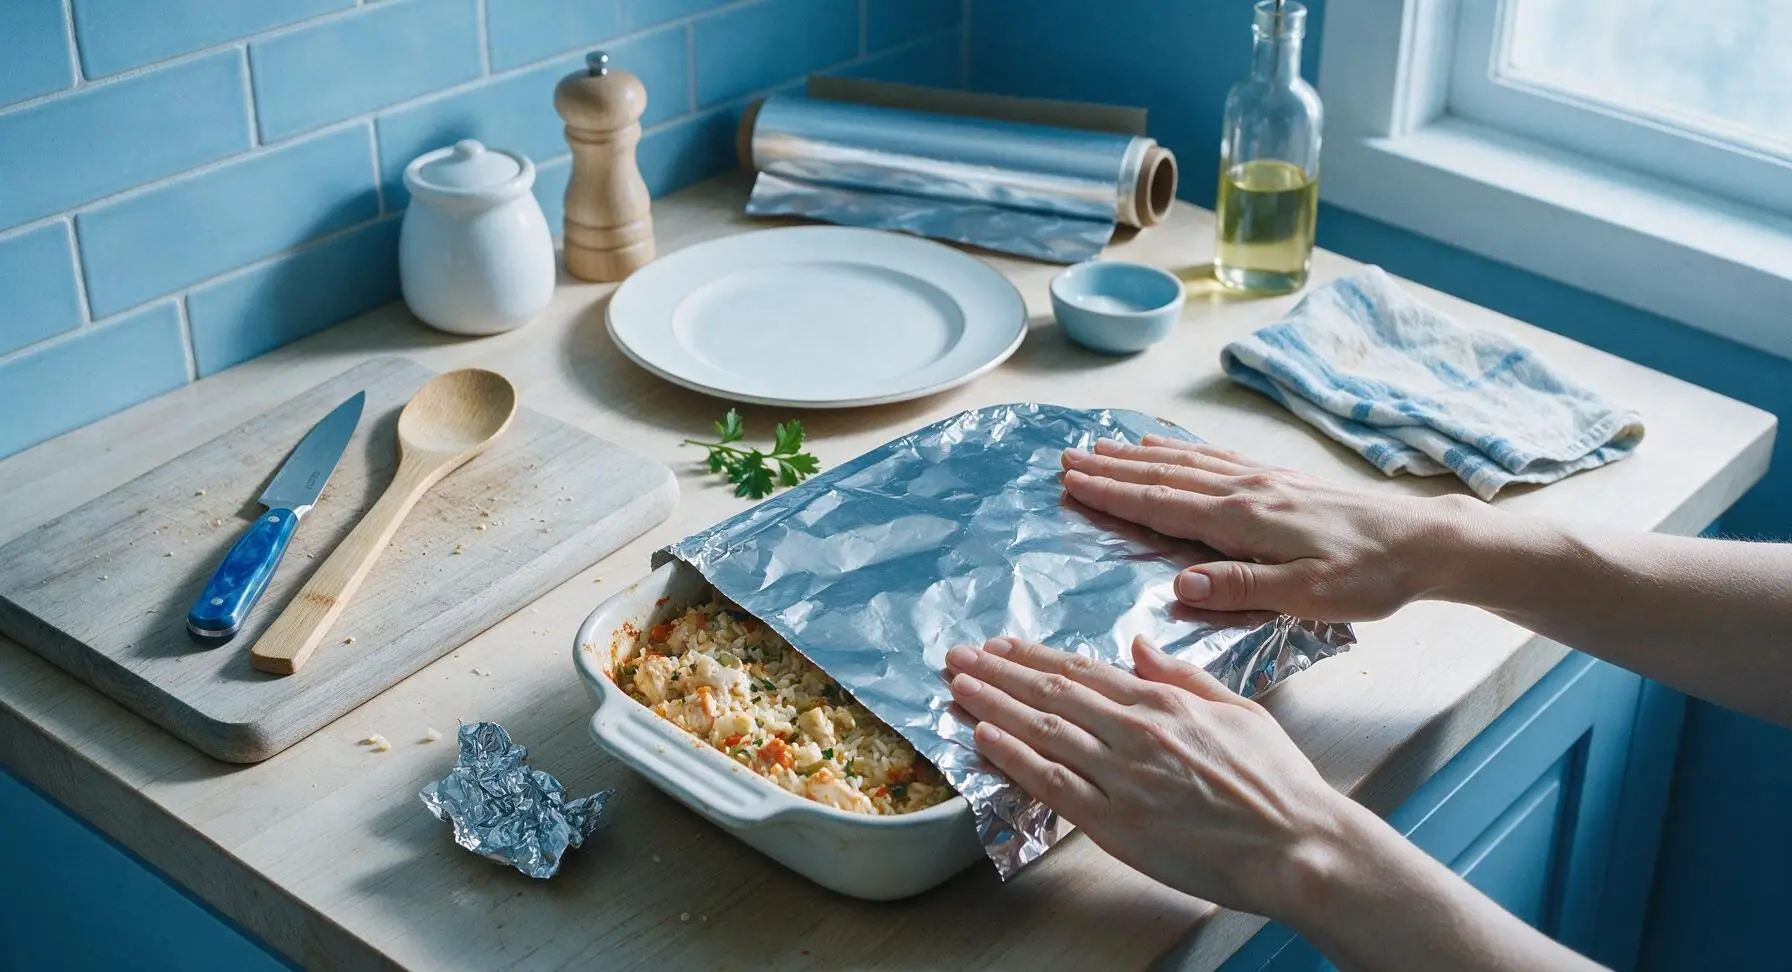
Tear two sheets of heavy-duty aluminum foil from the roll positioned at the back of the counter. Press the first sheet directly against the surface of the casserole topping to prevent freezer burn, then wrap a second sheet tightly over the top of the baking dish, crimping the edges firmly around the dish rim to create an airtight seal. Add a date label to the foil if desired, ensuring no text is visible in frame.
Freeze for Long-Term Storage
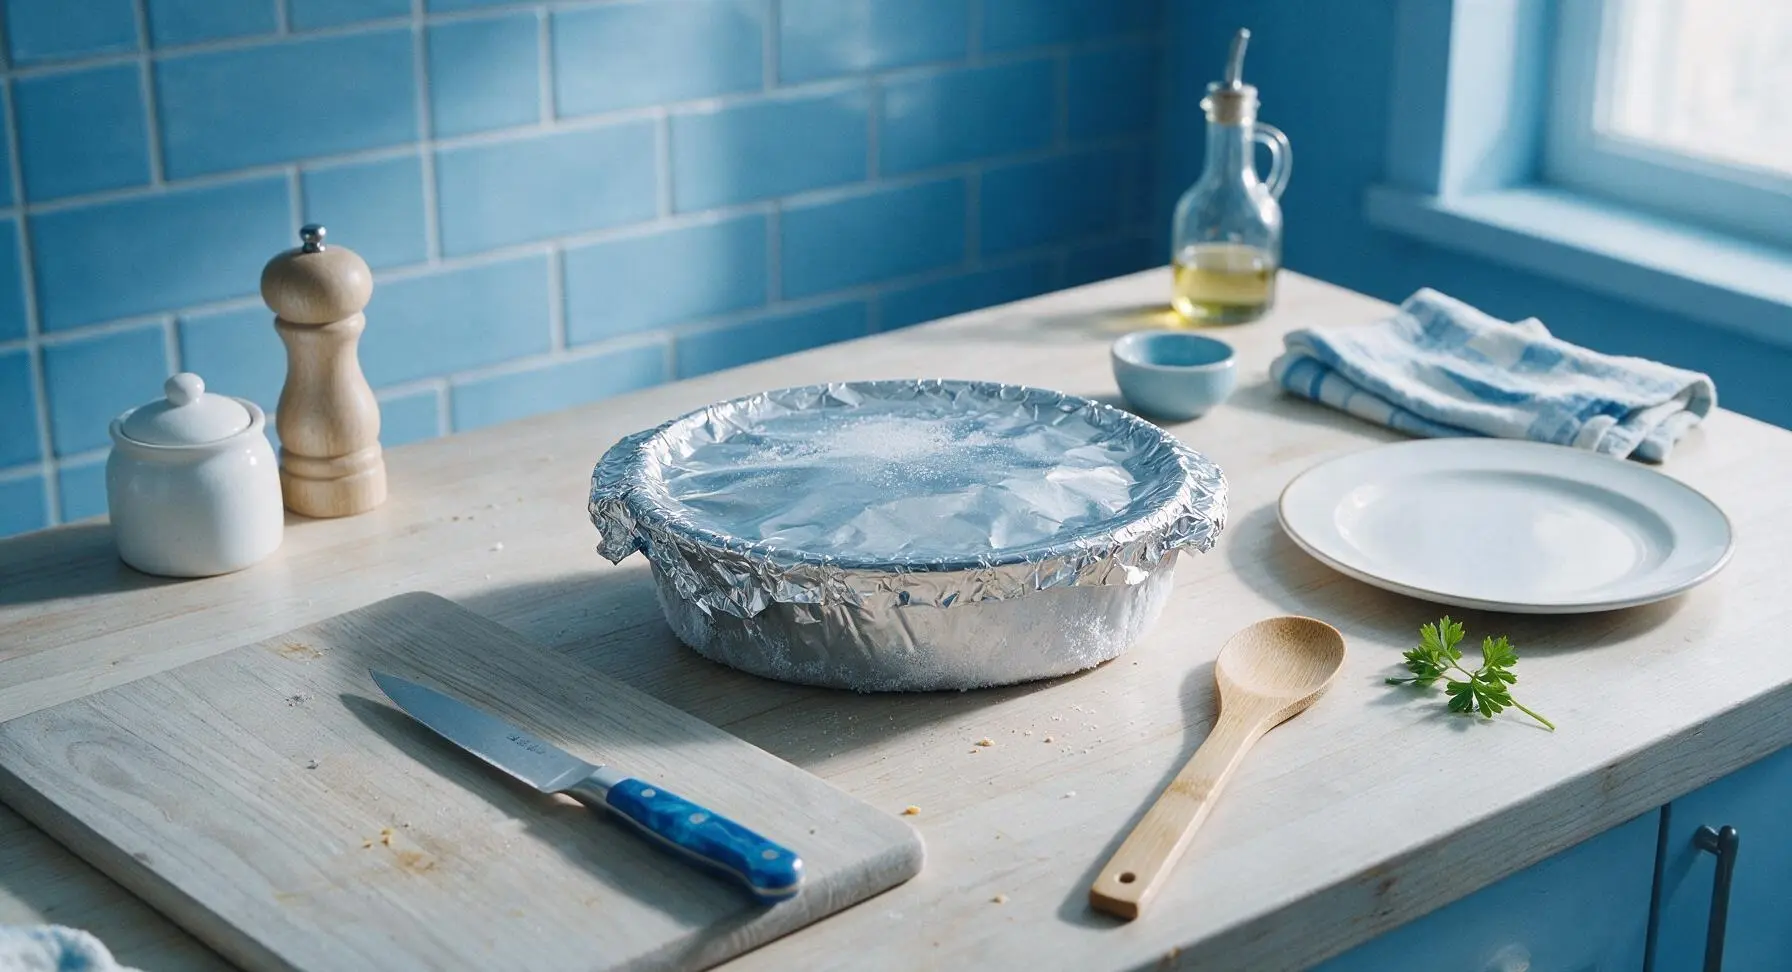
Transfer the tightly foil-wrapped baking dish to a level freezer shelf, where it will keep for up to 3 months. For best results, do not stack heavy items on top of the casserole for the first 24 hours until the filling is fully frozen solid to prevent uneven layers.
Bake from Frozen
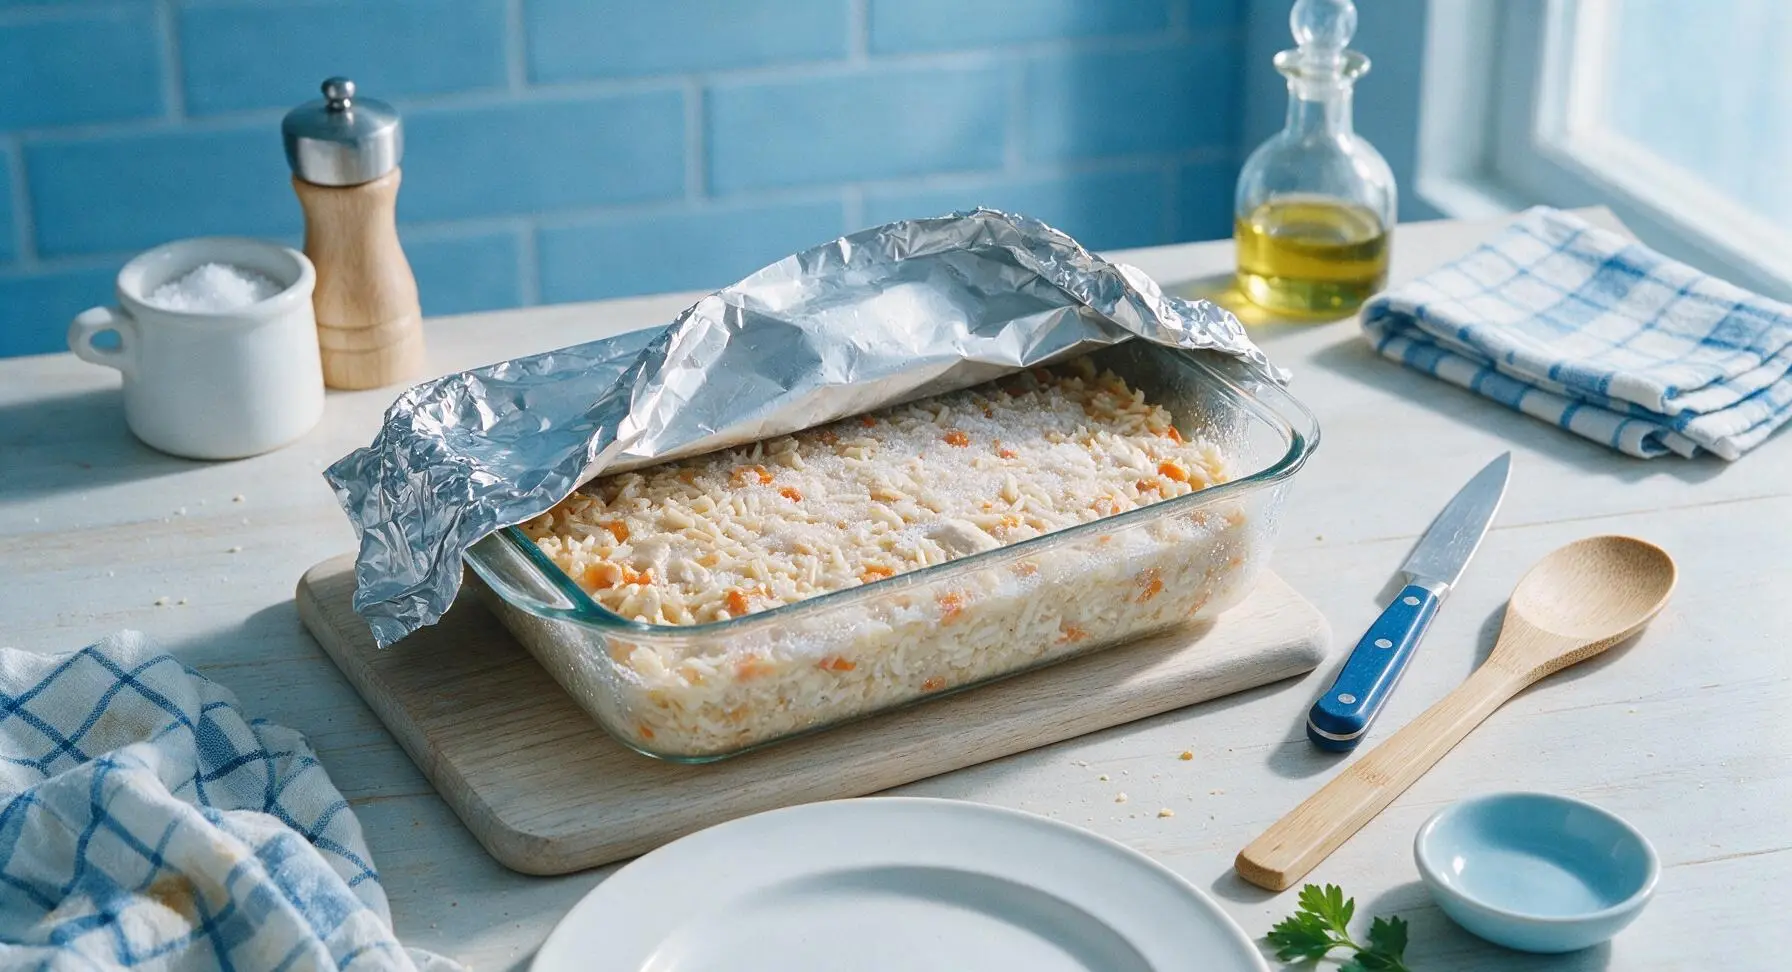
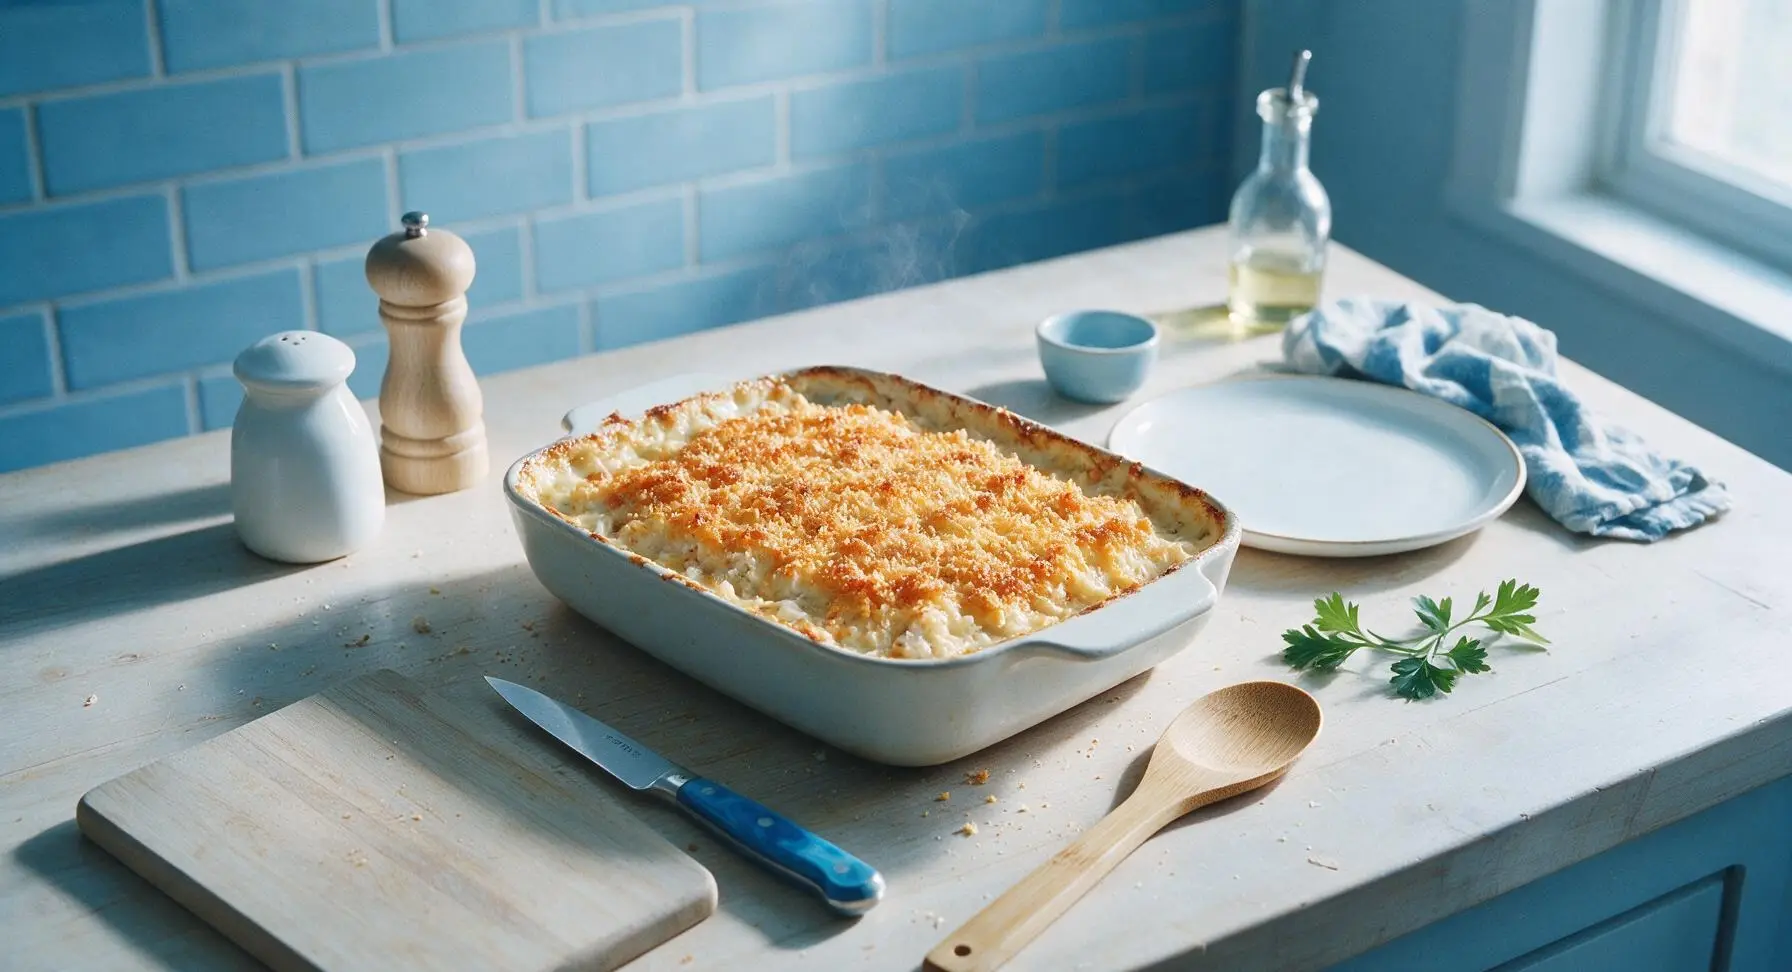
When ready to eat, preheat oven to 190°C (375°F). Remove the top layer of foil from the frozen casserole, leaving the inner foil layer loosely tented over the top. Place the dish on the middle oven rack and bake for 50 minutes covered, then remove the inner foil layer and bake for an additional 20 minutes uncovered, until the top is golden and crispy, sauce bubbles vigorously around the edges, and internal temperature reaches 74°C (165°F) in the center.
Rest and Serve
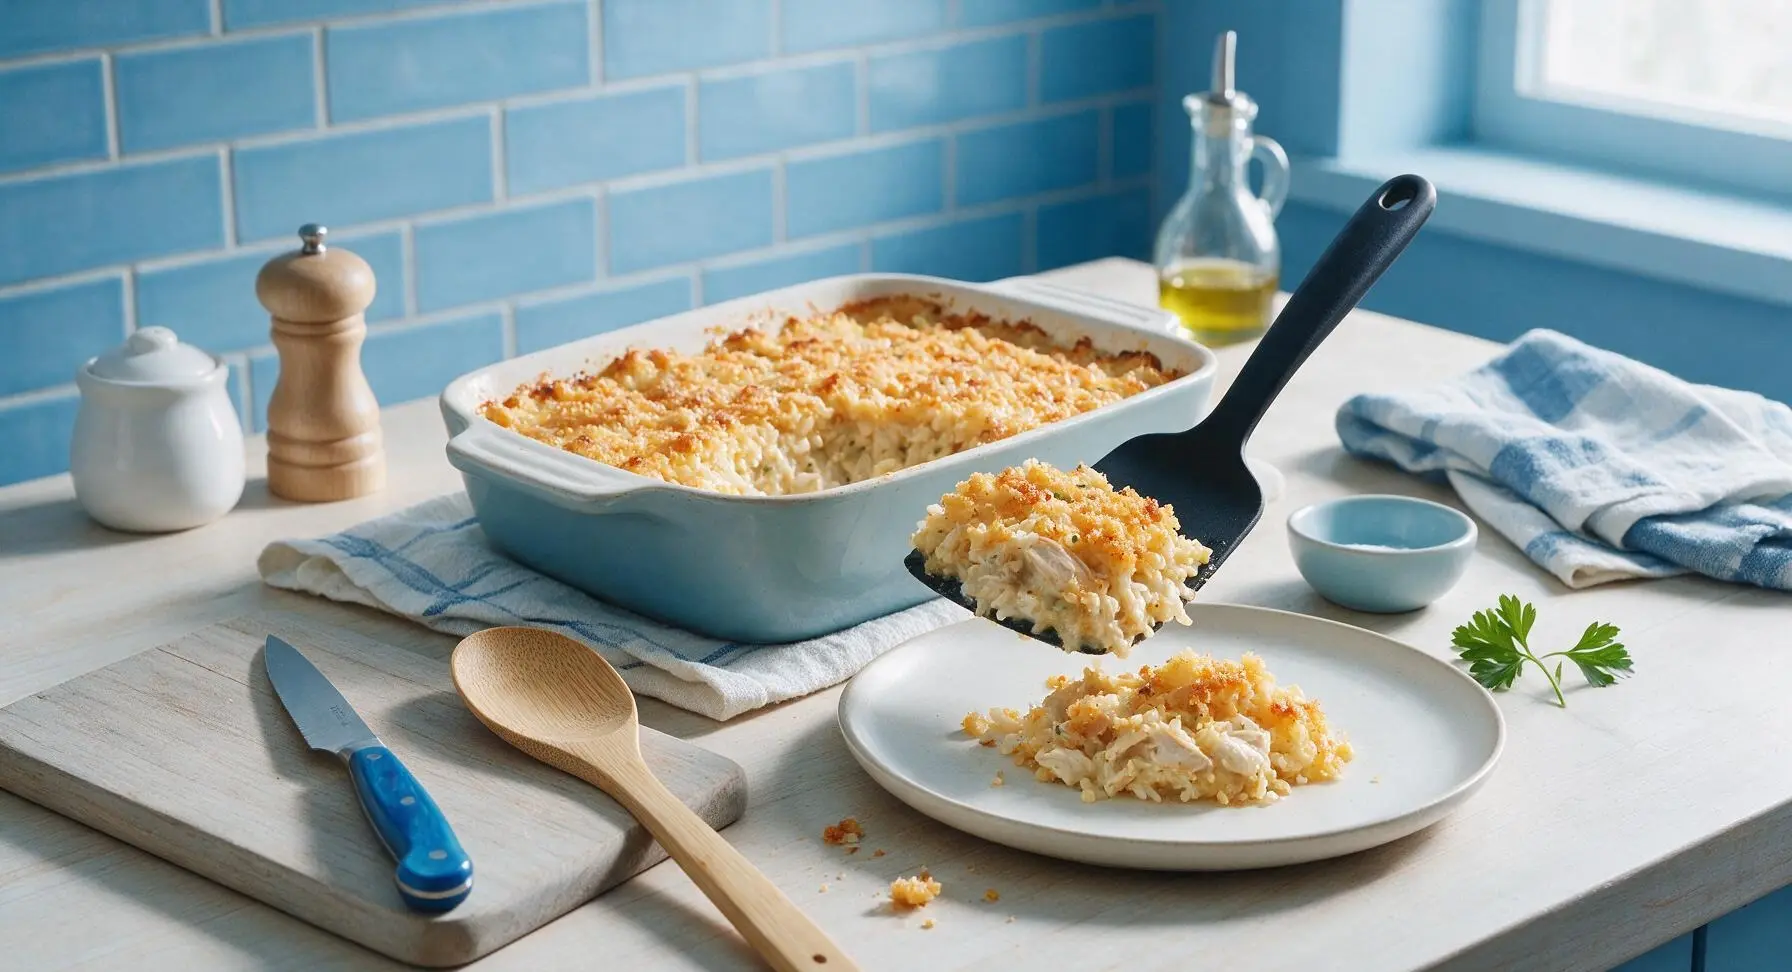
Let the baked casserole rest for 10 minutes at room temperature to allow the sauce to set. Use the silicone spatula to scoop generous portions onto the matte off-white dinner plate, garnishing with leaves from the remaining 2 thyme sprigs.
Tips
2.Press the first layer of foil directly against the casserole surface before adding the second outer wrap: This eliminates trapped air pockets that cause freezer burn, which can leave dry, discolored, off-flavored patches on the topping even after full baking.
3.Let the casserole rest a full 10 minutes after baking: The sauce will be thin and runny straight out of the oven, and the rest time allows it to thicken and set so scoops hold their neat shape instead of spreading across the plate.






OMG this is such a game changer for our weeknight dinners! I prepped 3 of these last Sunday when I did my weekly meal prep, pulled one out last night to bake, and my kids devoured it. Even my picky 7 year old asked for seconds! The rice came out perfectly creamy, no weird mushy texture like other frozen casseroles I’ve tried. 10/10 will be making this on repeat.
Brought this to my office potluck yesterday after prepping and freezing it over the weekend, and people were asking me for the recipe before I even left! It held up great even after I had to transport it 20 minutes to the office, and the chicken was so tender. I added a little extra cheddar on top the last 10 minutes of baking and *chef’s kiss*.
Quick question – do I need to thaw this completely before baking, or can I pop it straight from the freezer into the oven? I’m still new to make-ahead meals and don’t want to mess this up, it looks so good!
SO good. I made this in my tiny apartment oven to stock my freezer for midterms week, and it’s way cheaper and tastier than the frozen dinners from the grocery store. I used leftover rotisserie chicken to cut down on prep time even more, would recommend!
Swapped the regular cream of chicken soup for the gluten-free version and used brown rice instead of white, and it turned out amazing! I was worried the texture would be off with the swaps, but you couldn’t even tell. Perfect for my gluten-free household, I’ll be making this once a month easy.
Wait, how long does this actually stay good in the freezer for? I want to make a big batch but don’t want it to get freezer burnt before we get to eat it.
Made this for my family dinner last night after having it in the freezer for 2 weeks, and my husband said it’s the best casserole I’ve ever made. The flavor is so cozy, perfect for the cold fall nights we’ve been having here lately. I added a can of drained Rotel for a little kick and it was chef’s kiss.