
garlic chilli chicken

title 1
garlic chilli chicken
⏱️ cook time 15 minutes
🍽️ servings 4
⚡ Difficulty easy

intro

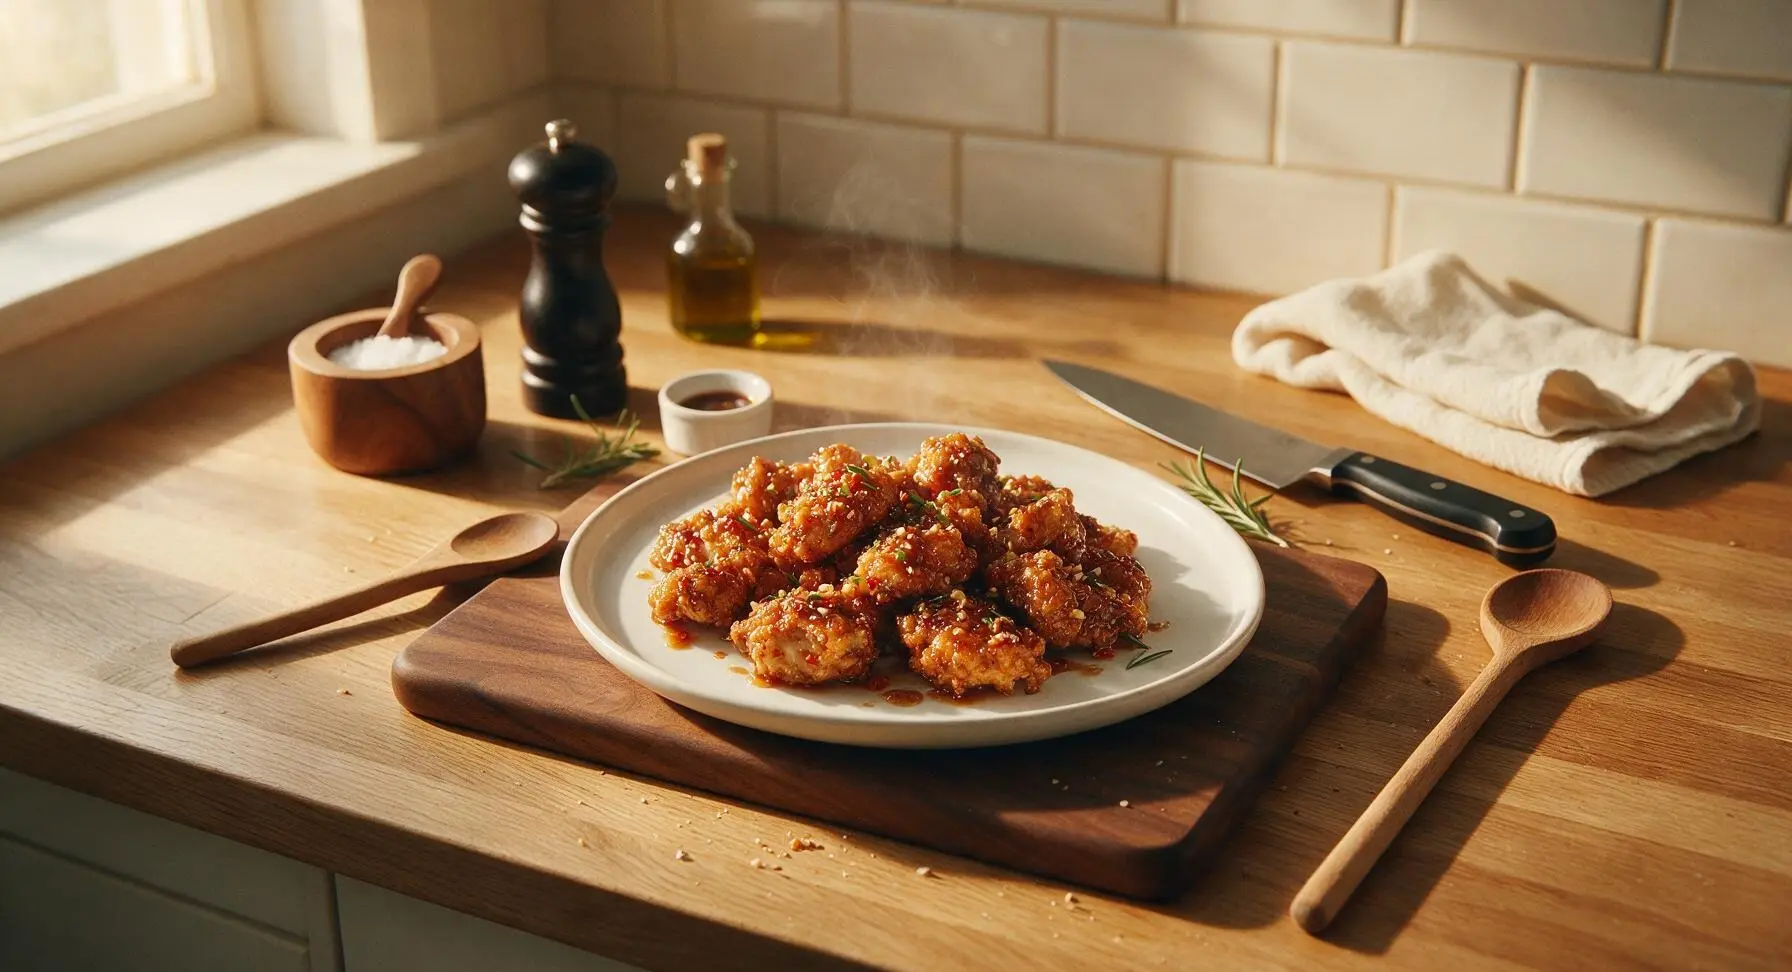
Crispy juicy chicken tossed in a sticky, garlicky, spicy-savoury glaze, with bright chilli heat and balanced umami—fast, flavourful, and perfect for busy weeknights.

Ingredients
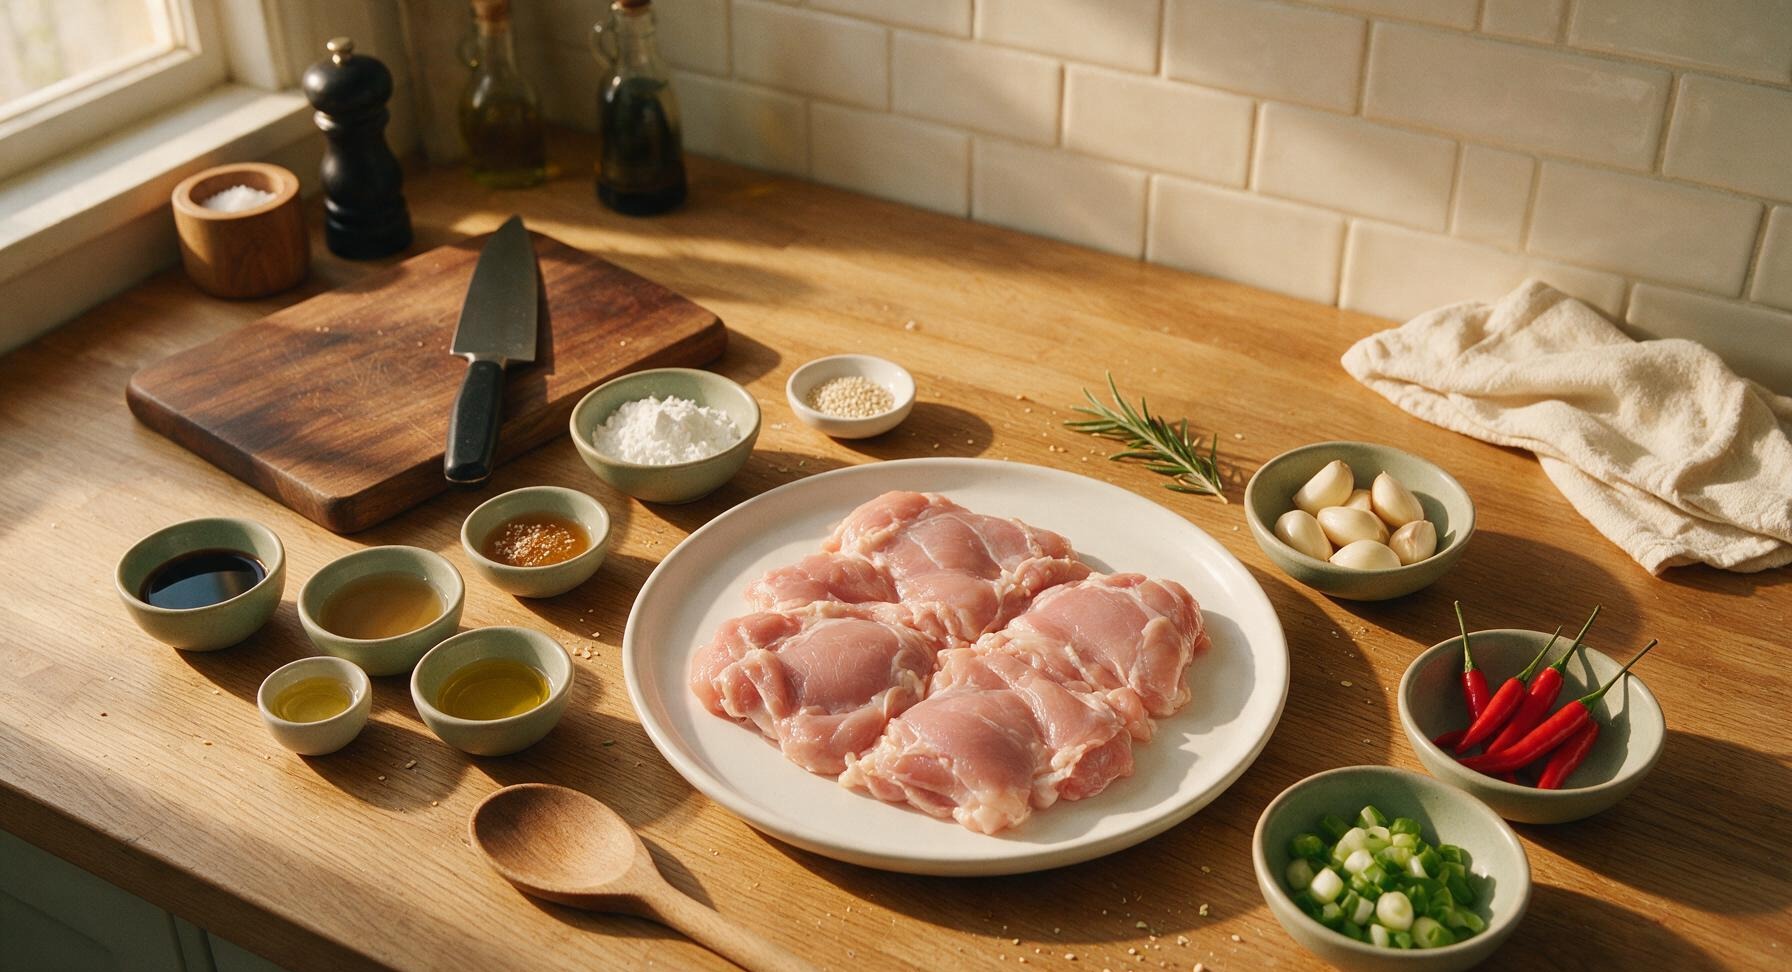
Boneless skinless chicken thighs 500g
Cornstarch 3 tbsp
Garlic cloves 8 (30g)
Fresh red bird's eye chillis 5 (20g)
Light soy sauce 2 tbsp
Dark soy sauce 1 tsp
Chinese rice vinegar 1 tbsp
Honey 1 tbsp
Toasted sesame oil 1 tsp
Scallions (green onions) 3 (40g)
Neutral canola oil 3 tbsp
Toasted white sesame seeds 1 tsp

Steps

1

Cut and Coat Chicken

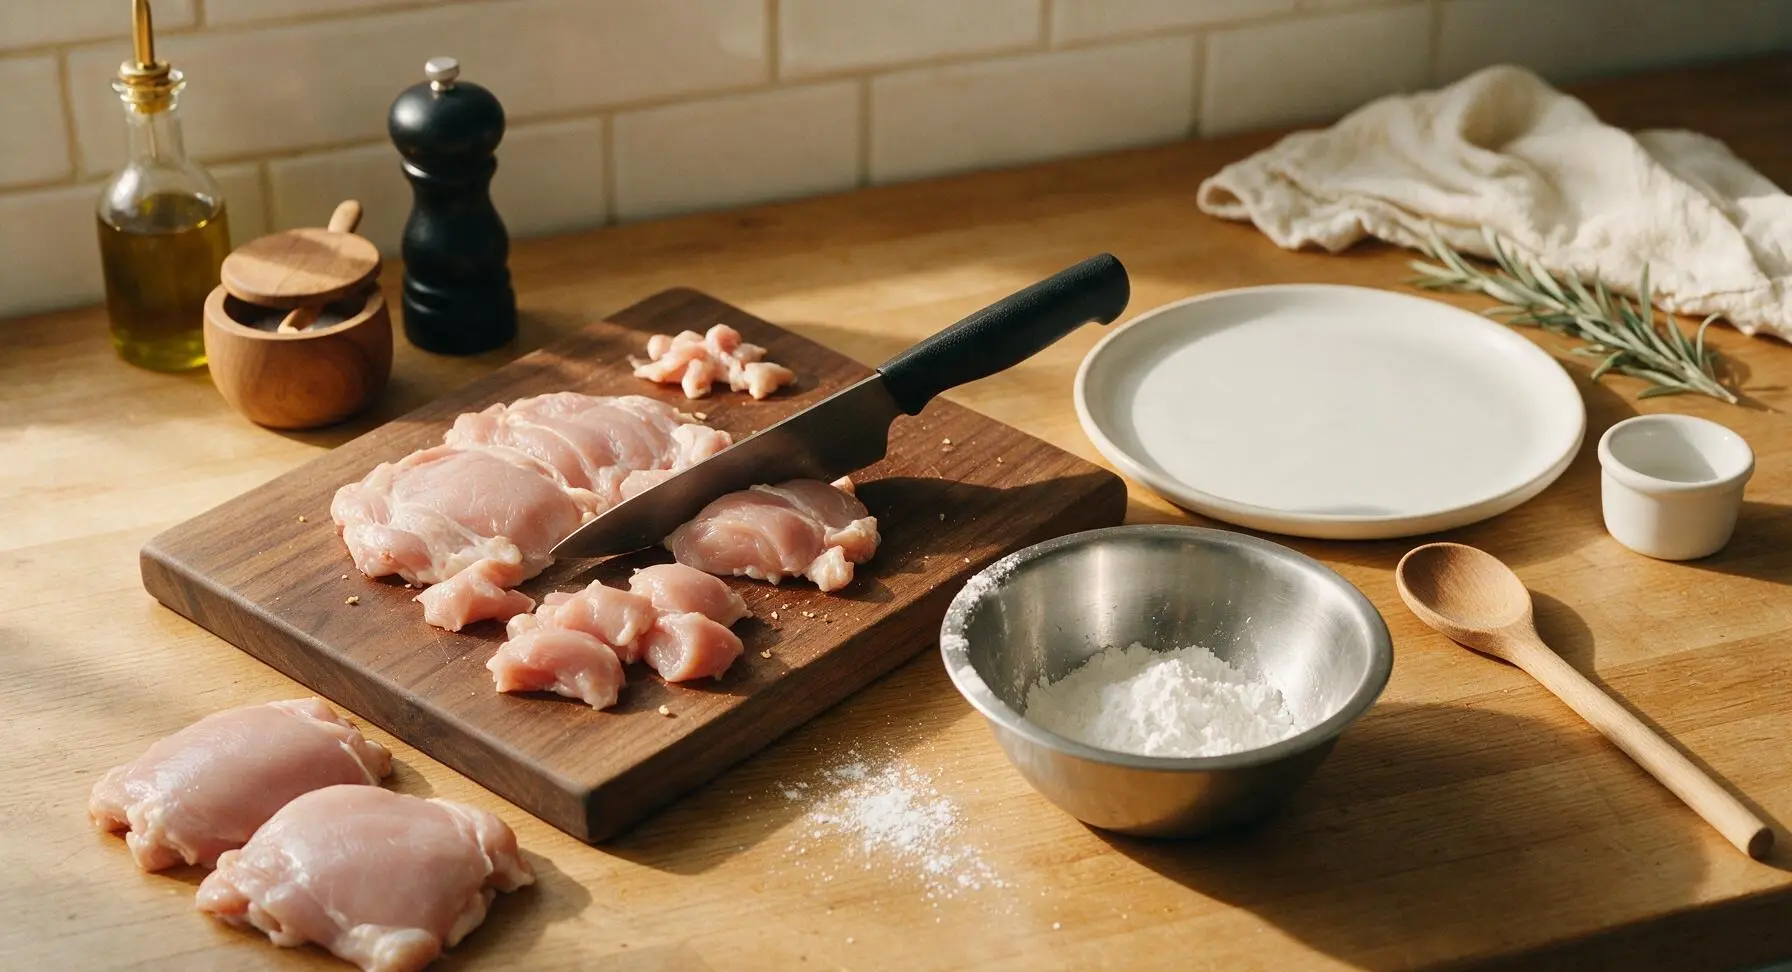
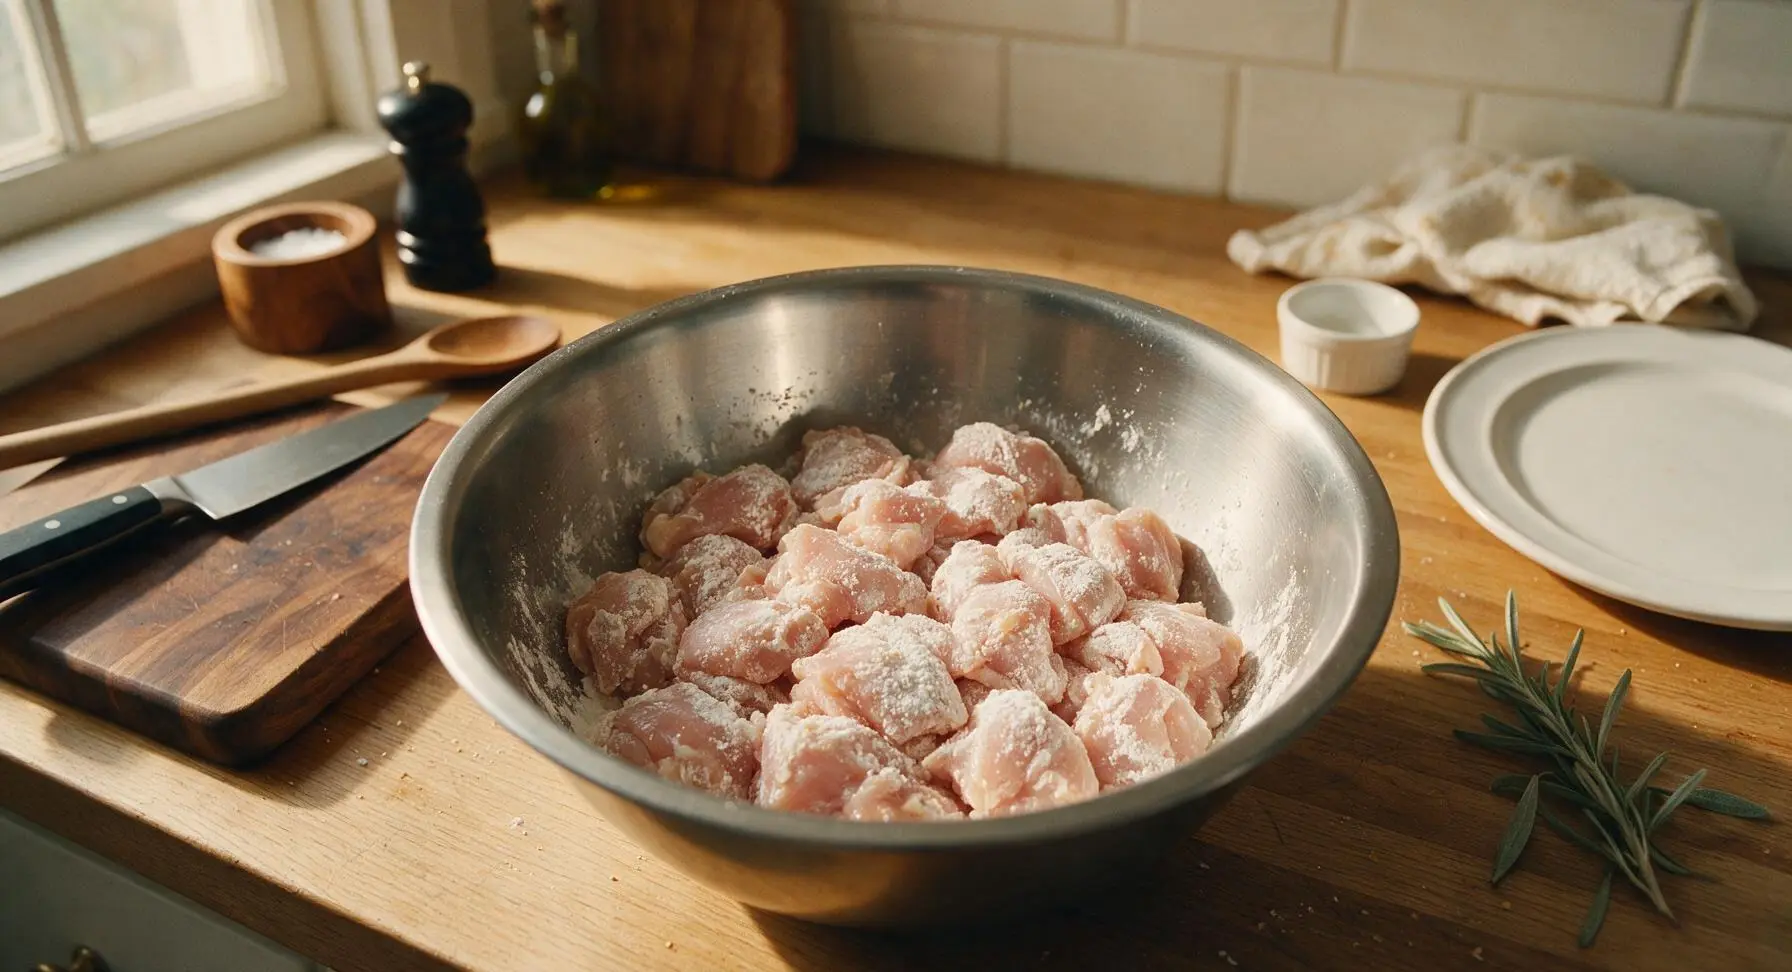
Place 500g boneless, skinless chicken thighs on the acacia wood cutting board. Use the 8-inch chef knife to cut chicken into uniform 2.5cm bite-sized pieces, trimming any excess hard fat or sinew. Toss cut chicken in the brushed stainless steel mixing bowl with 3 tablespoons cornstarch until every piece is lightly, evenly coated, with no dry cornstarch clumps left at the bottom of the bowl. Set aside for 5 minutes to let the coating adhere.
Step 1
step1:Cut and Coat Chicken
Step 1
step1:Cut and Coat Chicken
2

Whisk Sauce Base

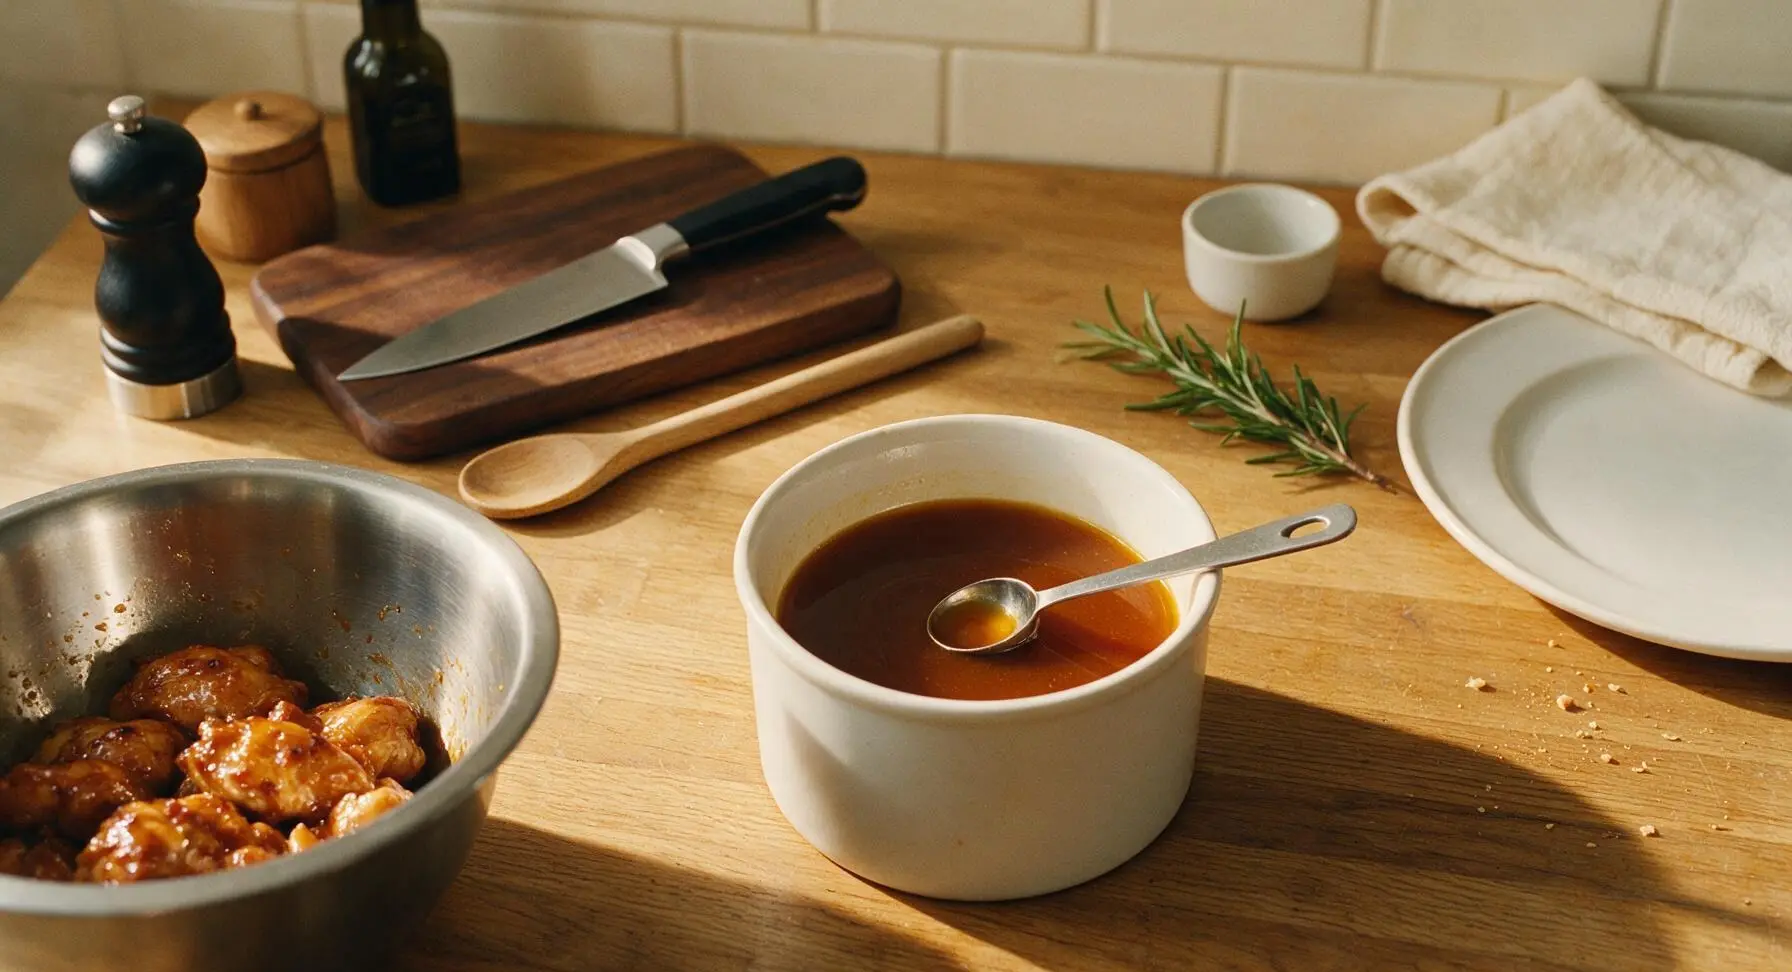
In one of the small matte white ceramic prep bowls, combine 2 tablespoons light soy sauce, 1 teaspoon dark soy sauce, 1 tablespoon rice vinegar, 1 tablespoon honey, and 1 teaspoon toasted sesame oil. Whisk with the 1 tsp measuring spoon from the set until honey is fully dissolved, and the sauce is a uniform deep amber color with no separation. Set the bowl within arm’s reach of the induction cooktop.
Step 2
step2:Whisk Sauce Base
3

Chop Garlic and Chillis

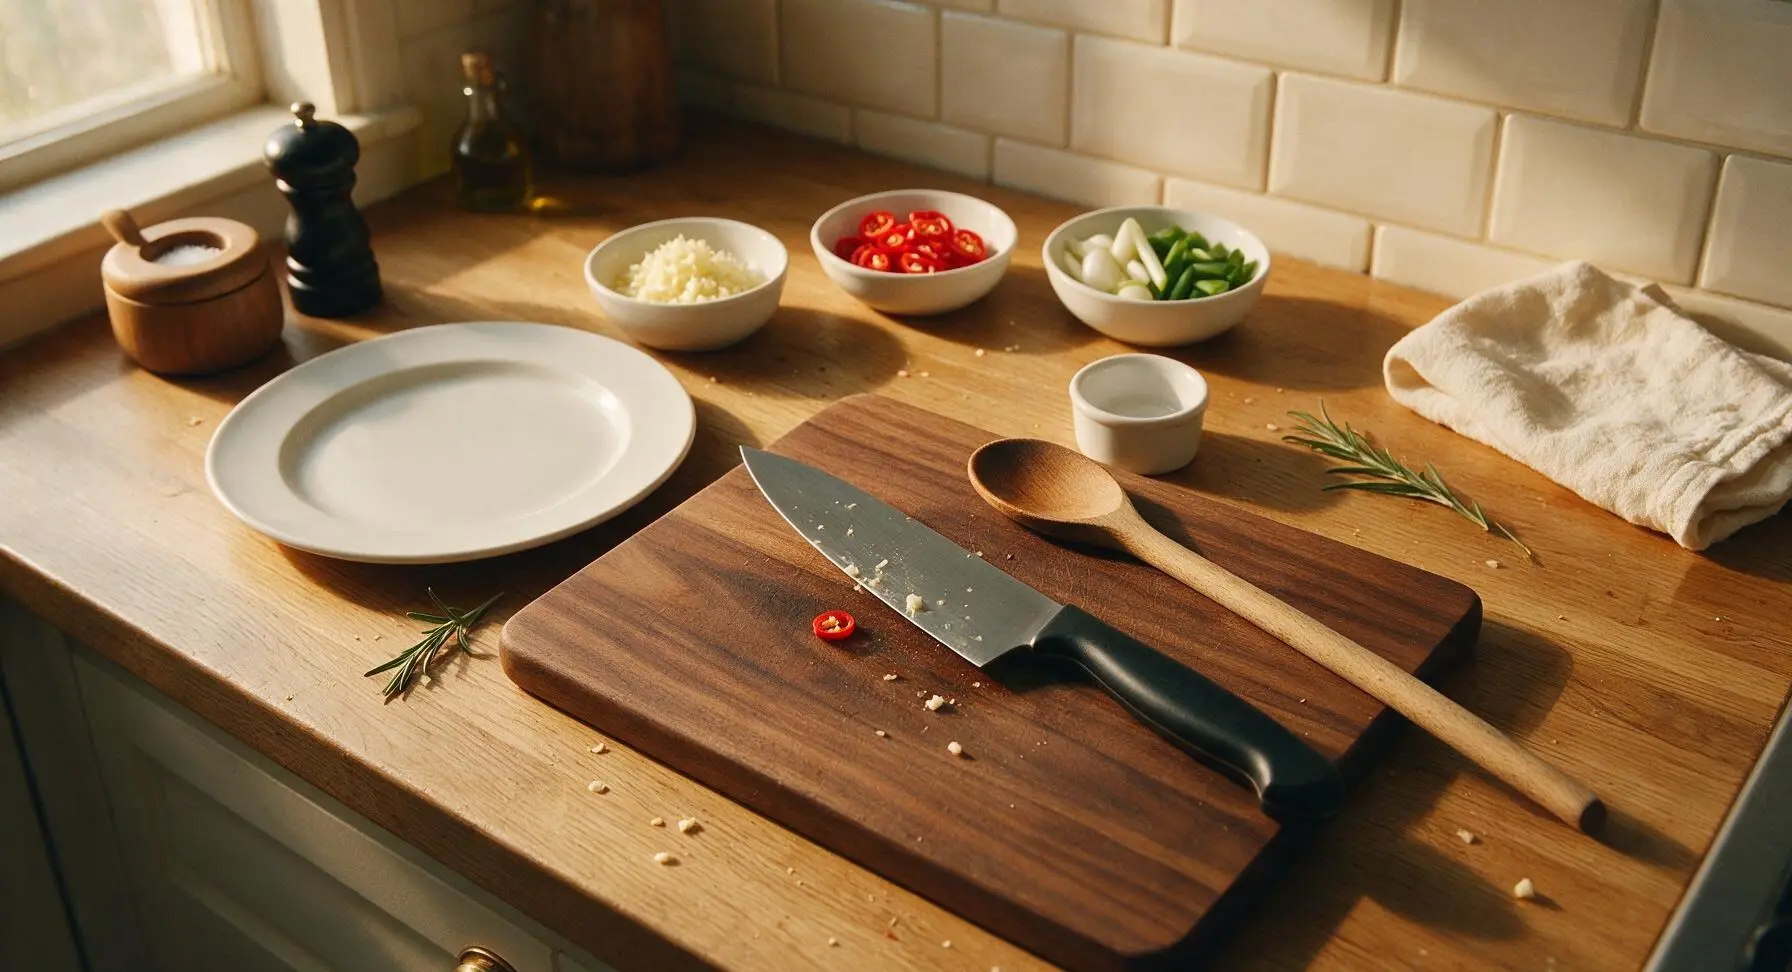
Return to the acacia wood cutting board. Use the chef knife to finely mince 8 peeled garlic cloves (avoid mashing garlic into a paste, aim for 2mm uniform pieces for even cooking). Slice 5 fresh red bird’s eye chillis into thin 3mm rings, discarding the green stems. Cut 3 scallions into 5cm lengths, separating the firm white bulb portions from the tender green leafy tops. Place each prepped aromatic into separate small white prep bowls.
Step 3
step3:Chop Garlic and Chillis
4

Sear Crispy Chicken

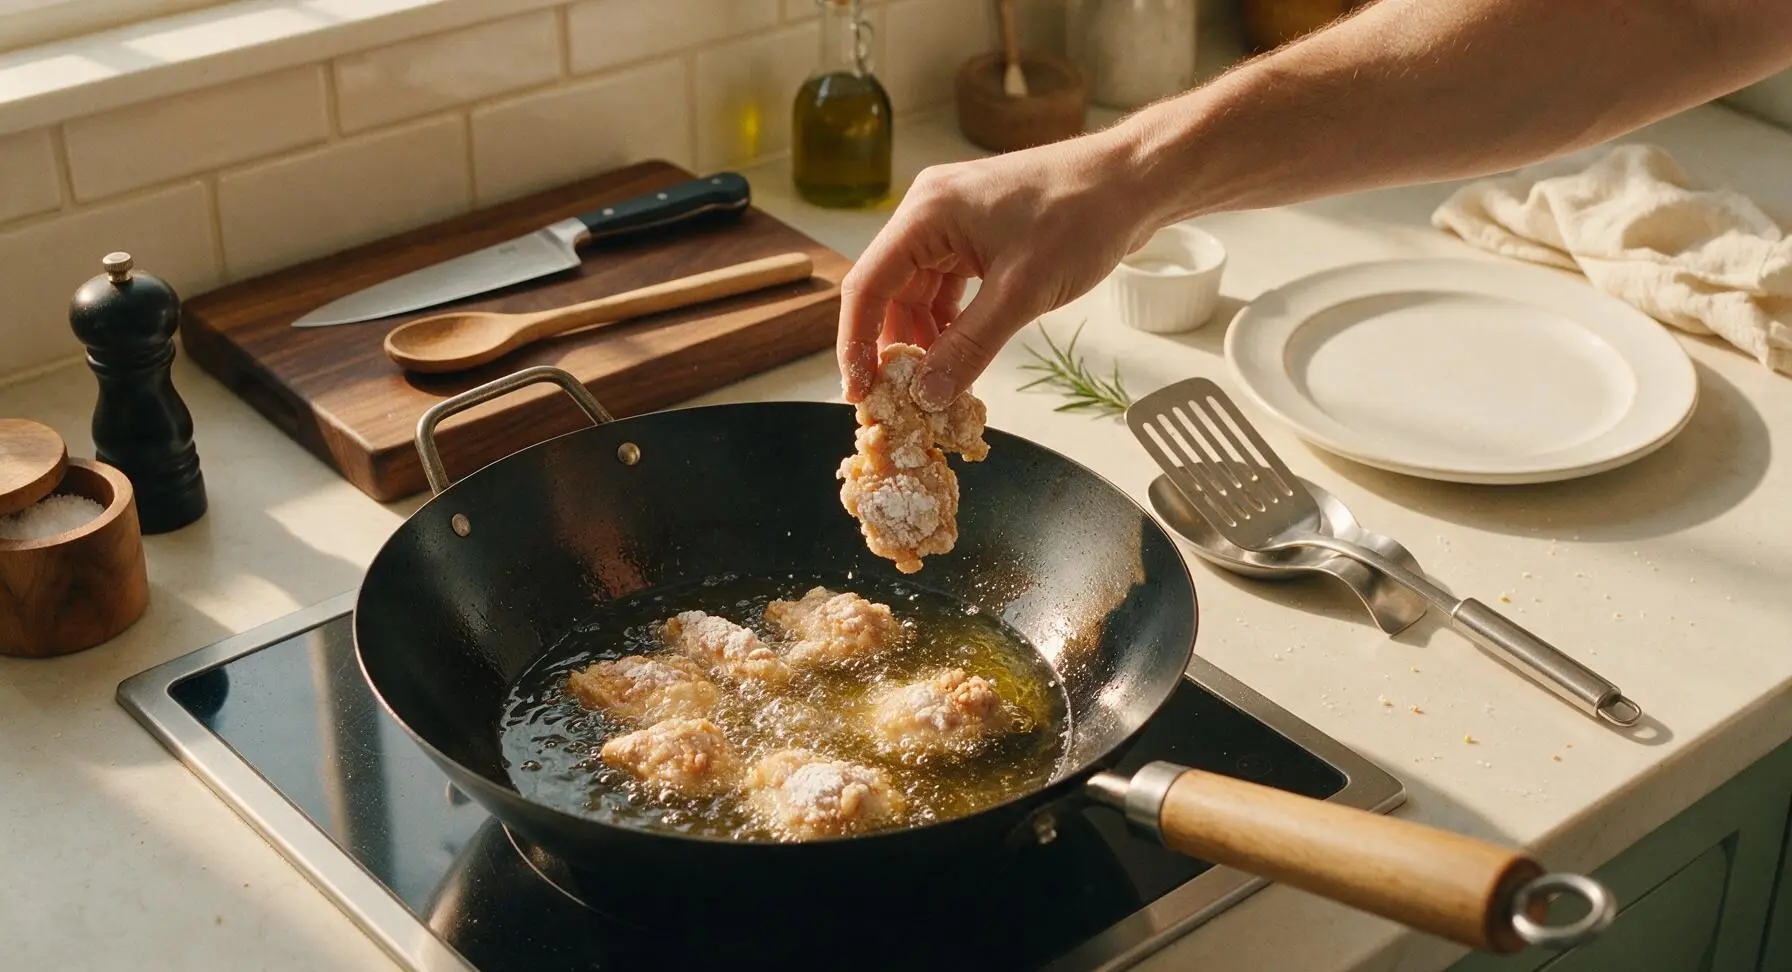
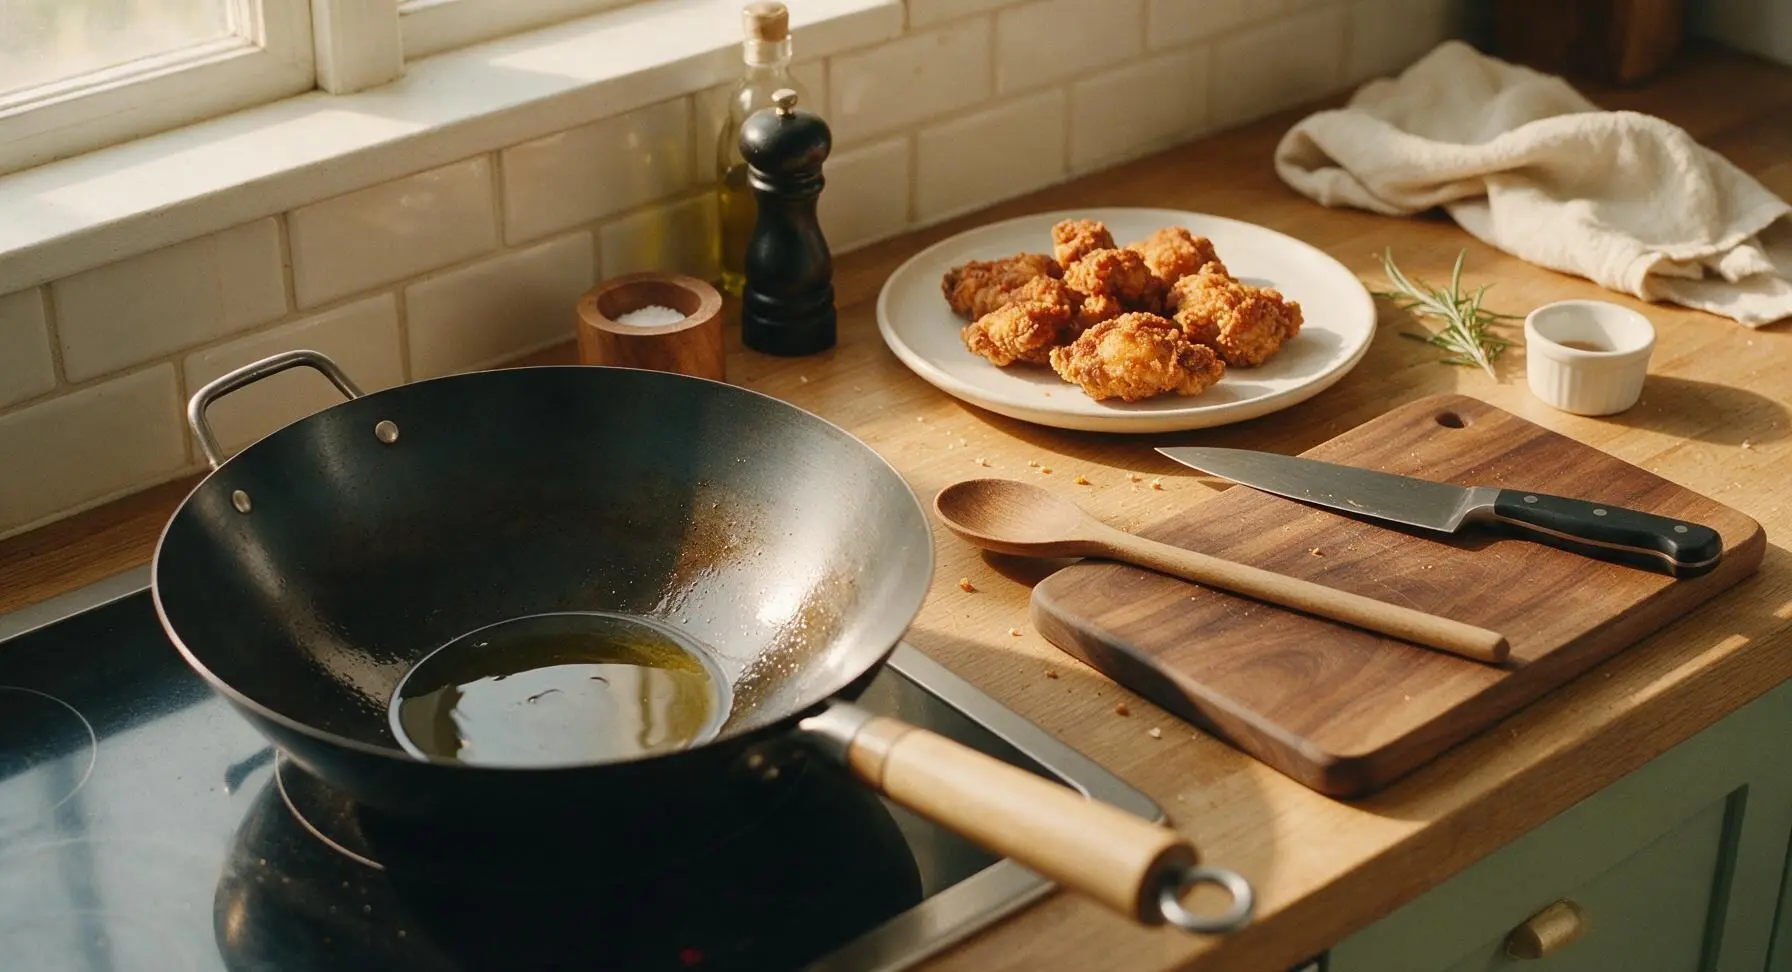
Place the 28cm carbon steel wok on the induction cooktop, heat 3 tablespoons neutral canola oil over medium-high heat until the oil shimmers (approximately 180C/350F; test by dropping a single piece of coated chicken: it should sizzle immediately on contact). Working in two batches to avoid overcrowding the wok (which causes steaming instead of crisping), add coated chicken pieces in a single layer. Cook for 3 minutes per side, using the slotted stainless steel turner to flip pieces, until golden brown and crispy on all sides, with an internal temperature of 75C/165F. Transfer seared chicken to the matte warm white ceramic dinner plate in its permanent upper right position, leaving 1 tablespoon of oil in the wok for the next step.
Step 4
step4:Sear Crispy Chicken
Step 4
step4:Sear Crispy Chicken
5

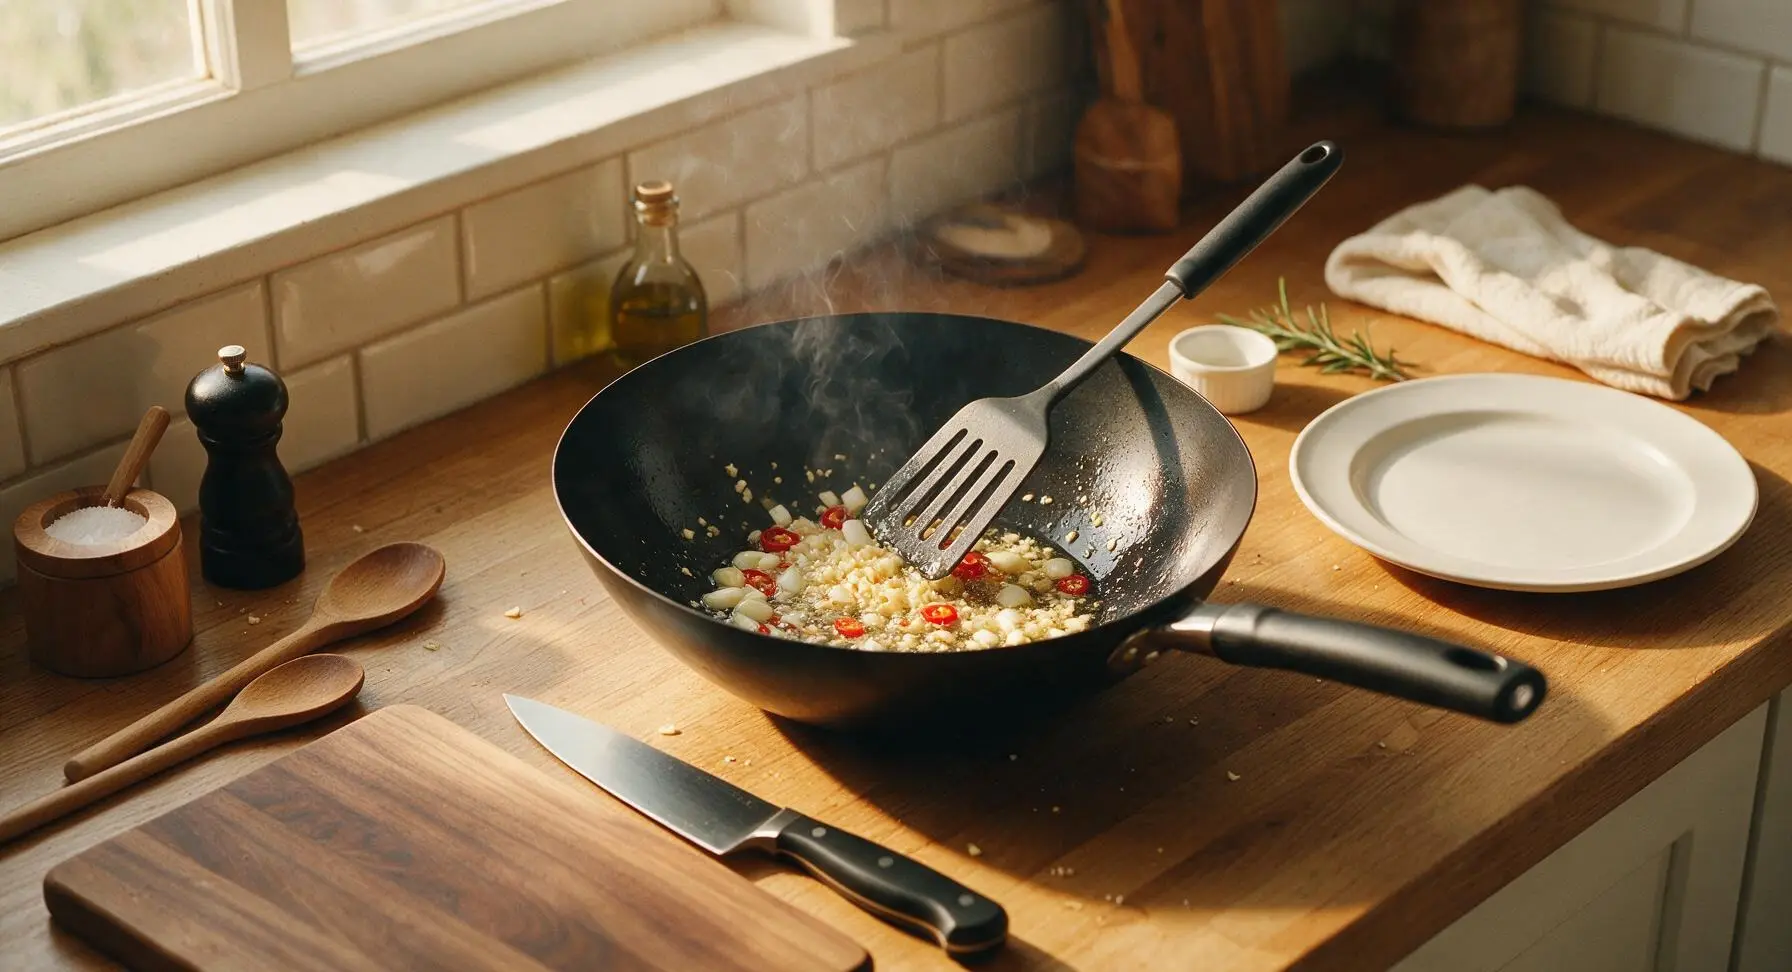
Fry Aromatic Base

Reduce heat under the wok to medium. Add the minced garlic, sliced red chillis, and white scallion bulb portions to the remaining hot oil. Stir constantly with the slotted turner for 30 seconds, until garlic is fragrant and just starting to turn pale golden (do not let garlic darken past this point, as it will burn and turn bitter instantly).
Step 5
step5:Fry Aromatic Base
6

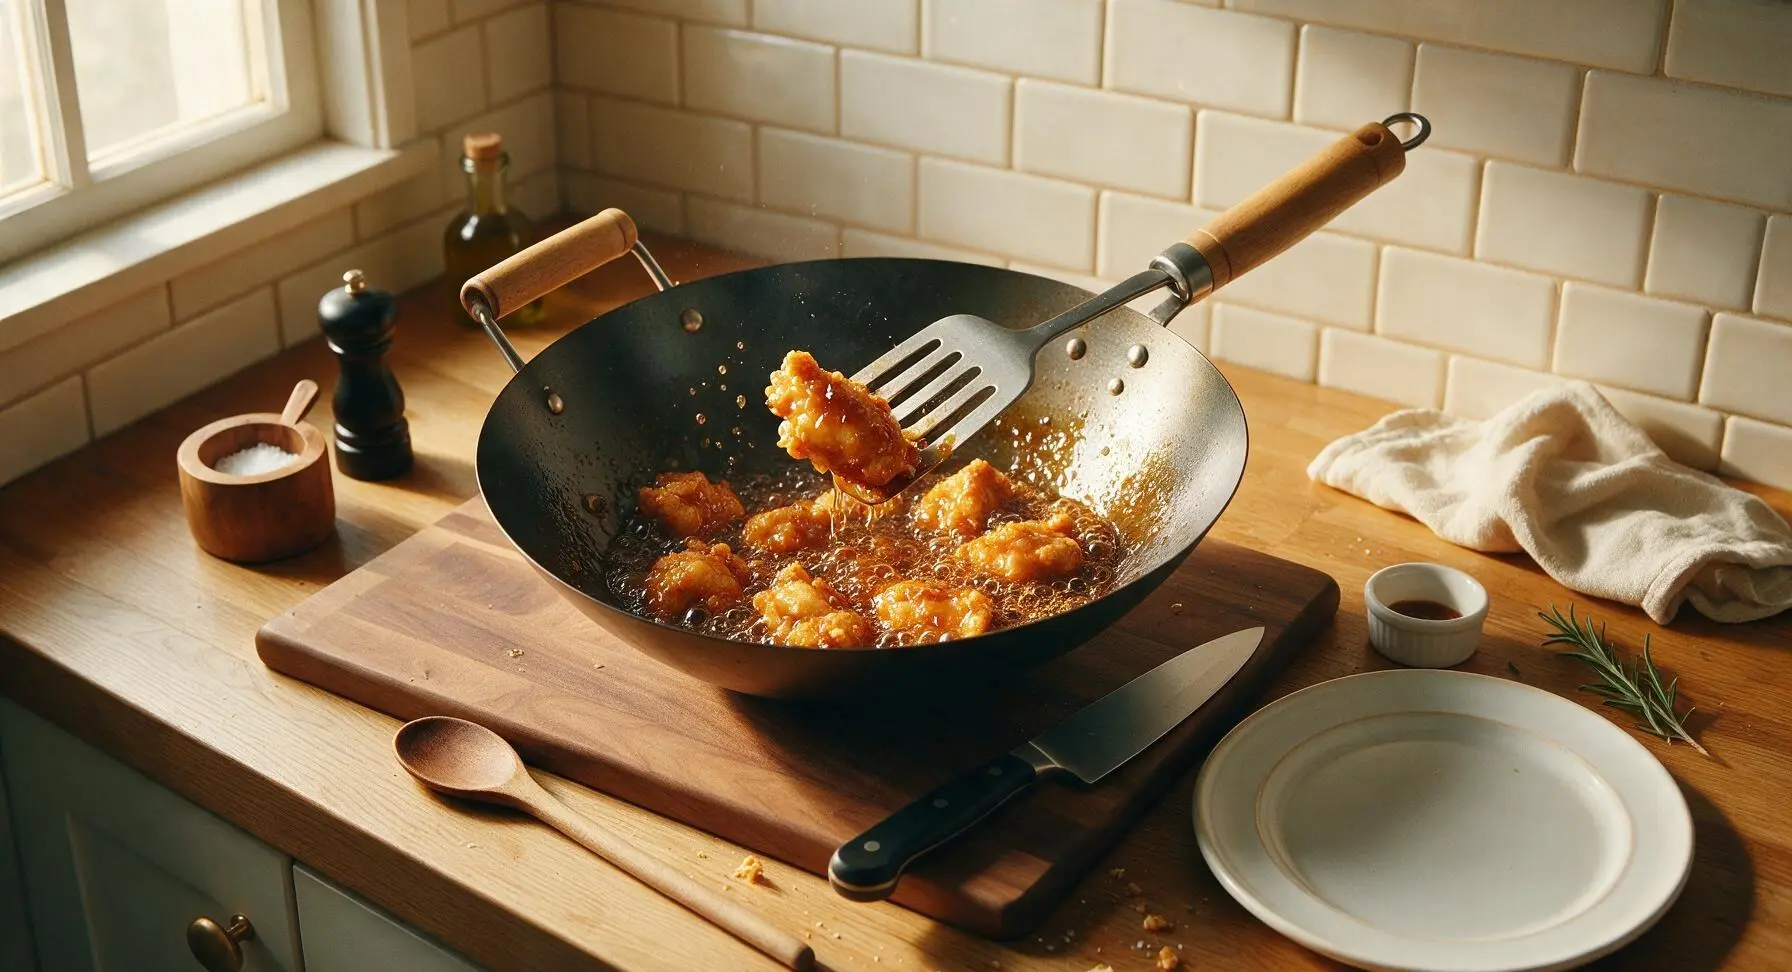
Toss Chicken in Glaze

Return all seared crispy chicken pieces to the wok with the fried aromatics. Pour the pre-mixed sauce over the chicken, then turn heat up to high. Toss constantly with the slotted turner for 1 to 2 minutes, until the sauce bubbles and thickens into a glossy glaze that coats every piece of chicken evenly, with no pools of thin, watery sauce left at the bottom of the wok.
Step 6
step6:Toss Chicken in Glaze
7

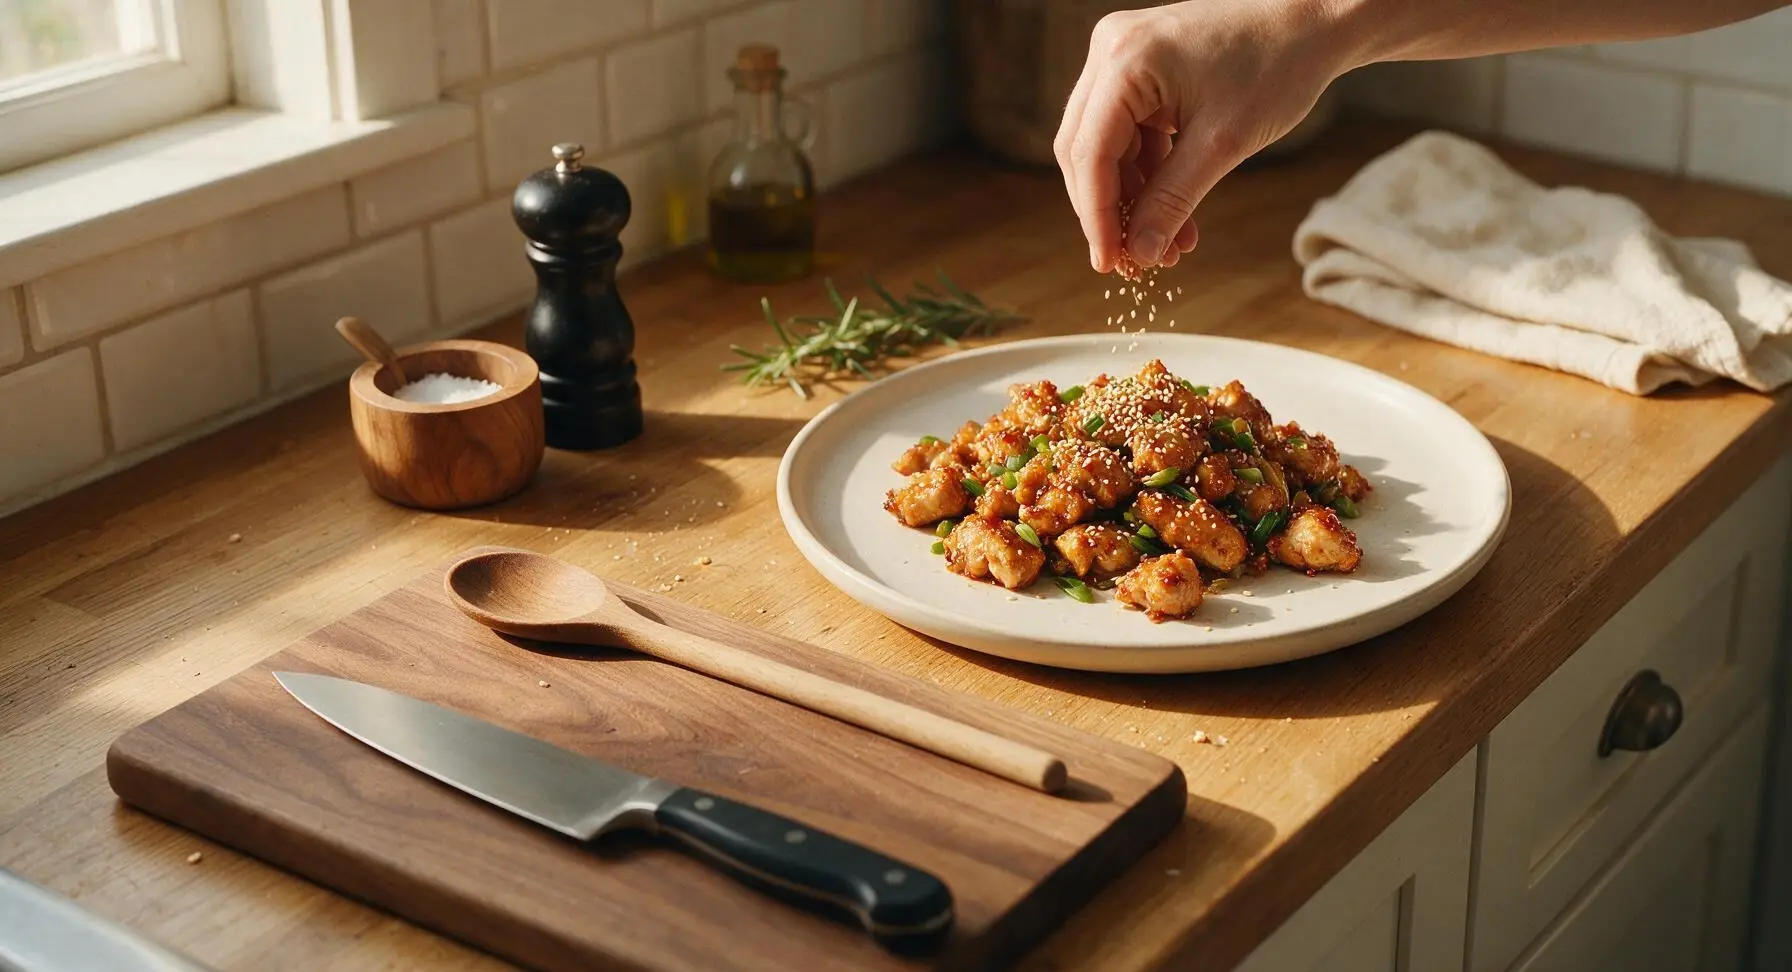
Garnish and Serve

Turn off the heat under the wok. Add the reserved green scallion tops to the wok, toss once to lightly wilt them from the pan’s residual heat. Transfer all the glazed chicken to the matte warm white ceramic dinner plate in its permanent upper right counter position, piling pieces loosely in the center. Sprinkle 1 teaspoon of toasted white sesame seeds evenly over the top. Serve immediately while hot and crispy.
Step 7
step7:Garnish and Serve

Tips

1.Don’t overcrowd the wok when searing chicken: cooking in two small batches keeps the oil temperature high enough to crisp the cornstarch coating, rather than steaming the chicken which results in a soggy, soft crust instead of the desired crisp texture.
2.Keep a close eye on garlic while frying: it transitions from sweet and fragrant to burnt and bitter in as little as 15 seconds, so stir constantly and have your seared chicken ready to add back to the wok the moment the garlic turns pale golden.
3.Stick to boneless chicken thighs for this recipe: thigh meat has a small amount of intramuscular fat that keeps it juicy and tender even over high stir-fry heat, while lean chicken breast will easily dry out and become tough during the searing step.


✨ You May Also Like

Main Course
🍜 United Kingdom

A showstopping classic of tender seared beef, savory mushroom duxelles, and crisp prosciutto wrapped in flaky golden puff pastry, baked to juicy perfection.

⏱️ 2 hours 1Main Course ★ 4.7
Main Course
🍜 India

Tender charred marinated chicken simmered in a rich, spiced creamy tomato sauce, this iconic Anglo-Indian curry pairs perfectly with basmati rice or warm naan.

⏱️ 50 minuteMain Course ★ 4.6
Main Course
🍜 Thailand

Classic tangy, sweet, and savory Thai stir-fried rice noodles with shrimp, tofu, and crunchy garnishes, balancing all five core Thai flavor profiles.

⏱️ 30 minuteMain Course ★ 4.5
Main Course
🍜 United Kingdom

Crispy golden beer-battered cod and fluffy double-fried chips, served with tangy tartar sauce and malt vinegar: the timeless, beloved British pub comfort classic.

⏱️ 45 minuteMain Course ★ 4.7
Main Course
🍜 Mexico

Smoky, chile-marinated pork tacos with caramelized pineapple, fresh cilantro, and lime: a beloved classic Mexican street food perfect for casual summer gatherings.

⏱️ 1 hour 45Main Course ★ 4.8
Main Course
🍜 United States

Crunchy Fritos corn chips layered with savory beef chili and melted cheddar, topped with cool, zesty fixings for a beloved, cozy Tex-Mex comfort food.

⏱️ 35 minuteMain Course ★ 4.8

garlic chilli chicken:Frequently Asked Questions

1.Why use boneless, skinless chicken thighs instead of chicken breast for this recipe? ▾
Boneless, skinless chicken thighs are ideal here because their slightly higher fat content keeps them juicy and tender even when crisped, unlike lean chicken breast which easily dries out with high-heat cooking. They also have a deeper, savorier flavor that stands up perfectly to the bold garlic, chili, and soy glaze without getting lost. If you swap for breast, cut 1-inch pieces and watch cook time closely to avoid toughness.
2.How do I get the chicken extra crispy without a deep fryer? ▾
You don’t need a deep fryer for shatteringly crisp chicken! First, pat chicken pieces completely dry with paper towels before tossing, then coat evenly in cornstarch and let coated pieces rest 10 minutes so the starch adheres. Pan-fry in a thin layer of neutral oil over medium-high heat in batches—don’t crowd the pan—and flip once when the first side is deep golden.
3.Can I make this recipe less spicy if I don’t tolerate high heat well? ▾
Absolutely, this recipe is super easy to adjust for heat tolerance. First, remove the seeds and white pith from the fresh red bird’s eye chilies before chopping—this is where most of the capsaicin (heat) lives. Start with just 1 chili instead of the full amount, taste the glaze as you go, and leave extra sliced chili on the side for people who want more kick at serving time.
4.How much cornstarch do I need to coat the chicken properly? ▾
For 1.5 pounds of boneless, skinless chicken thighs cut into 1-inch pieces, you’ll need roughly ¼ cup of cornstarch for a light, crisp coating that doesn’t get gummy. Toss a handful at a time until every piece has a thin, even, dry-looking coating—shake off excess starch before frying so you don’t get a thick, doughy crust that falls off in the glaze.
5.Can I prep components of this dish ahead for busy weeknights? ▾
Yes, this is perfect for quick weeknight prep! You can cut chicken thighs into pieces, pat them dry, and store in an airtight container in the fridge for up to 2 days ahead. You can also pre-measure cornstarch, mince garlic, slice chilies, and mix your soy-based glaze up to 3 days ahead so all you do at dinnertime is fry and toss.
6.Why does my cornstarch coating fall off the chicken when I fry it? ▾
Coating usually falls off for two easy-to-fix reasons: first, your chicken was too wet when you coated it—always pat pieces completely dry with paper towels before tossing in starch. Second, you didn’t let coated pieces rest 5-10 minutes before frying, which lets cornstarch hydrate slightly and stick tight. Also, make sure oil is 350°F before adding chicken so the crust sets immediately.
7.Can I use regular soy sauce instead of light soy sauce? ▾
Light soy sauce is preferred here because it has a bright, salty umami flavor without the dark, thick, overly concentrated sweetness of dark soy sauce, which would make the glaze too heavy and murky. If you only have all-purpose regular soy sauce, use 25% less than the recipe calls for to avoid over-salting, and skip added salt in seasoning to keep flavors balanced.
8.How do I keep the garlic from burning when making the glaze? ▾
Garlic burns in seconds over high heat, which creates a bitter, unpleasant taste that ruins the glaze. After frying your chicken, turn the heat down to medium, leave just 1 teaspoon of oil in the pan, and add minced garlic and sliced chilies, stirring constantly for only 15-20 seconds until fragrant before pouring in the soy-based glaze. Add chicken back once the glaze bubbles.
9.Is this garlic chili chicken recipe gluten-free? ▾
It can easily be made gluten-free with one simple swap! The only gluten-containing ingredient in the base recipe is light soy sauce, which is brewed with wheat. Replace it with certified gluten-free light soy sauce or low-sodium tamari, confirm your cornstarch is not cross-contaminated with wheat, and the entire dish will be fully gluten-free without any flavor loss.
10.How spicy are fresh red bird’s eye chilies compared to other common peppers? ▾
Fresh red bird’s eye chilies rank around 50,000–100,000 Scoville Heat Units, which is about 10 times spicier than a standard jalapeño. That bright, sharp heat cuts through the rich crispy chicken and savory soy glaze perfectly, but you can dial heat way down by removing seeds and pith, or swap for milder Fresno chilies if you prefer almost no burn.
11.Can I bake the chicken instead of pan-frying for a lower-oil version? ▾
You absolutely can, though the crust will be slightly less shatteringly crisp than pan-fried. Toss cornstarch-coated chicken pieces with 1 tablespoon of neutral oil, arrange in a single layer on a wire rack set over a baking sheet, and bake at 425°F for 20-25 minutes, flipping halfway, until golden and crisp. Toss in glaze immediately after pulling from the oven for best texture.
12.What side dishes pair best with garlic chili chicken? ▾
This bold, sticky, savory chicken pairs beautifully with plain steamed jasmine rice, which soaks up every bit of extra glaze perfectly. For veggie sides, go for quick stir-fried bok choy, steamed broccoli, or a crisp cucumber salad tossed in rice vinegar to cut through the richness. It also works great served over crispy chow mein noodles for a more substantial meal.
13.Why is my glaze too thin and not sticking to the chicken? ▾
If your glaze runs right off the chicken, it likely hasn’t been reduced long enough, or you added too much liquid to the glaze base. After adding the soy sauce mixture to the pan, let it bubble for 30-60 seconds until it thickens to a syrupy consistency that coats the back of a spoon before adding crispy chicken back in. Toss quickly for 10 seconds to coat every piece evenly.
14.Can I use frozen chicken thighs for this recipe? ▾
You can use frozen boneless, skinless chicken thighs, but you must thaw them completely and pat them extremely dry before coating in cornstarch. Any excess water from partially thawed frozen chicken will make the cornstarch coating gummy, prevent crisping, and cause the crust to fall off during frying. Thaw in the fridge overnight for the most consistent results.
15.How long do leftovers keep, and what’s the best way to reheat them? ▾
Leftovers will keep in an airtight container in the fridge for up to 3 days. To reheat without making the chicken soggy, spread pieces in a single layer on a baking sheet and warm in a 375°F oven for 8-10 minutes until crisp and heated through, or toss in a dry pan over medium heat for 3-4 minutes. Avoid microwaving, as it turns the crispy coating rubbery.
16.Do I need to add extra seasonings to the cornstarch coating? ▾
You don’t need a long list of seasonings for the coating, but a light pinch of white pepper and tiny pinch of salt mixed into the cornstarch will add a subtle base layer of flavor that keeps the crust from tasting bland. Don’t over-season the coating, though—the sticky garlic, chili, and light soy glaze packs most of the bold, balanced flavor for the dish.
17.Can I make this chicken in an air fryer? ▾
Air frying works fantastically for this recipe and gives you super crispy chicken with very little oil. Spray cornstarch-coated chicken pieces lightly with neutral oil, arrange in a single layer in your air fryer basket, and cook at 400°F for 12-15 minutes, shaking the basket halfway, until golden and crisp. Toss with the warm garlic chili glaze right after cooking for best results.
18.How do I prevent the glaze from making the crispy chicken go soggy? ▾
The number one rule to keep chicken crisp is to never let it sit in the glaze for long. Make sure your glaze is hot and thickened right before you add the fried chicken, toss for only 10-15 seconds to coat every piece lightly, then serve immediately. Don’t dump all the glaze in at once—add a little at a time so you don’t drown the crispy crust.
19.Can I add extra vegetables to make this a one-pan weeknight meal? ▾
Absolutely, this recipe adapts beautifully to a one-pan meal. After you fry the chicken and set it aside, toss quick-cooking veggies like diced bell pepper, snap peas, or sliced onion in the same pan for 2-3 minutes until crisp-tender, then make the glaze right in the pan with the veggies, add chicken back, toss to coat, and serve. No extra pans needed.

Comments (18)

2 hours ago

OMG this Garlic Chilli Chicken is a total weeknight game changer! 15 minute cook time? I threw it together right after my spin class last night and my roommate begged for the recipe before she even finished her first bite. The garlic to chili ratio is *chef’s kiss* — not too overpowering, just enough kick to keep things interesting. 10/10 will absolutely be in my regular meal rotation.

yesterday

Made this for my family dinner last night and my two picky kids actually cleaned their plates! I was worried the chili would be too spicy for them so I cut the chili flakes in half, and it was perfect. Served it over jasmine rice with some steamed broccoli, total hit. Only thing is I wish I made a double batch because there were zero leftovers for lunch today 😂

yesterday

So glad your kids loved it, Mark! Cutting the chili flakes is such a smart move for little ones — pro tip, a double batch reheats amazingly for meal prep if you make it next time!

3 days ago

Wait this is perfect for my Sunday meal prep! Has anyone tried making this ahead and storing it in the fridge for 3-4 days? I’m trying to mix up my usual boring chicken breast prep and this looks way more flavorful than my usual lemon herb situation.

3 days ago

I made a batch last Sunday and ate it all week for work lunches! It held up so well, the garlic and chili flavors actually got better after a day or two in the fridge. 10/10 recommend for meal prep!

2 days ago

Great question, Mia! As Liz mentioned, this recipe stores beautifully in an airtight container in the fridge for up to 4 days. Just give it a quick reheat in the pan or microwave and it tastes just as fresh as night one!

2 days ago

I’m bringing this to my neighborhood potluck this weekend! Would this taste good served cold or room temp, or does it need to be kept warm? I don’t want to haul a slow cooker over if I don’t have to!

2 days ago

Hi Patty! This works great at room temp for potlucks — just give it a quick toss before serving and it’ll be a hit. No slow cooker needed! We’d love to hear how it goes over with your neighbors.

5 minutes ago

SO good. I added a little extra fresh ginger because I love that zing, and it paired perfectly with the garlic and chili. Took me exactly 14 minutes from start to finish, no joke. Easy as can be for a guy who usually burns toast.

1 week ago

Quick question — is there any soy sauce in this? I have a gluten sensitivity so I need to swap if there is, but this looks too good to pass up for my date night in tomorrow!

1 week ago

Hi Gina! The original recipe uses regular soy sauce, but you can absolutely swap it for tamari to make it 100% gluten free without losing any flavor! It works perfectly, I’ve tested it myself.

5 days ago

Seconding the tamari swap! I did that last week when I made this and my partner (who eats regular soy sauce all the time) didn’t even notice a difference. So good!

5 days ago

Made this for my college football watch party last weekend and it was gone in 10 minutes flat. People were literally scraping the plate to get every last bit of that garlic chili sauce. Next time I’m making three batches minimum.

3 days ago

Oh I’m totally stealing this for my next Cardinals watch party! I did plain boneless wings for the last get-together and they were so boring, that garlic chili coating sounds 100x better.

2 weeks ago

Really tasty recipe! I found it a little salty for my taste when I followed the measurements exactly, so next time I’ll cut the soy sauce by about a tablespoon. Other than that, super quick to throw together and the flavor is awesome. Will make again for sure.

1 week ago

How spicy is this on a scale of 1-10? I have basically zero spice tolerance (like, I think mild salsa is too hot level) but I love garlic chicken, so I’m wondering if I can adjust this to work for me.

1 week ago

Fellow mild salsa lover here! I used 1/4 tsp of chili flakes instead of the full 1 tsp the recipe calls for, and it had just a tiny little tingle, no burn at all. It was so flavorful even with way less chili!

5 days ago

Hi Mike! As Wendy mentioned, the spice level is totally adjustable — start with a tiny pinch of chili flakes if you’re sensitive, and add more to taste. You won’t lose out on that great garlic flavor even if you skip the chili entirely!

3 days ago

Has anyone tried swapping the chicken for tofu? I’m trying to eat less meat these days but that garlic chili sauce sounds so good I want to drizzle it on everything.

2 days ago

Great idea, Val! Extra firm pressed tofu works amazing with this recipe — just cube it, pan fry it until crispy first, then toss it in the sauce the same way you would the chicken. It’s a fantastic vegetarian swap!

30 minutes ago

Game. Changer. I’ve been ordering garlic chili chicken from my local takeout spot for years and this recipe tastes exactly like it, if not better! Saved me $15 on takeout this week and took less time than waiting for delivery. Obsessed.

just now

First recipe I’ve ever made that didn’t turn out a total disaster! The instructions are so straightforward and hard to mess up, even for a total kitchen newbie like me. My girlfriend was so impressed she thought I ordered takeout lmao

just now

Same here! I’m terrible at cooking and this came out perfect on my first try. The 15 minute cook time is no lie either, I didn’t even have time to make a mess of the kitchen.

2 weeks ago

Y’all, top this with a sprinkle of toasted sesame seeds and a handful of chopped green onions when it’s done. *Chef’s kiss.* It adds the perfect little crunch and fresh flavor that takes this from great to restaurant quality.

1 week ago

I did this when I made it last night! Also added a tiny squeeze of lime at the end and oh my god, it was so good. The lime cuts the richness perfectly.

1 week ago

Love those topping ideas, Sam! Toasted sesame seeds and green onions are such classic additions — we’ll definitely add those as optional topping notes to the recipe card!

5 days ago

Is this cook time accurate? I have exactly 20 minutes between getting home from work and having to get my kid to soccer practice, so I need something I can throw together super fast without rushing.

3 days ago

Hi Bri! The 15 minute cook time is totally accurate as long as you prep your garlic and chili while the pan heats up. If you’re extra crunched for time, you can even mince the garlic the night before to cut down on prep!

2 days ago

Brought this for lunch at the office today and three separate coworkers stopped by my desk to ask what I was eating because it smelled so good. Ended up sending the recipe link to the whole team chat. Worth every second of prep on Sunday.

1 week ago

Tasted amazing, but the sauce stuck really bad to my stainless steel pan when I made it last night. Did I do something wrong? I heated the pan up first like I usually do, but the garlic sauce got all gummy and burnt on the bottom.

1 week ago

I had that problem the first time too! Turn the heat down a little when you add the sauce — the sugar in the soy sauce burns super fast on high heat. Medium heat works way better, no sticky pan after I tried that!

5 days ago

Sorry about the sticky pan, Steve! Nora is exactly right — the soy sauce and garlic can burn quickly if the heat is too high once you add the sauce. Turning the heat down to medium when you toss the chicken in the sauce will prevent that burnt, sticky residue!

yesterday

Made this for my third date last night and she said it’s the best home cooked meal anyone has ever made for her. Safe to say I got a fourth date locked in, baby. Thanks for the easy win!

yesterday

Haha this is the exact recipe I made for my now-fiance when we first started dating! The garlic chili chicken is a certified relationship lock, trust me. Congrats on the fourth date!

2 weeks ago

I tossed in some bell peppers and snap peas with the chicken while it cooked to make it a one pan meal, and it was so good! No extra sides needed, just served it over rice and my whole family ate every bite. Will definitely be doing that every time I make this.

1 week ago

I did the same thing with broccoli and carrots last week! The veggies soak up all that garlic chili sauce and taste incredible, plus way less dishes to wash after dinner. Total win.

1 week ago

Love that one pan hack, Olivia! Adding veggies right in with the chicken is such a smart way to make this a complete meal with minimal cleanup. We love seeing all the creative swaps and additions our readers make!



