
garlic fried chicken

title 1
garlic fried chicken
⏱️ cook time 25 minutes
🍽️ servings 4
⚡ Difficulty medium

intro

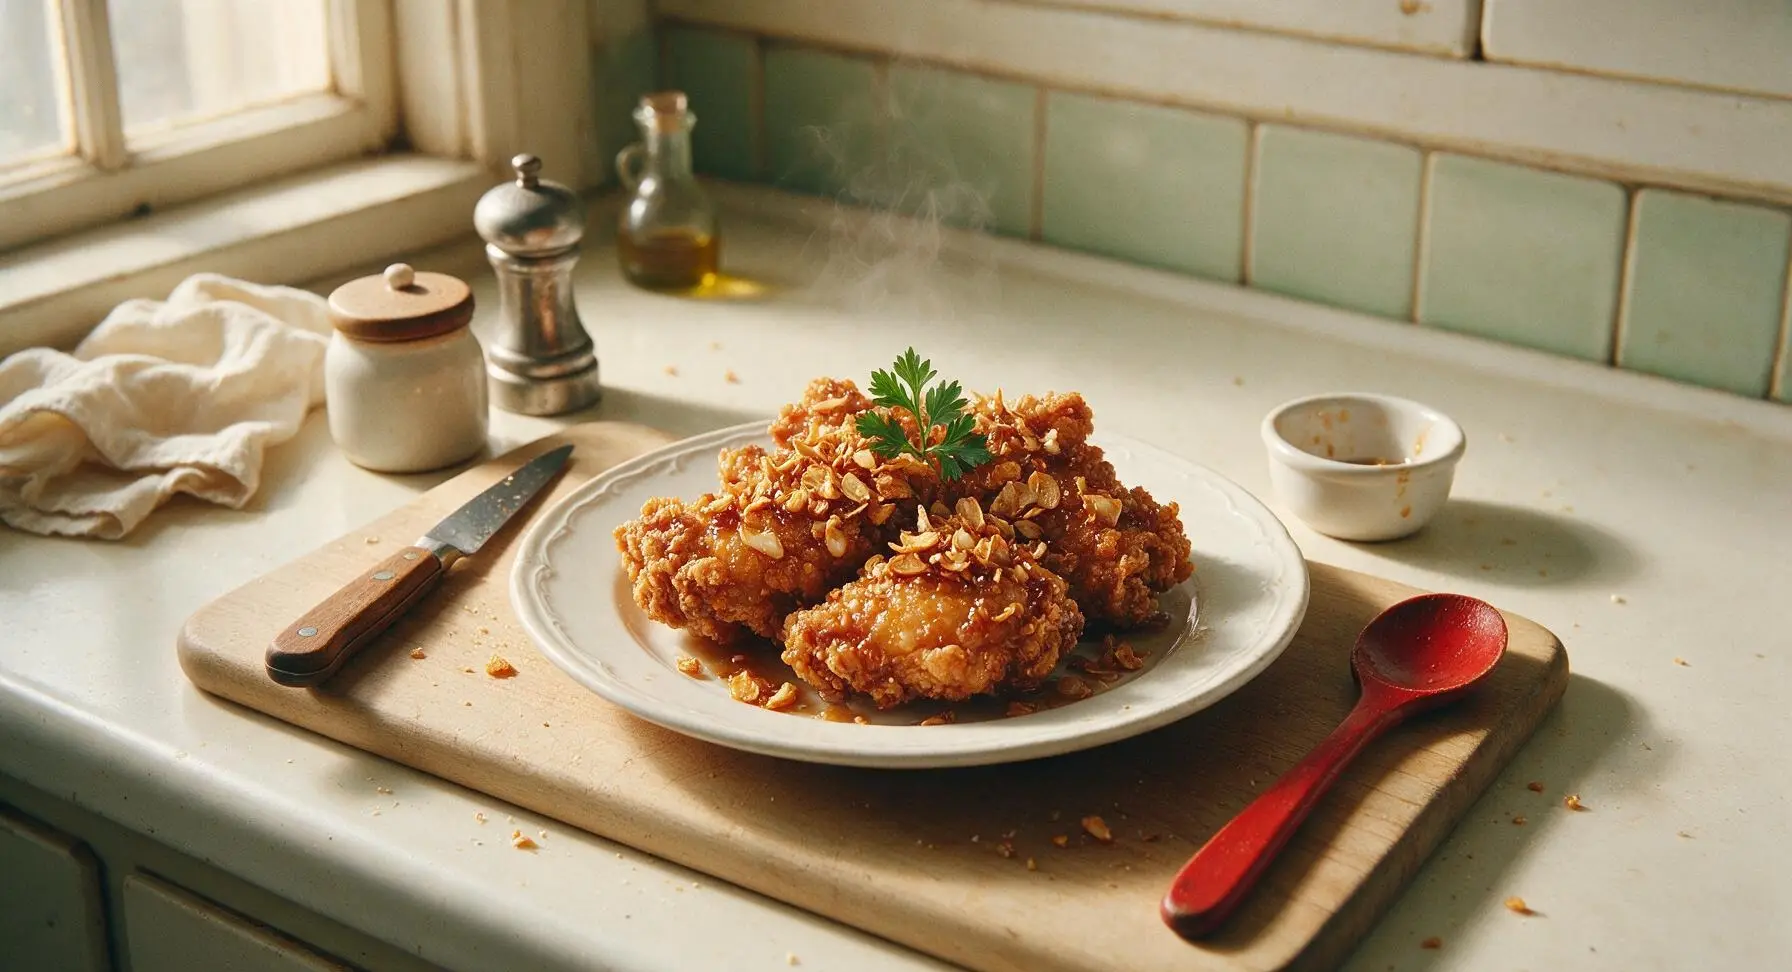
Shatteringly crisp double-fried chicken coated in savory-sweet sticky garlic glaze, loaded with crispy garlic chips for the ultimate shareable bite.

Ingredients
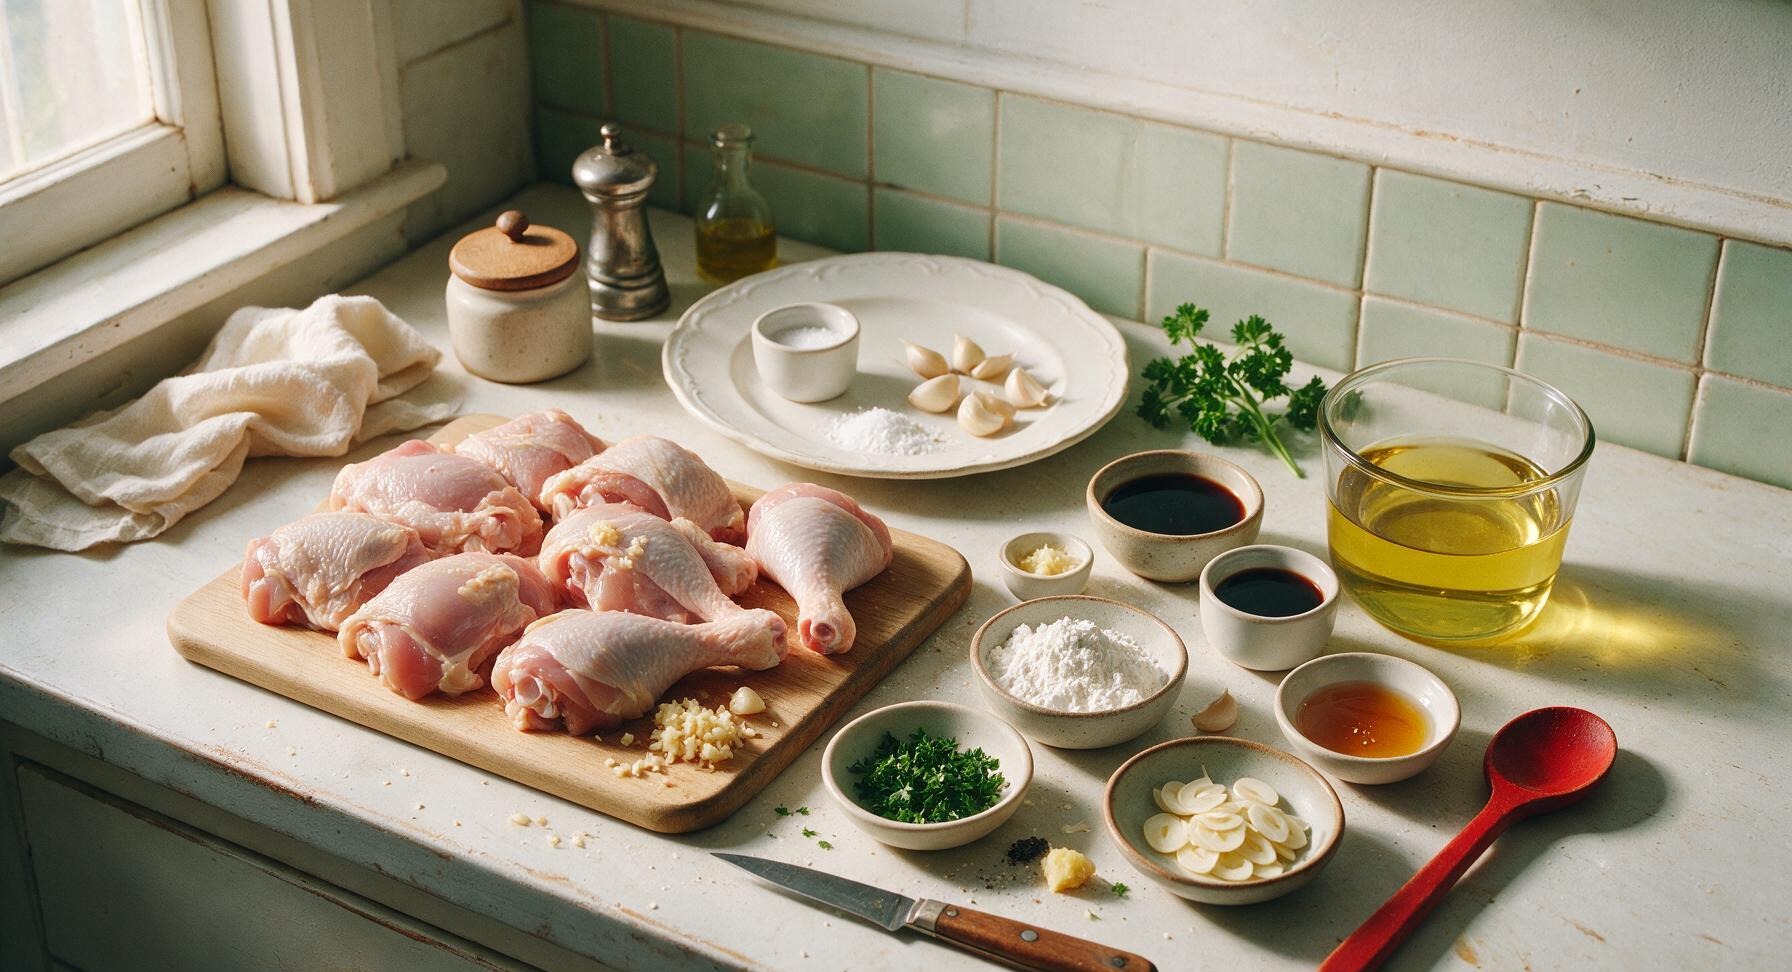
Bone-in skin-on chicken pieces (thighs, drumsticks, wingettes) 1kg (approx 8 pieces)
Garlic cloves 15 cloves (10 minced for glaze, 5 thinly sliced for garnish)
Potato starch 1/2 cup
All-purpose flour 1/2 cup
Low-sodium soy sauce 3 tbsp
Honey 2 tbsp
Rice vinegar 1 tbsp
Grated fresh ginger 1 tsp
Kosher salt 1.5 tsp
Freshly ground black pepper 1/2 tsp
Neutral frying oil (canola or avocado) 1.5L
Fresh curly parsley 2 tbsp (chopped, for garnish)

Steps

1

Prep and Season Chicken

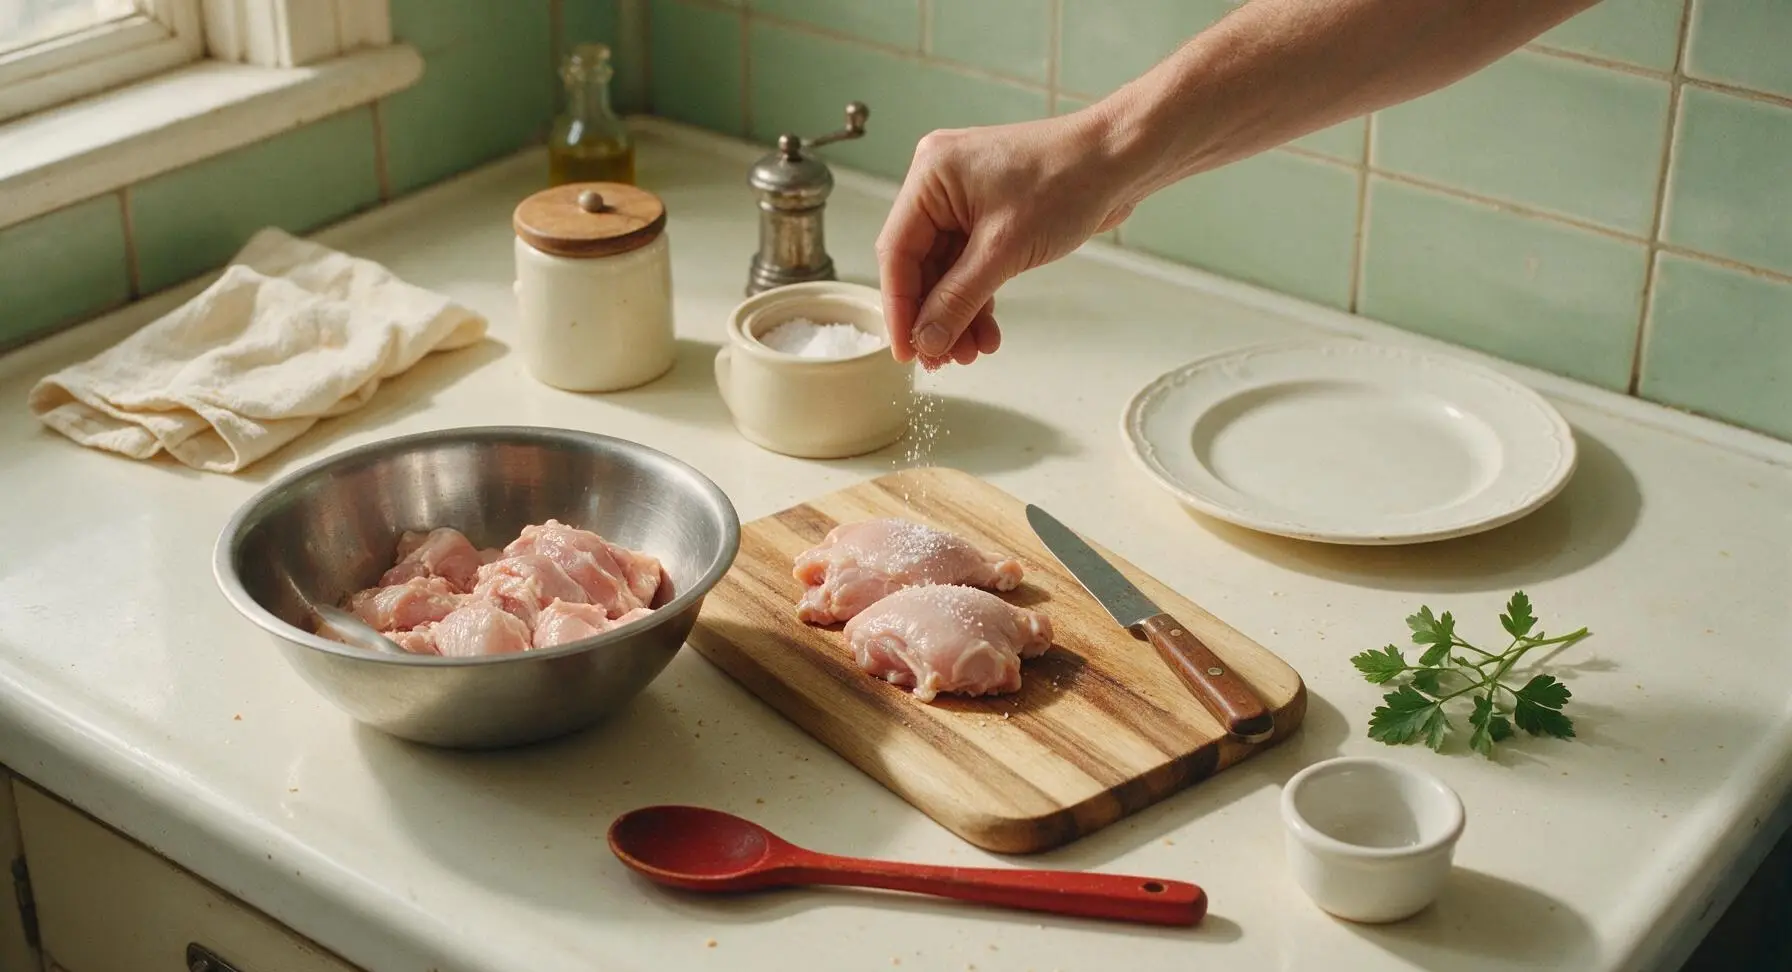
Pat all chicken pieces completely dry with paper towels, then place them in the brushed stainless steel mixing bowl. Season evenly with 1 tsp kosher salt and 1/2 tsp freshly ground black pepper, tossing to coat every piece. Let rest at room temperature for 10 minutes to let seasoning absorb; fully dry chicken skin is critical for maximum crispness.
Step 1
step1:Prep and Season Chicken
2

Dredge Chicken Evenly

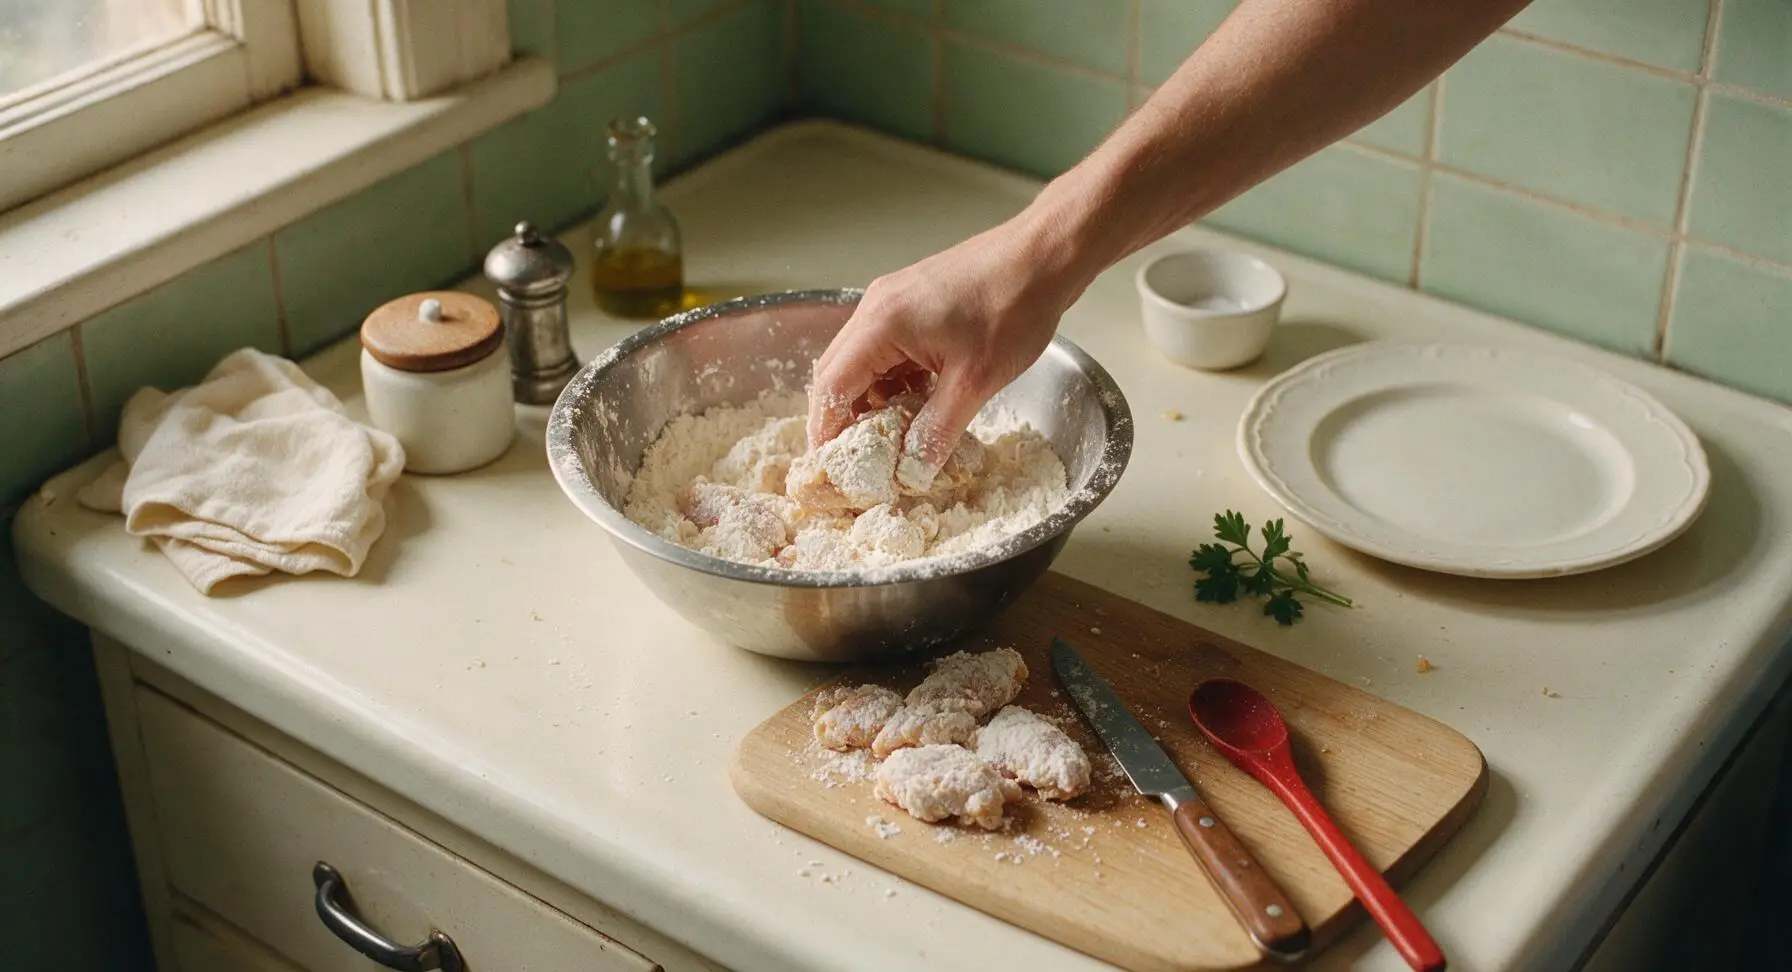
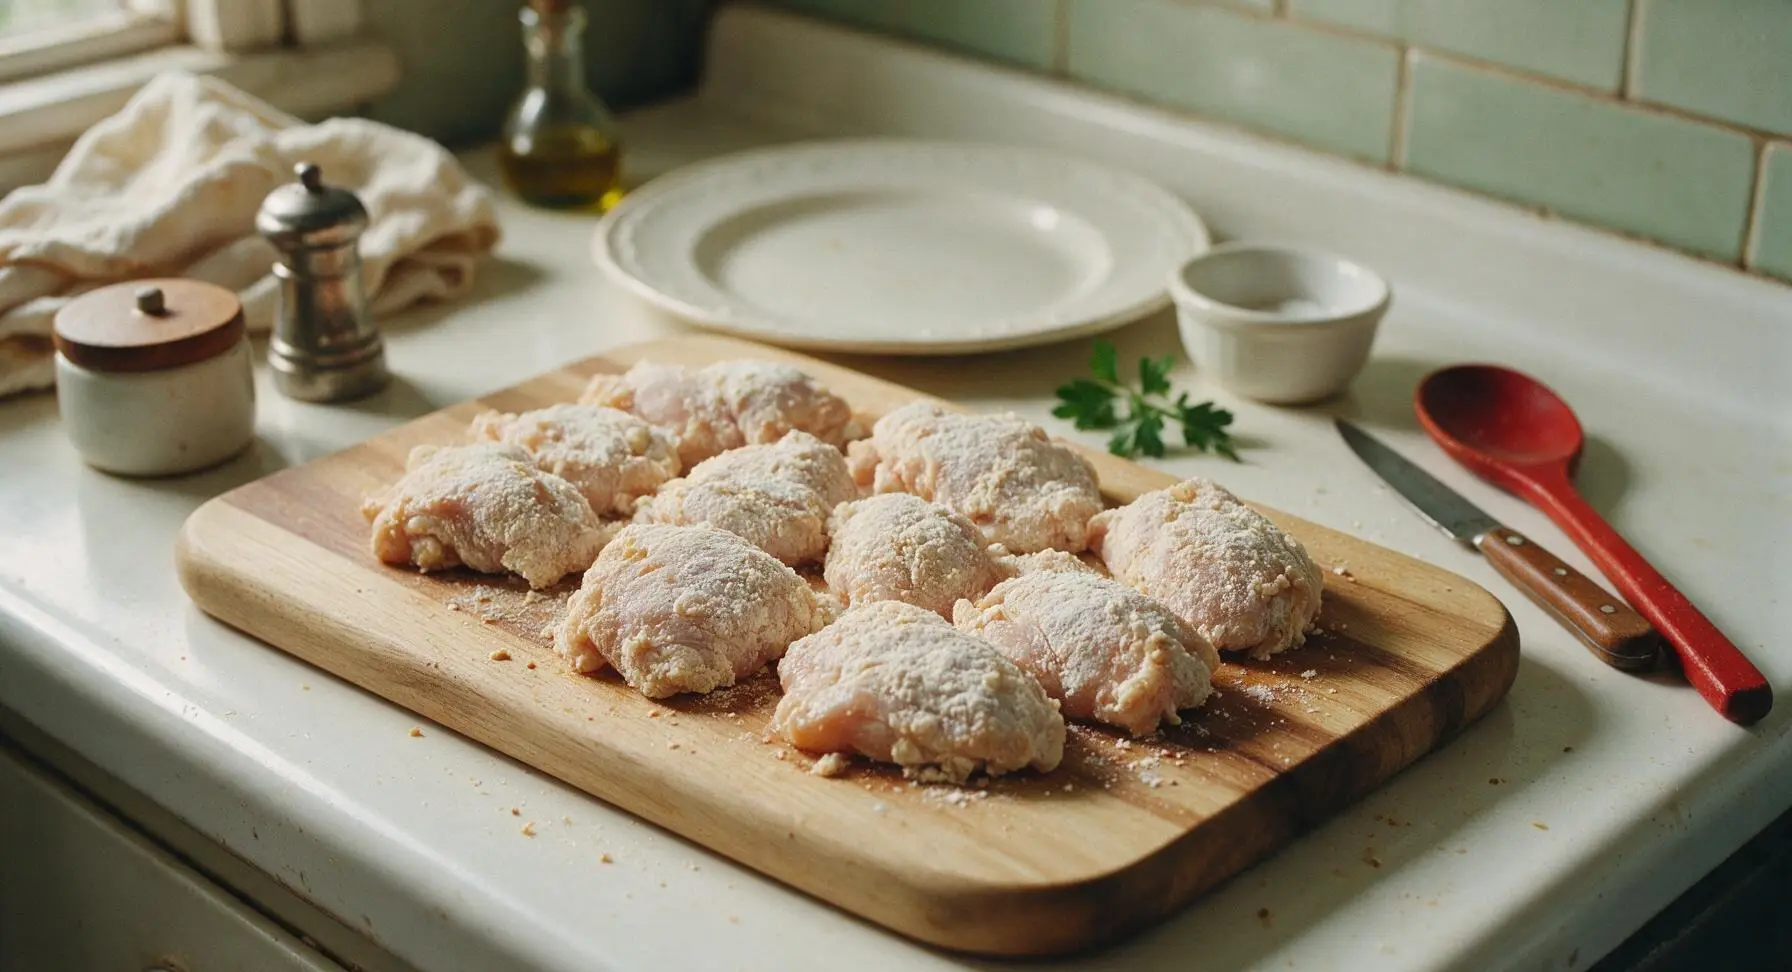
Combine potato starch and all-purpose flour in the mixing bowl with the rested, seasoned chicken. Toss thoroughly until every piece is fully coated in a thin, dry, powdery layer, pressing the coating gently into the skin. Shake off any excess coating before setting pieces back on the acacia cutting board to rest for 5 minutes; this short rest helps the coating adhere firmly and not slide off during frying.
Step 2
step2:Dredge Chicken Evenly
Step 2
step2:Dredge Chicken Evenly
3

Heat Oil and Fry Garlic

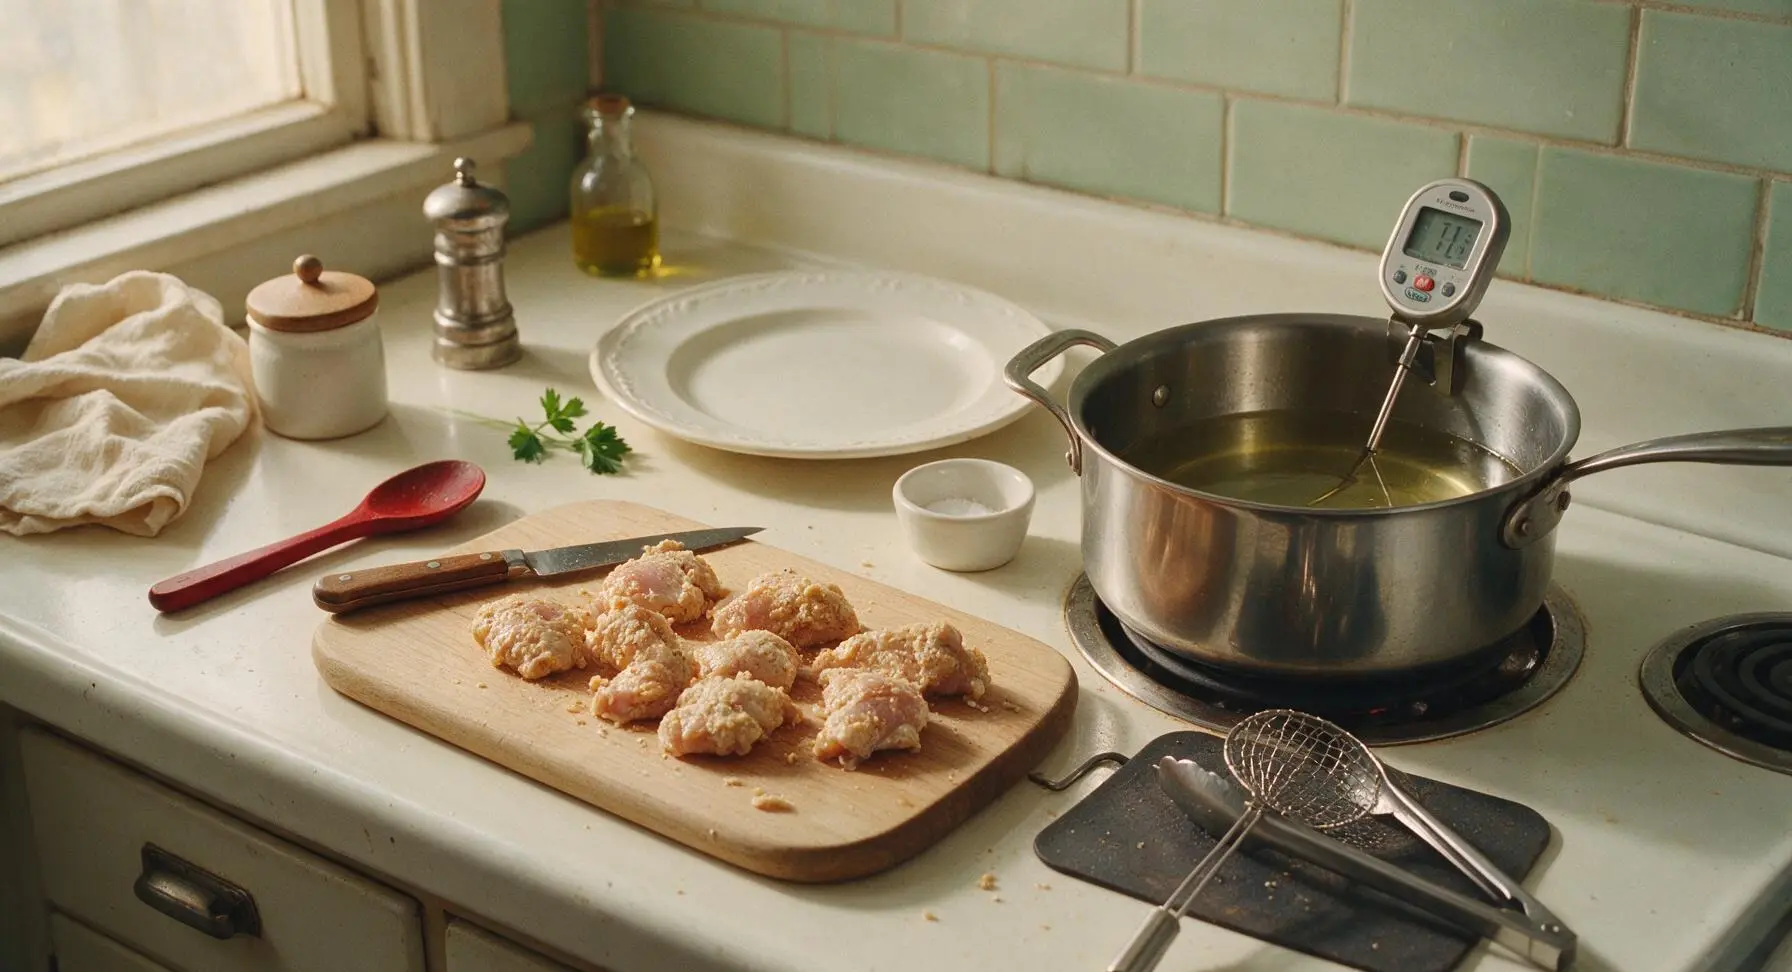
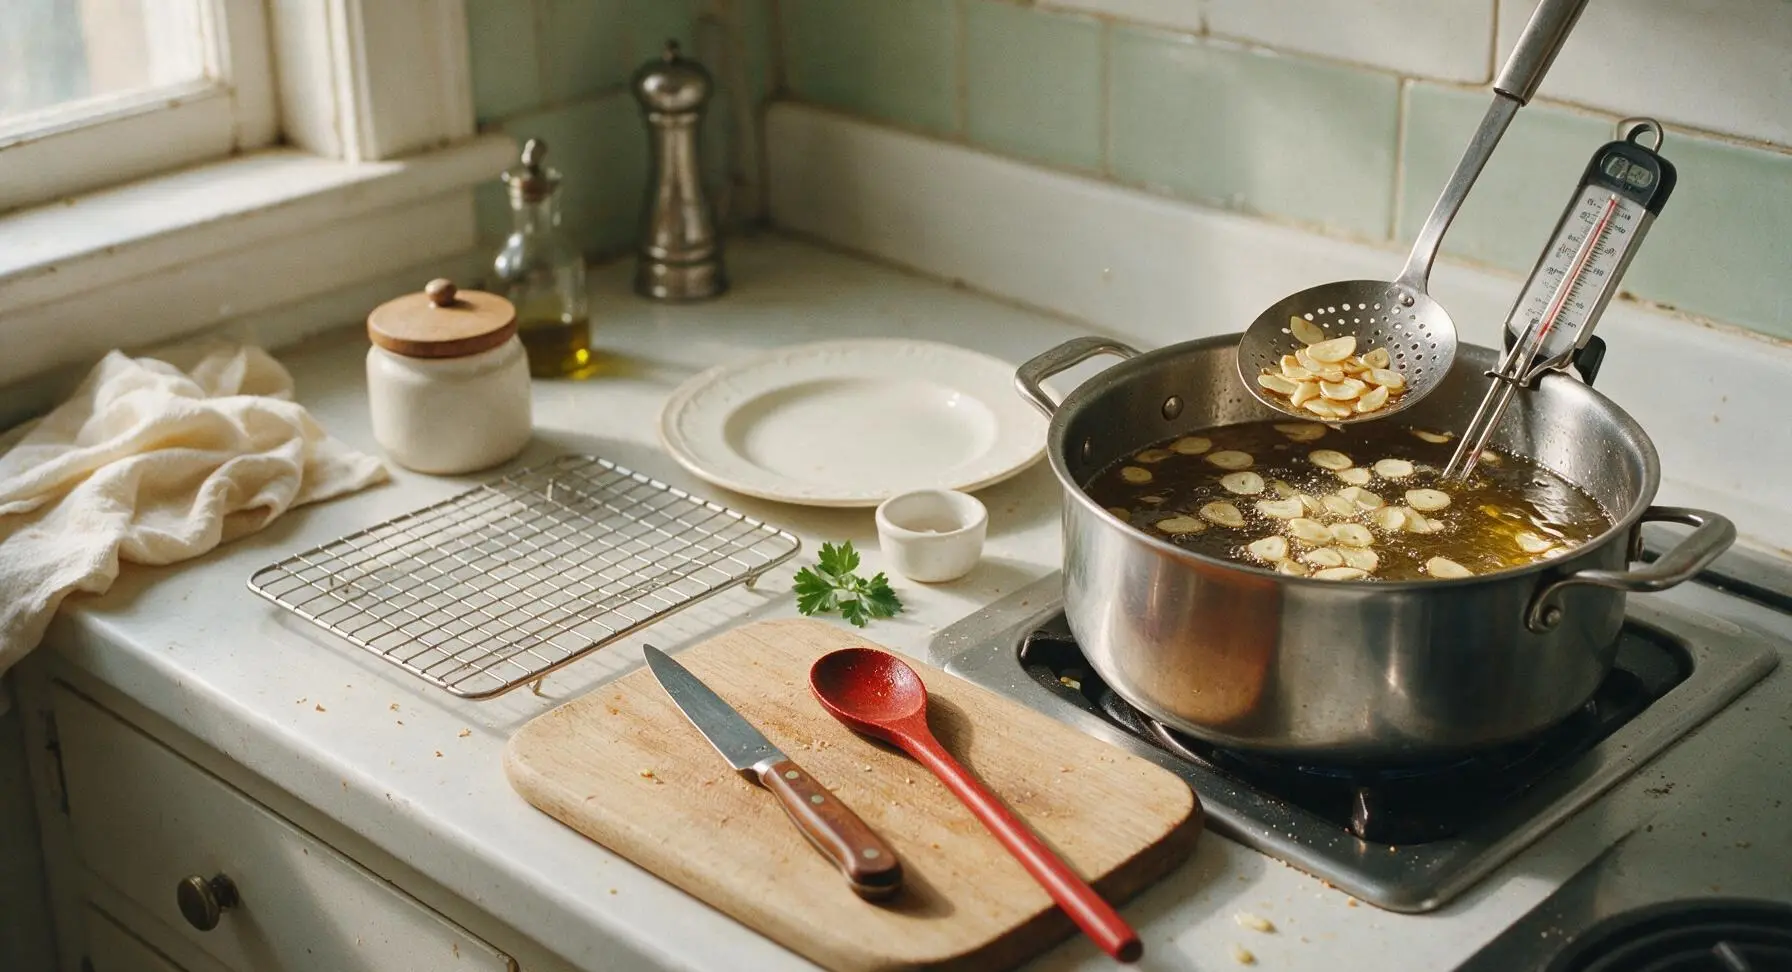
Place the stainless steel Dutch oven on the right counter burner, pour in 1.5L neutral frying oil, and clip the digital deep fry thermometer to the pot edge. Heat oil over medium heat until it reaches 150C (300F). Add the thinly sliced garlic cloves and fry for 30 seconds until pale golden, then remove immediately with the wire skimmer and drain on the wire cooling rack to crisp up for garnish. Increase oil temperature to a steady 165C (330F) for the first chicken fry. Do not rush heating: too-cold oil makes greasy chicken, too-hot oil burns the garlic garnish and coating before chicken cooks through.
Step 3
step3:Heat Oil and Fry Garlic
Step 3
step3:Heat Oil and Fry Garlic
4

First Fry Chicken Pieces

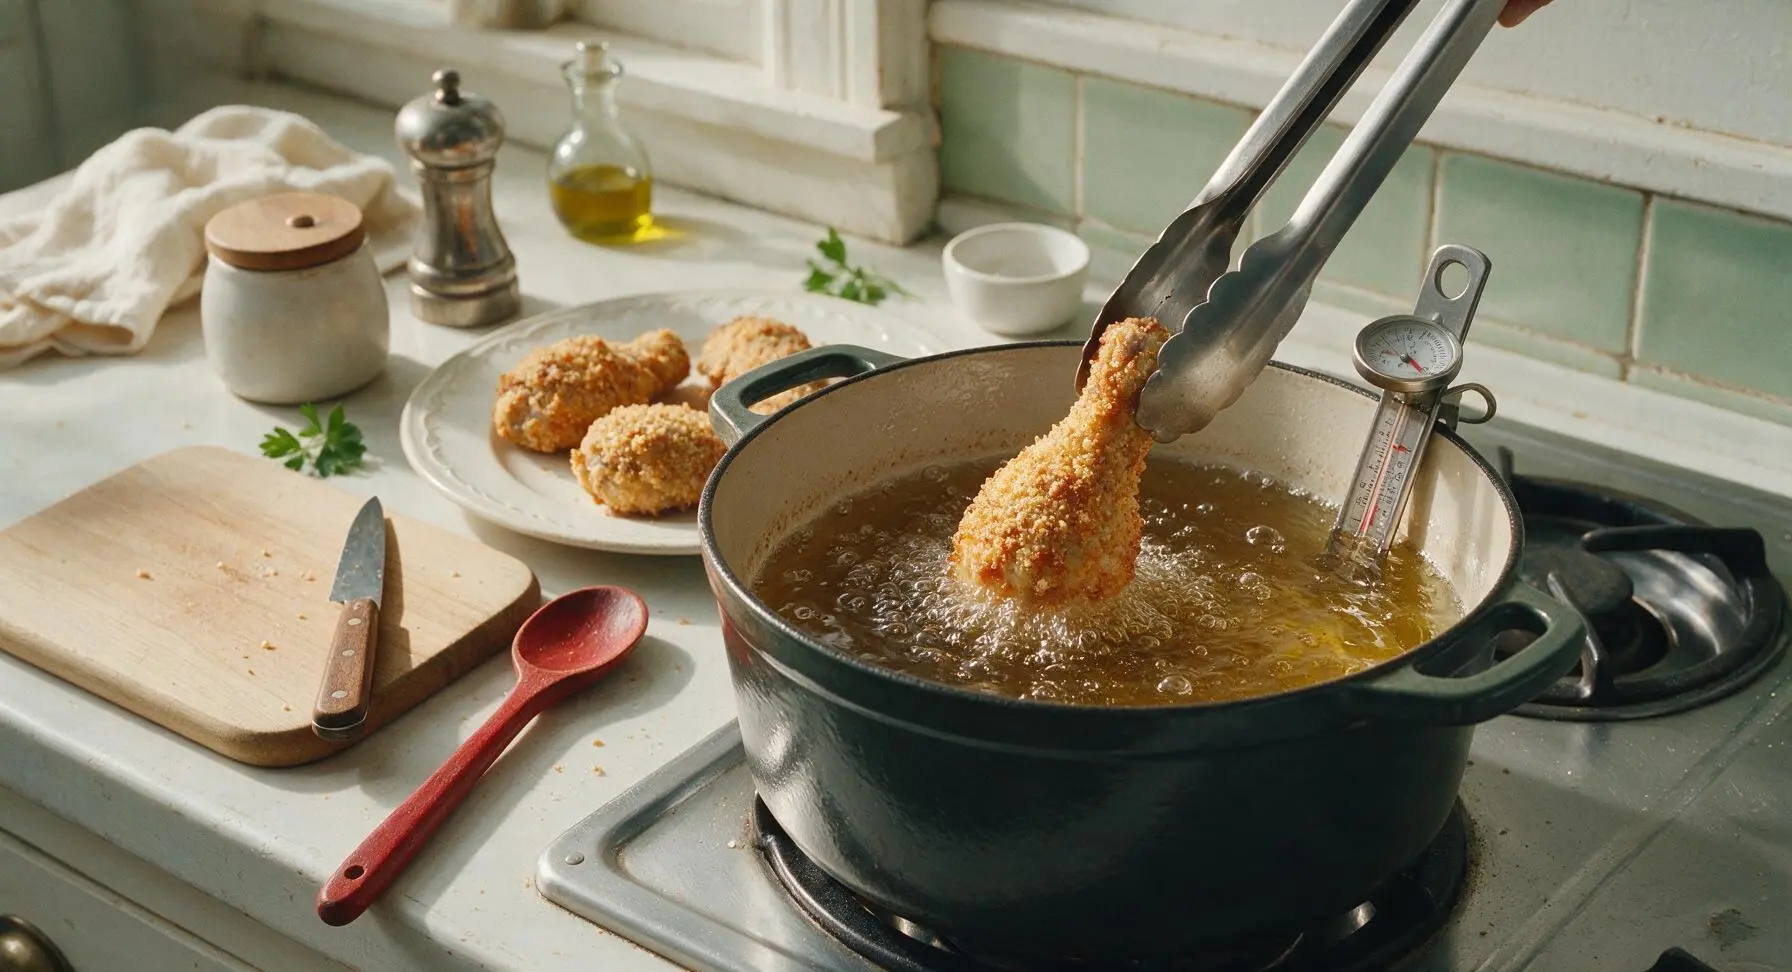
Carefully lower 4 pieces of chicken into the 165C oil using the stainless steel tongs, working in batches to avoid dropping oil temperature more than 10 degrees. Fry for 8 minutes, until the coating is pale golden and set, and chicken is roughly 80% cooked through. Remove pieces with the wire skimmer and set on the wire cooling rack to drain for 5 minutes while frying the second batch.
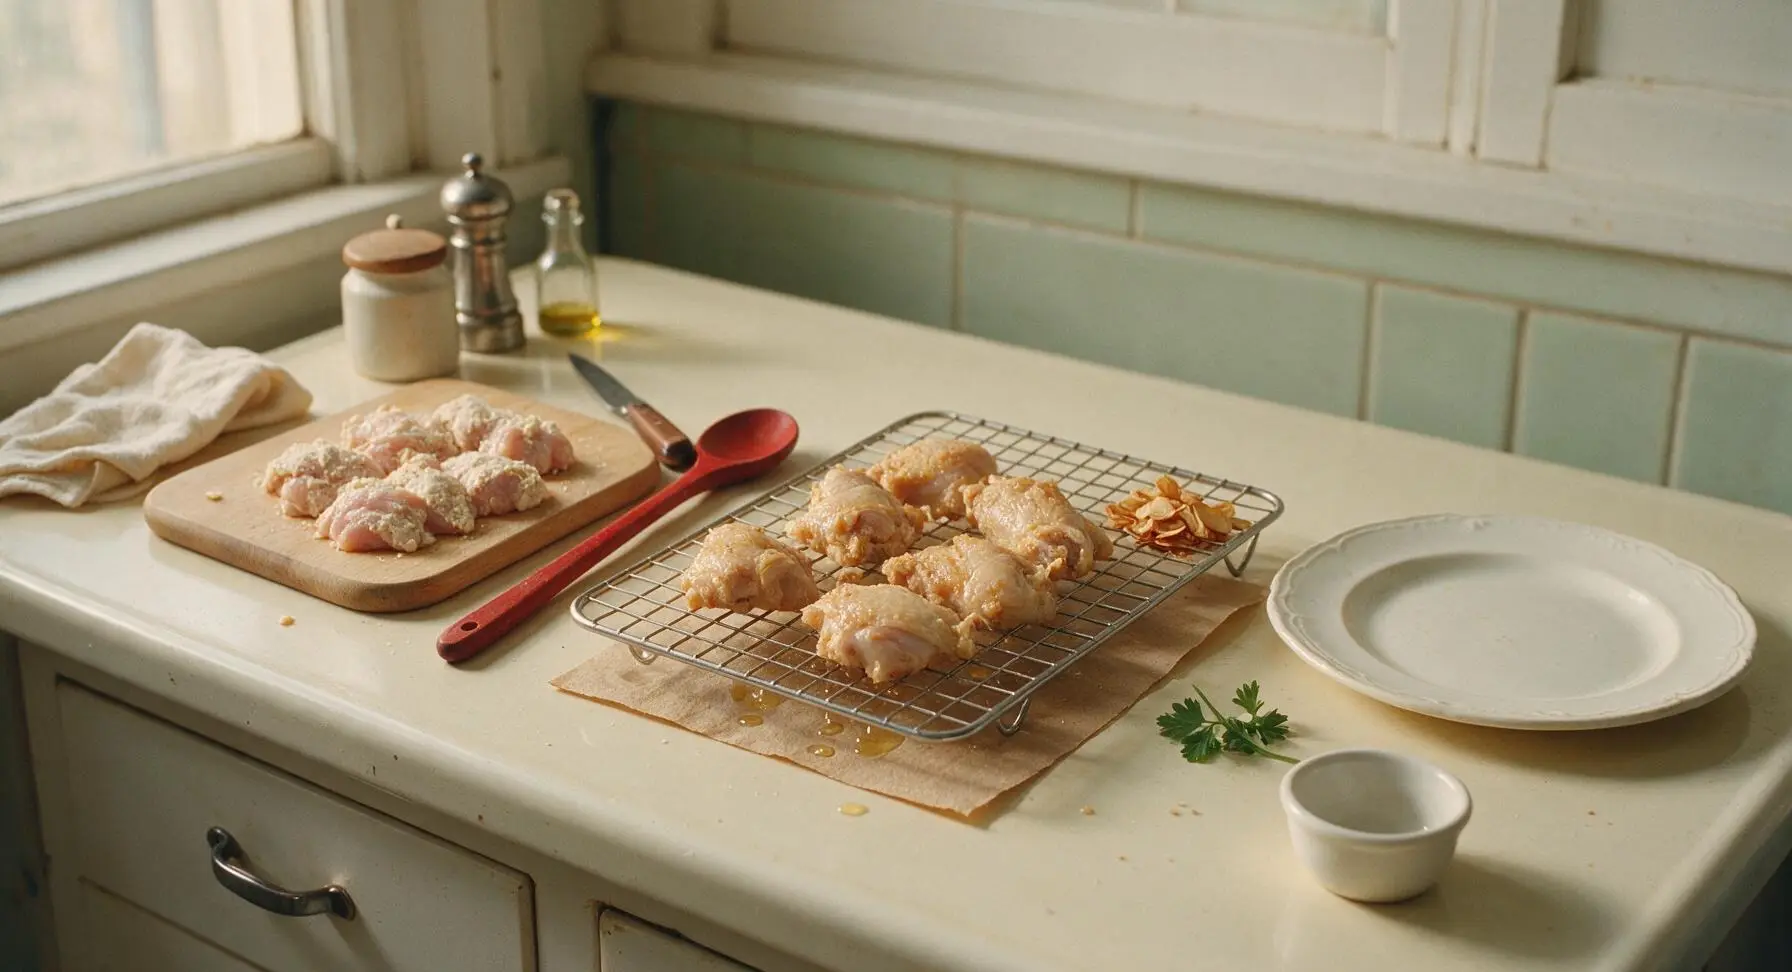
Step 4
step4:First Fry Chicken Pieces
Step 4
step4:First Fry Chicken Pieces
5

Cook Garlic Glaze

While chicken rests between fries, place the small stainless steel saucepan on the back burner behind the Dutch oven over medium-low heat. Add 1 tsp neutral oil, then sauté 10 minced garlic cloves and 1 tsp grated ginger for 1 minute until fragrant (do not let garlic turn dark brown, as it becomes bitter). Stir in soy sauce, honey, and rice vinegar, simmering for 2 minutes until glaze thickens slightly to a syrupy consistency that coats the back of the beechwood spoon. Turn heat to lowest setting to keep glaze warm.
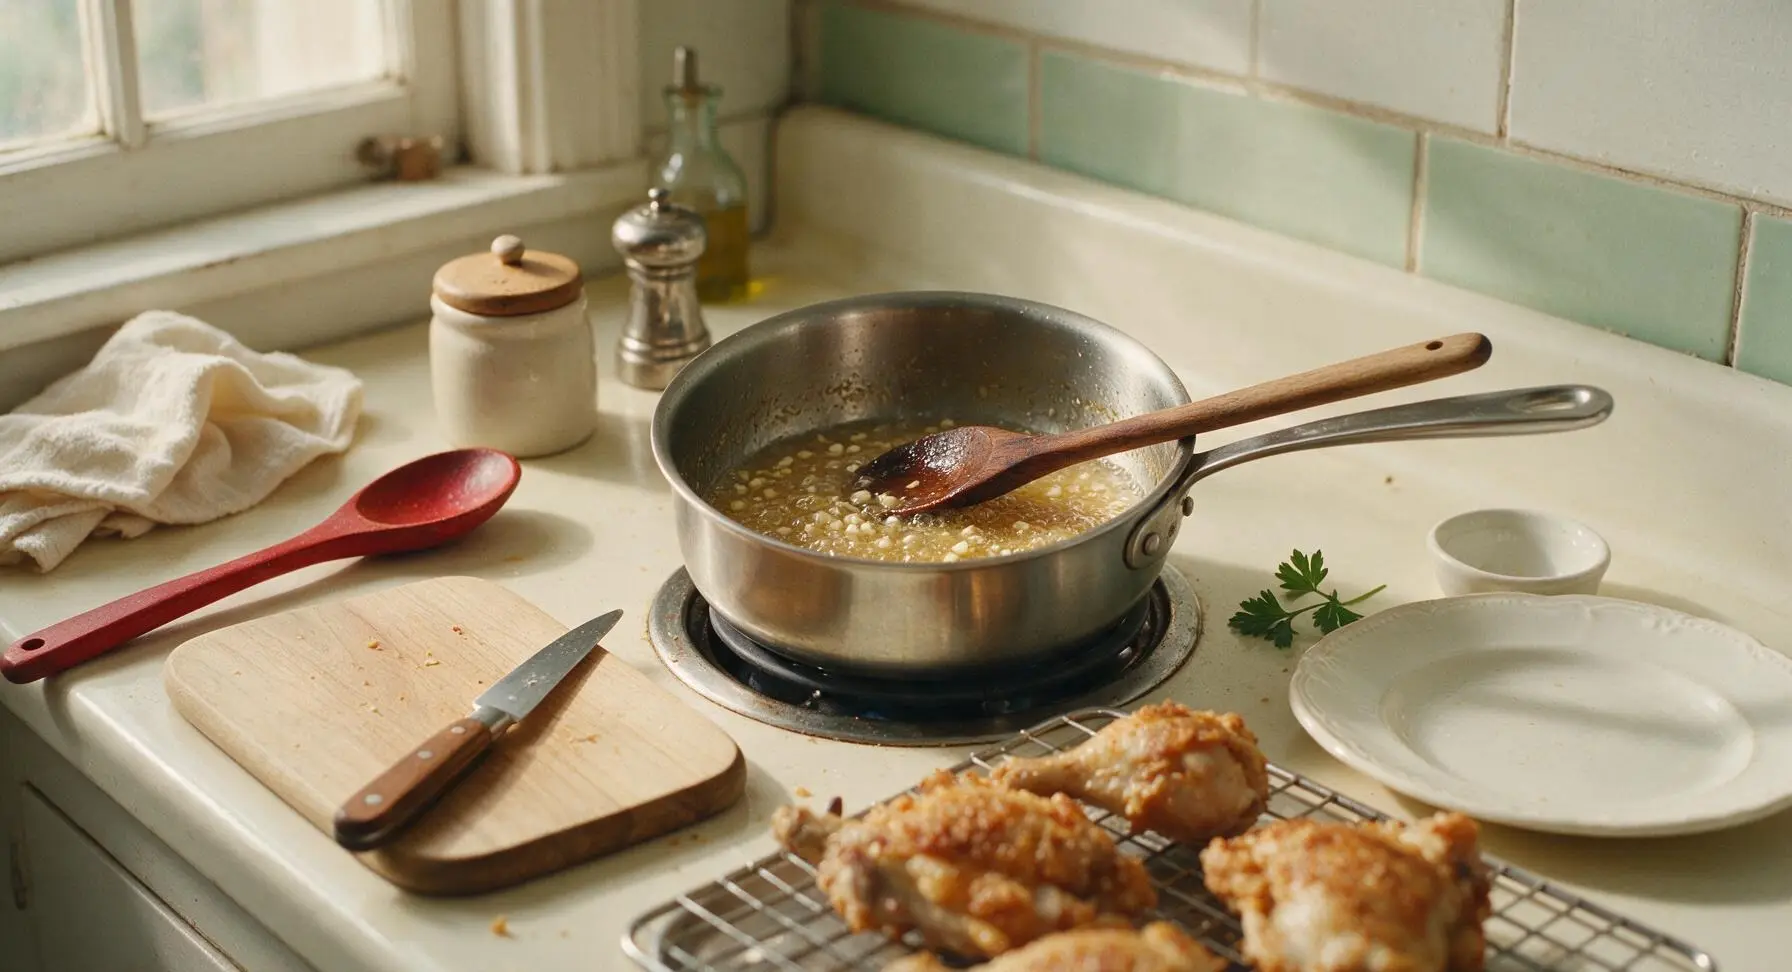
Step 5
step5:Cook Garlic Glaze
6

Second Fry for Crunch

Increase the Dutch oven oil temperature to 190C (375F). Carefully return all first-fried chicken pieces to the hot oil, working in batches if needed, and fry for 4-5 minutes until coating is deep golden brown, shatteringly crisp, and chicken reaches an internal temperature of 75C (165F) at the thickest part. Remove from oil and drain on the wire rack for 1 minute, sprinkling lightly with the remaining 0.5 tsp kosher salt.
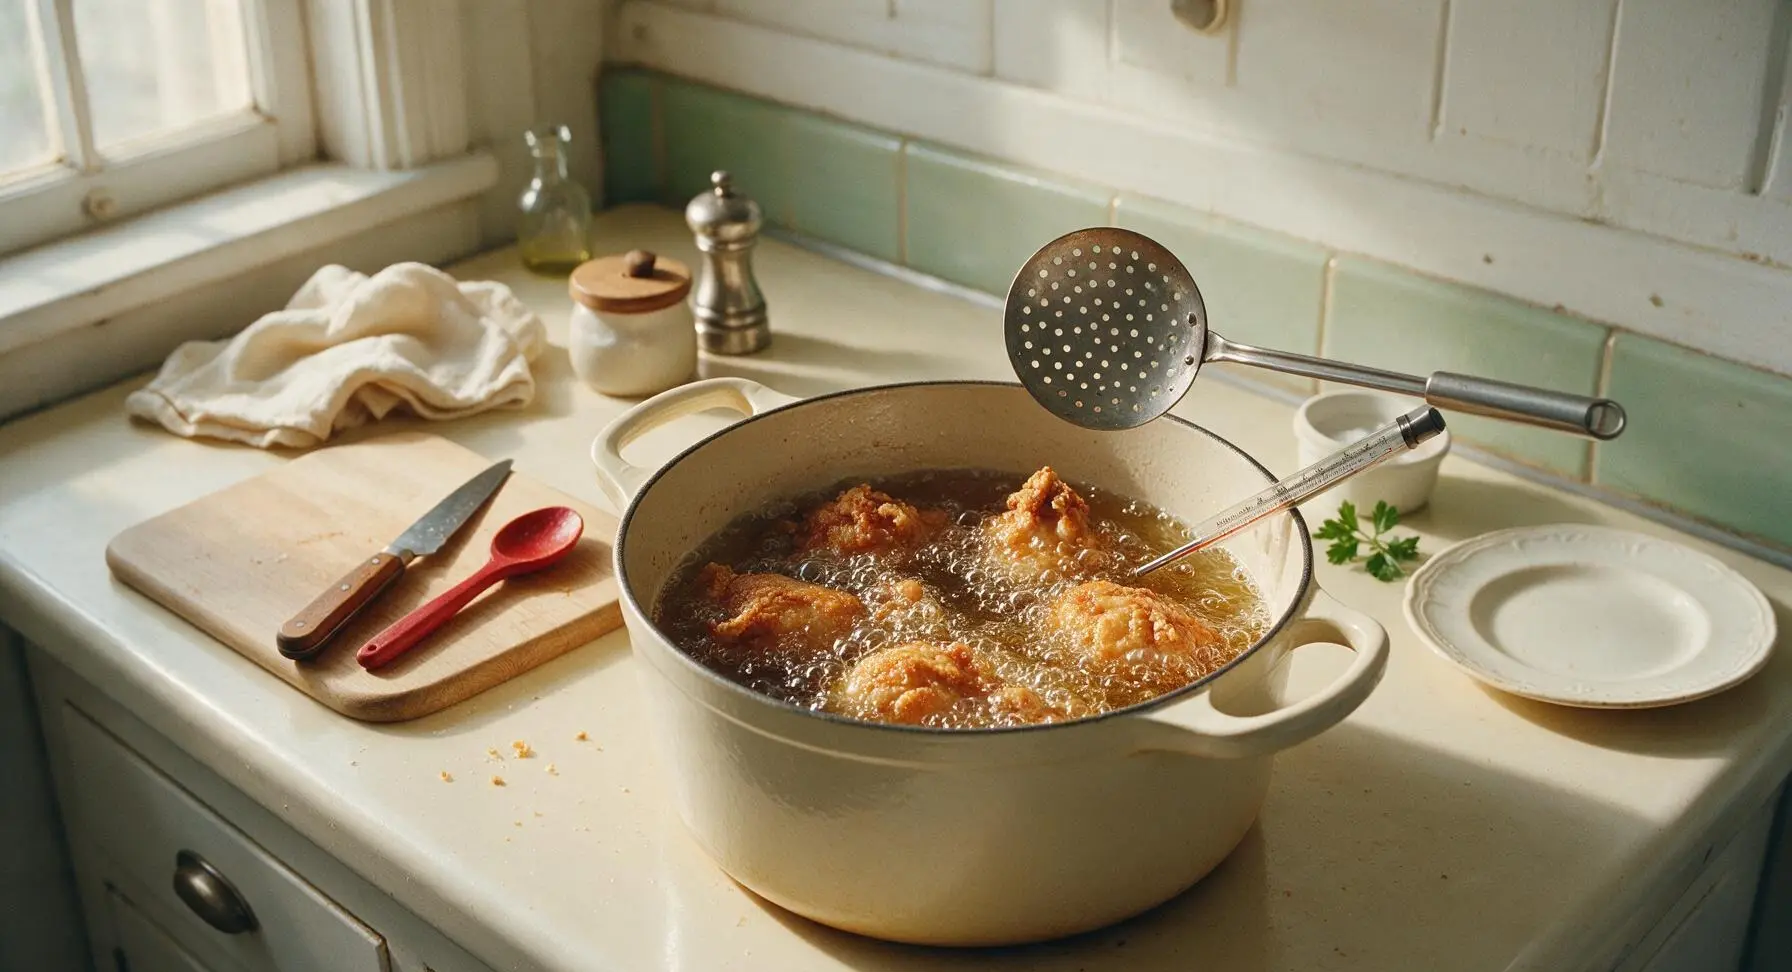
Step 6
step6:Second Fry for Crunch
7

Toss Chicken in Glaze

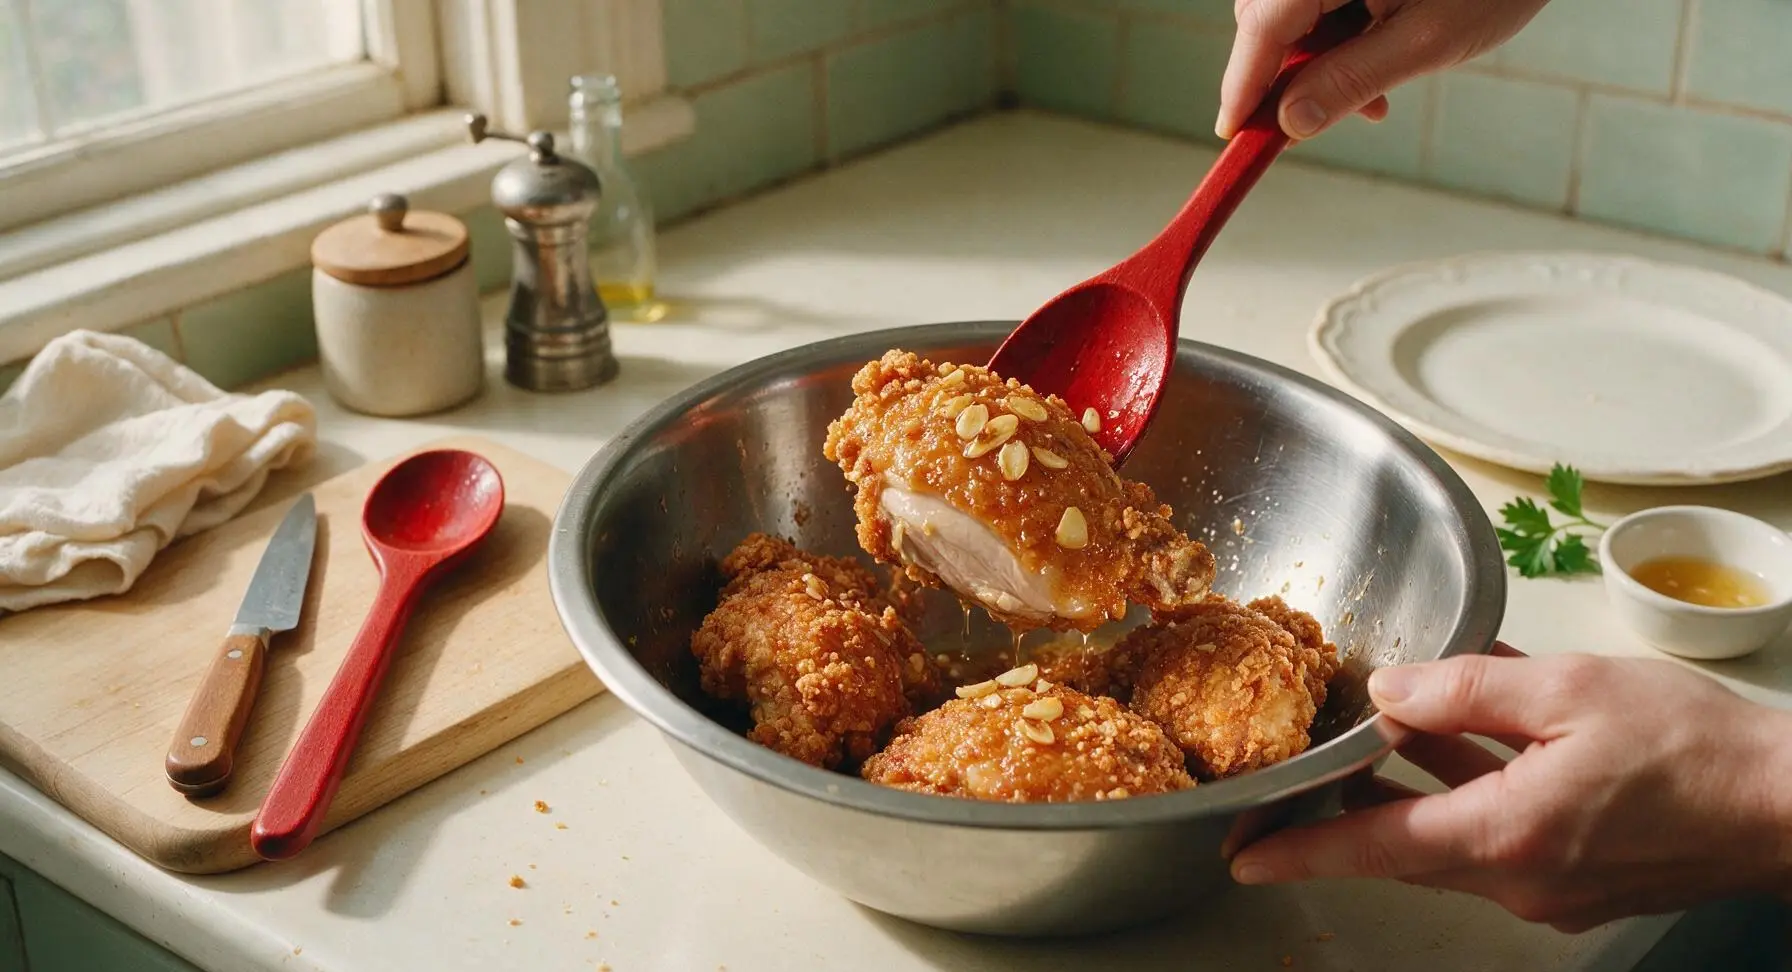
Transfer the hot, crispy double-fried chicken back to the wiped-clean stainless steel mixing bowl. Pour the warm garlic glaze over the chicken, tossing gently with the beechwood spoon until every piece is coated in a thin, glossy layer of glaze. Do not douse chicken in excess glaze, or the crispy coating will turn soggy quickly.
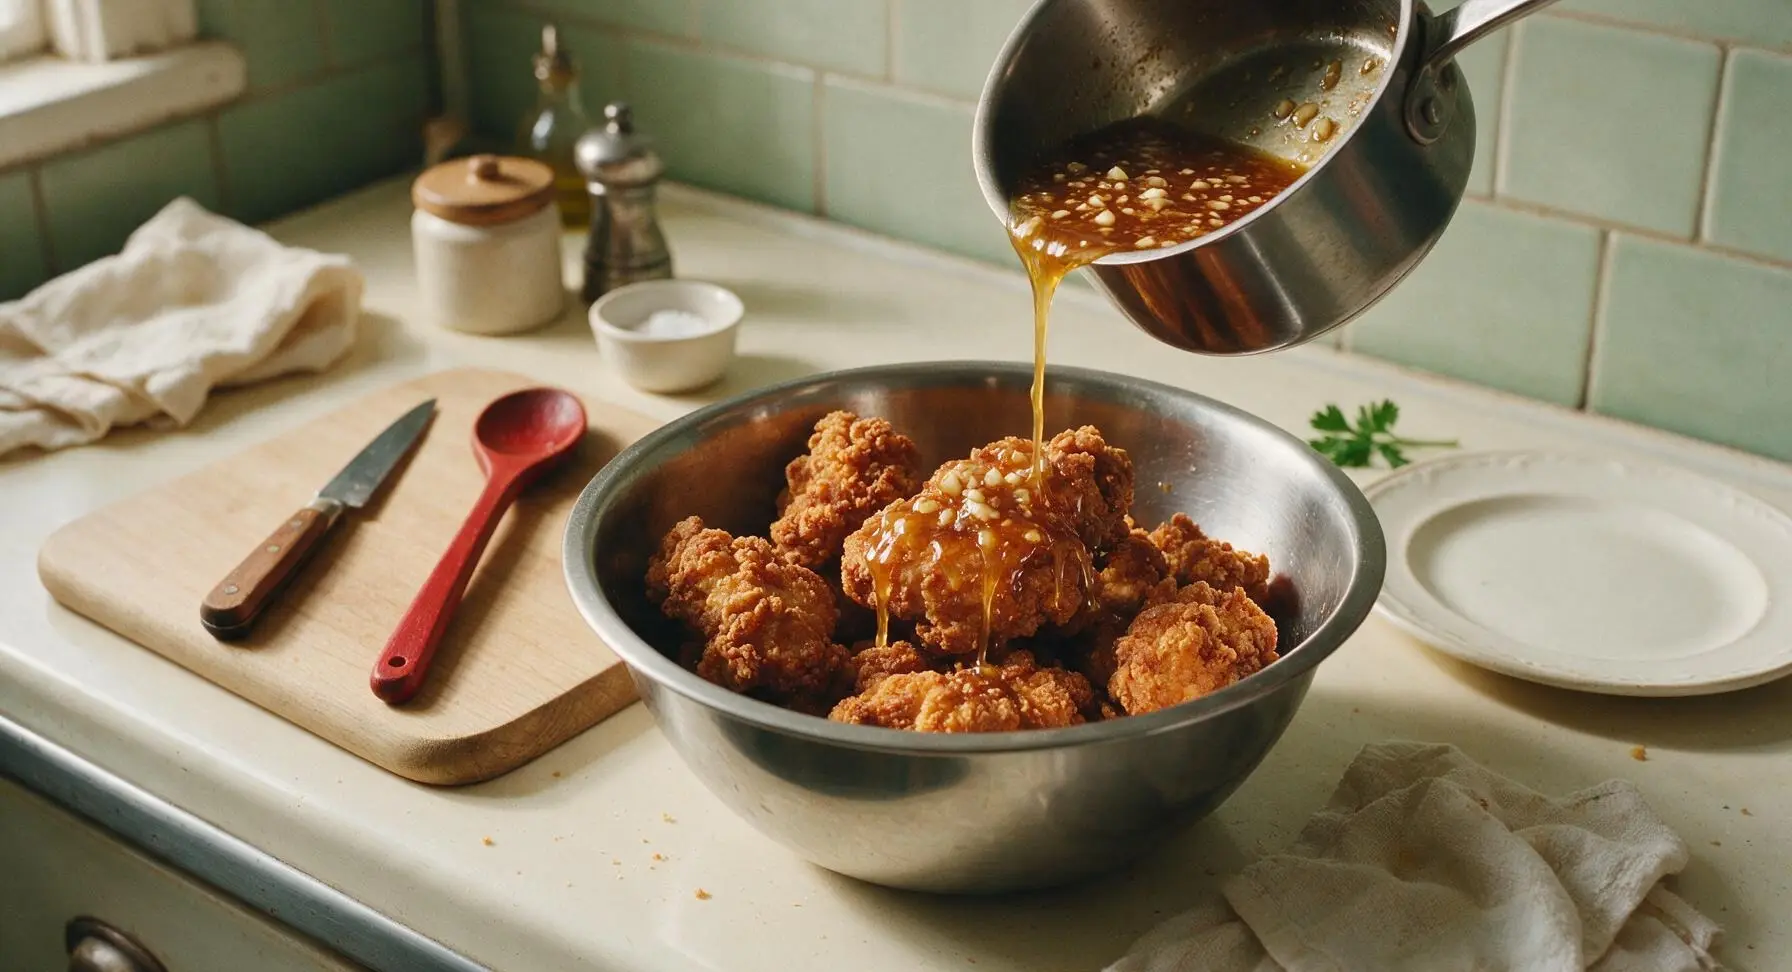
Step 7
step7:Toss Chicken in Glaze
Step 7
step7:Toss Chicken in Glaze
8

Garnish and Plate

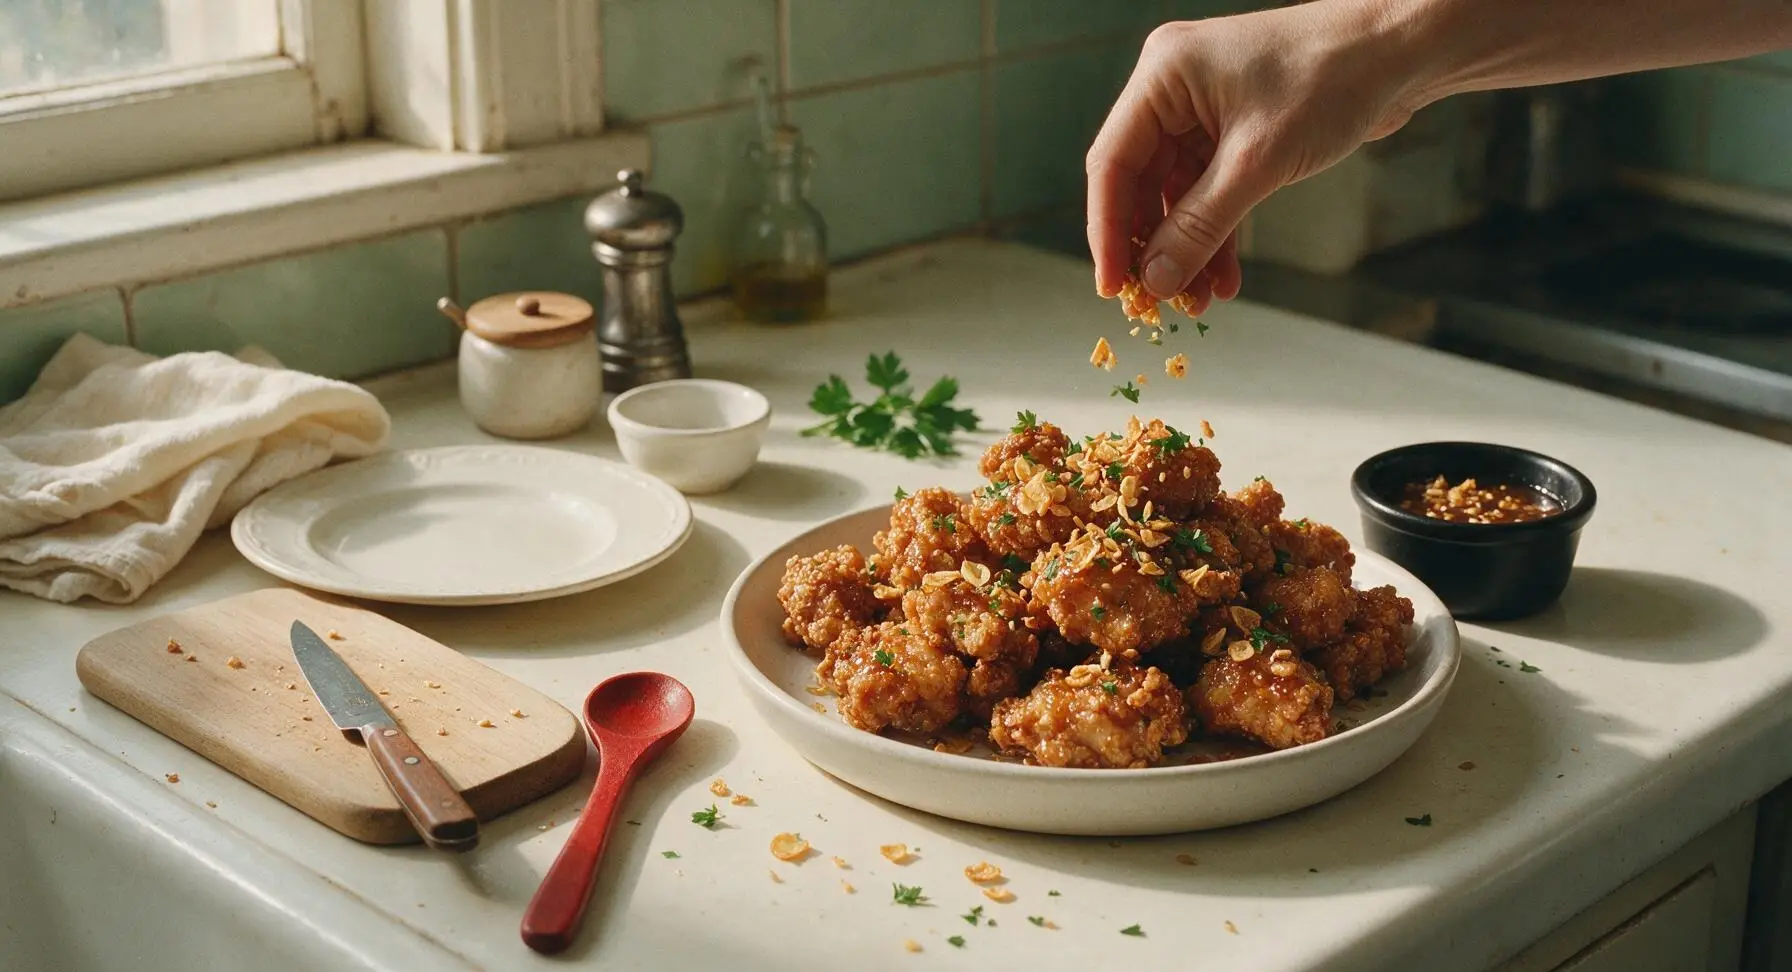
Pile the glazed chicken onto the matte warm white ceramic serving platter. Scatter the reserved crispy fried garlic chips and chopped fresh parsley evenly over the top. Serve immediately while coating is still crisp, with extra glaze in the small matte black ramekin on the side for dipping.
Step 8
step8:Garnish and Plate

Tips

1.Pat chicken completely dry before dredging: excess skin moisture creates steam during frying that softens the crispy coating and causes dangerous hot oil splatters.
2.Don’t skip the 5-minute rest after dredging and between fries: resting the coated chicken lets the starch adhere tightly so it doesn’t slide off in the oil, and resting after the first fry lets excess moisture escape for extra crunch.
3.Toss chicken in warm (not boiling hot, not cold) glaze: boiling glaze melts the crisp coating, while cold glaze congeals and turns gummy, leading to soggy chicken fast.


✨ You May Also Like

Main Course
🍜 United Kingdom

A showstopping classic of tender seared beef, savory mushroom duxelles, and crisp prosciutto wrapped in flaky golden puff pastry, baked to juicy perfection.

⏱️ 2 hours 1Main Course ★ 4.7
Main Course
🍜 India

Tender charred marinated chicken simmered in a rich, spiced creamy tomato sauce, this iconic Anglo-Indian curry pairs perfectly with basmati rice or warm naan.

⏱️ 50 minuteMain Course ★ 4.6
Main Course
🍜 Thailand

Classic tangy, sweet, and savory Thai stir-fried rice noodles with shrimp, tofu, and crunchy garnishes, balancing all five core Thai flavor profiles.

⏱️ 30 minuteMain Course ★ 4.5
Main Course
🍜 United Kingdom

Crispy golden beer-battered cod and fluffy double-fried chips, served with tangy tartar sauce and malt vinegar: the timeless, beloved British pub comfort classic.

⏱️ 45 minuteMain Course ★ 4.7
Main Course
🍜 Mexico

Smoky, chile-marinated pork tacos with caramelized pineapple, fresh cilantro, and lime: a beloved classic Mexican street food perfect for casual summer gatherings.

⏱️ 1 hour 45Main Course ★ 4.8
Main Course
🍜 United States

Crunchy Fritos corn chips layered with savory beef chili and melted cheddar, topped with cool, zesty fixings for a beloved, cozy Tex-Mex comfort food.

⏱️ 35 minuteMain Course ★ 4.8

garlic fried chicken:Frequently Asked Questions

1.Why use bone-in, skin-on chicken instead of boneless cuts for this recipe? ▾
Bone-in, skin-on thighs, drumsticks, and wingettes stay far juicier through the double-fry process: the bone insulates the meat to prevent overcooking, and the skin renders out to create a perfect, sturdy base for the sticky garlic glaze. Boneless cuts dry out quickly, and you’ll miss that deep, rich chicken flavor that pairs so perfectly with the garlicky coating.
2.What’s the point of double-frying the chicken for this dish? ▾
Double frying is the non-negotiable secret to that shatteringly crisp crust that won’t turn soggy under the sticky glaze. The first lower-temperature fry cooks the chicken through and sets the starch coating, while the second hotter fry crisps the exterior, drives off excess oil, and creates a texture tough enough to hold glaze without turning mushy.
3.Can I use only all-purpose flour instead of mixing it with potato starch? ▾
You can, but your crust won’t get that light, ultra-shattery crunch potato starch delivers. All-purpose flour alone creates a denser, harder crust that softens much faster under the sweet-savory glaze. If you don’t have potato starch, swap in equal parts cornstarch as a close substitute, though potato starch will always give you the lightest, crispest result.
4.How do I keep my garlic chips from turning bitter and burnt? ▾
Cook thinly sliced garlic slowly in cool oil over low heat, stirring constantly, until it hits a pale golden blonde color. Pull it as soon as you smell that warm, nutty garlic aroma, because it will keep cooking for 30 seconds after you remove it from the hot oil. Never walk away while garlic chips cook—they go from perfect to burnt in seconds.
5.Why does the recipe specify low-sodium soy sauce instead of regular? ▾
Regular soy sauce is extremely high in salt, and since the glaze reduces and concentrates as it simmers, it can easily make the finished chicken overly salty, masking the warm, mellow garlic flavor. Low-sodium soy sauce lets you control salt levels better, so you get that deep umami kick without the briny, overpowering taste that throws off the glaze’s sweet-savory balance.
6.How long should I rest chicken between the first and second fry? ▾
Let first-fried chicken rest on a wire rack for 8 to 10 minutes before the second fry. This rest lets the internal temperature equalize so chicken cooks evenly all the way through, and lets excess surface oil drain off for a crispier, less greasy final crust. Don’t rest it longer than 15 minutes, or the coating will turn soft and chewy.
7.Can I bake this chicken instead of frying it to use less oil? ▾
You can get a decent crispy result in the oven, though it won’t have that iconic shatteringly crisp crust from double frying. Toss starch-coated chicken in a light oil spray, bake at 425°F for 35 minutes, brush with glaze, then broil for 2 minutes to set. Just note the crust will be softer and won’t hold glaze as well as the fried version.
8.How do I keep glazed chicken from getting soggy right before serving? ▾
Toss chicken in the warm garlic glaze right before you plan to serve it, and don’t douse it—use just enough glaze to lightly coat every piece, rather than soaking it. Serve on a wire rack set over a platter instead of piling it in a deep bowl, so trapped steam doesn’t soften the crust, and top with garlic chips at the last minute.
9.What oil temperature should I use for each fry stage? ▾
For the first fry, hold oil at a steady 325°F to cook chicken gently without burning the coating, letting pieces cook 6 to 8 minutes depending on their size. For the second fry, crank oil to 375°F and cook 2 to 3 minutes until the crust is deep golden and ultra-crisp. Don’t overcrowd the pot, which drops oil temperature too fast for good crunch.
10.Can I prep this chicken ahead of time for a party or gathering? ▾
You can complete the first low-temperature fry up to 2 hours ahead, leaving chicken on a wire rack at room temperature. Right before guests arrive, do the second high-heat fry to crisp the crust, toss in warm glaze, top with garlic chips, and serve. Never coat chicken in glaze ahead of time, as it will turn the crust soggy even when reheated.
11.Do I need to brine the chicken before coating it for this recipe? ▾
You don’t have to, but a quick 2-hour brine (4 cups water mixed with 3 tbsp salt and 2 tbsp sugar) will make the meat extra juicy and evenly seasoned all the way through. If you skip brining, make sure to pat chicken completely dry before coating it in the starch-flour mix, so the crust sticks properly and doesn’t slide off while frying.
12.Why does my coating sometimes fall off the chicken while it fries? ▾
This almost always happens if the chicken is too wet when you coat it, or if you don’t let coated chicken rest before frying. Pat chicken completely dry with paper towels, press the starch-flour coating firmly onto every surface, then let it sit on a rack for 10 minutes so the coating forms a tight, dry layer that won’t slip off in hot oil.
13.Can I add extra flavors or spice to the garlic glaze? ▾
Absolutely! The base garlic glaze is super versatile: add a pinch of red pepper flakes for gentle heat, a teaspoon of grated fresh ginger for extra depth, a squeeze of fresh lime juice for bright tang, or a dash of toasted sesame oil for nutty warmth. Just don’t add so much extra liquid that the glaze gets too thin to stick to the crispy crust.
14.What sides pair best with this crispy garlic fried chicken? ▾
This sticky, garlicky chicken pairs perfectly with light, fresh sides that cut through its rich, savory flavor. Try quick pickled cucumbers, fluffy steamed white rice, a crisp vinegar-based cabbage slaw, or cold pickled radishes. Skip heavy, creamy sides that compete with the bold garlic flavor and make the meal feel overly dense and heavy.

Comments (11)

1 week ago

Pretty solid fried chicken recipe! Cook time was right on 25 minutes for me, no extra wait needed. I was worried the garlic would burn when frying, but as long as you keep the oil at 350F like the recipe says, it gets crispy and nutty, not bitter. Served this with coleslaw and cornbread for a Sunday cookout, everyone raved.

5 days ago

Was looking for a fried chicken recipe that holds up well for weekly meal prep, and this is it! I made a big batch on Sunday, stored it in airtight containers, and reheated it in the air fryer for 5 minutes at lunch all week, and the crust stayed crispy instead of getting all mushy like other recipes. The garlic flavor even gets better as it sits a little! SO good.

4 days ago

Thrilled this works for your meal prep! The air fryer reheat trick is exactly what I recommend too — microwaving will kill that crispy crust for sure. So happy it held up all week for you!

2 hours ago

Help! I tried making this last night and the crust kept falling off the chicken while I was frying it, and the garlic bits in the coating burned really fast so the whole thing tasted bitter. What did I do wrong? I thought I followed the recipe exactly :(

1 hour ago

I had that happen my first try too! You have to make sure you pat the chicken totally dry before you dip it in the flour, and don’t crowd the pan when you fry, that drops the oil temp way too fast. I also started mixing the garlic evenly into the flour instead of leaving it loose on the coating surface to keep it from burning.

30 minutes ago

Great tip from ChickenDinnerSue! The two biggest culprits for falling crust are wet chicken and overcrowded oil, and burnt garlic usually happens if your oil creeps above 350F (we recommend keeping it steady at that temp, no higher). Try it again with those tweaks and I bet it turns out perfect!

2 weeks ago

This hits different than regular fried chicken, y’all. That crispy garlic crust is addictive — I found myself snacking on the little crispy garlic crumbs left in the pan after I finished frying, no shame. I used boneless skinless thighs instead of breast because they stay juicier, and it worked like a charm. Will definitely be making this for my next Bills watch party with the crew.

yesterday

Took this recipe up a notch by adding a tablespoon of cayenne and a drizzle of hot honey after frying, and wow. The sweet heat pairs so perfectly with the savory garlic crunch. My roommate said it’s better than the takeout fried chicken we get from the place down the street, that’s the highest compliment possible tbh.

30 minutes ago

Oh the hot honey addition sounds insane! I was planning to make this for date night tomorrow, I’m definitely stealing that idea. Thanks for the tip!

1 week ago

I’ve been making fried chicken for 60 years, so I was skeptical a random online recipe could be better than my go-to, but color me impressed! The garlic coating adds such a nice depth of flavor I never thought to add before. My grandkids wiped their plates clean, even the picky teenager who only eats fast food.

5 days ago

Same here! I’ve had my fried chicken recipe since the 80s and decided to try this on a whim when my granddaughter requested garlic chicken. The crispy garlic bits are just unreal, I’m adding this to my physical recipe box for sure.

4 days ago

This means the world coming from someone who’s been making fried chicken for decades! I’m so glad the recipe got the grandkid seal of approval too, that’s the best review we could ask for.

just now

Great high protein meal option! I used a mix of almond flour and regular flour for the coating to cut down on refined carbs, used skinless chicken breast, and gave it a light oil spritz to air fry instead of deep frying, and it still came out super crispy with that great garlic flavor. Hit my protein goals and didn’t feel like I was eating boring diet food, total win win.

just now

Love that healthy swap! I’ve tested the air fryer version a bunch too, and it works perfectly as long as you give the chicken a light spritz of oil to help the crust crisp up. Thanks for sharing your modification, other readers will love that!

2 days ago

Wait, the recipe says medium difficulty? OMG I’m a total novice in the kitchen and I pulled this off without a single mishap! The only thing I messed up was mincing the garlic a little too fine, so some of it fell off, but it still tasted amazing. Served it with baked mac and cheese and green beans for my partner’s birthday dinner, he said it’s the best meal I’ve ever made him 🥹

1 day ago

Oh that makes me feel so much better! I’ve been nervous to try fried chicken because I thought it was too hard for someone who only started cooking last month, but if you could pull it off as a novice, I can too. Gonna add the ingredients to my grocery list for this weekend!

22 hours ago

So happy it worked out for the birthday dinner! We marked it medium because frying can be a little tricky for total beginners if you don’t keep an eye on your oil temp, but it sounds like you nailed it. So stoked you’re giving it a try too, HomeCookNewbie — let us know how it turns out!

3 days ago

Made this for my neighborhood block party last weekend and I swear people followed me to my car to get the recipe. I doubled the batch because I knew it would be popular, and I still didn’t have a single piece left. The crispy garlic crust is just unbeatable, way better than the plain fried chicken I usually bring.

2 days ago

Wait, were you the one who brought that garlic chicken to the Oak Street block party??? I ate like three pieces and was asking everyone who made it! Small world, I found this recipe last night and was planning to make it this weekend, that’s so funny.

5 minutes ago

25 minute cook time is no joke! I got home late from work last night, threw this together while the rice cooked, and had a full hot dinner on the table for my kids in under 40 minutes total. My kids loved it — the crunchy garlic coating is a total game changer, they didn’t even complain about eating the steamed broccoli I served on the side. Total weeknight win.

30 minutes ago

Quick question — can I use chicken tenders instead of bone-in pieces for this? I have a big pack of tenders in the fridge I need to use up before they go bad, but I don’t want them to dry out or mess up the crust ratio.

20 minutes ago

I made it with tenders last week! Just cut the cook time down a little, like 3-4 minutes less, because they’re thinner so they don’t take as long to cook through. They came out so juicy and crispy, perfect for dipping in ranch.

10 minutes ago

Great call from TenderLover42! Tenders work wonderfully with this recipe — just keep an eye on them as they fry, and pull them out once they hit 165F internal temp so they don’t dry out. They’re perfect for dipping, I love making them for game day snacks too!



