
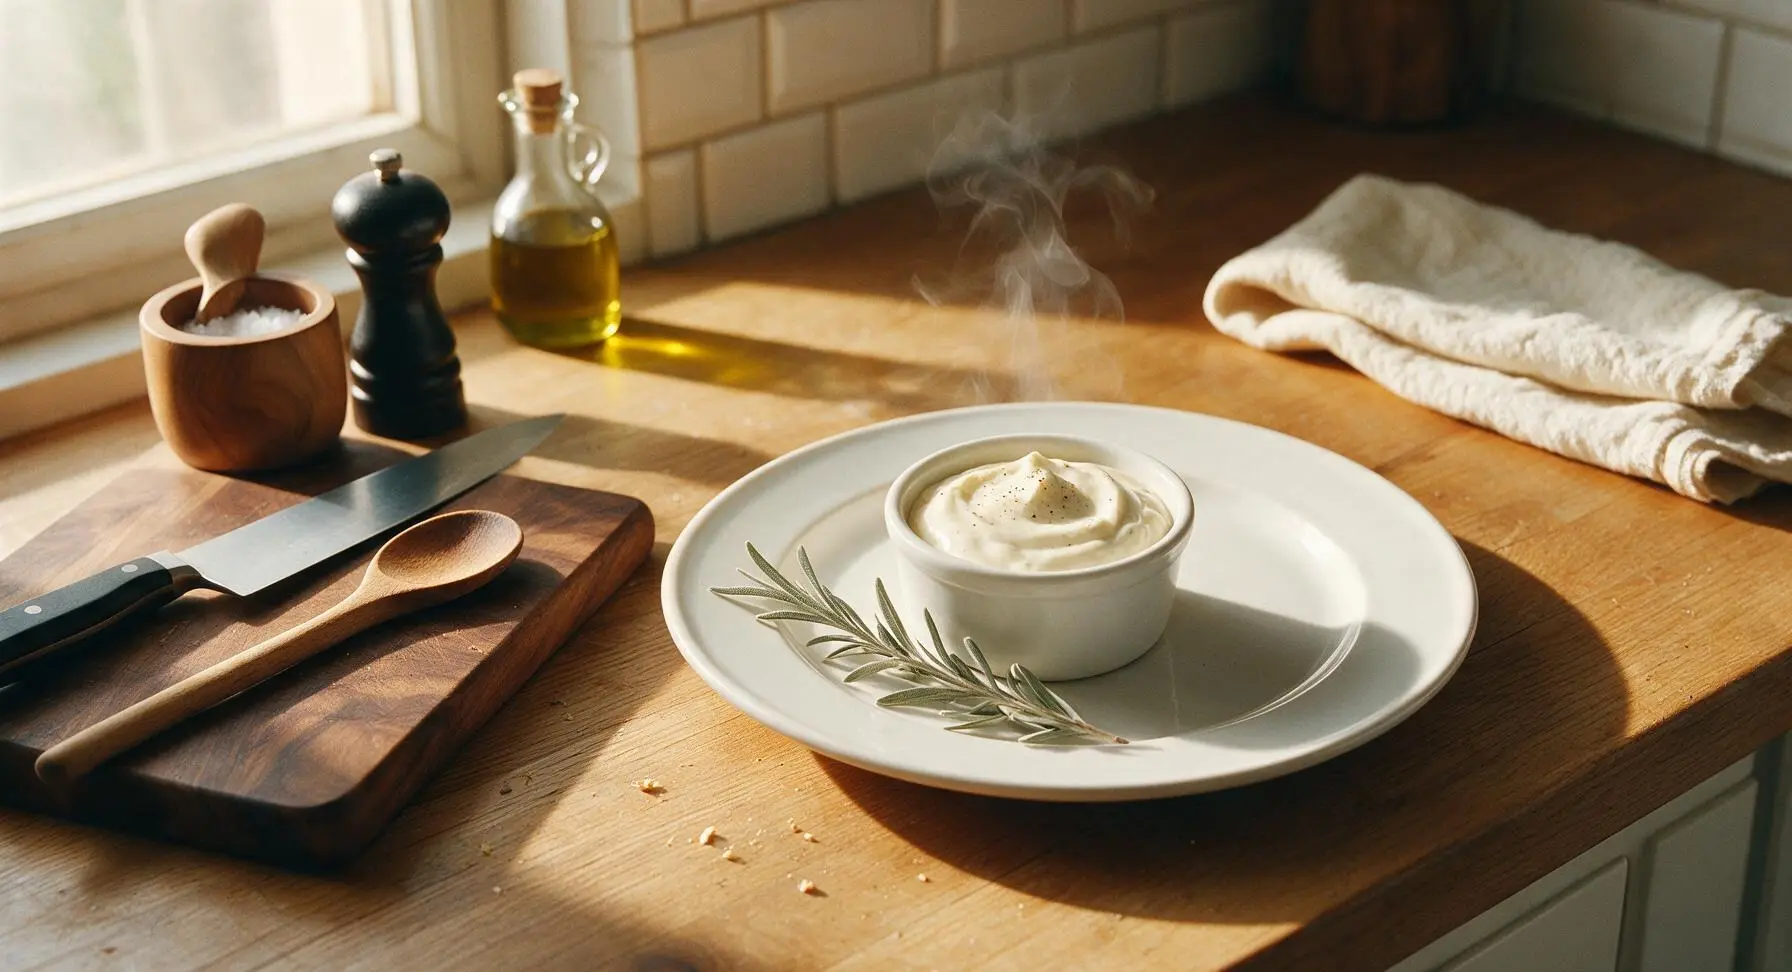
garlic mayo sauce

title 1
garlic mayo sauce
⏱️ cook time 0 minutes
🍽️ servings 8
⚡ Difficulty easy

intro

Rich, velvety garlic mayo with mellow garlic brightness, perfect for dipping fries, slathering on burgers, or tossing with grilled veggies. No-cook, ready in 10 minutes.

Ingredients
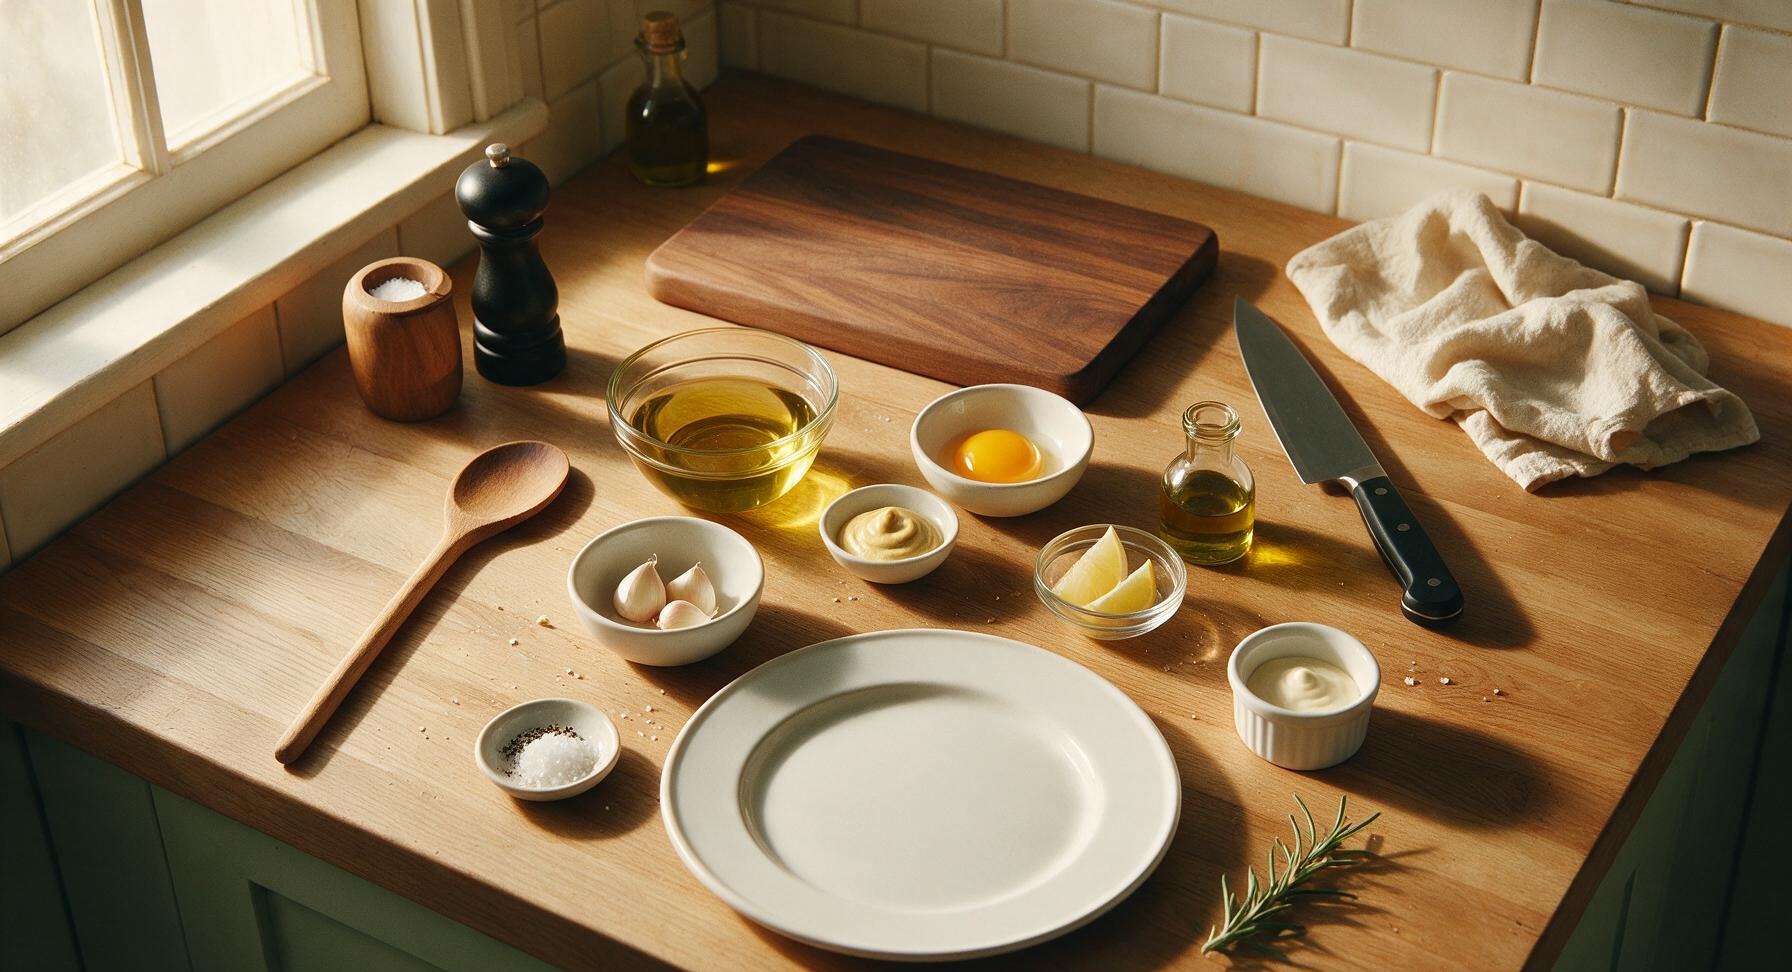
Neutral grapeseed or canola oil 3/4 cup (180ml)
Fresh garlic cloves 3 large (15g total)
Pasteurized large egg yolk 1 (room temperature)
Fresh lemon juice 1 tablespoon (15ml)
Dijon mustard 1 teaspoon (5ml)
Extra-virgin olive oil 1 tablespoon (15ml)
Flaky sea salt 1/2 teaspoon
Freshly ground black pepper 1/4 teaspoon

Steps

1

Prep and grate garlic

Separate and peel 3 large garlic cloves, removing any tough pale green inner sprout from each clove to prevent harsh bitter flavor. Hold the microplane zester at a 45-degree angle over the bamboo cutting board, and grate each clove into a fine, smooth paste, discarding any tough woody root ends. You should end up with approximately 1 tablespoon of lump-free garlic paste.
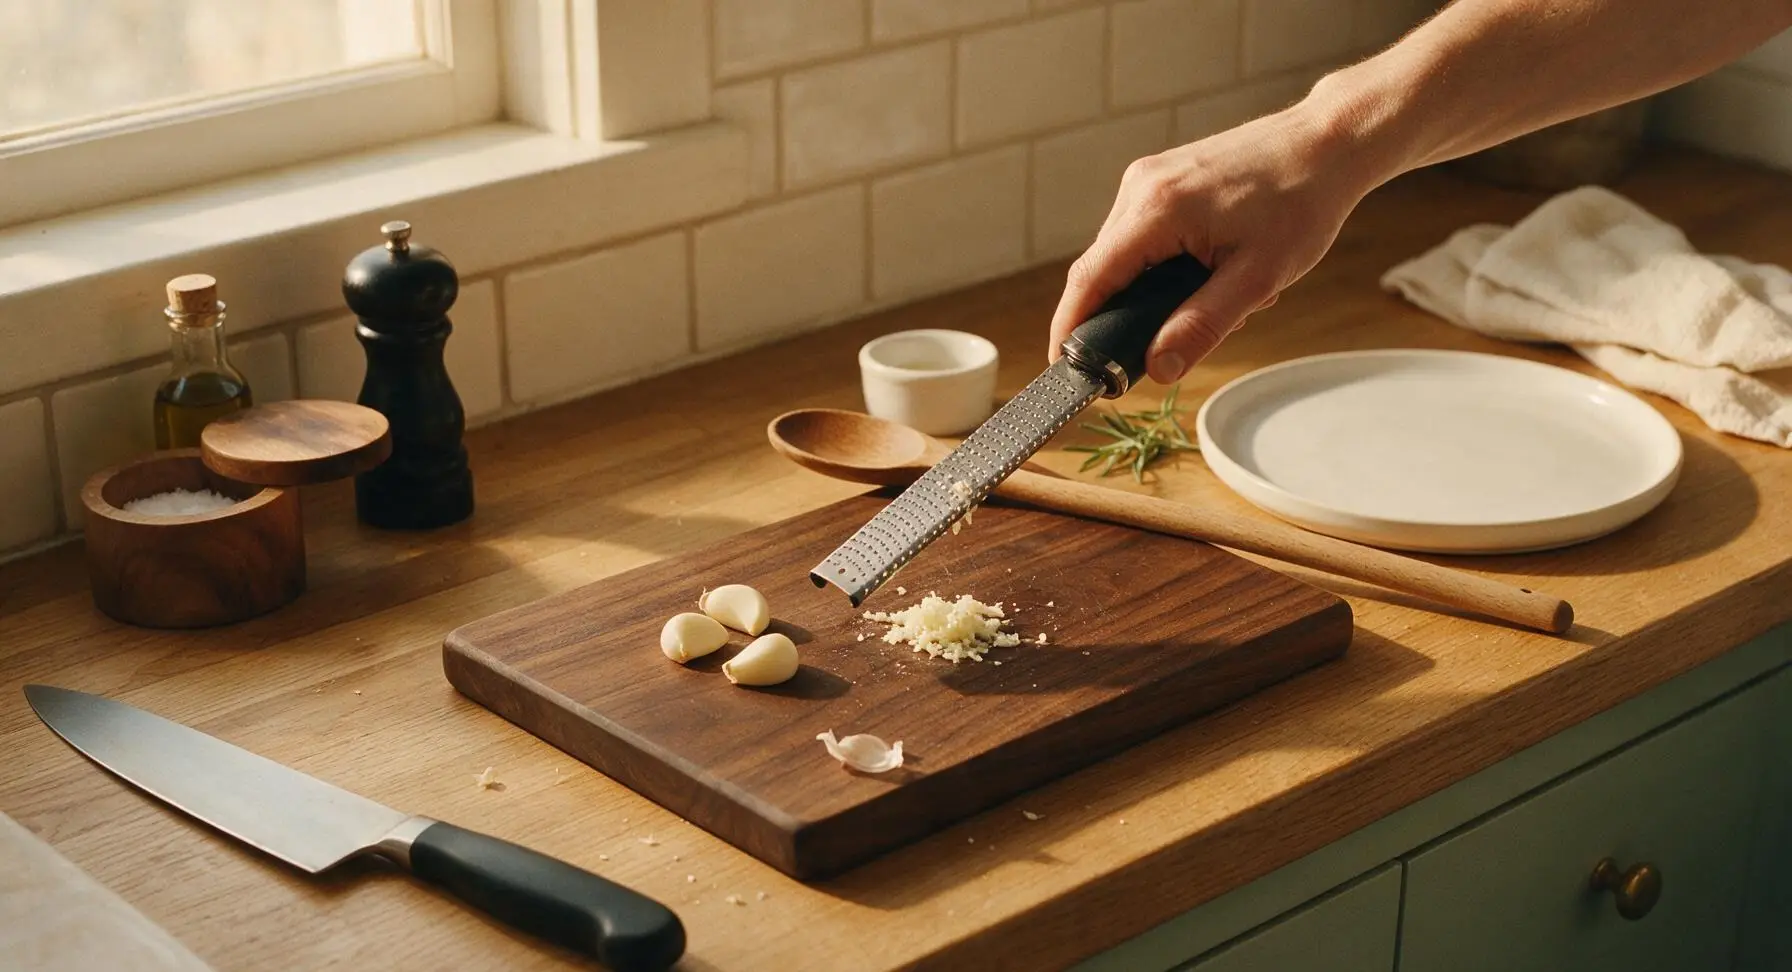
Step 1
step1:Prep and grate garlic
2

Mix emulsion base

Scoop the grated garlic paste into the center-placed wide-mouth mason jar. Add the room-temperature pasteurized egg yolk, 1 teaspoon Dijon mustard, 1 tablespoon fresh lemon juice, 1/4 teaspoon flaky sea salt, and a pinch of black pepper. Whisk the mixture vigorously with the stainless steel whisk for 30 seconds until completely smooth, pale yellow, and slightly frothy. This stable, well-mixed base prevents the mayo from separating as you add oil.
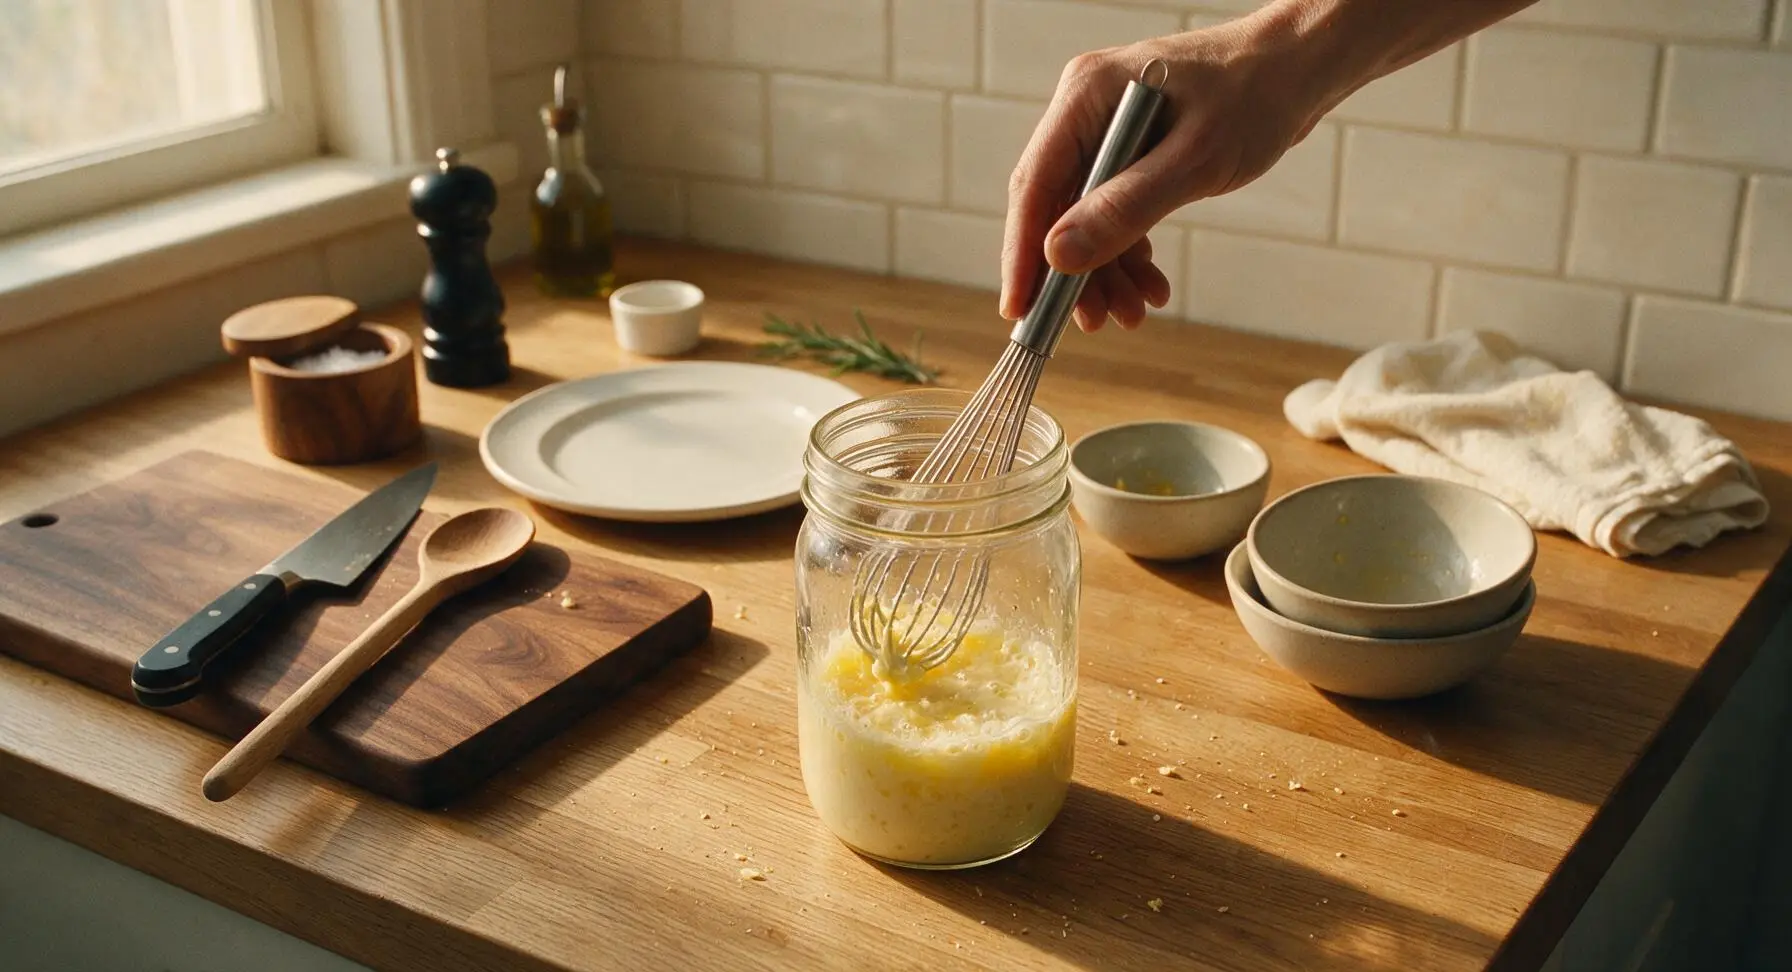
Step 2
step2:Mix emulsion base
3

Start slow oil addition

Attach the blending wand to the immersion blender, and lower it all the way to the bottom of the mason jar so it sits directly over the egg yolk mixture. With the blender running on low speed, very slowly drizzle in the first 1/4 cup of neutral grapeseed oil, holding the blender completely still at the bottom of the jar. Do not lift or move the blender yet—after about 20 seconds, you will see a thick, pale creamy emulsion start to form at the bottom of the jar. This slow initial addition is the most critical step to avoid a broken, separated sauce.
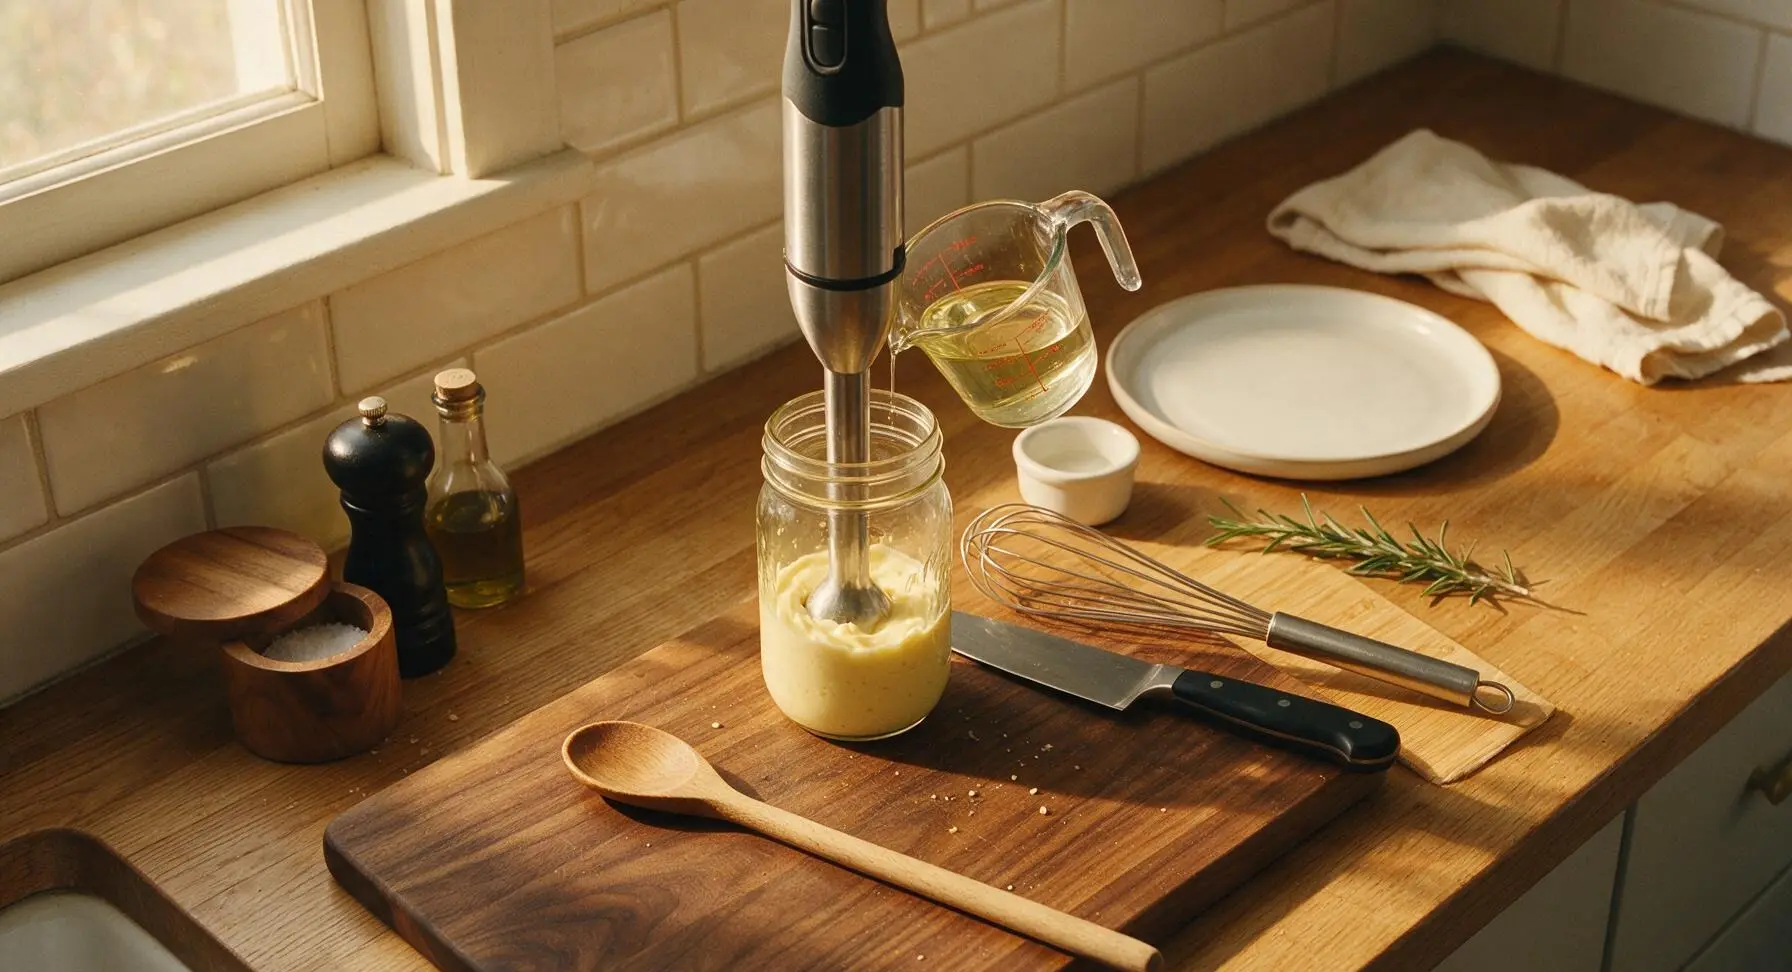
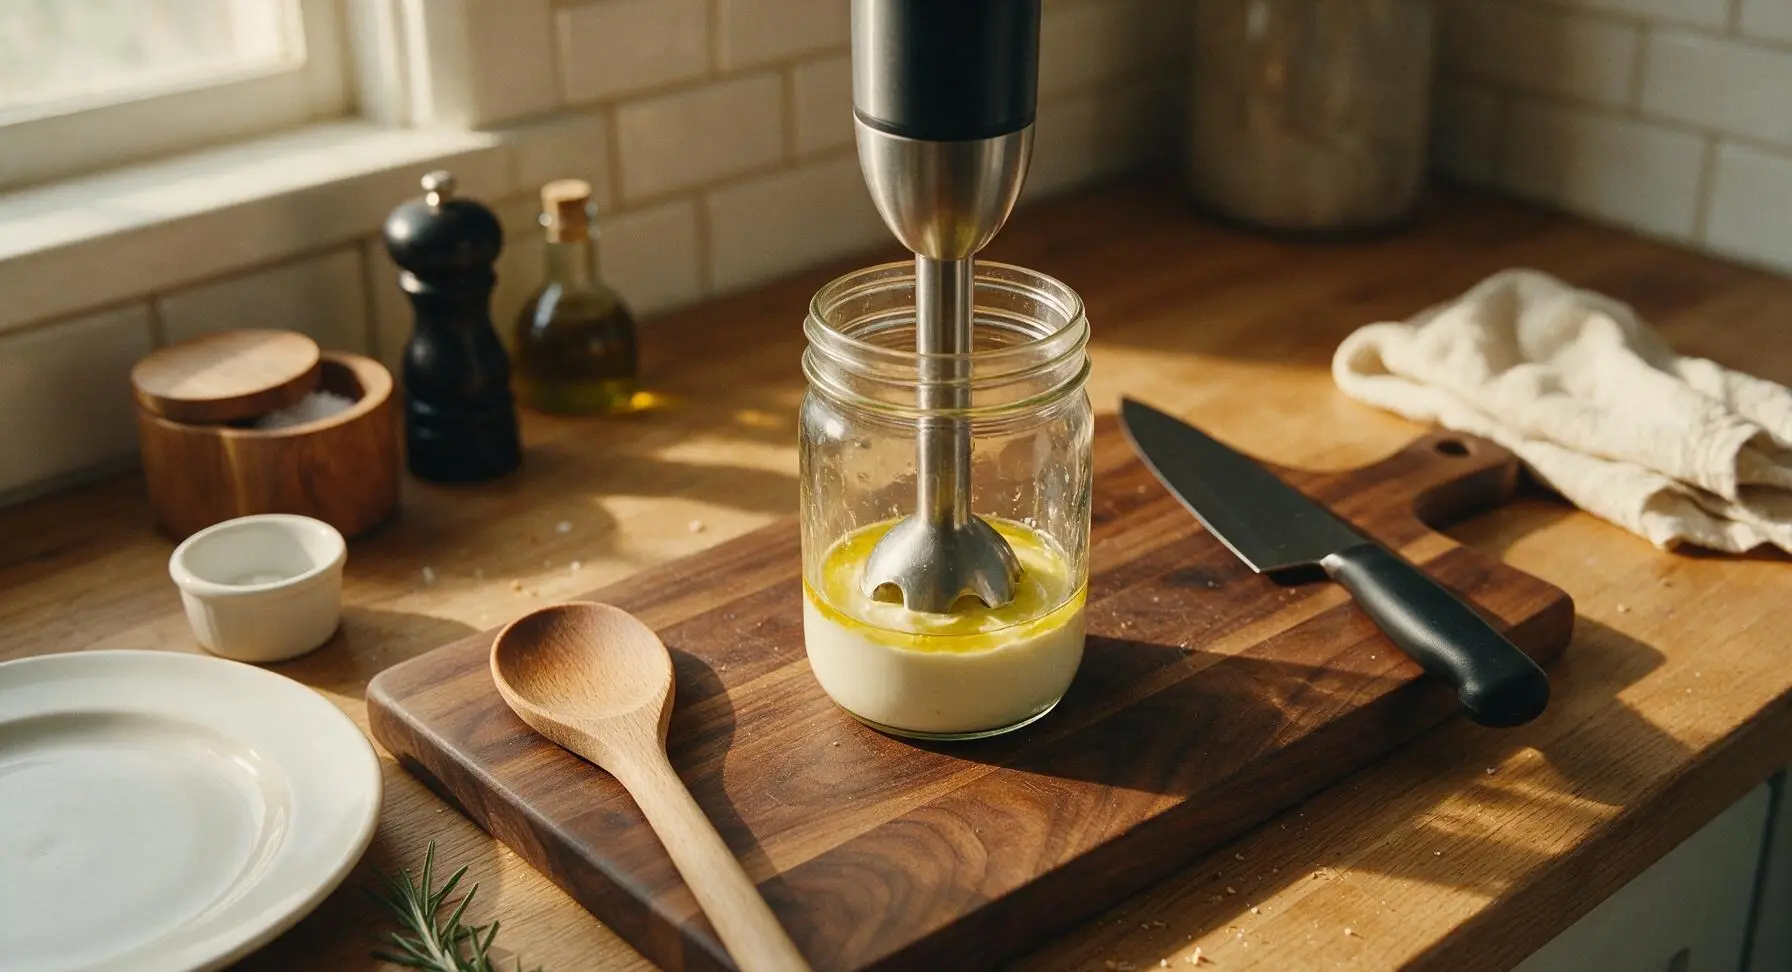
Step 3
step3:Start slow oil addition
Step 3
step3:Start slow oil addition
4

Blend in remaining oil

Once the thick base emulsion forms, slowly lift the immersion blender up and down in gentle, short 1-inch motions as you continue to drizzle in the remaining 1/2 cup of neutral oil in a thin, steady stream. The entire blending process should take about 2 minutes total. As you blend, the mixture will thicken into a rich, spreadable consistency that holds soft peaks. If the sauce feels too thick, stir in 1 teaspoon of cold water at a time to reach your preferred dippable texture.
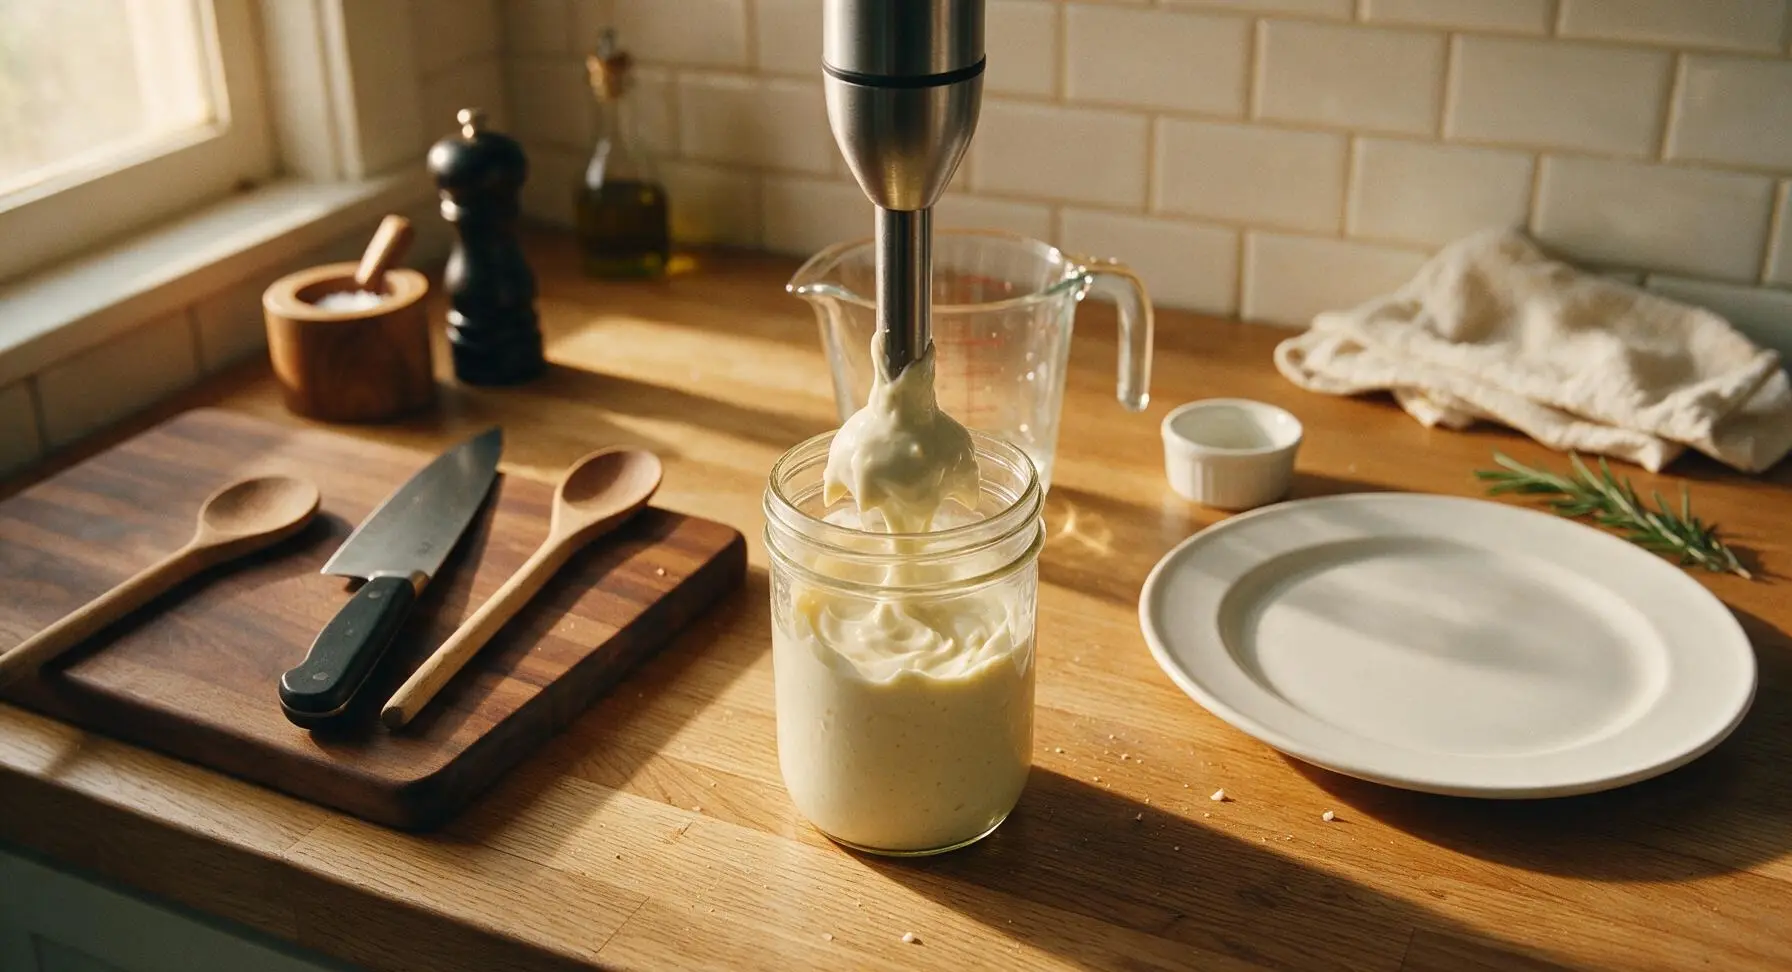
Step 4
step4:Blend in remaining oil
5

Adjust seasoning levels

Turn off the immersion blender and lift it from the jar, letting excess sauce drip back into the jar. Stir in the 1 tablespoon of extra-virgin olive oil with the whisk, then taste the sauce. Add the remaining 1/4 teaspoon flaky salt, remaining black pepper, and an extra 1/2 teaspoon lemon juice if you prefer a brighter, tarter flavor. The finished sauce should taste rich, garlicky, and bright, not flat or overly oily.
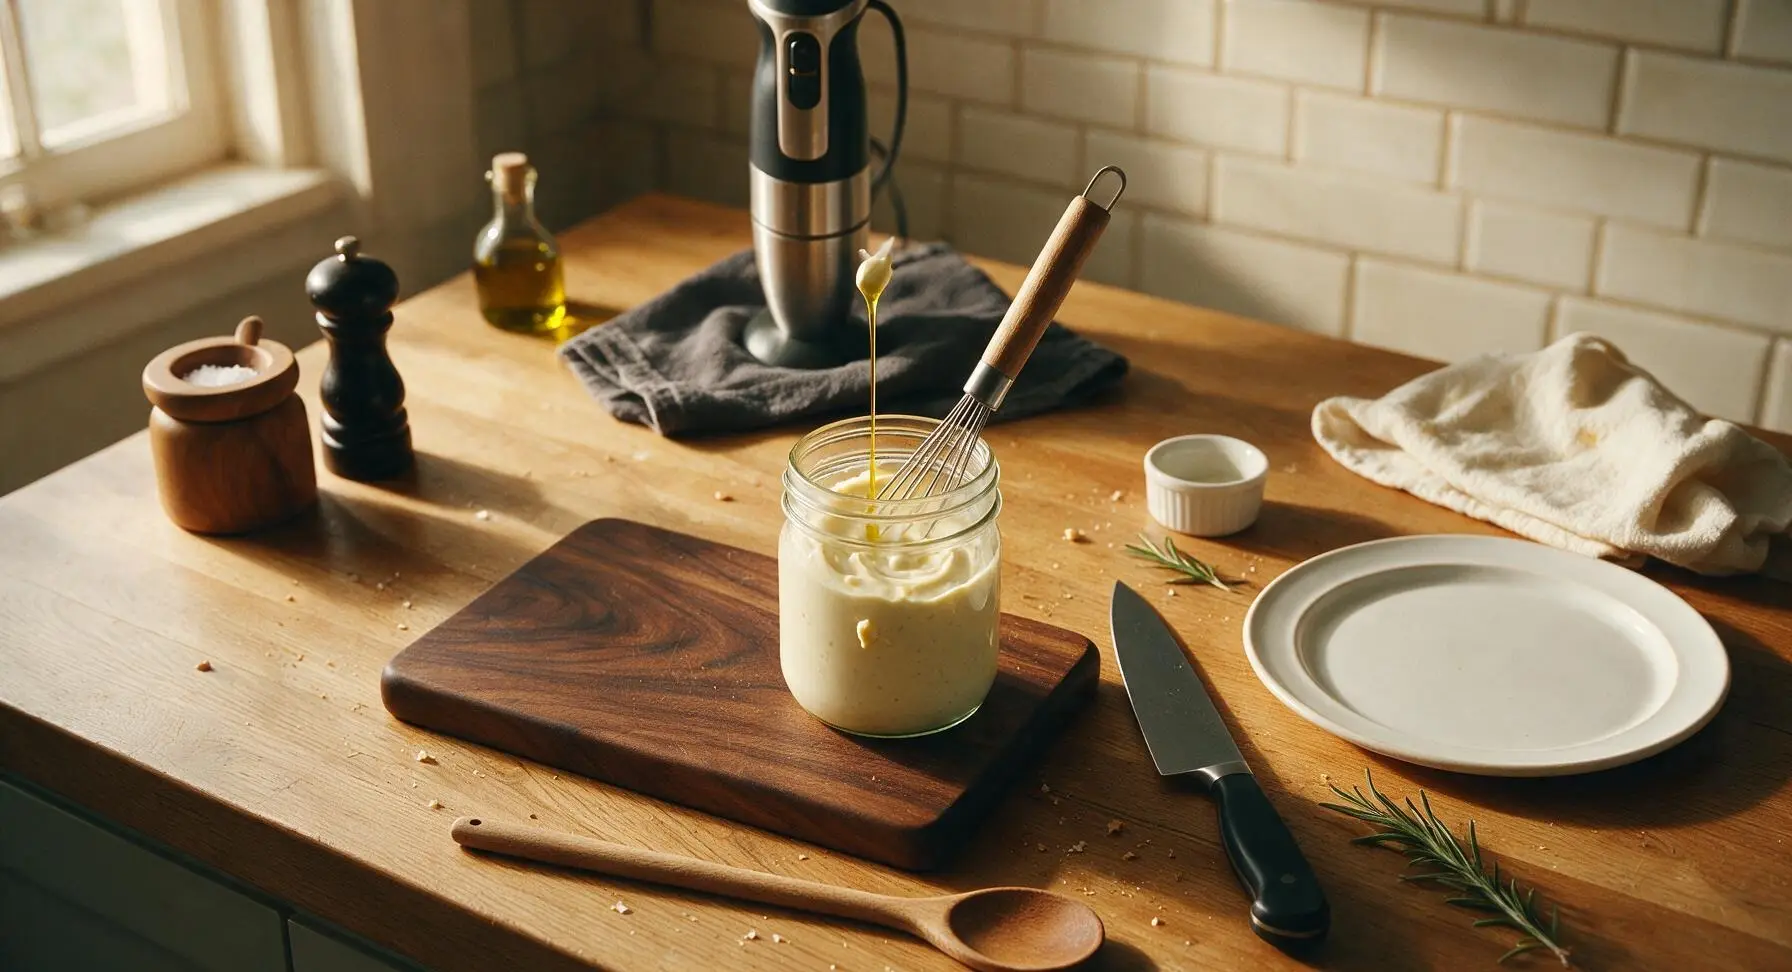
Step 5
step5:Adjust seasoning levels
6

Let sauce rest briefly

Scrape down the sides of the mason jar with the whisk to incorporate any unblended bits, then let the sauce rest at room temperature for 5 minutes. This resting time allows the sharp, pungent raw garlic flavor to mellow slightly and meld with the creamy base, rather than tasting harsh and bitey.
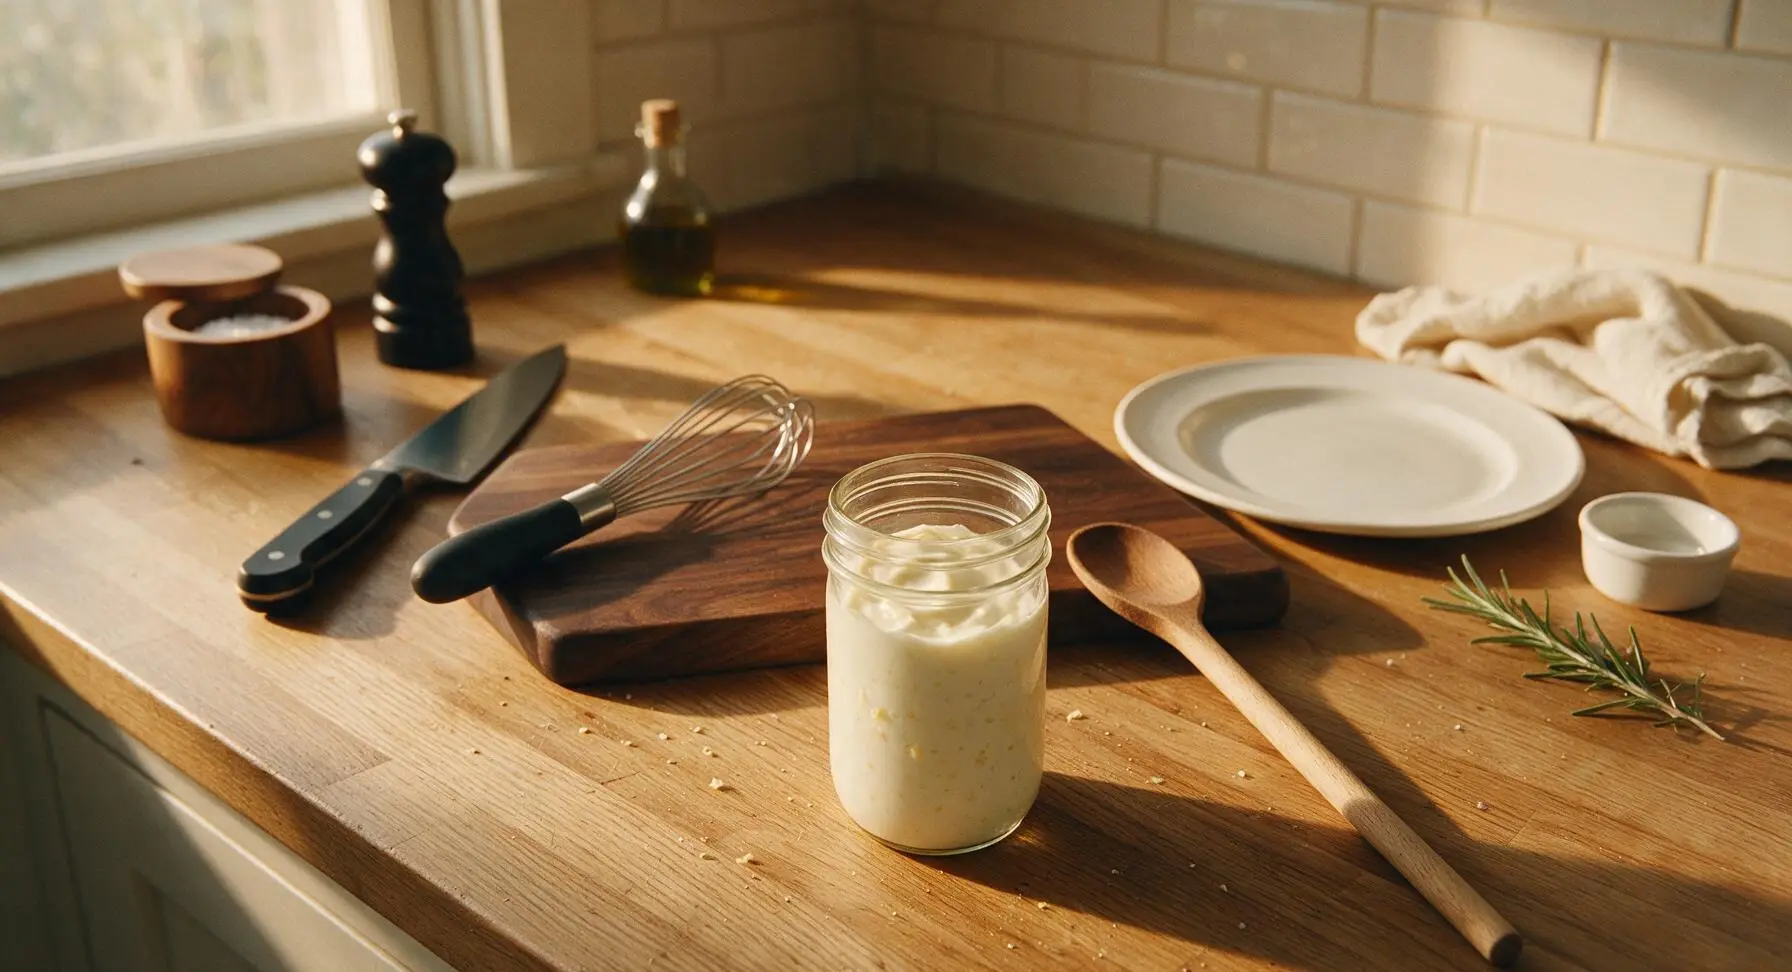
Step 6
step6:Let sauce rest briefly
7

Transfer to serving dish

Use the stainless steel serving spoon to scoop the rested garlic mayo into the matte cream ceramic serving ramekin, smoothing the top into a soft swirl with the back of the spoon. Drizzle a tiny drop of extra-virgin olive oil across the top, and add a light crack of black pepper and a single small parsley leaf for garnish. Serve immediately, or refrigerate in a sealed airtight container for up to 3 days.
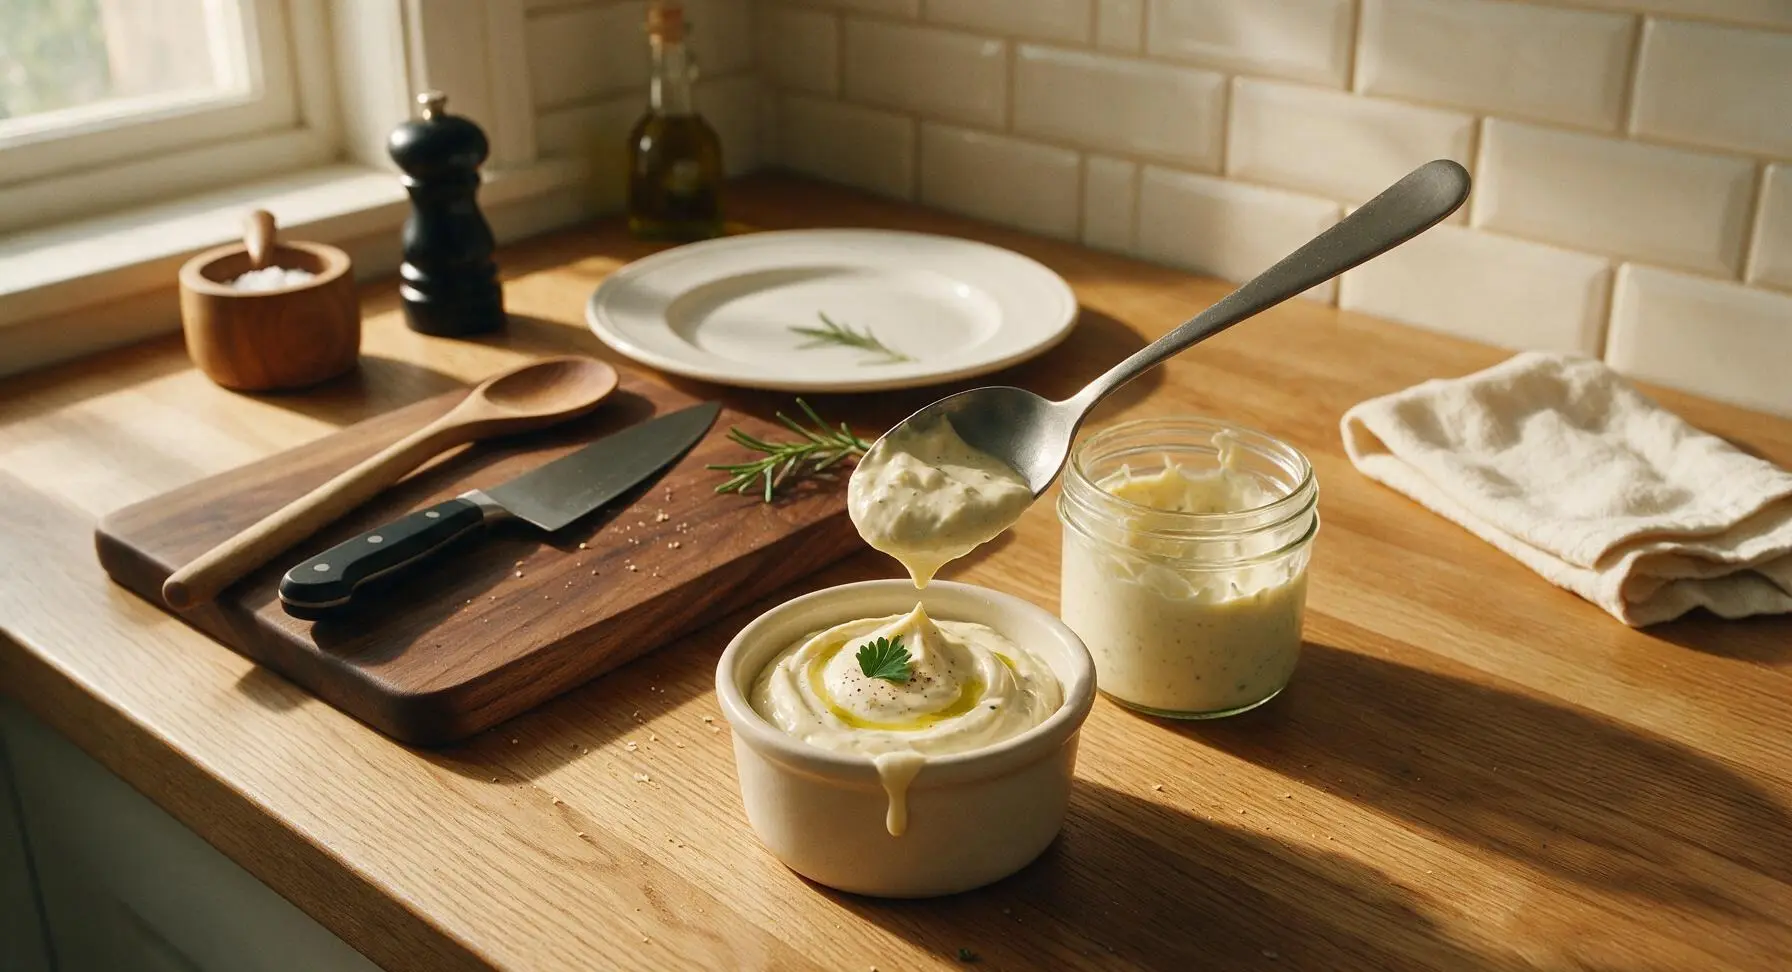
Step 7
step7:Transfer to serving dish

Tips

1.Always use a room-temperature pasteurized egg yolk for the emulsion: cold yolk will not bind with oil as easily, leading to a broken, runny sauce that refuses to thicken. If you forget to pull your egg out ahead of time, submerge the whole cold egg in a bowl of warm tap water for 5 minutes to bring it to temperature quickly. Pasteurized eggs are recommended for safe raw consumption, especially for pregnant people or those with compromised immune systems.
2.Always remove the small green inner sprout from older garlic cloves before grating: this sprout contains harsh, bitter compounds that will make your garlic mayo taste sharp and unpleasant, rather than smooth and mellow. Fresh, young early-summer garlic will not have a developed sprout and can be used as-is.
3.If your sauce breaks (separates into oily, lumpy clumps instead of staying smooth), do not throw it out. Add 1 teaspoon of boiling water to a clean small bowl, then slowly whisk the broken sauce into the hot water one spoonful at a time until it re-emulsifies into a thick, smooth, glossy consistency.


✨ You May Also Like

BBQ & Grilling
🍜 United States

Tender, melt-in-your-mouth beef brisket with a crisp, spiced bark, slow-smoked to deep smoky perfection, the iconic centerpiece of Texas backyard barbecue.

⏱️ 12 hours BBQ & Grilling ★ 4.4
BBQ & Grilling
🍜 Korea

Tender, sweet-savory marinated beef short ribs, a beloved Korean BBQ staple with caramelized, slightly charred edges and deep umami flavor, perfect for outdoor summer gatherings.

⏱️ 4 hours 2BBQ & Grilling ★ 4.8
BBQ & Grilling
🍜 United States

Juicy grilled beef patties topped with smoky homemade chili, melted cheddar, and tangy pickles on toasted brioche buns for a hearty, flavor-packed handheld meal.

⏱️ 40 minuteBBQ & Grilling ★ 4.7
BBQ & Grilling
🍜 United States

A sweet, smoky, tangy BBQ sauce brightened with peak-season dark cherries, ideal for glazing grilled ribs, chicken, pork, or summer roasted veggies.

⏱️ 35 minuteBBQ & Grilling ★ 4.7
BBQ & Grilling
🍜 United States

Rich, smoky, slightly sweet homemade bourbon BBQ sauce with deep caramel notes, ideal for glazing grilled ribs, chicken, and burgers at cookouts.

⏱️ 25 minuteBBQ & Grilling ★ 4.7
BBQ & Grilling
🍜 United States

Iconic Alabama-style BBQ featuring tender hickory-smoked chicken slathered in tangy creamy white sauce, a beloved regional Southern cookout staple.

⏱️ 3 hoursBBQ & Grilling ★ 5

garlic mayo sauce:Frequently Asked Questions

1.How long does it take to make this homemade garlic mayo from start to finish? ▾
This no-cook sauce comes together in just 10 minutes flat, with zero stovetop or oven time required. All you need is a mixing bowl and whisk (or immersion blender for even faster results) to prep it, making it perfect for last-minute burger nights, quick fry dippers, or impromptu grilled veggie sides.
2.Is the raw egg yolk in this recipe safe to eat? ▾
This recipe calls for pasteurized large egg yolks, which are gently heat-treated to kill harmful bacteria like salmonella, making them completely safe to eat raw. As long as you use properly stored, in-date pasteurized yolks, there’s no elevated food safety risk for kids, pregnant people, or anyone with a weaker immune system.
3.Why do you recommend grapeseed or canola oil instead of olive oil? ▾
Grapeseed and canola are neutral-tasting oils that let the bright garlic, tangy lemon, and subtle Dijon flavor shine through. Extra virgin olive oil has a strong, bitter, grassy profile that can overpower the delicate, velvety mayo base and even create an unpleasant bitter aftertaste if over-whisked.
4.My mayo separated and turned runny—how do I fix it? ▾
Broken, separated mayo is super easy to rescue! Grab a fresh bowl, add 1 teaspoon of warm water or an extra teaspoon of Dijon mustard, then slowly drizzle in your broken mayo mixture while whisking nonstop. It will re-emulsify into that thick, velvety texture you want in 30 to 60 seconds, no wasted ingredients needed.
5.How long will this garlic mayo stay fresh in the refrigerator? ▾
Stored in a sealed, airtight glass jar or food storage container, this garlic mayo will stay fresh for up to 1 week in a refrigerator set to 40°F or colder. Don’t leave it out at room temperature for more than 2 hours at a time, as the egg yolk base can spoil quickly in warm conditions.
6.Can I make this mayo without raw egg for a vegan version? ▾
Absolutely! For an egg-free, vegan swap, replace the pasteurized egg yolk with 2 tablespoons of chilled aquafaba (the thick liquid drained from a can of chickpeas) and keep all other ingredients the same. It emulsifies just as well, creates that same rich, creamy texture, and holds up for the full 1 week of fridge storage time.
7.How do I mellow sharp raw garlic so it doesn’t overpower the sauce? ▾
If you love garlic flavor but don’t want that harsh, sharp raw bite, you have two easy fixes: first, let your minced garlic sit in the fresh lemon juice for 5 minutes before mixing to soften its edge, or blanch peeled garlic cloves in boiling water for 30 seconds before mincing for a super mild, sweet garlic flavor.
8.Can I use jarred pre-minced garlic instead of fresh garlic cloves? ▾
I strongly recommend using fresh garlic cloves for the best, brightest flavor. Jarred pre-minced garlic is packed in water and preservatives that give it a flat, slightly metallic, bitter taste that throws off the fresh profile of this mayo. Fresh cloves only take 30 seconds to mince, so the flavor payoff is huge.
9.What should I do if my finished mayo tastes too oily? ▾
If your mayo tastes overly oily, that usually means you added the oil too fast while whisking, so it didn’t fully emulsify. Fix it by whisking in 1 to 2 teaspoons of extra fresh lemon juice or cold water, a little at a time, until the oily taste fades and the texture is light, creamy, and perfectly balanced.
10.What are the best ways to serve this garlic mayo? ▾
This velvety, bright sauce is incredibly versatile! Use it as a dip for crispy french fries or sweet potato tots, slather it on burgers and chicken sandwiches, toss it warm with grilled or roasted veggies, use it as a creamy base for potato salad, or drizzle it over fish tacos for a quick, flavorful kick.
11.Why is Dijon mustard included in this mayo recipe? ▾
Dijon mustard does double duty in this recipe: first, it adds a subtle, tangy depth of flavor that cuts through the richness of the oil and egg yolk, and second, it acts as an emulsifier that helps the oil and egg bind together faster, making it much harder for your mayo to break or separate while mixing.
12.Can I use a regular blender instead of a whisk to make this sauce? ▾
You absolutely can use a regular countertop blender or immersion blender to make this mayo—just be sure to run it on low speed, and drizzle the oil in a very slow, thin stream through the lid plug as it runs. Blending on high speed can over-process the mayo, making it gummy or bitter, so stick to low speed for the best texture.
13.How do I adjust the consistency for thicker or thinner mayo? ▾
It’s super easy to tweak the texture to your preference! If you want a thicker, stiffer mayo perfect for spreading on sandwiches, mix in an extra tablespoon of oil. If you want a thinner, drizzle-able consistency for dipping or dressing, whisk in 1 to 2 teaspoons of cold water or extra lemon juice until it hits your desired thickness.
14.Can I add extra herbs or seasonings to customize the flavor? ▾
Of course! This base garlic mayo is the perfect blank canvas for custom flavors. Stir in a pinch of smoked paprika, a tablespoon of chopped fresh parsley or dill, a dash of hot sauce for a spicy kick, a tablespoon of grated parmesan for a cheesy twist, or a pinch of cayenne to match whatever dish you’re serving it with.
15.Do I have to use fresh lemon juice, or is bottled lemon juice okay? ▾
Fresh lemon juice is always the best pick for this recipe, as bottled lemon juice has a flat, preservative-heavy tang that lacks the bright, zesty pop of fresh-squeezed. If you’re in a total pinch, bottled will work in a bind, but you’ll notice a big difference in flavor when you use juice from a fresh lemon.
16.Why is my homemade mayo pale yellow instead of bright white like store-bought? ▾
That soft pale yellow hue is totally normal and a sign you made real, high-quality homemade mayo! Store-bought mayo is often heavily processed and bleached to get that stark bright white color, but your homemade version gets its pale tint from the fresh egg yolk, signaling a richer, fresher flavor than any jarred store-bought option.

Comments (4)

2 days ago

OMG this garlic mayo is a total game changer! I whipped it up last night to go with our crispy air fryer fries for family dinner, and even my super picky 7-year-old asked for a second dollop. SO much better than the store-bought stuff loaded with weird unpronounceable preservatives. 10/10 will be making this weekly for meal prep too!

yesterday

Wait did you use regular olive oil or neutral oil for this? I tried making garlic mayo once a couple months back and it came out super bitter, wanna make sure I nail this for my weekend cookout!

yesterday

So happy your family loved the recipe, Mia! Quick tip for Jake too: reach for a neutral oil like canola or light olive oil for the smoothest, non-bitter flavor, and make sure your egg is room temperature when you start mixing—makes all the difference!

3 days ago

Brought this to our neighborhood potluck on Saturday to dip veggie sticks and toss into my potato salad, and people were begging me for the recipe before I even finished my first plate! It’s so easy I almost feel silly calling it an actual recipe, but the fresh garlic kick is totally unbeatable. Already made a second batch to keep in the fridge for quick lunches this week.

2 hours ago

Wait, zero cook time?! I was so skeptical I could make a good mayo without any fancy equipment or cooking steps, but this came together in 5 minutes flat with my immersion blender. I added a tiny squeeze of fresh lemon and a pinch of smoked paprika like I do with store-bought mayo, and it was chef’s kiss. Only tiny note is I wish the base recipe made a bigger batch!

30 minutes ago

So glad it turned out well for you, Luna! You can absolutely double or even triple the recipe if you want a bigger batch to keep on hand—just store it in an airtight container in the fridge, and it stays fresh for up to a week!

1 week ago

Used this as a spread on my blackened fish tacos last night and HOLY COW it was SO good. I stirred in a little chopped cilantro and a dash of chipotle hot sauce, and my roommate said it tasted exactly like the sauce from our favorite taco spot down the street. Easy, cheap, way better than paying $7 for a tiny jar of fancy garlic aioli at the grocery store.

5 days ago

Oh the cilantro and chipotle hot sauce add is genius! I’m making fish tacos for my partner’s birthday dinner next weekend, definitely gonna steal that hack. Thanks for the idea!



