
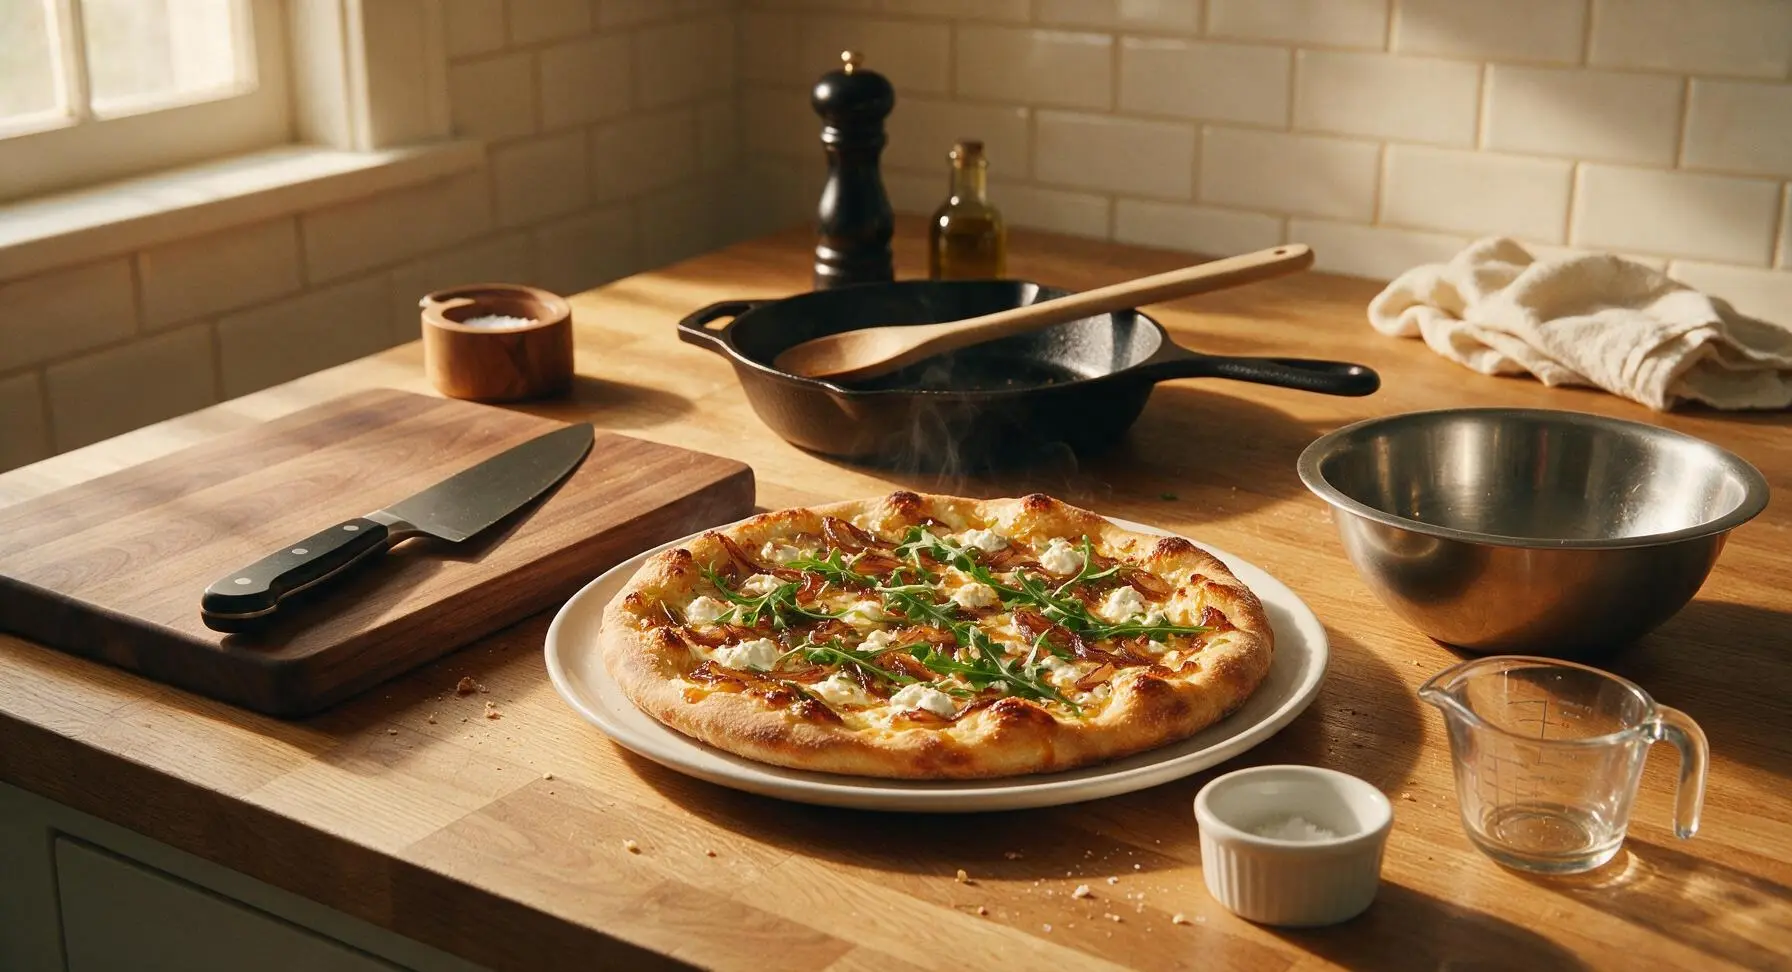
Goat Cheese Pizza

title 1
Goat Cheese Pizza
⏱️ cook time 25 minutes
🍽️ servings 4
⚡ Difficulty medium

intro

Crispy, blistered pizza crust topped with tangy goat cheese, sweet caramelized onions, peppery arugula, and a hint of honey for a balanced, restaurant-worthy home meal.

Ingredients
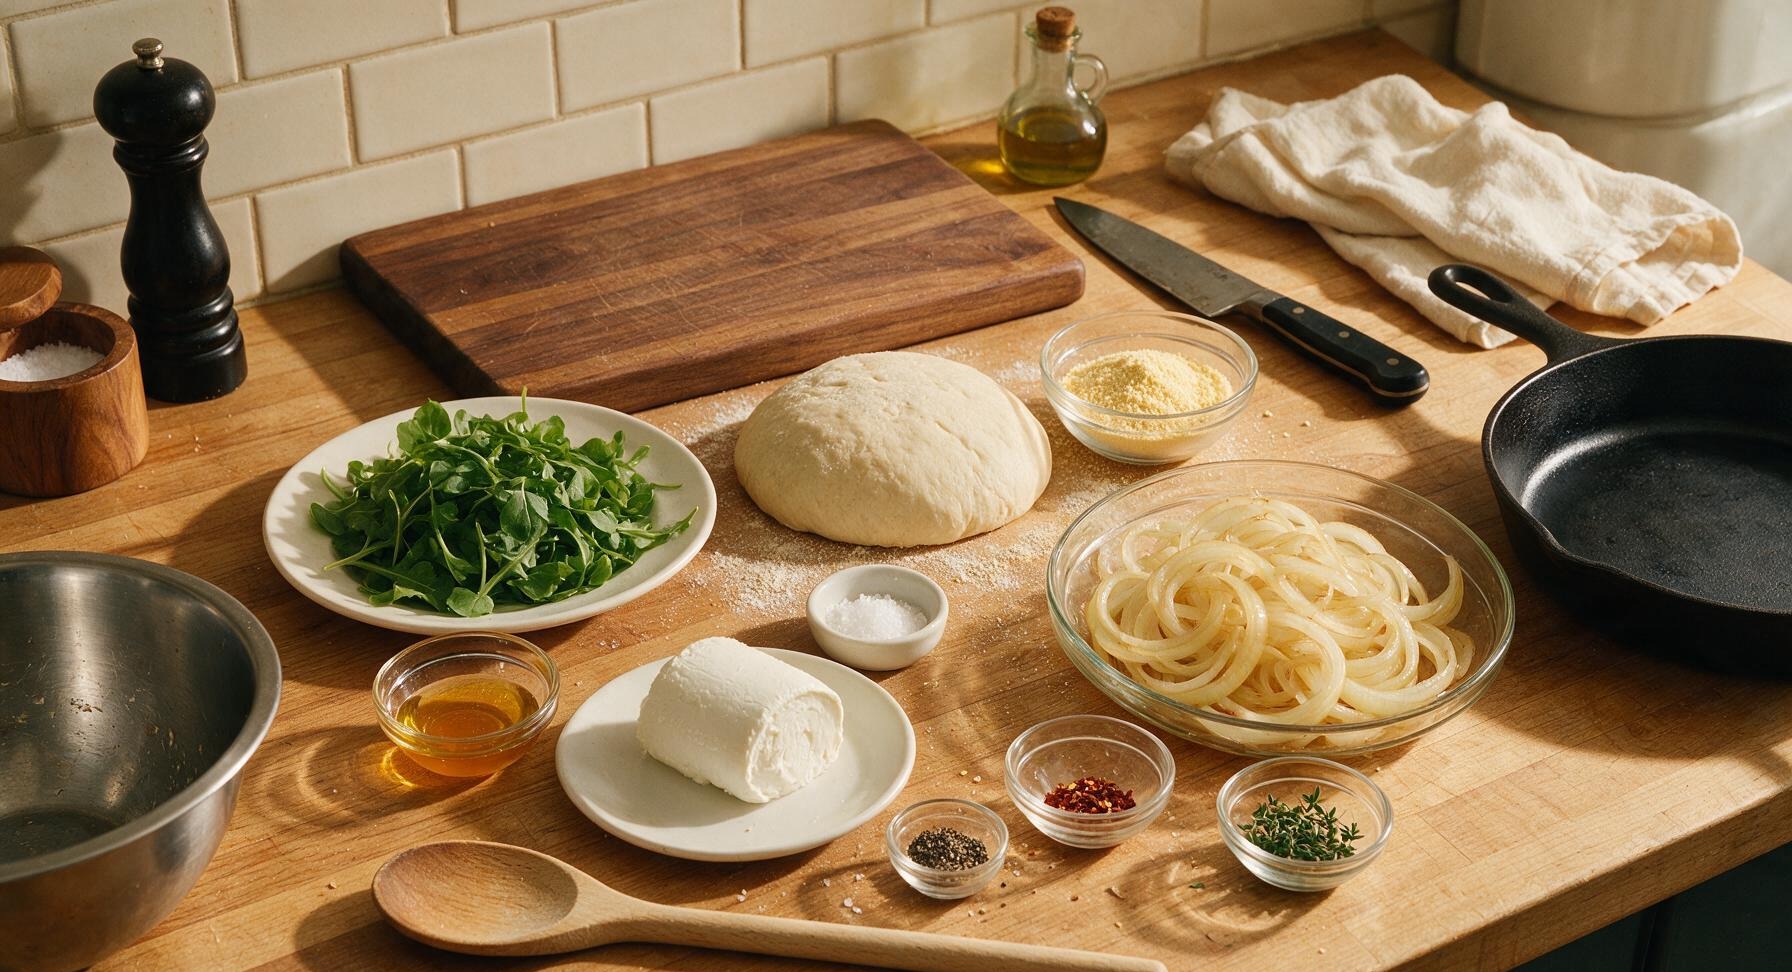
Pizza dough, room temperature 1 lb (450g)
Semolina flour 2 tbsp
Yellow onions, thinly sliced 2 medium
Fresh soft goat cheese, chilled 4 oz (113g)
Extra virgin olive oil 2 tbsp
Fresh baby arugula 2 cups
Wildflower honey, plus extra for serving 1 tbsp
Flaky sea salt 1 tsp
Freshly cracked black pepper 1/2 tsp
Red pepper flakes (optional) 1/4 tsp
Fresh thyme leaves, picked 1 tsp

Steps

1

Preheat Oven and Stone

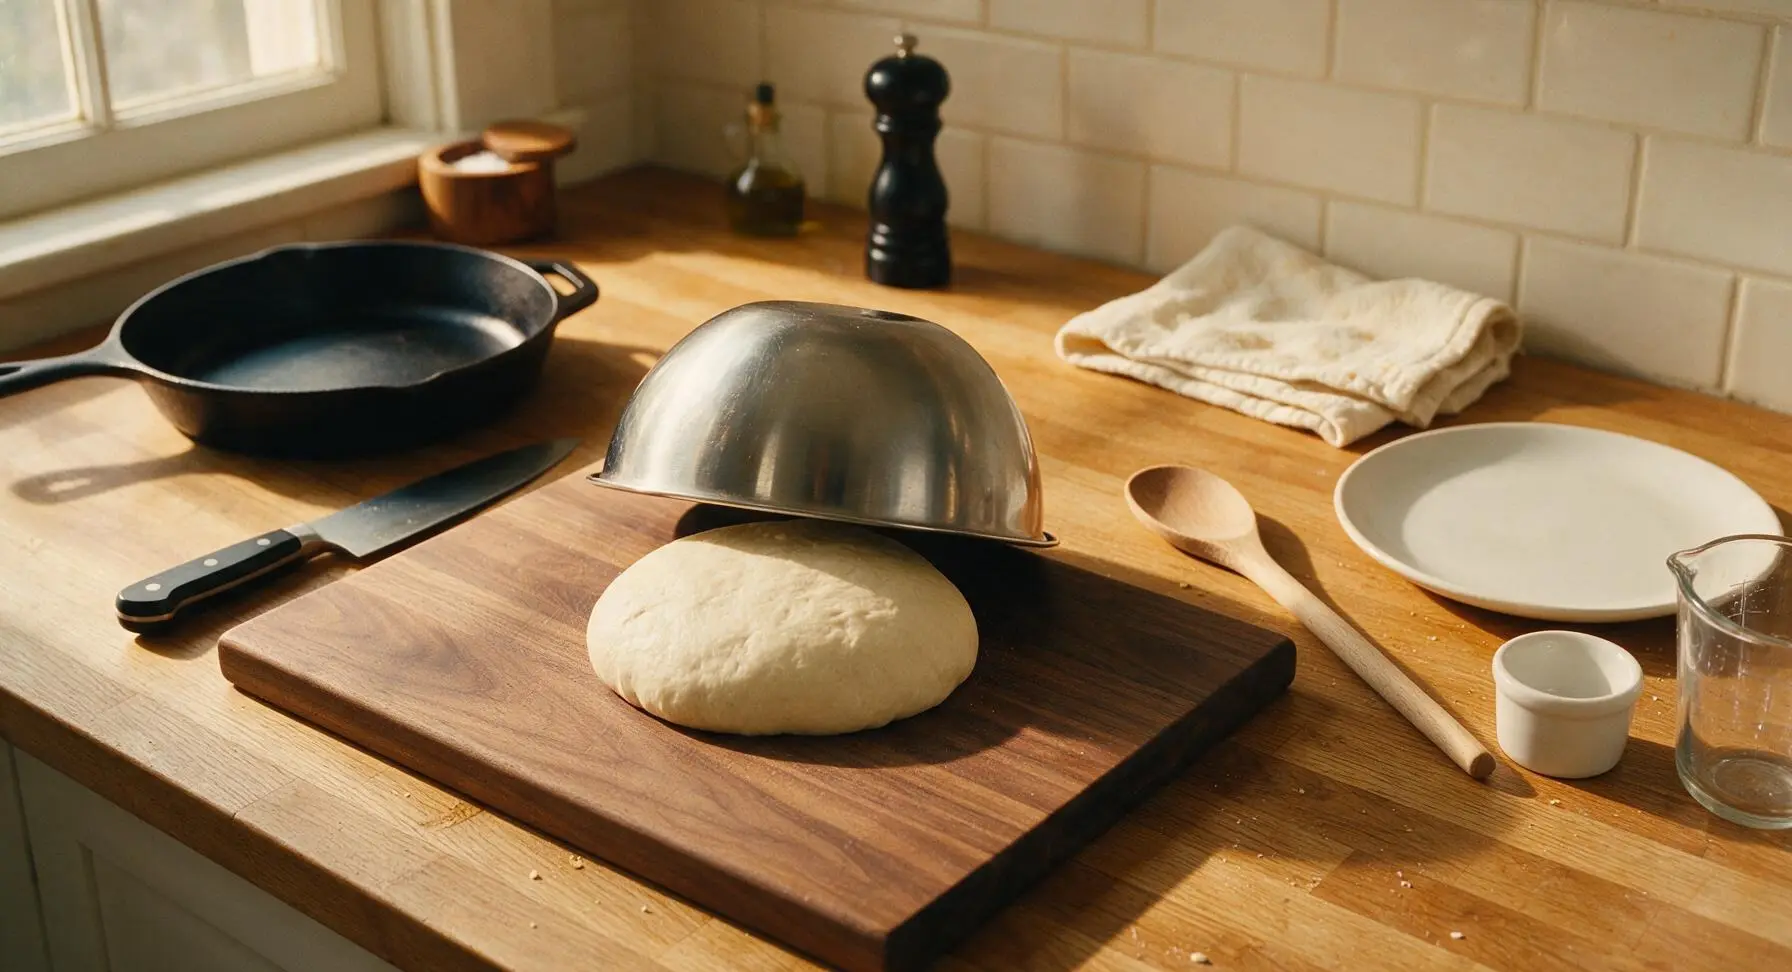
Place a pizza stone on the middle rack of your oven, then preheat oven to 500°F (260°C) for at least 30 minutes before baking to ensure the stone is fully hot; this creates a crispy, blistered crust without sogginess. While the oven preheats, rest your room-temperature pizza dough on the acacia cutting board, loosely covered with the inverted stainless steel mixing bowl, for 15 minutes to relax the gluten so it stretches easily.
Step 1
step1:Preheat Oven and Stone
2

Caramelize Sweet Onions

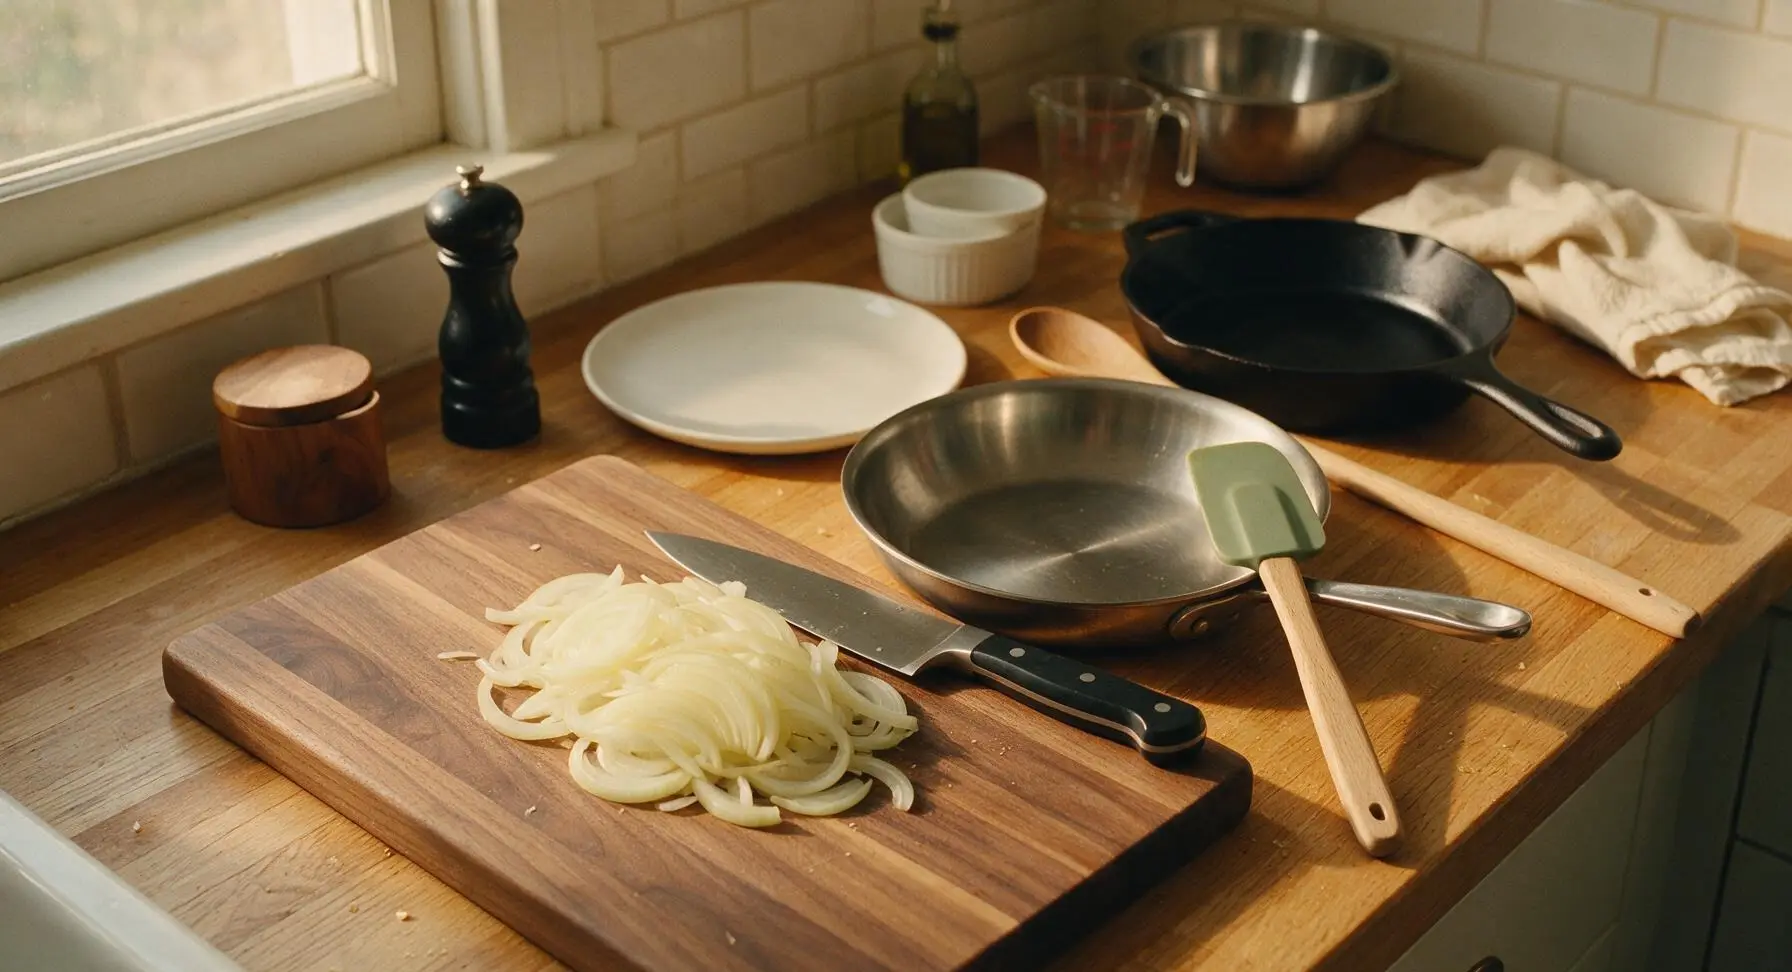
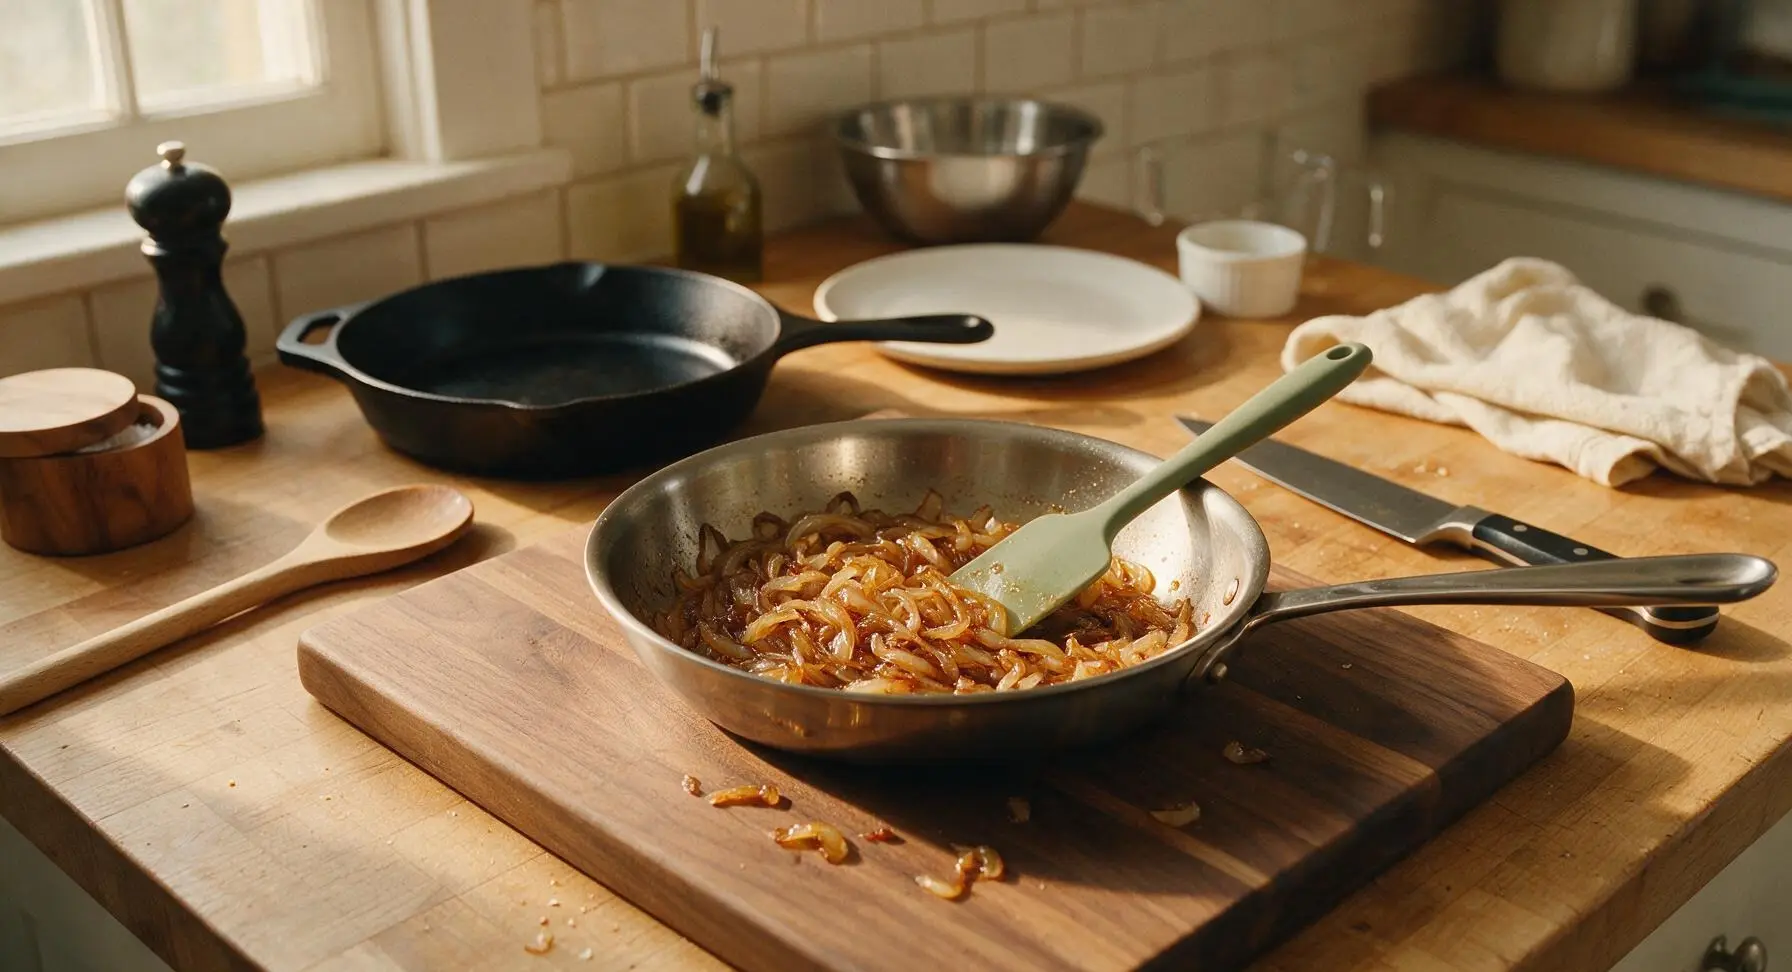
Heat 1 tablespoon of olive oil in the 8-inch stainless steel skillet over medium-low heat. Add the thinly sliced yellow onions and 1/4 teaspoon of sea salt, stirring with the sage green silicone spatula to coat. Cook for 12-15 minutes, stirring every 2-3 minutes, until onions are deep golden amber, soft, and sweet, with no crisp raw edges remaining. Remove from heat and set aside to cool slightly.
Step 2
step2:Caramelize Sweet Onions
Step 2
step2:Caramelize Sweet Onions
3

Stretch Dough to Size

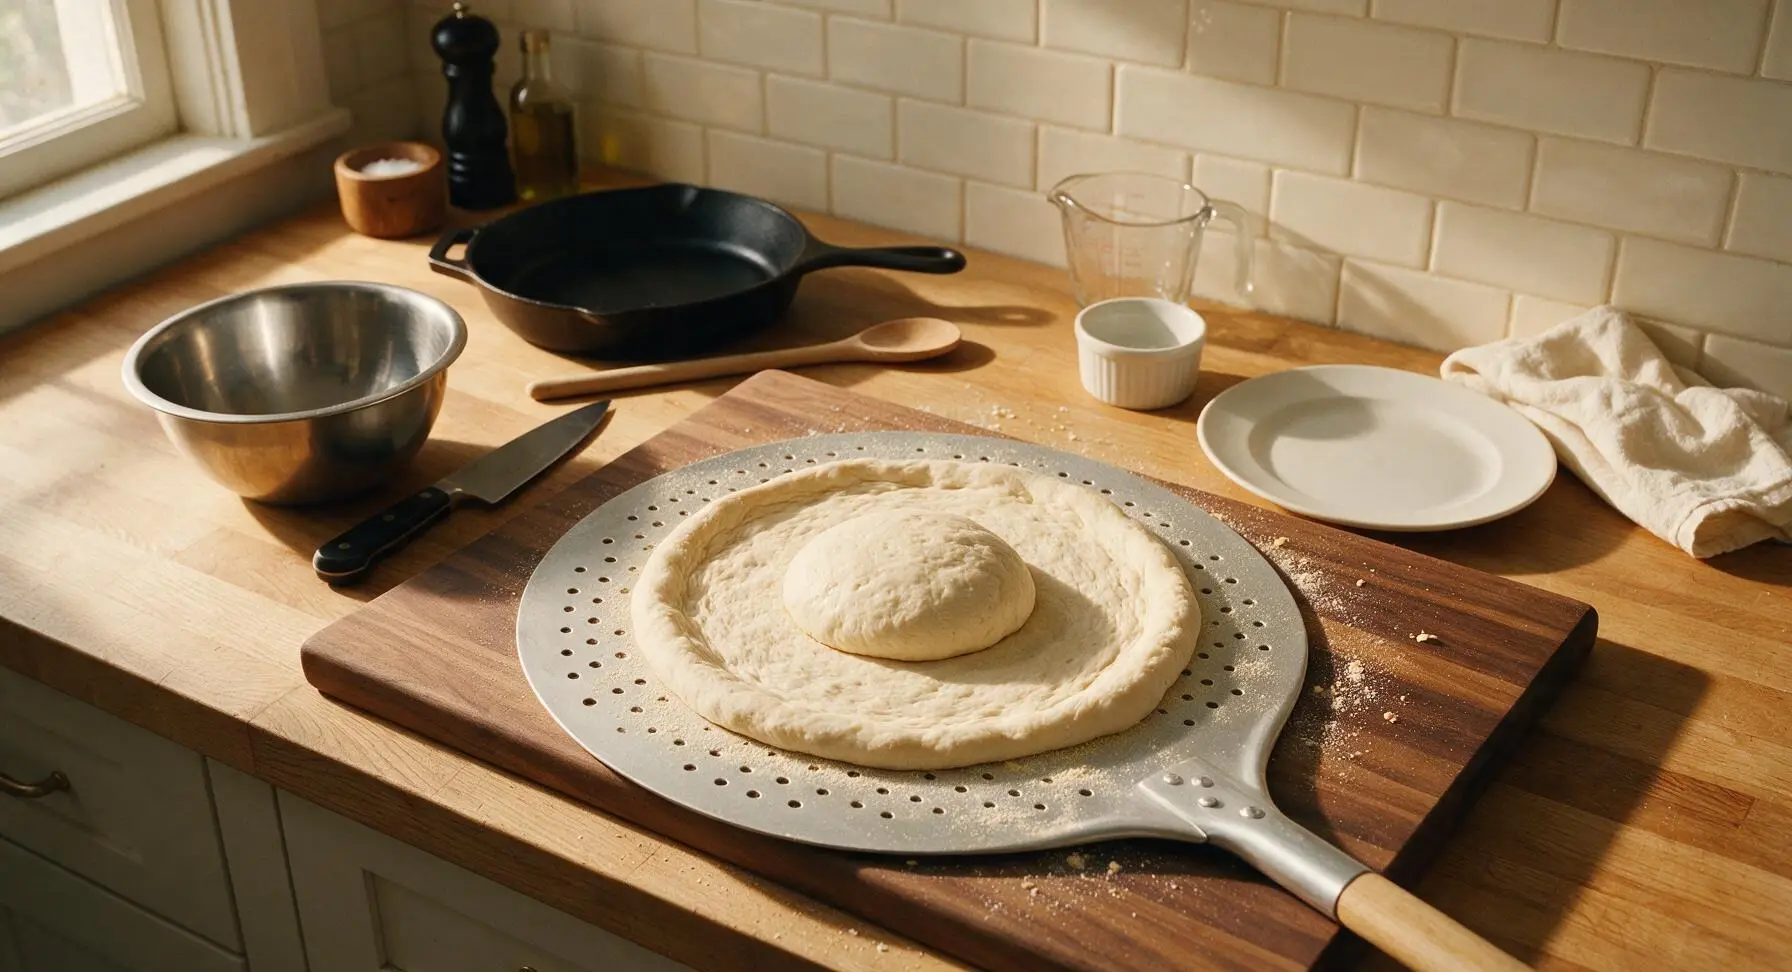
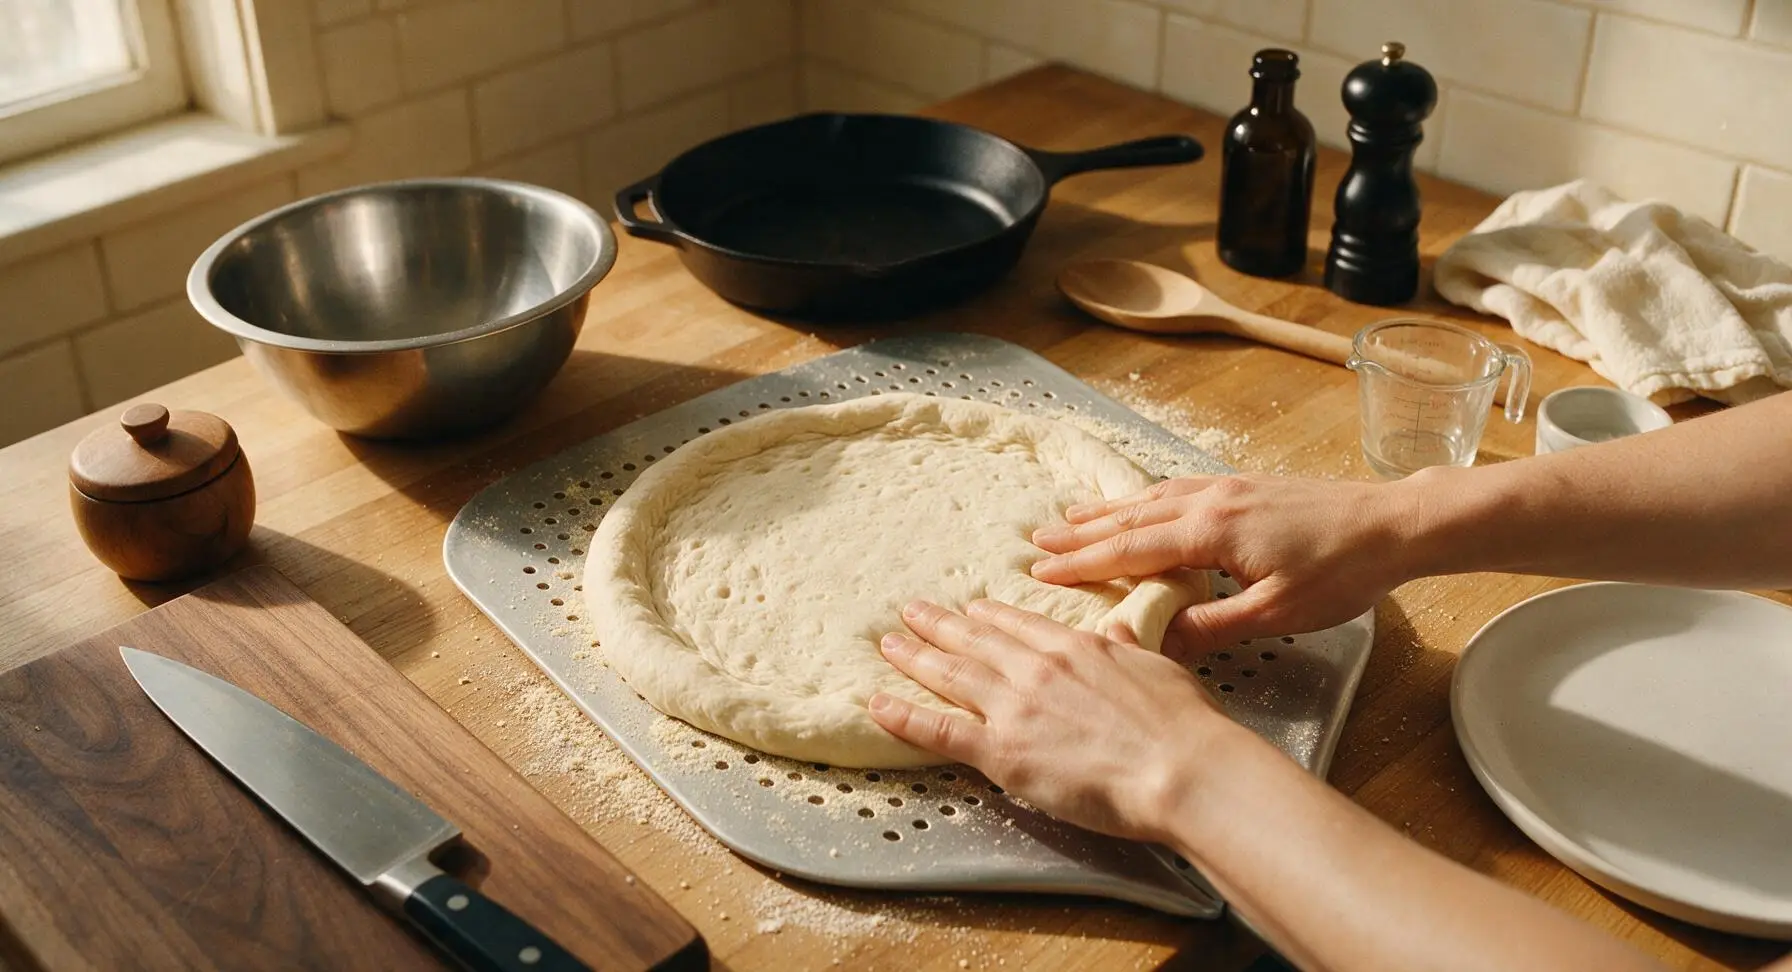
Remove the inverted mixing bowl from the rested dough ball. Lightly dust the perforated aluminum pizza peel with the 2 tablespoons of semolina flour to prevent sticking. Place the dough ball in the center of the peel, then use your fingertips to press it gently outwards from the center into a 12-inch round, leaving a 1/2-inch thicker border for the crust. Do not use a rolling pin, as this will press out air bubbles and create a dense crust; the dough can have slightly uneven, rustic edges.
Step 3
step3:Stretch Dough to Size
Step 3
step3:Stretch Dough to Size
4

Layer Base Toppings

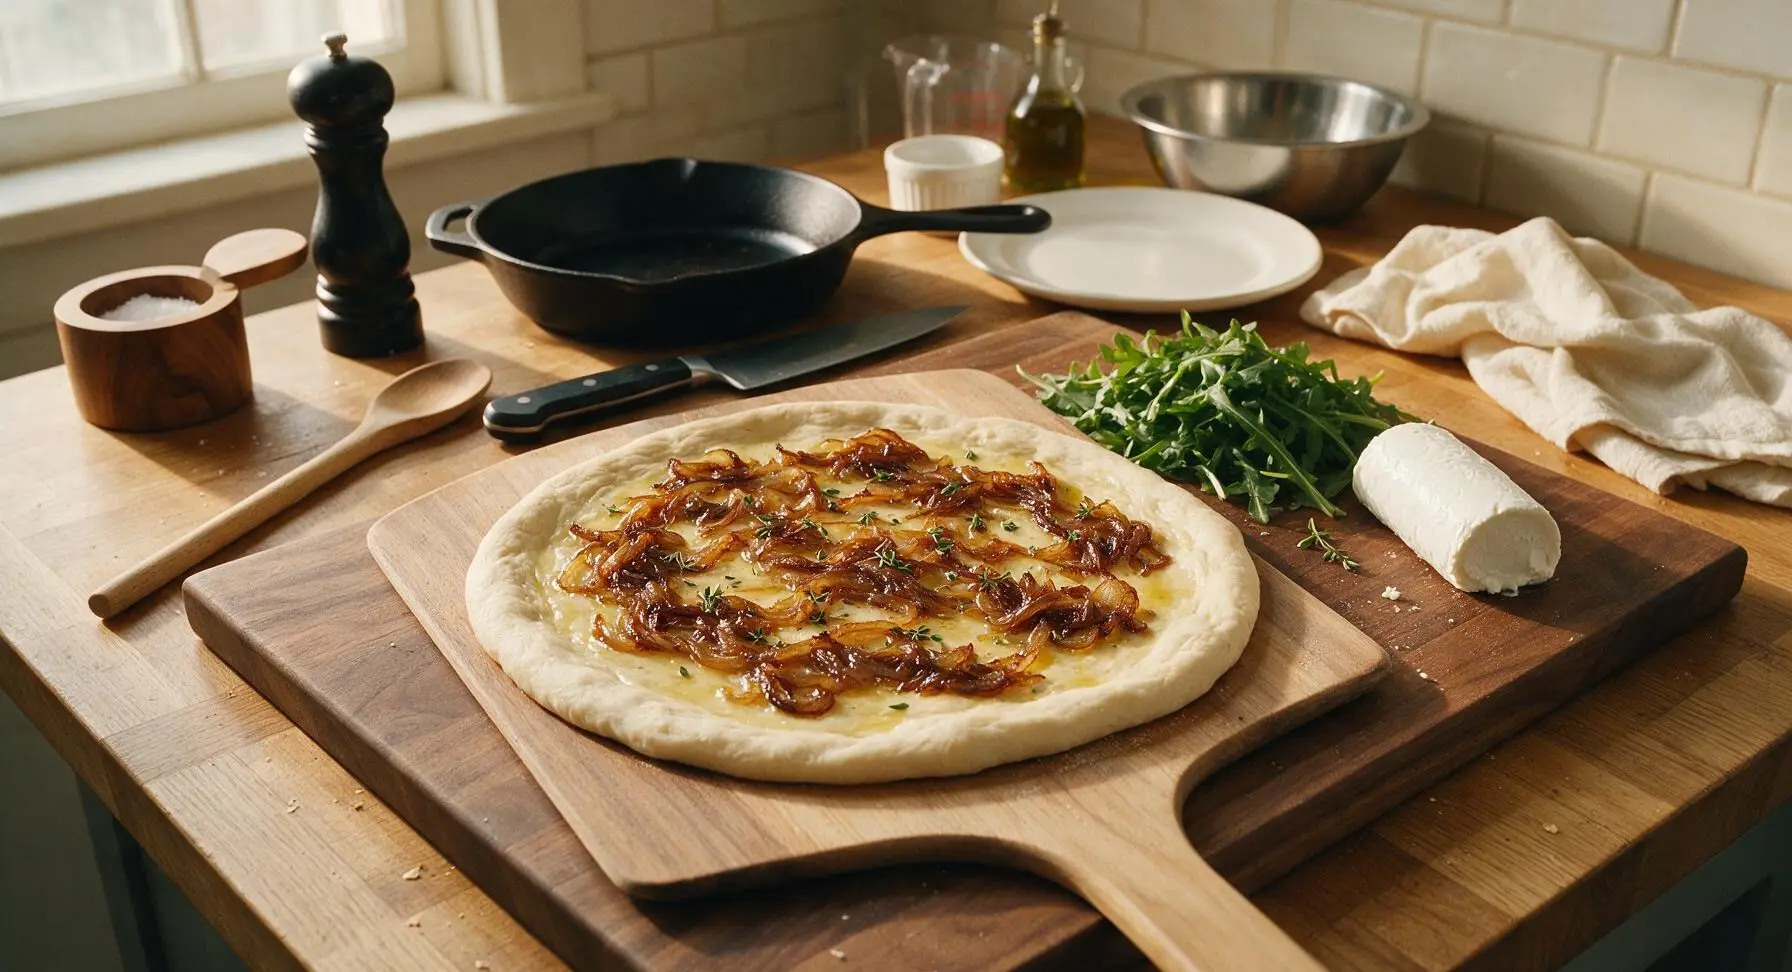
Drizzle the remaining 1 tablespoon of olive oil over the stretched dough surface, using your fingertips to spread it evenly across the center, leaving the 1/2-inch crust border dry. Sprinkle half of the flaky sea salt, half the black pepper, and the fresh thyme leaves over the oiled surface. Spread the cooled caramelized onions evenly across the dough, leaving the crust border clear.
Step 4
step4:Layer Base Toppings
5

Crumble Goat Cheese Evenly

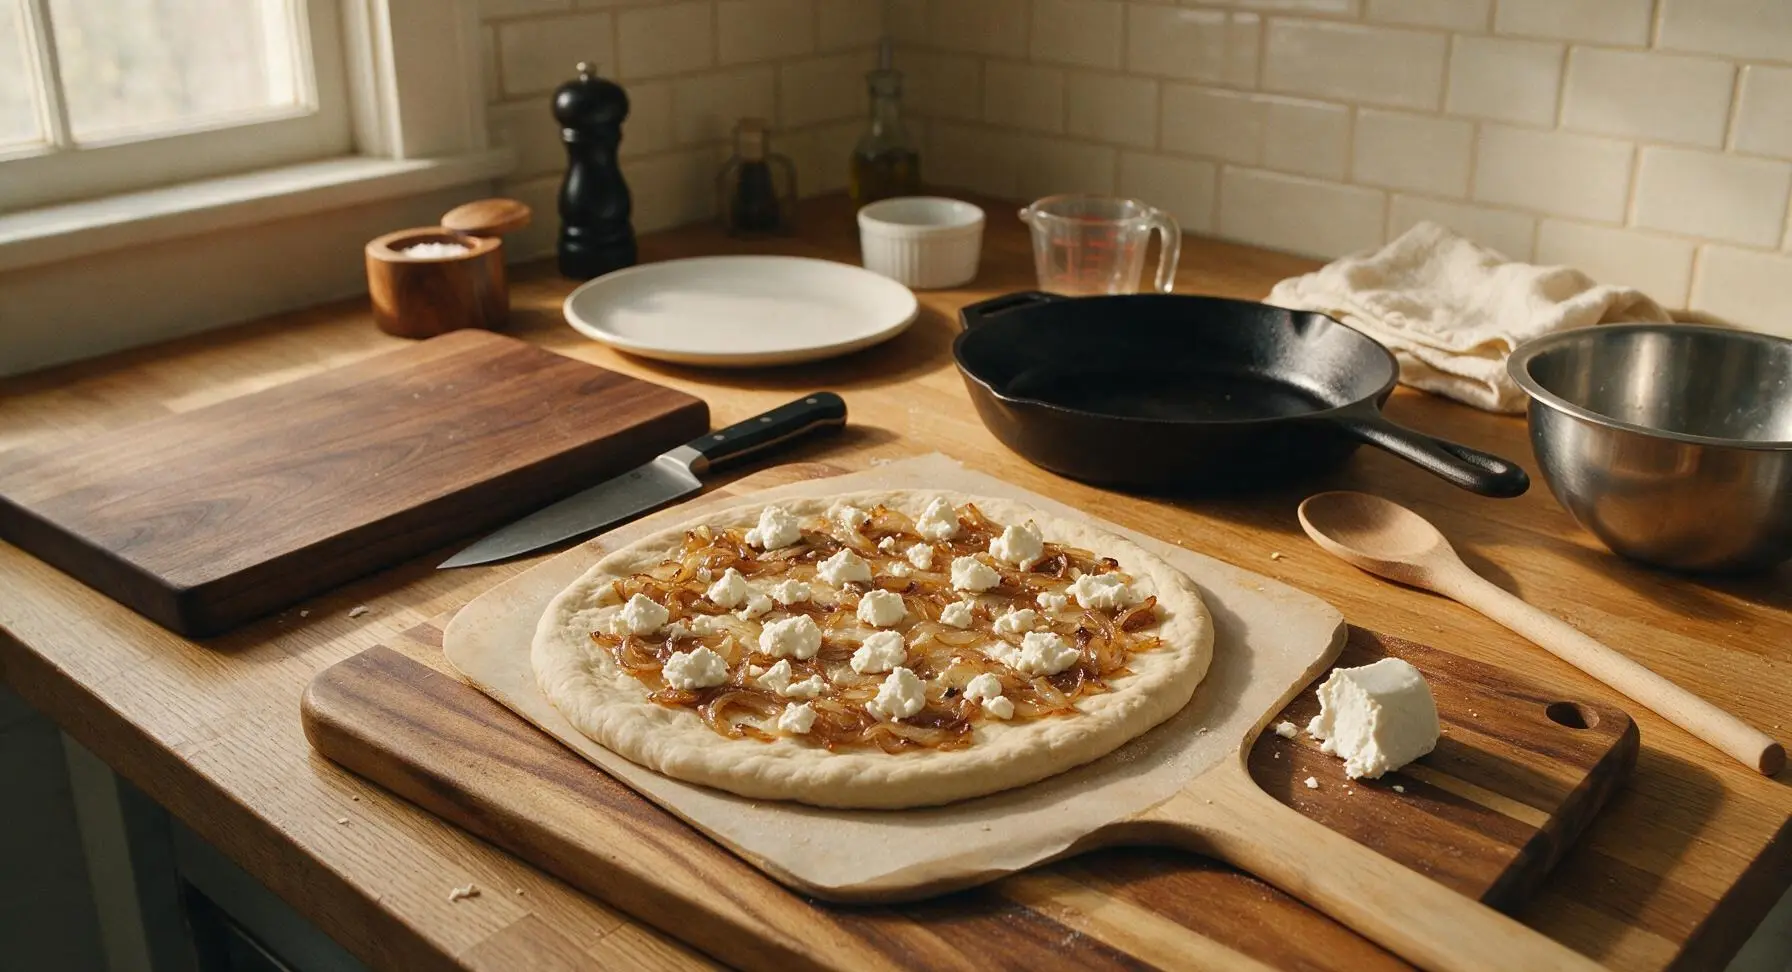
Take the chilled goat cheese log and crumble it into 1/2-inch uneven chunks directly over the onion-topped dough, spacing the chunks evenly so every slice will have pockets of melted tangy cheese. Do not spread the cheese smooth; rustic, uneven chunks create better texture when melted.
Step 5
step5:Crumble Goat Cheese Evenly
6

Bake to Crispy Perfection

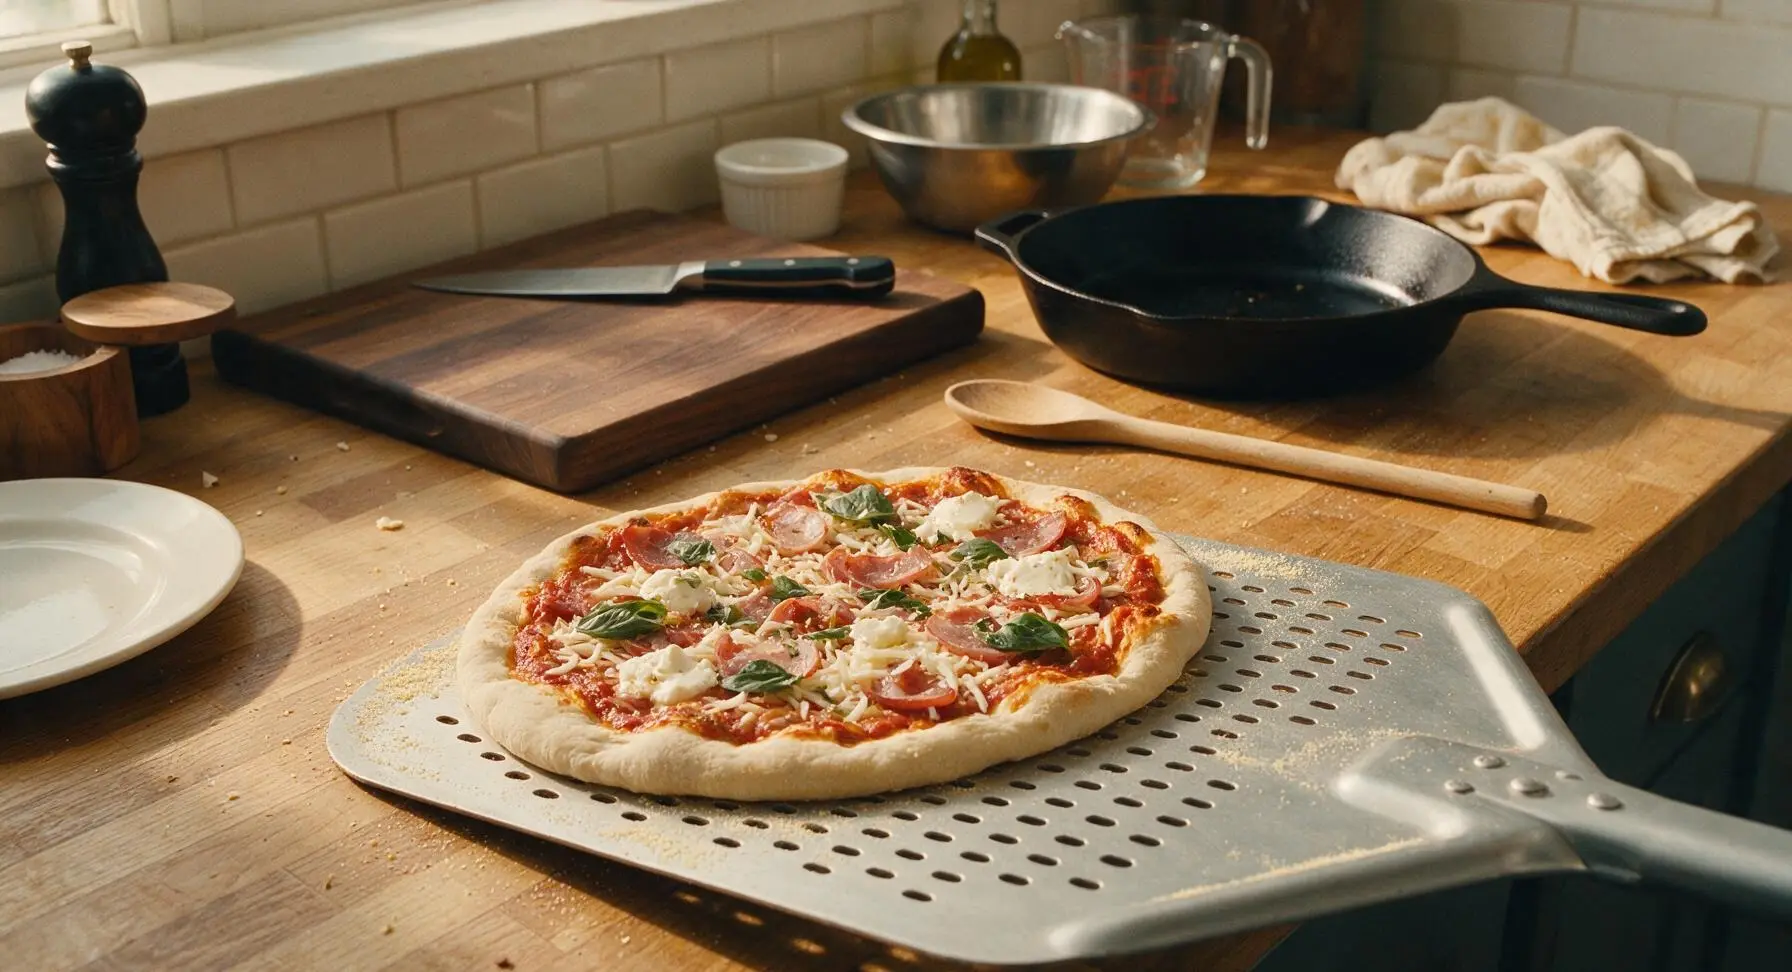
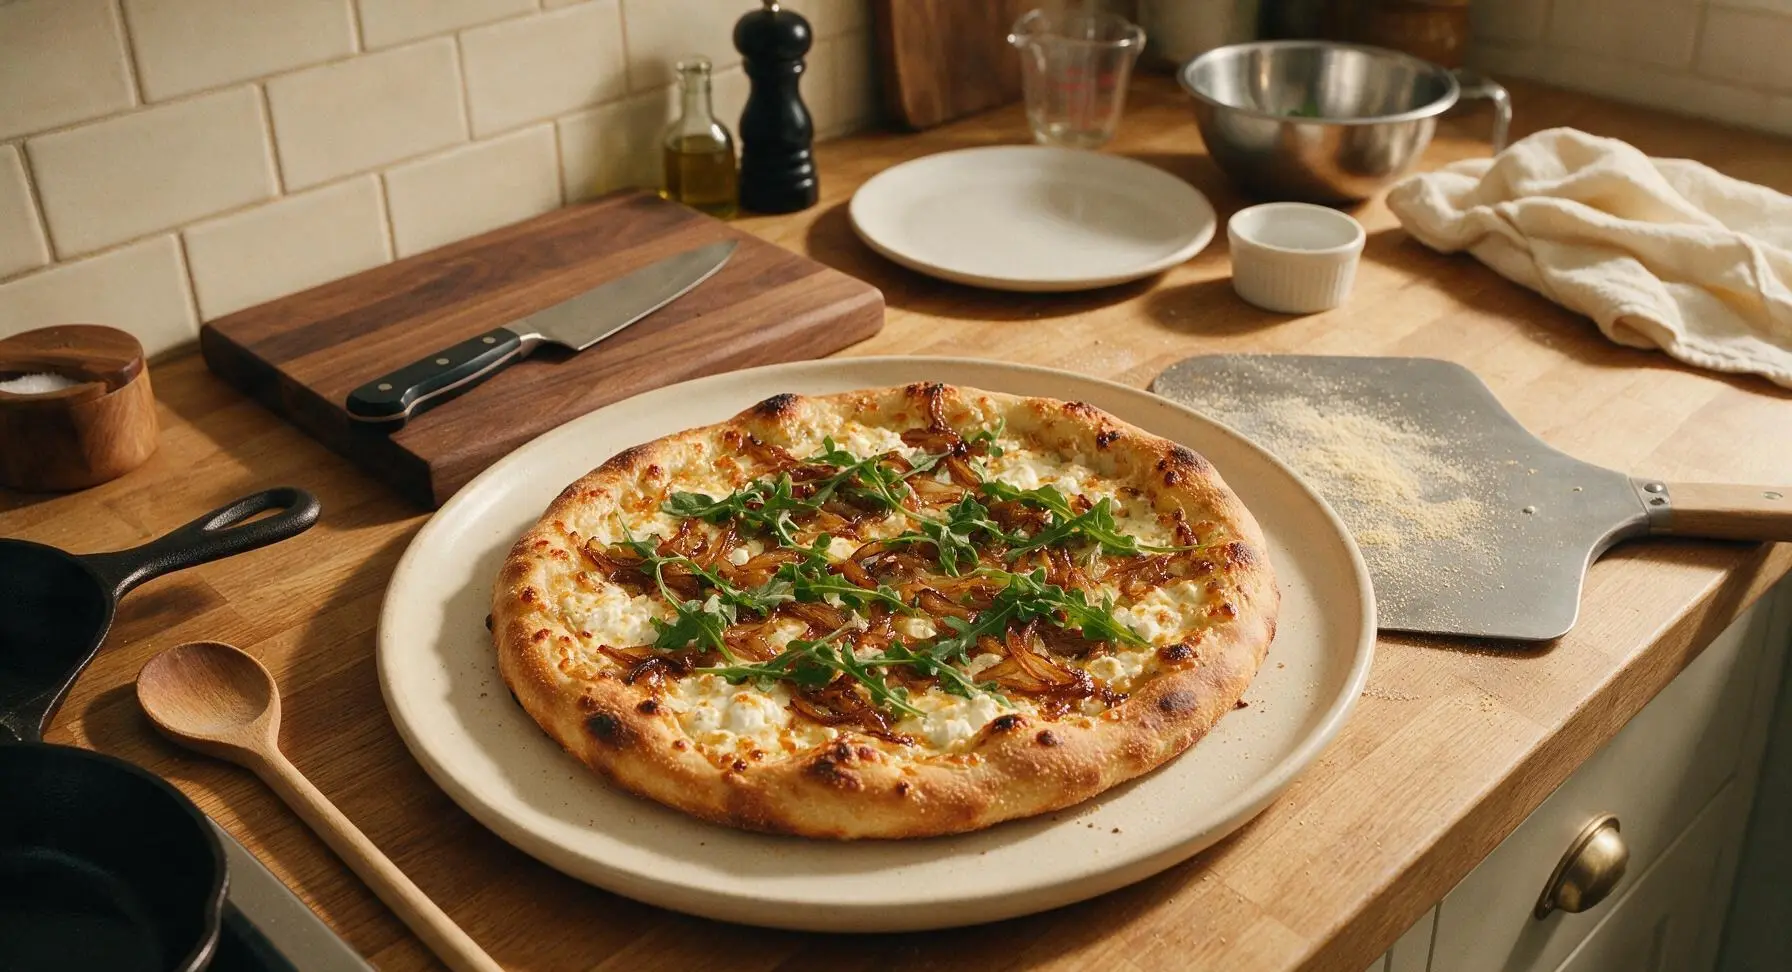
Carefully slide the pizza from the pizza peel directly onto the preheated pizza stone in the 500°F oven. Bake for 10-12 minutes, until the crust is golden brown and slightly blistered with dark char spots, and the goat cheese is fully melted and bubbling around the edges. Use the pizza peel to remove the finished pizza from the oven and transfer it to the matte cream serving platter to rest for 2 minutes.
Step 6
step6:Bake to Crispy Perfection
Step 6
step6:Bake to Crispy Perfection
7

Top with Arugula and Honey

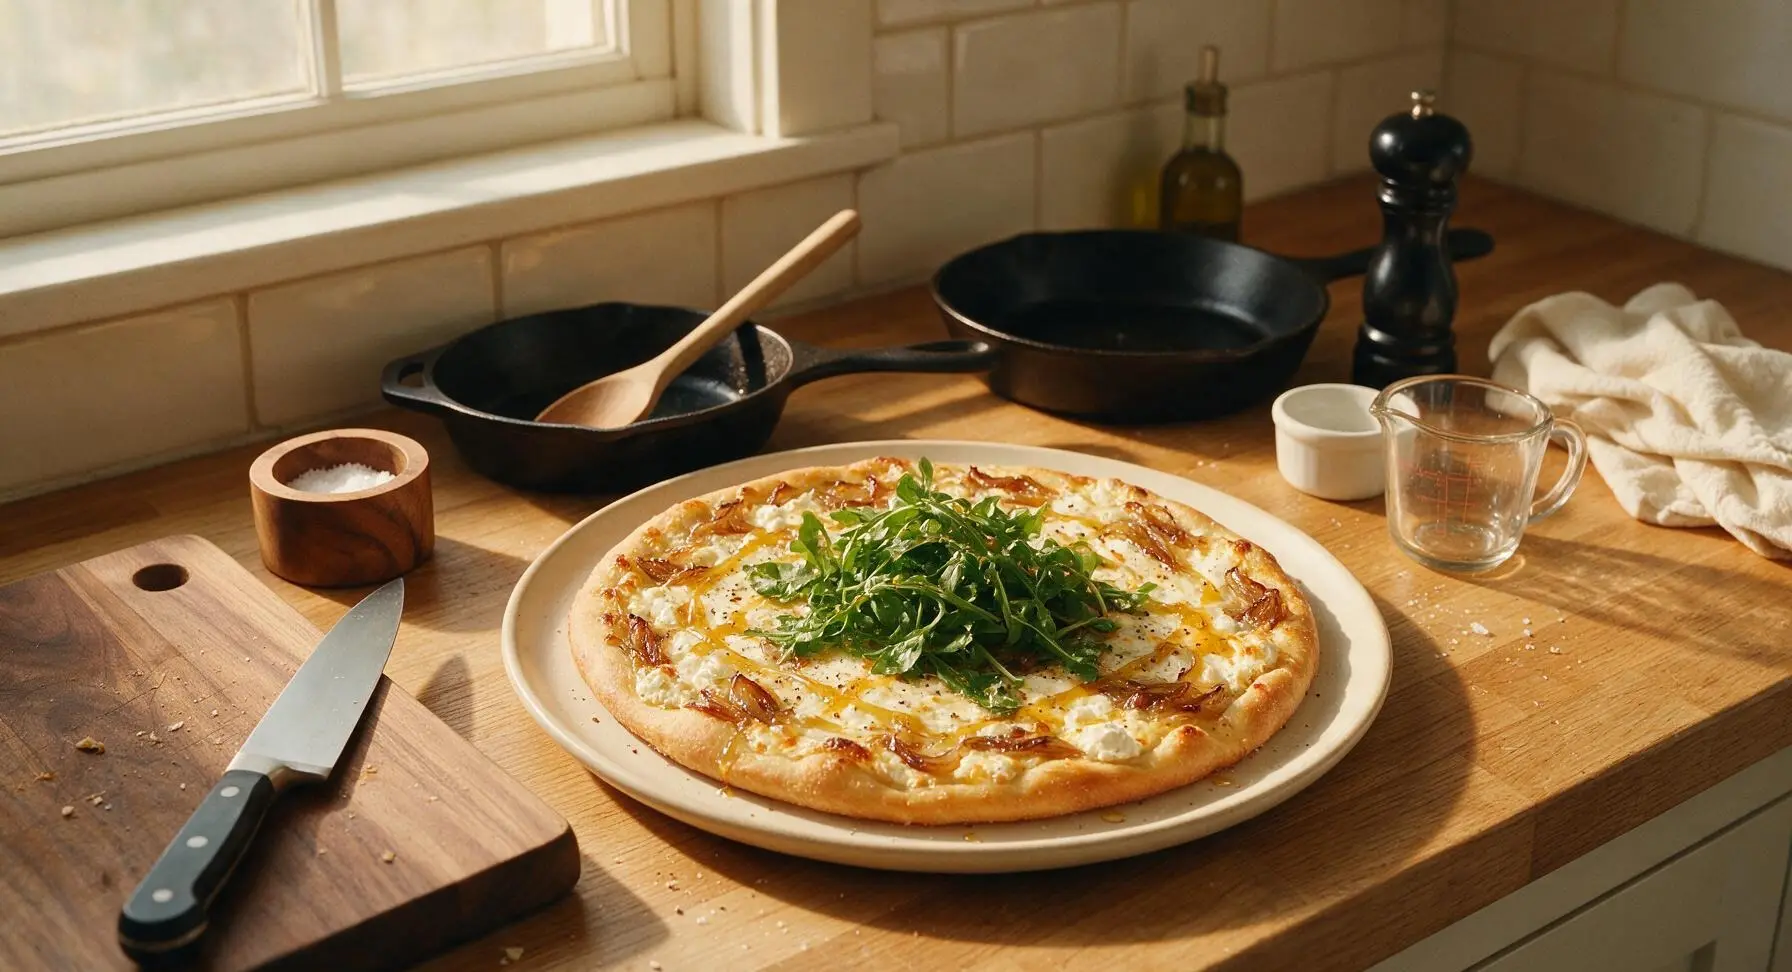
Pile the fresh baby arugula lightly in the center of the hot baked pizza, letting the residual heat slightly wilt the leaves. Drizzle the wildflower honey in a thin zigzag pattern across the entire pizza, then sprinkle with the remaining flaky sea salt, cracked black pepper, and optional red pepper flakes. The heat of the crust will make the honey flow slightly to coat the cheese and onions.
Step 7
step7:Top with Arugula and Honey
8

Slice and Serve Hot

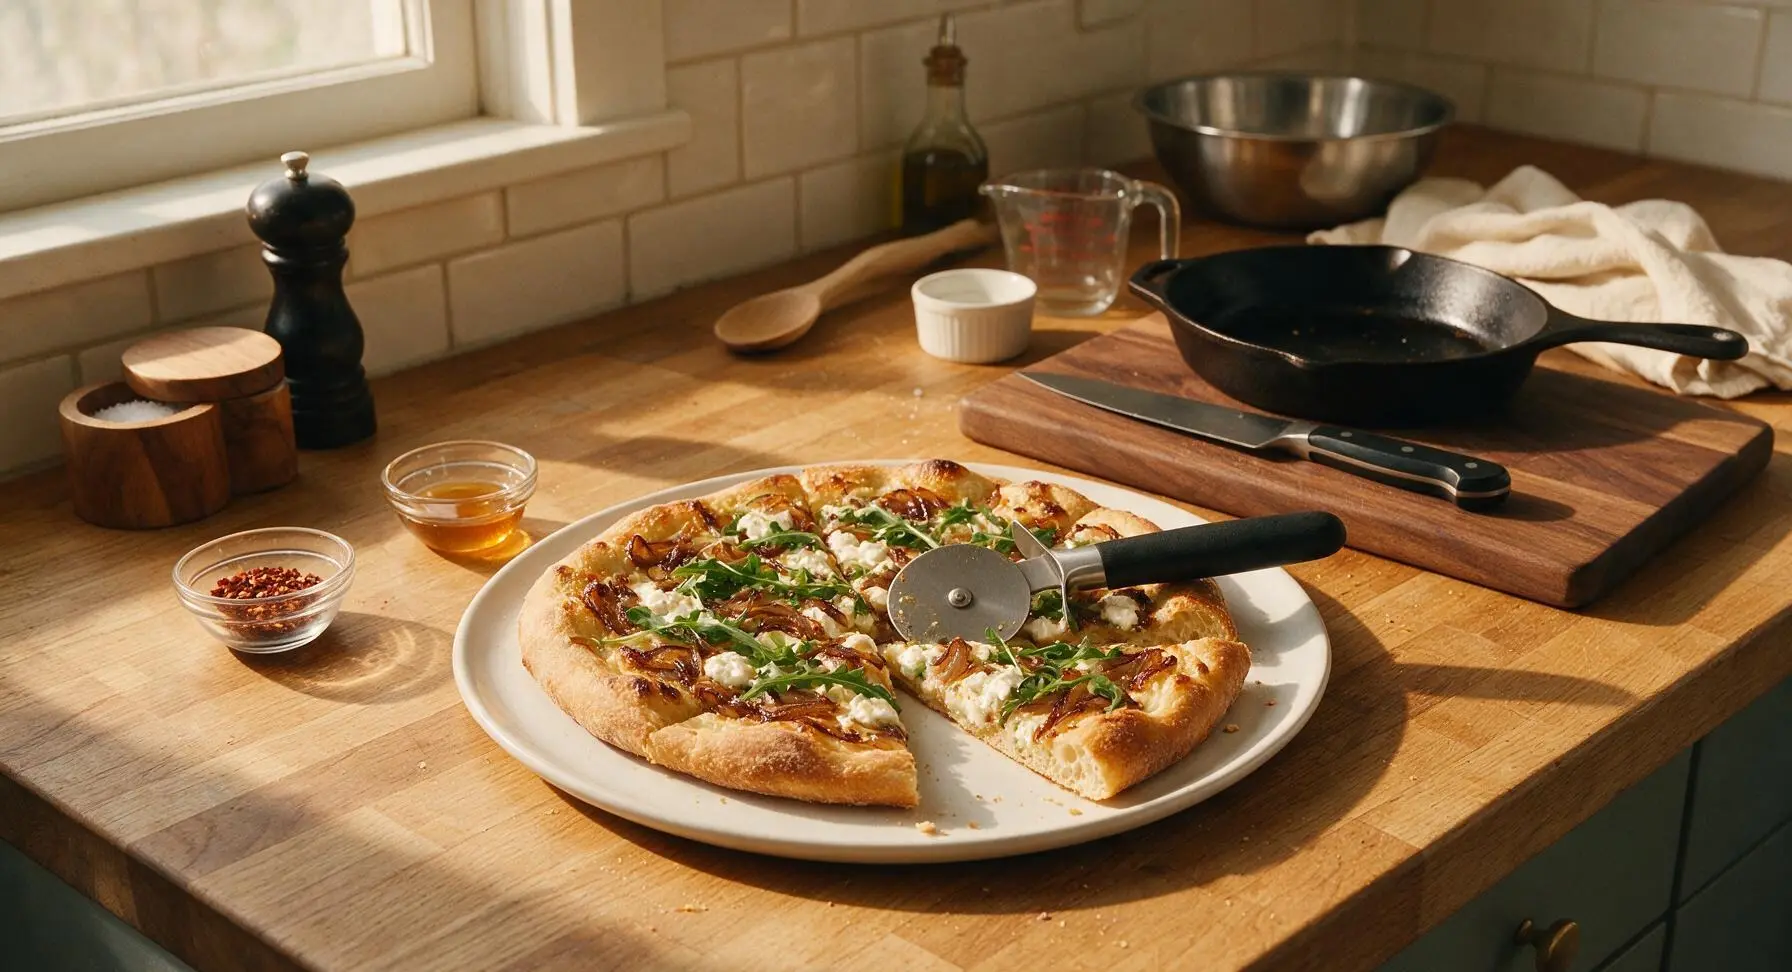
Use the stainless steel pizza cutter to slice the pizza into 8 equal wedges, pulling one slice slightly away from the rest to show the chewy, airy crust crumb. Serve immediately, with extra red pepper flakes and honey on the side in the small clear glass ramekins.
Step 8
step8:Slice and Serve Hot

Tips

1.Let your dough come to room temperature before stretching: Cold dough is tight and will shrink back when shaped, leading to a dense, tough crust; 15-20 minutes of rest on the counter relaxes the gluten for easy stretching and a light, airy crumb.
2.Don't overload the pizza with toppings: Excess moisture from too many onions or thick layers of cheese will create a soggy center, even on a screaming hot pizza stone, so keep toppings thin and evenly spaced for a crisp base all the way to the middle.
3.Keep goat cheese chilled until ready to use: Soft, warm goat cheese clumps together and spreads unevenly, while chilled cheese crumbles into distinct, rustic chunks that melt into perfect creamy pockets across the pizza surface.


✨ You May Also Like

Main Course
🍜 United Kingdom

A showstopping classic of tender seared beef, savory mushroom duxelles, and crisp prosciutto wrapped in flaky golden puff pastry, baked to juicy perfection.

⏱️ 2 hours 1Main Course ★ 4.7
Main Course
🍜 India

Tender charred marinated chicken simmered in a rich, spiced creamy tomato sauce, this iconic Anglo-Indian curry pairs perfectly with basmati rice or warm naan.

⏱️ 50 minuteMain Course ★ 4.6
Main Course
🍜 Thailand

Classic tangy, sweet, and savory Thai stir-fried rice noodles with shrimp, tofu, and crunchy garnishes, balancing all five core Thai flavor profiles.

⏱️ 30 minuteMain Course ★ 4.5
Main Course
🍜 United Kingdom

Crispy golden beer-battered cod and fluffy double-fried chips, served with tangy tartar sauce and malt vinegar: the timeless, beloved British pub comfort classic.

⏱️ 45 minuteMain Course ★ 4.7
Main Course
🍜 Mexico

Smoky, chile-marinated pork tacos with caramelized pineapple, fresh cilantro, and lime: a beloved classic Mexican street food perfect for casual summer gatherings.

⏱️ 1 hour 45Main Course ★ 4.8
Main Course
🍜 United States

Crunchy Fritos corn chips layered with savory beef chili and melted cheddar, topped with cool, zesty fixings for a beloved, cozy Tex-Mex comfort food.

⏱️ 35 minuteMain Course ★ 4.8

Goat Cheese Pizza:Frequently Asked Questions

1.Can I use store-bought pizza dough for this recipe instead of making it from scratch? ▾
Absolutely! Store-bought dough works perfectly here—just let it rest at room temperature for 30 to 45 minutes before stretching so it doesn’t shrink back as you shape it. Opt for fresh refrigerated dough over frozen for the crispiest, most blistered crust that matches restaurant-quality results.
2.Why do you recommend using semolina flour instead of regular all-purpose flour for prepping my pizza peel? ▾
Semolina has a coarser, grittier texture than all-purpose flour, so it acts like tiny ball bearings to let your shaped pizza slide easily off the peel onto your hot pizza stone or steel without sticking. It also adds a subtle, pleasant nutty crunch to the bottom of the baked crust that regular flour can’t match.
3.How long does it actually take to properly caramelize onions for this pizza? ▾
Plan for 25 to 30 minutes total over low to medium-low heat—no shortcuts! Thinly slice your yellow onions, cook them slowly with a pinch of salt in a little olive oil, stirring occasionally, until they turn deep golden, soft, and naturally sweet. Rushing this with high heat will burn them instead of bringing out that rich, mellow sweetness.
4.Can I caramelize the onions ahead of time to cut down on weeknight prep work? ▾
Totally! Caramelized onions keep beautifully for up to 5 days in an airtight container in the fridge, or up to 3 months in the freezer. Let them cool completely before storing, and bring them to room temperature for 10 minutes before topping your pizza so they don’t cool the crust as it bakes.
5.Why do you specify using chilled fresh goat cheese instead of room temperature goat cheese? ▾
Chilled soft goat cheese holds its shape a little better as the pizza bakes, so you get distinct, creamy tangy pockets instead of the cheese melting completely into a thin, runny layer across the whole crust. It also makes it far easier to crumble evenly over your dough without it sticking to your fingers.
6.What’s the best oven temperature to get that crispy, blistered pizza crust at home? ▾
Crank your oven to its highest setting, usually 475 to 500°F, and preheat a pizza stone or steel on the middle rack for at least 30 minutes before baking. That high, direct heat mimics a commercial pizza oven, giving you a puffy, charred edge and crisp bottom in just 8 to 10 minutes of bake time.
7.Do I need a pizza stone or steel to make this recipe, or can I use a regular baking sheet? ▾
You can absolutely use a regular rimmed baking sheet if you don’t have a stone or steel! Just preheat the sheet in the hot oven for 10 minutes before adding your pizza, and stretch your dough to fit the sheet size. Your crust won’t get quite as blistered, but it will still turn out crispy if your oven is fully preheated.
8.When do I add the arugula so it doesn’t get wilted and soggy on the pizza? ▾
Wait to add the arugula until right after you pull the pizza out of the oven, just before you slice and serve. The residual heat from the hot crust will gently wilt the arugula just enough to soften its texture, but it will keep its bright, peppery bite instead of turning slimy and bitter from prolonged high heat.
9.What kind of honey works best for the finishing drizzle on this pizza? ▾
Any wildflower or clover honey works great, but for extra depth of flavor, try mild raw honey or even hot honey if you like a little spicy kick to cut the richness. Drizzle it lightly right after adding the arugula—you only need a teaspoon or two per pizza so it doesn’t make the crust soggy.
10.Can I make this pizza gluten-free for friends with dietary restrictions? ▾
Definitely! Swap the regular pizza dough for your favorite gluten-free pizza dough, and replace the semolina flour with coarse gluten-free cornmeal to prep your peel or baking sheet to avoid sticking. Just note that gluten-free dough often needs a couple extra minutes of bake time to get crisp, so watch the crust edges closely.
11.My pizza stuck to the peel when I tried to slide it into the oven—what did I do wrong? ▾
That almost always happens if you let shaped dough sit too long on the floured peel before adding toppings and sliding it in. Build your pizza quickly once the dough is on the semolina-dusted peel, and give the peel a little shake every 30 seconds as you add toppings to confirm the dough moves freely.
12.Can I add extra protein, like prosciutto or grilled chicken, to this pizza? ▾
Absolutely! Thinly sliced prosciutto is a fantastic addition—just lay strips on top of the cheese before baking so they get crispy in the oven. If adding grilled chicken, cut it into very small pieces and scatter it sparingly so it doesn’t weigh down the thin crust or throw off the balance of flavors.
13.How thin should I stretch the pizza dough for this recipe? ▾
Aim for a roughly 12-inch round with a slightly thicker, ½-inch puffy edge for the crust, so the center is about ¼-inch thick. Don’t stress if it’s not perfectly round—rustic, uneven edges actually crisp up more beautifully for that artisanal look. Just avoid making the center too thin, or it will turn soggy under toppings.
14.Do I need to pre-cook the pizza dough before adding the toppings? ▾
You don’t need to fully pre-bake the crust if you’re using a properly preheated stone or steel, because the high heat will set the bottom instantly. If you’re using a baking sheet and struggle with soggy centers, pre-bake the bare dough for 2 minutes before adding toppings to create a moisture barrier.
15.How should I store leftover pizza, and will the arugula hold up in the fridge? ▾
Store leftover slices in an airtight container in the fridge for up to 3 days, but note that the arugula will wilt as it sits. For best results, scrape off leftover arugula before storing, reheat slices on a skillet over low heat to crisp the crust, and top with fresh arugula and a tiny new honey drizzle before serving.
16.Can I use pre-crumbled goat cheese from the grocery store instead of crumbling a fresh log myself? ▾
You can, but be aware that pre-crumbled goat cheese is usually coated in anti-caking agents like potato starch that can make it drier and less creamy when it melts. For the richest tangy flavor and best melt, pick up a fresh soft log, keep it chilled, and crumble it right before topping your pizza.
17.My caramelized onions turned out bitter instead of sweet—what went wrong? ▾
That’s almost always from cooking onions over too high heat, which burns the outer layers before the natural sugars have time to break down and caramelize. Turn your burner down to low, add a tiny splash of water if the pan gets too dry, and stir every few minutes so the onions cook slowly and evenly without scorching.
18.Does this pizza call for red tomato sauce, or should I add a layer before topping? ▾
This is a bright, balanced white-style pizza, so no heavy tomato sauce is needed! Instead, brush the stretched dough lightly with extra virgin olive oil before adding cheese and onions to keep the crust crispy and add a rich, fruity base note that pairs perfectly with the tangy goat cheese.
19.Can I make this recipe as individual mini pizzas for a party instead of one large pie? ▾
Absolutely! Divide your room-temperature dough into 4 equal 4-ounce balls, stretch each into a 6-inch round, and bake them one or two at a time on your preheated stone for 5 to 7 minutes each. They’re perfect for guests to customize, and the smaller size cooks extra fast for that ideal blistered crust without soggy centers.

Comments (4)

3 days ago

OMG this pizza was a total game changer for our Friday family dinner! I was worried the goat cheese would be too tangy for my picky 8 year old but he devoured two slices and asked for it again next week. The caramelized onions take a little patience but so worth it — I added a tiny drizzle of hot honey on top per a friend’s tip and *chef’s kiss*. Will absolutely be making this for our next potluck!

2 days ago

Wait the hot honey addition is genius! I never thought to pair that with arugula and goat cheese, gonna try that this weekend. Thanks for the tip!

1 day ago

So glad your whole family loved it, Mia! The hot honey drizzle is such a fun custom twist — it cuts the tang of the goat cheese perfectly, great call. Thanks for sharing how it turned out!

1 week ago

Solid recipe, but I will say the medium difficulty rating feels pretty accurate, though the 25 minute cook time is a little tight! Caramelizing onions always takes me way longer than I expect, I ended up adding almost 10 extra minutes to get them that deep golden, sweet color. Flavor was on point though, the peppery arugula tossed with a tiny bit of lemon after baking is SO good. Don’t skip that step!

5 days ago

Great feedback, Jake! You’re totally right that caramelized onion cook time can vary a lot depending on your stove heat and pan type — I’ll add a note to the recipe about budgeting extra time for that step so folks don’t get caught off guard trying to hit that 25 minute mark. So happy you loved the final flavor!

2 hours ago

I made this for meal prep this week and it held up way better than I thought it would! I pre-baked the crust slightly, added the goat cheese and caramelized onions to bake, then stored the arugula separate to add right before eating. Perfect quick lunch for work, my coworkers kept stopping by my desk to ask what smelled so good. 10/10, will be in my regular rotation!

30 minutes ago

Oh thank you for the tip about storing the arugula separate! I was wondering if it would get all wilty and soggy if I made it ahead for work lunches, this is exactly what I needed to know before I make this on Sunday for the week.

yesterday

Took a shot on this for my wife’s birthday dinner since she’s obsessed with goat cheese, and she said it’s better than the fancy wood-fired pizza we get at our favorite date night spot! I used a store-bought thin crust to save time and it still slapped. Only thing I did different was add a sprinkle of crushed red pepper for a little heat. My kids even picked off the arugula and ate the rest, so that’s a win in my book. Will be making this on repeat.



