
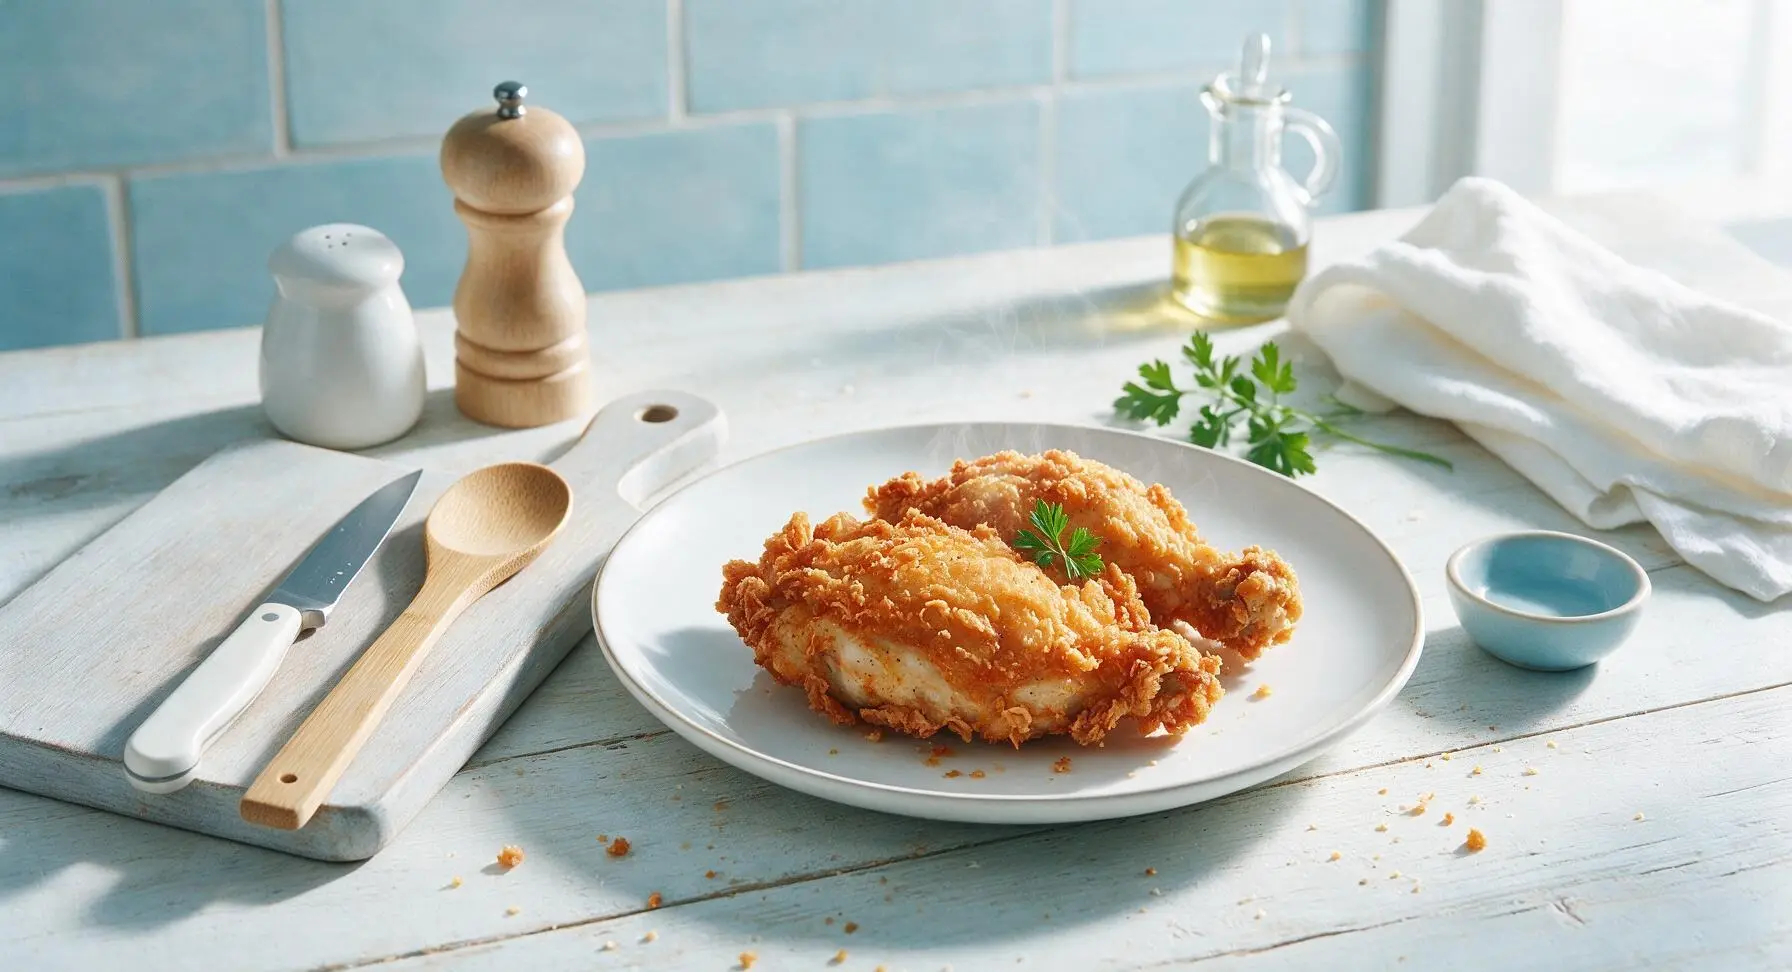
golden crispy chicken
intro
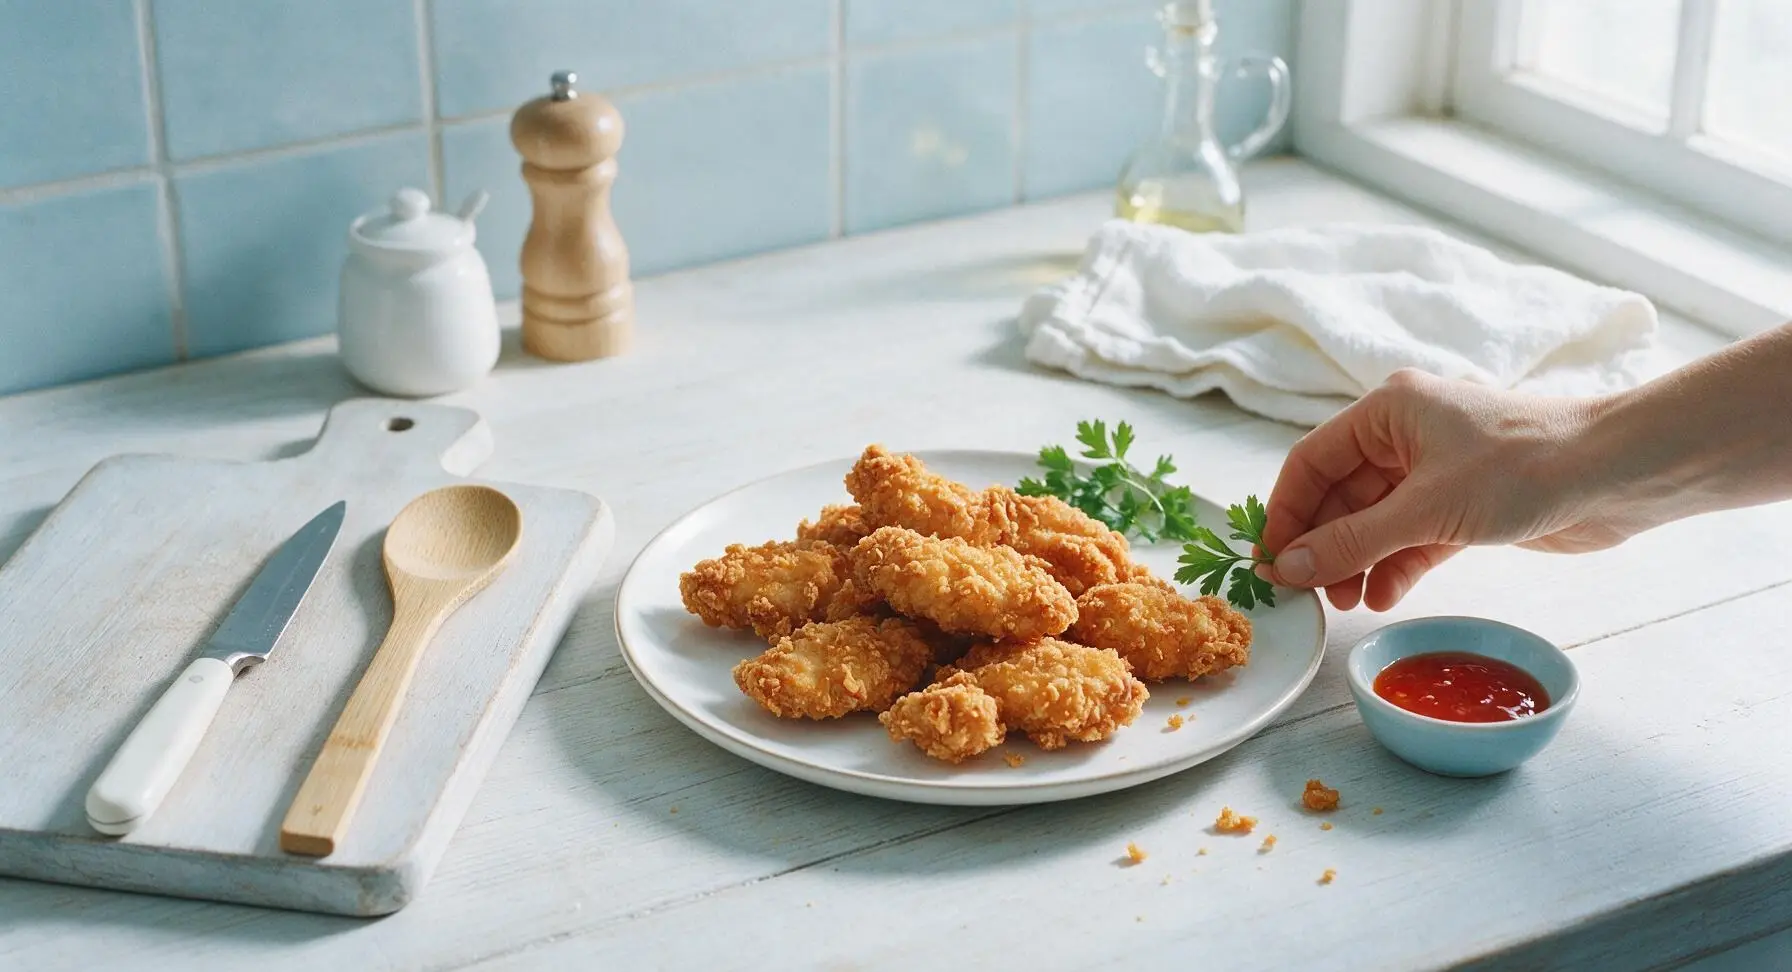
Shatteringly crisp golden crust locks in juicy, tender seasoned chicken. This restaurant-worthy, crowd-pleasing recipe requires no fancy equipment, perfect for sharing.
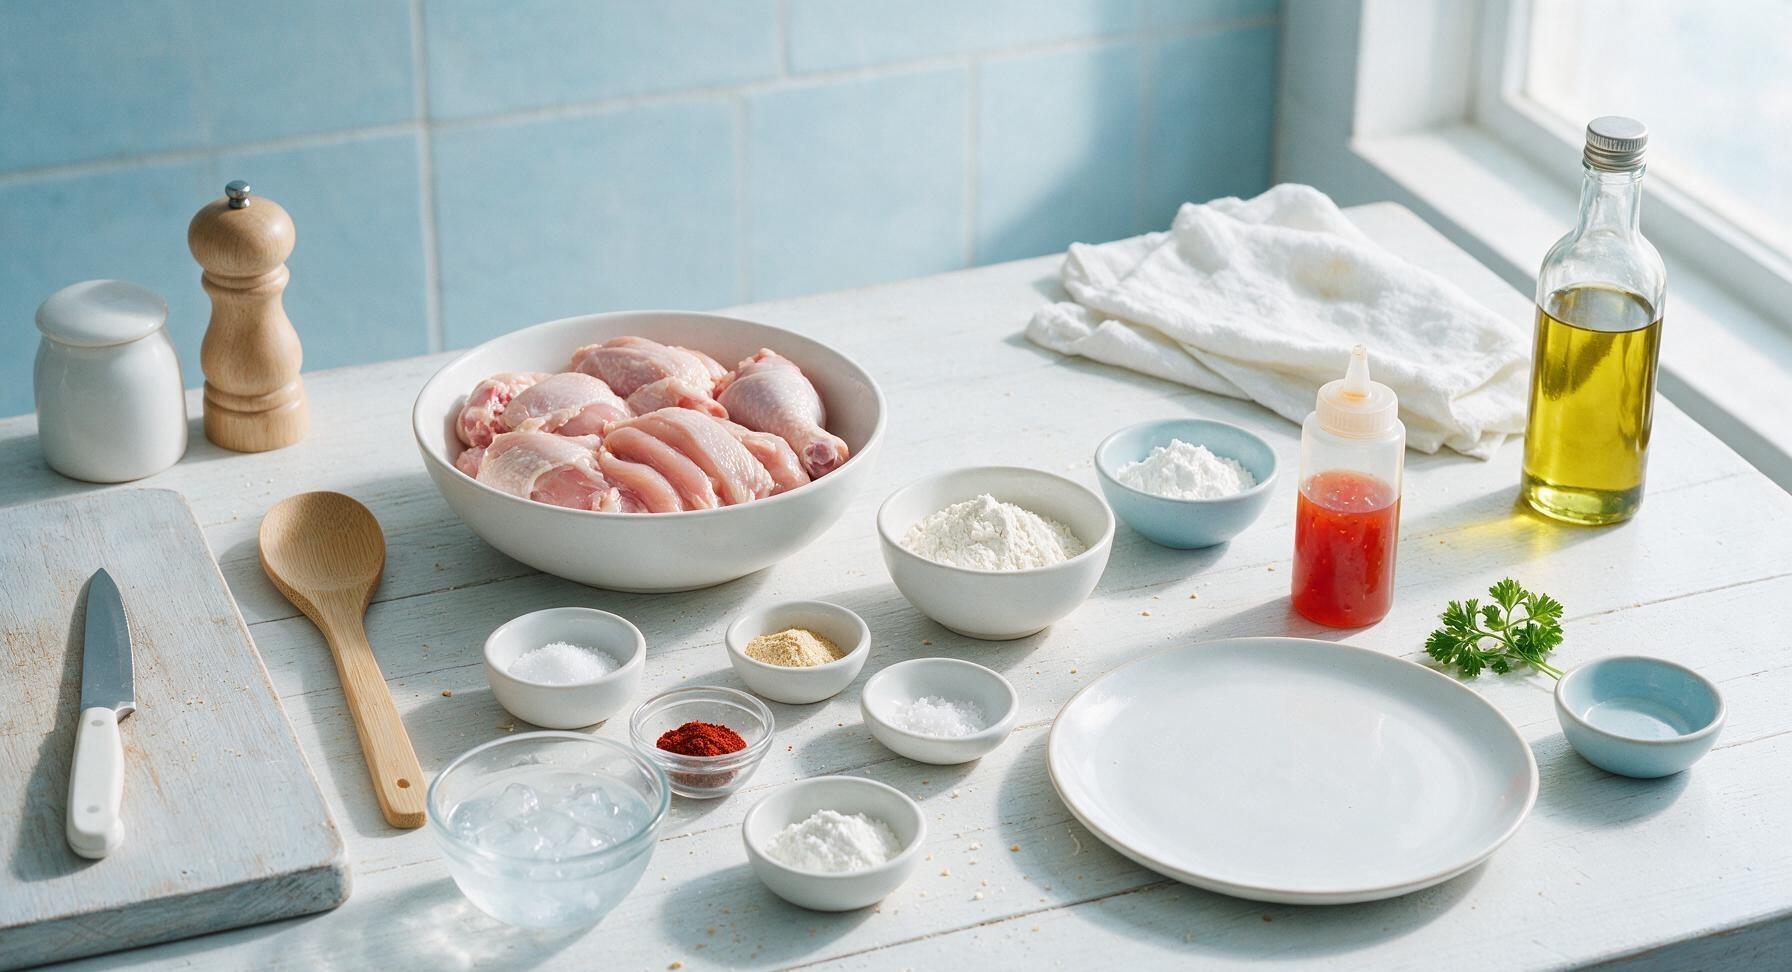
Ingredients
Steps
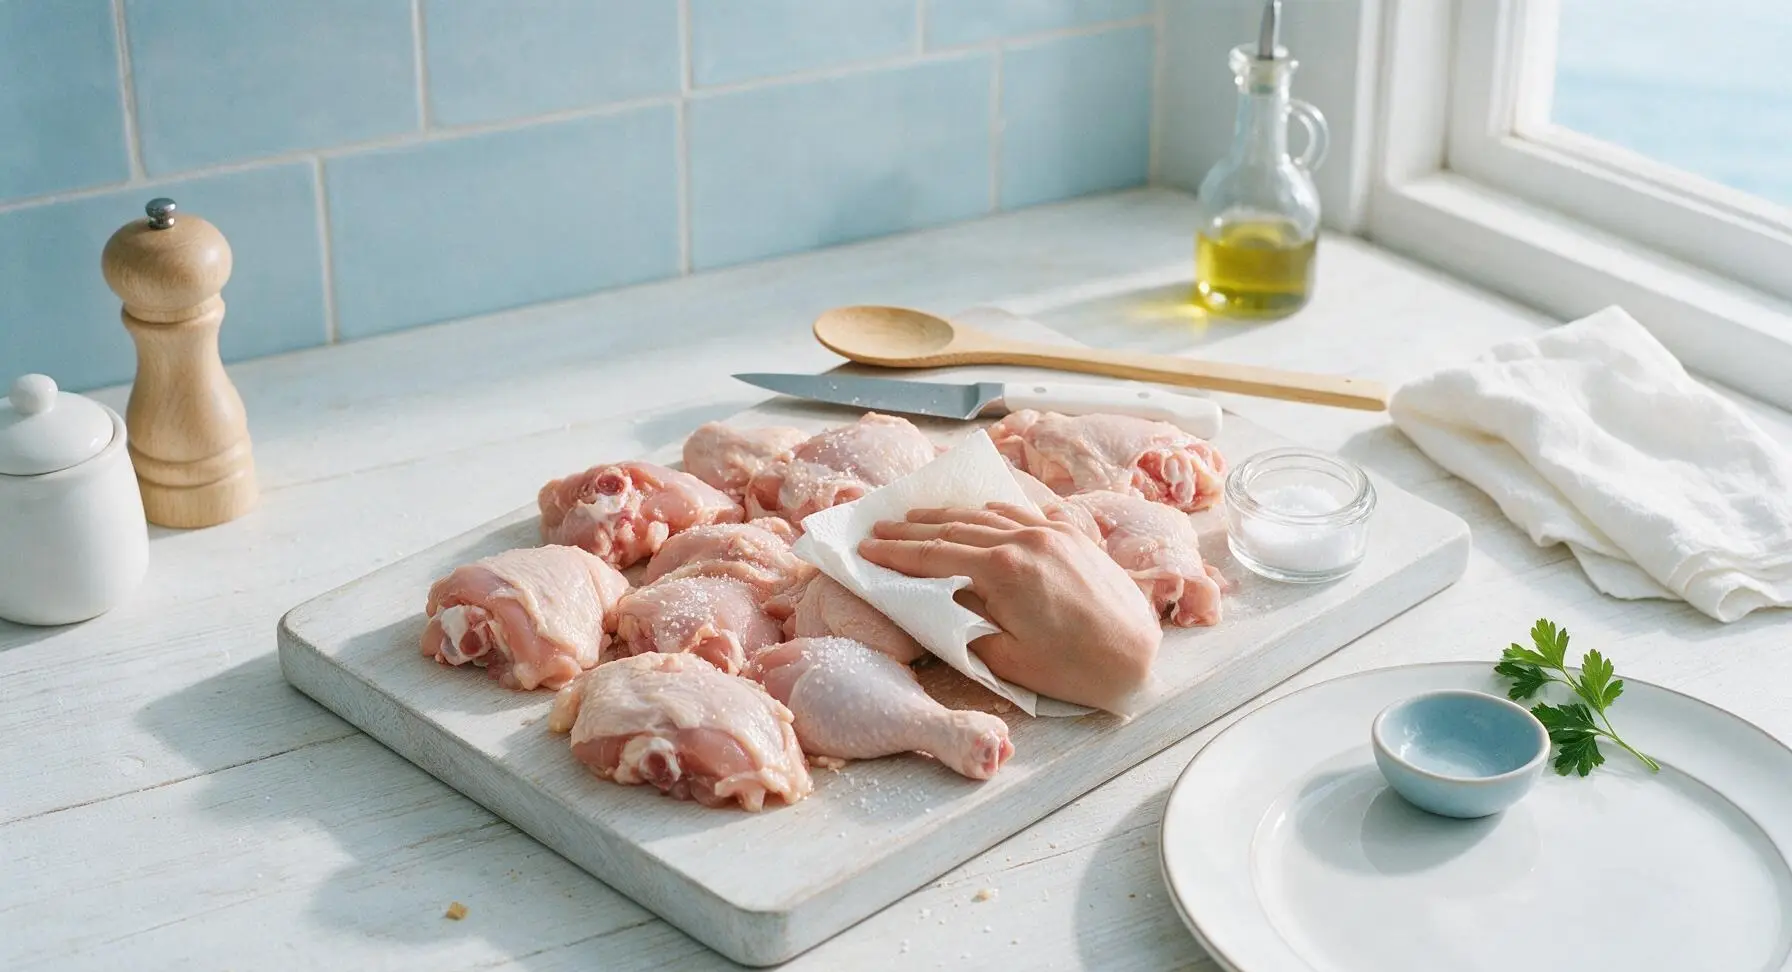
Pat Chicken Dry
Remove 800g mixed bone-in, skin-on chicken pieces from packaging and arrange on the light oak cutting board. Pat firmly on all sides with paper towels, paying special attention to the skin surface, until no visible moisture remains when touched (this takes 2-3 minutes total). Season lightly with 1 tsp of the measured kosher salt, then let rest at room temperature for 10 minutes to take the chill off the meat, which ensures even cooking.
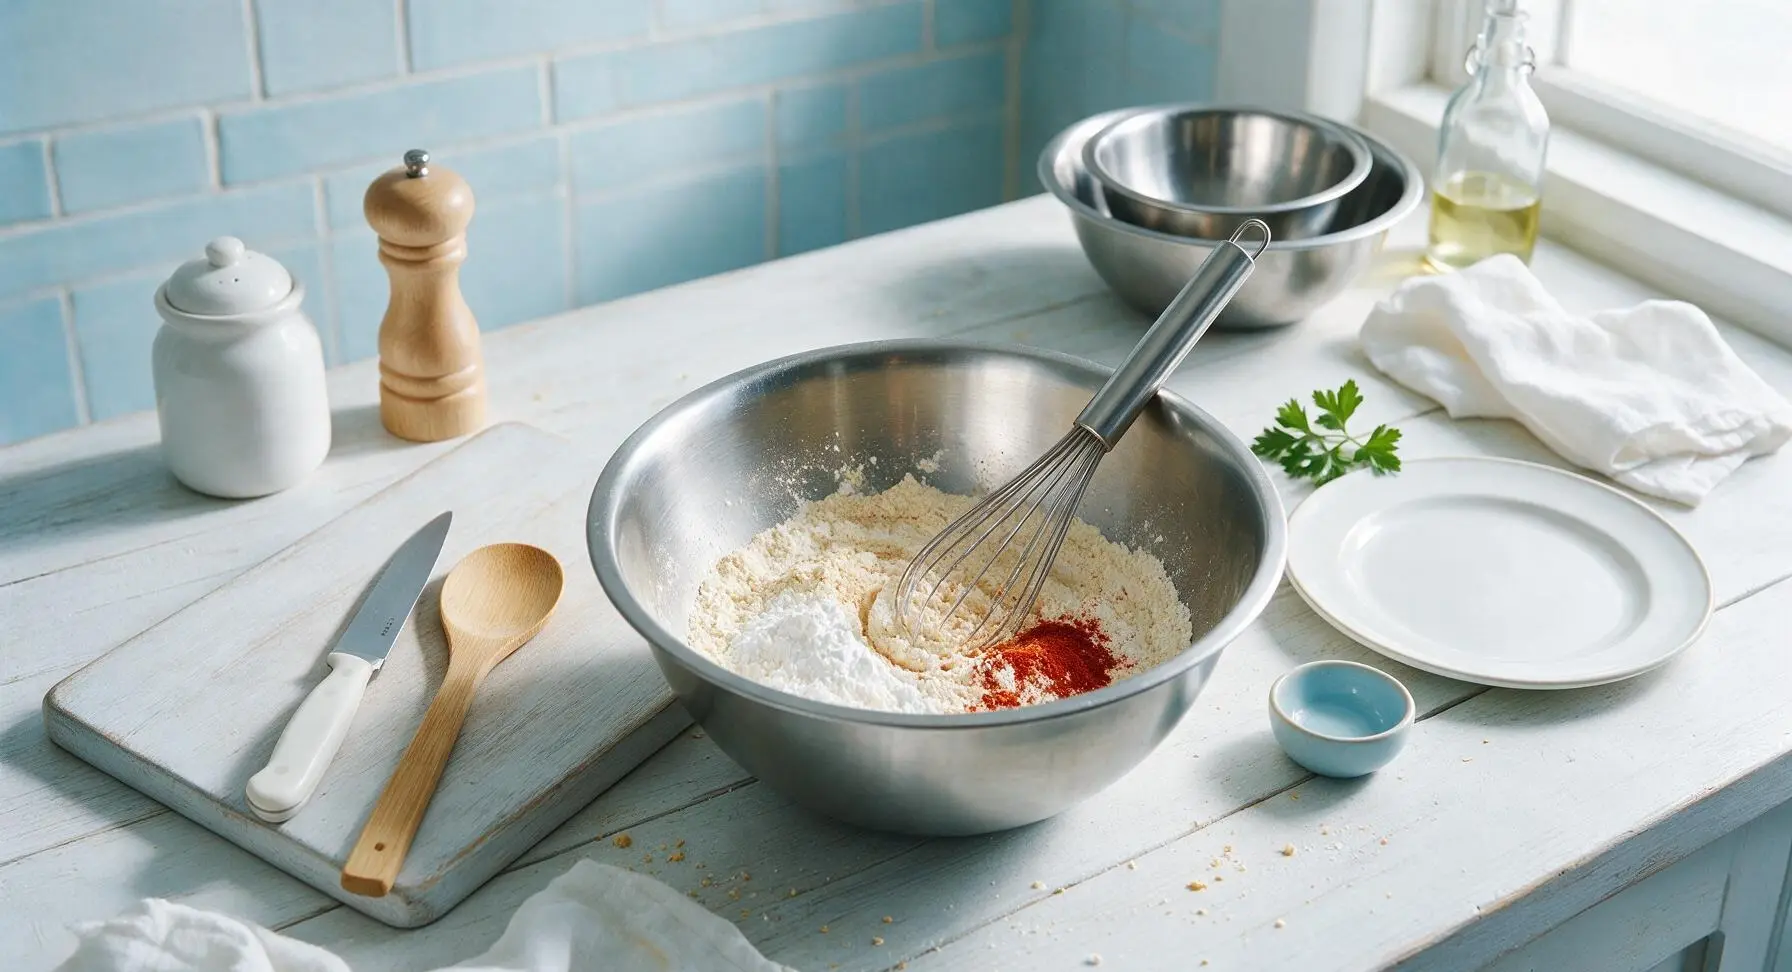
Mix Dry Coating
Take the largest 20cm stainless steel mixing bowl from the stacked set at back right. Add 120g all-purpose flour, 60g cornstarch, remaining 2 tsp kosher salt, 1 tsp garlic powder, 1 tsp smoked paprika, 1/2 tsp freshly ground black pepper, and 1 tsp baking powder to the bowl. Use the stainless steel whisk to mix thoroughly for 30 seconds, until all dry ingredients are evenly combined with no visible clumps of spice or starch.
Form Craggy Crumbs
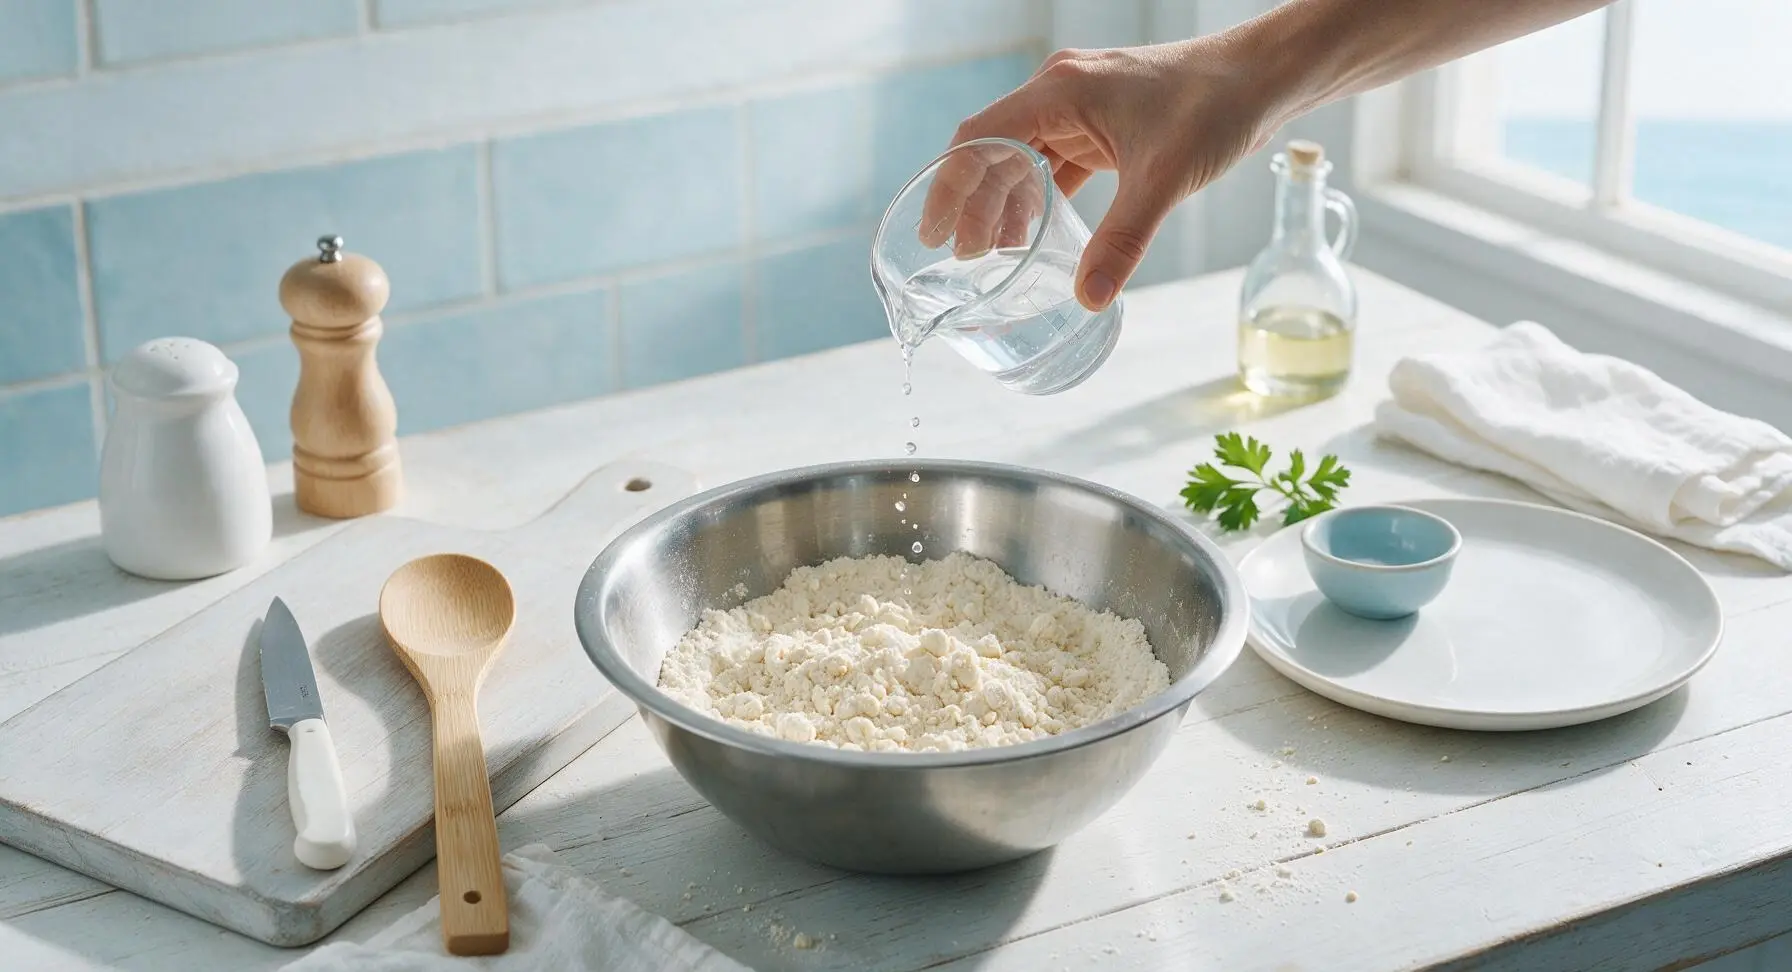
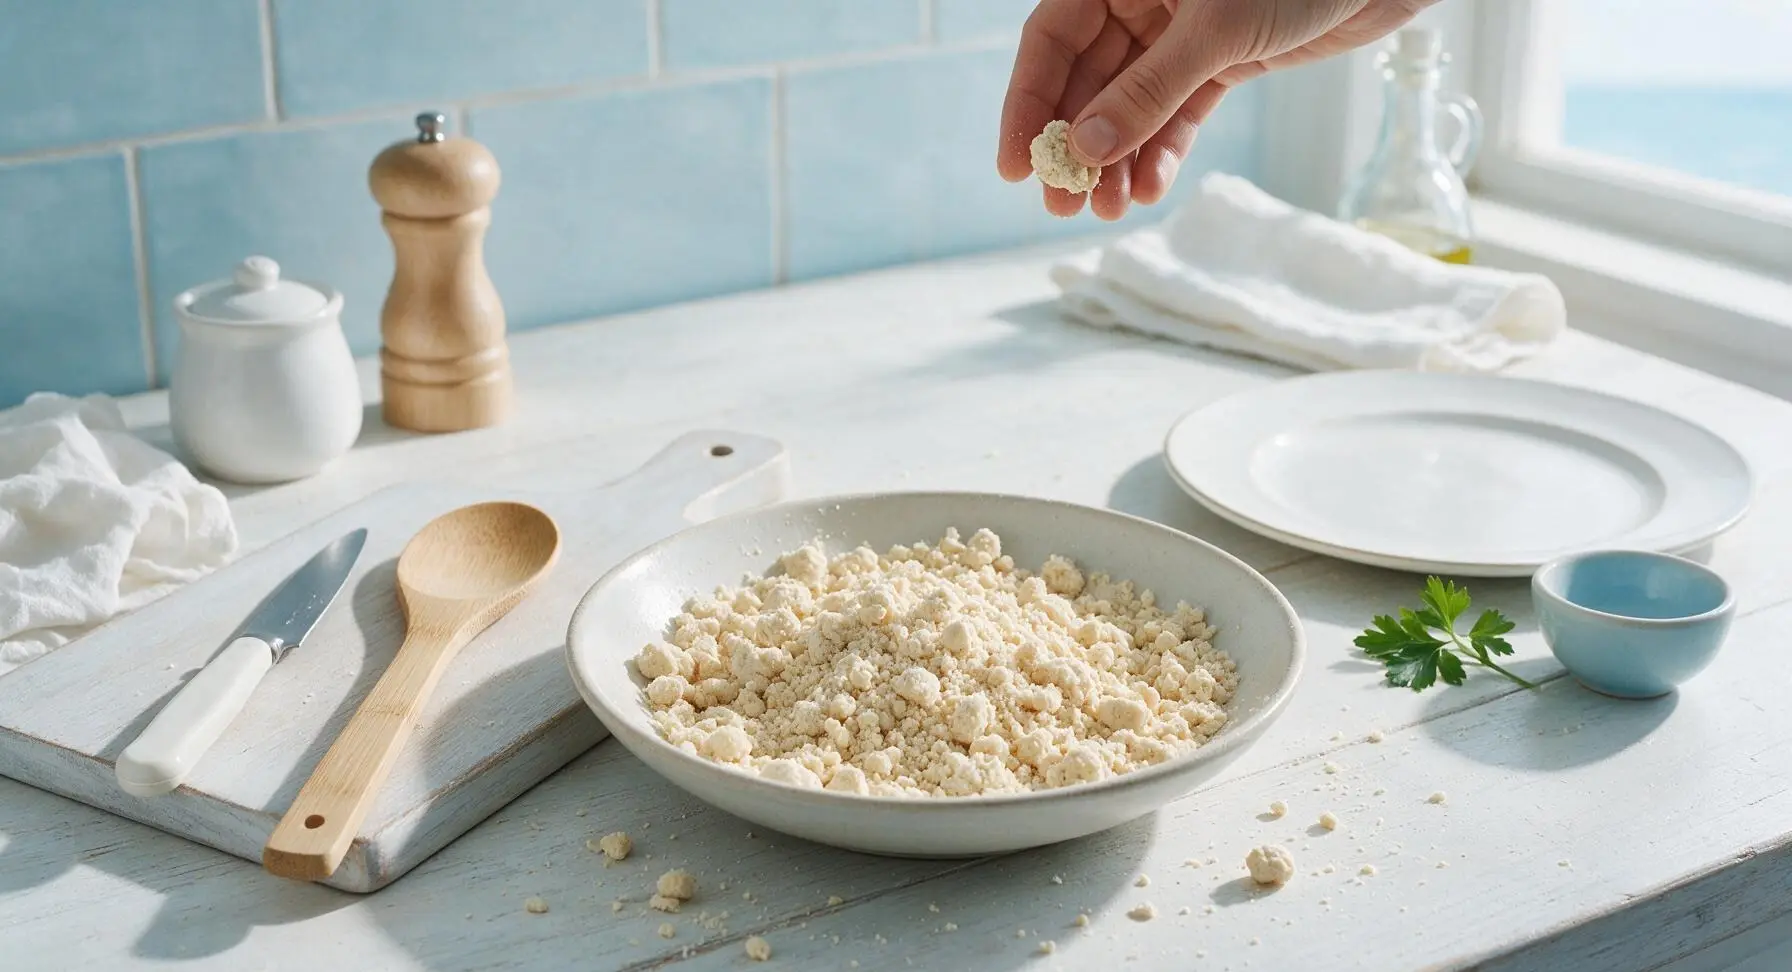
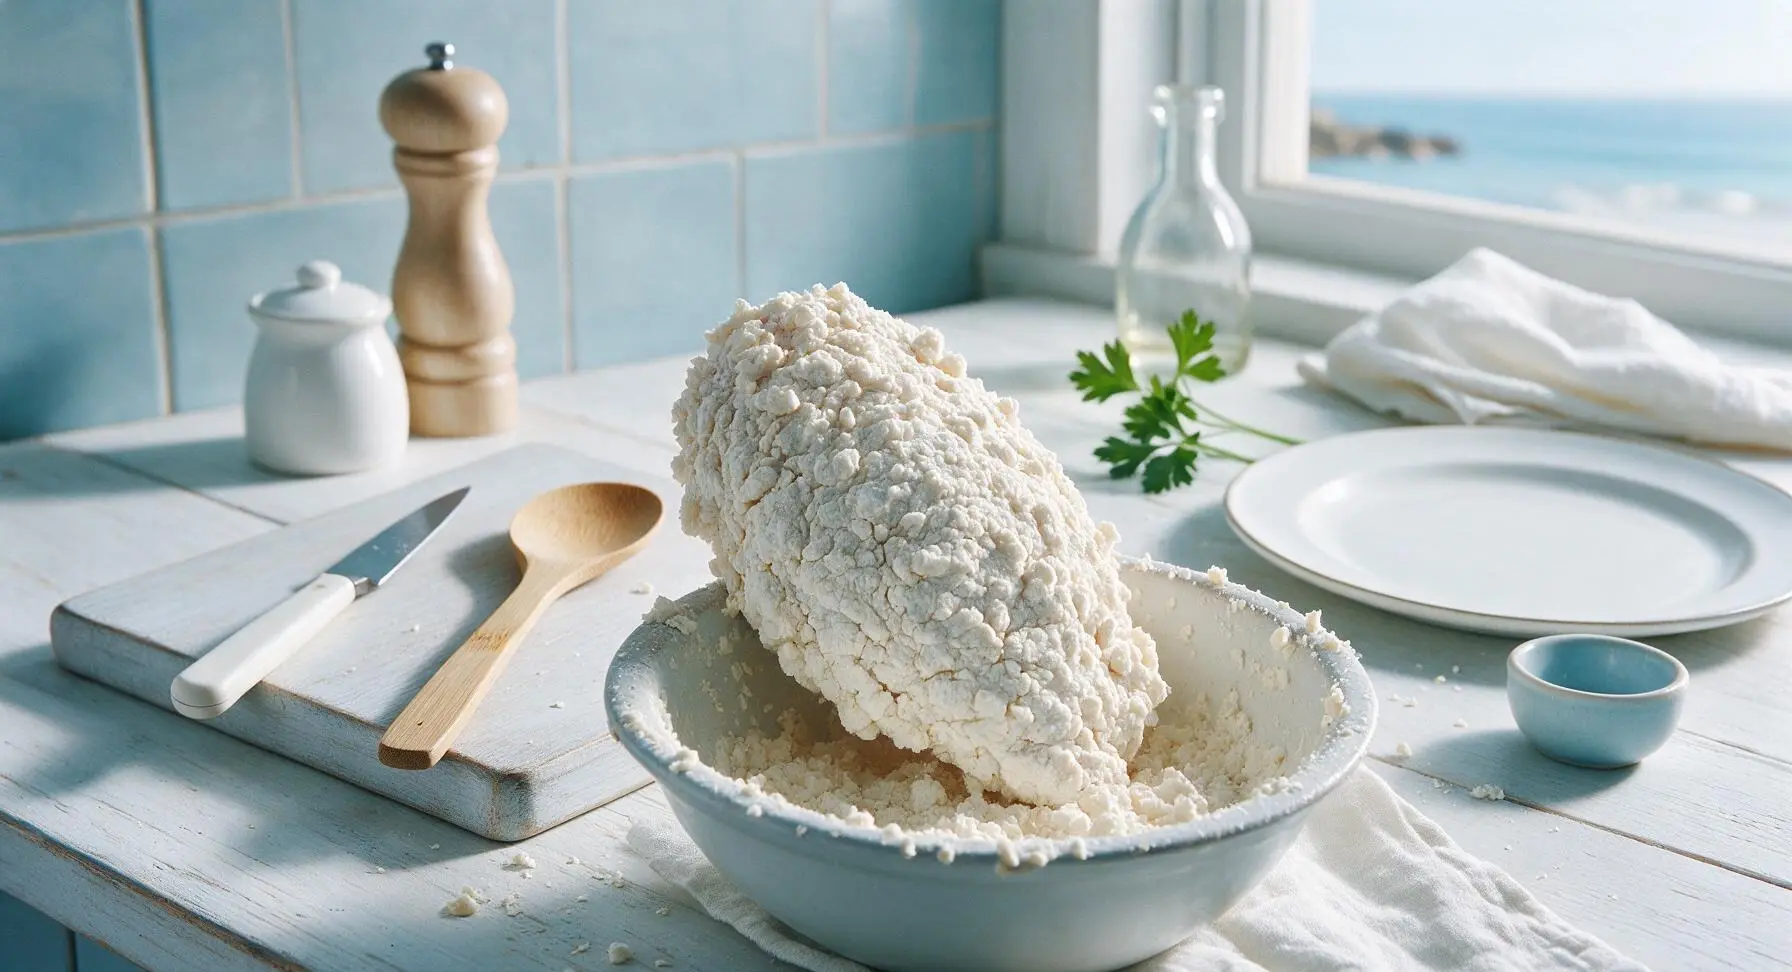
Drizzle 80ml ice-cold water into the dry coating mixture 1 tablespoon at a time, using your fingertips to rub the mixture between your fingers as you add water. Stop adding water once the mixture forms small, uneven pea-sized crumbs and clumps—these clumps will fry into the shaggy, extra-crispy crust. Do not over-mix into a smooth batter; the coating should remain mostly dry with scattered lumps.
Heat Frying Oil
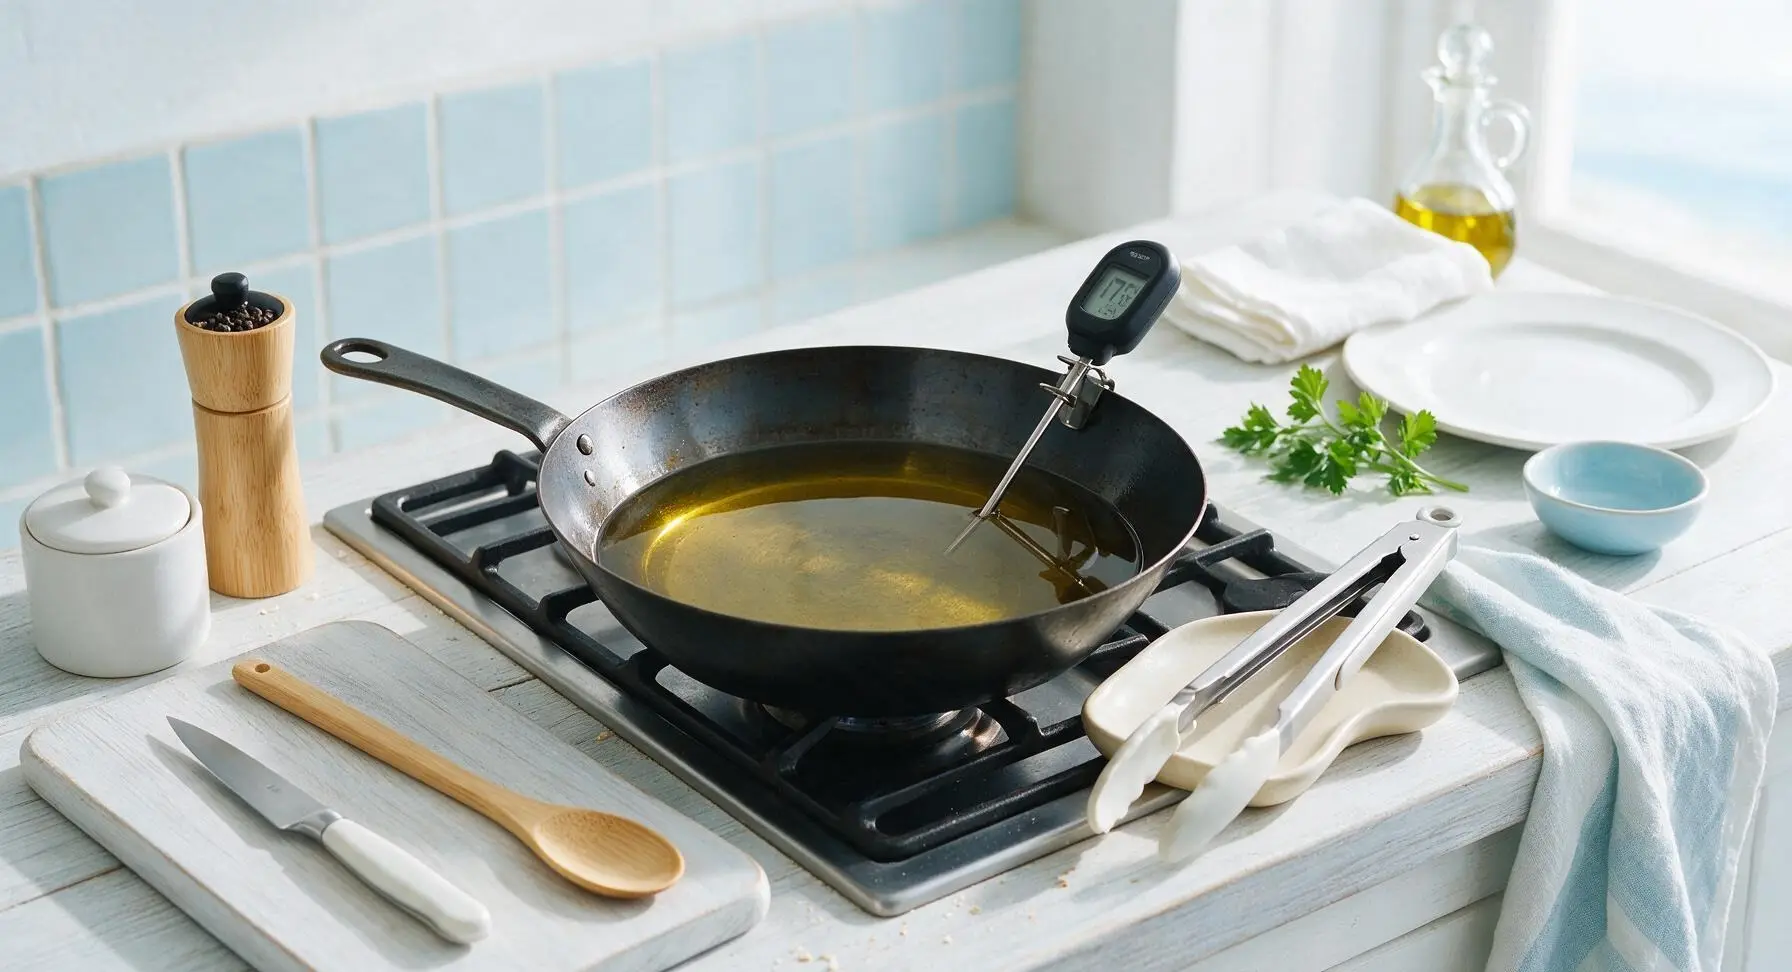
Move the 12-inch seasoned carbon steel frying pan to the active front stovetop burner. Pour 1L canola oil into the pan until oil reaches 3cm depth up the pan sides. Heat over medium heat until oil reaches 175C (350F), verified with the digital instant-read thermometer. If oil starts to smoke, it is too hot: turn heat down and let cool 2-3 minutes before frying, as overheated oil will burn the crust before the chicken cooks through.
Coat Chicken Pieces
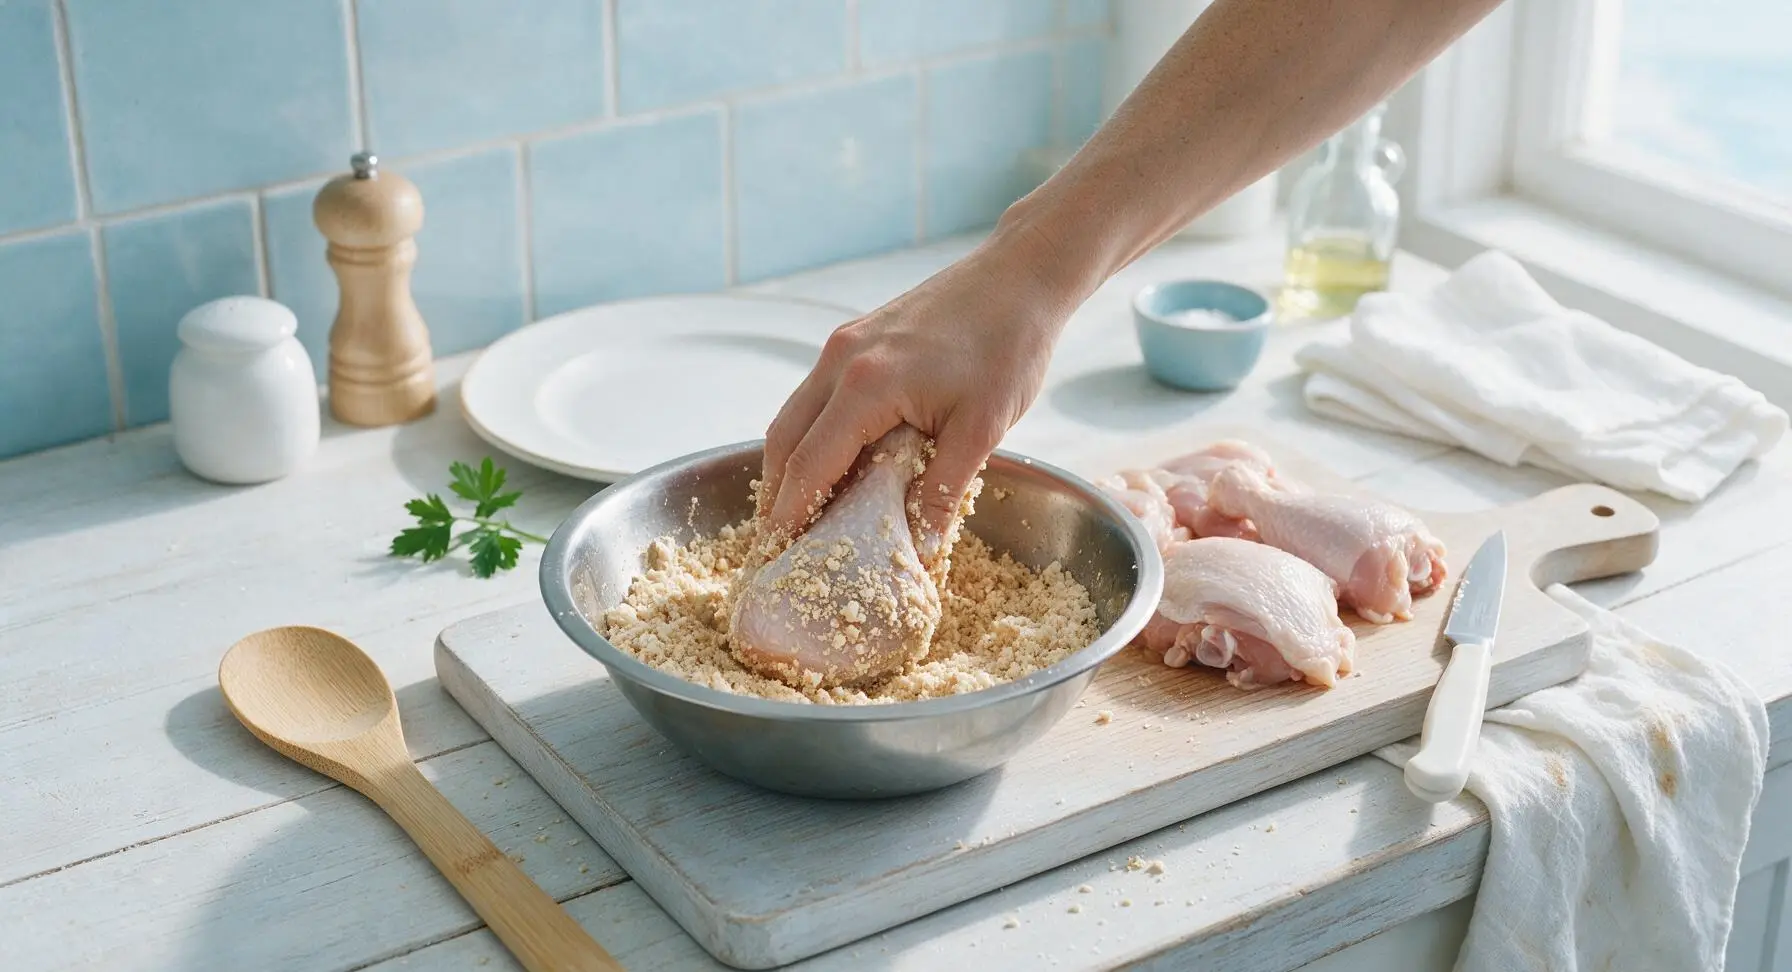
Working one piece at a time, drop chicken into the bowl of crumbly coating, pressing firmly so the clumps adhere to every surface, including under loose skin edges. Lift each piece and shake off excess loose coating, then set on a small clean plate for 2 minutes to let the coating set—this prevents the crust from falling off during frying. Ensure no bare patches of chicken are visible after coating.
Fry Chicken Batches
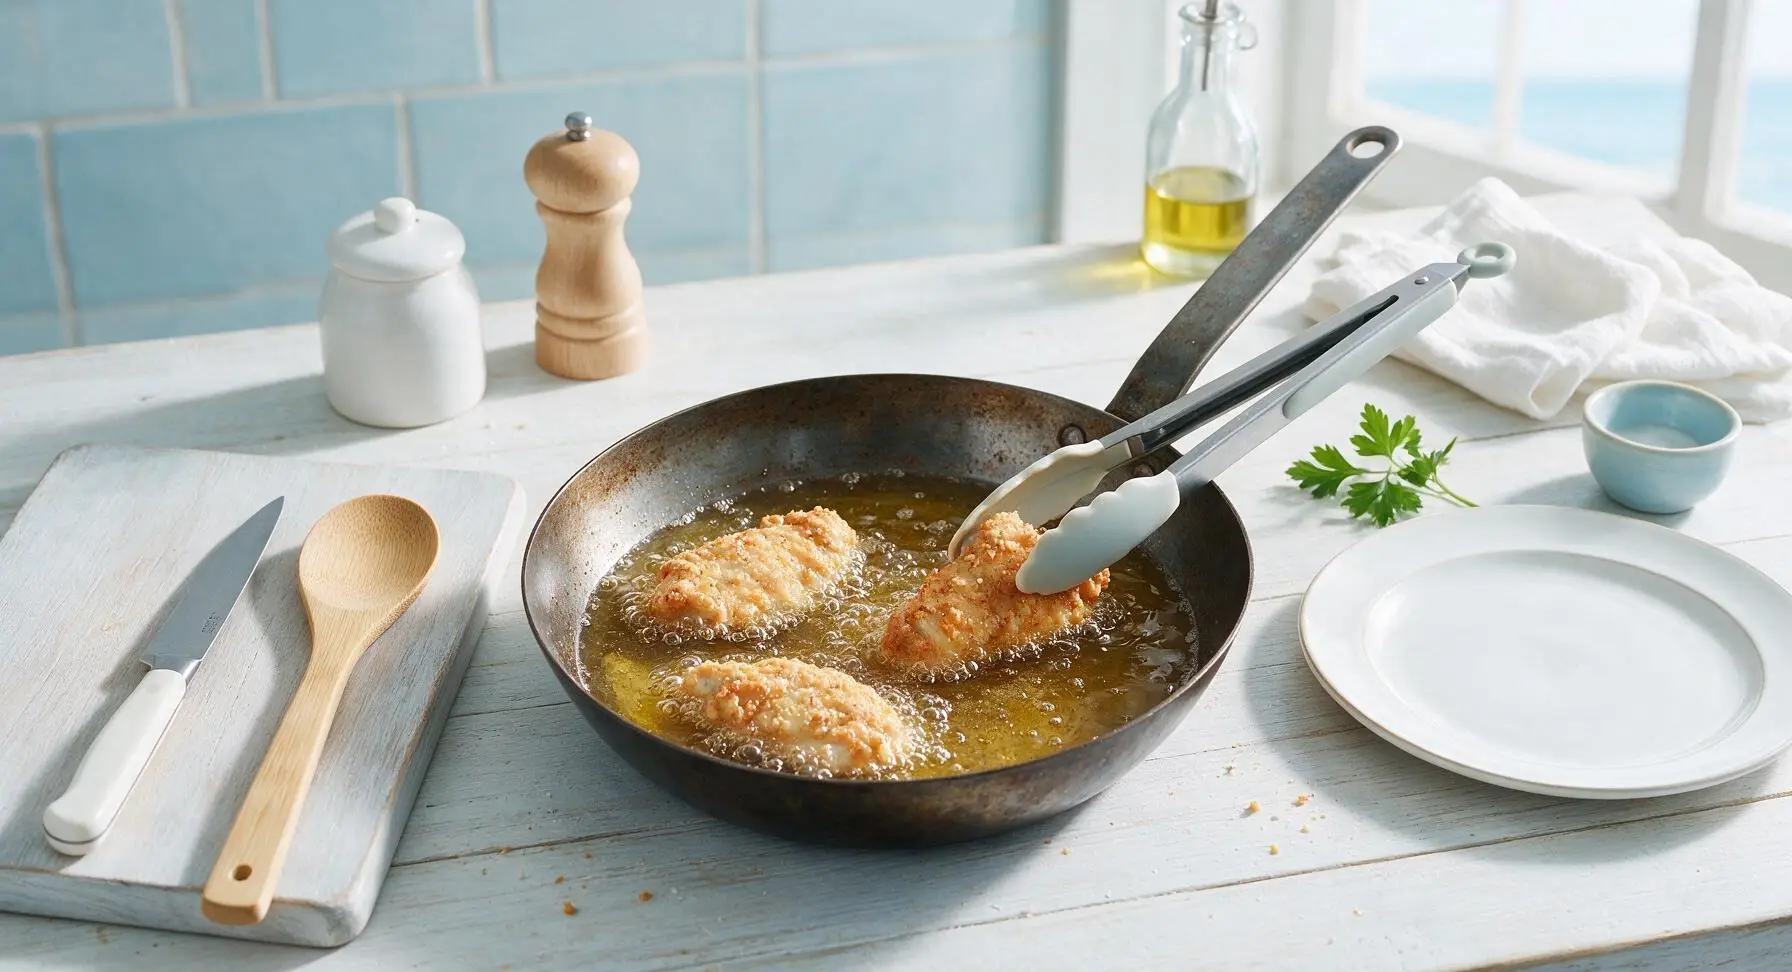
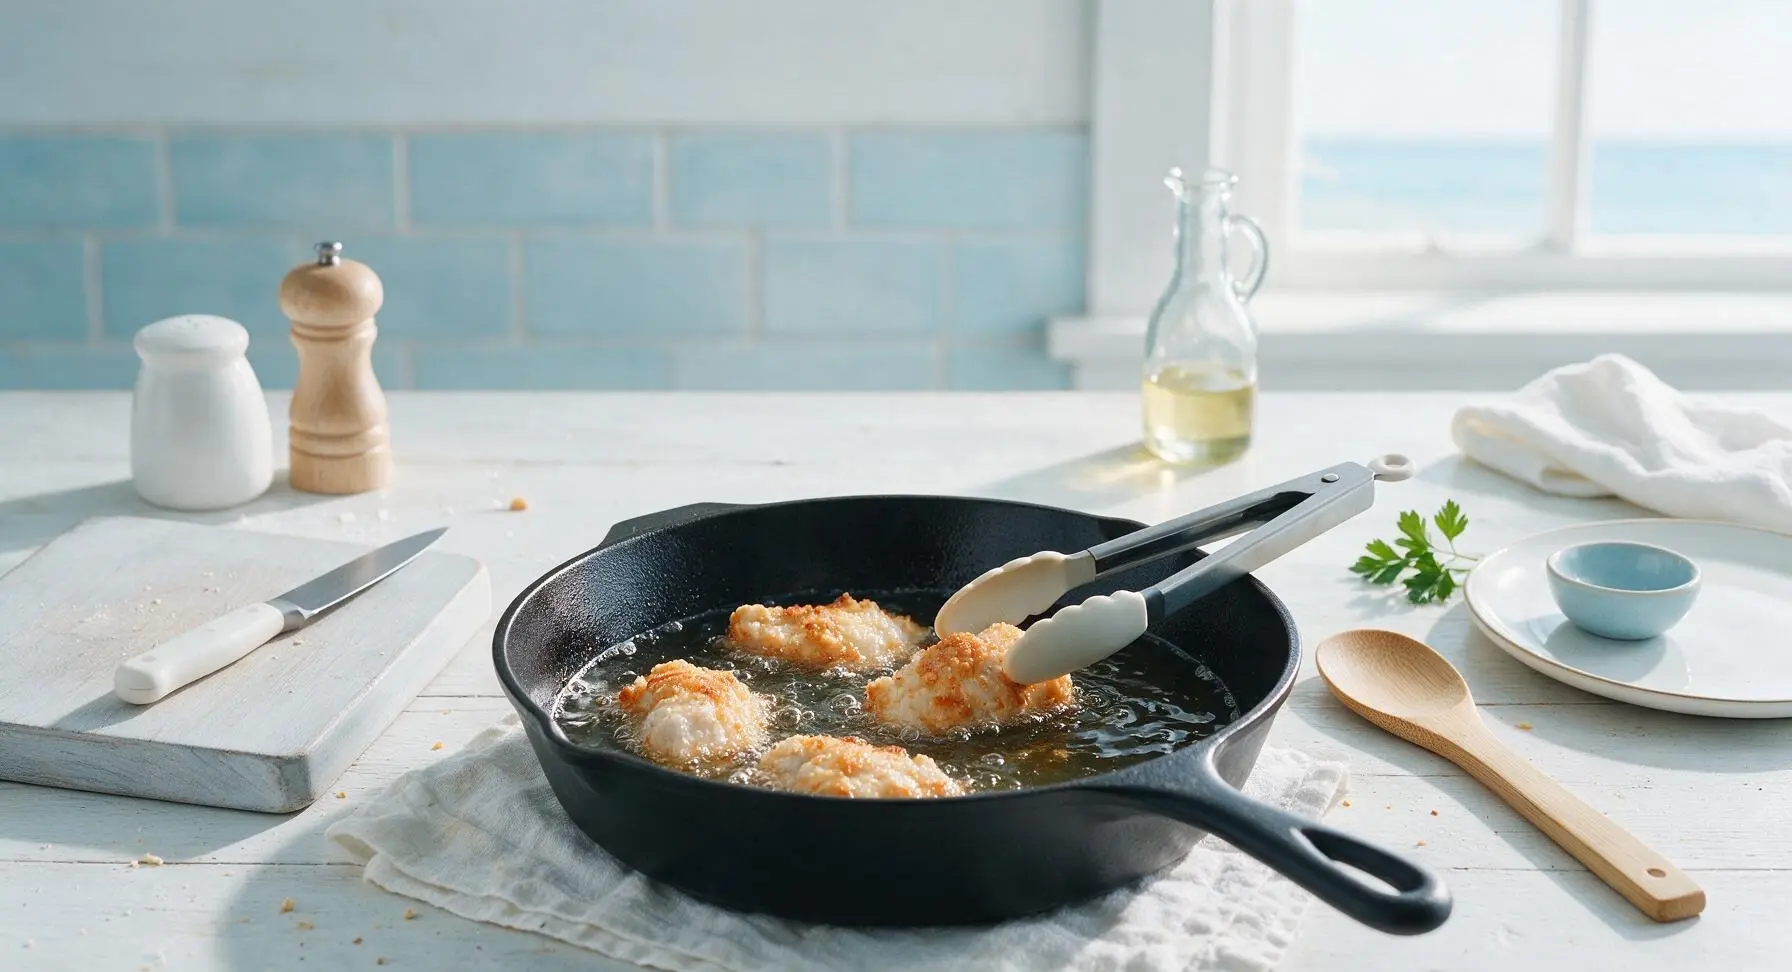
Carefully lower 3-4 chicken pieces into the hot oil using the silicone-tipped tongs, taking care not to splash hot oil. Do not overcrowd the pan, as this drops oil temperature and leads to soggy crust. Fry for 12-14 minutes total, turning pieces every 3 minutes, until crust is a deep even golden brown and chicken reaches an internal temperature of 75C (165F) on the instant-read thermometer. Adjust burner heat as needed to maintain a steady 170C oil temperature throughout cooking.
Drain and Season
Once chicken reaches the correct golden color and internal temperature, use tongs to lift pieces from the oil, letting excess oil drip back into the pan for 5 seconds per piece. Transfer pieces to the parchment-lined chrome wire cooling rack to drain for 3 minutes. Do not drain chicken on paper towels, as trapped steam will soften the bottom crust. Lightly sprinkle hot chicken with flaky sea salt immediately after removing from oil, so salt sticks to the crisp crust.
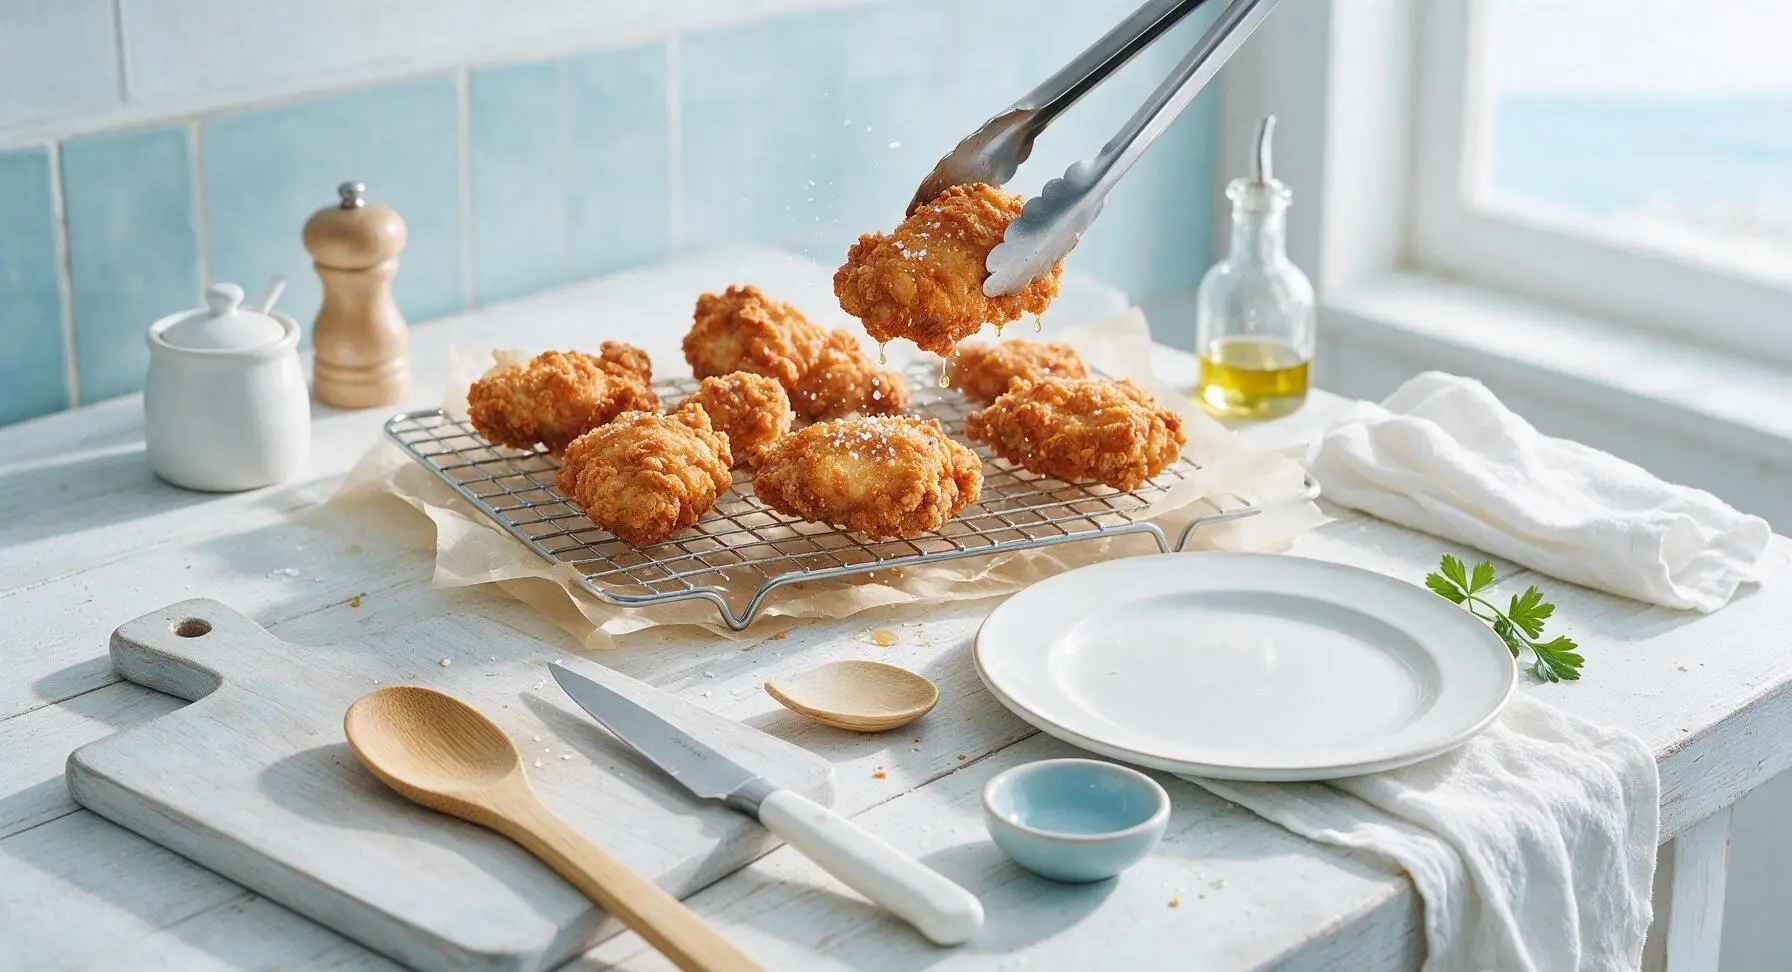
Plate and Serve
Arrange drained crispy chicken pieces in a casual overlapping pile on the fixed matte cream ceramic dinner plate. Tuck 2 sprigs of fresh curly parsley at the plate edge for garnish. Pour 60ml sweet chili sauce into the matching small cream ramekin, set beside the plate. Serve immediately while the crust is shatteringly crisp.
Tips
2.Maintain a steady oil temperature of 170-175C: if oil is too cool, chicken will absorb excess grease and turn soggy; if too hot, the crust will burn before the chicken cooks through to a safe internal temperature. Check temperature with a thermometer between batches for consistent results.
3.Skip the paper towel drain: resting fried chicken on a wire rack lets air circulate around every side, preventing steam buildup that softens crust. If you don't have a rack, rest chicken on a crumpled wire mesh skimmer over a bowl instead for the same effect.






OMG this chicken came out SO crispy! I made it for Sunday family dinner and my picky 7 year old asked for thirds, my kids loved it! Didn’t have paprika on hand so I subbed smoked paprika and it was chef’s kiss. 10/10 will be adding this to the weekly rotation!
Total game changer for my weekly meal prep! I was sick of boring baked chicken that gets soggy in the fridge, and this stays crispy even when I reheat it in the air fryer for 3 minutes. Cook time was spot on 25 minutes too, no extra guesswork.
Tried this last night for my roommates and we all devoured it. I was worried it would be too hard since the difficulty is medium, but the steps were super easy to follow. Only thing I messed up was letting the oil get a little too hot at first, so the first batch was a touch dark, but still tasted great!
Made this for my book club potluck last night and everyone was begging for the recipe! The crust is perfectly golden and not too heavy, doesn’t fall off the chicken like so many other crispy chicken recipes I’ve tried. I used chicken thighs instead of breasts because that’s what I had, turned out amazing.
Wait a second—can I make this gluten free? I have celiac and I’ve been searching for a good crispy chicken recipe that doesn’t use regular flour. Would a 1:1 gluten free flour blend work for the coating?
SO good. I usually fry chicken on the grill outside but it was pouring rain yesterday so I tried this stovetop method. Crispier than my usual grill version, and my wife said it’s the best chicken I’ve made all year. Win win.
Wait 25 minutes cook time? That seems too fast for crispy chicken? I tried making this tonight and my chicken was still raw near the bone when I pulled it out after 25 minutes at the heat listed. Did I do something wrong?
Has anyone made this ahead and reheated it for a party? I’m hosting a backyard BBQ next weekend and want to make as much ahead as possible so I’m not stuck in the kitchen while guests are here.
Added a teaspoon of cayenne to the coating for a little kick and it was perfect! Not too spicy, just enough heat to make it interesting. Paired it with some honey mustard dipping sauce and it tasted exactly like the crispy chicken strips I used to get as a kid, but way better. 10/10
Okay I’m literally the worst at cooking, like I burn toast half the time. I was scared to try this because it says medium difficulty, but it actually came out perfect? The crust was crispy, the chicken was juicy, I didn’t burn anything. My boyfriend thought I ordered takeout lmao
Wait has anyone tried making this in the air fryer instead of pan frying? I hate dealing with hot oil splatters all over my stove, I’d much rather use my air fryer if it turns out just as crispy.