
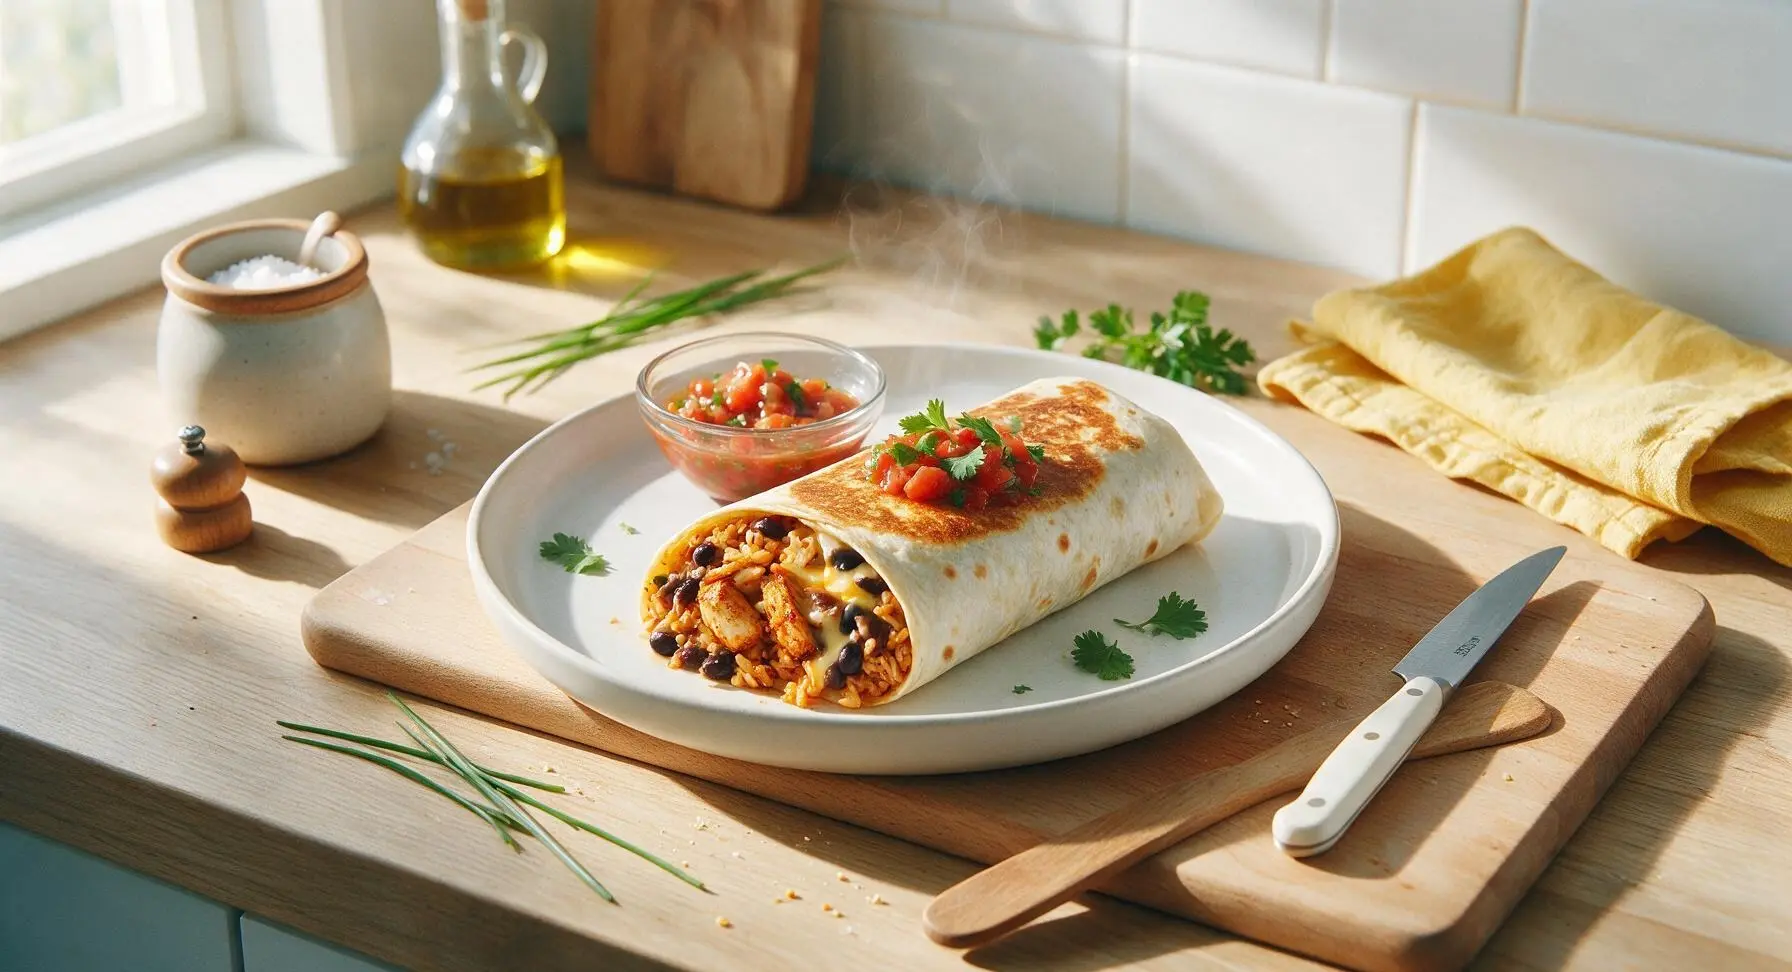
good burrito

title 1
good burrito
⏱️ cook time 25 minutes
🍽️ servings 4
⚡ Difficulty easy

intro

Tightly wrapped, pan-seared flour tortillas stuffed with spiced chicken, seasoned rice, creamy black beans, and melted cheese, with bright salsa and cilantro for a satisfying, flavor-packed handheld meal.

Ingredients
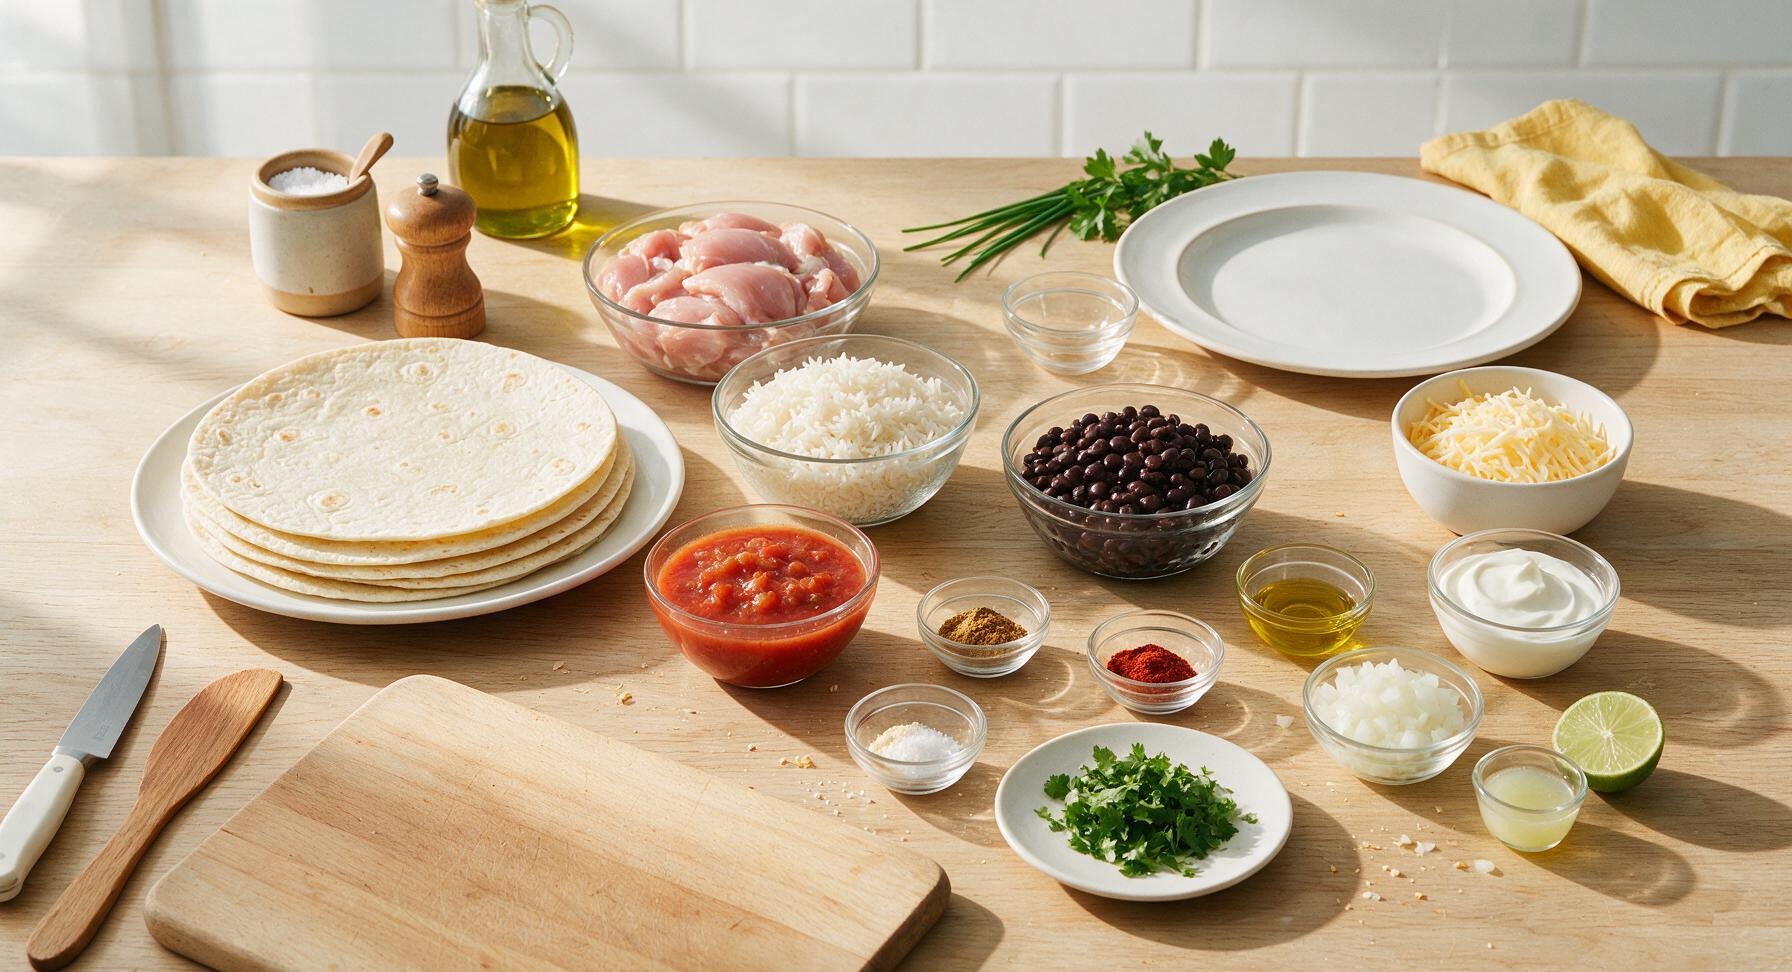
Large (12-inch) flour tortillas 4 each (480g total)
Boneless skinless chicken thighs, trimmed 200g
Cooked long-grain white rice 180g (about 1 cup)
Low-sodium black beans, rinsed and drained 200g (about 1.25 cups)
Shredded Monterey Jack cheese 80g (about 3/4 cup loosely packed)
Mild red tomato salsa 120g (1/2 cup)
Ground cumin 1 tsp
Smoked paprika 1 tsp
Garlic powder 1/2 tsp
Kosher salt 3/4 tsp
Extra-virgin olive oil 1 tbsp
Fresh cilantro, chopped 15g (1/4 cup)
White onion, finely diced 40g (1/4 cup)
Sour cream 60g (1/4 cup)
Fresh lime juice 1 tbsp

Steps

1

Season chicken thighs

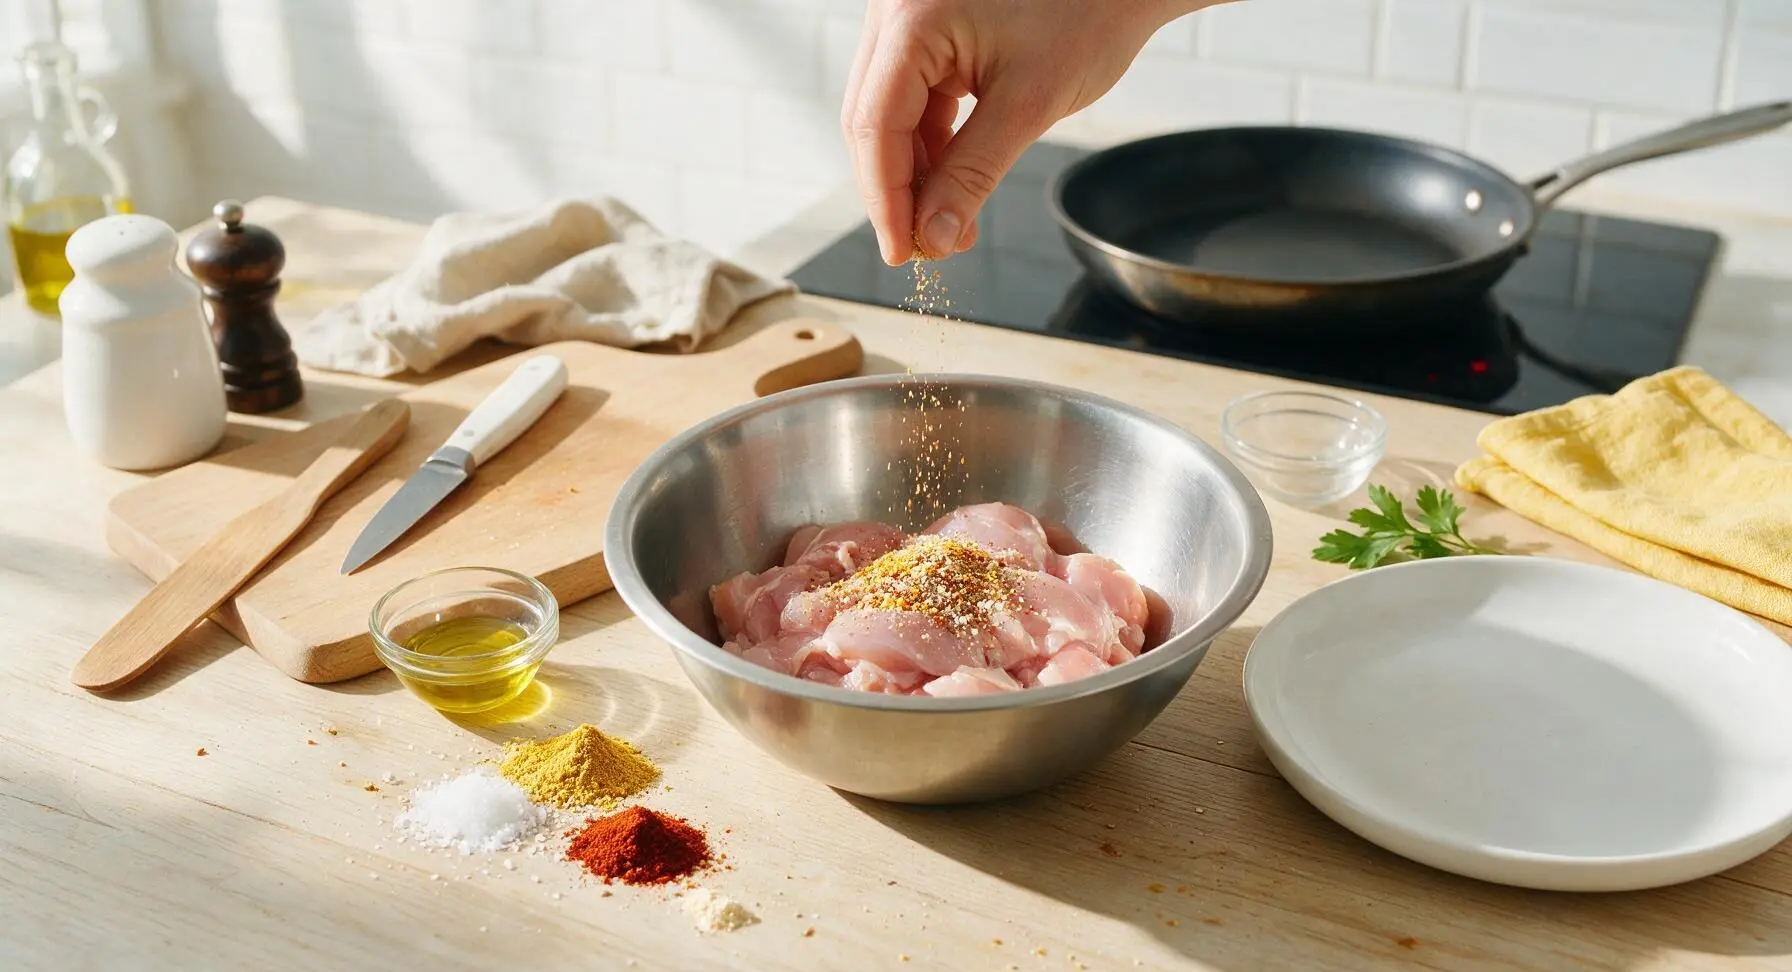
Pat the 200g trimmed boneless, skinless chicken thighs dry with a clean corner of the draped kitchen towel. Place chicken in the brushed stainless steel mixing bowl, add 3/8 tsp kosher salt, 1/2 tsp ground cumin, 1/2 tsp smoked paprika, 1/4 tsp garlic powder, and 1 tsp olive oil, toss to coat every piece evenly. Let rest 5 minutes at room temperature while the skillet preheats over medium heat (350°F/175°C).
Step 1
step1:Season chicken thighs
2

Sear chicken until cooked

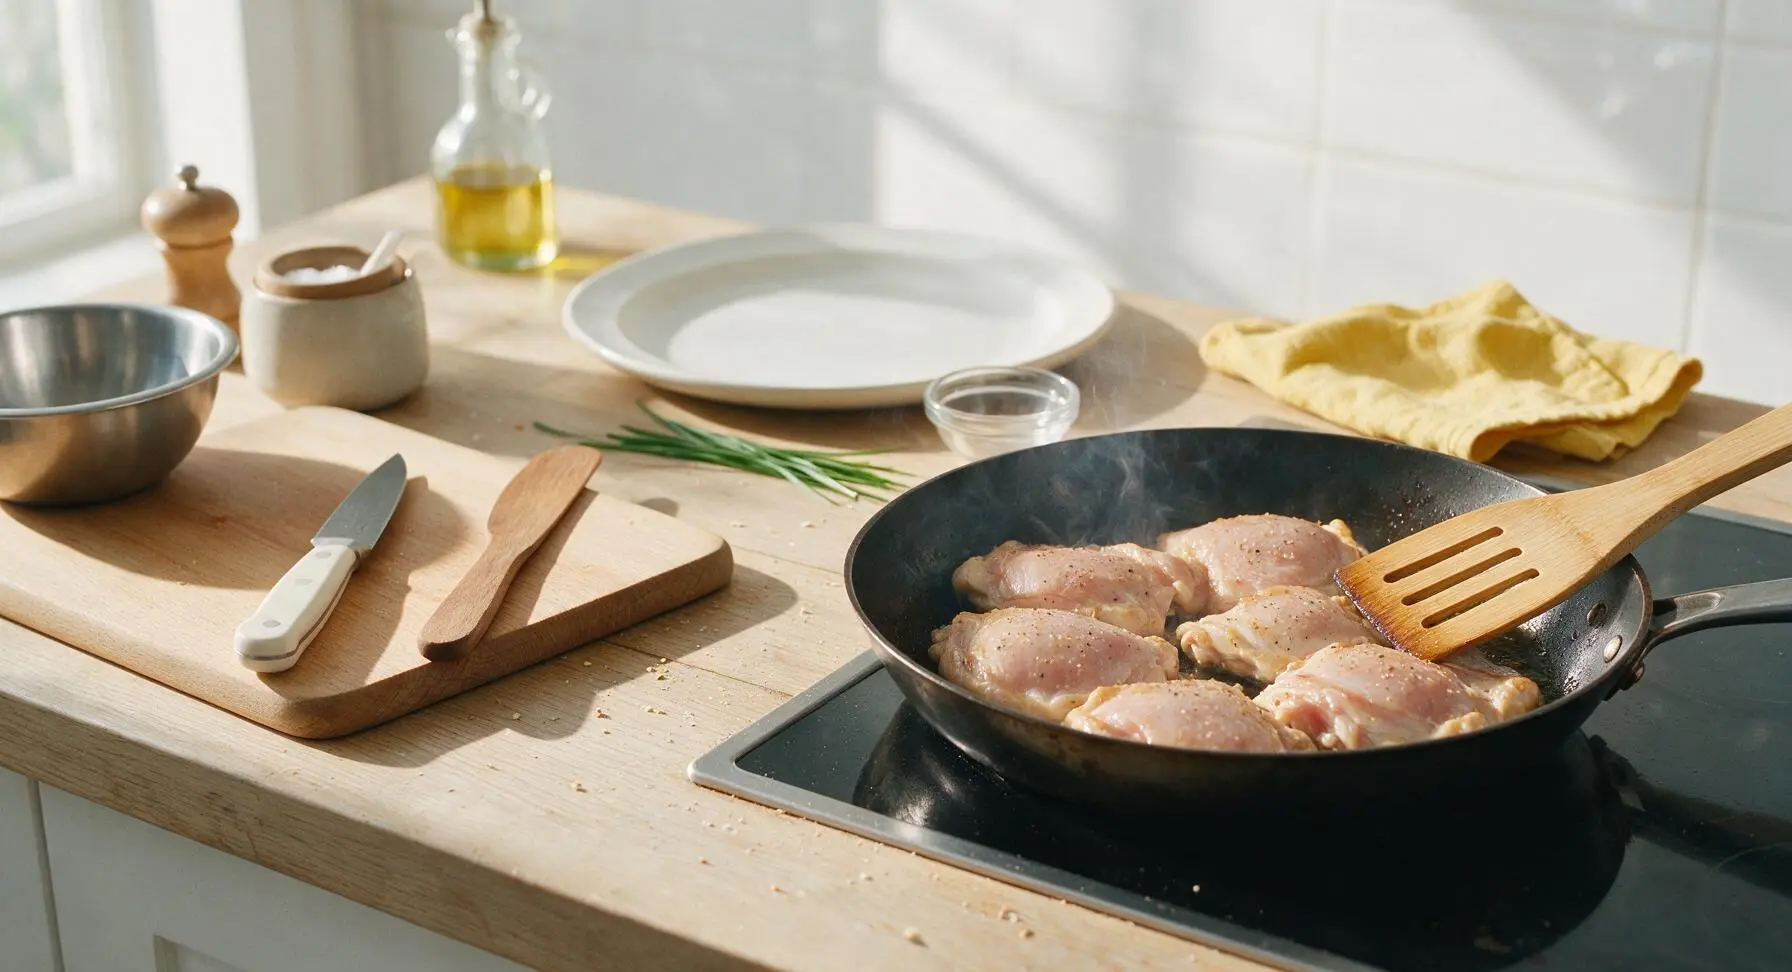
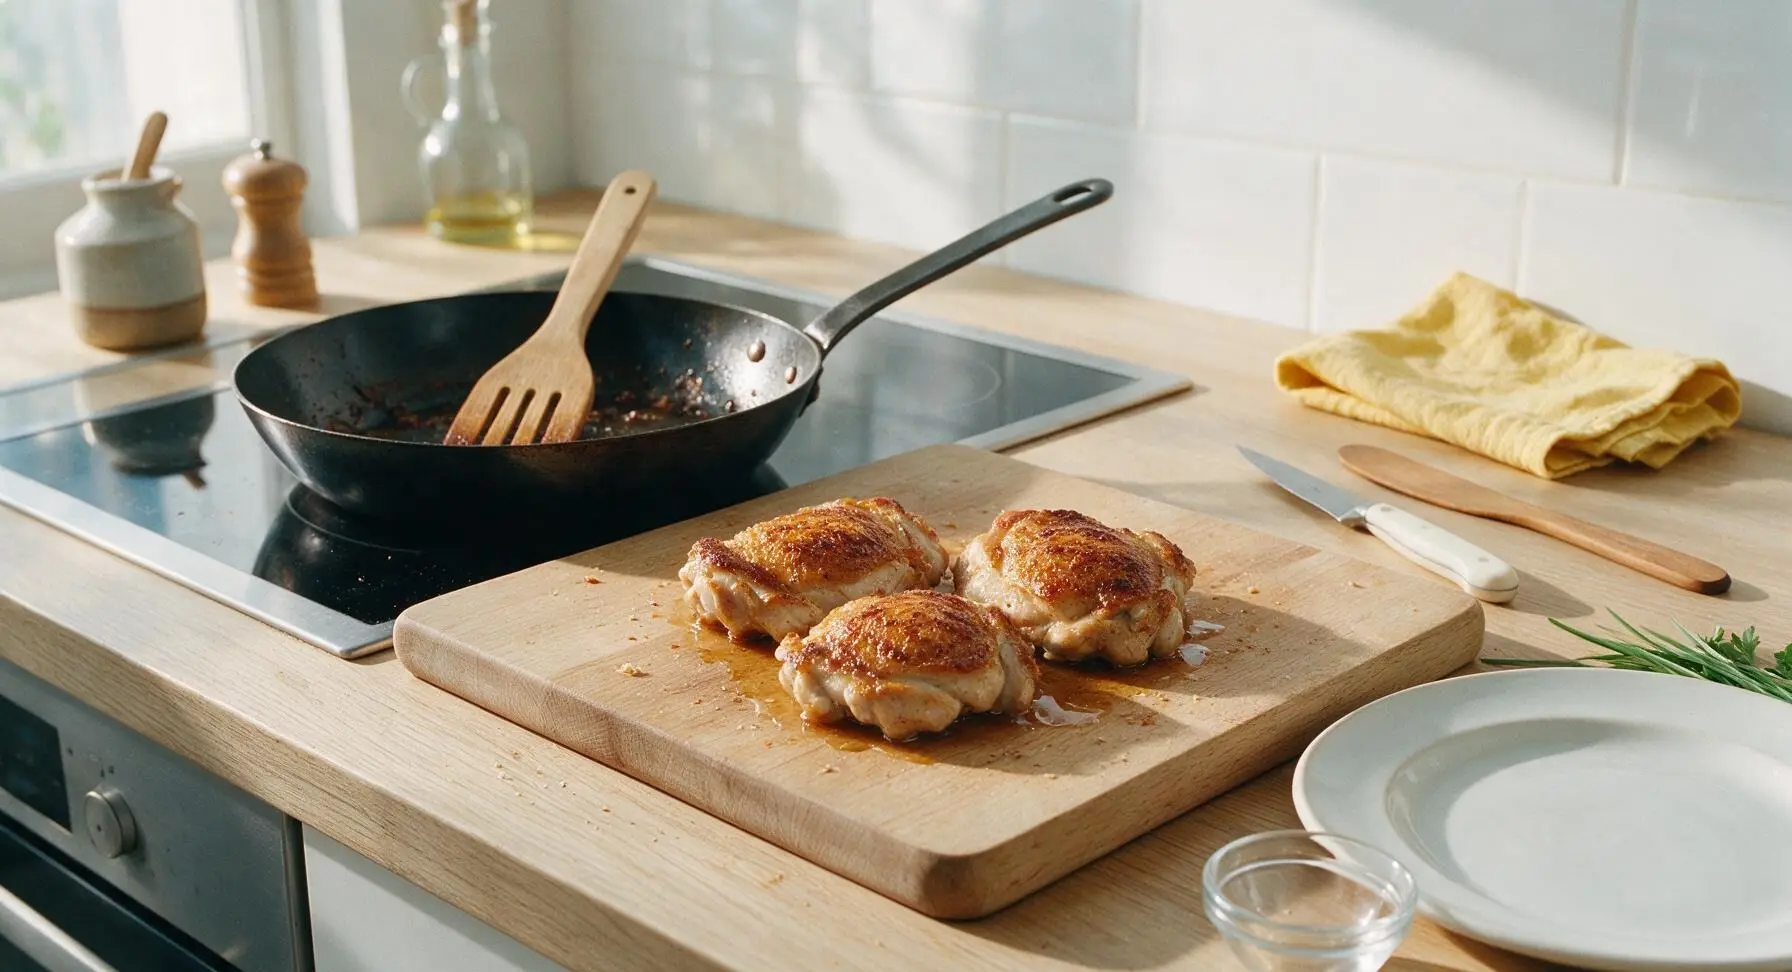
Place the seasoned chicken thighs in the preheated black carbon steel skillet, smooth side down. Cook for 6 minutes per side over medium heat, until the exterior is deep golden brown and internal temperature reaches 165°F/74°C. Use the bamboo slotted turner to flip the thighs once halfway through cooking. Transfer cooked chicken to the maple cutting board to rest for 5 minutes, leaving the browned fond bits in the skillet for extra flavor.
Step 2
step2:Sear chicken until cooked
Step 2
step2:Sear chicken until cooked
3

Mix seasoned rice filling

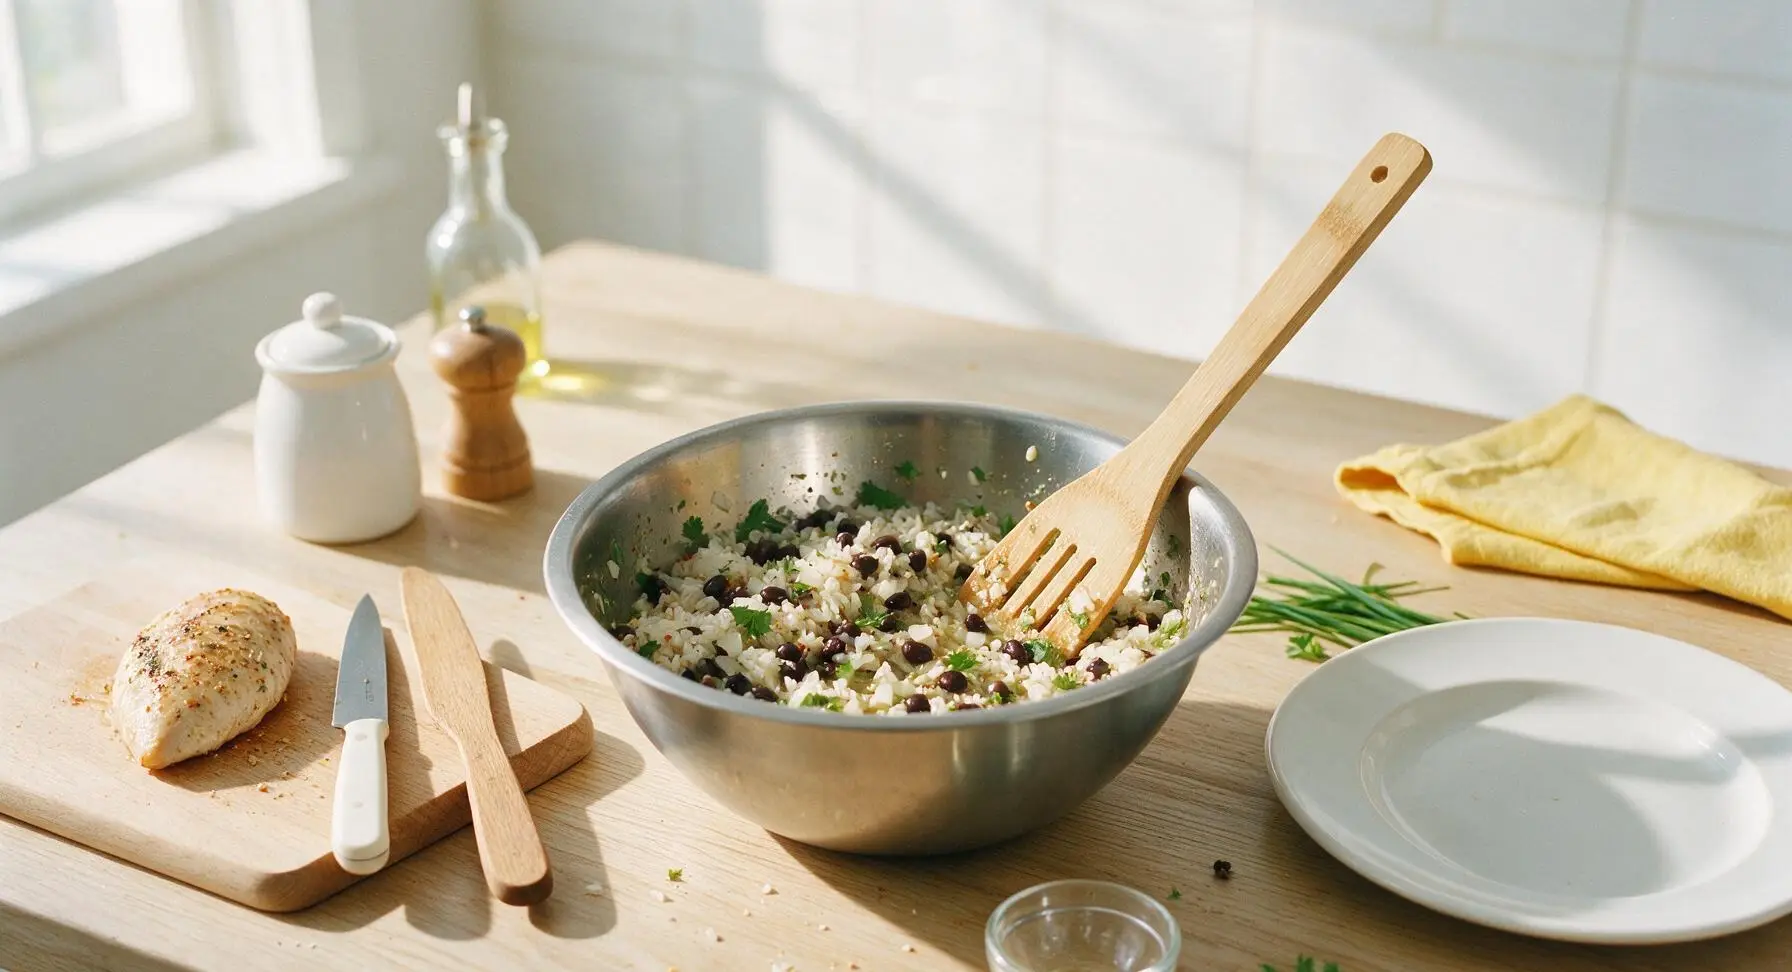
While the chicken rests, combine the 180g cooked white rice, rinsed drained black beans, remaining 3/8 tsp kosher salt, 1/2 tsp cumin, 1/2 tsp smoked paprika, 1/4 tsp garlic powder, 1 tbsp lime juice, diced white onion, and half the chopped cilantro in the stainless steel mixing bowl. Stir with the bamboo slotted turner until evenly combined, taste and adjust salt if needed.
Step 3
step3:Mix seasoned rice filling
4

Dice rested chicken

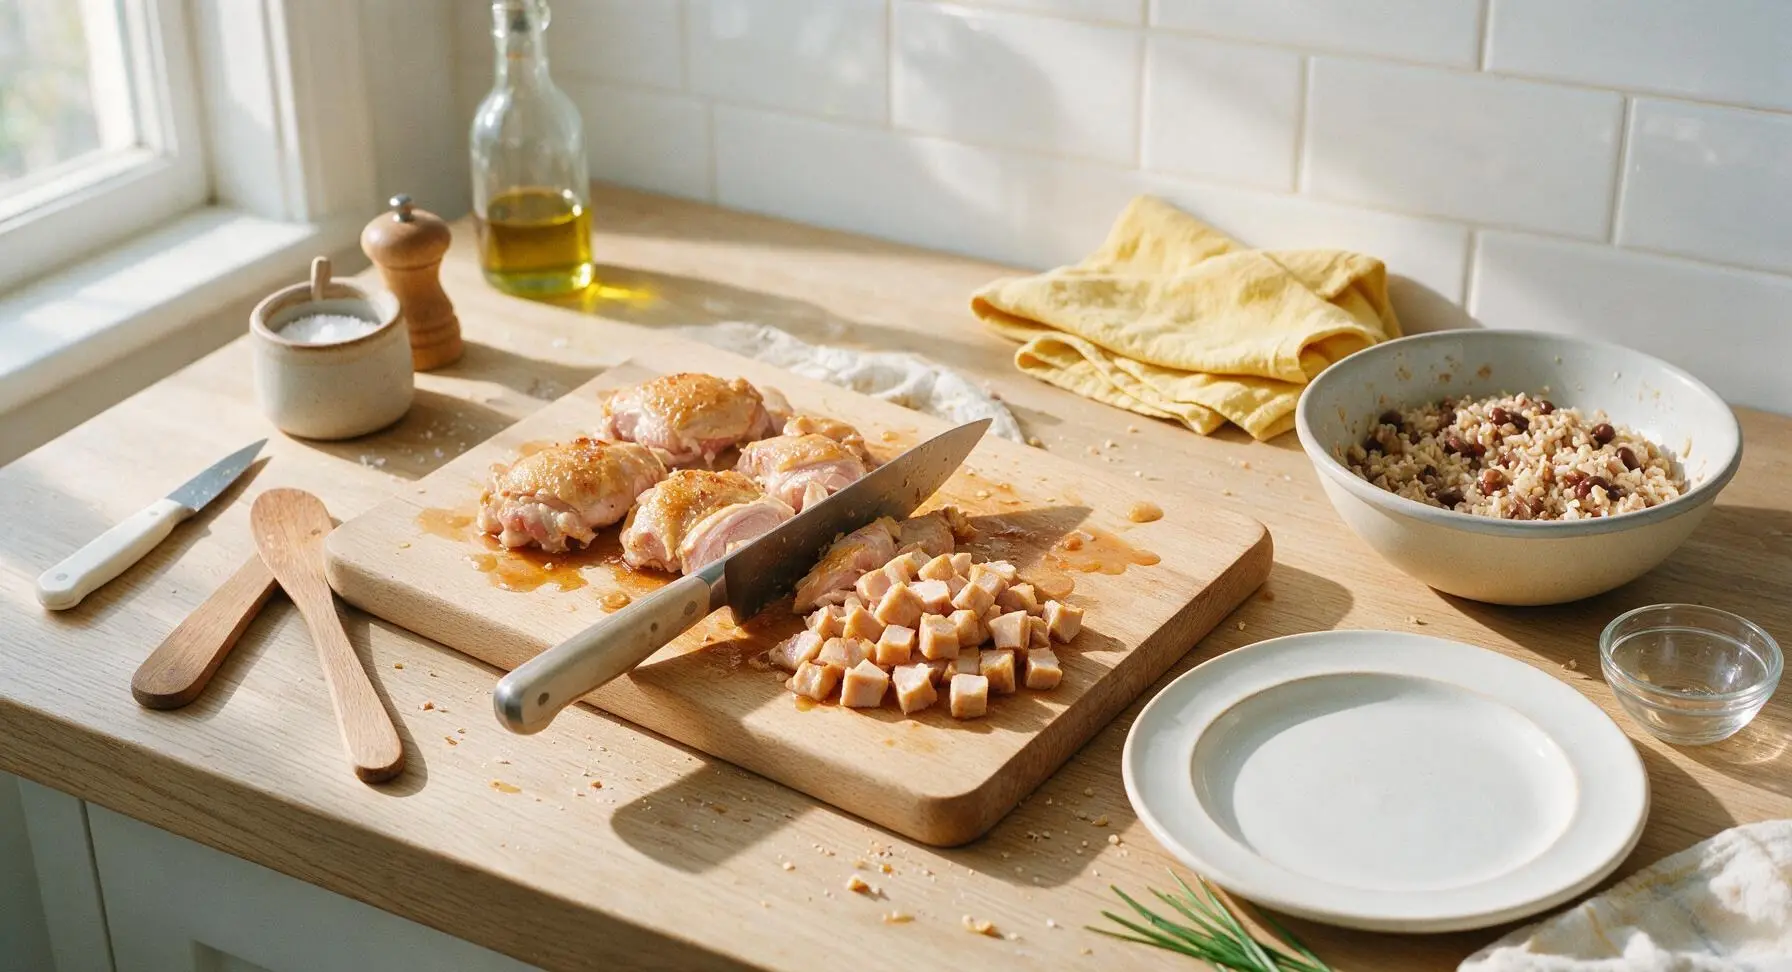
Once the chicken has rested 5 minutes, use the chef’s knife to dice it into 1cm (1/2 inch) cubes on the maple cutting board. Collect any juices that pooled on the board and stir them into the rice and bean mixture for extra savoriness.
Step 4
step4:Dice rested chicken
5

Warm tortillas for flexibility

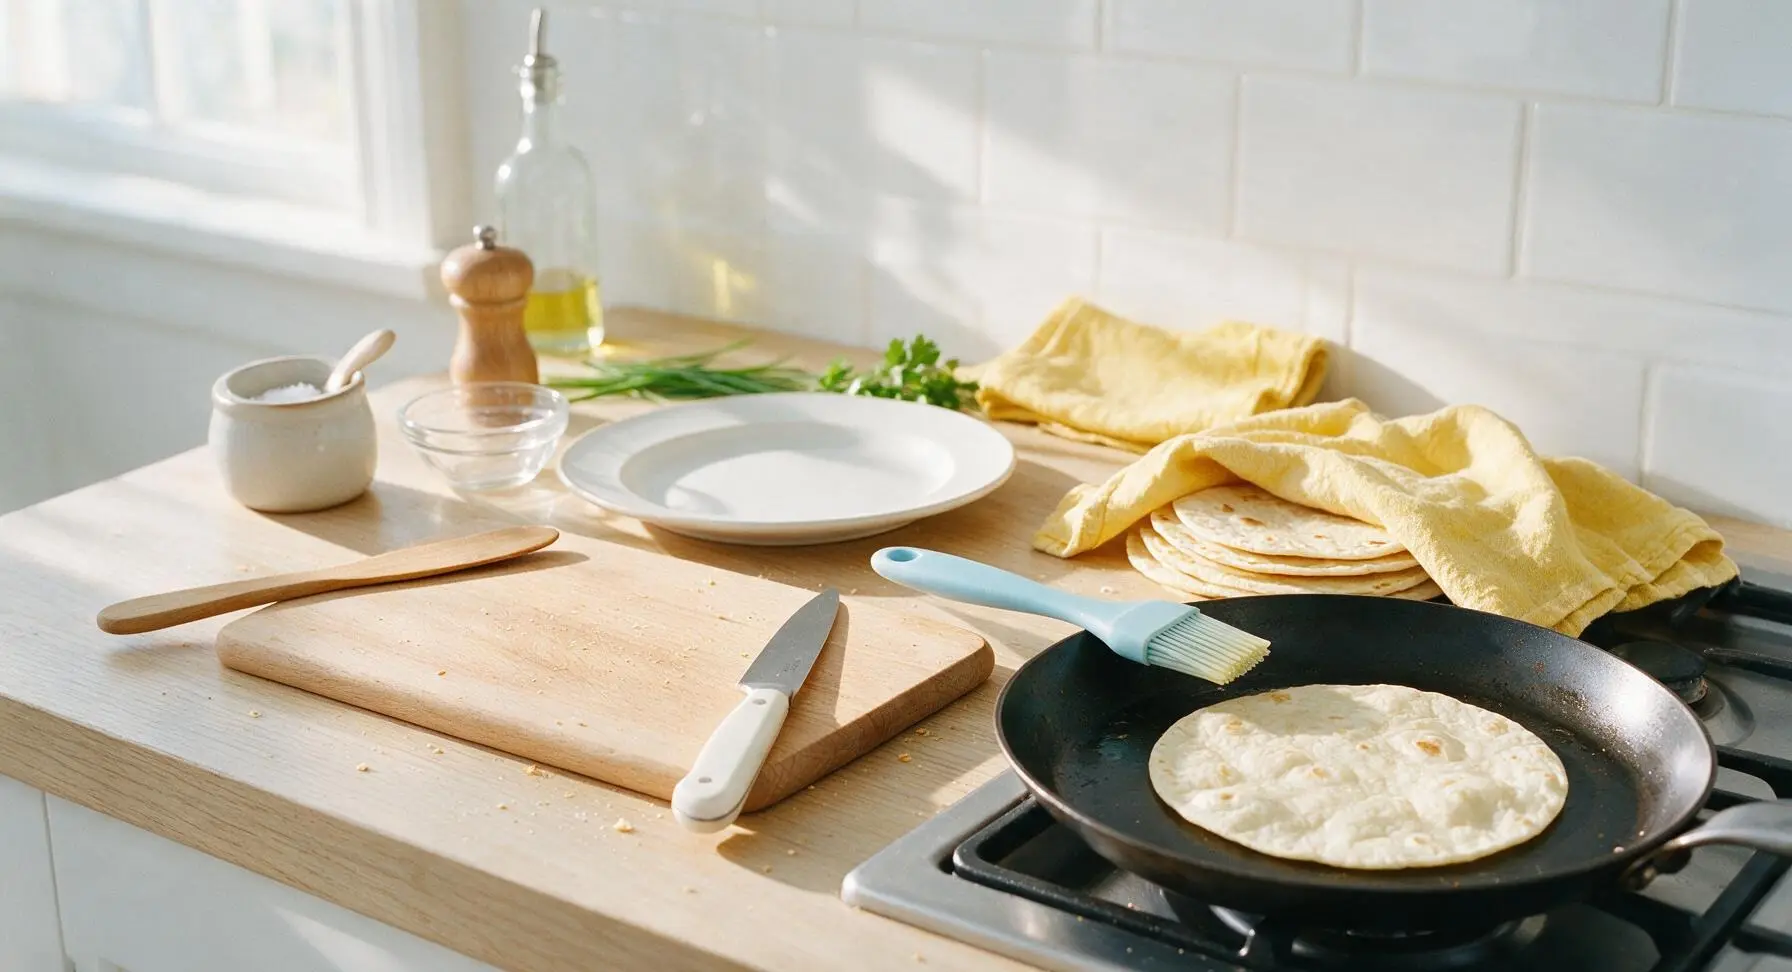
Wipe the black carbon steel skillet clean with a paper towel, return to medium-low heat (300°F/150°C). Warm each flour tortilla for 15 seconds per side, until soft and pliable, using the silicone basting brush to spread a tiny amount of olive oil on each side as it warms. Stack warmed tortillas on a clean corner of the counter, covered with a corner of the draped kitchen towel to lock in steam and stay soft.
Step 5
step5:Warm tortillas for flexibility
6

Assemble burrito fillings

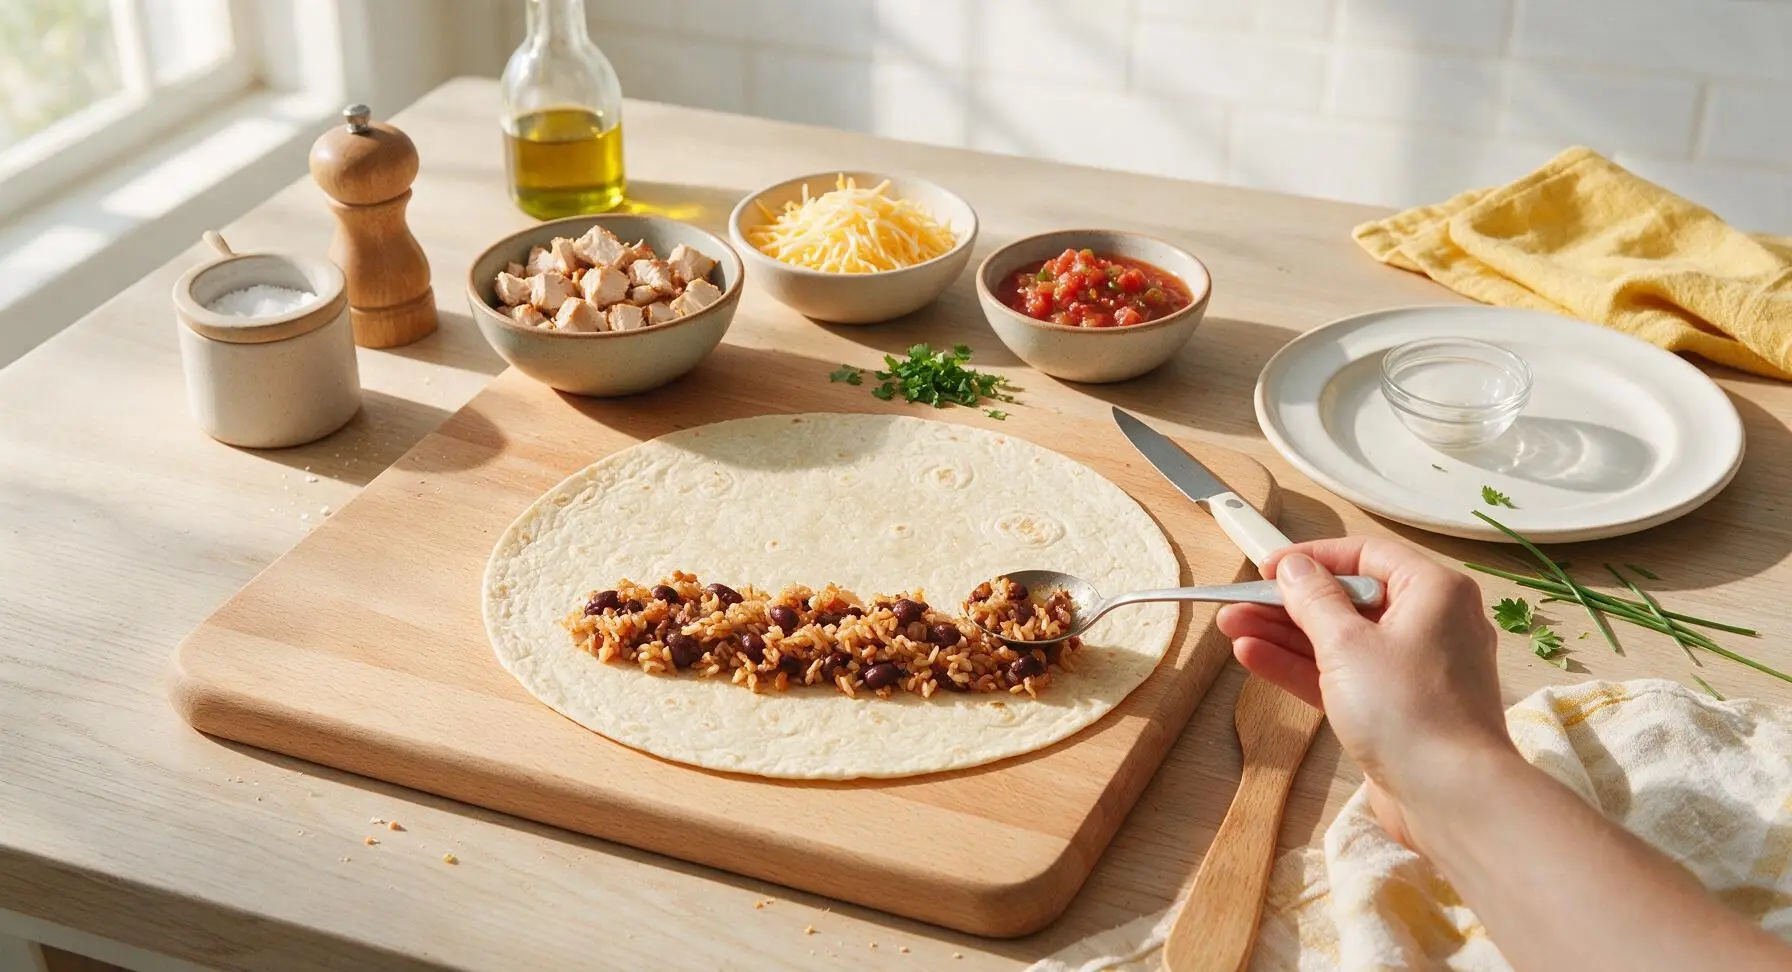
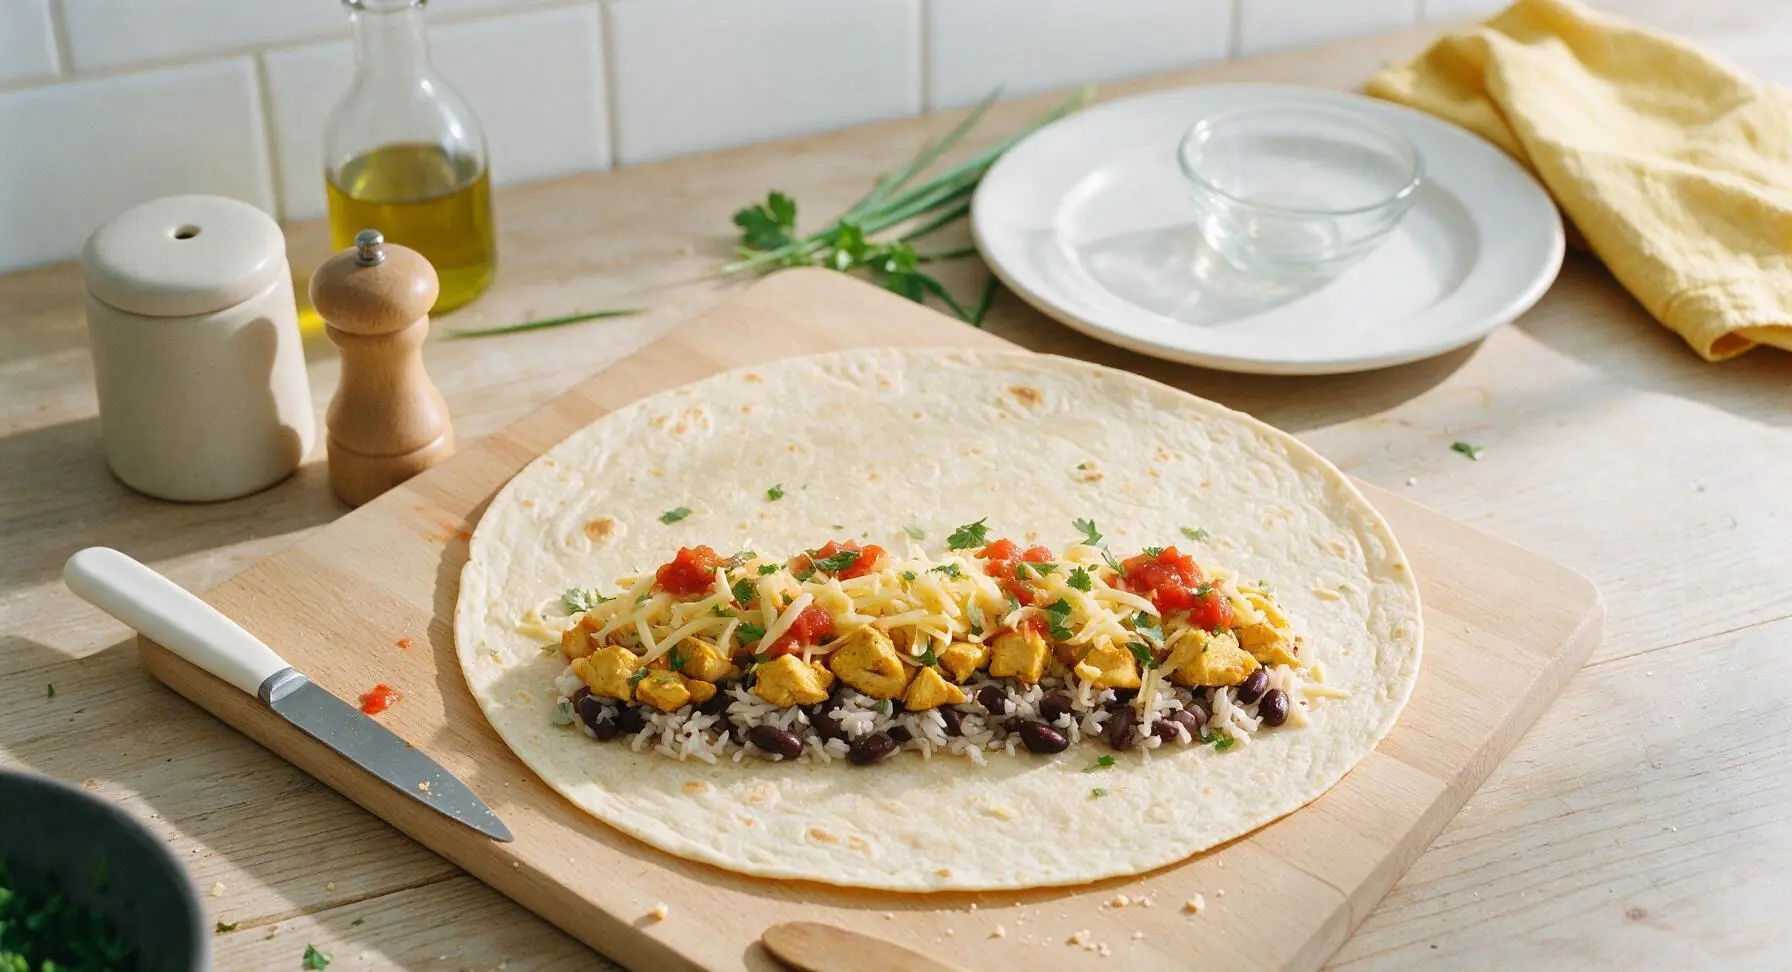
Lay one warm tortilla flat on the maple cutting board. Layer 1/4 of the rice and bean mixture in a tight horizontal line across the lower third of the tortilla, top with 1/4 of the diced chicken, 20g shredded Monterey Jack cheese, 1 tbsp salsa, and a sprinkle of remaining cilantro. Leave a 5cm (2 inch) border at the bottom and sides to make wrapping easy; do not overfill, as this will cause the burrito to burst when searing.
Step 6
step6:Assemble burrito fillings
Step 6
step6:Assemble burrito fillings
7

Wrap burritos tightly

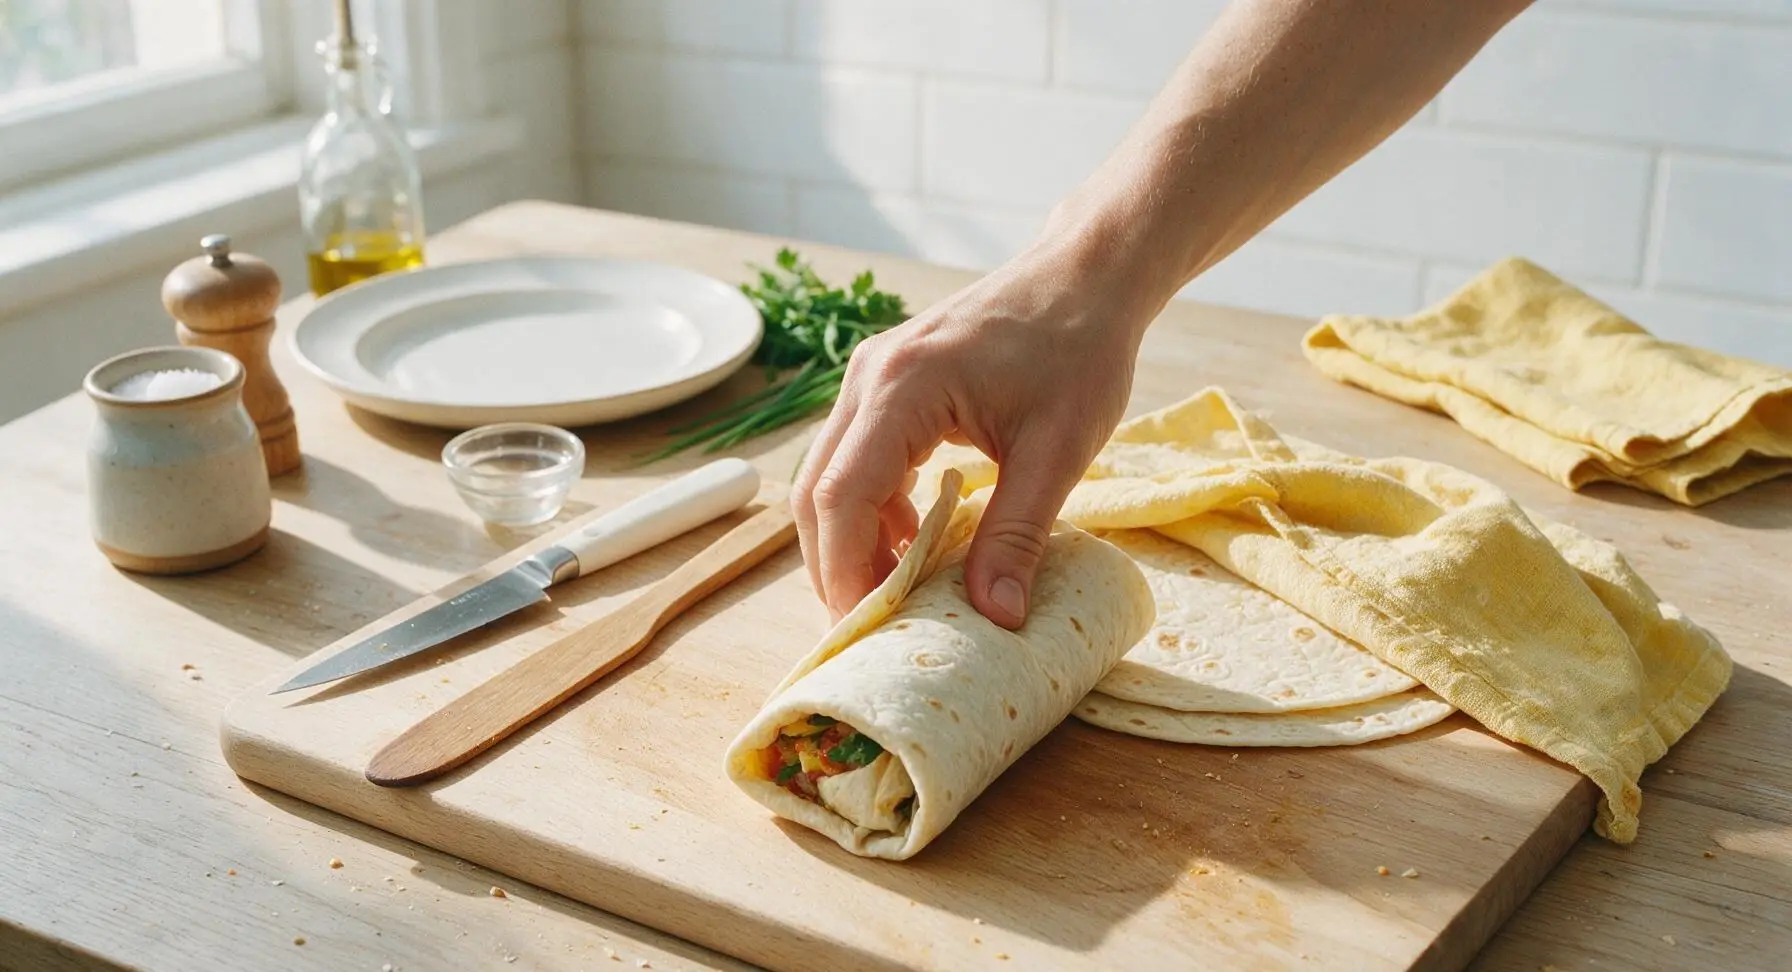
Fold the left and right sides of the tortilla in over the edges of the filling, then roll the bottom edge of the tortilla up and over the filling, tucking tightly as you roll to form a firm, sealed cylinder. Make sure the sides stay tucked in to prevent filling from leaking out during searing. Set wrapped burritos seam-side down while you finish rolling all four.
Step 7
step7:Wrap burritos tightly
8

Sear burritos until crisp

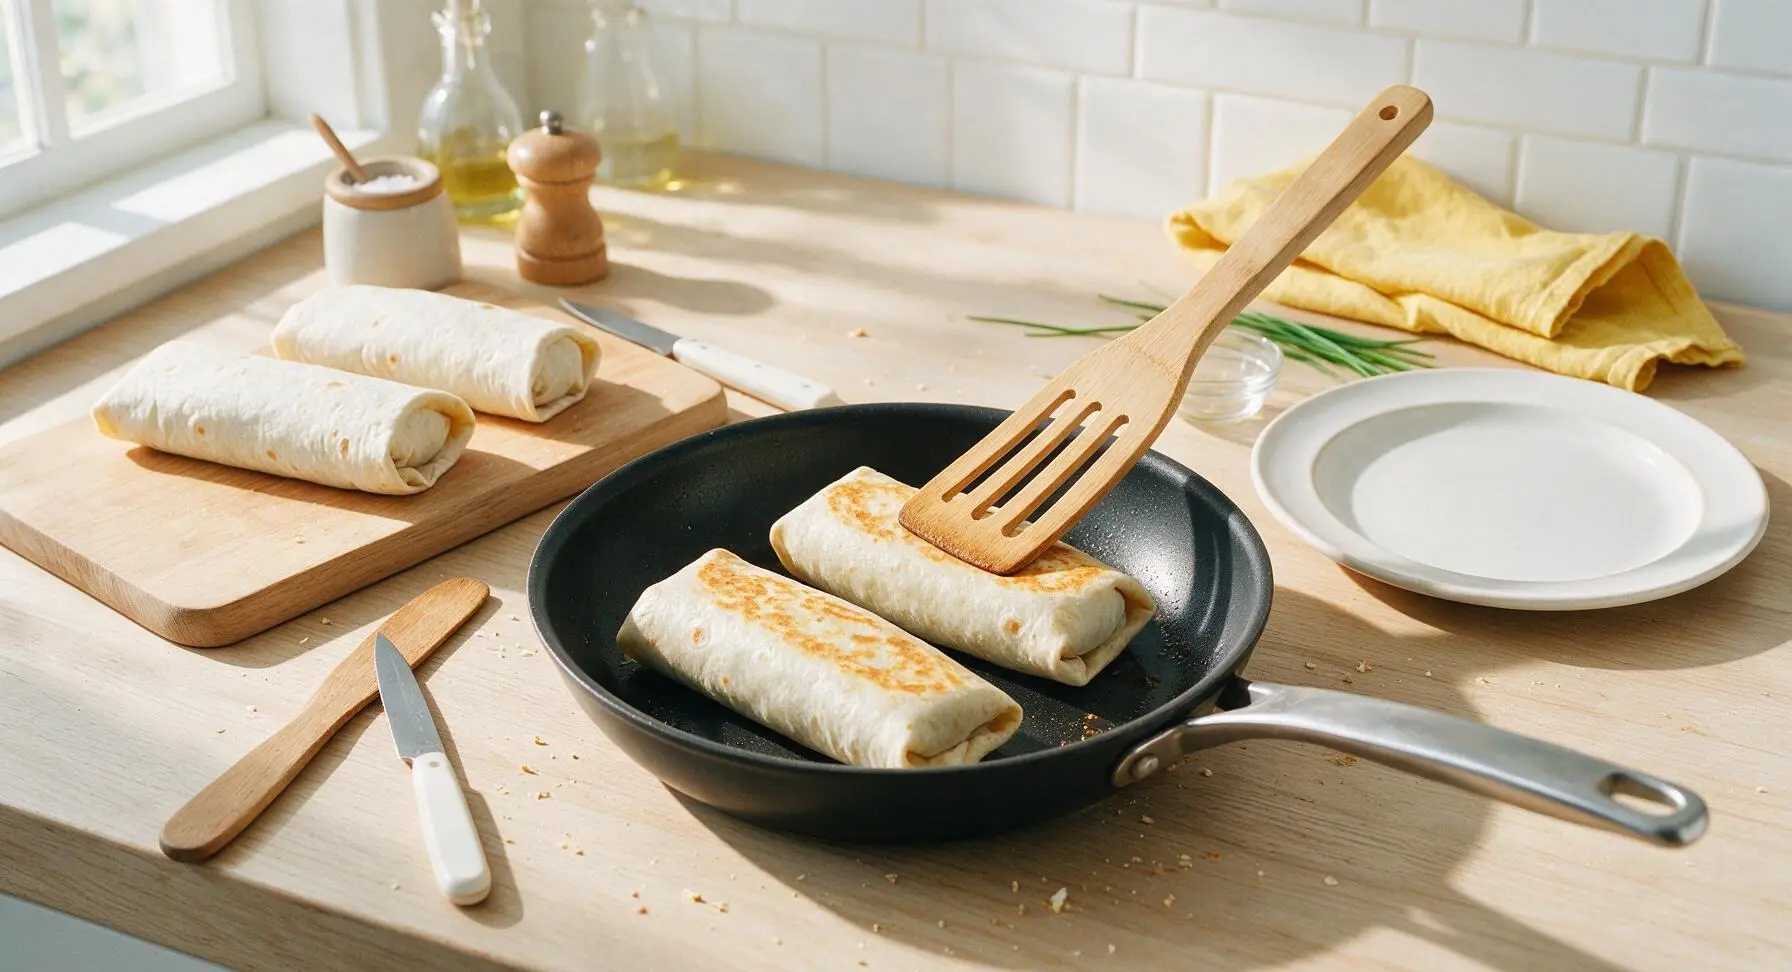
Return the skillet to medium heat (325°F/160°C). Place the wrapped burritos seam-side down in the skillet, cook 2 minutes per side, turning with the bamboo slotted turner, until the tortilla is golden and slightly crisp all over, and the cheese inside is fully melted. Press gently on the burritos with the turner as they cook to help seal the seam and create an even crisp surface.
Step 8
step8:Sear burritos until crisp

Tips

1.Warm tortillas before assembling: Cold tortillas crack and split when rolled, leading to leaking filling. Warming them for 15 seconds per side makes them pliable enough to wrap tightly without tearing, and helps the cheese start to melt as you add fillings.
2.Don’t overfill burritos: It’s tempting to pack in extra fillings, but more than 3/4 cup of total filling per 12-inch tortilla will make wrapping impossible and cause burritos to burst open while searing, leaving cheese and filling stuck to the pan.
3.Rest chicken before dicing: Cutting hot chicken immediately after cooking causes all the juicy, flavorful juices to run out onto the cutting board. Resting 5 minutes lets the juices reabsorb into the meat, so your burrito filling stays moist instead of dry, and you can stir any collected juices into the rice for extra flavor.


✨ You May Also Like

Main Course
🍜 United Kingdom

A showstopping classic of tender seared beef, savory mushroom duxelles, and crisp prosciutto wrapped in flaky golden puff pastry, baked to juicy perfection.

⏱️ 2 hours 1Main Course ★ 4.7
Main Course
🍜 India

Tender charred marinated chicken simmered in a rich, spiced creamy tomato sauce, this iconic Anglo-Indian curry pairs perfectly with basmati rice or warm naan.

⏱️ 50 minuteMain Course ★ 4.6
Main Course
🍜 Thailand

Classic tangy, sweet, and savory Thai stir-fried rice noodles with shrimp, tofu, and crunchy garnishes, balancing all five core Thai flavor profiles.

⏱️ 30 minuteMain Course ★ 4.5
Main Course
🍜 United Kingdom

Crispy golden beer-battered cod and fluffy double-fried chips, served with tangy tartar sauce and malt vinegar: the timeless, beloved British pub comfort classic.

⏱️ 45 minuteMain Course ★ 4.7
Main Course
🍜 Mexico

Smoky, chile-marinated pork tacos with caramelized pineapple, fresh cilantro, and lime: a beloved classic Mexican street food perfect for casual summer gatherings.

⏱️ 1 hour 45Main Course ★ 4.8
Main Course
🍜 United States

Crunchy Fritos corn chips layered with savory beef chili and melted cheddar, topped with cool, zesty fixings for a beloved, cozy Tex-Mex comfort food.

⏱️ 35 minuteMain Course ★ 4.8

good burrito:Frequently Asked Questions

1.Why do you recommend 12-inch flour tortillas specifically for these pan-seared burritos? ▾
12-inch tortillas are the ideal size to hold a generous portion of filling without tearing, while still being easy to tuck and seal tightly. Smaller tortillas will leak filling as you sear, and oversized ones get bulky and doughy in spots. Let them sit at room temp for 5 minutes before wrapping to cut down on cracking.
2.Why use boneless, skinless chicken thighs instead of chicken breast for the filling? ▾
Chicken thighs have a slightly higher fat content that keeps them juicy and flavorful, even when seared over high heat, so you won’t end up with dry, bland filling. They also soak up warm spices far better than lean breast. If you prefer breast, pound it to ½-inch thickness and pull it off heat right at 165°F internal to avoid dryness.
3.Can I use leftover long-grain white rice for the burrito filling? ▾
Absolutely—day-old chilled long-grain white rice actually works better than freshly cooked rice here! Fresh rice is extra starchy and mushy, which can make your burrito soggy, while cold leftover rice stays light and separate when seasoned. Just break up any clumps before mixing it in to keep texture even.
4.Why does the recipe call for low-sodium black beans instead of regular canned beans? ▾
Low-sodium black beans let you control the exact salt level of your filling, so you don’t end up with an overly salty burrito from the brine in standard canned beans. Always rinse and drain them well first too—this washes away excess starchy can brine that would make the filling watery and cause leaks during searing.
5.How do I wrap the burritos tightly so filling doesn’t leak out while searing? ▾
Start with your fillings mounded in a tight line just off the center of the tortilla, then fold the left and right sides in over the ends. Tuck the bottom flap tight over the fillings, squeezing gently to compact everything, then roll firmly upward to seal. Stick to roughly 1 cup of total filling per tortilla to avoid tears and leaks.
6.Why is shredded Monterey Jack the recommended cheese for these burritos? ▾
Shredded Monterey Jack melts incredibly smoothly into that perfect stringy, creamy texture we all love in a seared burrito, and its mild, buttery flavor doesn’t overpower the spiced chicken, beans, and rice. You can mix in a little sharp cheddar for tang if you’d like, but avoid crumbly cheeses that won’t melt evenly.
7.What heat level should I use to pan-sear the burritos, and how long do they cook? ▾
Use medium heat with a thin layer of neutral oil like avocado or canola in your skillet. Sear the sealed seam side first for 1.5 to 2 minutes until golden and crisp, then flip and cook the other sides for 2 to 3 minutes total, until the tortilla is crisp all over and the cheese inside is fully melted. Skip high heat, which burns tortillas before the filling warms through.
8.Can I assemble these burritos ahead of time for meal prep? ▾
You can assemble un-seared burritos, wrap them tightly in plastic wrap, and store them in the fridge for up to 3 days, or freeze for up to 3 months. When you’re ready to eat, pan-sear straight from the fridge—add 1 to 2 minutes of cook time for frozen burritos, no thawing needed—until crispy and heated all the way through.
9.My tortillas keep cracking when I try to wrap them—what am I doing wrong? ▾
Cold tortillas are almost always the culprit! If your tortillas are straight out of the fridge, they’ll be stiff and prone to splitting. Warm them for 10 to 15 seconds per side in a dry skillet, or wrap in a damp paper towel and microwave for 30 seconds before wrapping, and they’ll be soft, pliable, and tear-free as you roll.
10.Do I need any special equipment to make these pan-seared burritos? ▾
No fancy gear is required at all! All you need is a sharp knife to prep the chicken, a mixing bowl to toss your fillings together, and a heavy-bottomed skillet—cast iron works beautifully for an even, crisp sear, but a standard nonstick pan works perfectly too—to cook the assembled burritos. No presses or deep fryers needed.
11.What’s the best way to serve these pan-seared burritos? ▾
Let the seared burritos rest for 2 minutes after cooking so the cheese sets a little and you don’t have filling oozing out on your first bite. Serve them topped with bright fresh salsa, a sprinkle of chopped cilantro, a dollop of sour cream or guac if you’d like, and a lime wedge for squeezing. They’re perfect as a grab-and-go handheld meal.

Comments (8)

2 days ago

OMG this is such a game changer! I’ve been buying frozen burritos for my kids’ quick lunches forever and these taste 100x better. Only took me 25 minutes total, perfect for busy school nights. I stuffed mine with leftover rice, black beans, ground turkey and a little shredded cheddar, seared it until the tortilla was crispy on the outside — chef’s kiss. My 7 and 9 year old asked for seconds before they even finished their first! Will absolutely be adding this to our weekly meal rotation.

1 day ago

Wait did you add any sauce inside? I’m worried mine will be too dry if I just use beans and rice!

1 day ago

So glad your kids loved these! A quick tip to avoid dry burritos: stir a tablespoon of enchilada sauce or sour cream into your filling before wrapping, it makes all the difference!

1 week ago

Wow, this recipe is so easy even I can’t mess it up, and I’m notoriously bad at cooking anything that isn’t microwave popcorn. Made a big batch on Sunday for meal prep, seared them right before eating each day this week, and they held up perfectly in the fridge. Crispy outside, melty filling inside — SO good. Saved me so much money on takeout lunches this week already.

5 days ago

That’s exactly what we love to hear! These are perfect for meal prep — if you’re making them ahead, just hold off on searing until you’re ready to eat, and they’ll taste fresh every time. Great call!

3 days ago

Made these for our neighborhood block party potluck last weekend and they were the first thing gone! I cut them into bite-sized pinwheels after searing, set out a little bowl of salsa and guac for dipping, and people were asking me for the recipe all night. Who knew something so simple could be such a crowd pleaser? 10/10, will make for every gathering from now on.

2 days ago

The pinwheel idea is genius! I’m hosting a game night next weekend and was looking for easy finger food, definitely stealing that hack.

2 days ago

What a fantastic potluck hack! We’ve never thought to cut them into pinwheels for serving, that’s such a smart way to feed a crowd. Thanks for sharing that tip!

5 days ago

Super solid base recipe! I added a little pickled jalapeño and a dash of taco seasoning to my chicken filling to give it a little kick, and it turned out amazing. Only note is I’d recommend warming your tortillas for 10 seconds in the microwave before folding, so they don’t crack when you wrap them tight for searing. Learned that the hard way on my first burrito lol.

3 days ago

Oh thank you for the tortilla warming tip! I tried making these last night and half my burritos split open while searing, that must have been why. Gonna try again tonight!

30 minutes ago

As someone who works 12 hour shifts and barely has time to cook when I get home, this recipe is an absolute lifesaver. It’s easy, minimal cleanup (only one pan!!), and tastes way better than the sad burritos from the bodega by my apartment. I stuffed mine with scrambled eggs, chorizo, and cheese for a breakfast version this morning and it slapped. 10/10, no notes.

5 minutes ago

The breakfast burrito version sounds insane! Did you add any hash browns in there? That would take it over the top.

just now

That breakfast swap is brilliant! We love how customizable this recipe is — the pan-sear method works just as well for breakfast fillings as it does for the classic savory dinner ones. Thanks for sharing your version!

yesterday

Was skeptical a pan-seared burrito could be as good as the ones from our local taqueria, but man was I wrong. Got that perfect crispy crunch on the outside without being greasy, and the filling stays all melty inside because you seal the seam so well when you sear it. My teen son said these are better than takeout, which is the highest possible praise coming from a 16 year old.

yesterday

That teen approval is the best win we could ask for! The key to that non-greasy crisp is keeping your pan at medium heat instead of cranking it super high, so glad that worked out for you.

2 hours ago

So happy this works with gluten-free tortillas! I’ve been missing a good crispy burrito since going GF, and most restaurant versions cross-contaminate or use weirdly textured GF tortillas. I used a cassava flour tortilla, seared it per the instructions, and it got perfectly crispy without falling apart. Game changer for my weekly taco nights!

just now

This is the best leftover hack ever! I had a bunch of leftover carnitas and roasted veggies from dinner the other night, tossed them in a tortilla with a little cheese, seared it up per the recipe, and it tasted like a whole new meal. Way better than just reheating leftovers in the microwave, and it took literally 5 minutes to throw together. Already told my whole family about this trick.



