
Green Onion Scrambled Eggs
intro
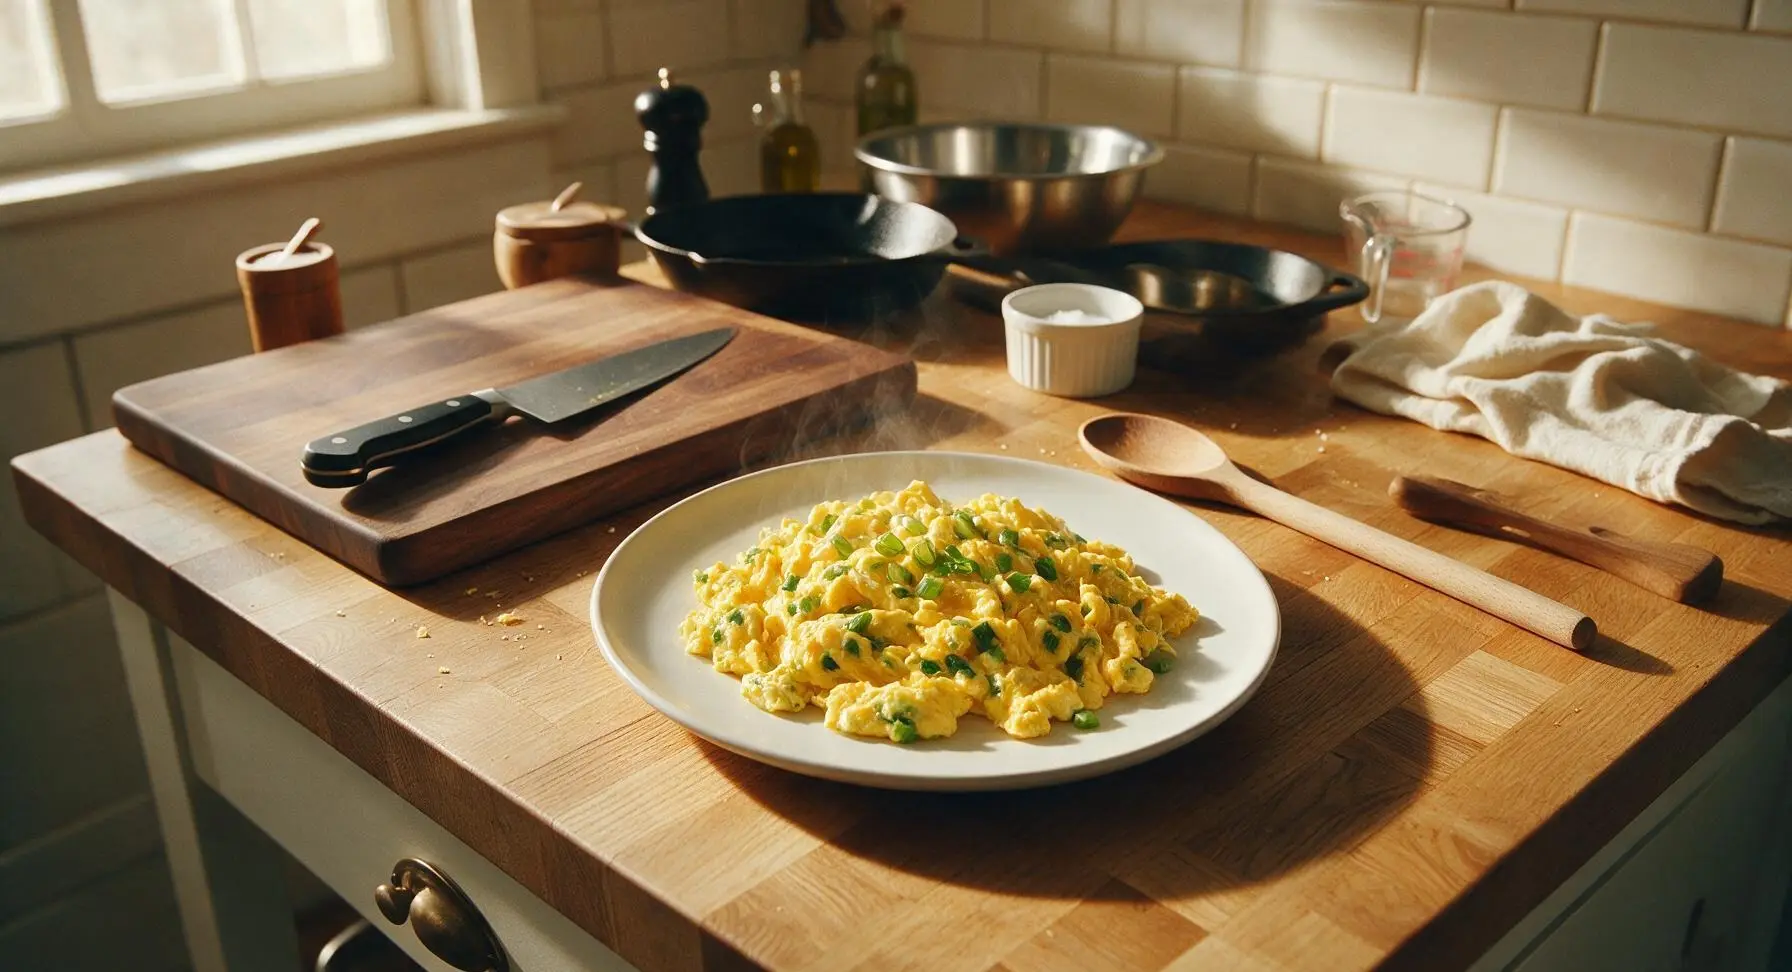
Silky, fluffy egg curds studded with aromatic bright green onion, light, savory, and ready in 10 minutes—this nostalgic home-style dish is simple, satisfying comfort food.
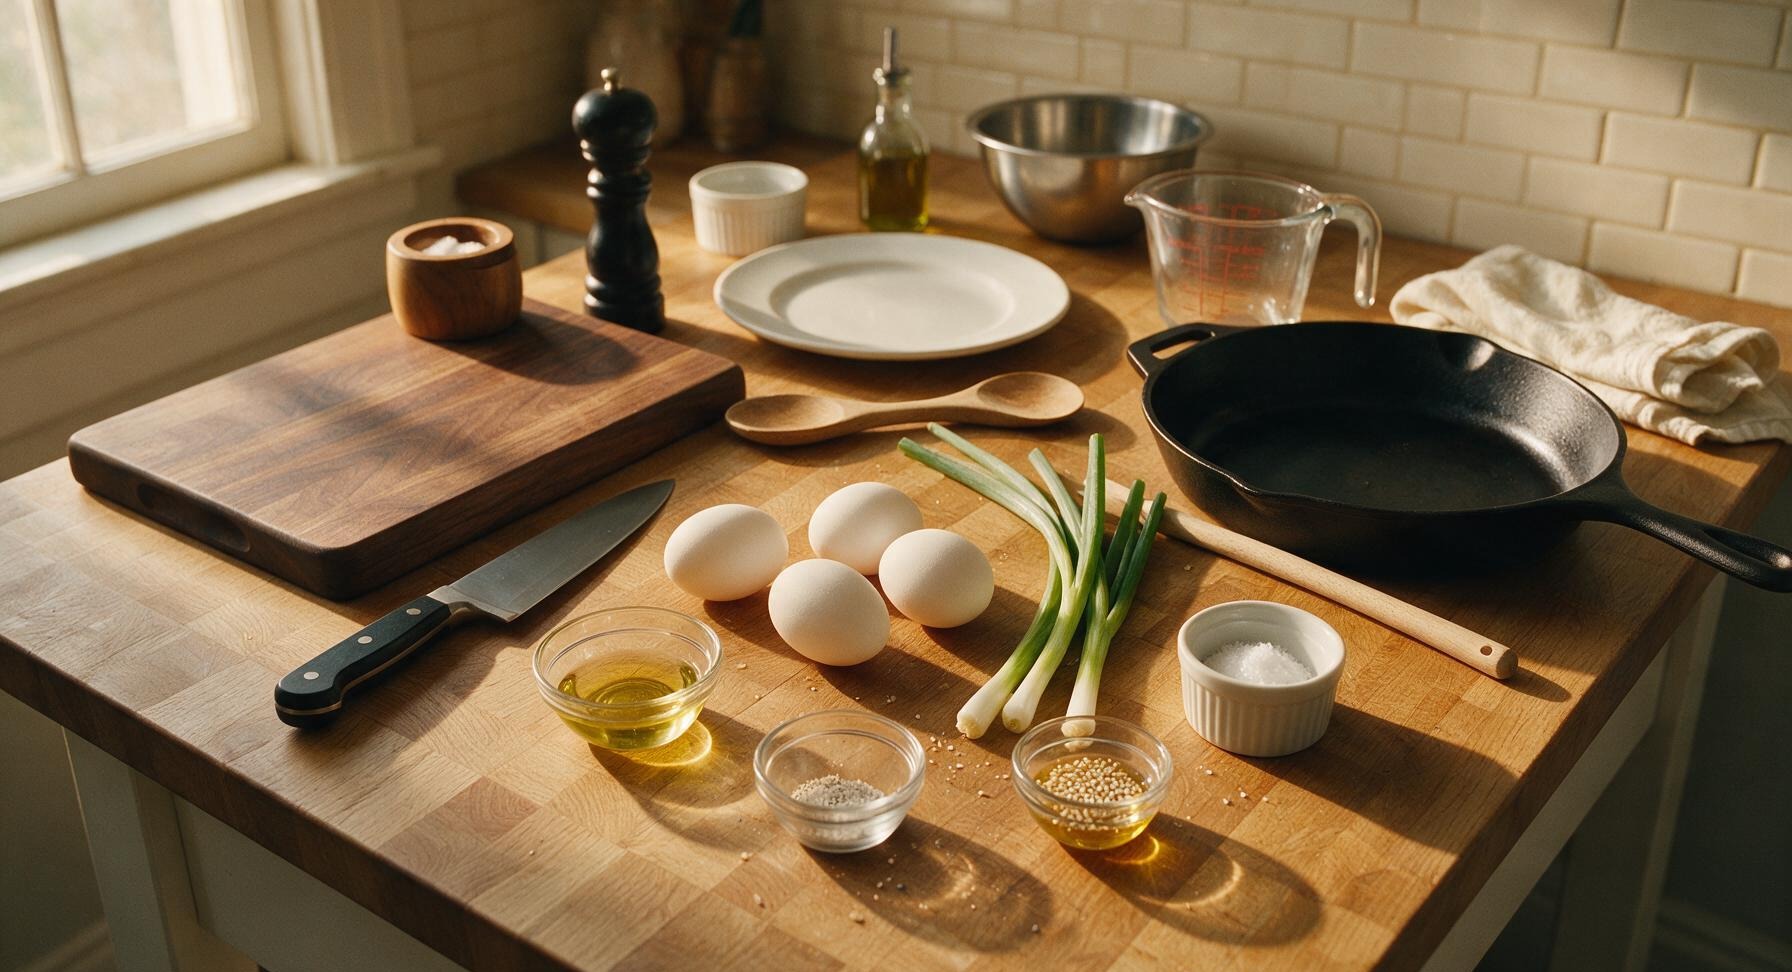
Ingredients
Steps
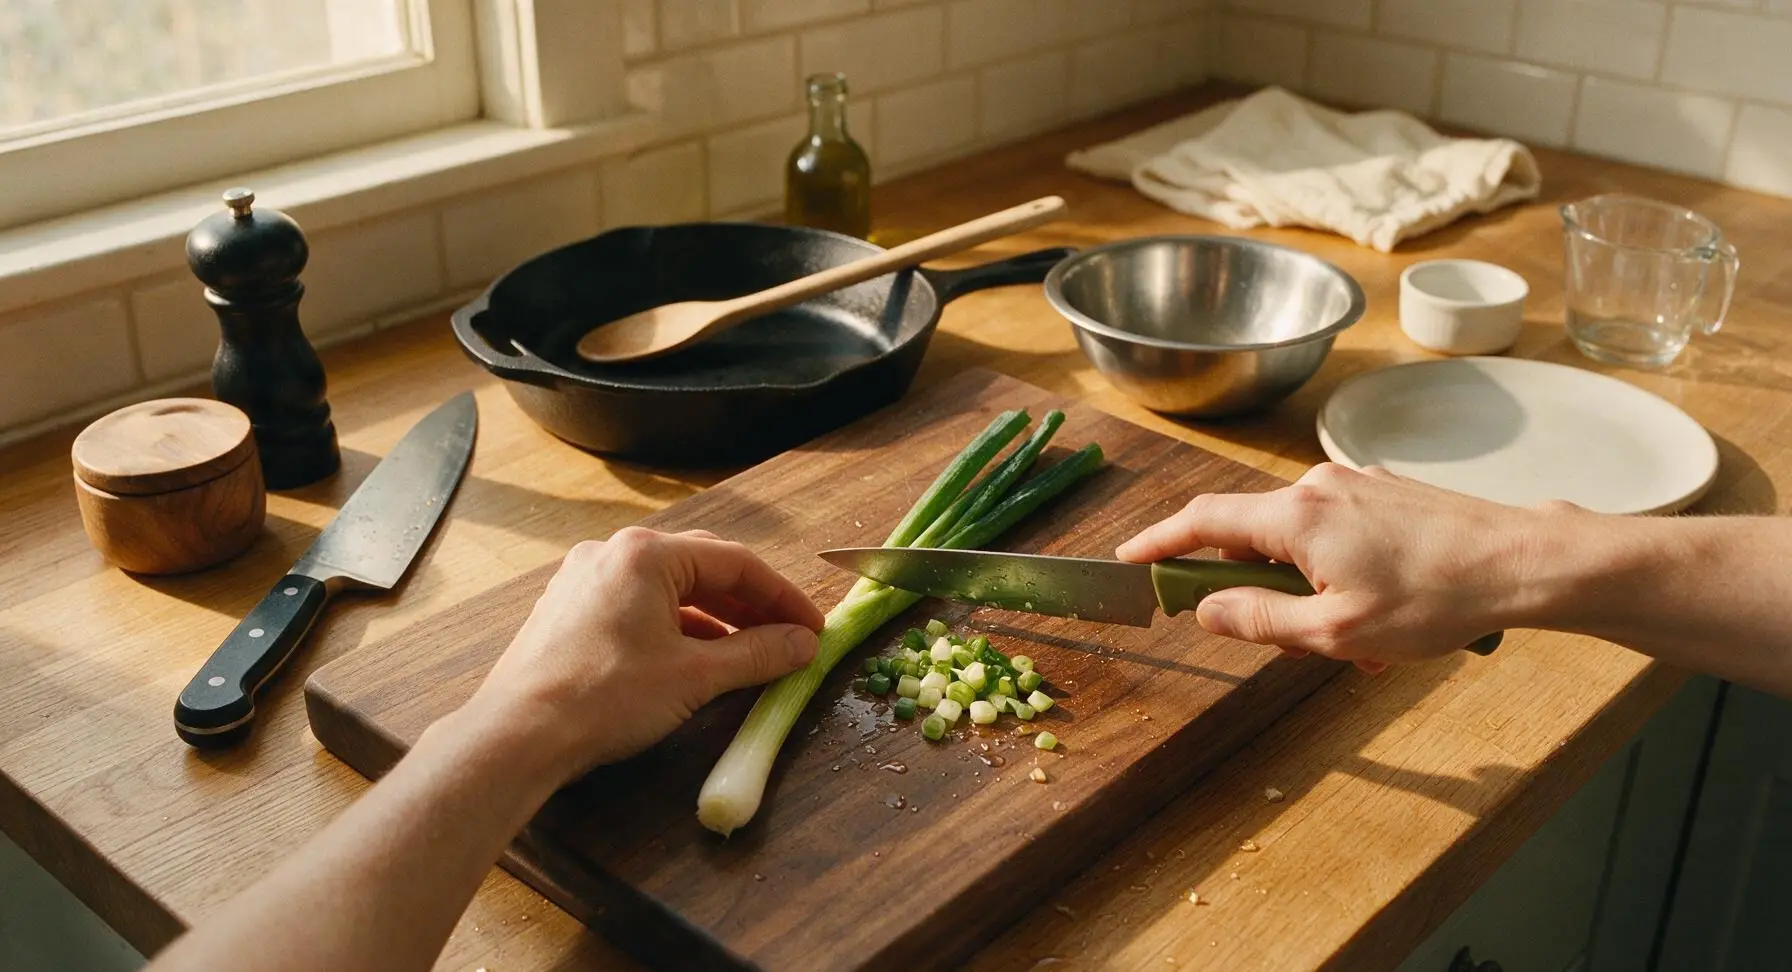
Chop Fresh Green Onions
Rinse the 6 green onion stalks under cool running water, pat dry with the edge of the linen towel. Place them on the bamboo cutting board. Use the paring knife to trim off and discard the dry root ends, then slice the stalks into 5mm (1/4 inch) pieces, keeping the pale white/light green parts separate from the dark green tops. You should have about 1/2 cup of chopped onion total.
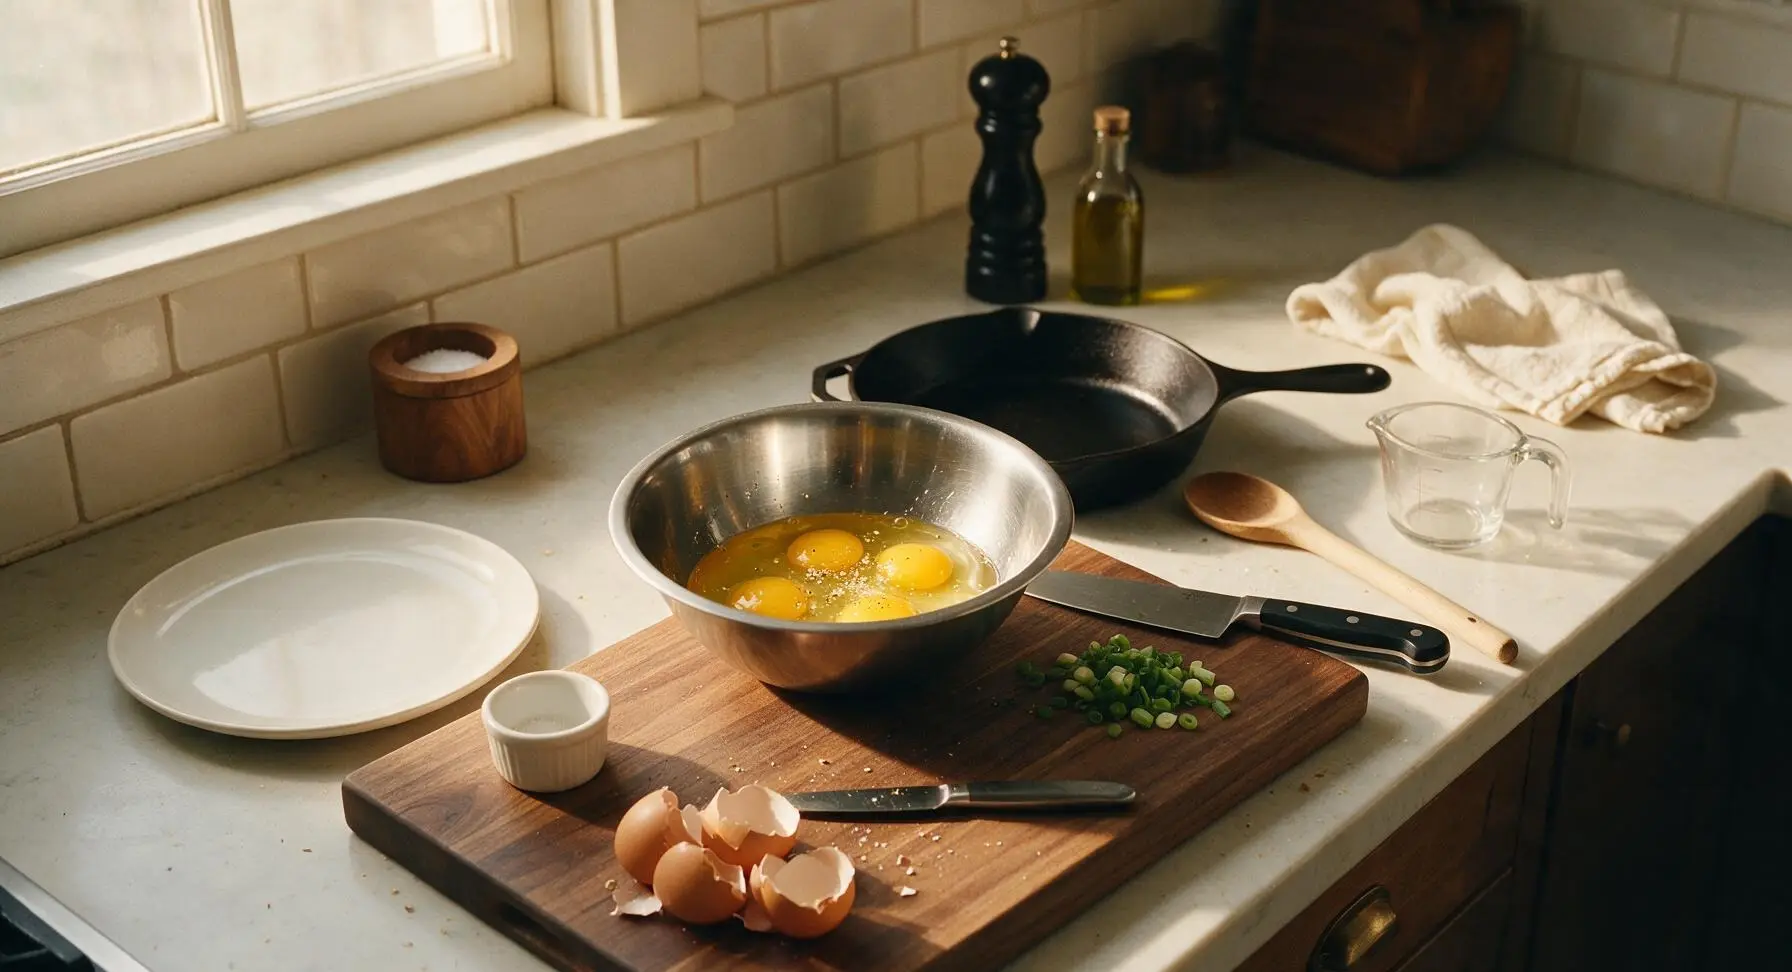
Crack Eggs Into Bowl
Tap each of the 4 eggs firmly against the edge of the stainless steel mixing bowl to crack the shell, then pour the raw egg into the bowl, discarding the shells. Add the 1/2 teaspoon kosher salt and 1/4 teaspoon ground white pepper to the eggs. Do not add the green onions yet.
Whisk Until Smooth
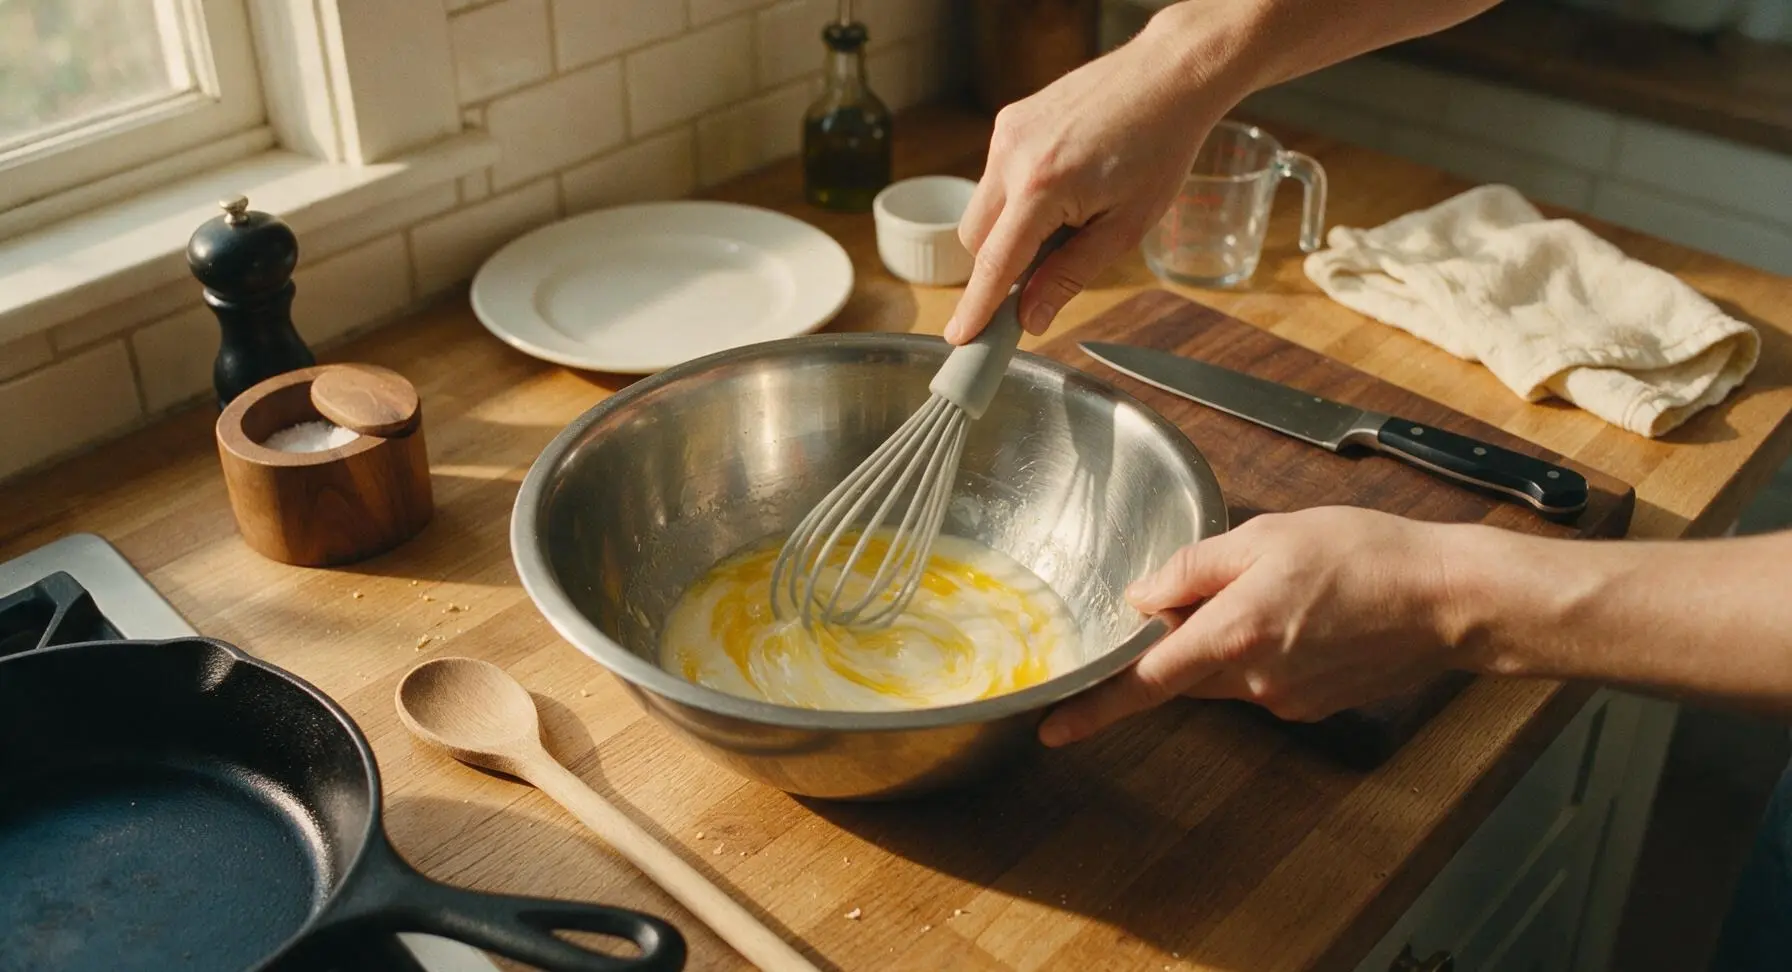
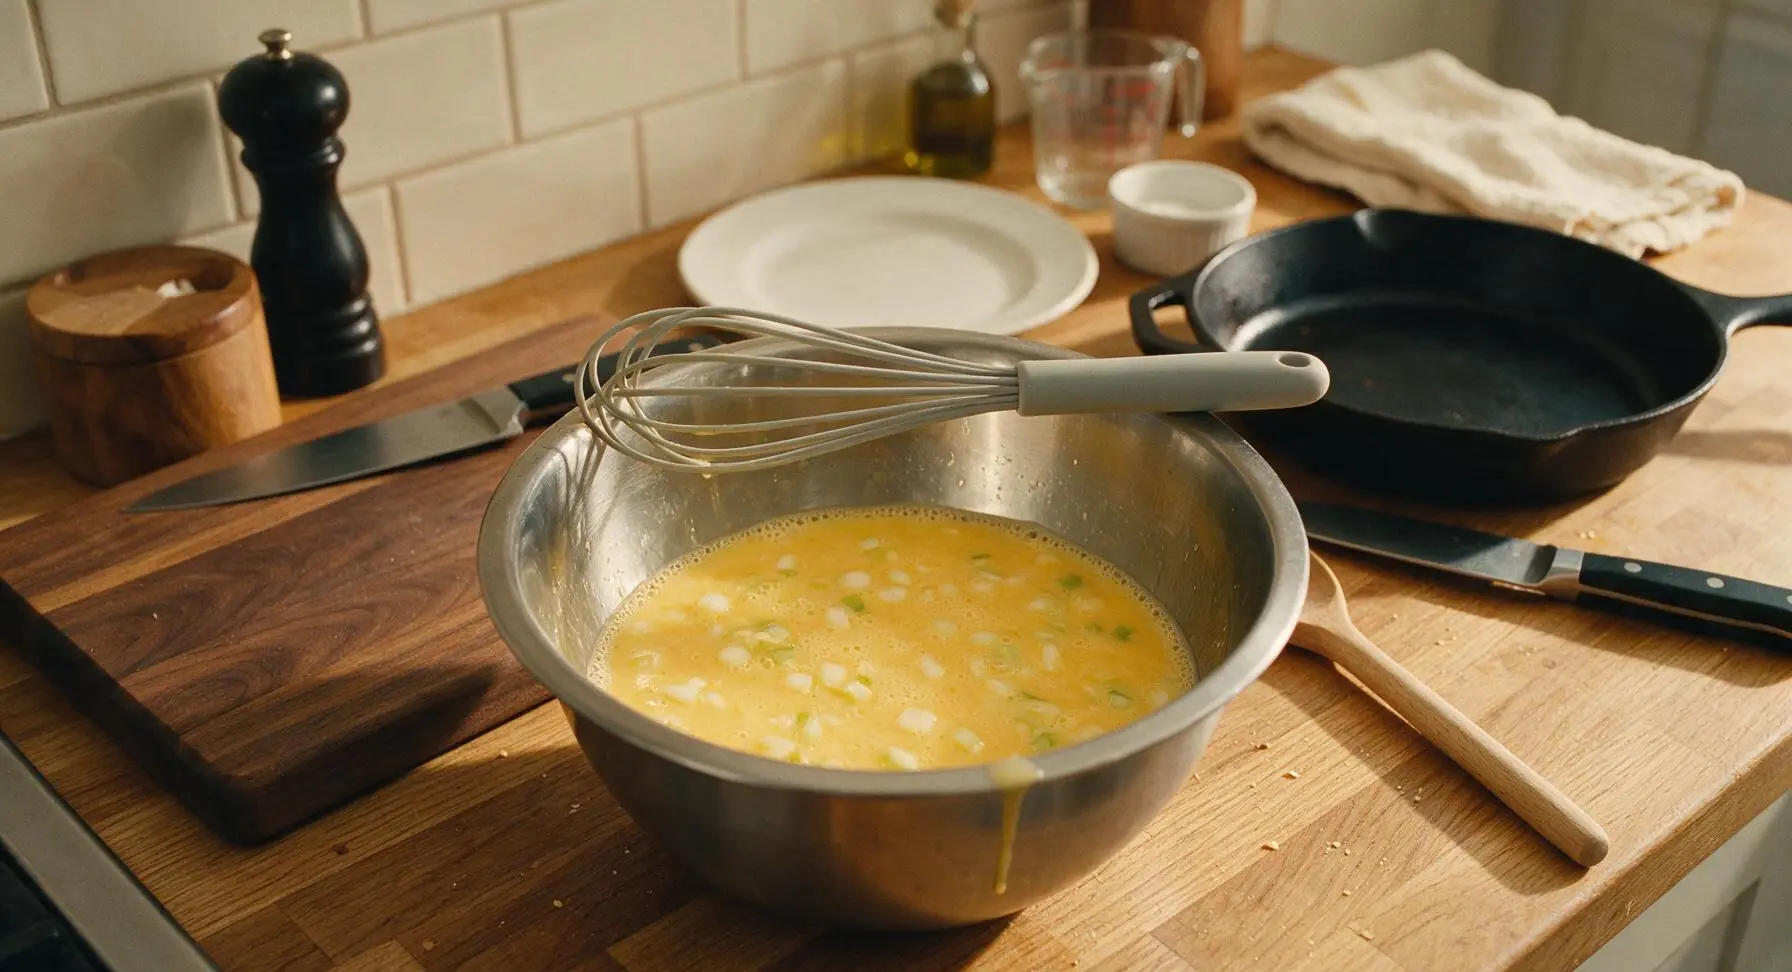
Use the light grey silicone whisk to beat the eggs continuously for 30-45 seconds, until the yolks and whites are fully combined, the mixture is a uniform pale golden color, and a thin layer of small bubbles forms across the surface. Do not over-whisk to avoid large air bubbles that will make eggs tough. Stir in the pale white/light green parts of the chopped green onions, reserving the dark green tops for later.
Heat Oil In Skillet
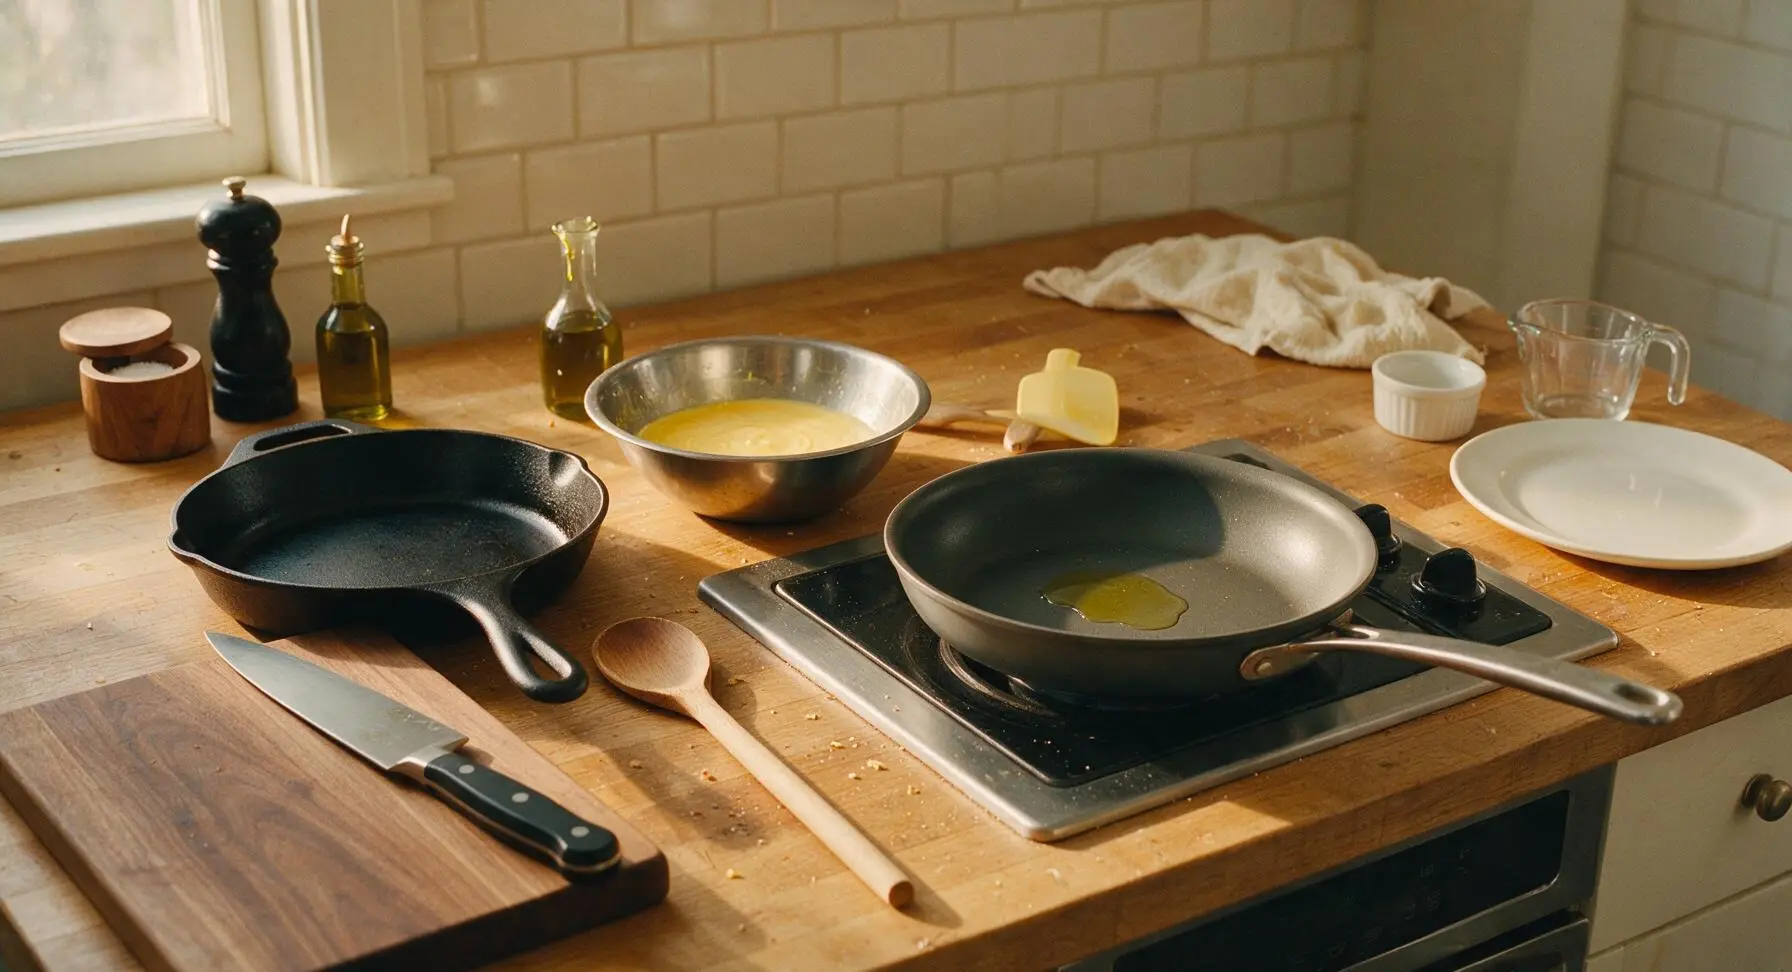
Place the 10-inch non-stick skillet on the right cooktop burner, turn heat to medium-low (3 out of 10 on most electric stovetops). Add the 1.5 tablespoons of neutral cooking oil to the pan, and heat for 1-2 minutes until the oil is shimmering but not smoking. To test temperature, drop a tiny speck of egg mixture into the oil: it should sizzle gently immediately on contact.
Pour Eggs Into Pan
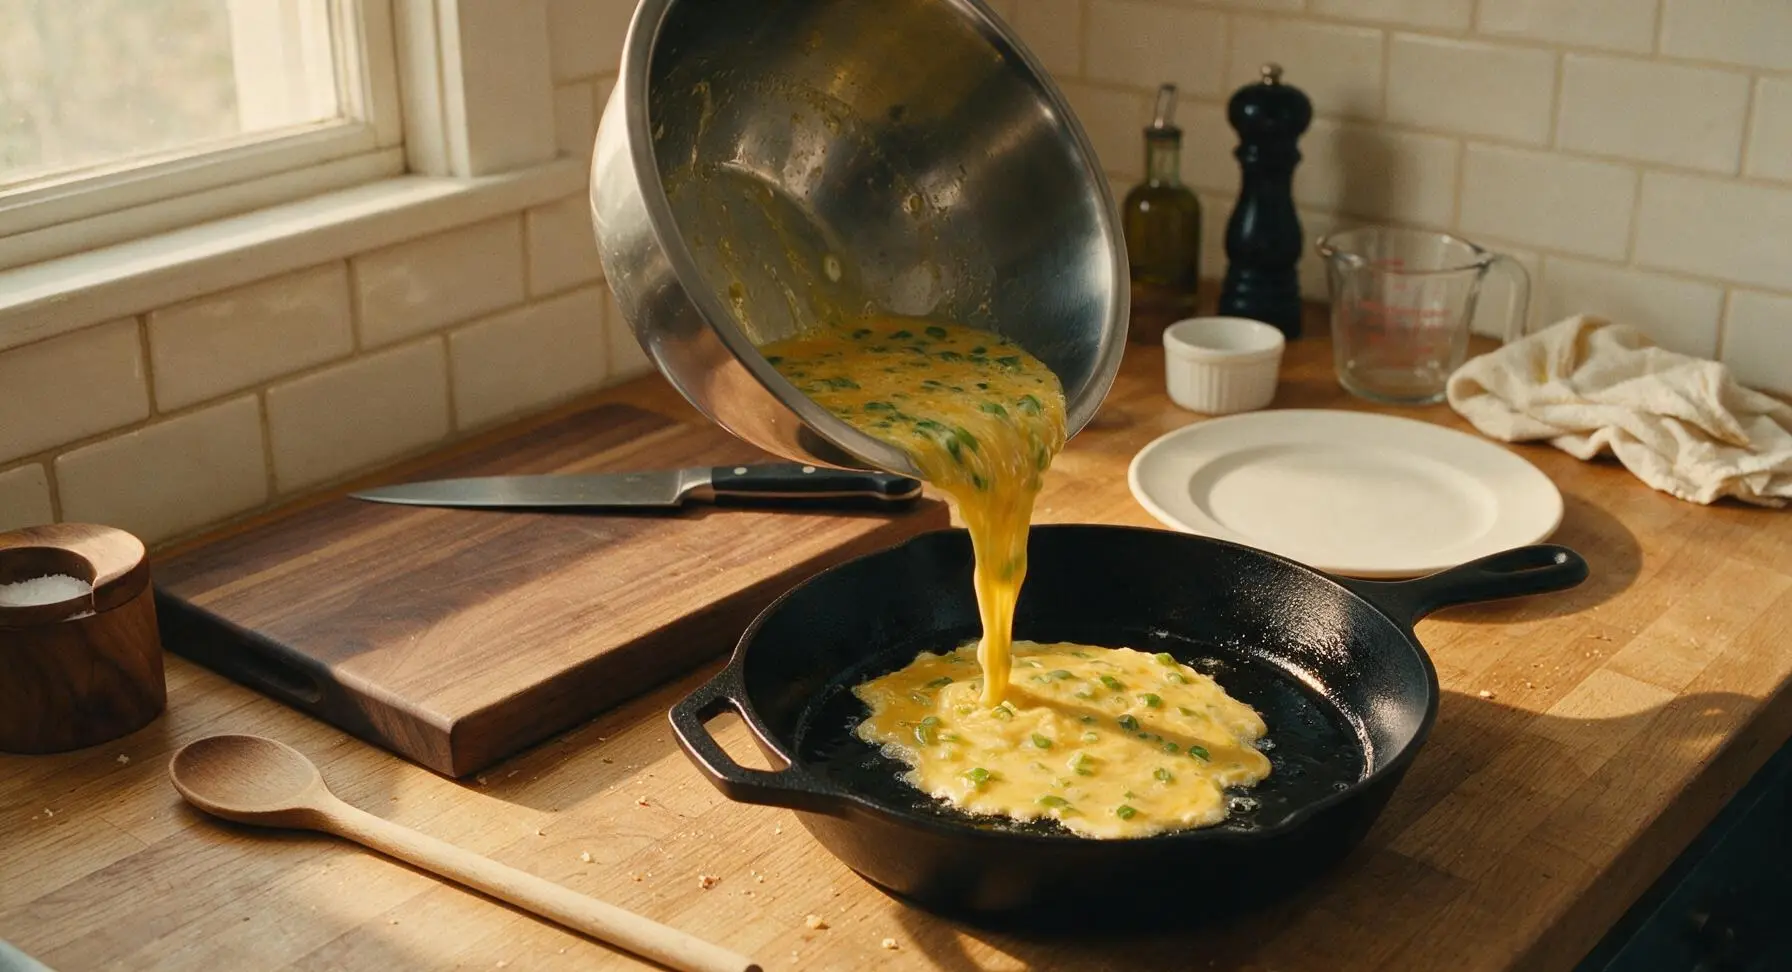
Pour the entire whisked egg and pale onion mixture into the heated skillet in one steady pour. Let the eggs sit undisturbed for 10-15 seconds, until the edges touching the pan start to set into opaque, pale golden curds. Do not stir immediately, as this will break curds into too-small pieces.
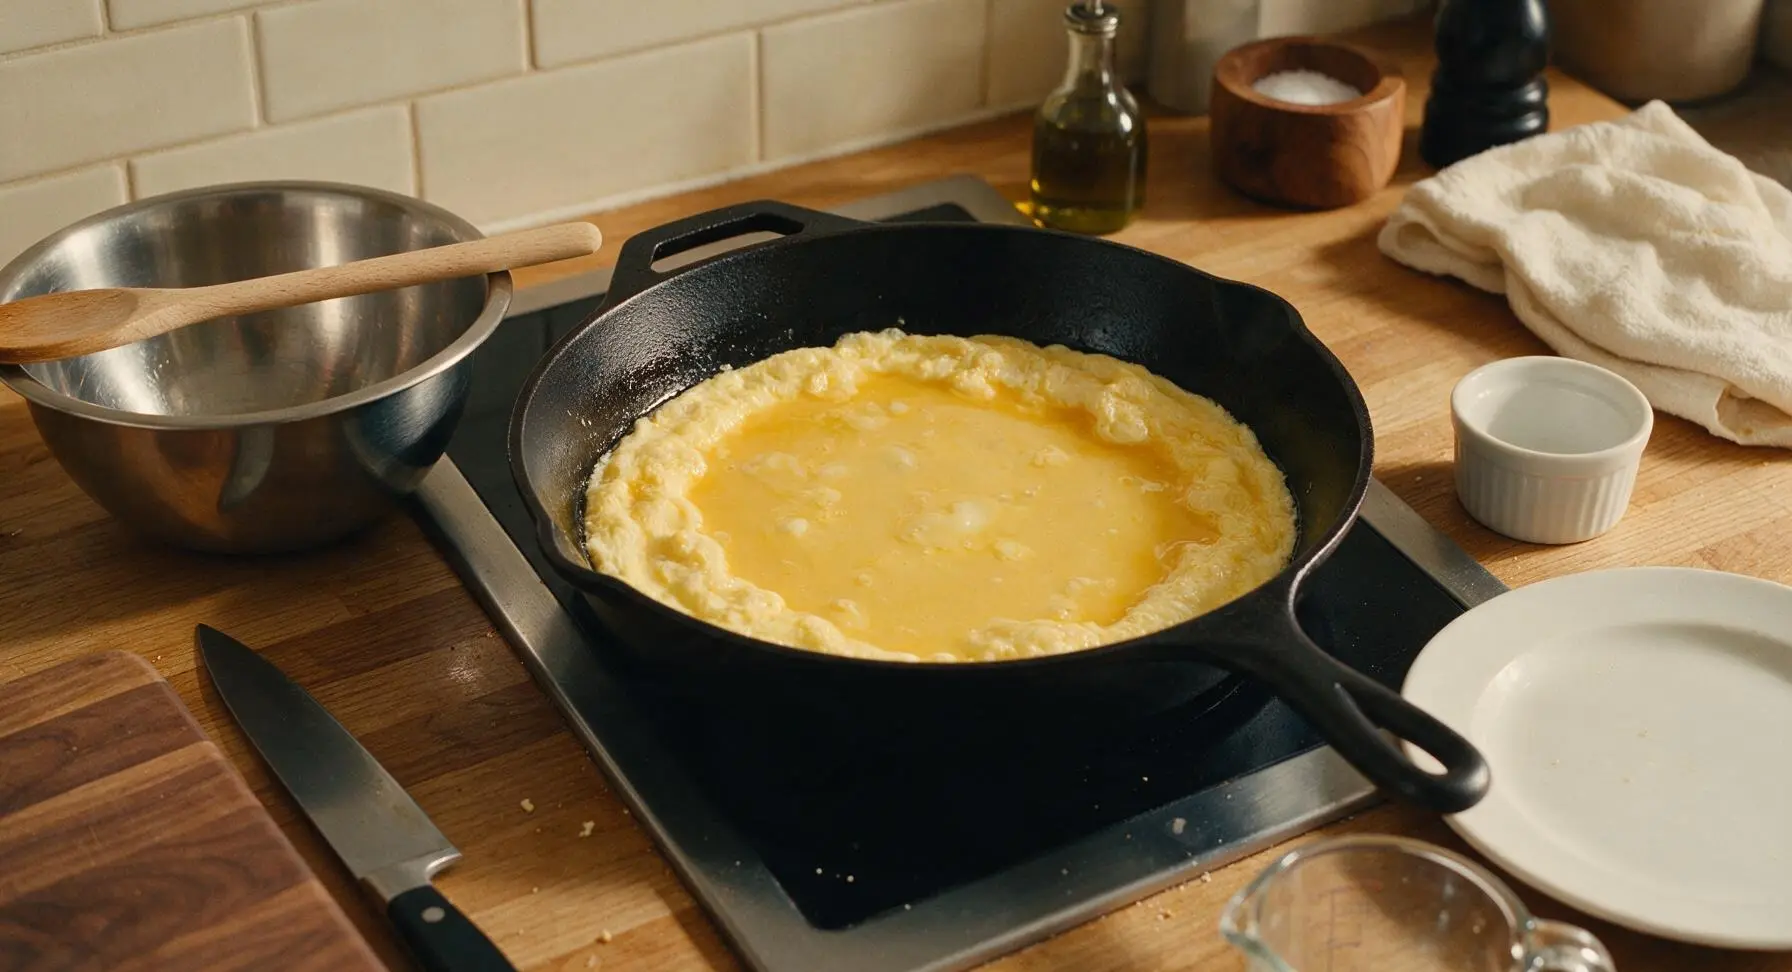
Gently Scramble Eggs
Use the pale yellow silicone spatula to push the set edges of the egg gently toward the center of the pan, tilting the pan to let uncooked liquid egg flow into the empty spaces left on the pan surface. Repeat this slow pushing motion every 5-8 seconds for 2 minutes total, forming soft, large, pillowy curds. When the eggs are about 80% set (still slightly wet in spots, no runny liquid left), add the reserved dark green onion tops to the pan.
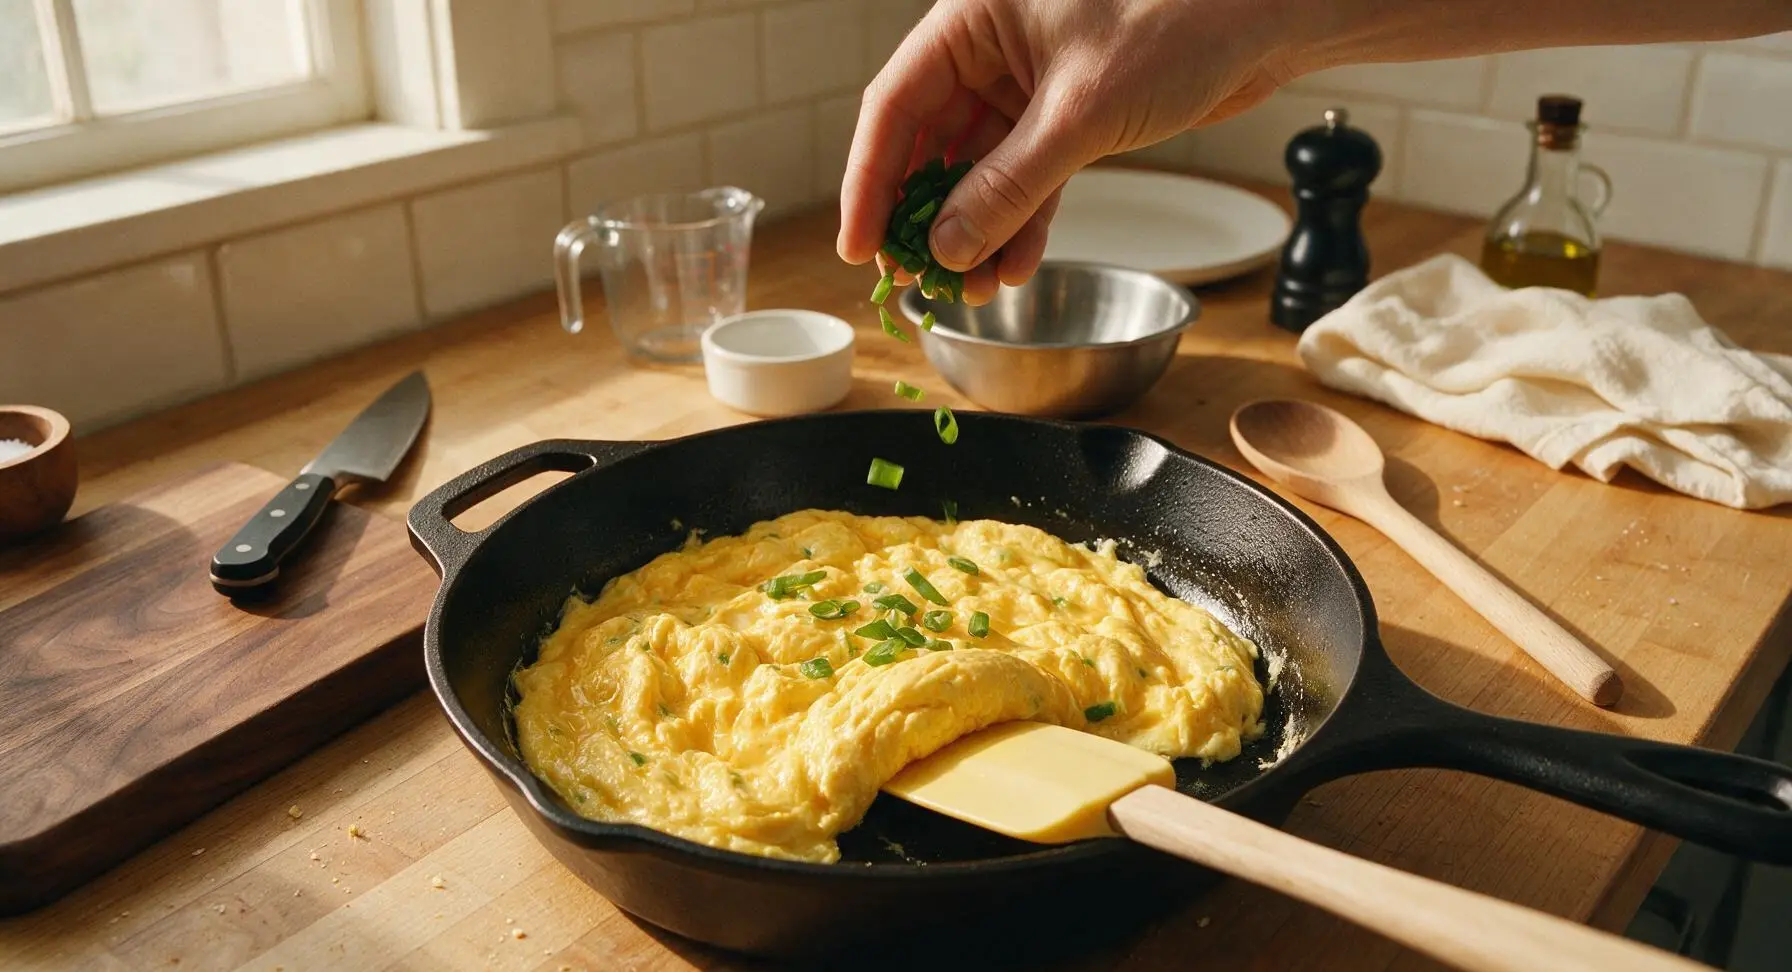
Finish Cooking Gently
Continue folding the eggs gently with the spatula for another 30-45 seconds, until the dark green onion tops are just wilted and the eggs are fully set but still soft and moist, with no browned crispy edges (overcooking will make eggs rubbery). Turn off the heat immediately, and drizzle with the optional 1/4 teaspoon toasted sesame oil if using, giving one last gentle fold to distribute.
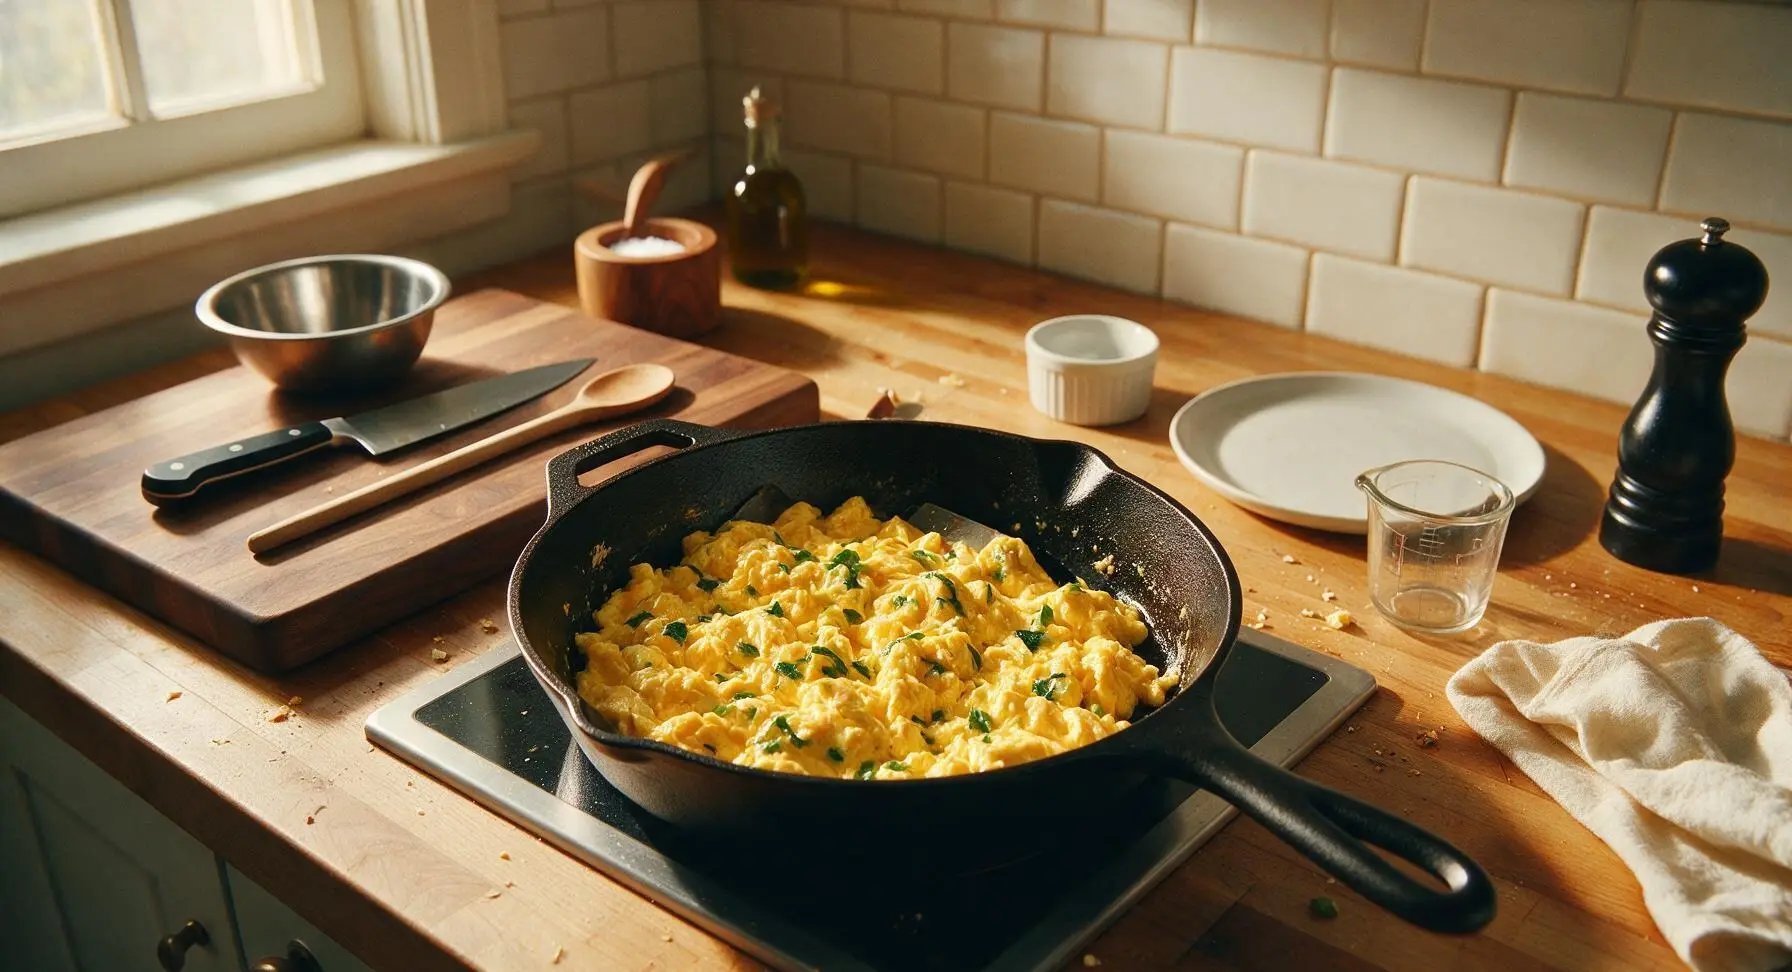
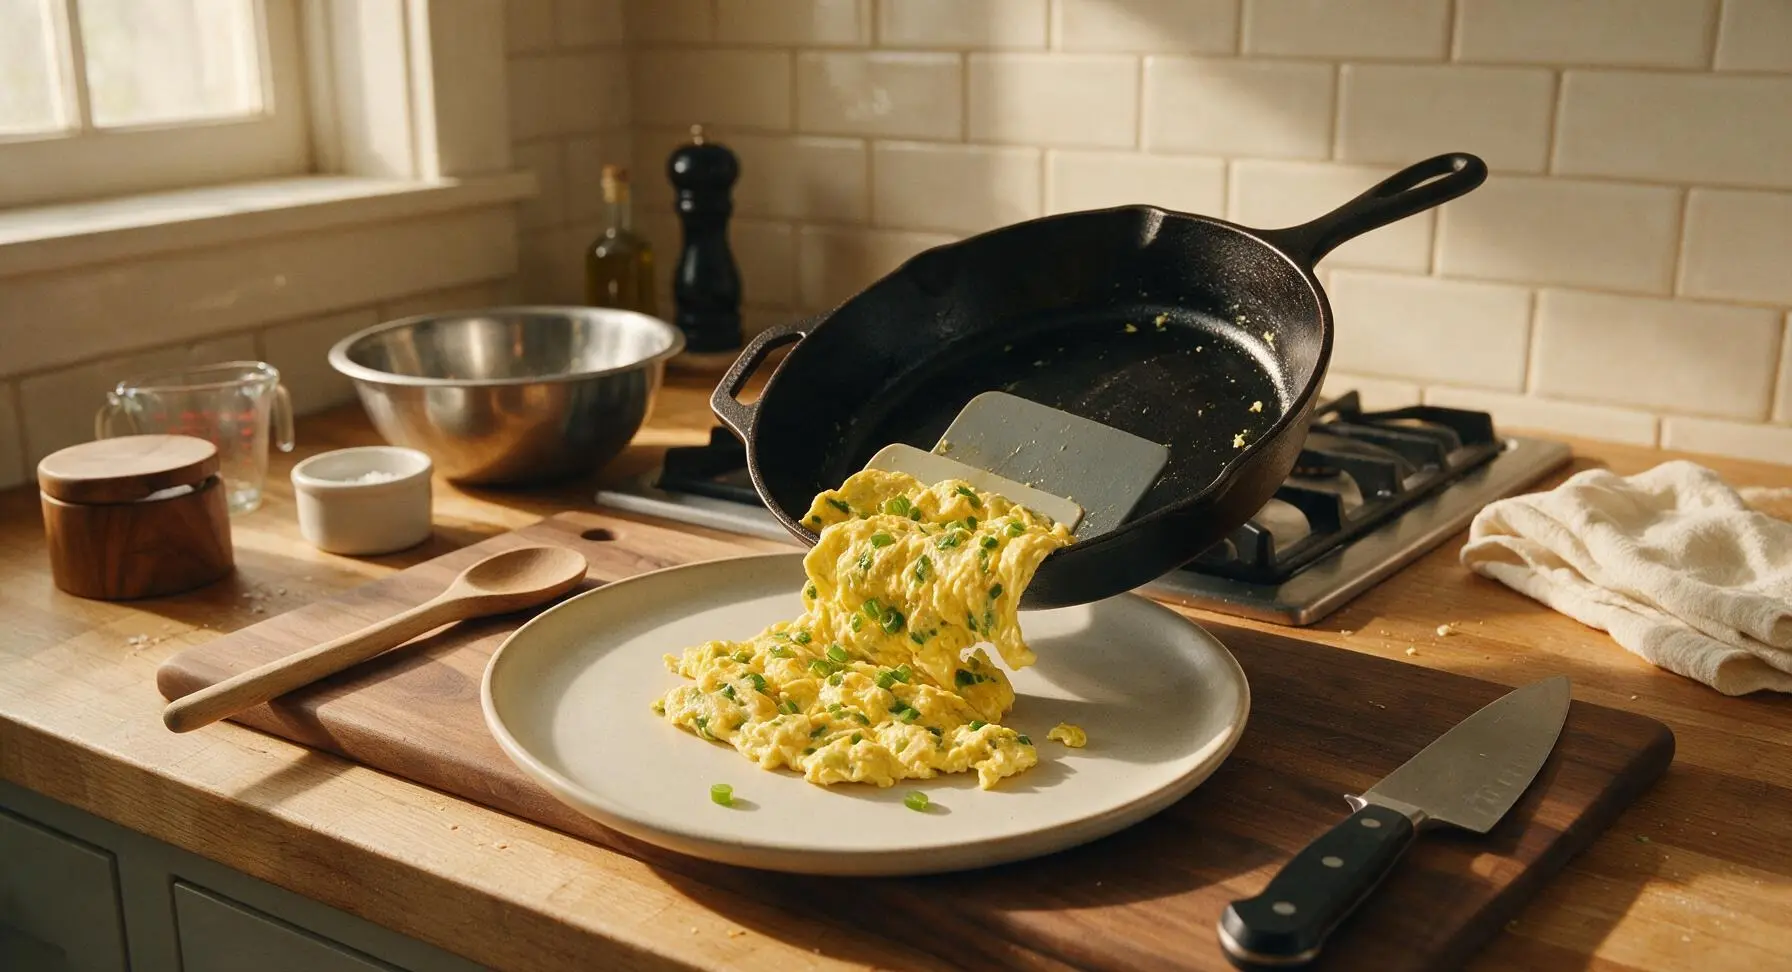
Plate And Serve Warm
Slide the finished scrambled eggs gently from the skillet onto the center of the matte off-white ceramic dinner plate. Do not press or pack the eggs down—keep them light and fluffy. Serve immediately while hot, as eggs will continue to cook slightly from residual heat on the plate.
Tips
2.Reserve dark green onion tops to add in the final minute of cooking: Adding them too early causes them to turn mushy and dull olive green, while late addition preserves their bright color and fresh, sharp onion flavor.
3.Turn off the heat when eggs look slightly underdone (still moist, no runny liquid): Residual heat from the pan and serving plate will finish cooking the eggs in 30 seconds, preventing the dry, crumbly texture that comes from overcooking.






OMG this is my new go-to weekday breakfast! 5 minutes flat, my 6 and 8 year old gobbled these up before I even finished pouring their orange juice. I added a tiny pinch of garlic powder like I do with regular scrambled eggs and it slapped. SO good!
Game changer. I’m a total beginner in the kitchen, burn toast half the time, and these came out perfect first try. Way cheaper than hitting the dining hall for breakfast every morning, I meal prepped a batch to eat all week and it’s held up great.
Made these for my potluck brunch last weekend and people were asking me for the recipe left and right! I topped mine with a little everything bagel seasoning and a sprinkle of parmesan, chef’s kiss. Only complaint is I wish I made a double batch, they were gone in 10 minutes.
Perfect quick high-protein breakfast for my cut! I’ve been making boring plain scrambled eggs for months to hit my protein goals, and the green onion adds just enough flavor that I don’t even need to douse them in hot sauce (okay fine, I still add a little hot sauce). 10/10.
Honey, I’ve been making eggs like this for 40 years and I still learned a little trick from this recipe! Cooking them low and slow instead of cranking the heat makes them so much fluffier. My grandson said these are the best eggs he’s ever had, made my whole week.
Made these at 2am after getting home from the bar and they were the best thing I’ve ever eaten. Dead simple, no fancy ingredients, I didn’t even have to dig through my fridge for a million things. Will be making these after every night out from now on.
Tried this with vegan egg substitute for my sister who’s dairy and egg free, and even the non-vegans at the table were reaching for seconds! Used a little nutritional yeast to add that umami kick, worked like a charm.
Okay, full transparency: I messed up the first batch because I forgot to take the green onion ends off, oops. Second batch was perfect, though! I felt so fancy making myself a proper breakfast instead of eating a granola bar over the sink. Baby steps!
Made these over the camp stove last weekend on our trip and they were so easy to whip up with minimal supplies. Chopped the green onions ahead of time at home, tossed them in a baggie, and had a hot, tasty breakfast in minutes while everyone else was still fumbling with their oatmeal packets. Total win.
SO good! I added a handful of diced jalapeños with the green onions and a squeeze of lime at the end, and it gave the eggs such a nice zing. Perfect quick meal for when I get home late from work and don’t feel like cooking a whole big thing.
First time meal prepping breakfast for the week and this was the perfect recipe to start with! Super straightforward, minimal cleanup, and the eggs taste just as good microwaved as they did fresh. Already added this to my regular rotation.
My toddler is going through that phase where she refuses anything that’s not chicken nuggets or mac and cheese, so I was shocked when she ate two whole servings of these eggs! I chopped the green onions super fine so she didn’t pick them out, worked like a charm. Will be making these weekly for sure.