1.What makes these Crispy Grilled Cheese Burritos different from regular beef burritos?
▾
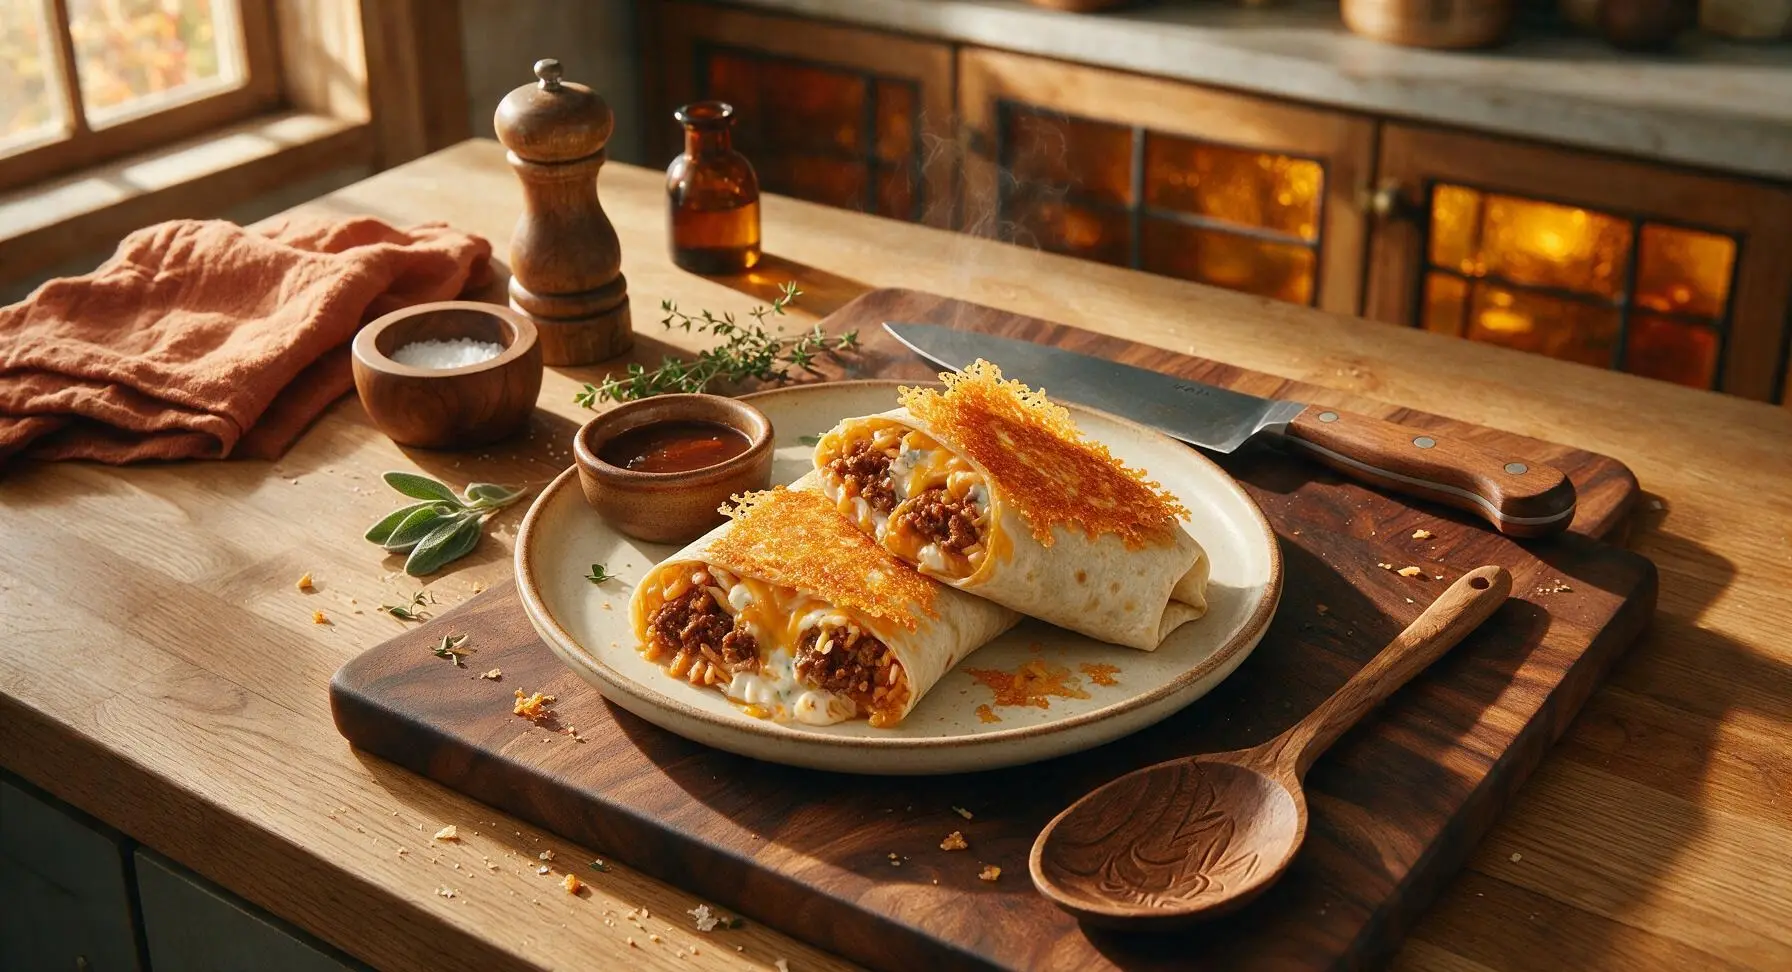
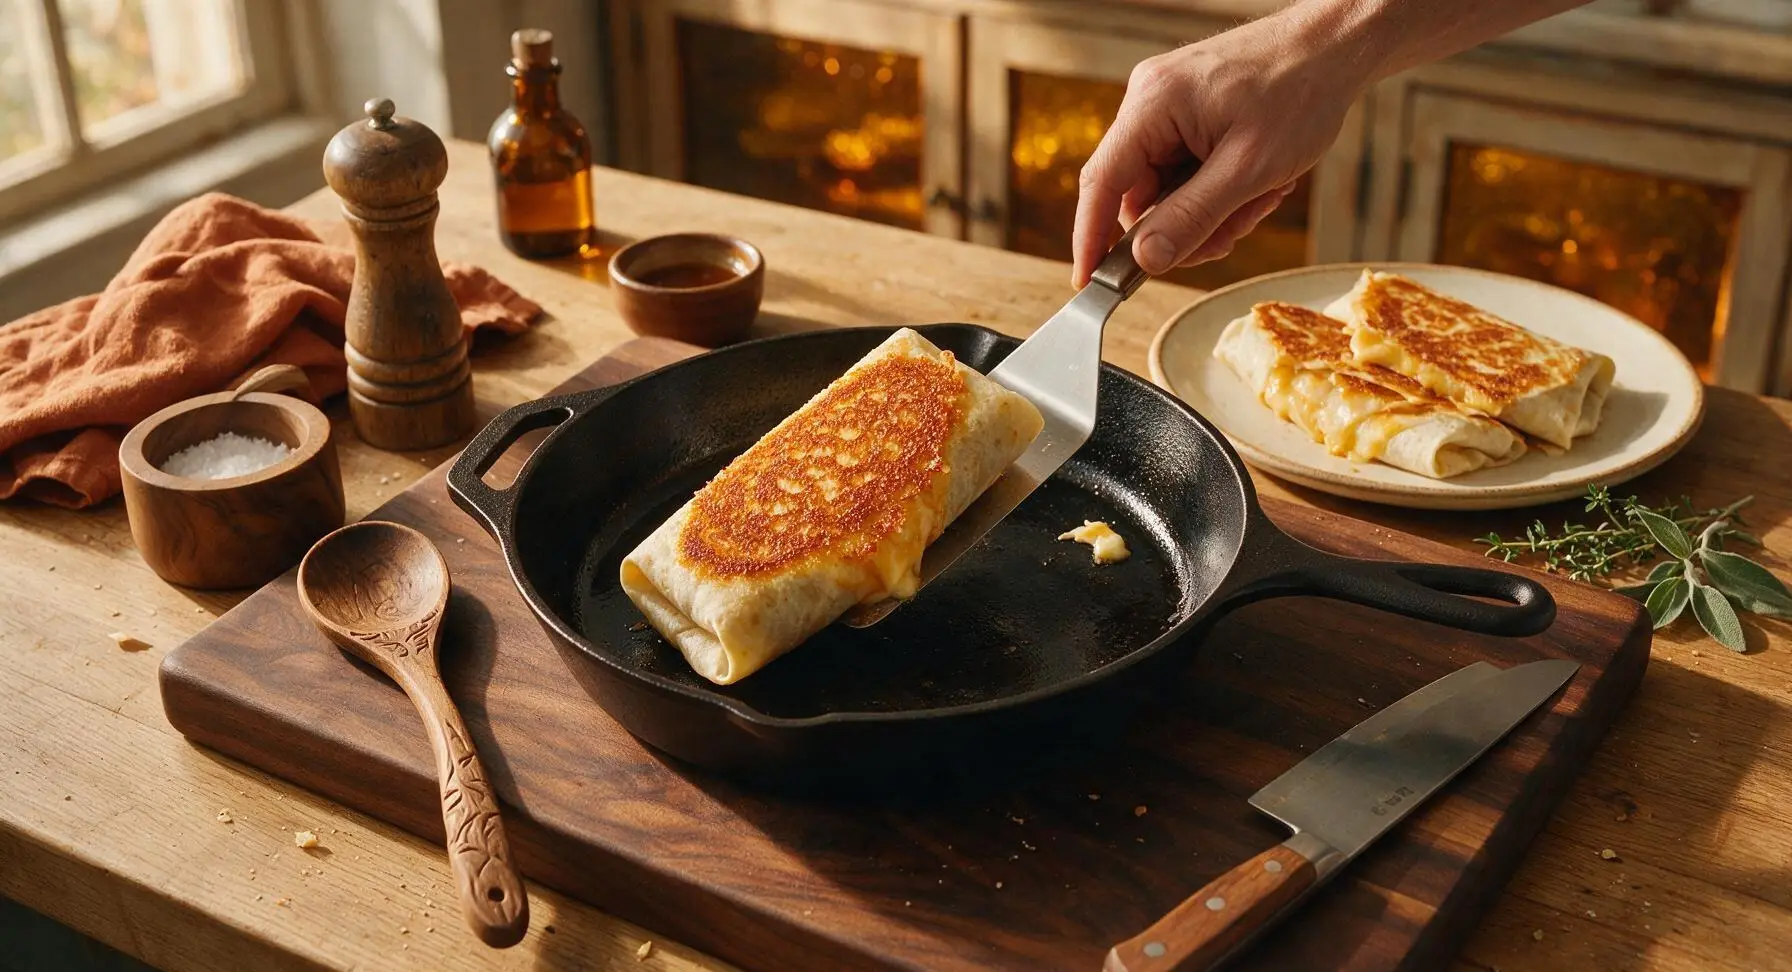
Unlike standard soft beef burritos, these have a lacy, crispy melted cheese crust seared directly onto the outside of the tortilla, rather than only having cheese inside the filling. That gives every bite a crunchy, salty, cheesy outer layer paired with gooey, savory interior fillings for extra texture and richness you won’t get from a microwaved or plain wrapped burrito.
2.Can I use a different fat ratio of ground beef instead of the recommended 90/10 lean?
▾
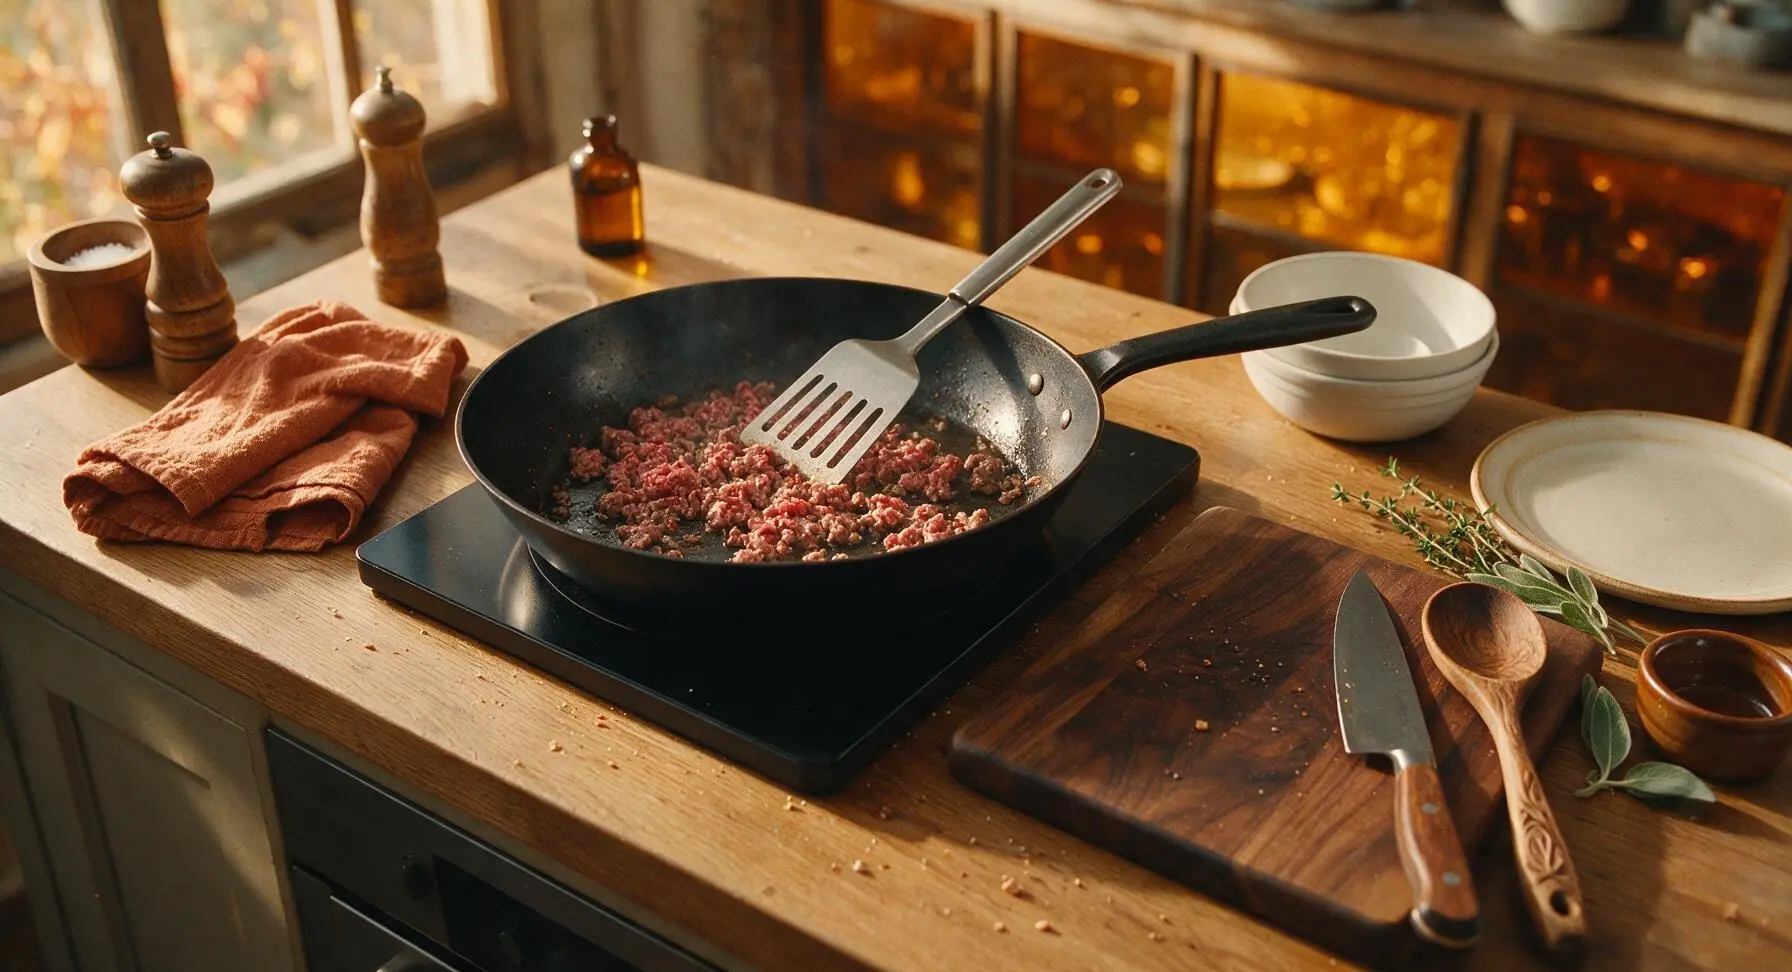
You can absolutely use 80/20 ground beef if that’s what you have, just be sure to drain off all excess rendered fat after browning it to avoid soggy burrito fillings. 90/10 is ideal because it has enough fat for flavor without leaving excess grease that can make the tortilla soggy or prevent the outer cheese crust from crisping up. If you use extra-lean 93/7, add a teaspoon of olive oil when browning to keep beef from drying out.
3.Do I have to use a mix of sharp cheddar and Monterey Jack cheese?
▾
You don’t have to stick strictly to that blend, but it’s chosen for balance: sharp cheddar brings bold, tangy flavor, while Monterey Jack melts ultra-smooth and gooey for that perfect cheese pull. Good swaps include pepper Jack for a little heat, Colby Jack, or a mild mozzarella paired with extra cheddar for stretch. Skip pre-shredded cheese with anti-caking agents if possible, as those additives can make melts grainy and prevent a crisp outer crust.
4.What size tortillas work best for these burritos?
▾
Large 12-inch burrito-size flour tortillas are ideal here, as they’re big enough to hold all your fillings without splitting when folded, and sturdy enough to hold up to griddle searing. If you only have 10-inch tortillas, scale back filling per burrito by about 25% to avoid overstuffing, which causes fillings to leak out and burn while you crisp the cheese crust. Skip corn tortillas, as they’re too stiff and small to wrap neatly.
5.How do I get that perfectly crispy lacy cheese crust on the outside without burning it?
▾
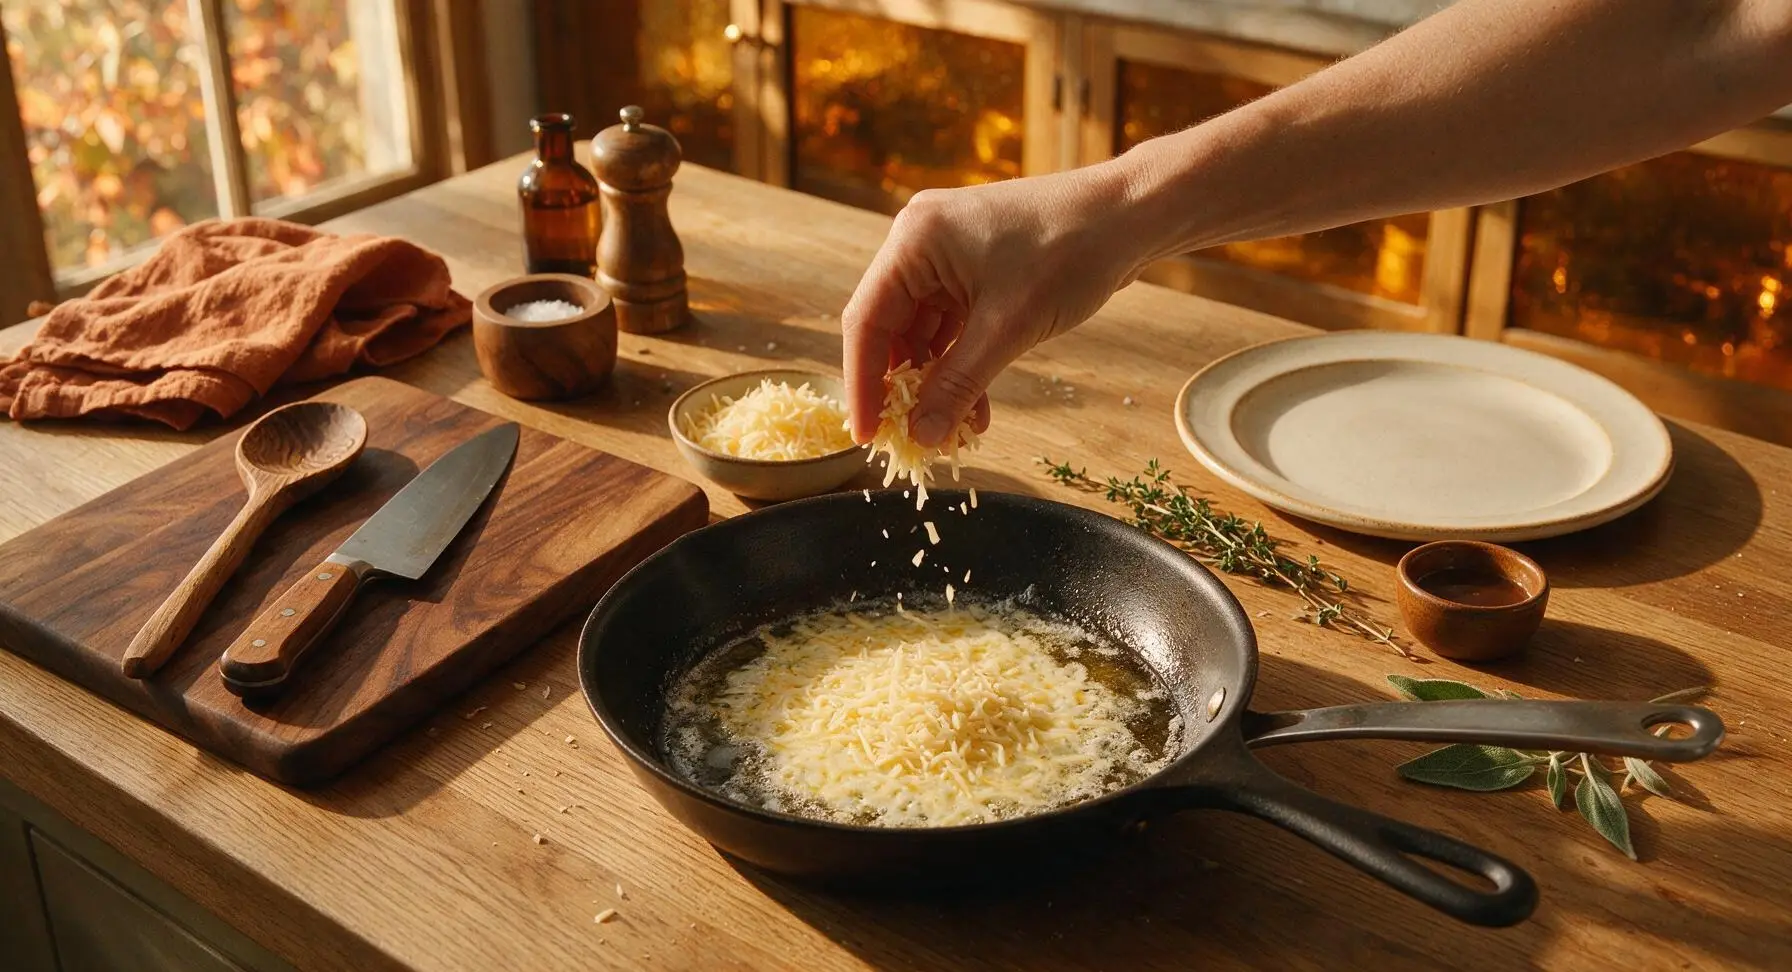
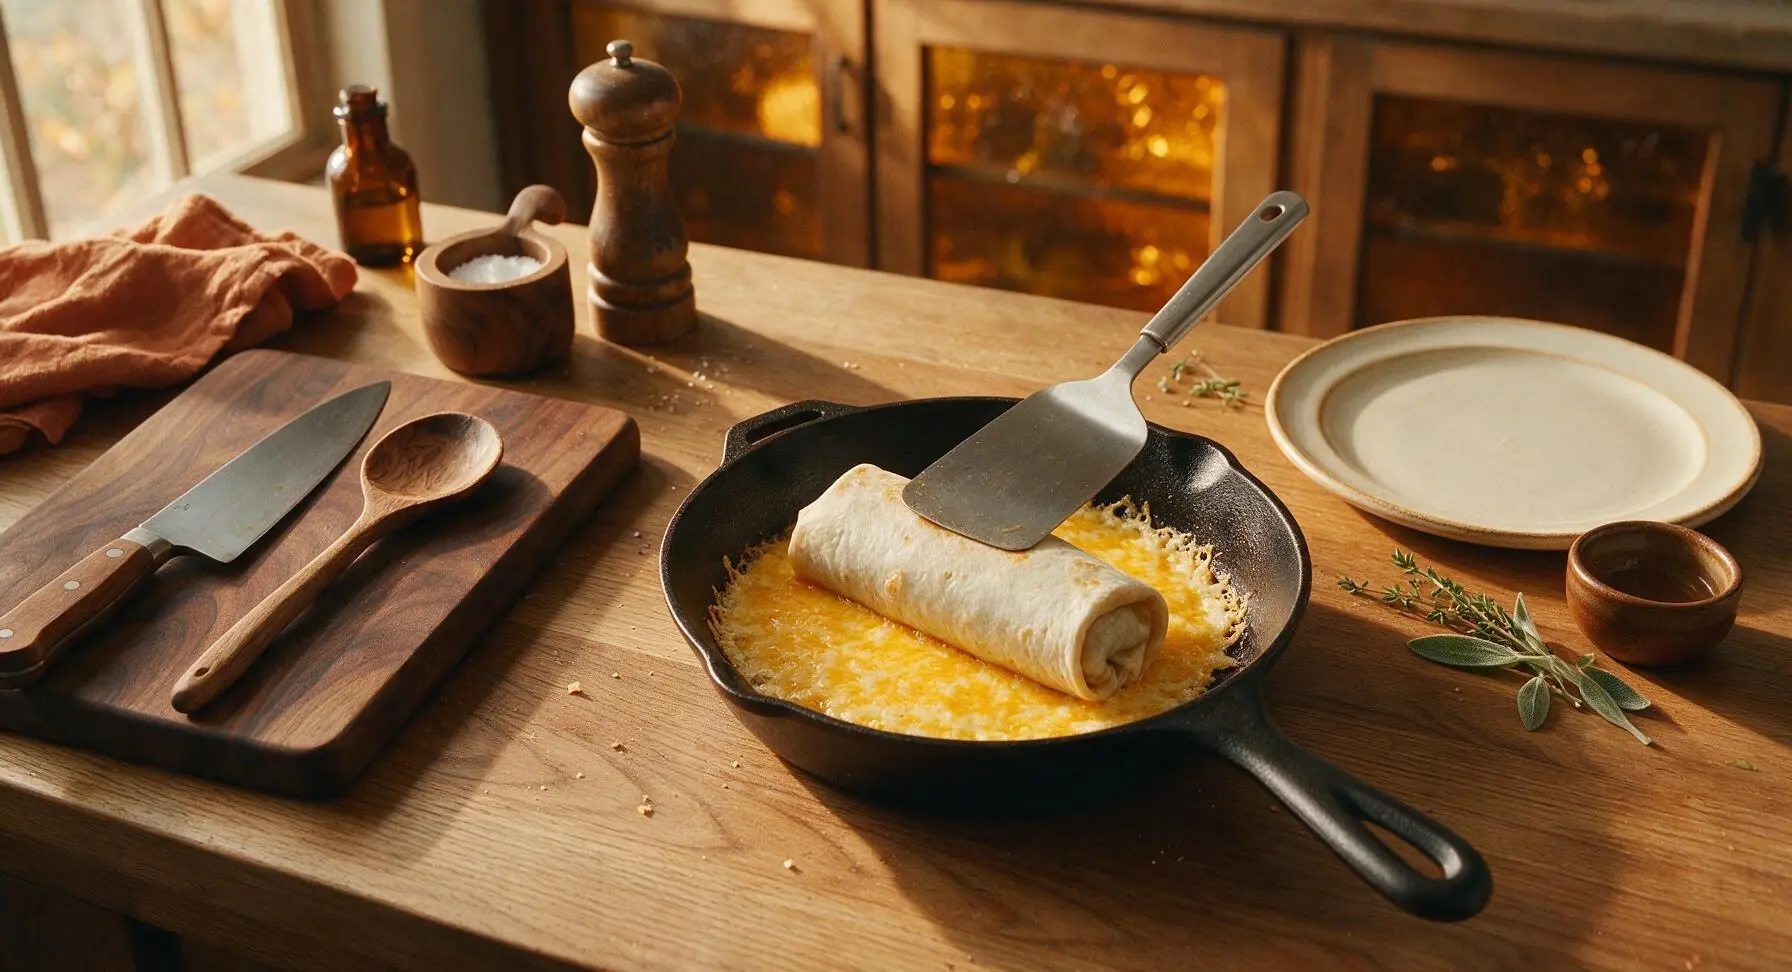
The trick is to cook the outer cheese over medium-low heat, not high. First, sprinkle a thin, even layer of shredded cheese directly onto your preheated nonstick skillet or griddle, then press the wrapped burrito directly on top of the cheese right away. Let it cook for 2 to 3 minutes, until the cheese is golden, lacy, and solid enough that it doesn’t stick when you lift the burrito with a spatula. High heat will burn cheese before the tortilla adheres.
6.Can I make these burritos ahead of time for meal prep?
▾
You can prep individual fillings (seasoned beef, cooked rice, shredded cheese) up to 3 days ahead in airtight fridge containers, but wait to assemble and crisp the burritos until right before eating. If you crisp them ahead, the crunchy cheese crust will turn soggy as it sits, even when reheated. For grab-and-go meals, freeze assembled, uncrisped burritos for up to 3 months, then add the outer cheese crust and cook from frozen.
7.What extra fillings can I add inside without making the burritos soggy?
▾
Stick to relatively low-moisture fillings to avoid soggy tortillas: cooked seasoned rice, well-drained black or pinto beans, patted-dry sautéed peppers and onions, diced avocado, or a thin layer of sour cream work great. Skip super wet fillings like runny salsa, watery diced tomatoes, or excess queso, as those will leak out during searing and make the cheese crust slide off. Aim for ½ cup total filling per 12-inch tortilla to avoid overstuffing.
8.My burritos keep splitting open when I fold them—what am I doing wrong?
▾
Most split burritos happen from two common mistakes: overstuffing the tortilla, or using cold tortillas that are stiff and prone to cracking. First, stick to the recommended filling amount so you have enough tortilla edge to fold. Second, warm tortillas for 10 seconds in the microwave or on a dry skillet before folding to make them pliable. Tuck side edges in first, then roll tightly from the bottom up to seal fillings inside.
9.Can I make these without a specialty griddle or nonstick skillet?
▾
You don’t need fancy equipment! A regular cast iron skillet works fantastically, as it holds even heat and creates an extra-crispy cheese crust—just let the cheese fully set before lifting the burrito to avoid sticking. You can even make these on an outdoor flat-top grill for crowds, as long as you keep heat at medium-low to prevent burning the cheese. Skip uncoated stainless steel skillets, as melted cheese will stick badly even with added oil.
10.How do I reheat leftover burritos so the crust stays crispy?
▾
Skip the microwave, which will turn the crispy cheese crust rubbery and make the tortilla soggy. The best way to reheat is in a 375°F oven for 10 to 12 minutes, wrapped loosely in foil for the first 8 minutes then uncovered for the last 4 to let the crust recrisp. You can also reheat in an air fryer at 350°F for 5 to 7 minutes, flipping halfway, for an extra crunchy crust. Let rest 2 minutes before eating so fillings set.
11.Is there a good vegetarian swap for the ground beef in this recipe?
▾
There are plenty of great vegetarian swaps that work perfectly with the crispy cheese crust! You can use plant-based ground beef crumbles seasoned with the same taco seasoning, or swap in drained, seasoned black beans and roasted corn for a hearty, plant-based filling. If you use a meat substitute, be sure to drain off any excess moisture after cooking, just like regular ground beef, to avoid soggy fillings that leak during searing.
12.Can I add extra cheese inside the burrito, or is it only for the outer crust?
▾
Absolutely! The recipe uses cheese on the outside for that crispy crust, but adding a layer of shredded cheese inside the burrito next to the warm beef and rice will give you that gooey, melty cheese pull everyone loves. Just don’t overdo it—about 2 tablespoons of extra cheese per burrito is perfect, because too much oozing melted cheese can burn on the skillet and ruin your even outer crust.
13.What dipping sauces pair best with these crispy burritos?
▾
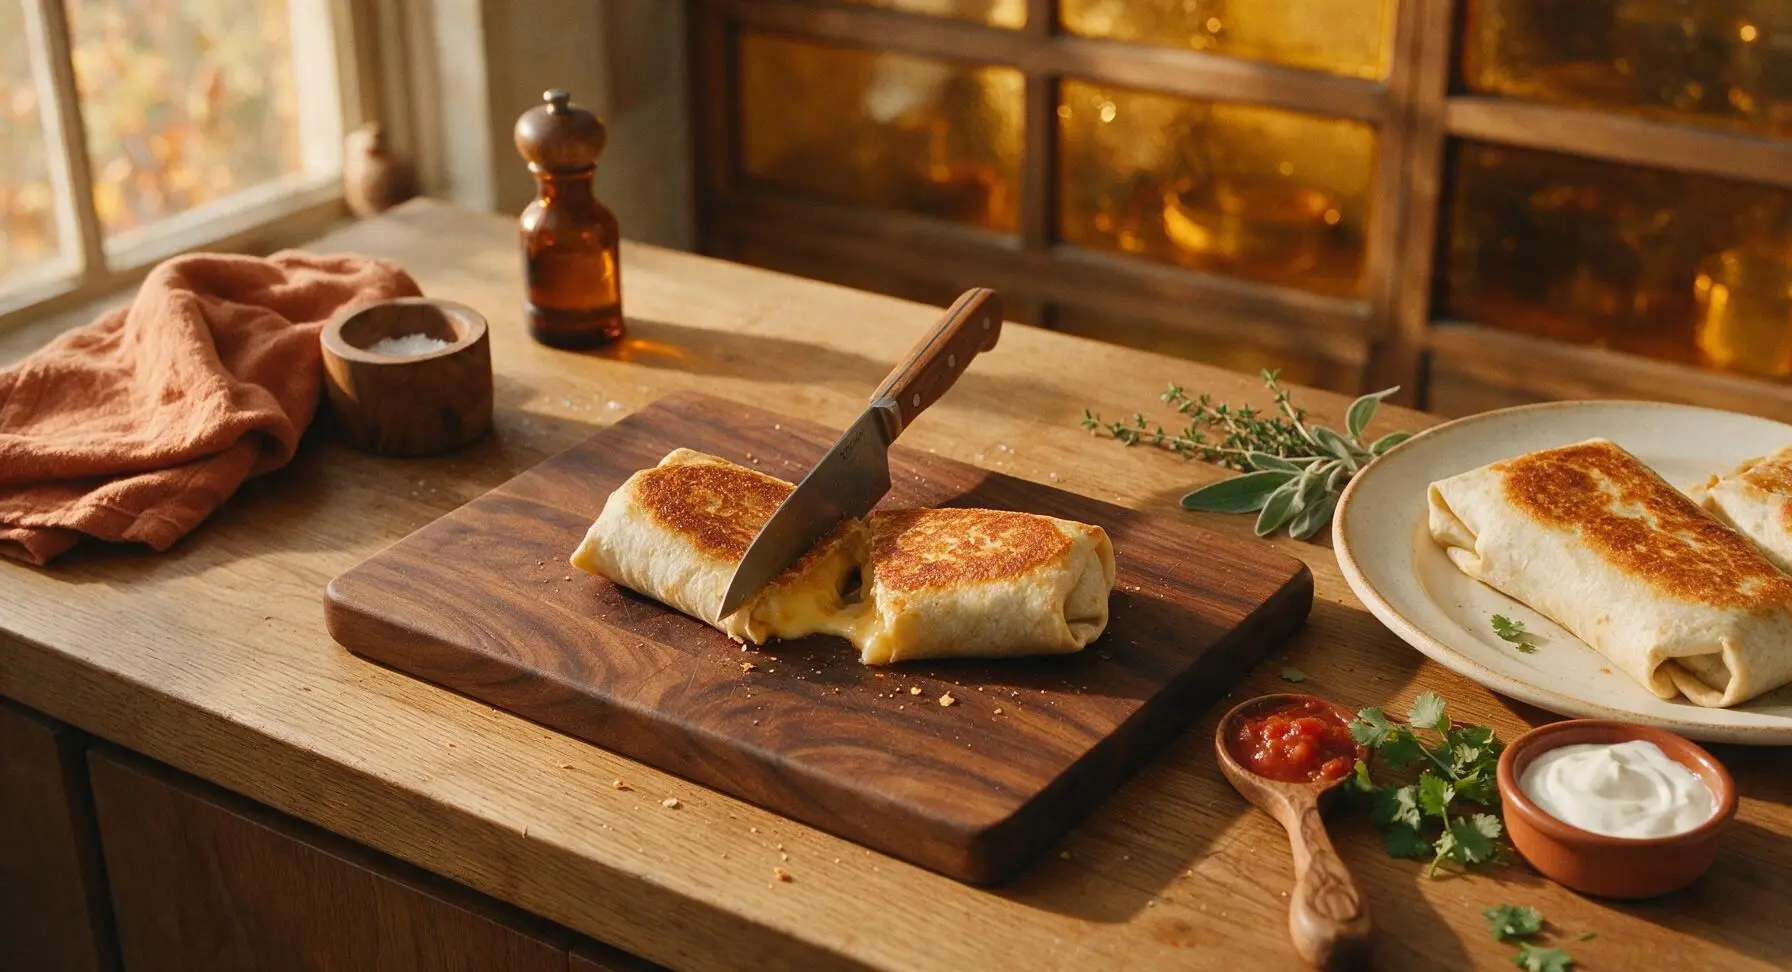
These crispy burritos pair perfectly with a range of dips, depending on your flavor preference. Classic options include chunky, well-drained salsa, guacamole, sour cream mixed with a little lime and taco seasoning, or creamy queso dip. For a little extra kick, try chipotle crema or pickled jalapeño hot sauce. Just make sure any dip you use isn’t overly watery, so you don’t sog out the crispy crust as you dip.
14.Why is my outer cheese crust sliding off the tortilla when I cook it?
▾
That almost always happens for one of two reasons: either you added the cheese to a pan that was too hot, so the cheese seared and set before the tortilla could stick to it, or there was excess moisture on the outside of the wrapped burrito. Make sure your pan is at steady medium-low heat, pat the outside of your folded burrito dry with a paper towel, and press gently with a spatula as it cooks to help the tortilla adhere.
15.Do I need to add oil or butter to the pan to cook the outer cheese crust?
▾
You don’t need any extra oil or butter for the crust! As the shredded cheese melts, it releases enough of its own natural fat to crisp up without sticking, as long as you’re using a nonstick or well-seasoned cast iron pan and let the cheese fully set before moving the burrito. Adding extra butter or oil will make the crust greasy instead of light and crispy, and can cause cheese to slide around instead of forming a tight, lacy layer.
16.Can I adapt this recipe to be gluten-free for guests with dietary restrictions?
▾
You can absolutely make these gluten-free with a couple simple swaps. First, use certified gluten-free 12-inch flour tortillas—many brands now make these with rice and tapioca flour that wrap just like regular flour tortillas. Second, double check that your taco seasoning mix is certified gluten-free, as some budget blends use wheat-based thickeners or anti-caking agents with hidden gluten. The beef, cheese, and rice are all naturally gluten-free when unseasoned.
17.How much taco seasoning should I use, and can I make my own blend?
▾
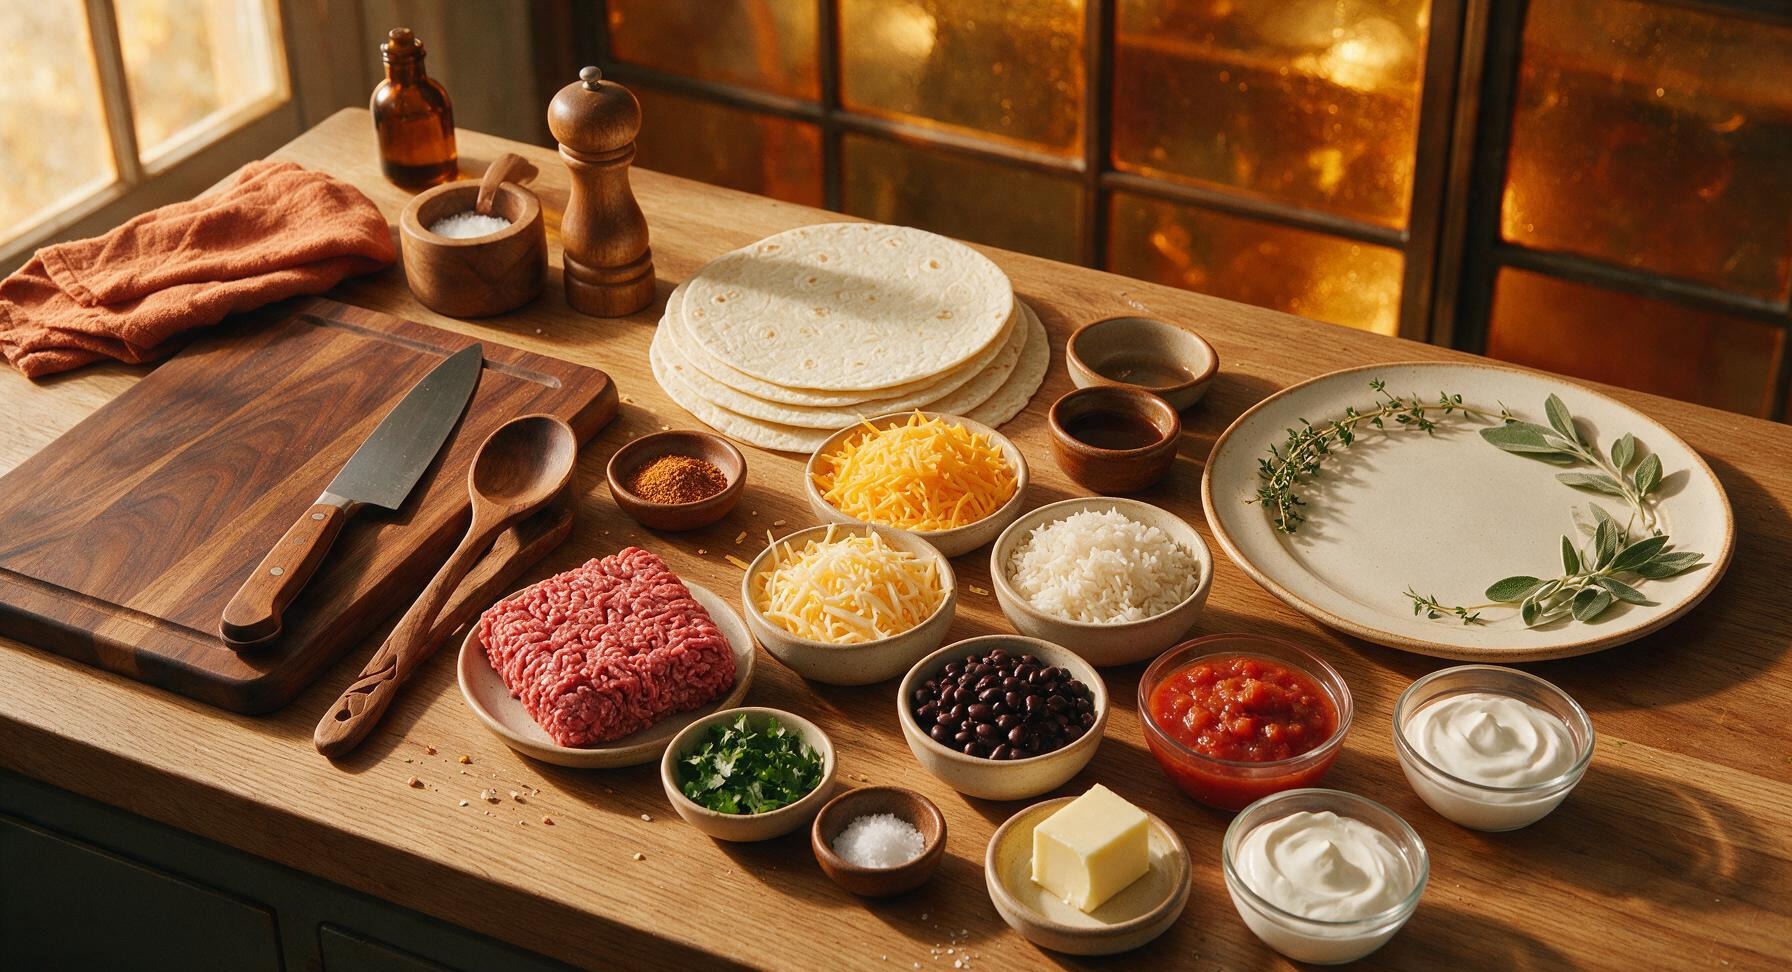
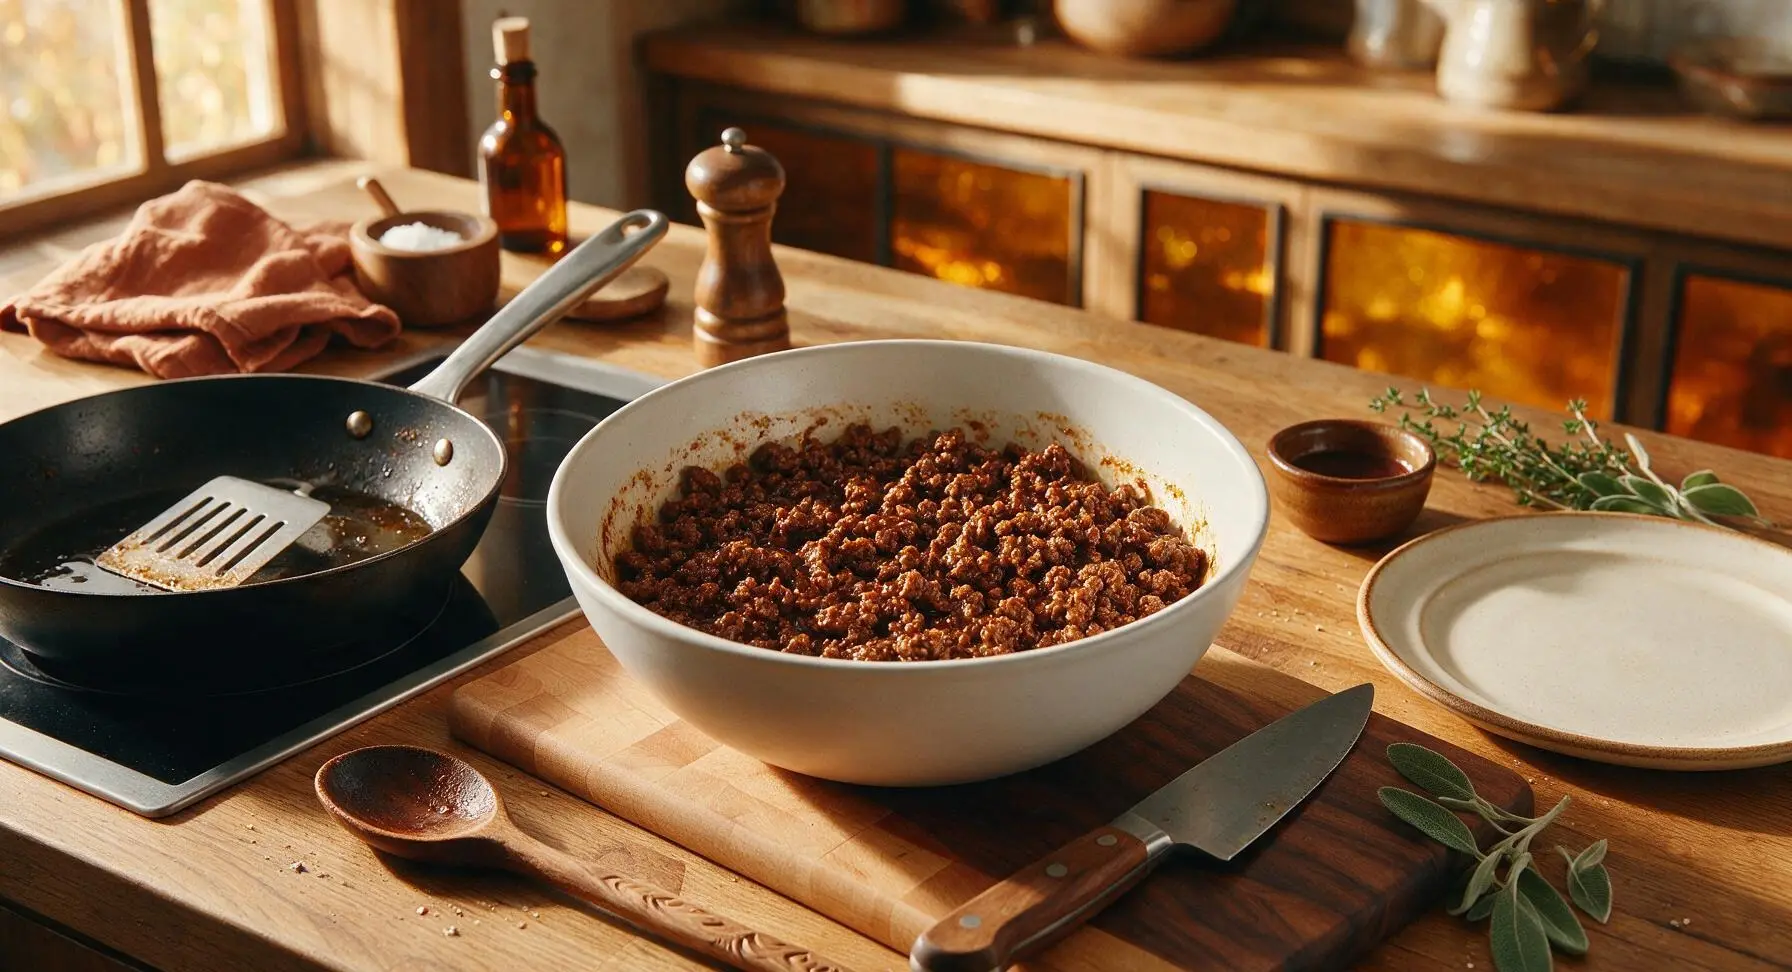
For 1 pound of 90/10 ground beef, use 2 to 3 tablespoons of taco seasoning, mixed with ¼ cup water added after browning, then simmered until liquid evaporates to coat the beef evenly. You can easily make your own blend if you don’t have a store-bought packet: mix equal parts chili powder, cumin, garlic powder, onion powder, a pinch of paprika, oregano, salt, black pepper, and a tiny pinch of cayenne if you like extra heat.
18.My rice is making the inside of the burrito mushy—how do I fix that?
▾
Mushy burrito filling from rice almost always comes from using overcooked, waterlogged rice. For these burritos, cook your rice so it’s light and fluffy with separate grains, not sticky or mushy, and let it cool for 5 minutes before adding it to the tortilla so it doesn’t release excess steam that makes the tortilla soggy. If using leftover rice, fluff it with a fork first, and don’t pack it tightly into the burrito, which creates a dense, mushy texture.







OMG these are a total game changer! I made these for my kids’ after-school snack yesterday and they devoured them in 10 minutes flat. I added a little taco seasoning to the ground beef and dipped them in queso—SO good, even my picky 7 year old asked for seconds. 15 minute cook time is no joke, perfect for busy weeknights when I don’t feel like slaving over the stove.
I prepped a whole batch of these for my work lunches this week and they held up perfectly! I wrapped them individually in foil and threw them in the fridge, then crisped them up in a pan for 3 minutes when I was ready to eat. Way better than the sad frozen burritos I used to buy, and so easy even someone who burns toast can make them. Brought one to our office potluck last week and three people asked for the recipe!
Why did I never think to put the cheese on the OUTSIDE of the burrito? That crispy, cheesy crust is unreal. I made these last night for movie night with my partner and we stuffed ours with pickled jalapeños and pulled pork, it tasted like something you’d get at a fancy food truck but cost like $2 a serving. Will absolutely be making these every other weekend from now on.
Tried these last night and they were good, but I had a little trouble getting the burrito to stay closed while grilling. All the cheese oozed out the side onto my pan (not that I complained, the crispy cheese bits were chef’s kiss) but does anyone have a trick to keep them sealed tight?