
Grits Waffles
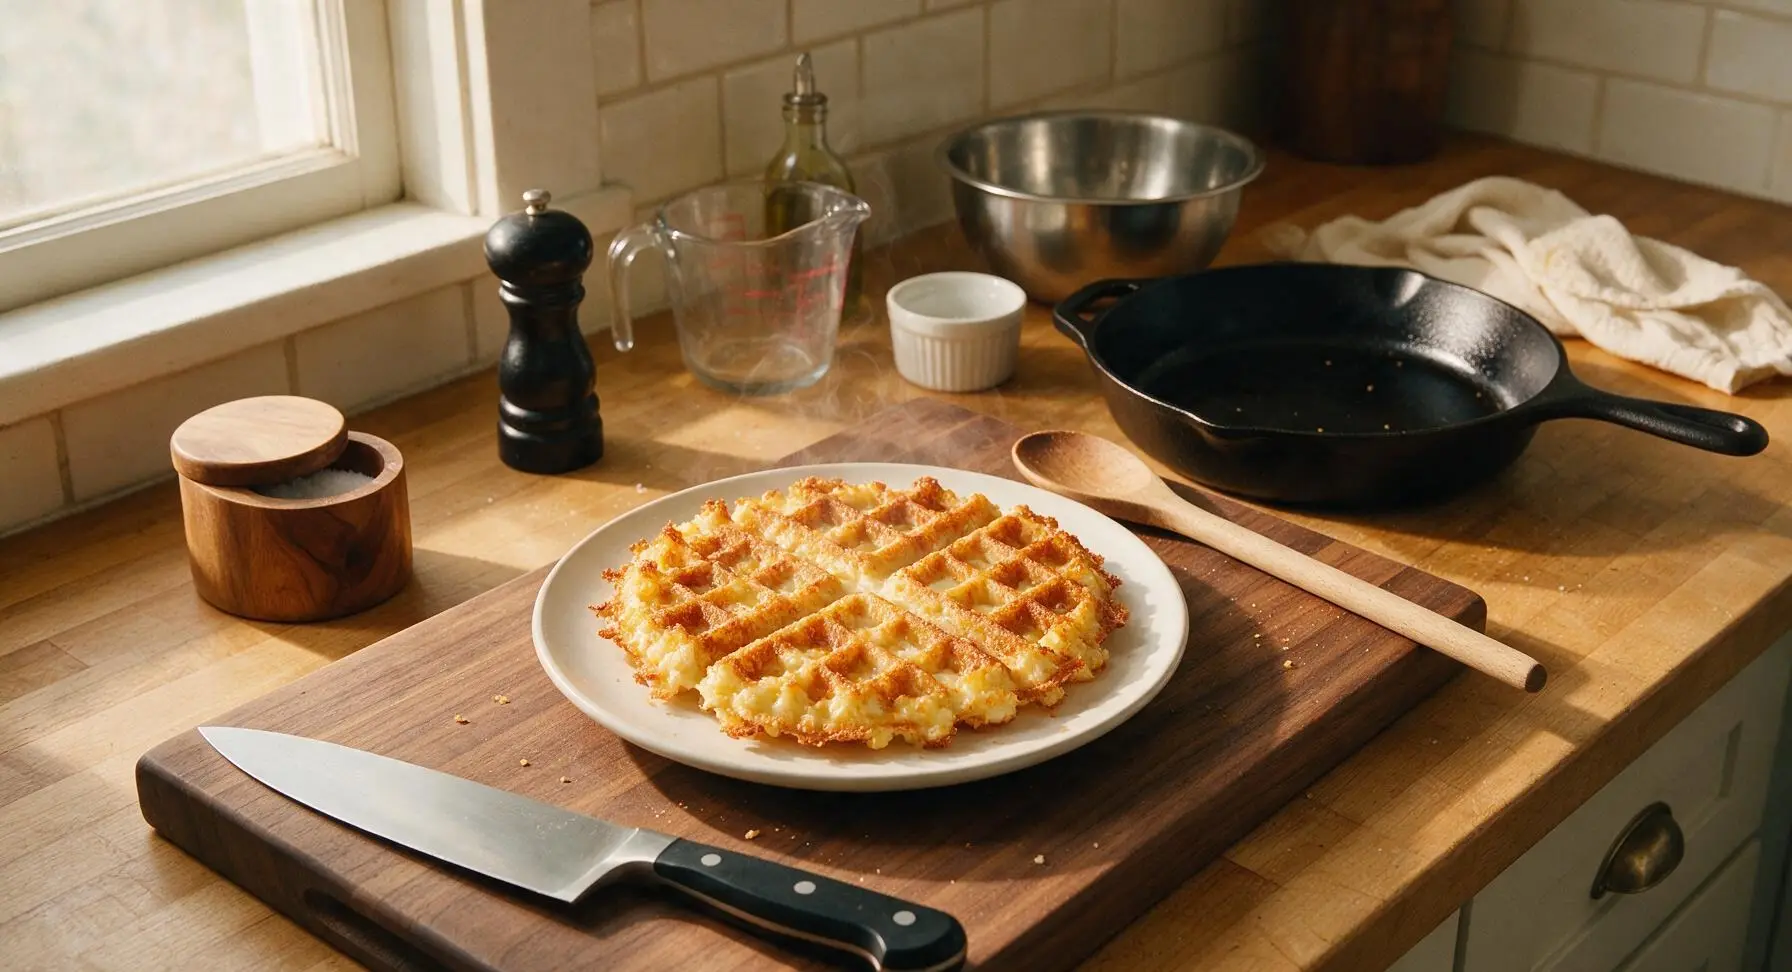
intro
Crisp at the edges, creamy and cheesy within, these Southern-style grits waffles are a savory twist on a breakfast classic, perfect for pairing with eggs, bacon, or a drizzle of hot honey.
Ingredients
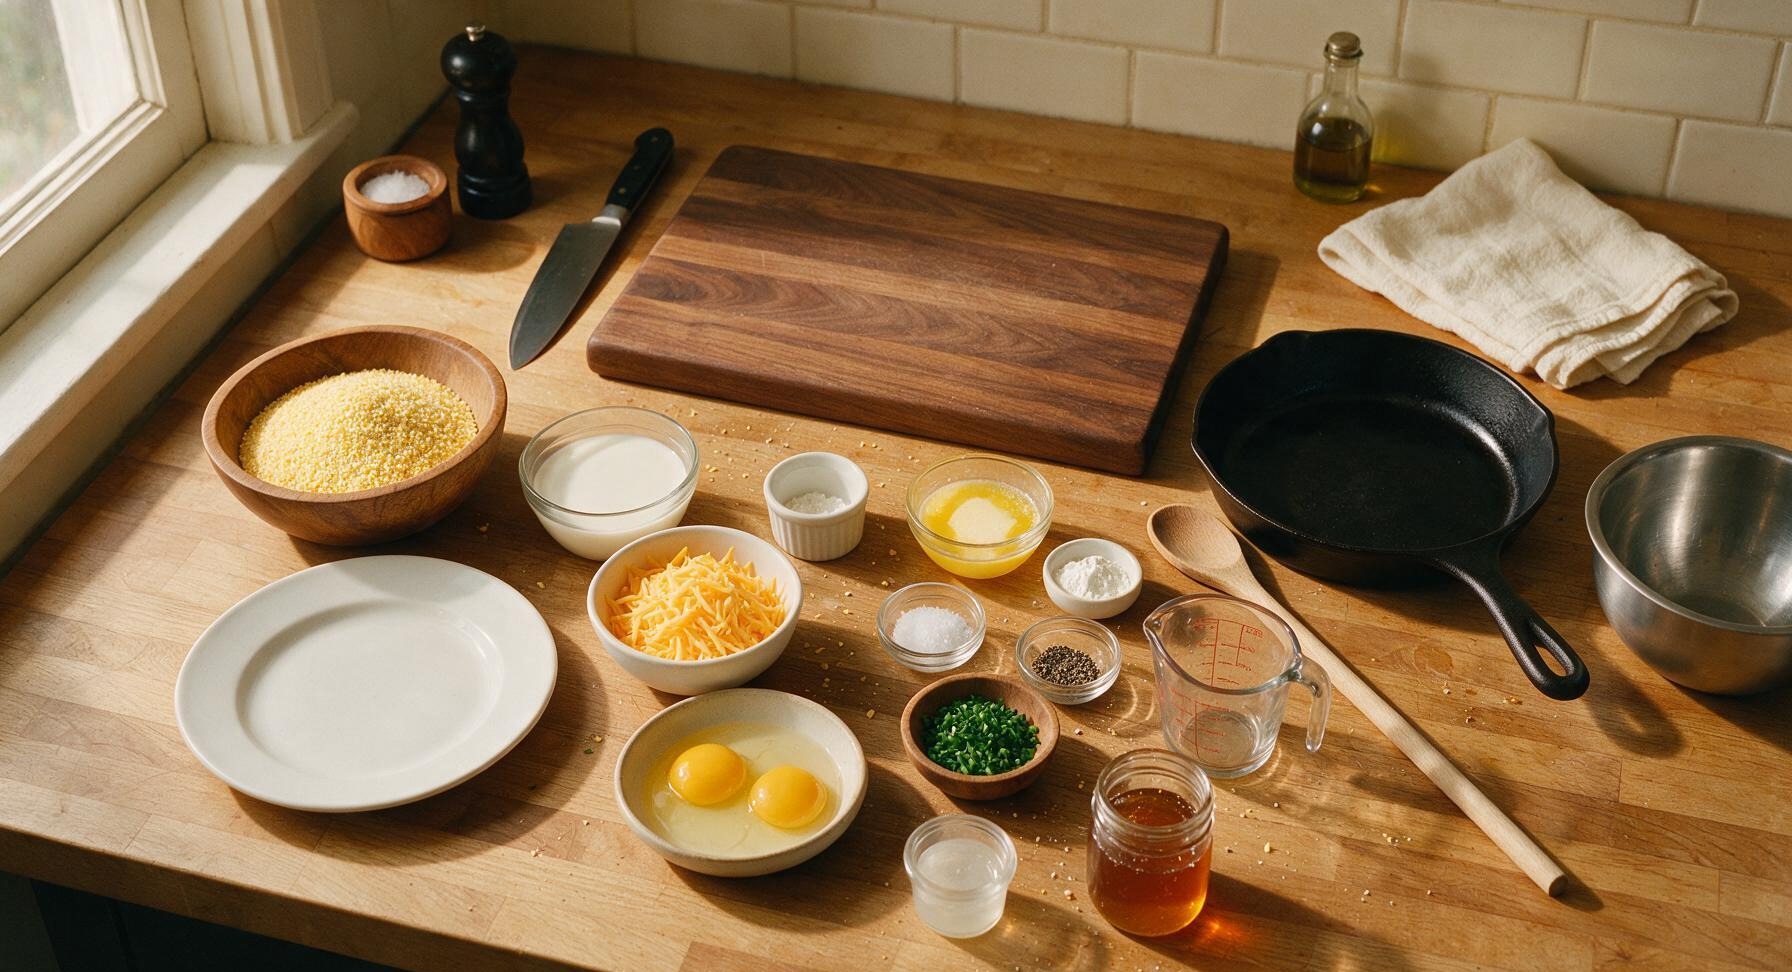
Steps
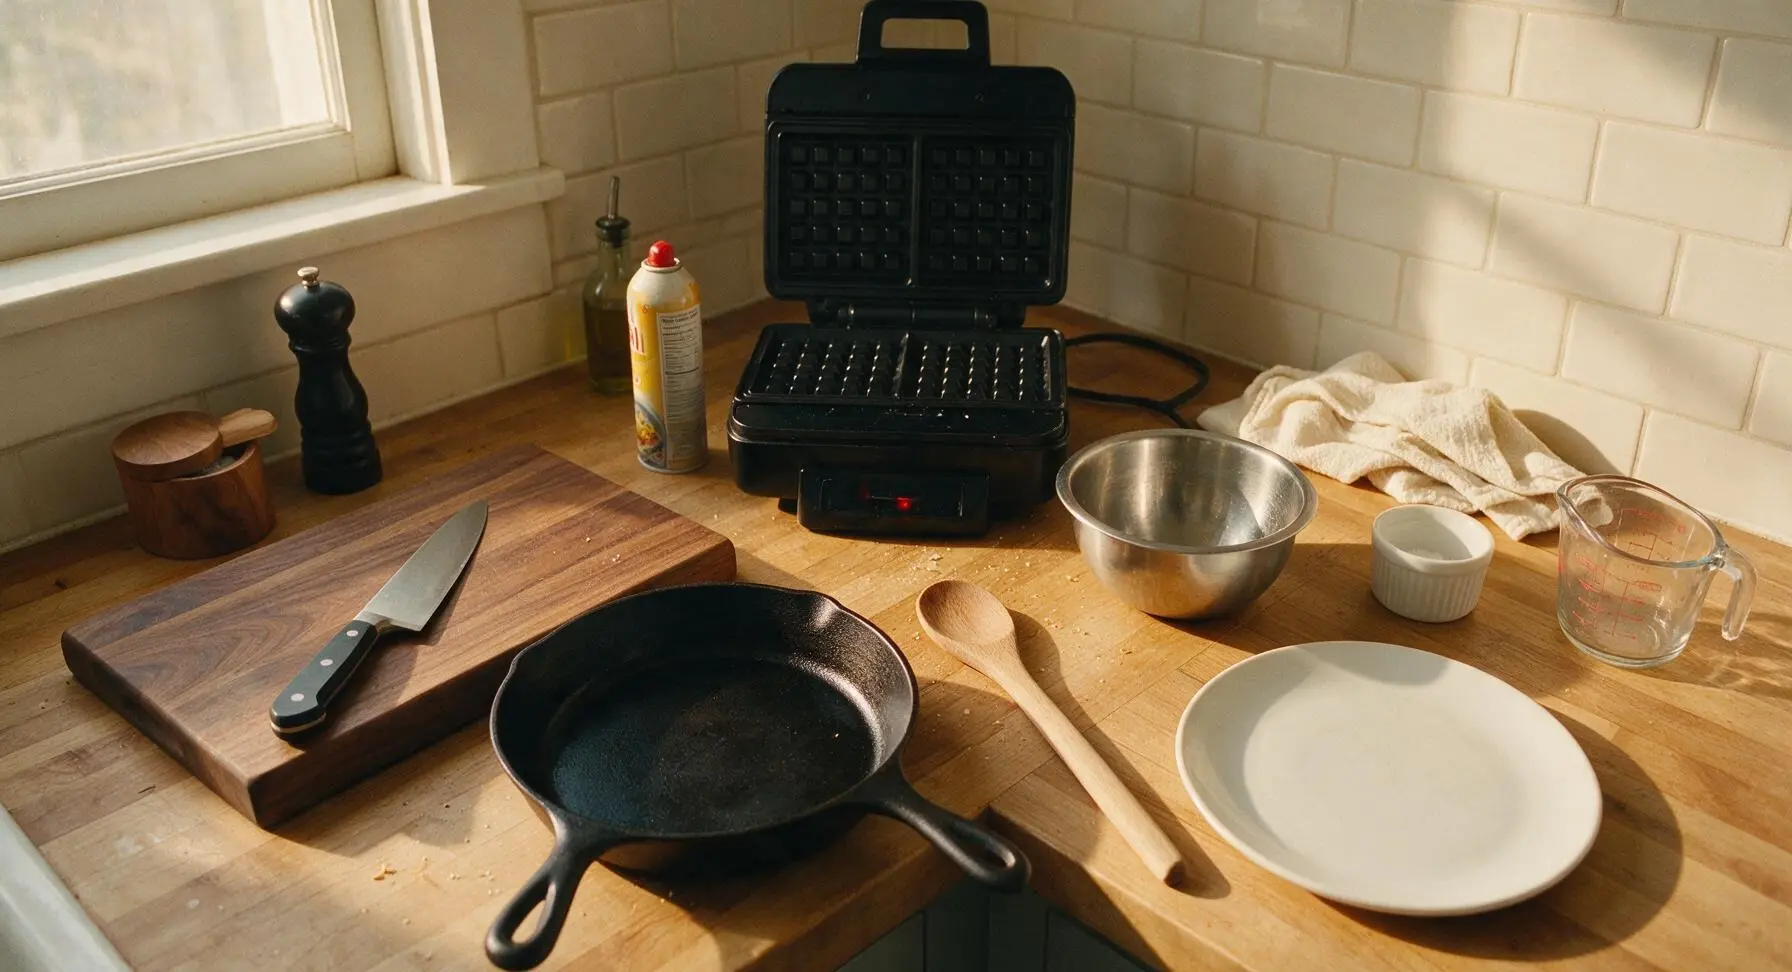
Preheat Waffle Iron
Preheat your Belgian waffle maker to medium-high heat (375°F/190°C). Lightly coat the nonstick plates with nonstick cooking spray, taking care to cover all grid edges to prevent sticking. While the waffle iron heats, move on to prepping ingredients and cooking the grits to cut down on total time.
Simmer Grits Base
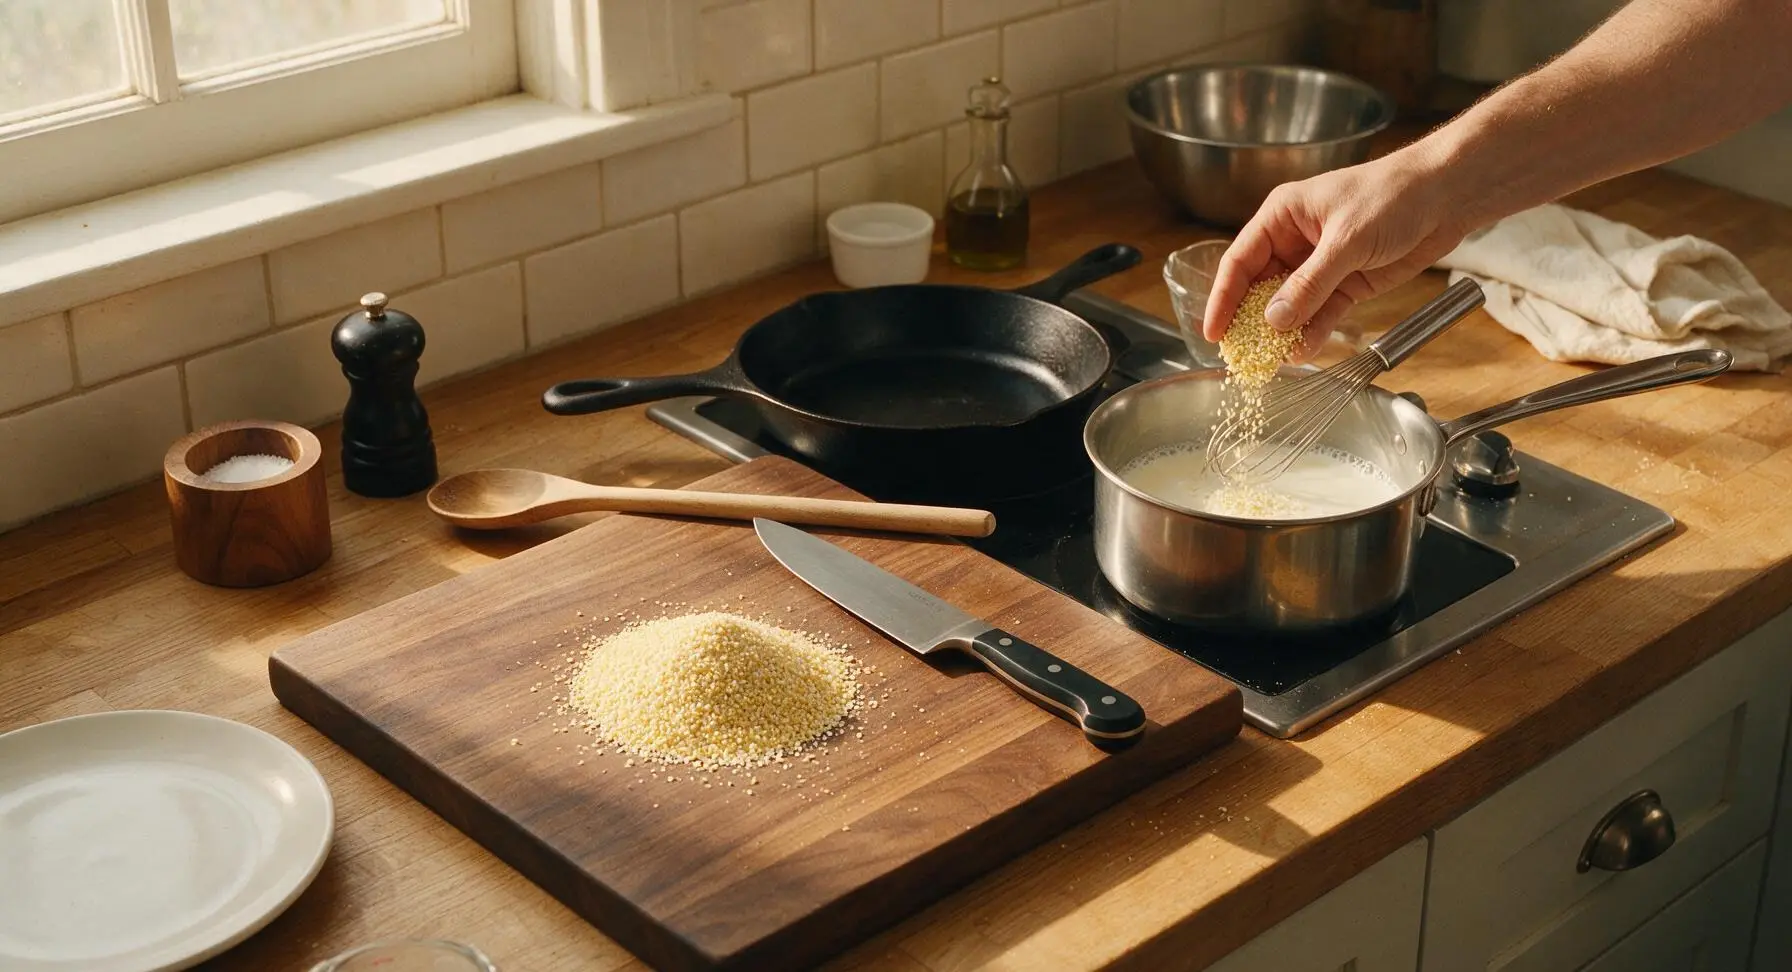
Pour the 2 cups of whole milk into the medium stainless steel saucepan, and bring to a gentle simmer over medium heat (3-4 minutes, watch for small steady bubbles around the pan edge). Slowly whisk in the 1 cup of stone-ground grits and 1 tsp kosher salt, stirring constantly with the silicone spatula to prevent lumps from forming. Reduce heat to low, cover, and cook for 12-15 minutes, stirring every 3 minutes, until grits are thick, creamy, and no longer gritty when tasted.
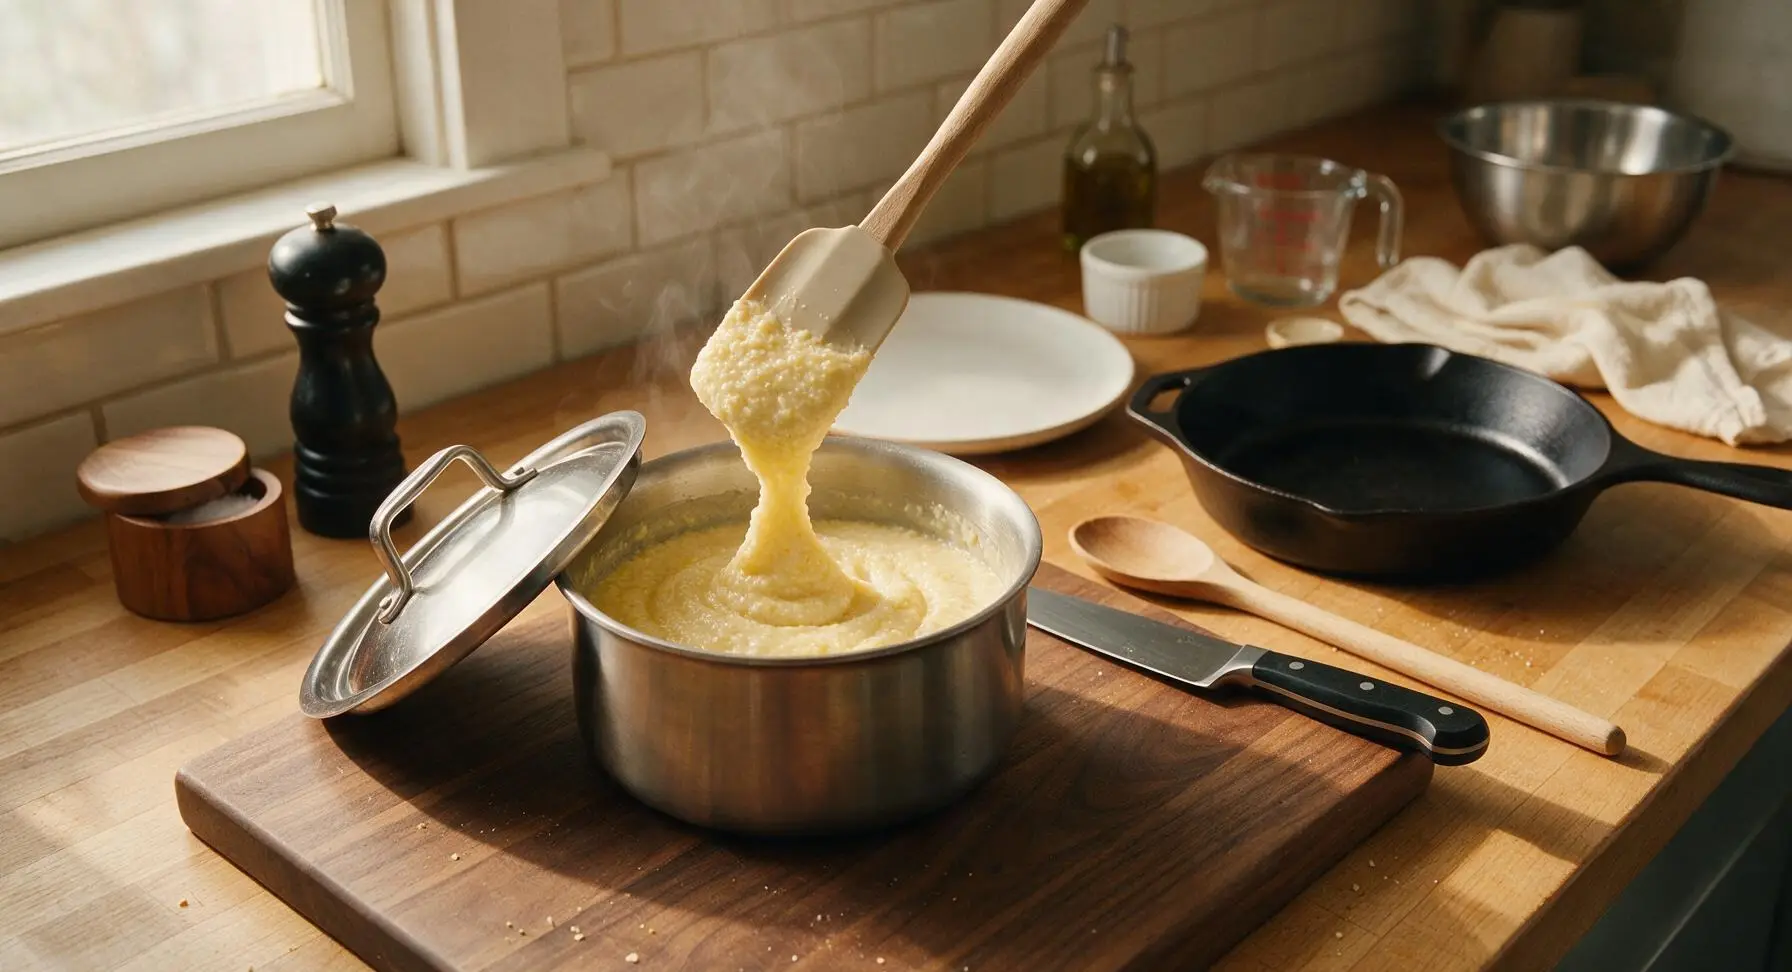
Combine Wet Ingredients
In the large stainless steel mixing bowl, crack the 2 room-temperature large eggs. Whisk lightly with the stainless steel wire whisk until yolks and whites are fully combined and pale yellow, then stir in the 2 tbsp melted cooled butter, 3/4 cup shredded sharp cheddar, 1 tsp baking powder, and 1/4 tsp black pepper, mixing until evenly distributed with no clumps of baking powder.
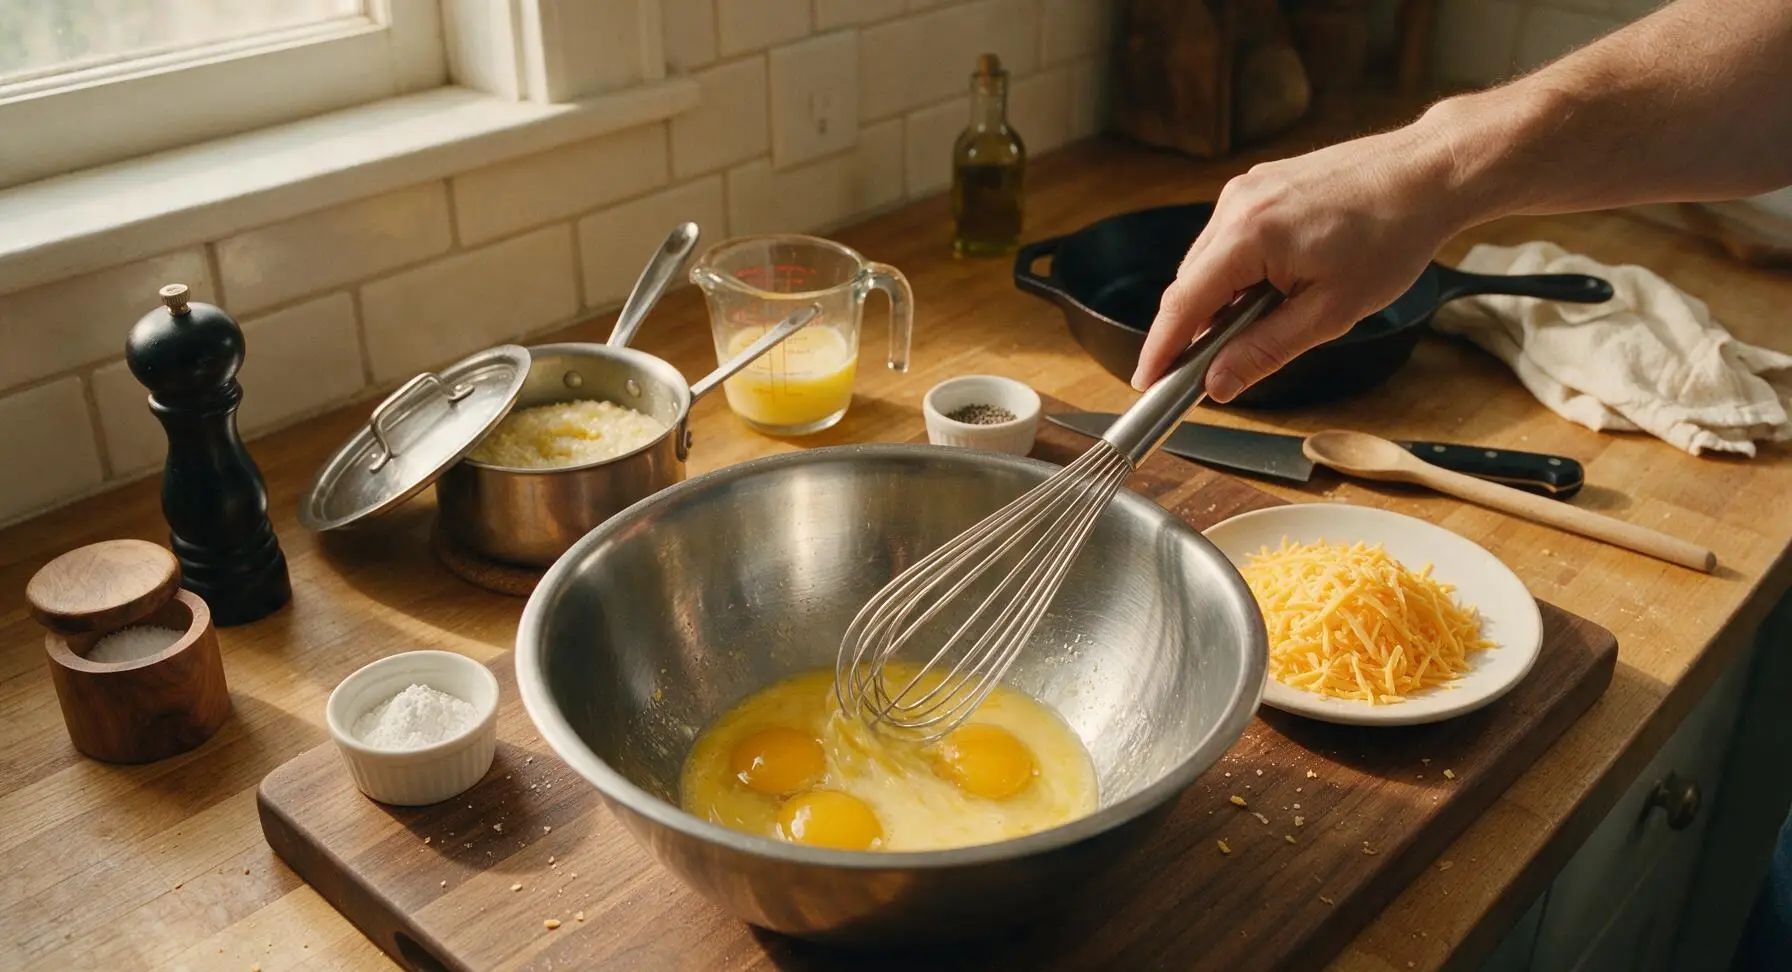
Fold Grits Batter
Pour the warm cooked grits into the mixing bowl with the egg and cheese mixture. Use the silicone spatula to gently fold the ingredients together until no streaks of egg remain, and the cheese is fully melted into the warm grits, creating a thick, uniform batter. Fold in 1.5 tbsp of the chopped chives, reserving the remaining 0.5 tbsp for garnish. Do not overmix, as overworking the batter will develop excess starch in the grits and lead to dense, tough waffles.
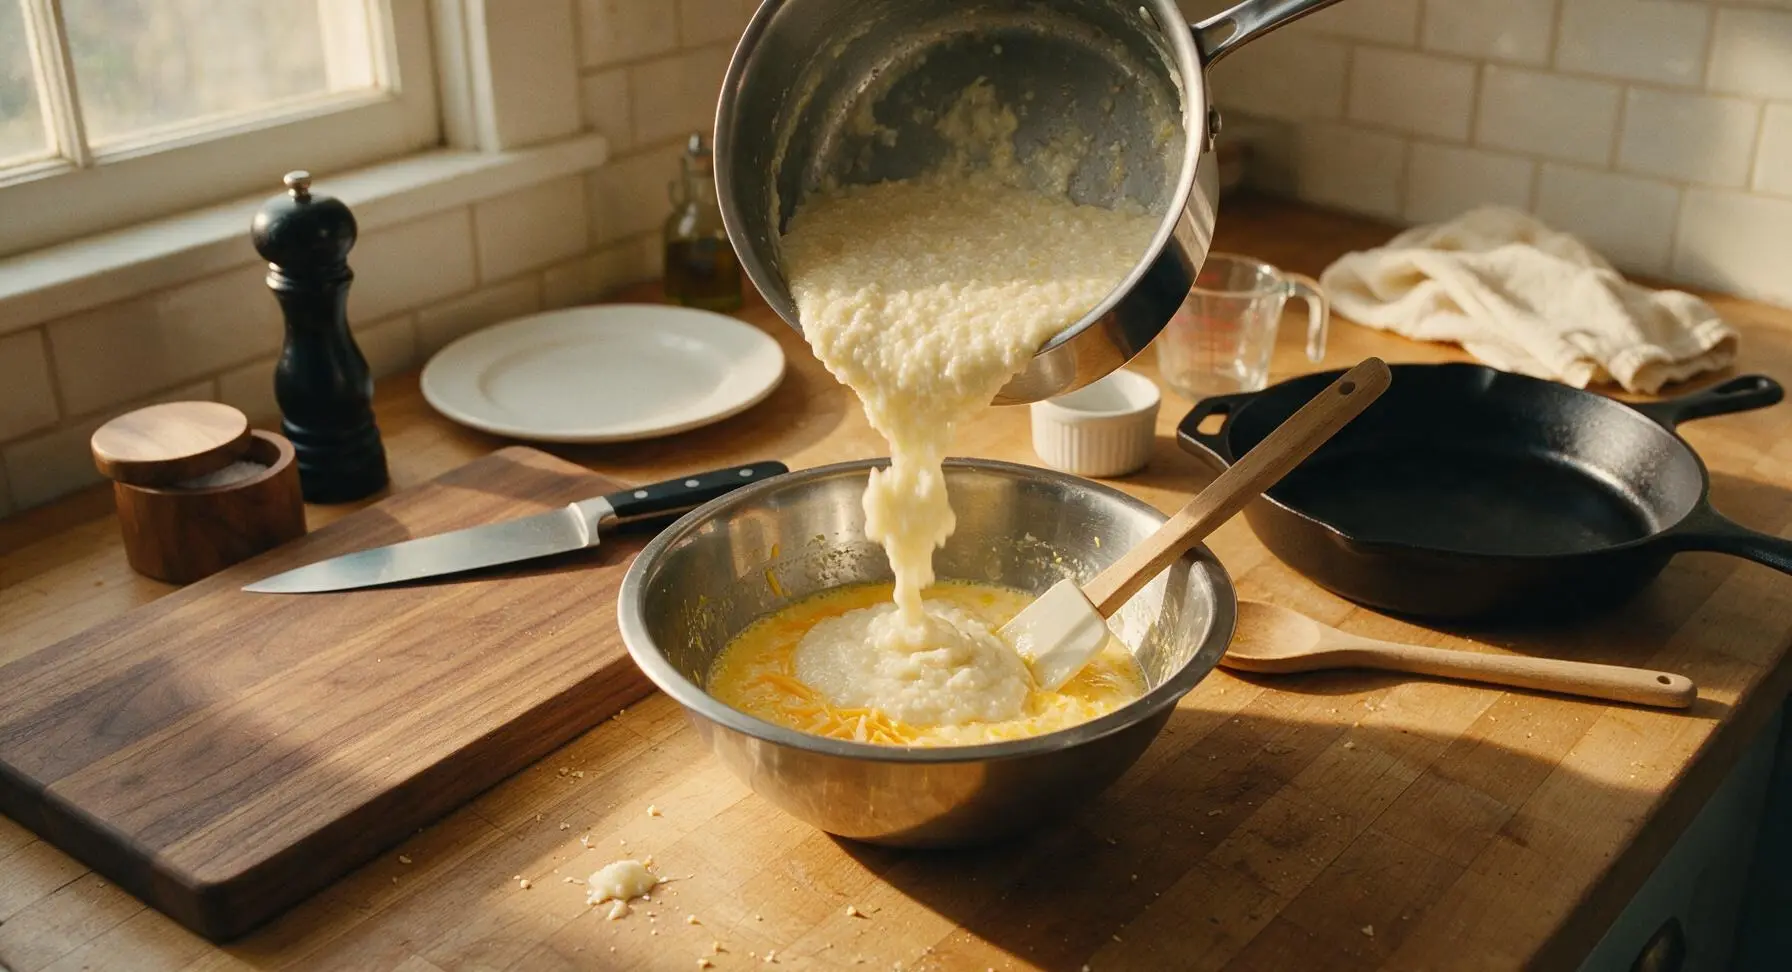
Cook Waffles Until Crisp
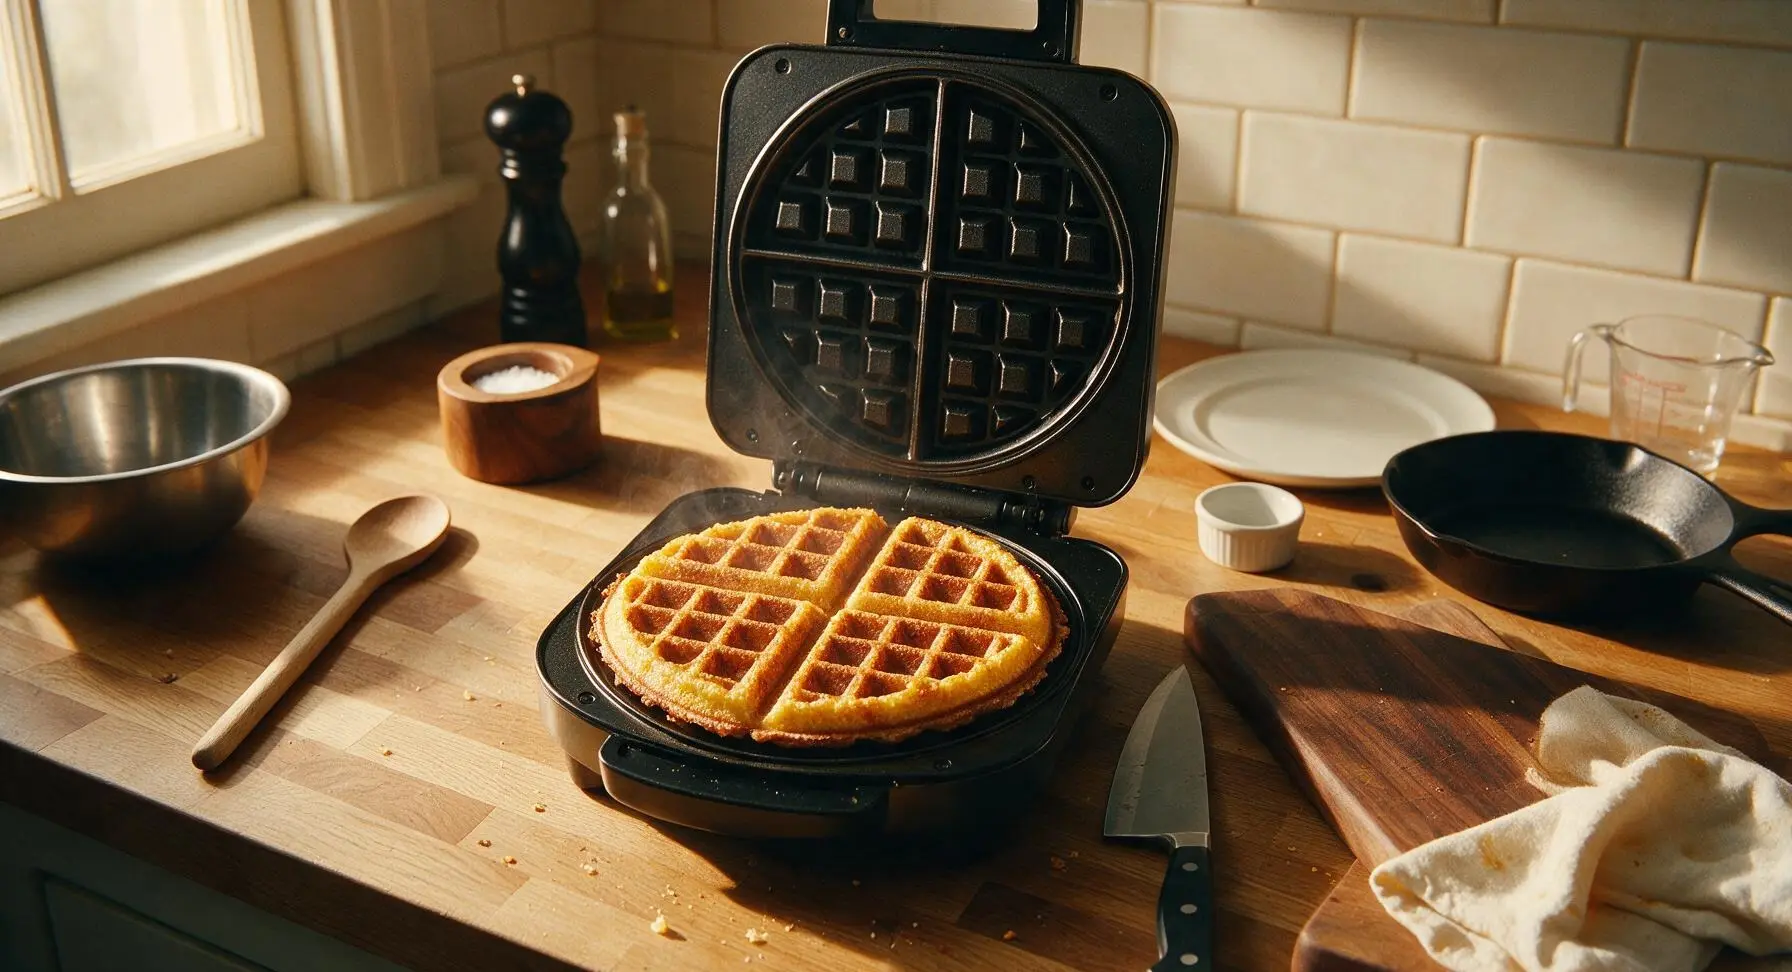
Ladle 3/4 cup of the grits batter into the center of the preheated waffle iron using the stainless steel ladle. Close the lid, and cook for 3.5-4 minutes, until the waffle is deep golden brown, crispy around the edges, and releases easily from the plates when you lift the lid. Resist the urge to open the waffle iron before the 3-minute mark, as this will cause the unset batter to split and stick to the plates.
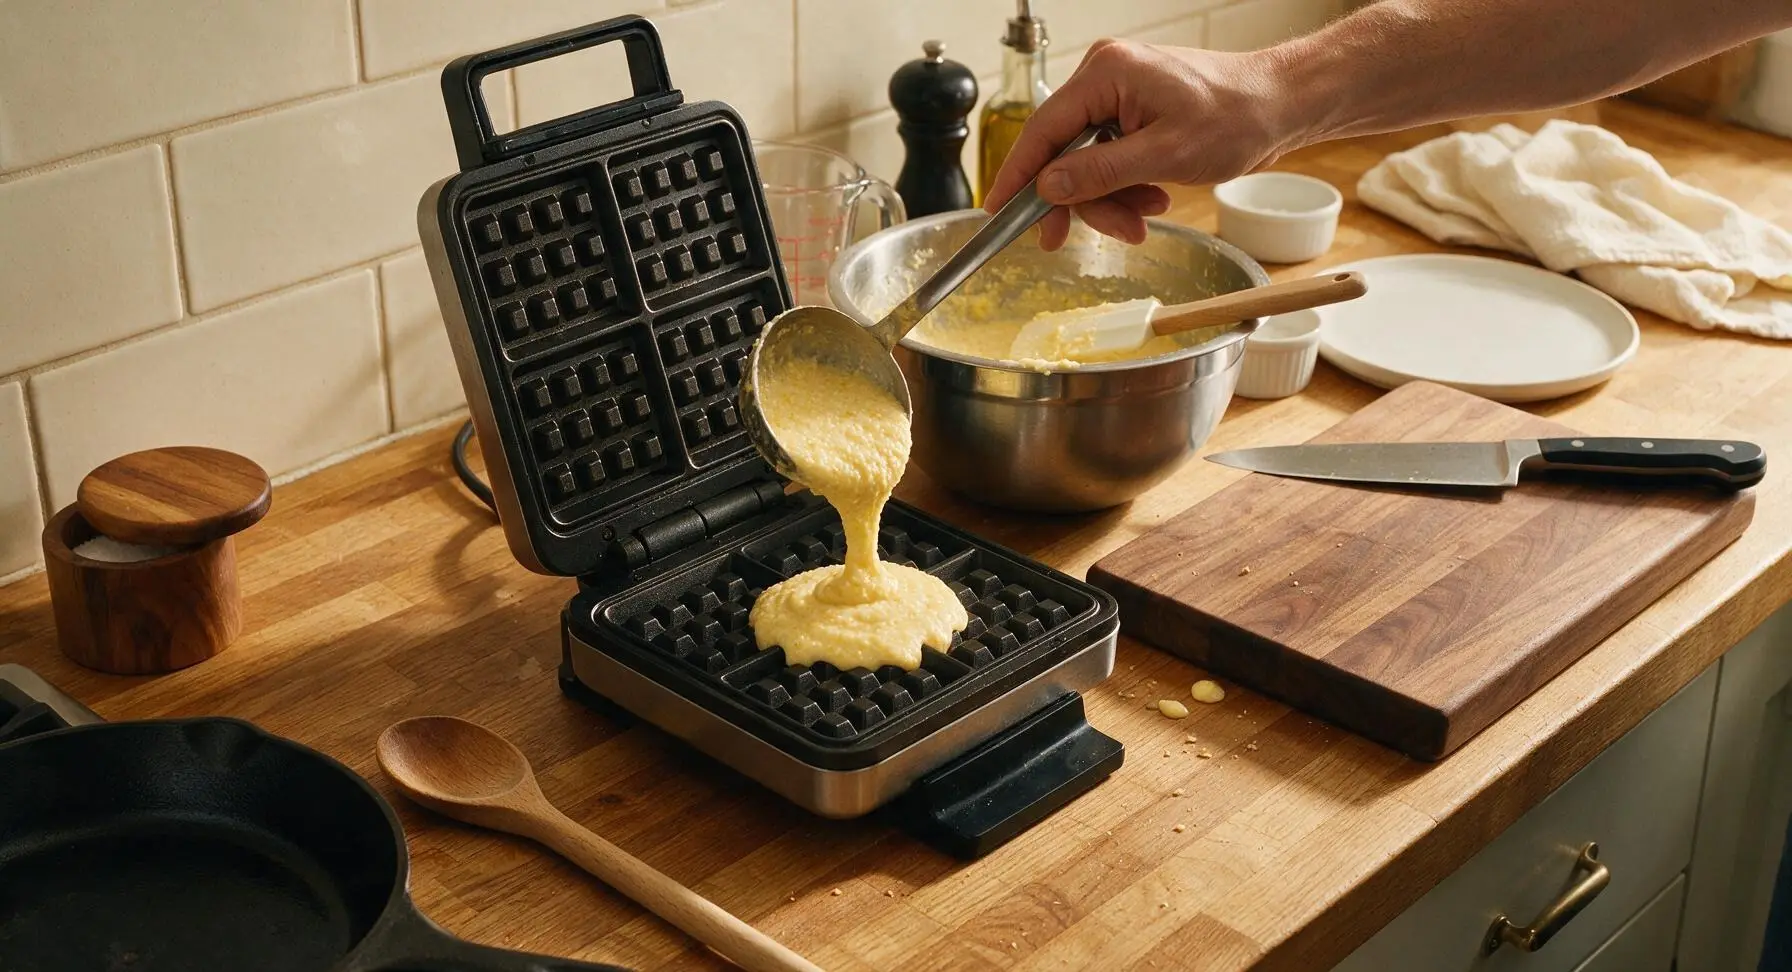
Rest Waffles on Rack
Use the silicone-tipped tongs to lift the cooked waffle from the waffle iron, and transfer it to the chrome wire cooling rack set over the rimmed baking sheet. Repeat the cooking process with the remaining batter, making 4 total large waffles. Resting waffles on the open rack allows air to circulate under and around each waffle, keeping all sides crisp instead of soggy from trapped steam.
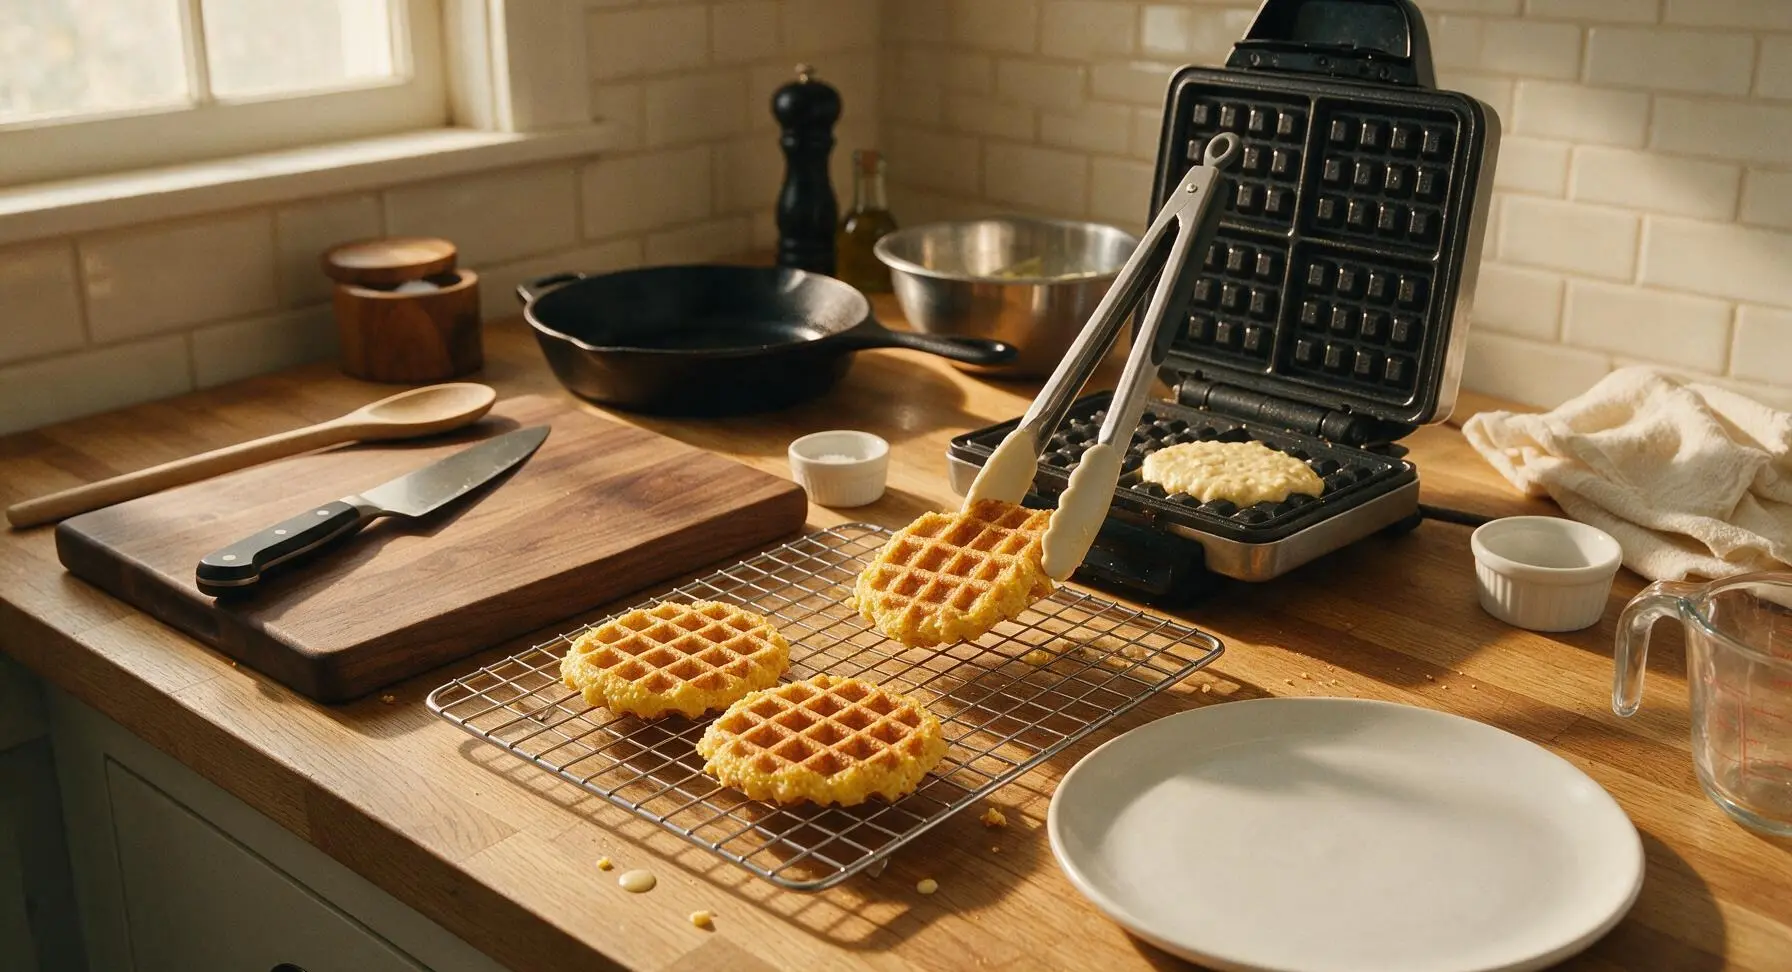
Plate and Garnish
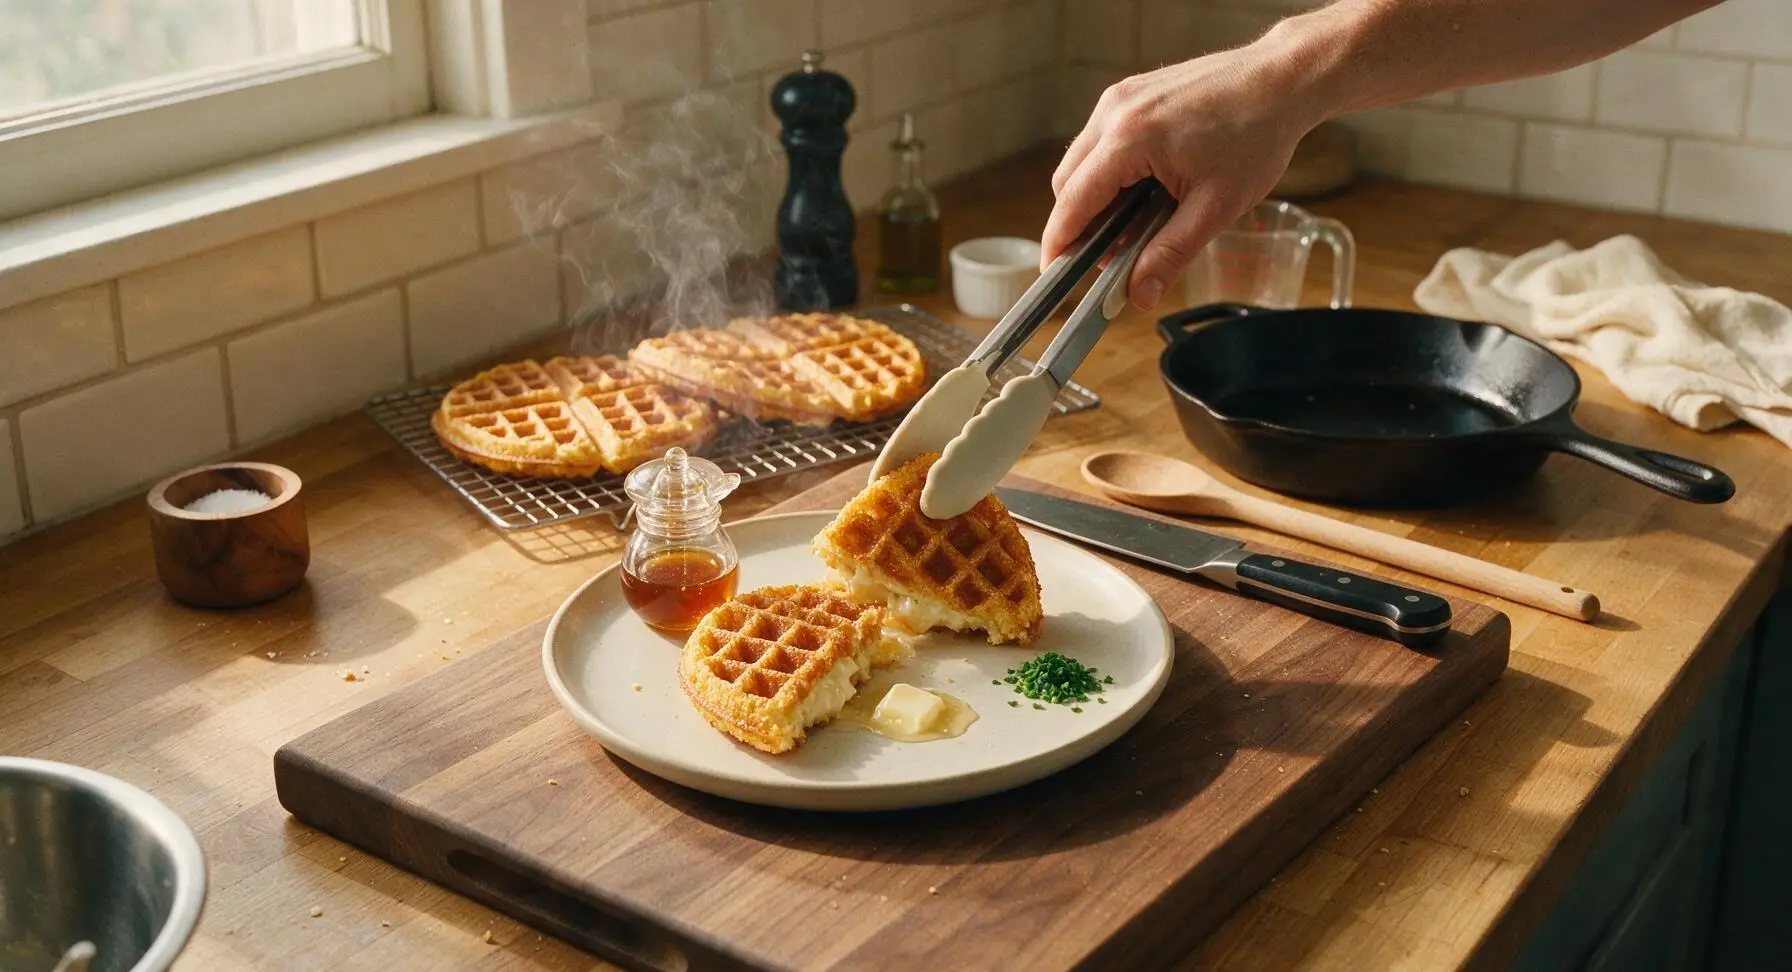
Place one waffle on the matte off-white ceramic dinner plate, split it in half along the natural grid line, and stack the two halves slightly offset to show the creamy interior. Top with a small pat of butter, a light 1 tsp drizzle of hot honey, and a sprinkle of the reserved chopped fresh chives. Serve immediately while waffles are hot and crisp, with extra hot honey on the side in a terracotta ramekin if desired.
Tips
2.Always rest cooked waffles on a wire rack rather than stacking them directly on a plate. Trapped steam from hot waffles will soften crispy edges and create a soggy texture in as little as 2 minutes if left on a solid, non-vented surface.
3.For group meals, hold finished waffles on the wire rack set inside a 200°F (95°C) oven for up to 20 minutes. This maintains crisp edges and a warm serving temperature without drying out the soft, creamy grits interior, so you can serve all guests at once instead of cooking waffles to order.






OMG these were such a game changer for our Saturday brunch! I added a little extra sharp cheddar to the grits before pouring in the waffle iron and they got SO crispy around the edges. My kids devoured theirs topped with fried chicken and hot honey — zero leftovers, that’s how you know it’s a hit. So easy too, I was shocked how quick these came together on a busy weekend morning!
Made these for a tailgate pre-game spread last weekend and people were begging for the recipe! I pre-cooked the grits the night before to save time morning of, then just scooped them straight into the waffle maker when we got to the parking lot. Crispy, savory, perfect for piling on pulled pork and a drizzle of BBQ sauce. Only note: make sure you spray the waffle iron really well or they stick a little! 10/10 will make again.
I was so skeptical of grits in a waffle maker but wow, these did not disappoint! I’ve been stuck in a breakfast rut lately, and this recipe was so easy to throw together even with all three kids running around the kitchen asking for snacks. We topped ours with a little butter and maple syrup for that sweet-savory vibe, and even my picky 7 year old asked for seconds. Will be adding these to our weekly rotation for sure!
SO good!!! I’ve tried a handful of grits waffle recipes before and they always turn out soggy in the middle, but these stayed crispy all the way through even after I left them on the plate for 10 minutes while I made coffee. Cook time was exactly 25 minutes like the recipe said, no guesswork. I topped mine with shrimp and a little cajun seasoning for a fun twist on shrimp and grits, chef’s kiss.
As someone who grew up eating grits every Sunday after church, I can confirm these taste exactly like the crispy edges of a big pot of slow-cooked grits, but in waffle form! The recipe is so straightforward, no fancy steps or weird ingredients. I brought these to my church potluck last Sunday and the whole plate was gone in 10 minutes. Multiple people asked if I’d cater their next event, lmao. Highly recommend!
Absolute meal prep win! I made a double batch on Sunday, popped the leftover waffles in the freezer, and just pop them in the toaster for 2 minutes during the week for a quick savory breakfast. They reheat perfectly, still get crispy, no sogginess at all. Way better than frozen waffles from the grocery store, and way cheaper too. Easy recipe, minimal cleanup, 10/10.
Wait I made these for our neighborhood block party last weekend and they were a total smash! I set out a whole topping bar: fried chicken tenders, hot honey, shredded cheese, salsa, sour cream, even some maple syrup for the folks who like sweet. People were customizing their waffles all night. Super easy to make in big batches too, which is perfect for crowds.
Tried these for brunch today and they were good, but I felt like they needed a little more salt for my taste. Next time I’ll add a pinch more garlic powder too, maybe some crumbled bacon in the batter? The texture was perfect though, super crispy outside, soft creamy inside, no sogginess at all. Super easy recipe, even for someone who burns eggs half the time like me.
Made these this morning with leftover grits from last night’s dinner, and holy cow, why haven’t I been doing this my whole life? I always make too many grits when I do shrimp and grits for dinner, and now I have the perfect way to use up leftovers instead of tossing them. Zero food waste, delicious breakfast, 10/10.
I made these with certified gluten-free stone ground grits and they turned out perfectly! No weird texture, no gritty aftertaste, just crispy savory waffles that even my non-gluten-free husband loved. I topped mine with avocado and a fried egg, and it was the most satisfying breakfast I’ve had in weeks. So happy I found this easy recipe!
Full transparency: I burn 90% of the things I try to cook, but these came out perfect on the first try? The recipe is so straightforward, no weird techniques, and the cook time per waffle was exactly what the instructions said. I made these for my daughter’s birthday brunch and she said they’re better than the ones we get at our favorite brunch spot down the street. Win for dad today!
I’ve made these three times in the last two weeks, no joke. First time for brunch with friends, second time for a quick weeknight dinner topped with chili and cheese, third time for my kid’s soccer team snack. They’re so versatile! Only thing I will say is make sure your waffle iron is fully preheated before you pour the batter in, otherwise they don’t get as crispy. Otherwise, zero notes.
Made these in my dorm waffle maker with instant grits (it’s all I could afford at the campus grocery store lmao) and they still slapped! I topped mine with a little cheese and hot sauce, and it was way better than the dining hall breakfast. Super cheap to make, minimal ingredients, didn’t make a ton of dishes which is perfect for a dorm. 10/10 would recommend to other broke college students.
My granddaughter has been begging for waffles every time she comes over, and I wanted to make something a little more filling than regular sweet waffles. These were a hit! She loved dipping hers in syrup, and I loved that they were hearty enough to keep her full until lunch. The recipe was so easy to follow, even with my old 1990s waffle iron that doesn’t have fancy temperature settings. We’ll be making these every time she visits!
Made these before a big day hike last weekend and they kept me full for hours! I packed a couple plain waffles in my backpack as a trail snack too, and they held up perfectly even after being jostled around for 6 miles. Way more satisfying than granola bars, and the savory flavor was a nice change of pace from all the sweet trail snacks I usually bring. Easy to make, portable, delicious — new pre-hike staple for sure!