
Grits with Milk
intro
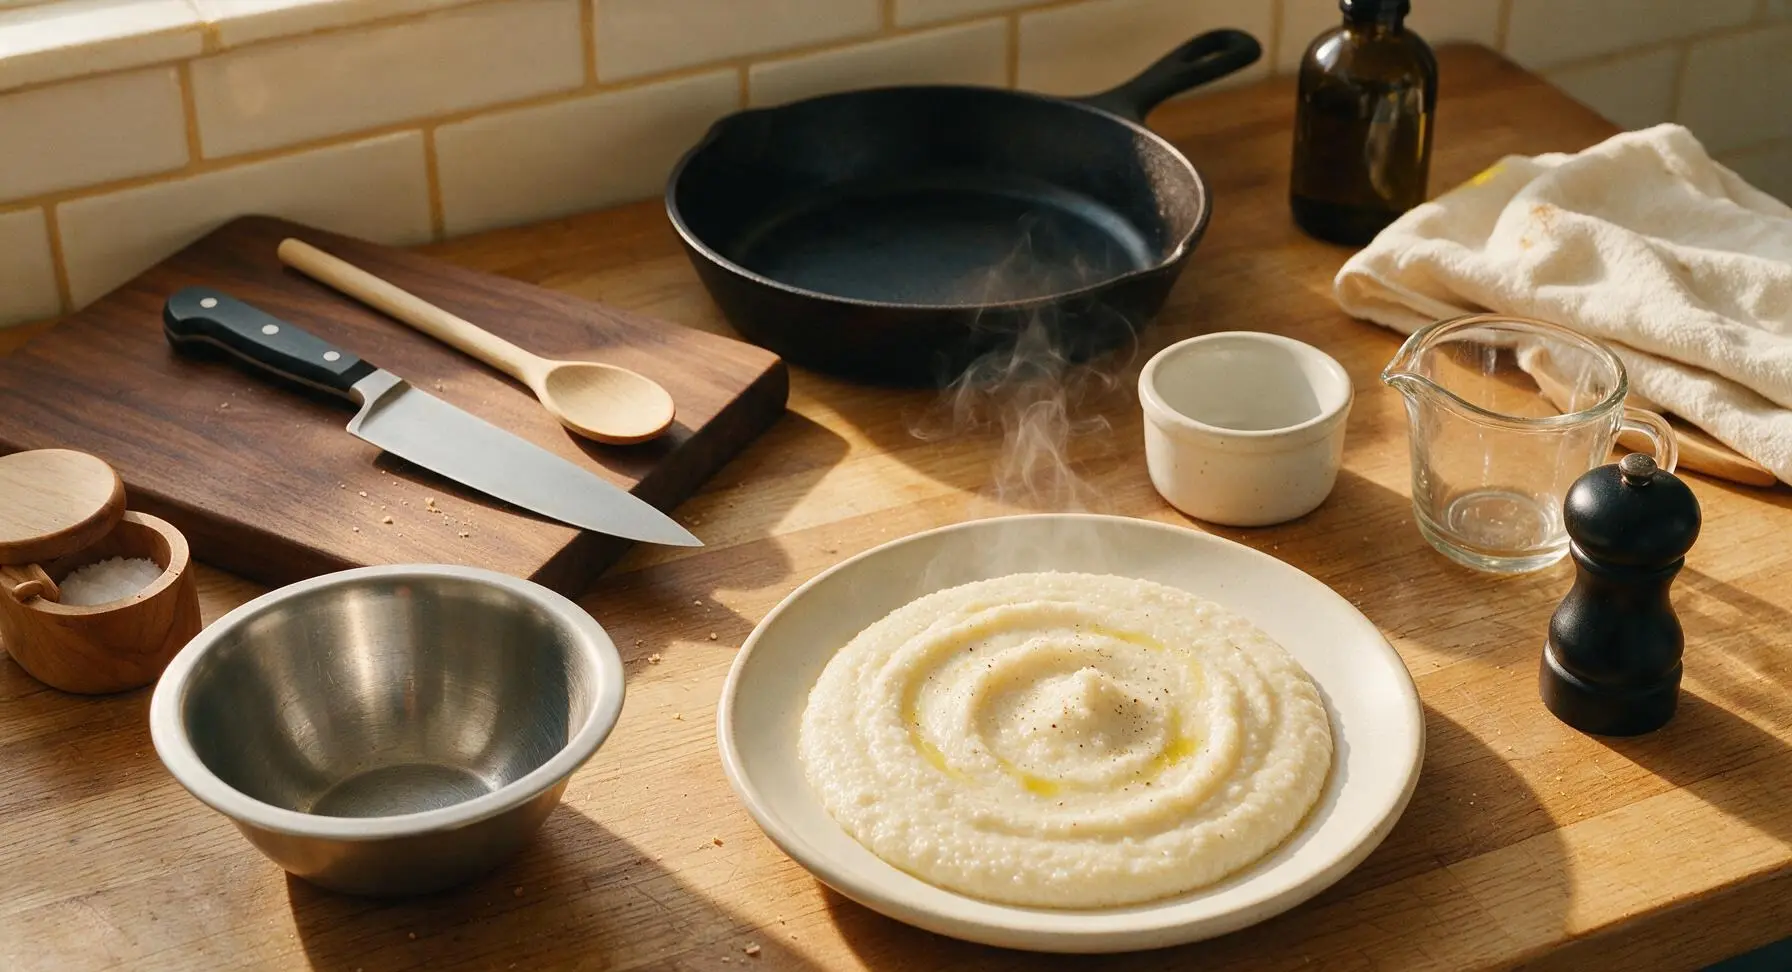
Silky, creamy stone-ground grits slow-simmered with whole milk for a cozy, nostalgic Southern comfort breakfast that comes together in just 25 minutes, perfect for cold mornings.
Ingredients
Steps
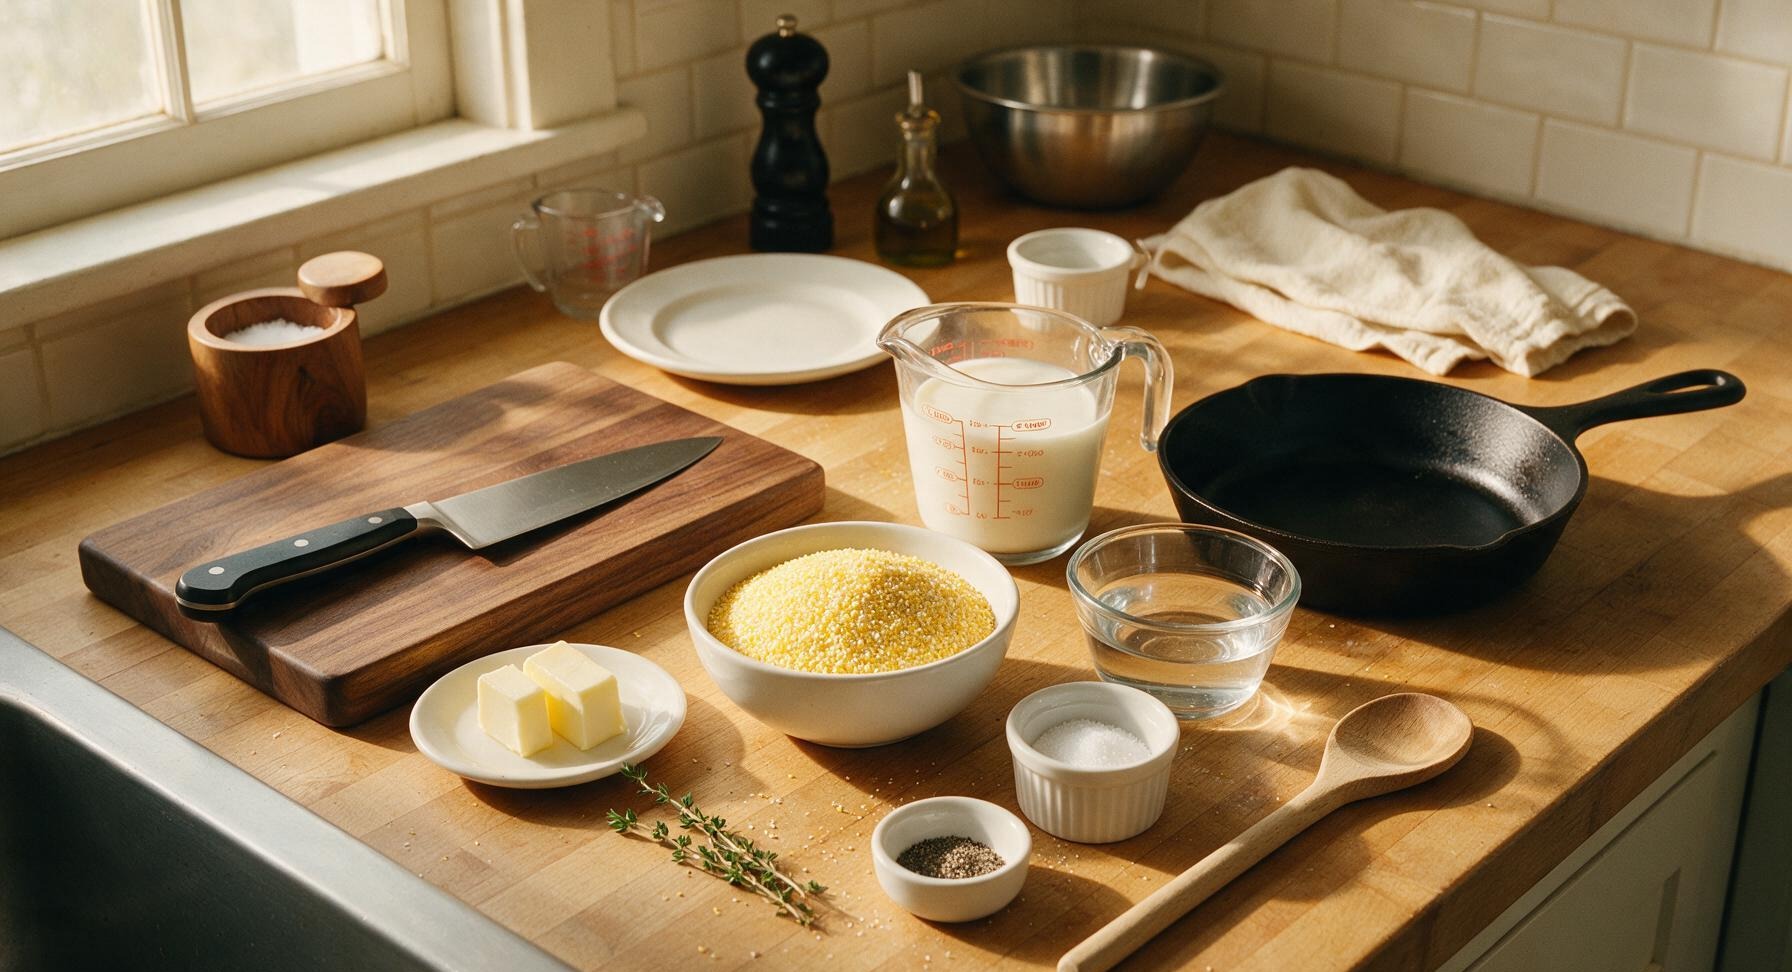
Measure All Ingredients
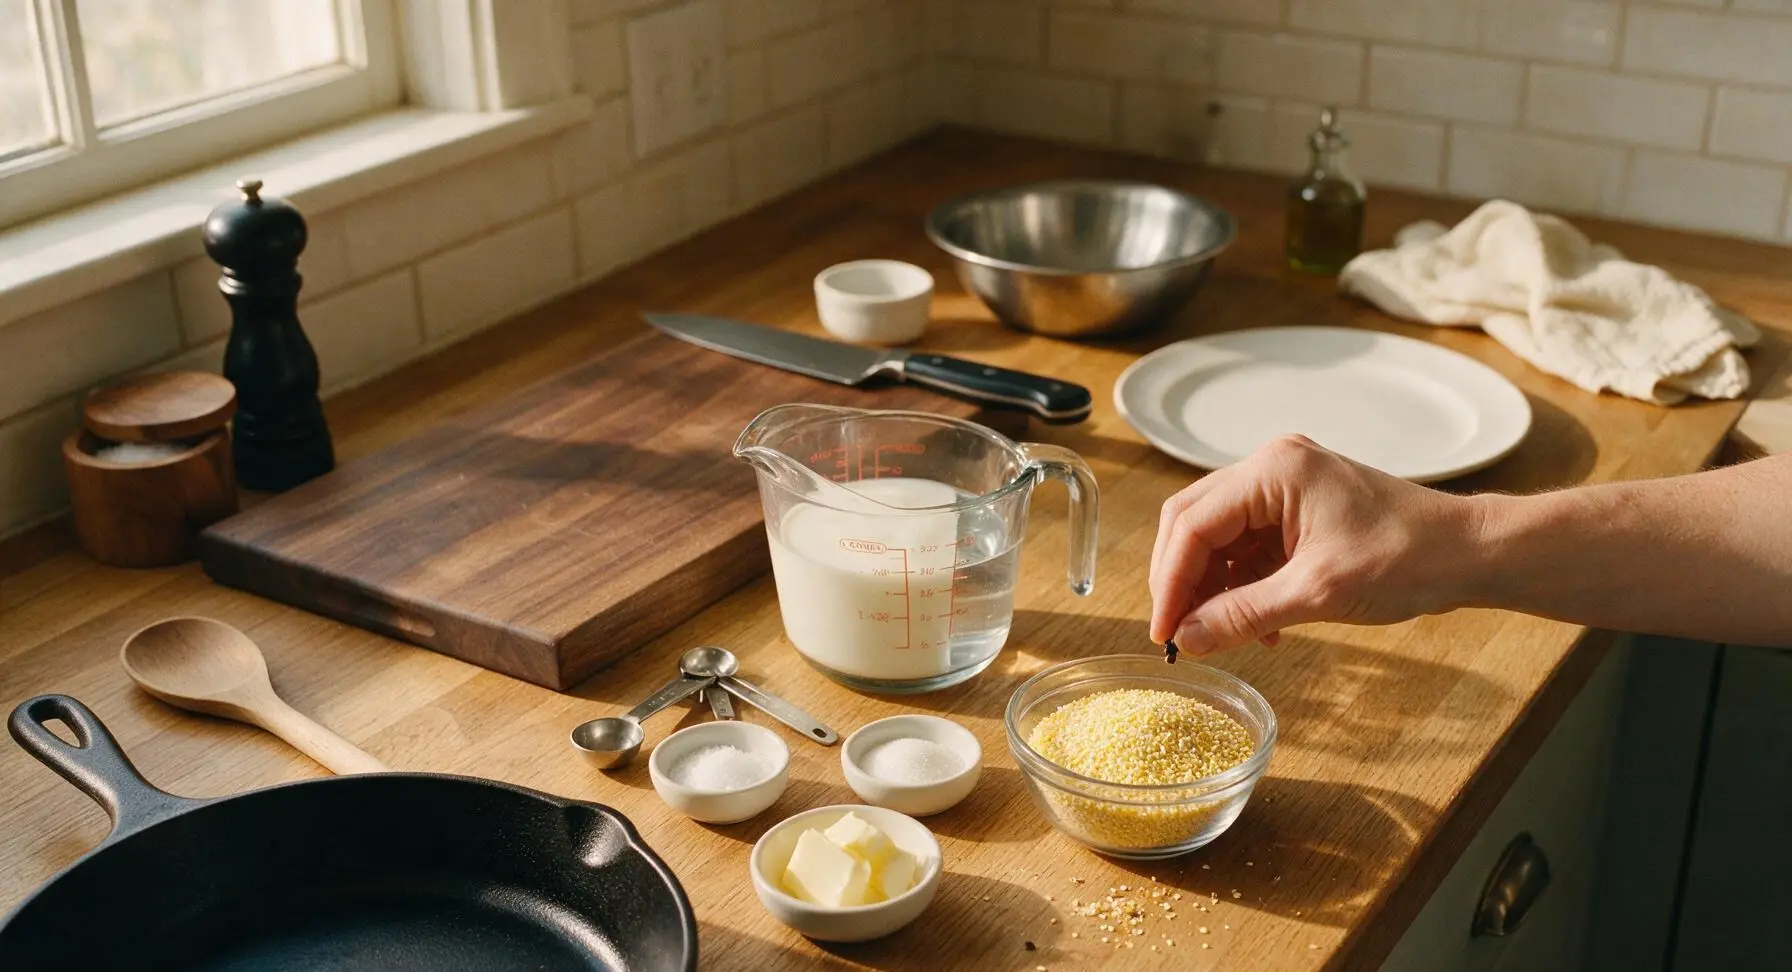
Use the 1L glass measuring cup to portion 3 cups whole milk and 1 cup filtered water; use the stainless steel measuring spoons to portion 1 teaspoon fine sea salt and optional 1 teaspoon granulated sugar into separate 6cm white pinch bowls. Place 2 tablespoons cut butter into the third pinch bowl, and pour 1 cup stone-ground grits into the small clear glass prep bowl, picking out any tiny dark hulls or debris from the dry grits. This prep takes 5 minutes total, and prevents scrambling to find ingredients while milk is heating, which is a common cause of scalded milk.
Heat Milk and Water
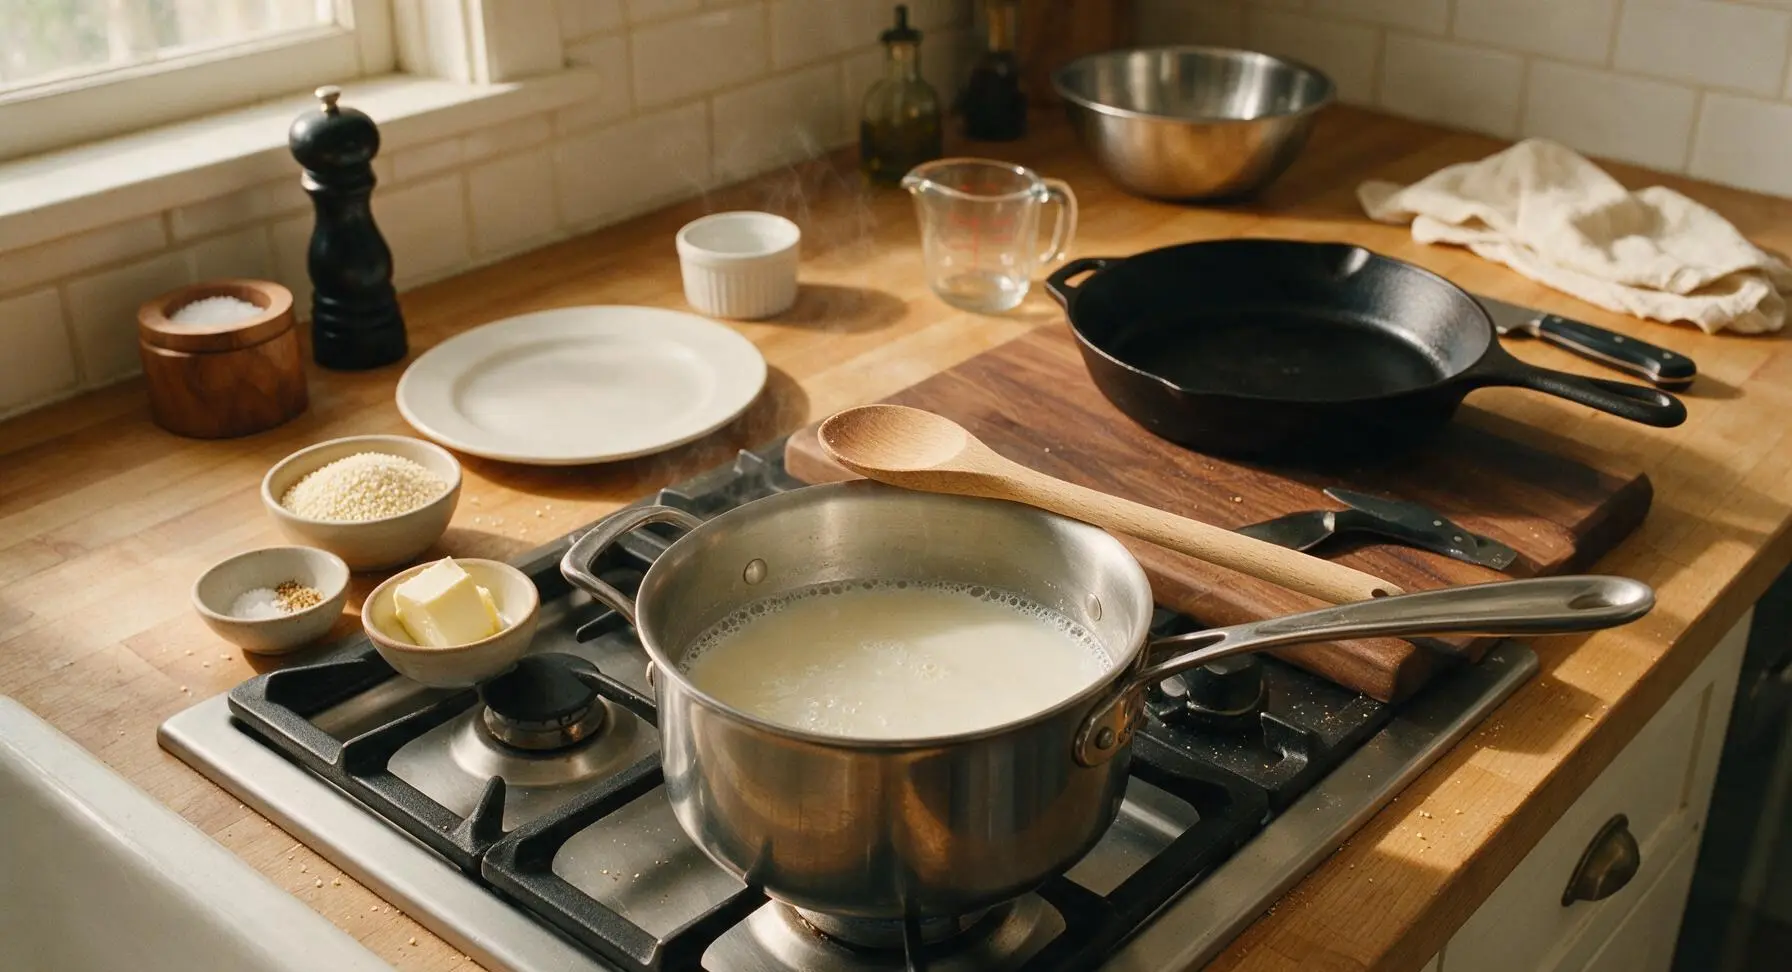
Place the 3-quart stainless steel saucepan on the front center stovetop burner over medium-low heat. Pour in the measured whole milk and filtered water, stirring once with the beech wood spoon to combine. Heat for 4-5 minutes until the liquid reaches a gentle simmer (180°F / 82°C), marked by tiny steady bubbles forming around the pan edge and light wispy steam rising. Do NOT bring to a rolling boil, as high heat will scald the milk and create a bitter, curdled texture.
Add Grits to Liquid
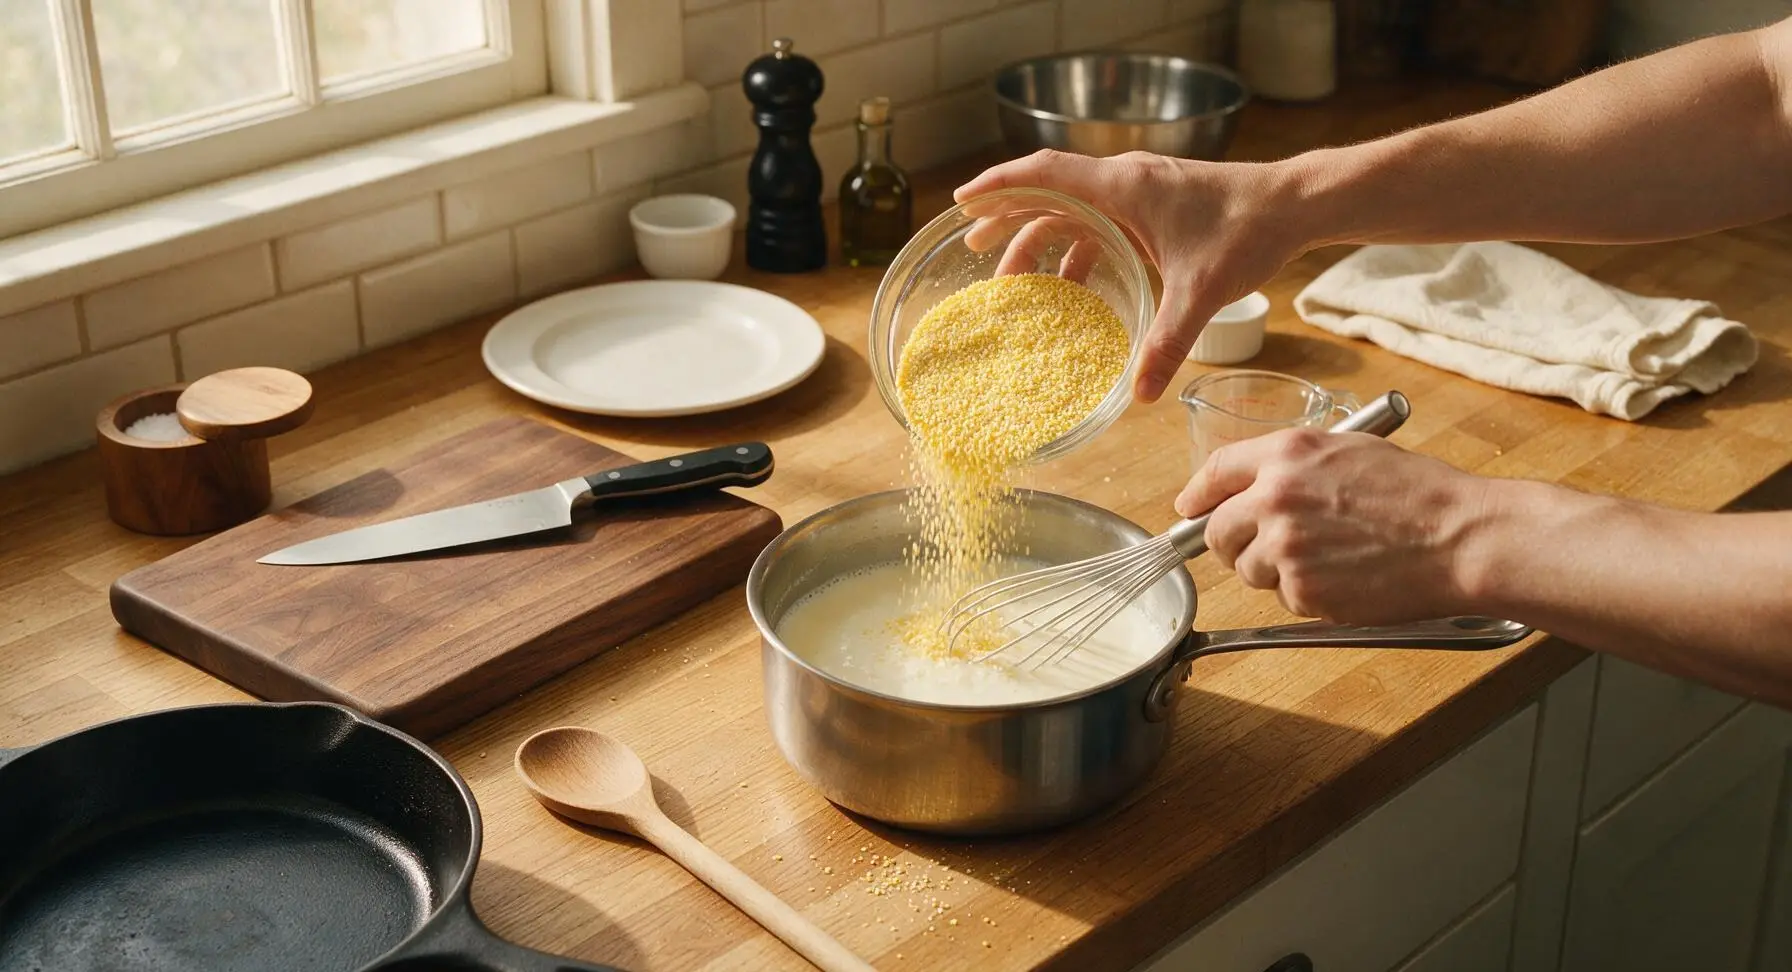
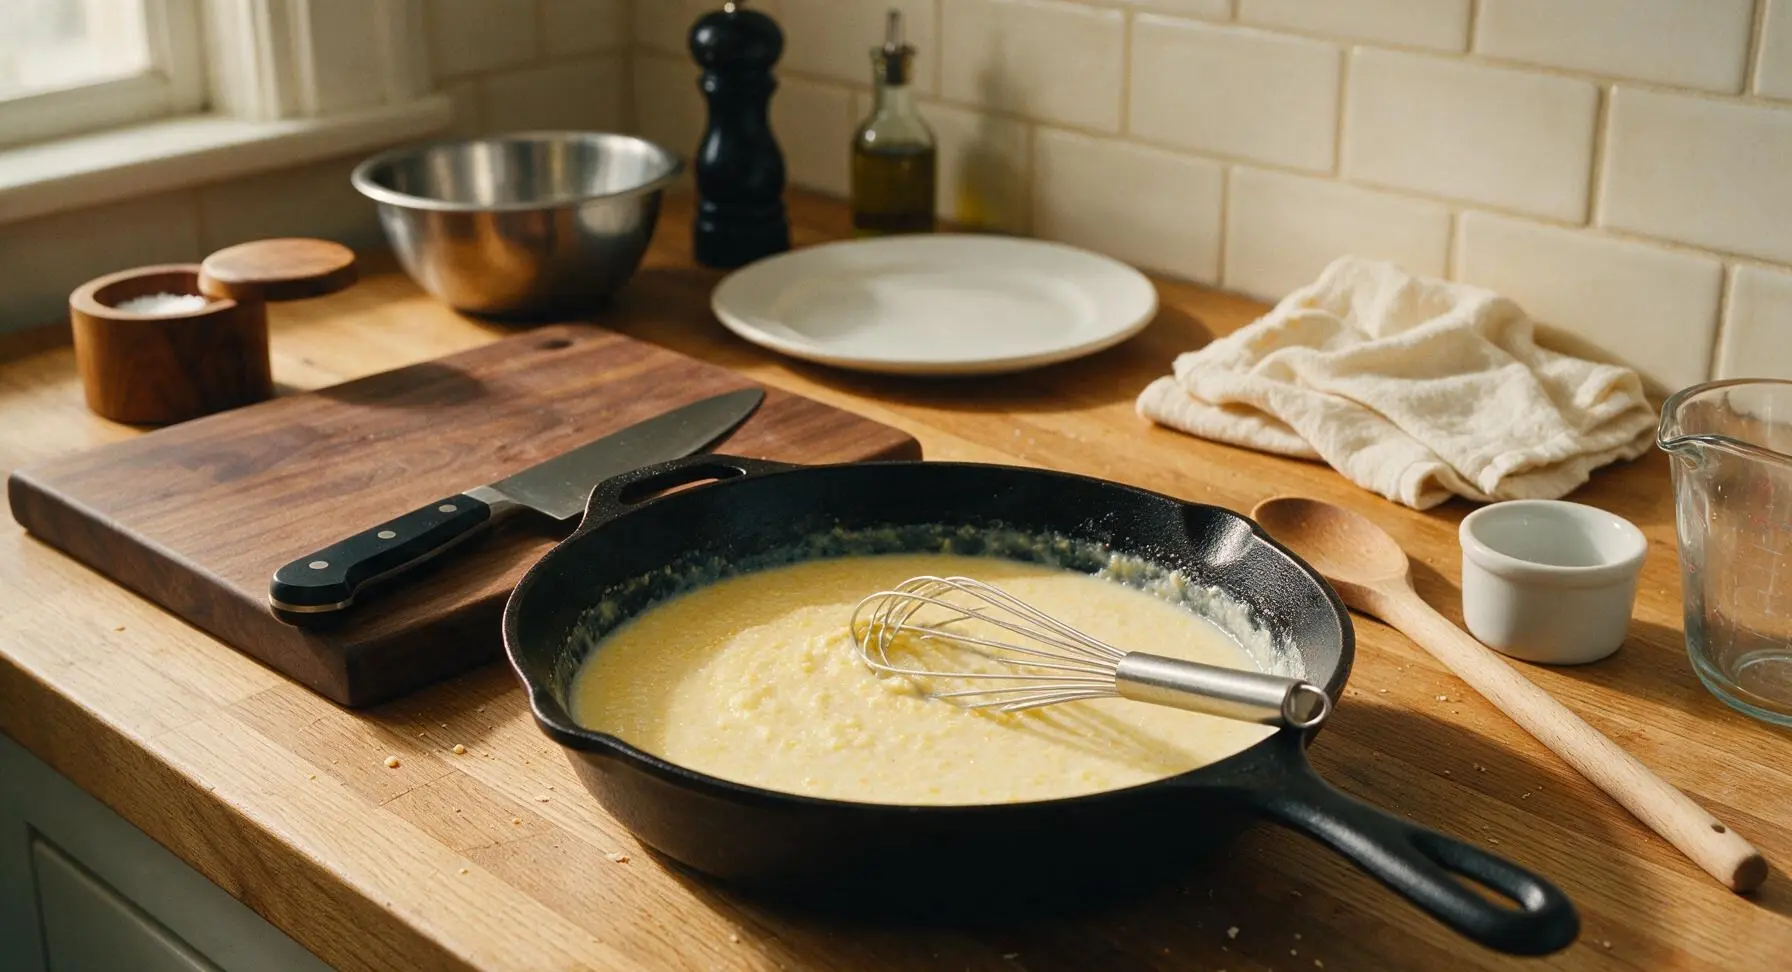
Once the milk mixture reaches a gentle simmer, slowly pour the dry stone-ground grits into the pan in a thin, steady stream, whisking constantly with the small stainless steel whisk as you pour. This slow pour and constant whisking prevents dry clumps from forming, the most common textural mistake in grits. Continue whisking for 30 seconds after all grits are added to ensure no dry clumps are stuck to the pan bottom.
Simmer Until Tender
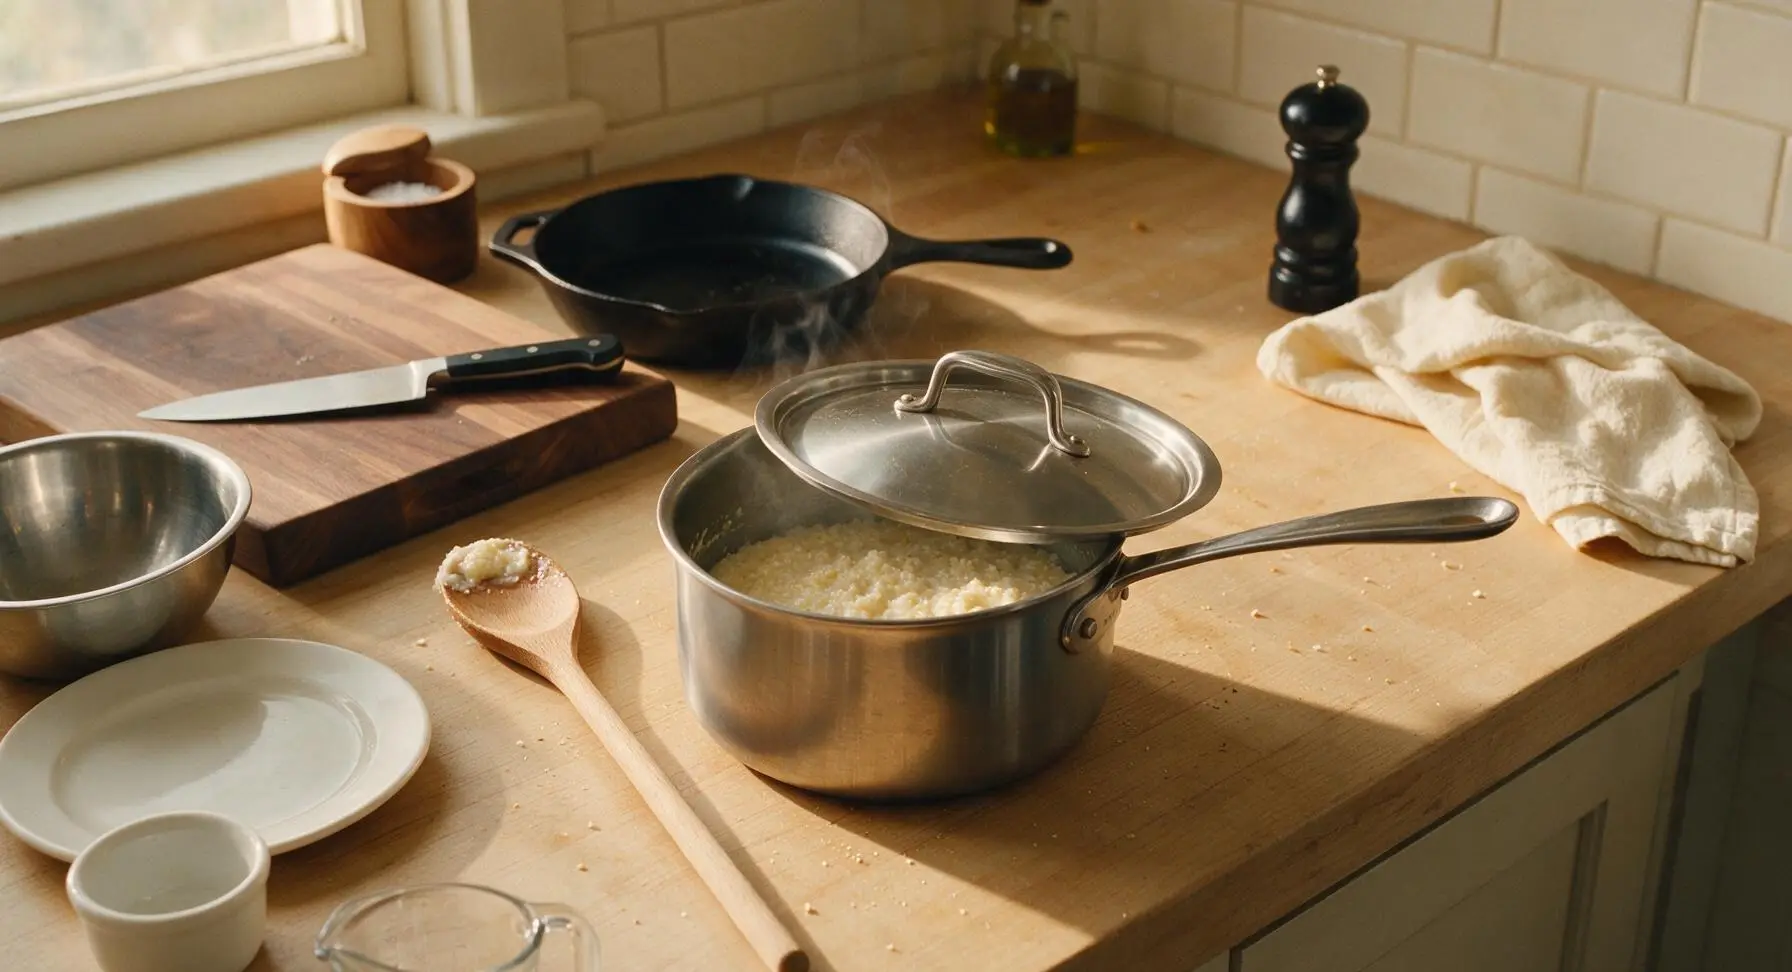
Reduce stovetop heat to the lowest setting, stir the grits once with the beech wood spoon, then set the stainless steel lid on the pan slightly ajar to allow steam to escape. Simmer the grits for 15 minutes, stirring thoroughly with the beech wood spoon every 3 minutes, making sure to scrape the entire pan bottom and corners to prevent sticking. The grits are done when they are completely tender (no gritty, crunchy bite when tasted) and thick enough to evenly coat the back of the wooden spoon.
Add Butter and Seasoning
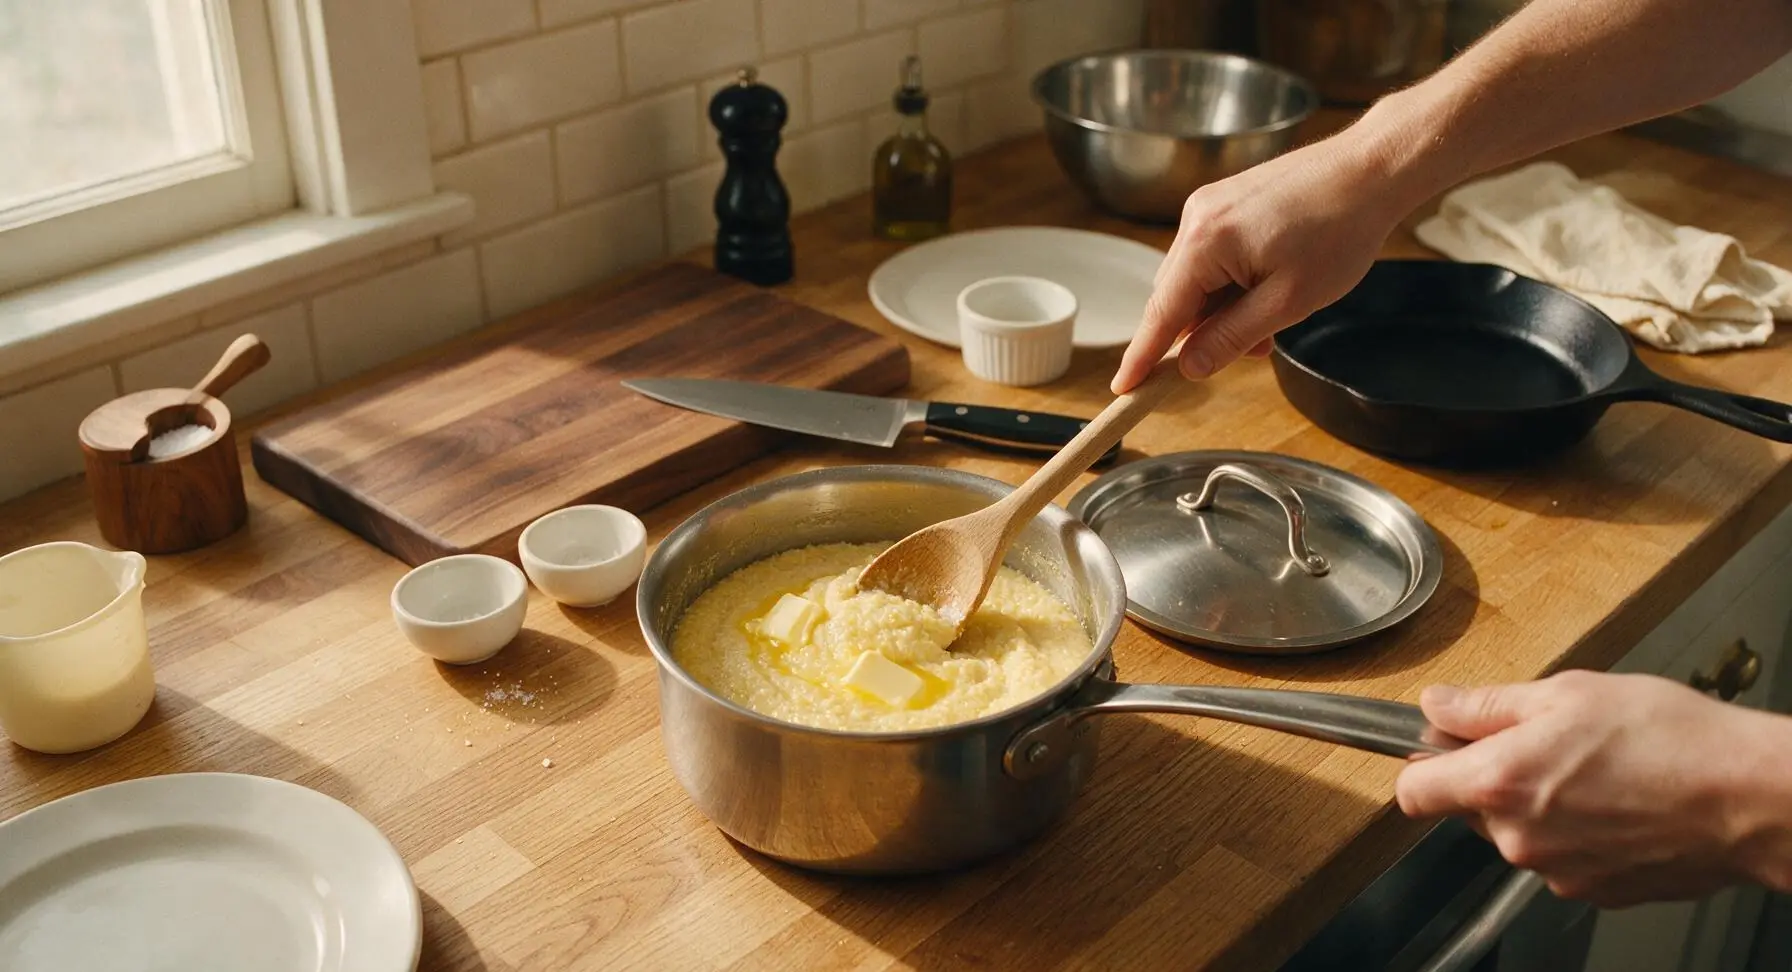
Once grits are fully tender, remove the pan from heat. Add the measured butter, sea salt, and optional sugar to the hot grits, stirring vigorously with the beech wood spoon for 1 full minute until the butter is completely melted and incorporated, and the grits take on a silky, glossy sheen. Taste a small spoonful and add a pinch more salt if needed; properly seasoned grits should taste rich and corny, not flat or bland.
Rest to Thicken
Let the grits rest, uncovered, for 2 full minutes off the heat. This short rest allows the corn starches to set slightly, creating the perfect creamy, spoonable texture. If the grits thicken more than you prefer during the rest, stir in 1-2 tablespoons of warm whole milk to loosen them to your desired consistency; do not add cold milk, as this will make the grits lumpy.
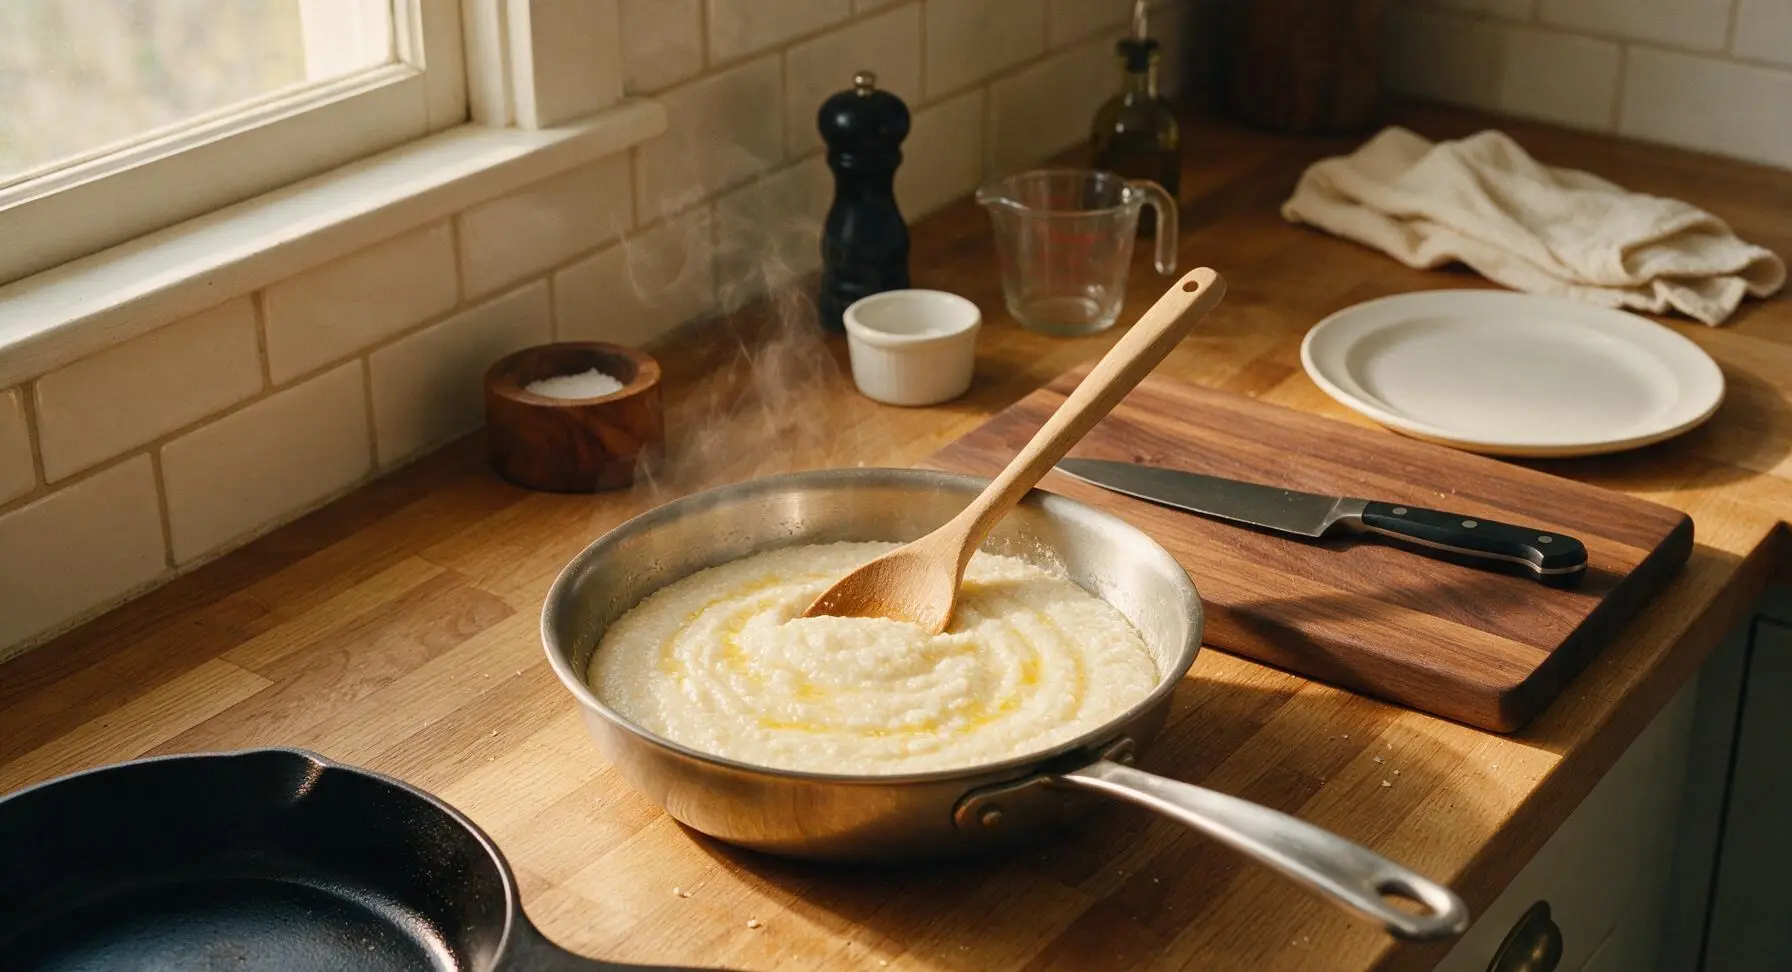
Plate and Serve Hot
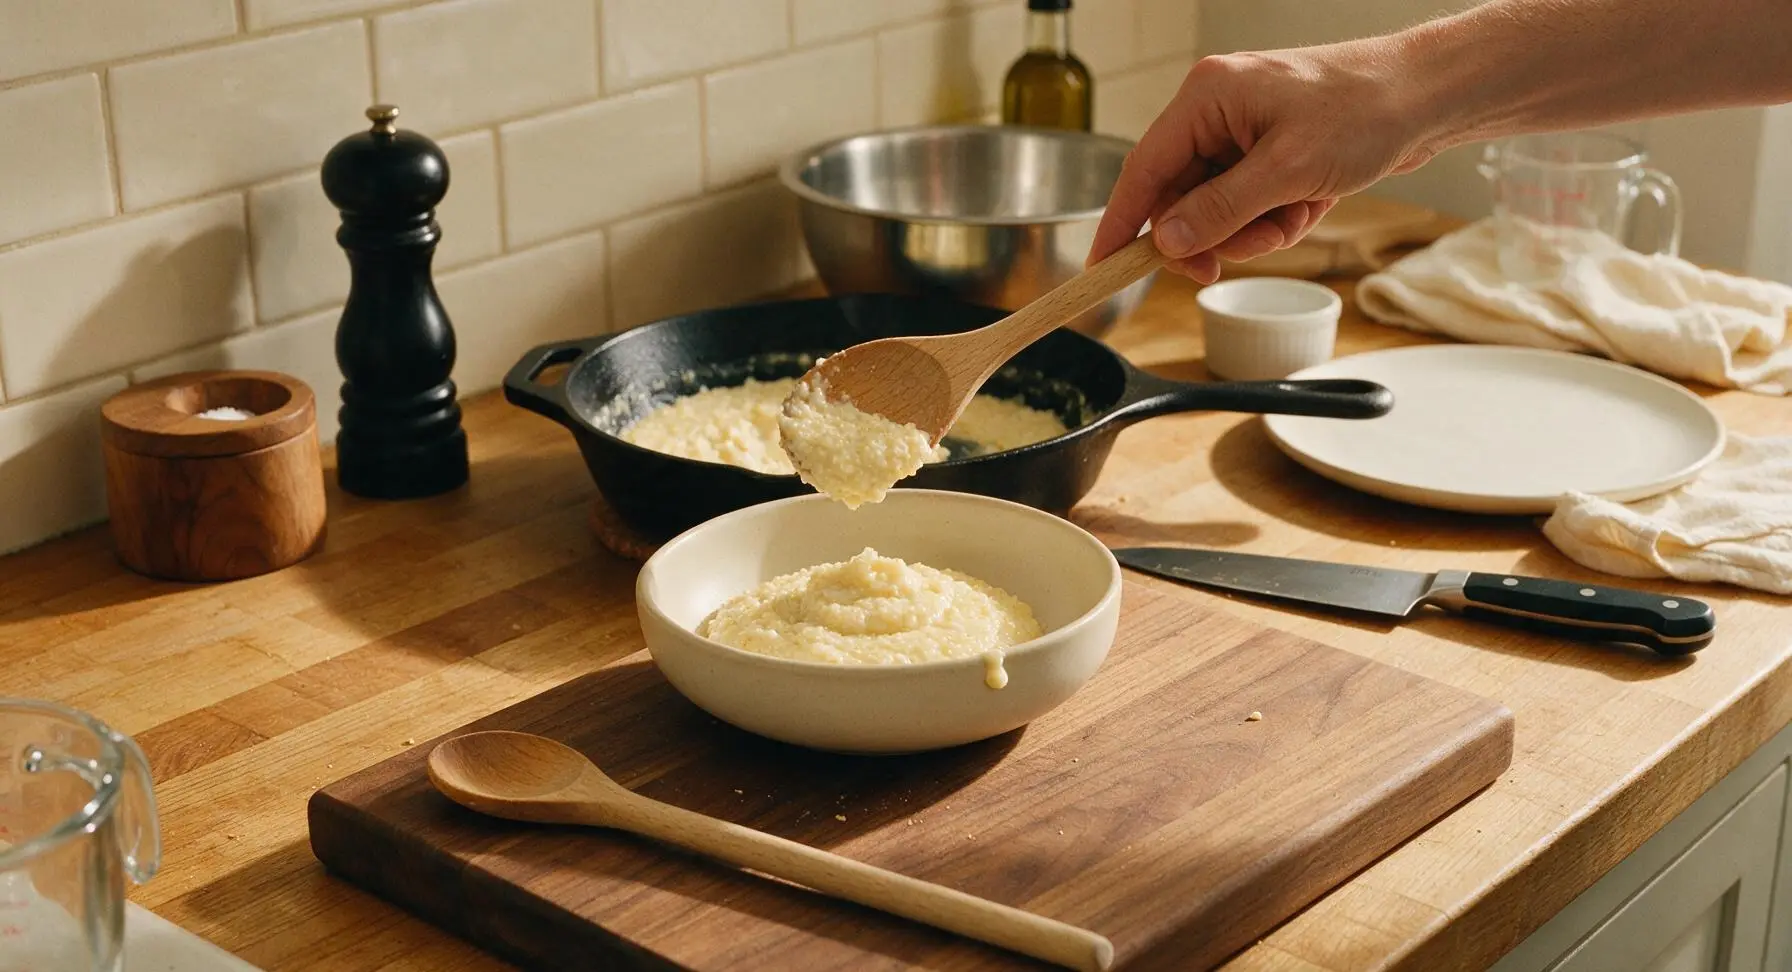
Scoop a generous 1-cup portion of the warm grits into the matte cream ceramic shallow cereal bowl, positioned in the center of the counter. Top with a light crack of freshly ground black pepper and a tiny fresh thyme sprig for garnish if desired. Serve immediately, as grits will thicken and develop a stiff, paste-like texture as they cool.
Tips
2.Keep heat at medium-low or low during the entire cooking process: milk scorches easily at high temperatures, creating burnt, bitter curds that stick to the pan bottom and ruin the smooth, sweet flavor of the grits. A gentle simmer is all that is needed to cook the grits evenly.
3.Always scrape the full bottom and corners of the pan when stirring every 3 minutes: grits are dense and settle quickly, even on the lowest heat, and will burn and stick to the pan if left undisturbed, creating dark, crunchy flecks in the otherwise smooth dish.






OMG these grits are SO good! I made them for Sunday brunch last weekend to go with my shrimp and sausage skewers and everyone went back for seconds. So creamy, no gritty texture at all, and it only took 20 minutes which is perfect when you’re juggling a million sides for a family meal. 10/10 will be making these on repeat.
Wait, this was my first time ever making grits and I didn’t mess them up??? I was so nervous they’d be lumpy or bland but following this recipe they came out perfectly creamy. I added a little extra cheddar on top for my dorm roommate and we ate them with fried eggs for dinner last night. Only thing — can I use oat milk instead of dairy milk if I’m making this for my lactose intolerant friend next week?
Game changer! I’ve been making grits with water my whole adult life because I thought milk would make them too heavy, but no — they’re so rich and velvety without feeling like a brick in your stomach. I brought a big batch to our neighborhood potluck last night and people were asking me for the recipe before I even set the dish down.
These are a meal prep staple for me now! I make a big batch on Sunday, portion them out into containers, and reheat them throughout the week with a little extra splash of milk when I warm them up. They hold up so much better than I thought they would — no weird clumpy texture after microwaving. Super easy, minimal cleanup, perfect for busy weekday breakfasts before work and school dropoff.
Okay, full transparency — I burn 90% of the things I try to cook, even toast half the time. My wife asked for creamy grits for our anniversary breakfast and I was terrified I’d ruin it, but this recipe was so straightforward! 20 minutes, super simple steps, no fancy ingredients, and they came out perfect. My wife cried a little, they were that good. My kids loved it too, they kept asking for ‘more of the creamy corn porridge’ lmao.
Made these for our church potluck last Sunday and they were a hit! I stirred in a little roasted garlic and parmesan right at the end to kick them up a notch, and they paired so well with the fried chicken and collard greens everyone brought. Only reason I’m not giving 5 stars is that I cooked them a little too long the first time and they got thicker than I wanted, but that was my bad for not watching the pot.
Wait has anyone tried making these with plant-based milk? I don’t do dairy but I’ve been craving creamy grits forever, and this recipe looks so easy I want to give it a shot. I’m thinking unsweetened soy milk might work best since it has a creamier texture than almond milk?
These are my new go-to carbo-load meal before long day hikes! They’re light but filling, give me sustained energy, and they’re so easy to whip up early in the morning before I hit the trail. I usually top mine with a little maple syrup and bacon bits for that sweet-savory kick. 10/10, way better than the instant grits I used to eat that left me hungry an hour later.
Honey, I’ve been making grits for over 50 years and I have to say, this recipe is just as good as the one my mama taught me. Using whole milk instead of water is the secret to that rich, creamy texture everyone chases, and the 20 minute cook time is spot on — no need to stand over the stove stirring for an hour like some recipes tell you. My grandkids devoured a whole bowl last time they visited, even the picky one who hates everything.
Total weeknight dinner win! I got home late from work last night, threw these together in 20 minutes, and served them with pan-seared chicken and roasted broccoli. It felt like a fancy comfort food meal but took barely any effort, and cleanup was a breeze because I only used one pot. My partner said it was better than the grits we had at that fancy brunch spot downtown last month.
So happy to find a gluten-free side dish that doesn’t taste like cardboard! I have celiac so I’m always hunting for easy sides I can bring to gatherings without having to explain my diet a million times. These grits are naturally gluten free, super creamy, and everyone eats them regardless of diet restrictions. Win win!
Made these to go with my smoked brisket last weekend and they were the perfect side. I stirred in a little of the brisket drippings at the end and oh my LORD, that was the best decision I’ve made all month. Smoky, creamy, salty — absolute perfection. Don’t sleep on adding a little meat drippings if you’re serving these with BBQ, trust me.
My kids are so picky and they go absolutely crazy for these grits! I make them at least once a week for breakfast, usually with a little scrambled egg and fruit on the side. I love that it only takes 20 minutes to make, so I can whip it up before school even on the mornings we’re running late and can’t find anyone’s backpacks. Total mom win.
Hosted a girls’ brunch at my apartment last weekend and served these grits alongside mimosas, avocado toast, and fresh fruit. All my friends were raving about how creamy they were, and three of them texted me the next day asking for the recipe. I added a little crumbled goat cheese and chives on top for a fancy touch and it looked like I spent hours in the kitchen, when it only took 20 minutes. Obsessed!
I’ve been making grits with water for decades to cut calories, but decided to treat myself and try this recipe with 2% milk like it says. Let me tell you, the difference is night and day. It’s so much creamier and more flavorful, and it’s not even that much higher in calories if you use low-fat milk. I’ll never go back to water grits again, that’s for sure.