
hamilton beach sandwich maker
intro
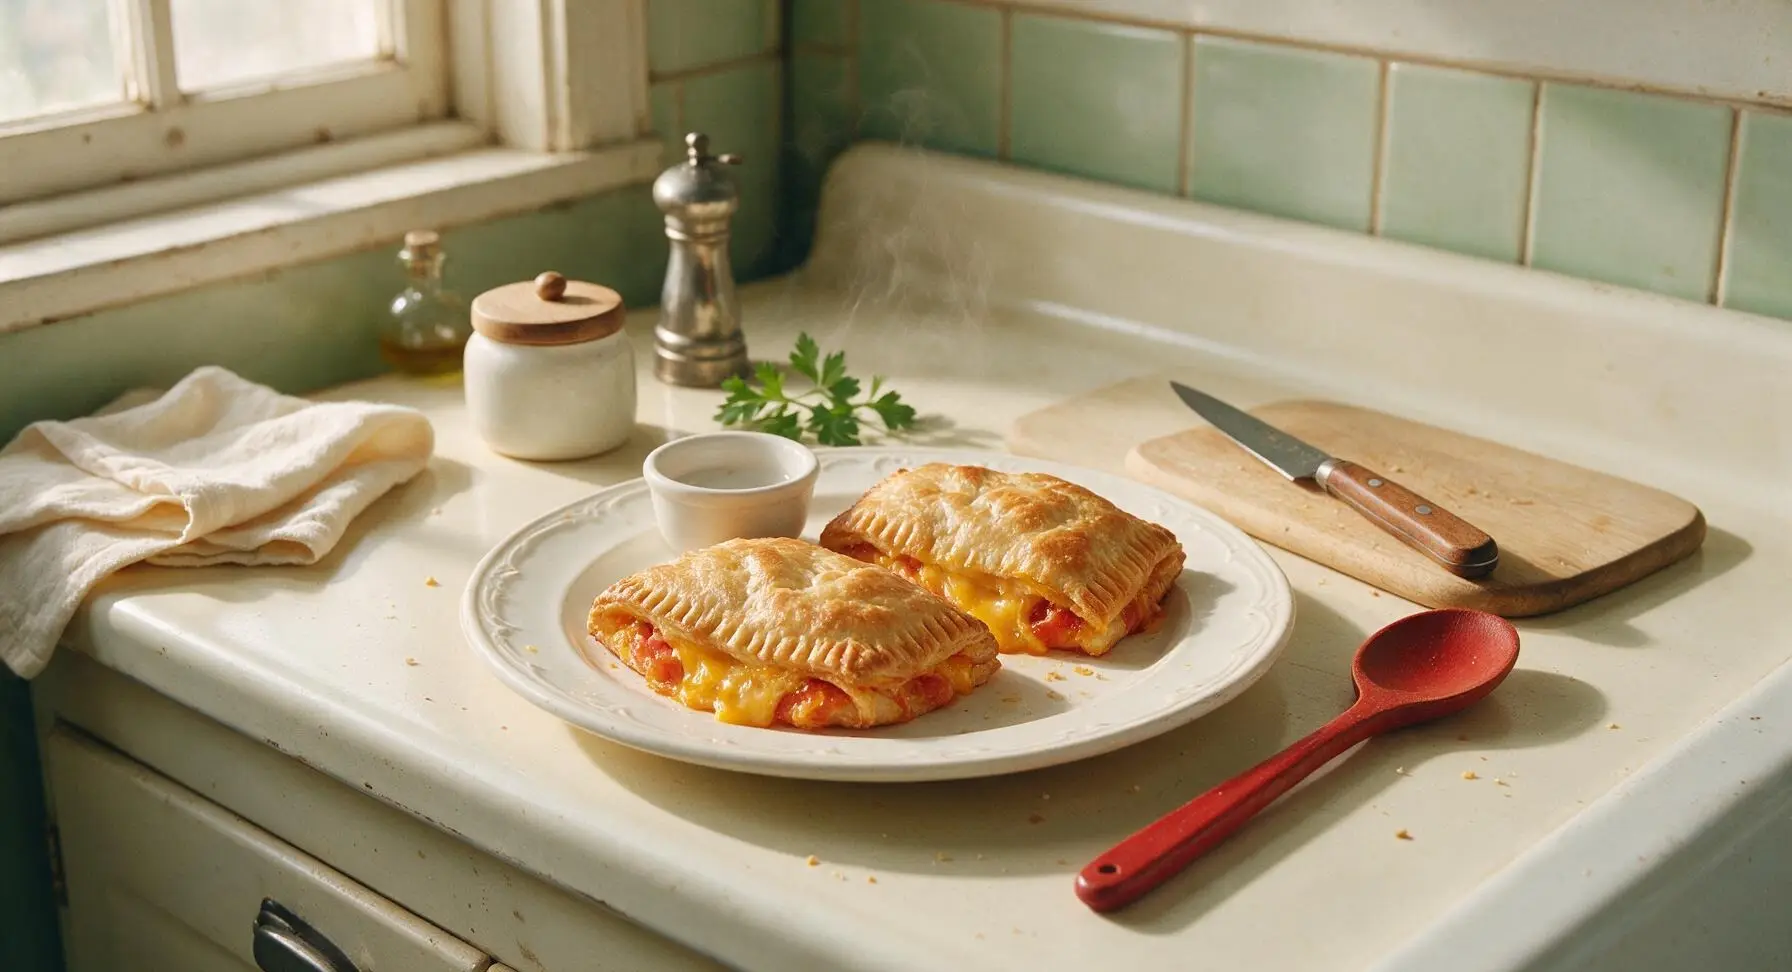
Crispy, crimped golden ham and cheese melts with juicy tomato and oozing cheddar, made in minutes in your Hamilton Beach sandwich maker for a no-mess, cozy hot meal.
Ingredients
Steps
Preheat Sandwich Maker
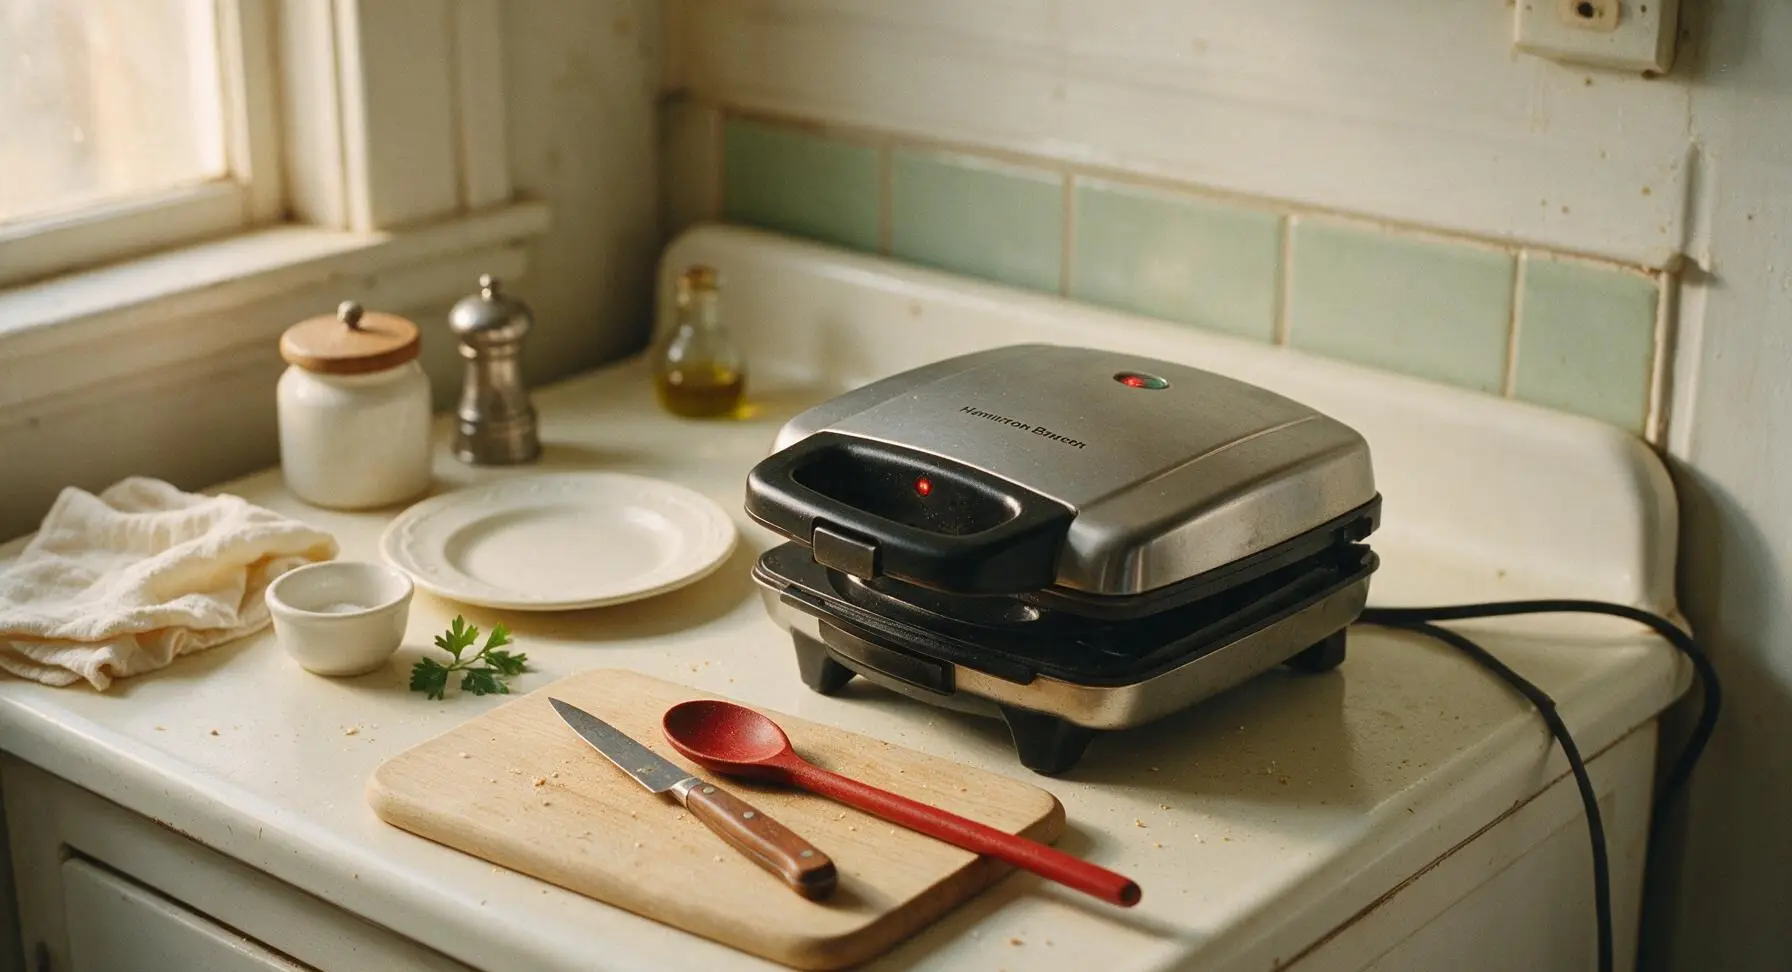
Plug in the Hamilton Beach sandwich maker, close the lid fully, and preheat for 3 minutes until the indicator light shows it has reached cooking temperature (around 375°F). Do not spray the non-stick plates with cooking spray at this stage, as excess spray can build up on the surface over time.
Butter Bread Slices
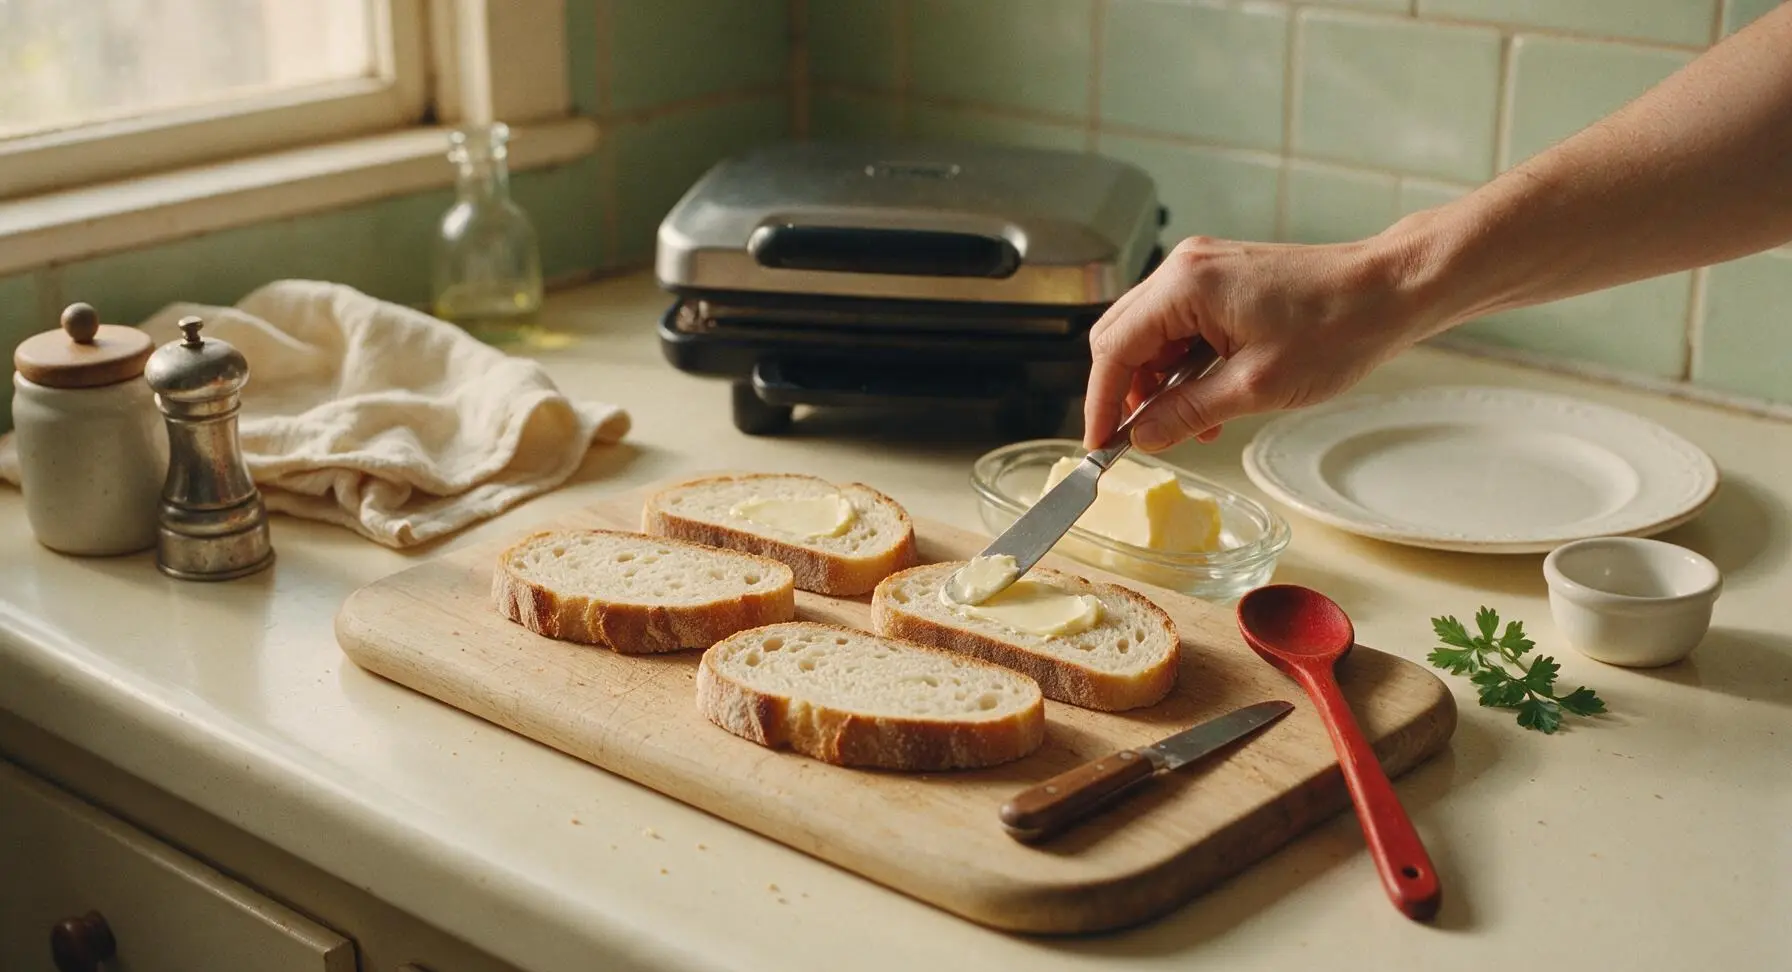
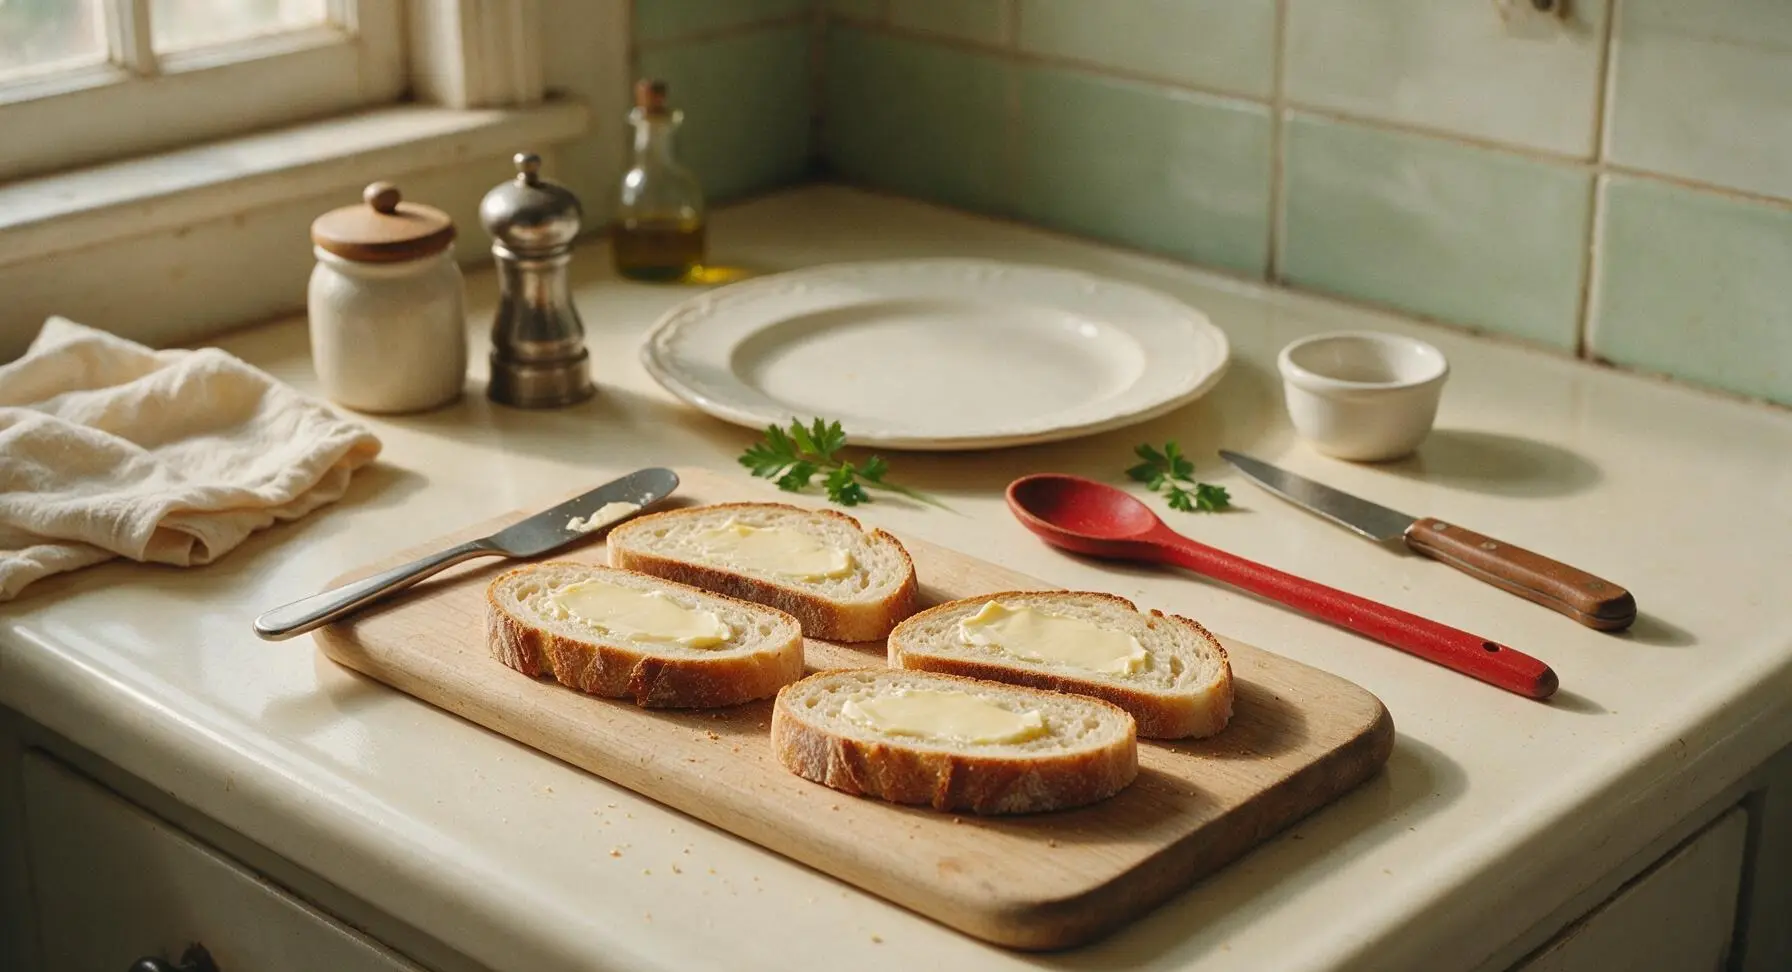
Lay all 4 slices of sourdough bread flat on the bamboo cutting board. Use the stainless steel butter spreader to spread 1/2 teaspoon of softened butter evenly across one entire side of each bread slice, spreading all the way to the edges for even browning. The buttered side will face outward against the hot plates to create a crispy, golden crust.
Layer Sandwich Fillings
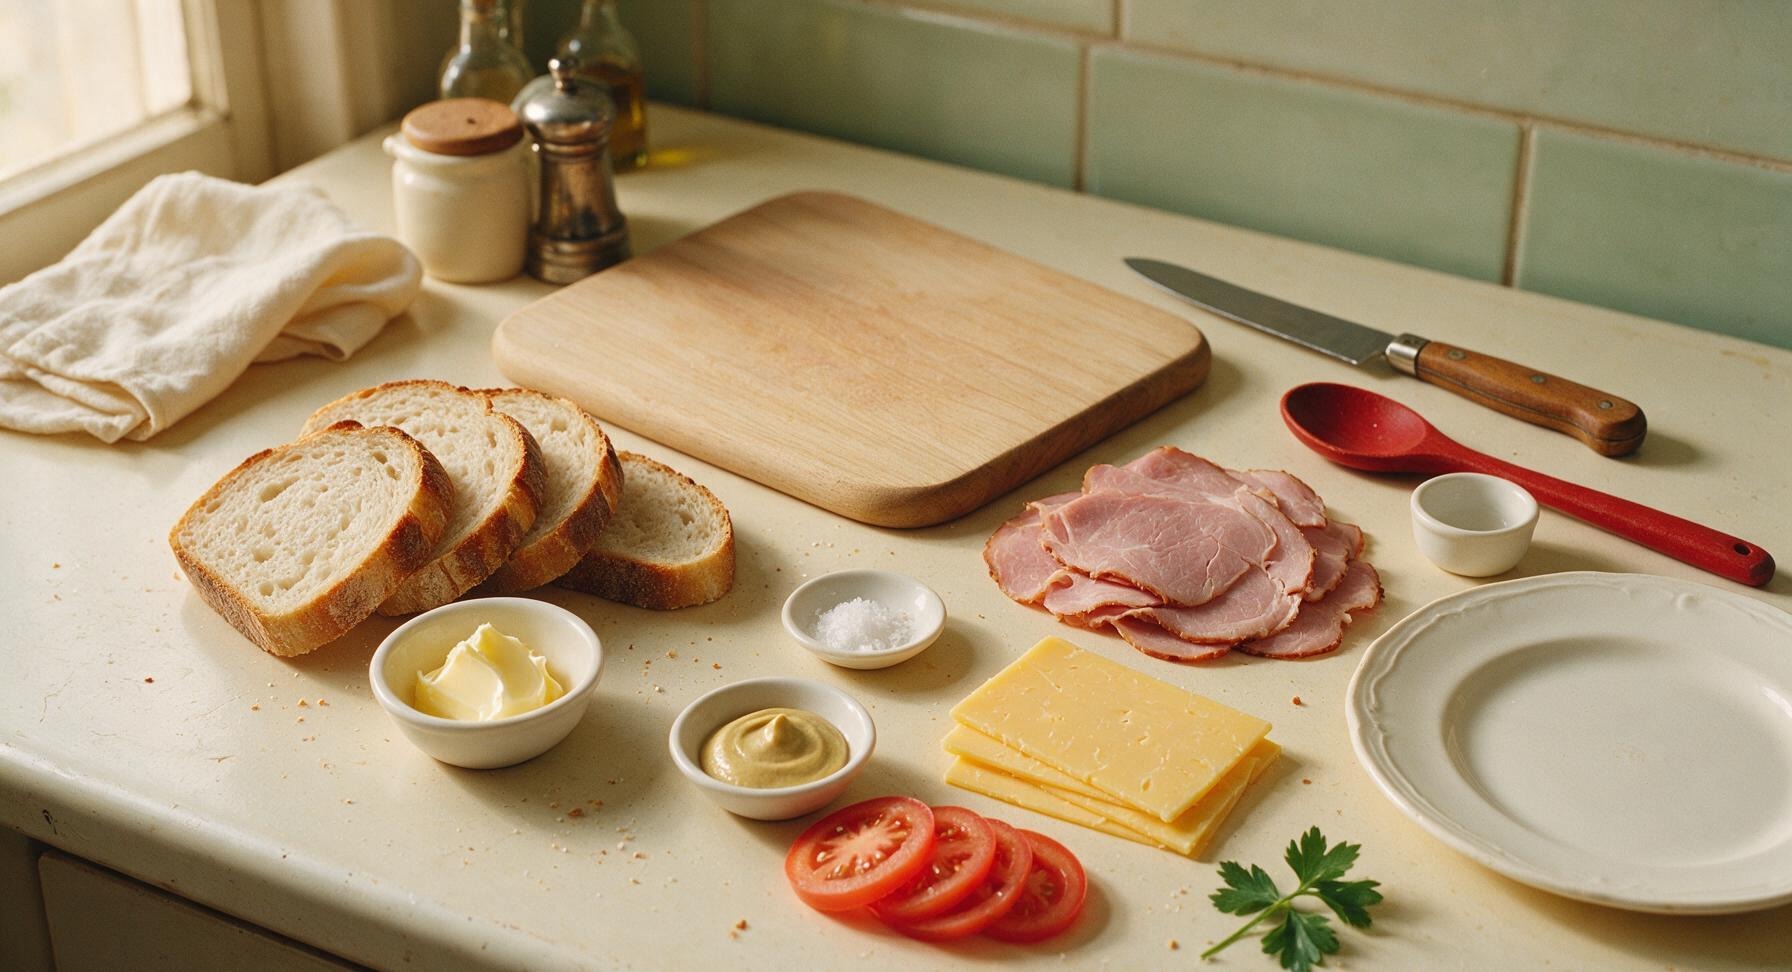
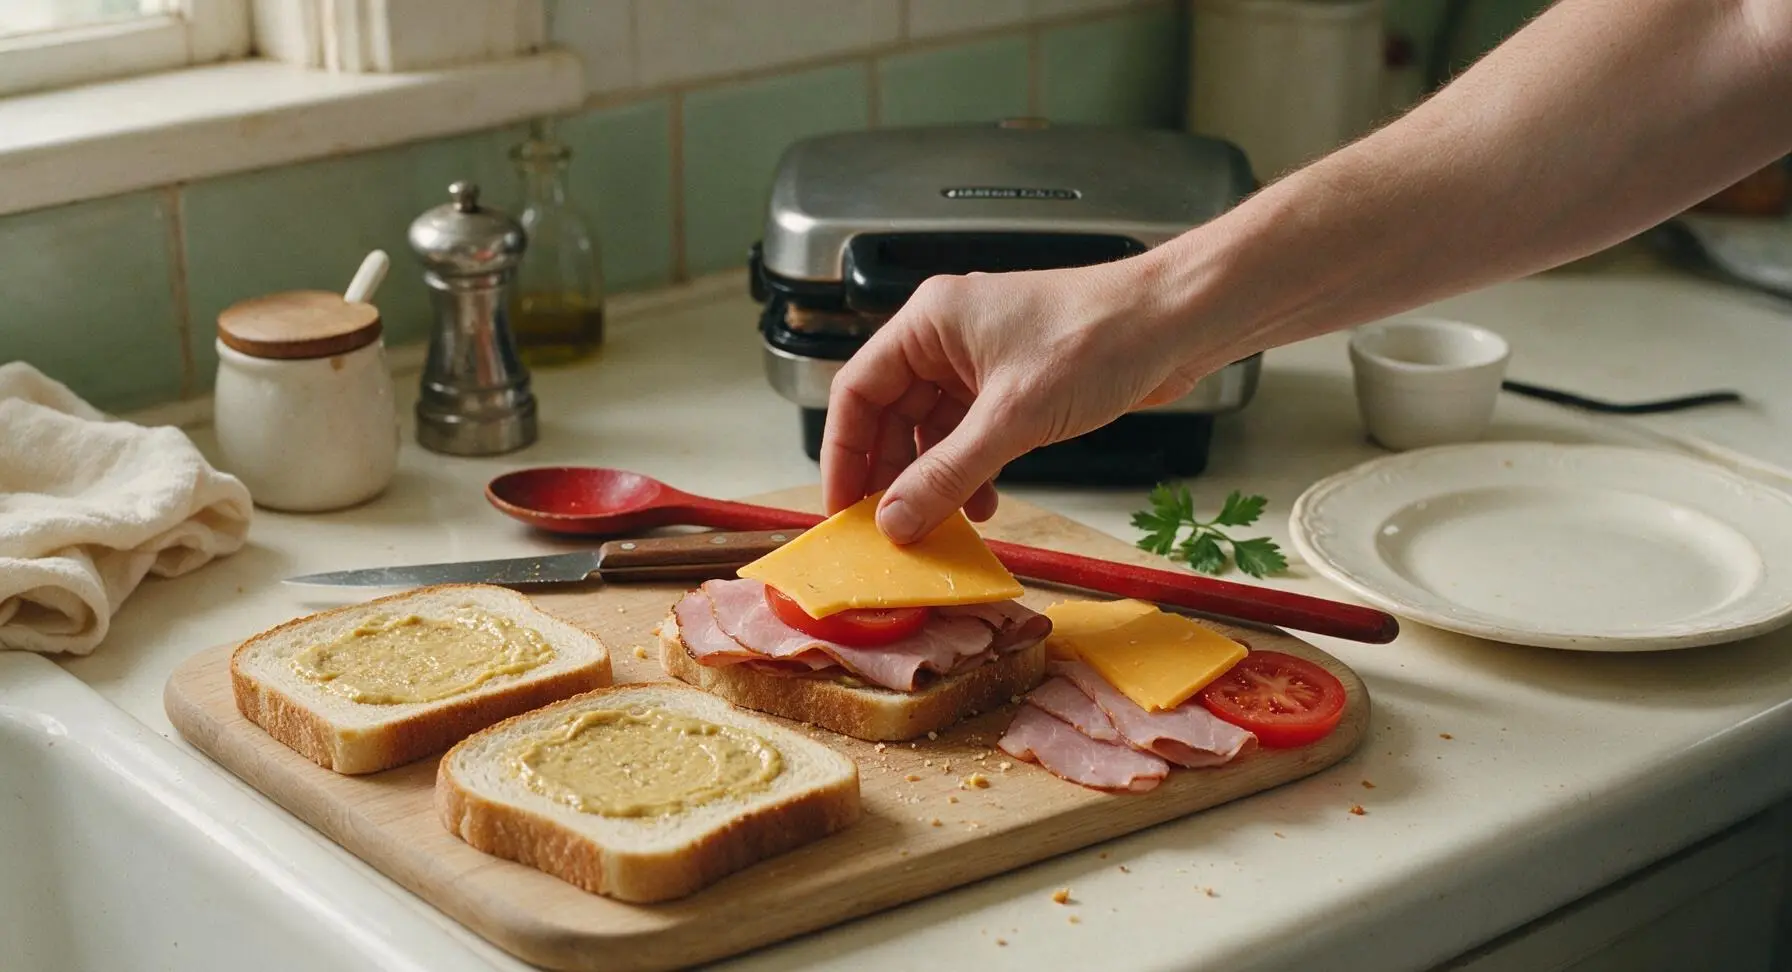
Flip two of the bread slices so the unbuttered side faces up. Spread 1/2 teaspoon of Dijon mustard evenly across each unbuttered surface. Layer 2 ounces of thinly sliced smoked ham, 1 ounce of thinly sliced sharp cheddar, and one patted-dry 1/4-inch thick tomato slice on each of the two mustard-coated slices. Sprinkle a tiny pinch of flaky sea salt over the tomato, then top with the remaining two bread slices, buttered side facing up, to form two evenly stacked complete sandwiches. Press gently on the top of each sandwich to help the layers adhere.
Load Sandwiches Into Maker
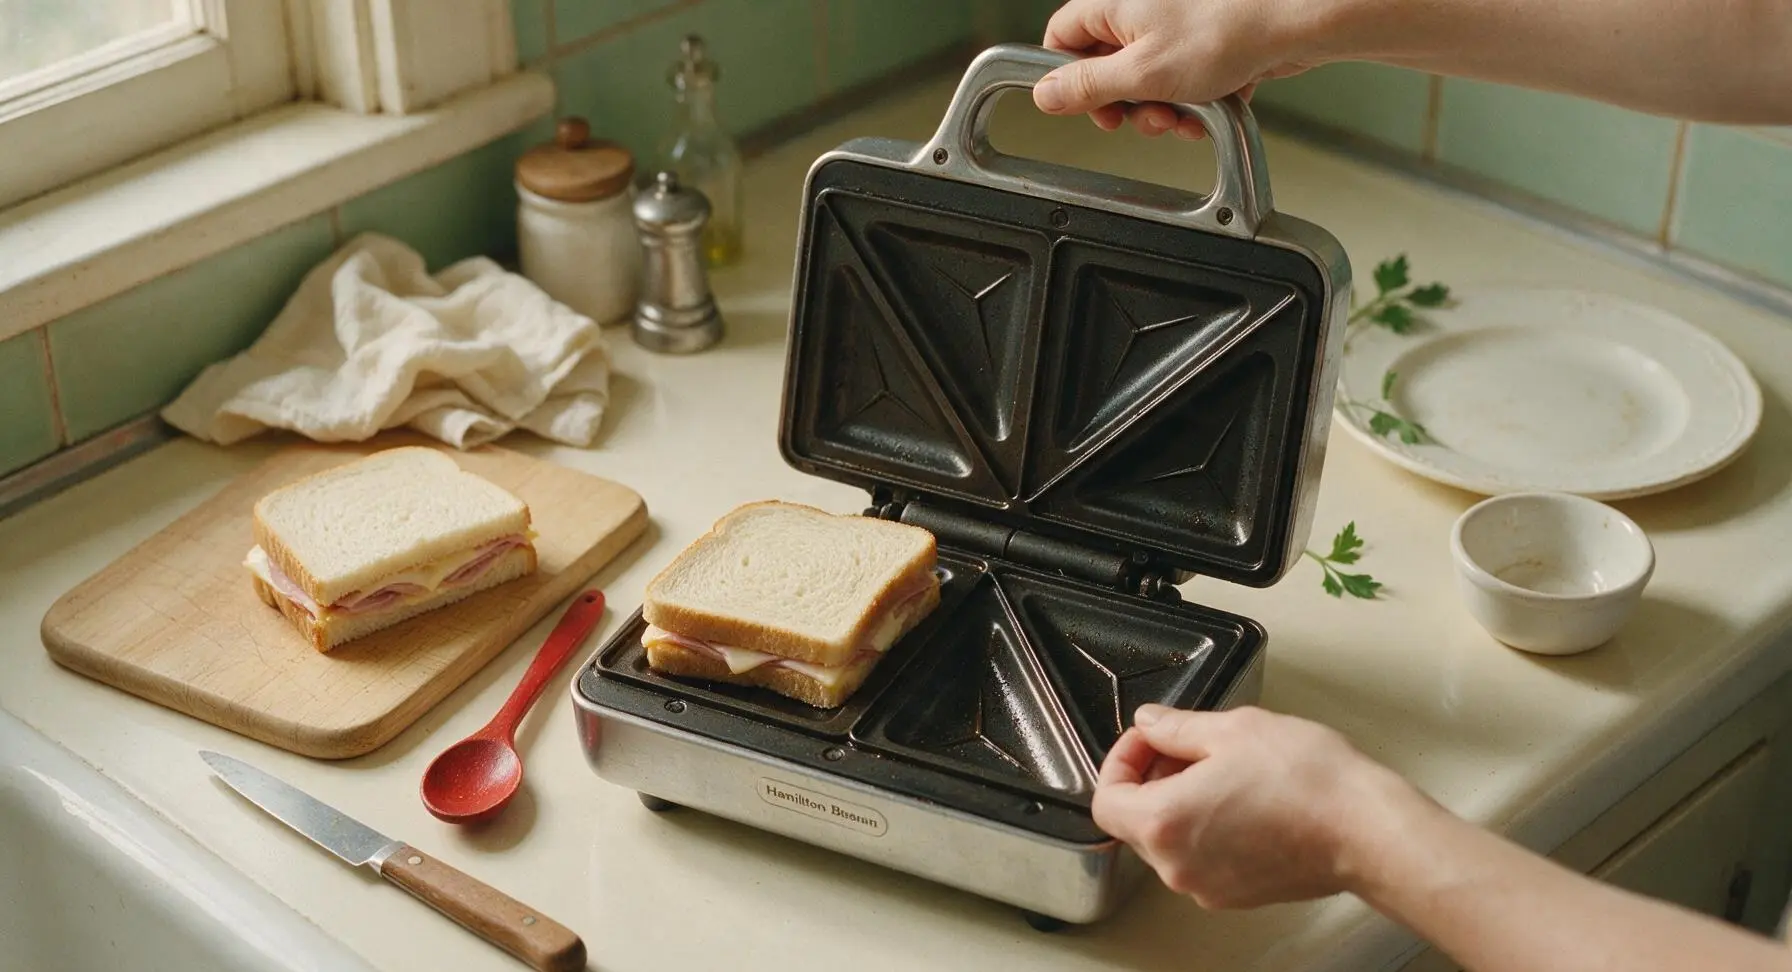
Carefully lift the hot lid of the preheated Hamilton Beach sandwich maker using the cool-touch handle. Place one assembled sandwich directly onto each of the two triangular non-stick plate sections, aligning the bread so the edges sit within the raised crimping ridge. Do not overstuff the sandwiches, as excess filling will squeeze out during cooking and burn on the hot plates.
Cook to Golden Crisp
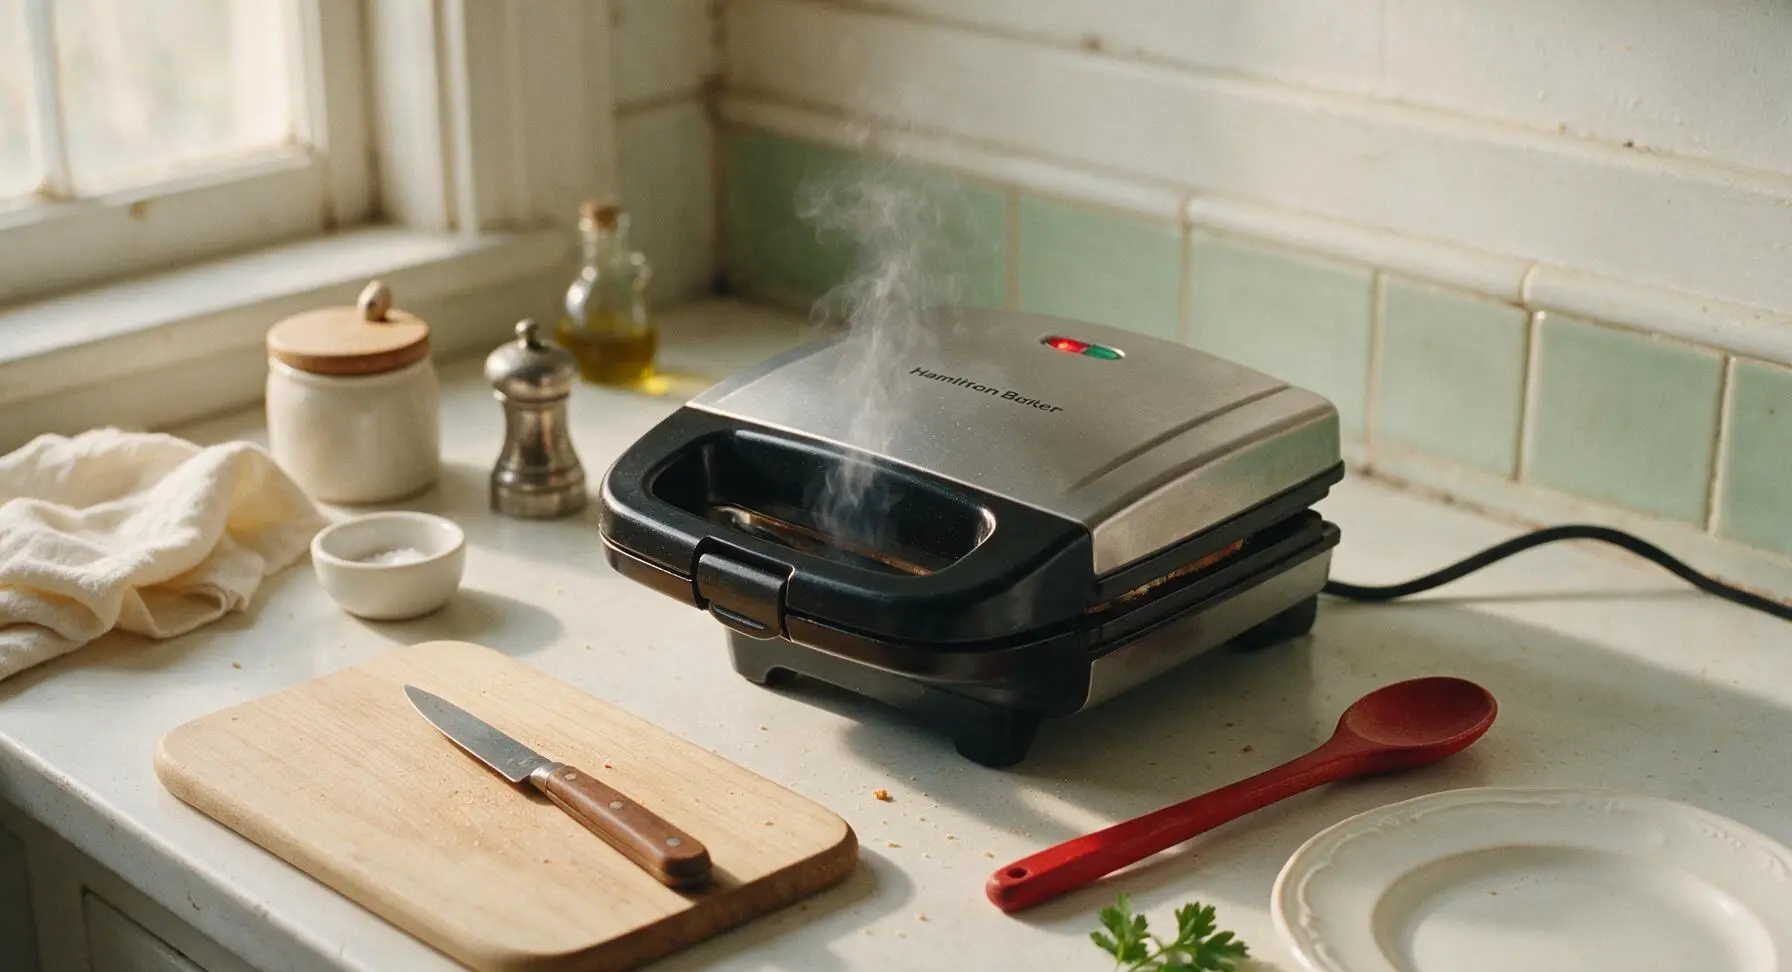
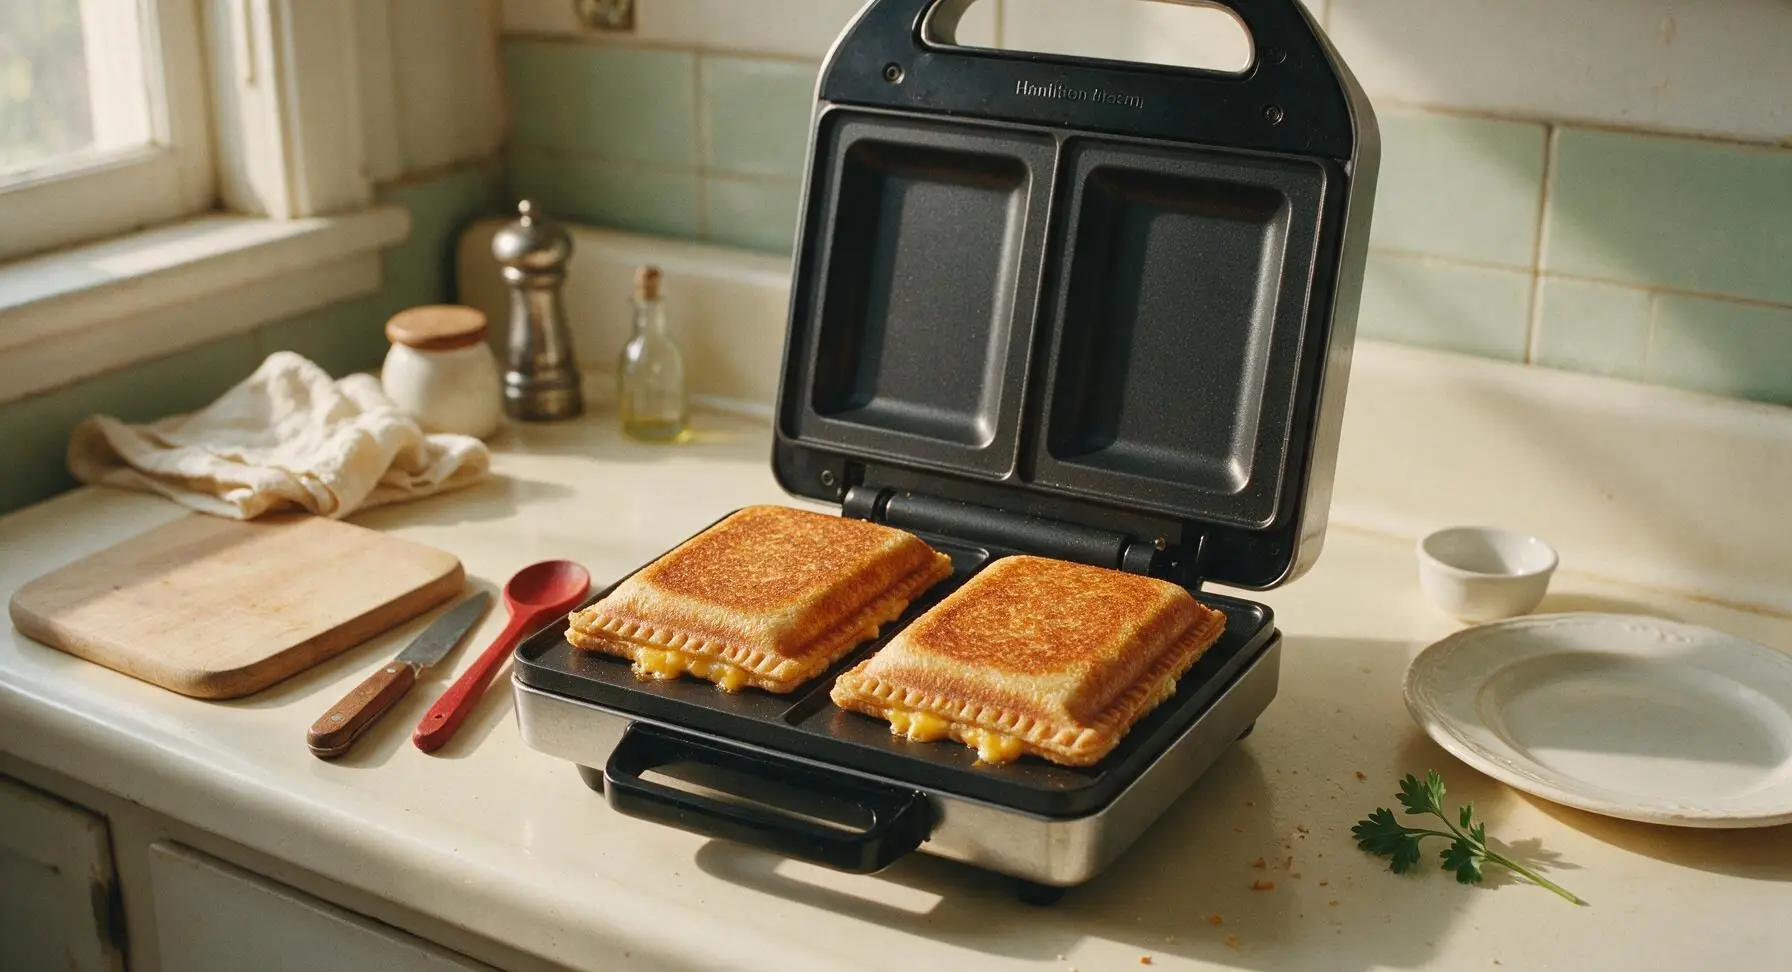
Close the sandwich maker lid fully, latching the handle gently if your model has a safety latch. Cook for 4 to 5 minutes, resisting the urge to open the lid for the first 3 minutes (opening early can cause cheese to stick and tear the bread). The sandwiches are done when the bread is deep golden brown, the cheese is fully melted, and the edges are tightly crimped sealed. Check for doneness at 4 minutes; if the bread is pale gold, cook for 1 additional minute.
Remove and Rest Sandwiches
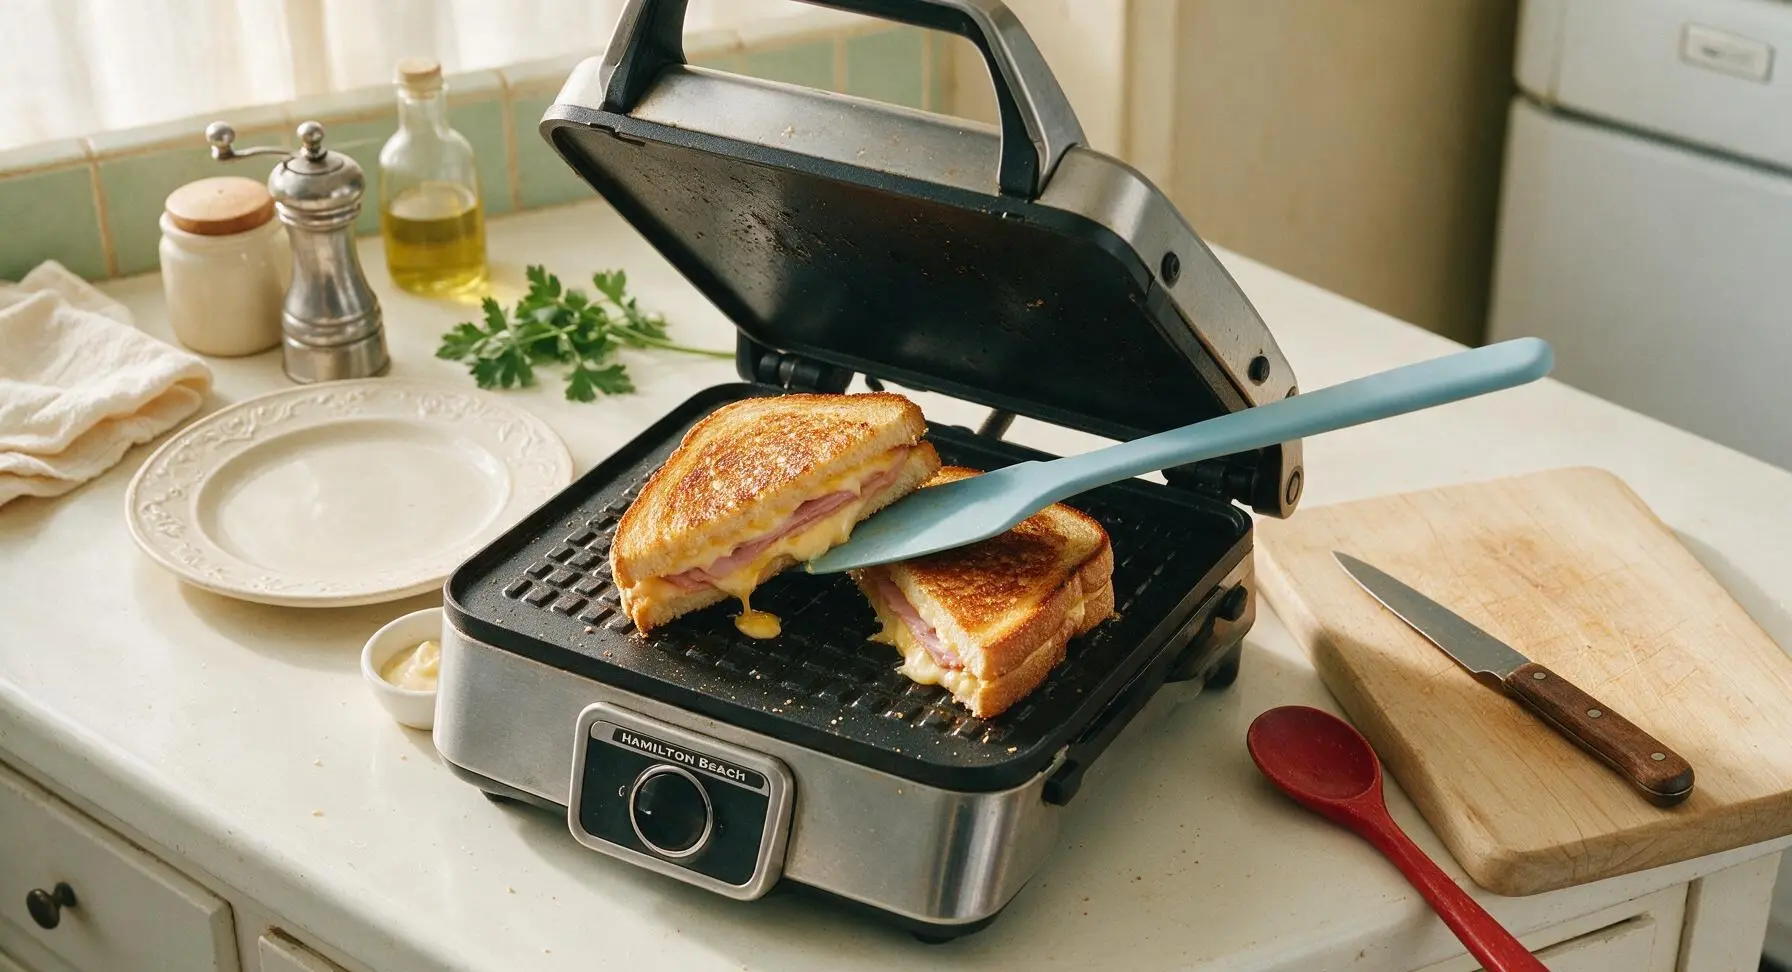
Use the flexible light blue silicone spatula to carefully lift both cooked sandwiches out of the maker, transferring them to the top matte off-white ceramic plate. Let the sandwiches rest for 1 full minute to allow the melted cheese to set slightly, so it does not gush out when you cut into the sandwiches.
Cut and Plate Sandwiches
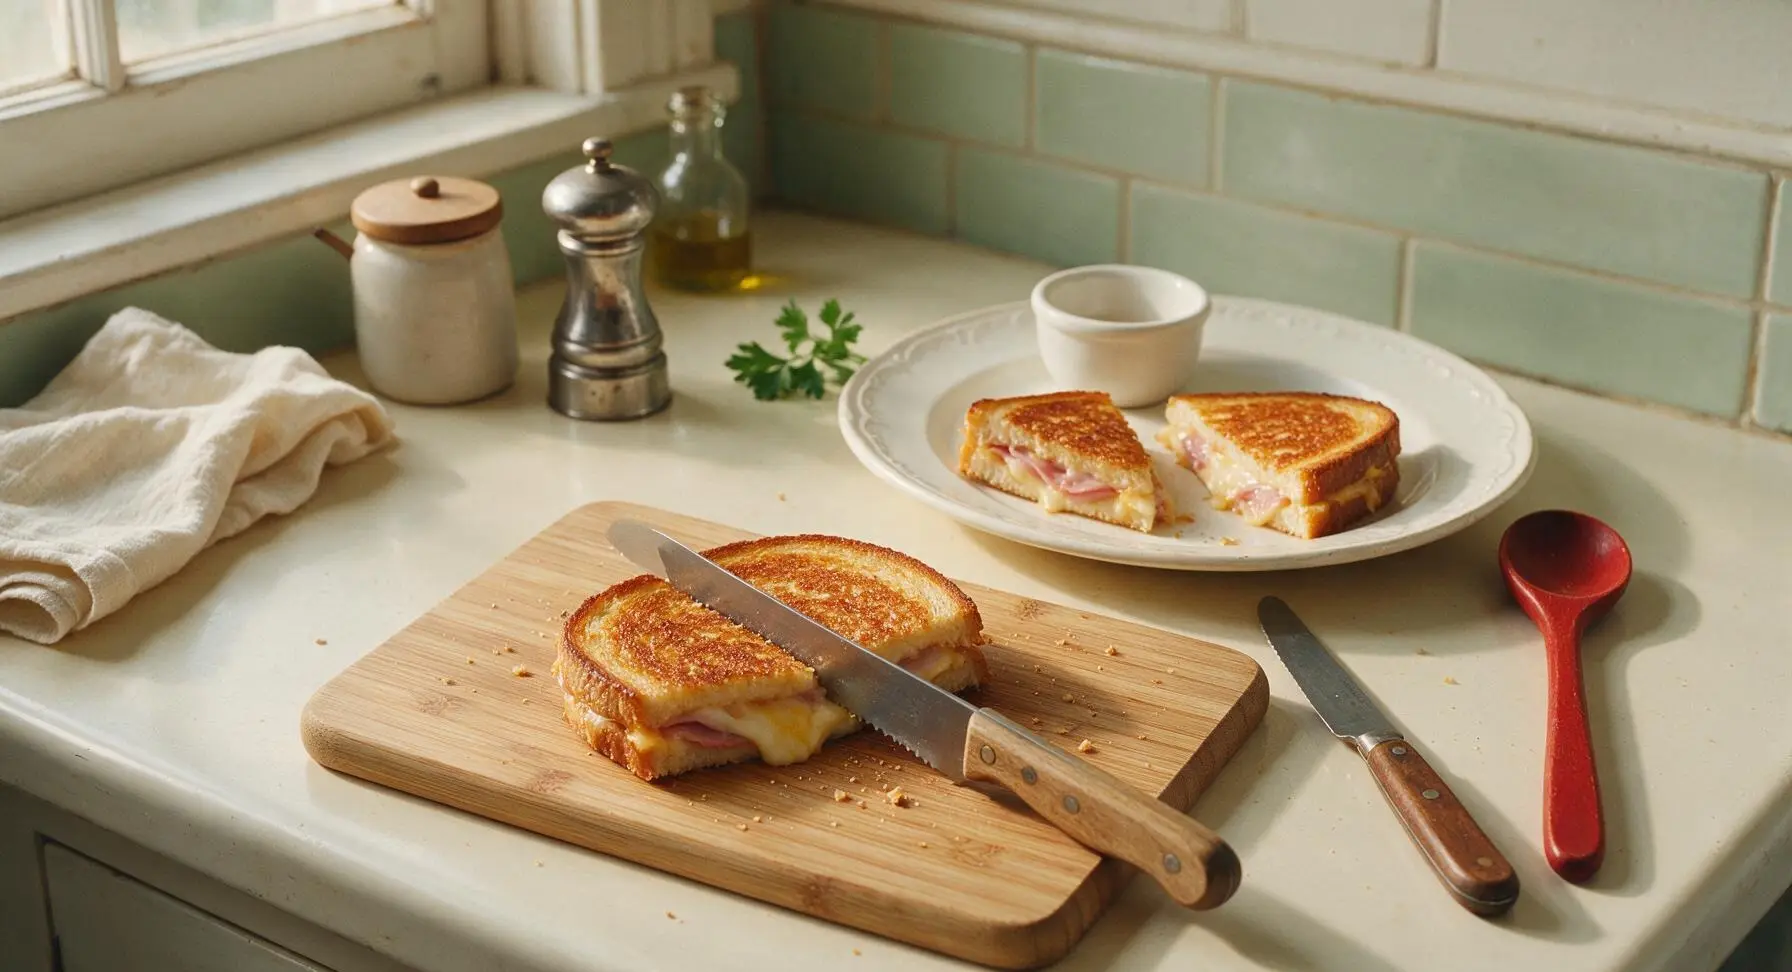
Transfer the rested sandwiches one at a time to the bamboo cutting board, use the serrated oak-handle sandwich knife to cut each sandwich diagonally across the crimped seal, creating two triangular halves per sandwich. Arrange the cut halves overlapping slightly on the matte off-white ceramic plate, and serve immediately while hot and crispy.
Tips
2.Skip non-stick cooking spray on your Hamilton Beach sandwich maker plates: aerosol spray propellants leave a sticky, hard-to-clean residue on non-stick surfaces over time; the thin layer of butter on your bread provides all the non-stick release you need.
3.Do not overstuff sandwiches: the raised crimping ridge on the appliance plates is designed to seal fillings inside, but overfilling will cause melted cheese and ham to squeeze out onto the hot plates, burn, and create unnecessary cleanup.






OMG these are a total game changer for busy school mornings! I used sourdough, sliced black forest ham, and a mix of cheddar and swiss, and they came out perfectly crispy in 5 minutes flat. My kids devoured them before the bus even got here, no complaints about soggy bread for once!
SO good. I added a little dijon mustard to the bread before layering and it took these melts to the next level. The crispy edges? *Chef’s kiss* Way better than the sad grilled cheeses I used to burn on the stovetop, and half the cleanup too.
Made these for our neighborhood block party potluck last weekend and they were gone in 10 minutes! I cut them into little triangle bites and served with a side of tomato soup for dipping, people kept coming back asking for the recipe. So easy to make a big batch too!
These are so tasty when fresh! Has anyone tried making them ahead for meal prep? I’m wondering if they hold up well in the fridge for a quick reheat at work, or if they get soggy? The 5 minute cook time is unbeatable, I just want to be able to prep them ahead for busy weeks.
These were good, but my first batch came out a little too toasty for my taste. I think I left them in a minute too long? The cheese was perfectly melty though, just wish the bread wasn’t quite so dark. I’ll definitely adjust the time next go around.
As a broke college student with a tiny dorm kitchen, this recipe is a literal lifesaver. No fancy ingredients, no giant pan to wash, 5 minutes start to finish? I’ve made this 3 nights in a row and my roommate is already begging me to make them for him too.
Super tasty! I used gluten-free sourdough and dairy-free cheddar to fit my dietary restrictions and it still came out perfectly crispy and melty, which is so rare for GF sandwich recipes. The only reason I’m not giving 5 stars is I wish the recipe noted up front that it works so well with alternative ingredients, that would’ve saved me a bunch of overthinking before I tried it!
Made these for our Sunday football watch party and everyone lost their minds! I added a little sliced pickled jalapeno to half of them for a spicy kick, and those were the first to go. Crispy, cheesy, salty, exactly what you want for game day food that doesn’t take all day to make.
Quick question—can I use turkey instead of ham for these? My partner doesn’t eat pork, but I’ve been craving a crispy melt like this forever and don’t want to mess up the recipe on my first try!
Made these for a quick weeknight dinner last night paired with tomato soup and a side salad, and my husband asked when we’re having them again before we even finished eating. 5 minutes of cook time for a meal that feels like comfort food? I’m adding this to our permanent weekly rotation, no question.