
Hawaiian Pizza Grilled Cheese
intro
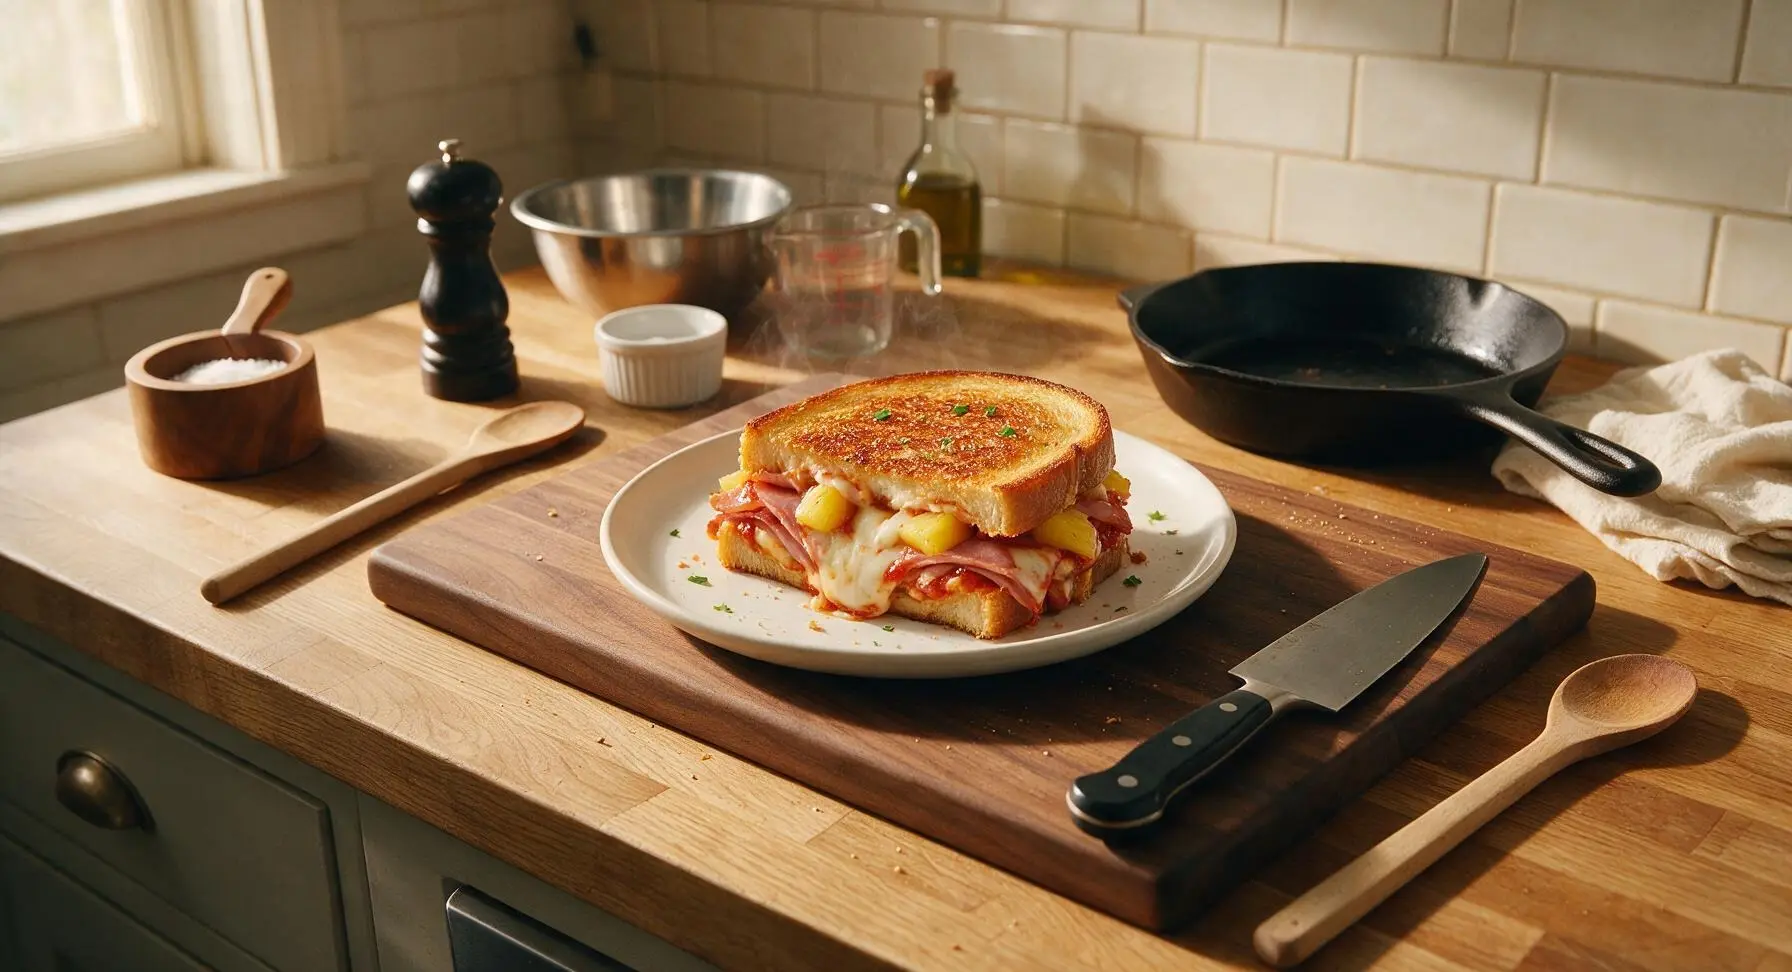
Golden crispy buttered bread loaded with smoky ham, sweet tangy pineapple, stretchy melted mozzarella, and zesty pizza sauce—all the joy of Hawaiian pizza in a cozy, handheld grilled cheese.
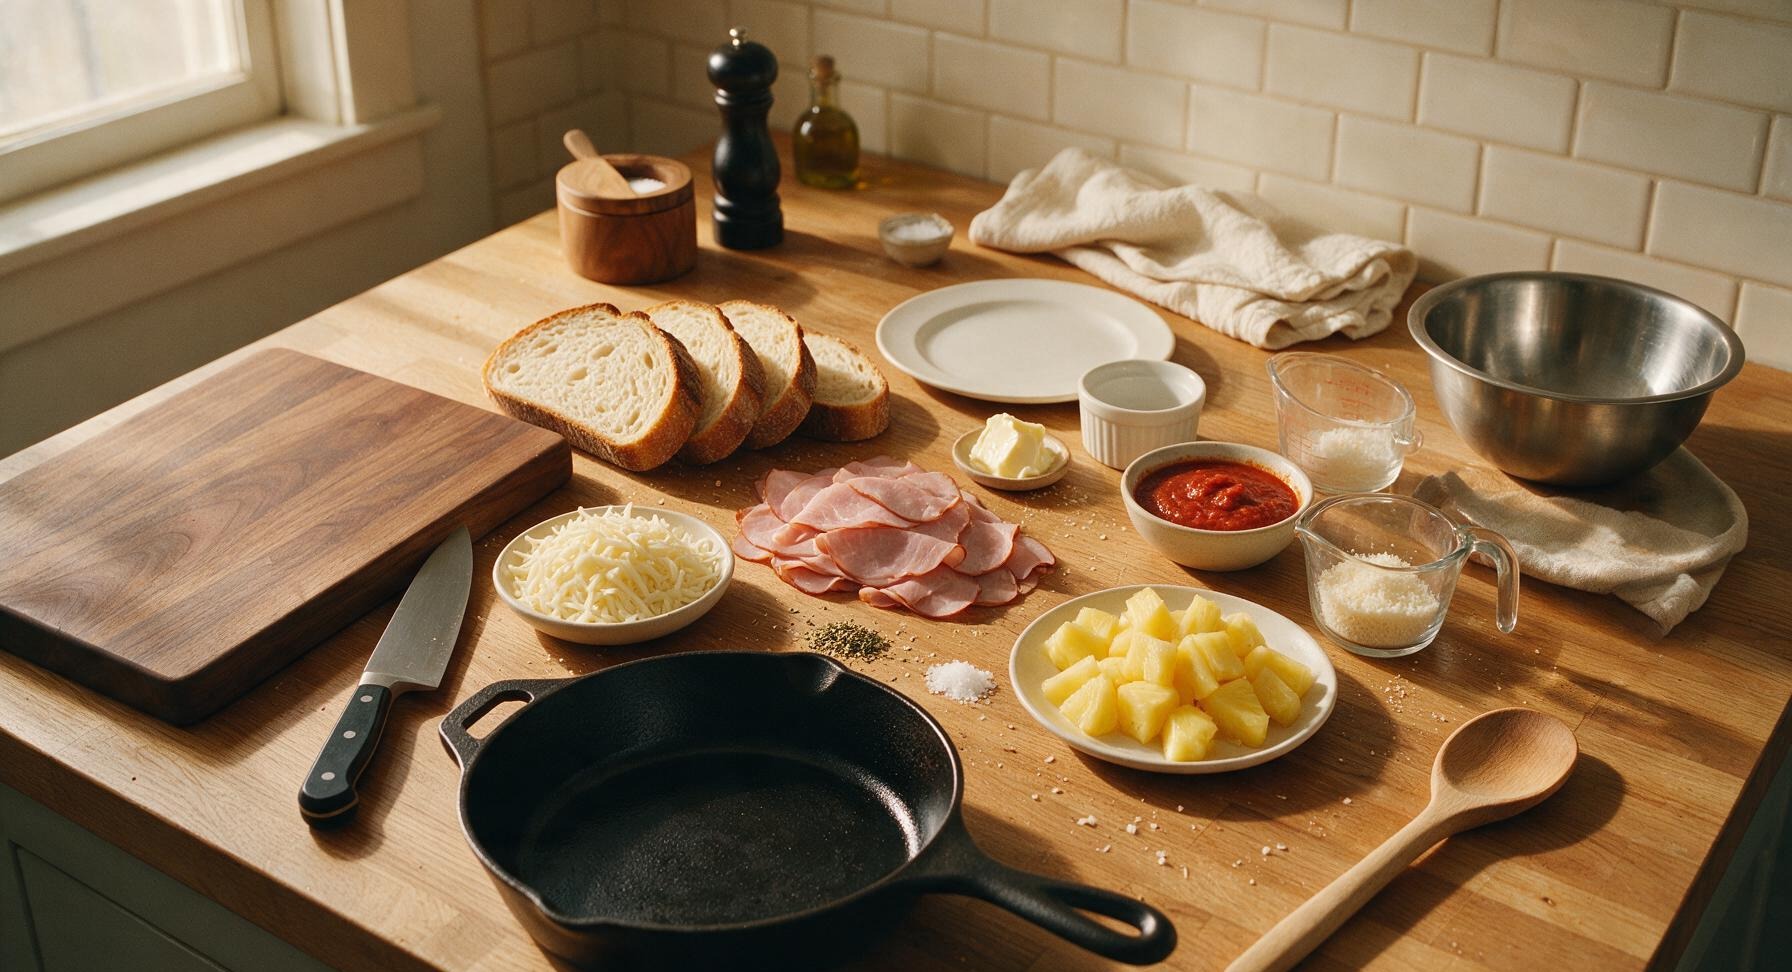
Ingredients
Steps
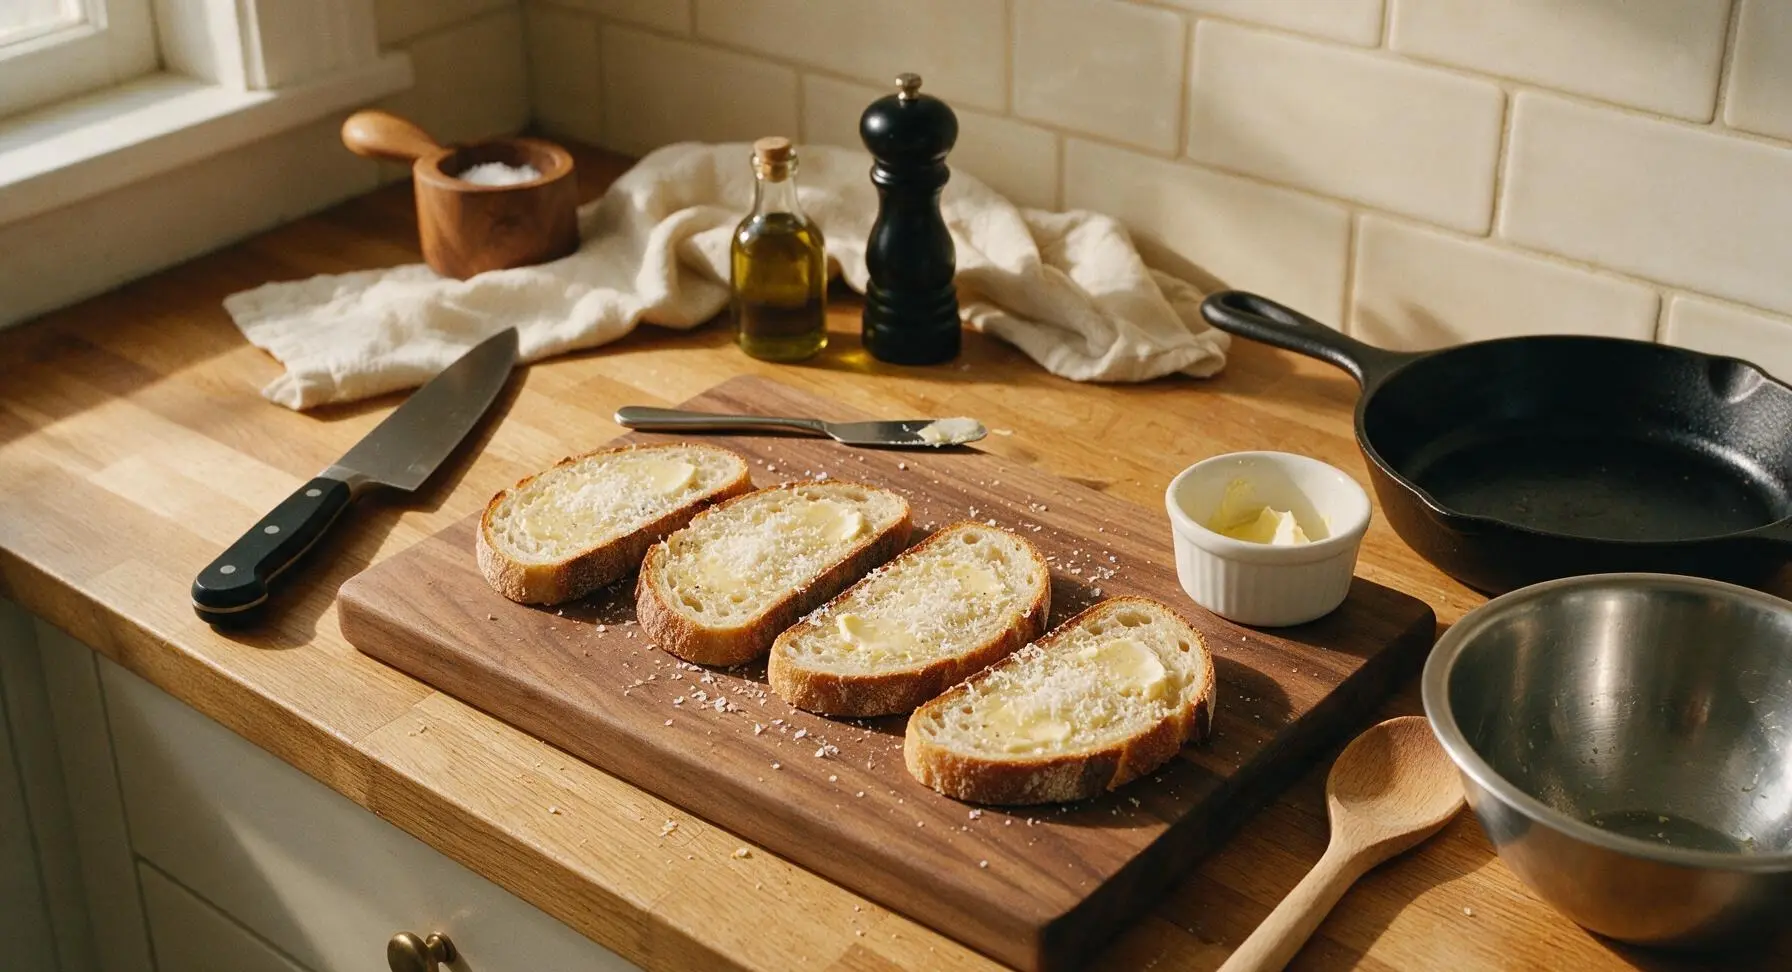
Butter bread exteriors
Lay all 4 sourdough slices flat on the maple cutting board. Use the small stainless steel spreader to spread a thin, even layer of softened butter (roughly 3/8 tbsp per slice) across one entire side of each bread slice, making sure to cover all the way to the crust edges. Sprinkle a pinch of flaky sea salt and 1/4 of the grated parmesan over each buttered side, pressing lightly so the cheese adheres. These buttered sides will form the crispy, golden outer crust of the sandwich.
Spread sauce on insides
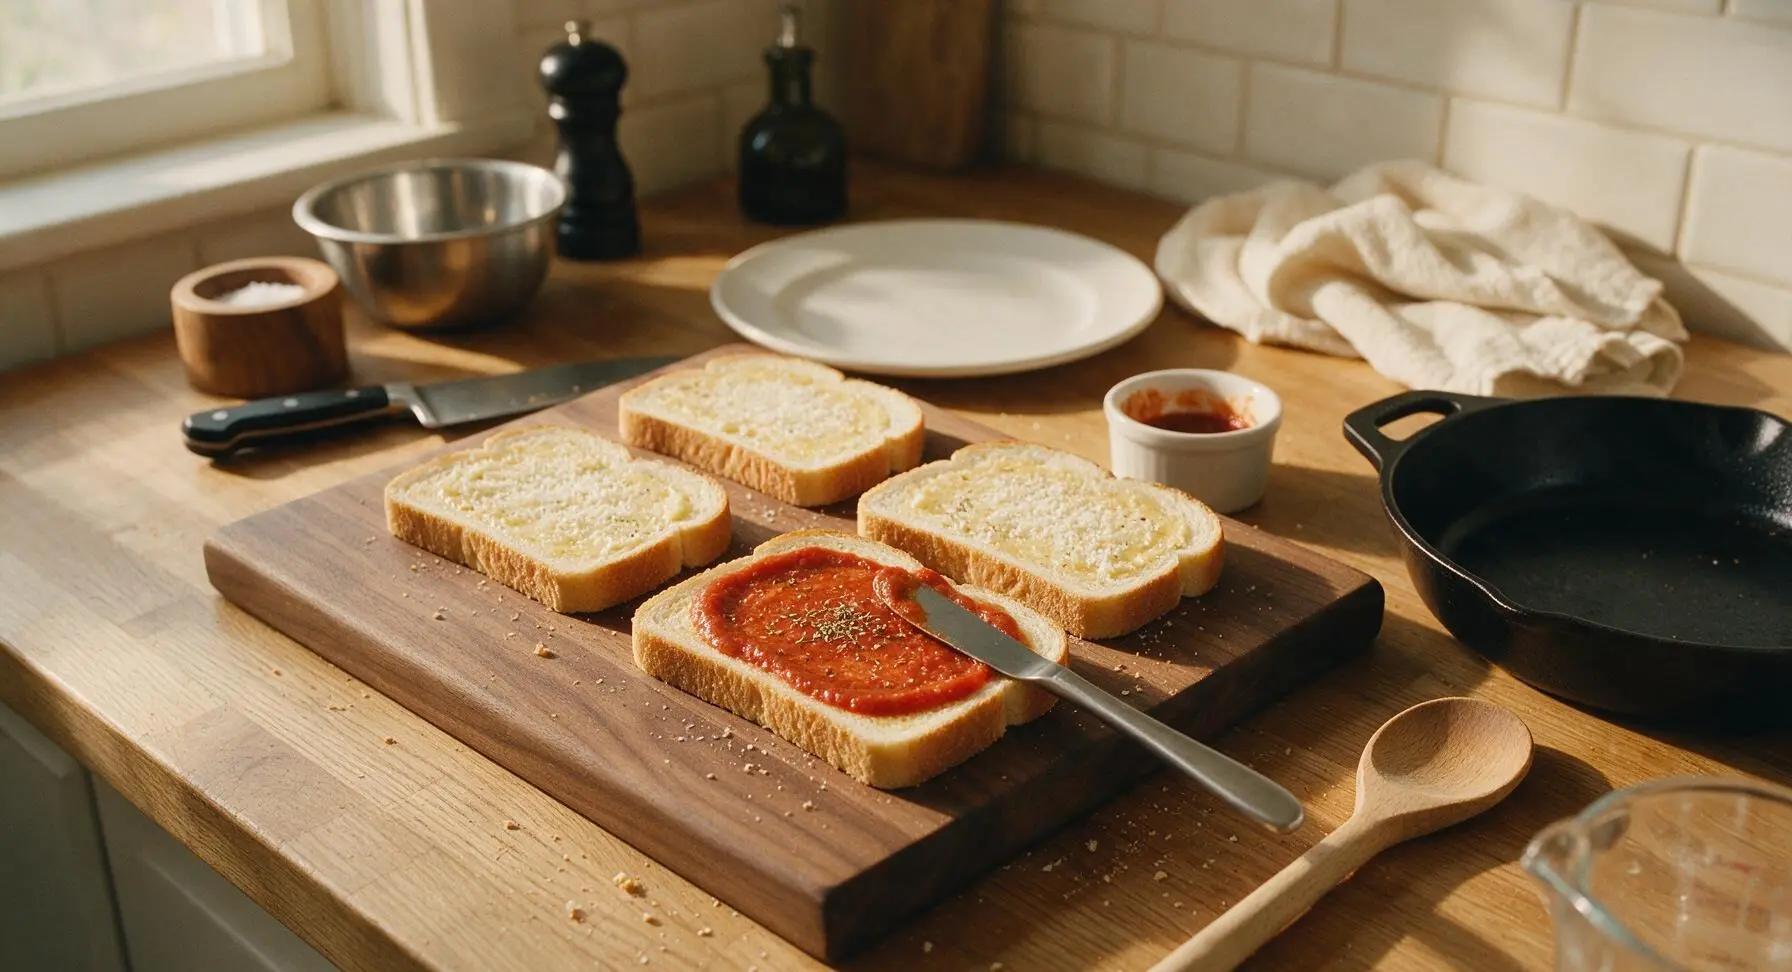
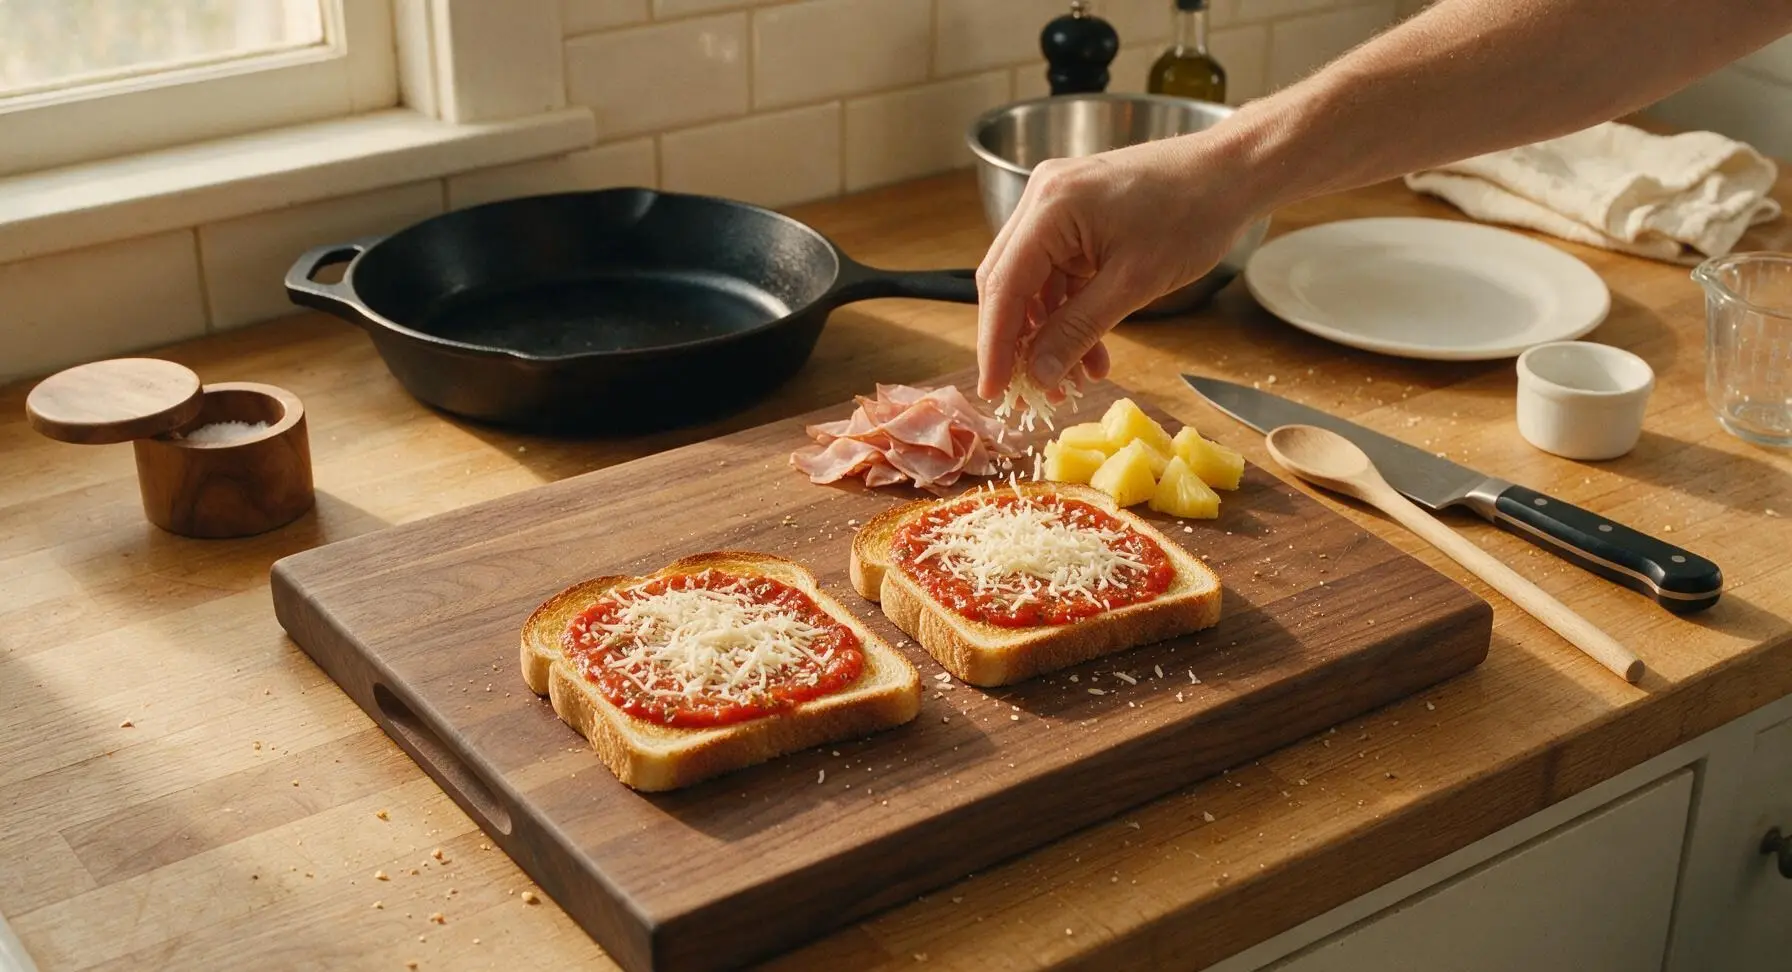
Flip all 4 bread slices over so the buttered, parmesan-dusted side is facing down against the cutting board. Use the spreader to spread 1 tbsp of pizza sauce evenly across the unbuttered (inner) side of each slice, leaving a 0.5cm border around the edge to prevent sauce from oozing out during cooking. Sprinkle a pinch of dried oregano over the sauced surface of each slice.
Layer fillings evenly
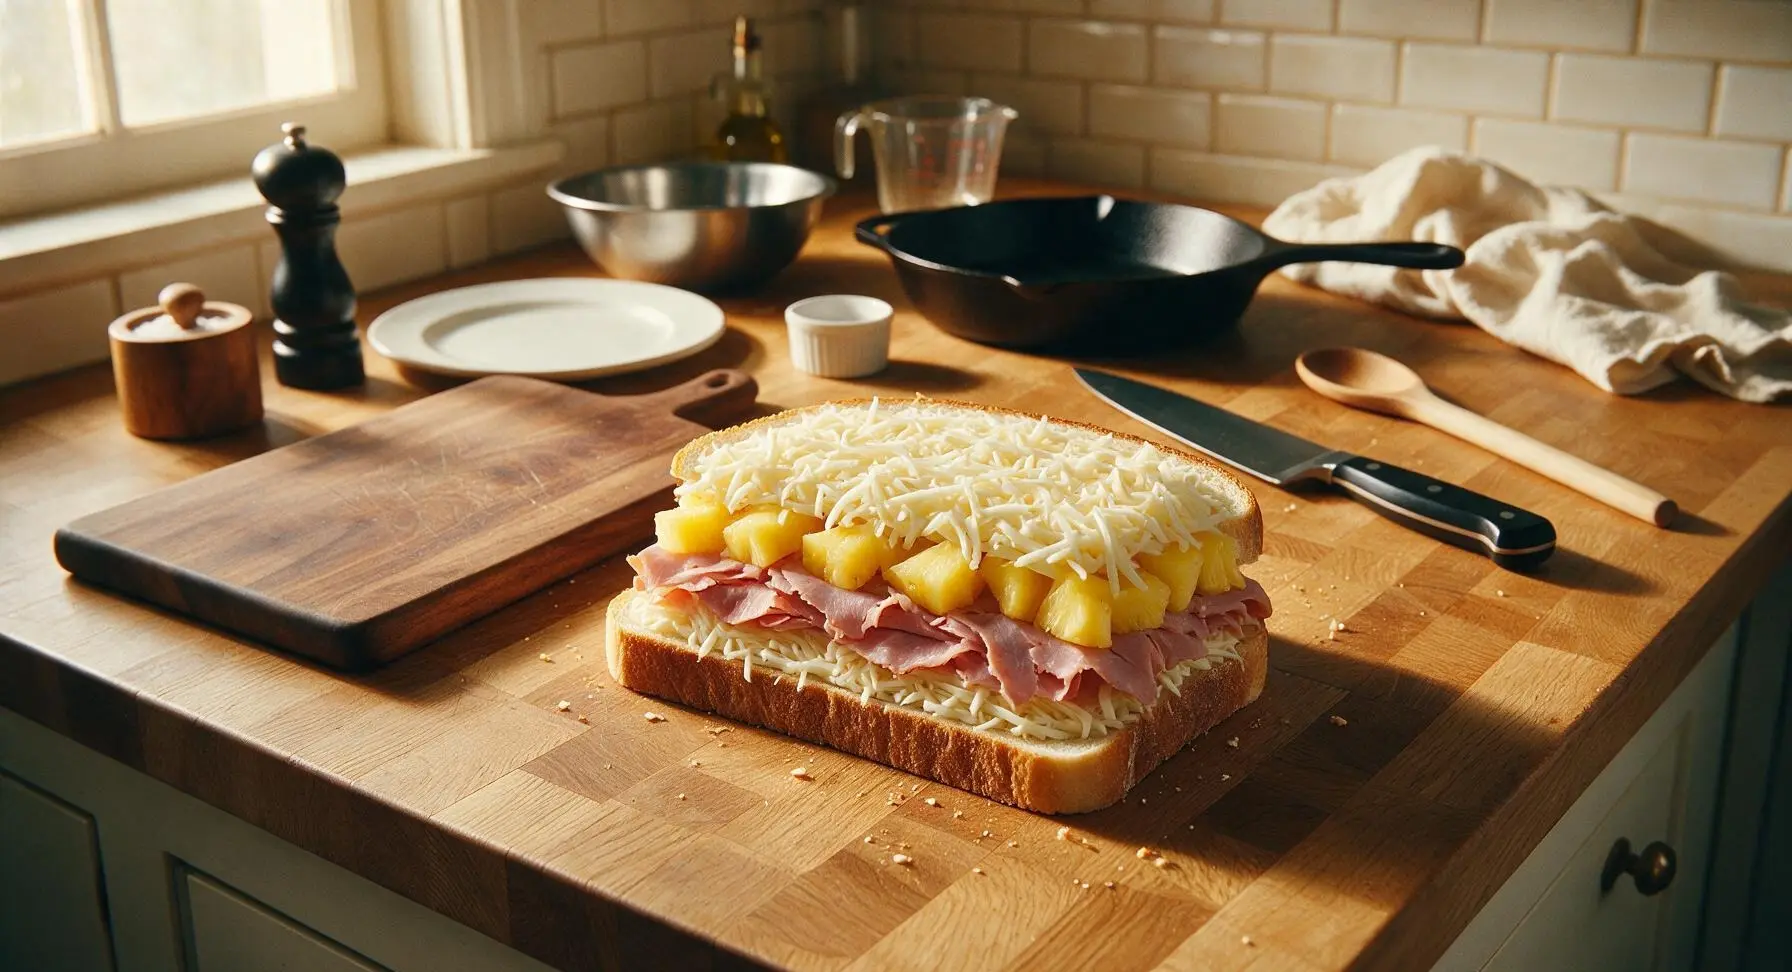
Divide half of the shredded mozzarella evenly across the sauced side of two bread slices, spreading it in a thin, even layer. Top the cheese on each slice with half the smoked ham, tearing slices to fit the bread without overhanging, then add half the patted-dry pineapple chunks in a single layer (avoid stacking pineapple to prevent sogginess). Top the pineapple with the remaining half of the shredded mozzarella, making sure cheese reaches the edges of the bread to help seal the sandwich closed.
Seal sandwich halves
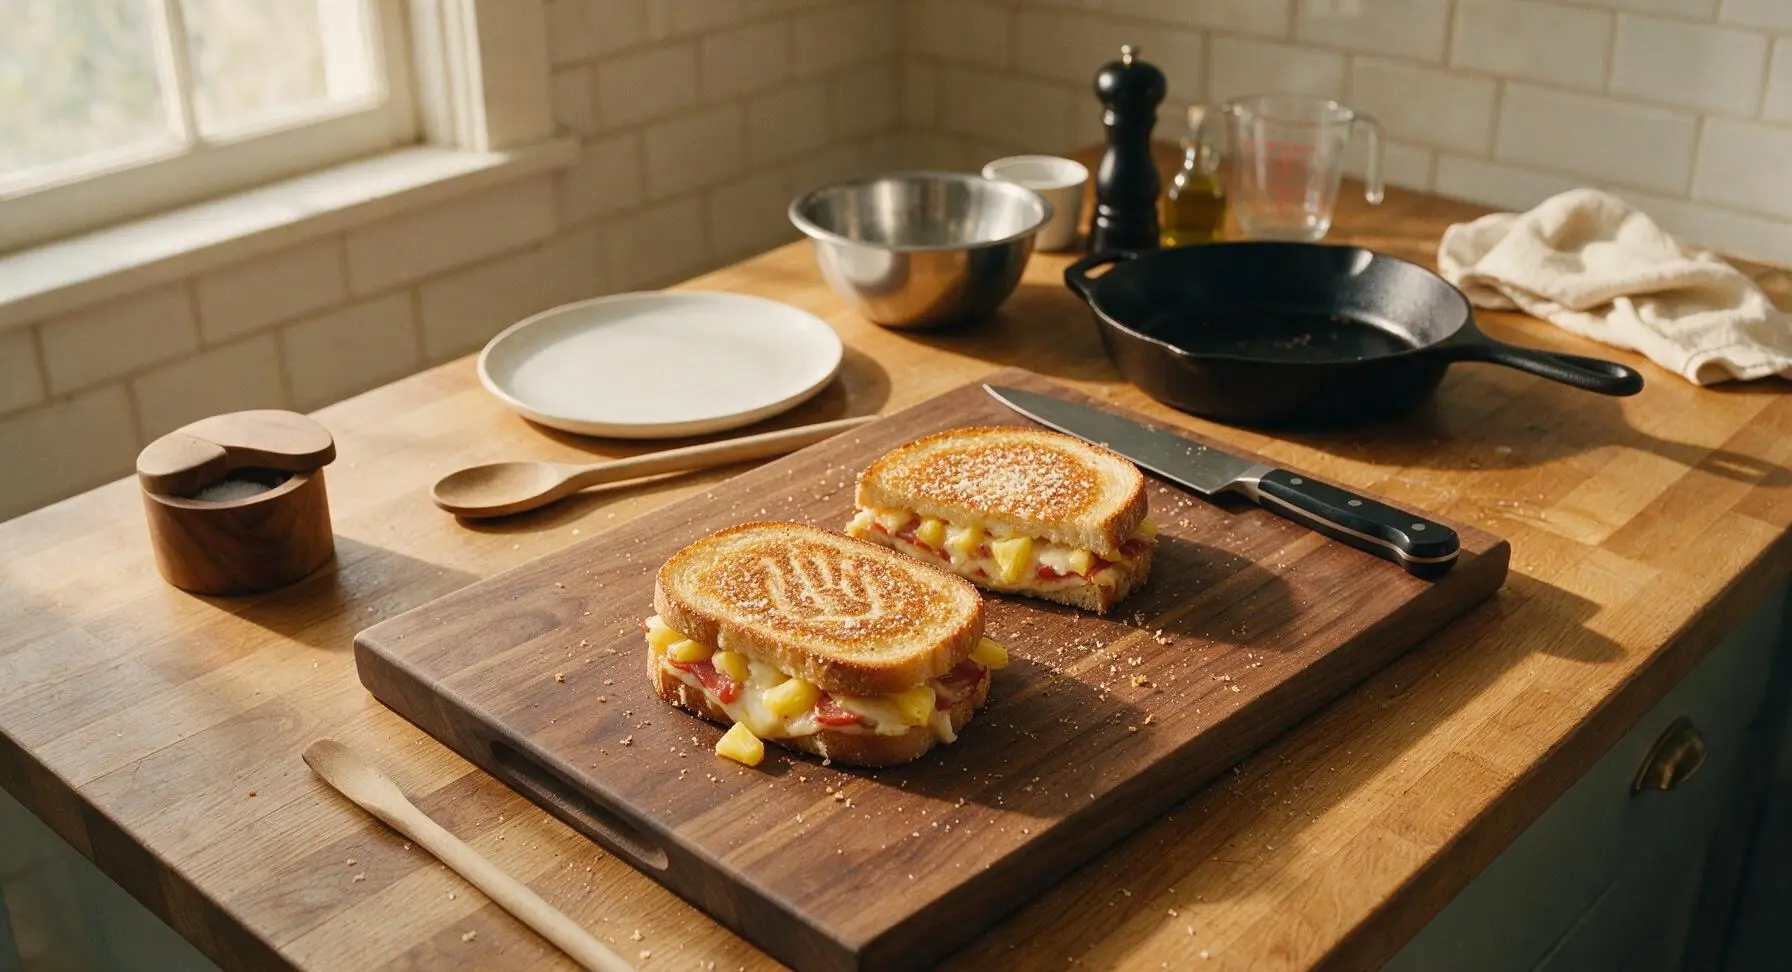
Take the remaining two sauced bread slices and place them sauce-side down on top of the filled slices, pressing gently so the buttered outer sides face out. Press down firmly on each sandwich with the palm of your hand to compact the fillings slightly and help the top and bottom cheese layers stick to the bread, creating a tight seal that prevents fillings from falling out while cooking.
Cook first sandwich side
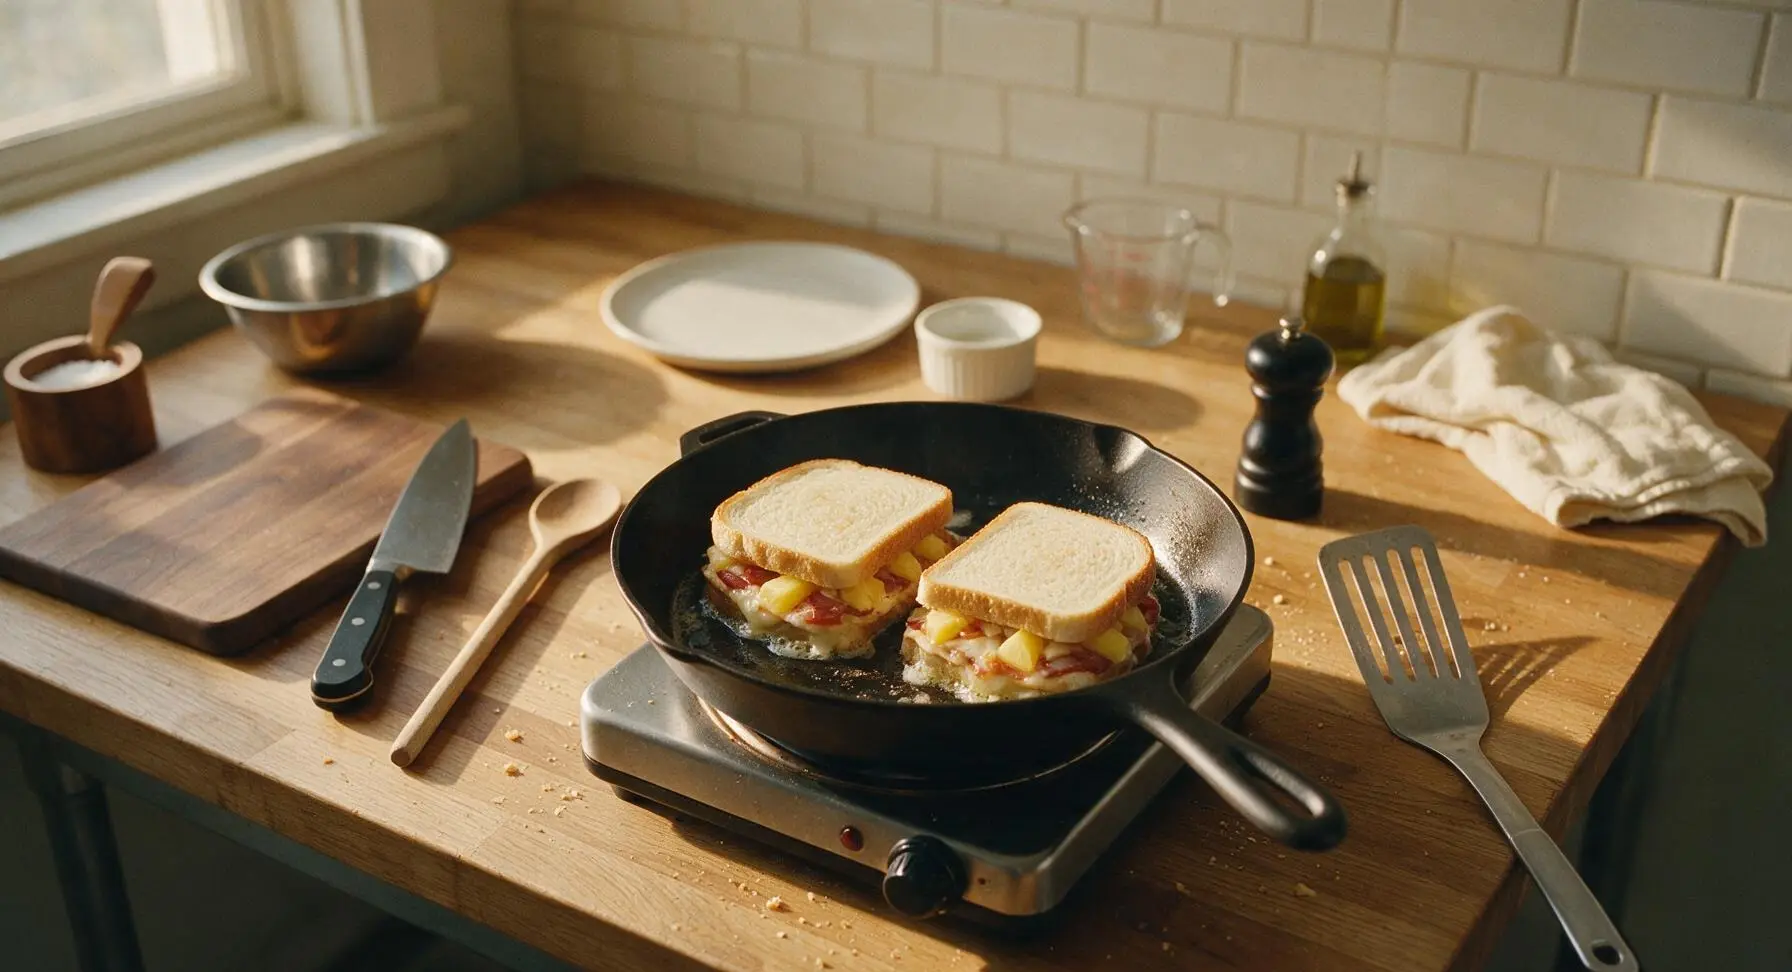
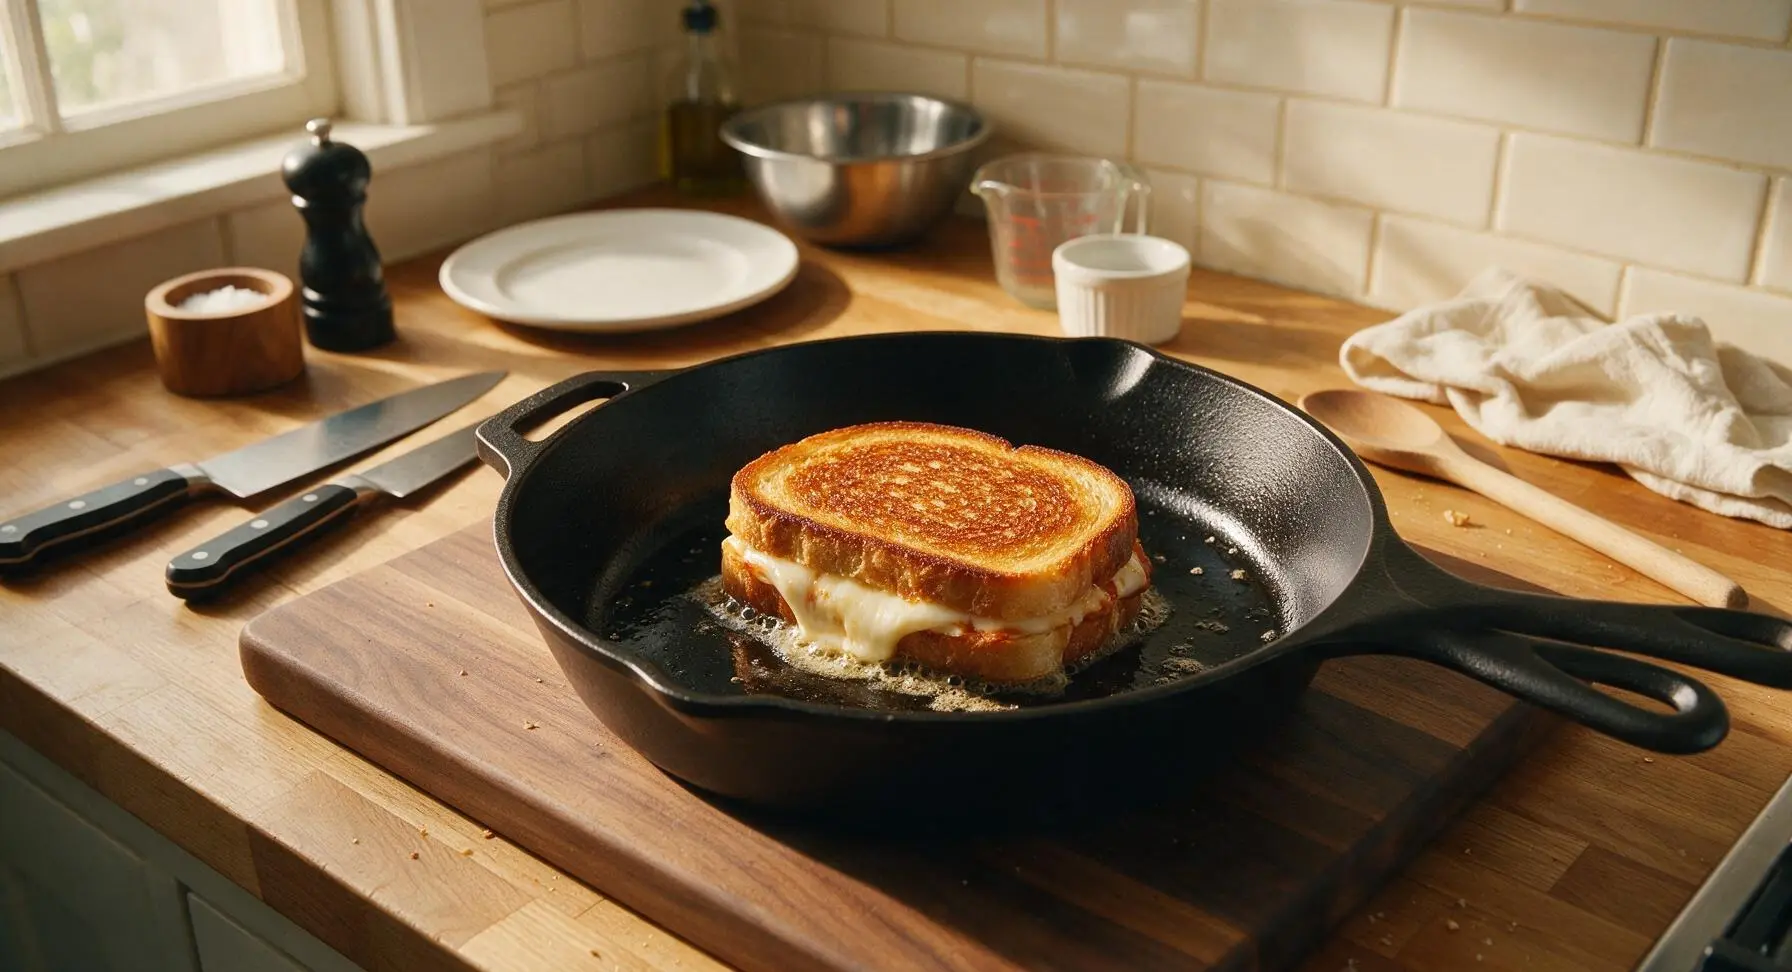
Place the 10-inch matte black carbon steel skillet on the fixed portable electric burner set to medium-low heat (325°F / 160°C). Once the pan is warm (test by sprinkling a drop of water: it should sizzle and dance across the surface, not evaporate instantly), carefully place both assembled sandwiches in the skillet, buttered side down. Cook for 3-4 minutes, until the bottom bread is deep golden brown and crispy, and the cheese closest to the pan is starting to melt. Resist the urge to press the sandwiches with the spatula while cooking, as this will squeeze out fillings.
Flip and cook second side
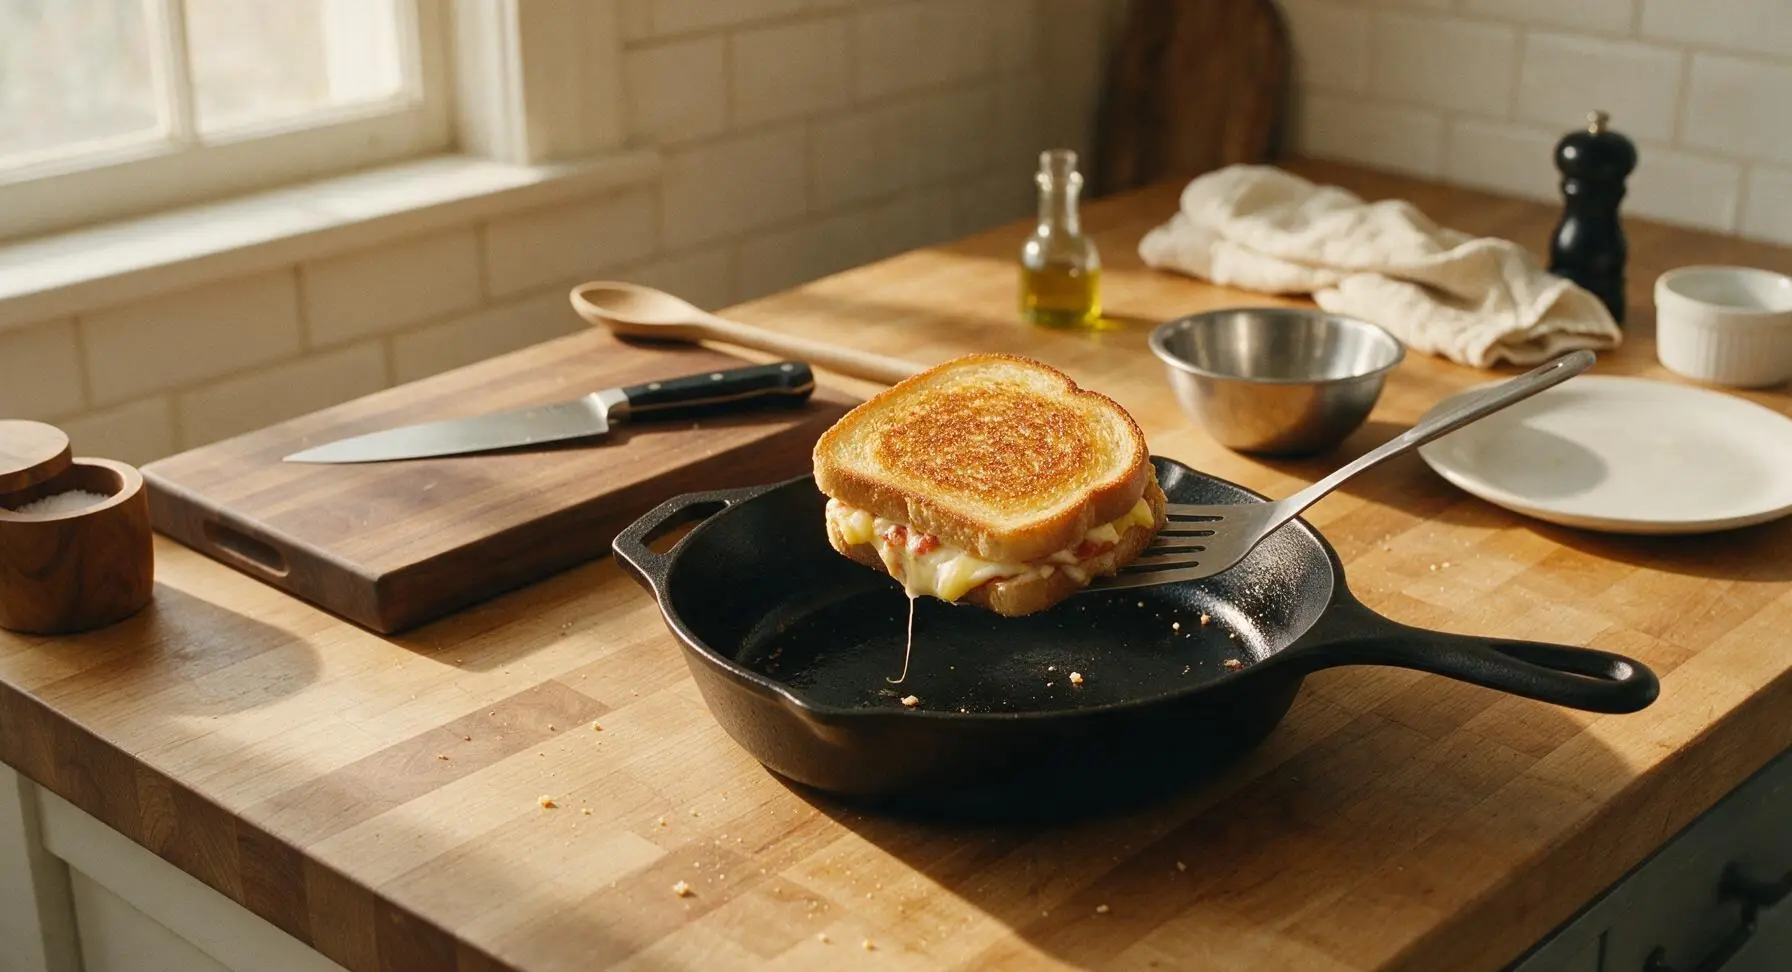
Use the thin flexible stainless steel fish spatula to carefully flip each sandwich in one smooth motion. Cook for an additional 3-4 minutes on the second side, until the second crust is equally golden and crispy, and all the cheese in the center is fully melted and stretchy (check by gently lifting the edge of the top bread slice with the spatula: no shredded, un-melted cheese should remain). If the bread starts to brown too quickly before cheese melts, turn the heat down to low to avoid burning.
Rest and serve warm
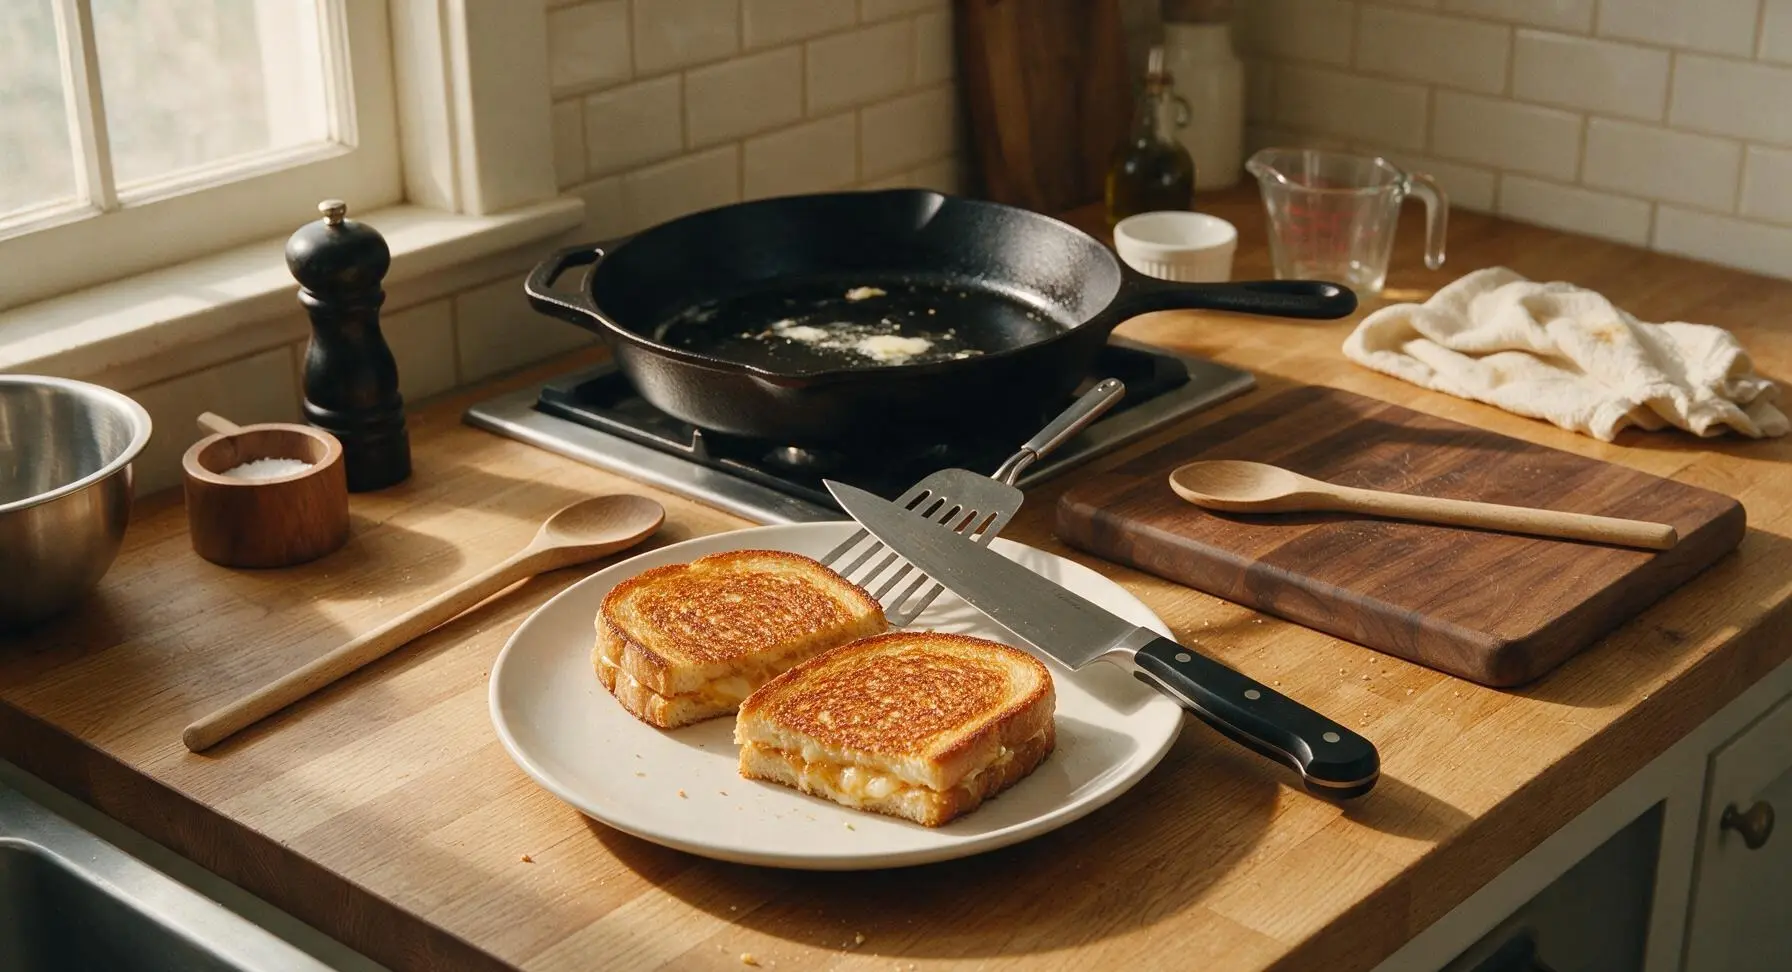
Once both sides are crispy and cheese is fully melted, use the spatula to transfer the sandwiches from the skillet to the creamy white speckled ceramic dinner plate. Let the sandwiches rest for 1 minute to allow the cheese to set slightly (this prevents all the fillings from sliding out when you cut them), then cut each sandwich diagonally into two triangles. Garnish with a single fresh basil leaf plucked from the countertop bundle.
Tips
2.Use low-moisture mozzarella and thick, low-moisture marinara sauce instead of fresh mozzarella or watery pizza sauce: high-moisture ingredients cause soggy bread, and low-moisture mozzarella melts into the perfect stretchy pull without making the sandwich greasy.
3.Cook over medium-low heat, not high heat: high heat will burn the buttered bread crust before the cheese in the center has time to fully melt, leading to a charred outside but cold, un-melted fillings inside. Low and slow cooking ensures even crisping and perfectly melted cheese.






OMG you guys, this was such a hit for our weeknight family dinner! My two picky eaters usually turn their noses up at anything with pineapple on pizza, but they devoured these in 5 minutes flat. I added a little extra mozzarella and used sourdough bread, SO good. 10/10 will be adding this to our regular meal rotation!
Game changer alert! I threw these on the cast iron out on the patio last night for game night with the guys, and everyone was begging for the recipe. The salty ham, sweet pineapple, and melty cheese together? Chef’s kiss. Only thing I added was a sprinkle of red pepper flakes for a little kick, highly recommend.
8 minute cook time? Sign me up! I live in a tiny dorm with just a mini griddle, and this came together so easily without any fancy equipment. Way better than the sad dining hall pizza, and cheap to make too!
Wait, has anyone tried making these ahead for meal prep? I’m wondering if they freeze well, or if the pineapple makes them too soggy when you reheat them. Would love to stock a few in the freezer for busy work lunches!
I was so skeptical of pineapple on grilled cheese at first, but my partner begged me to make this and wow… I’m a convert. The balance of sweet, salty, and crispy buttery bread is unreal. Don’t knock it till you try it, people.
Made these for my grandkids when they were visiting over the weekend, and even my oldest grandson who says he ‘hates all fruit with dinner’ asked for seconds. I used honey ham and a little provolone mixed with mozzarella, turned out perfect.
Cut these into little bite-sized squares for my office potluck yesterday, and the platter was empty in 10 minutes. People kept coming up to ask if I’d brought the recipe cards, lol. Super easy to make in big batches too, which is a win for group events.
I swapped the ham for crispy vegan bacon and used dairy-free mozzarella for my dairy-free roommate, and even I (a total cheese and meat lover) thought it was incredible. Such a flexible recipe!
Made this at 1am after a night out with friends and it hit DIFFERENT. Crispy bread, oozing cheese, sweet pineapple… better than any late night takeout I could’ve ordered, and half the price. 10/10 drunk food approved.
Wait, I burned the first two because I had the heat too high, oops. Once I turned the stove down to medium and buttered the outside of the bread really well, they turned out perfect! Pro tip: don’t crank the heat trying to rush it, low and slow gets that perfect crispy outside without burning the cheese inside.
Made these over the campfire last weekend in our cast iron pie irons, and they were the best camp meal we had all trip. No fancy kitchen needed, just a few simple ingredients and a fire. Will be a staple on all our camping trips from now on!
I work 12 hour hospital shifts and this is the perfect quick meal when I get home and don’t have the energy to cook a whole big dinner. 8 minutes from fridge to plate, minimal cleanup, and it tastes way better than any frozen dinner I’ve kept stocked for late nights. Absolute winner in my book.