
healthy cinnamon toast crunch

title 1
healthy cinnamon toast crunch
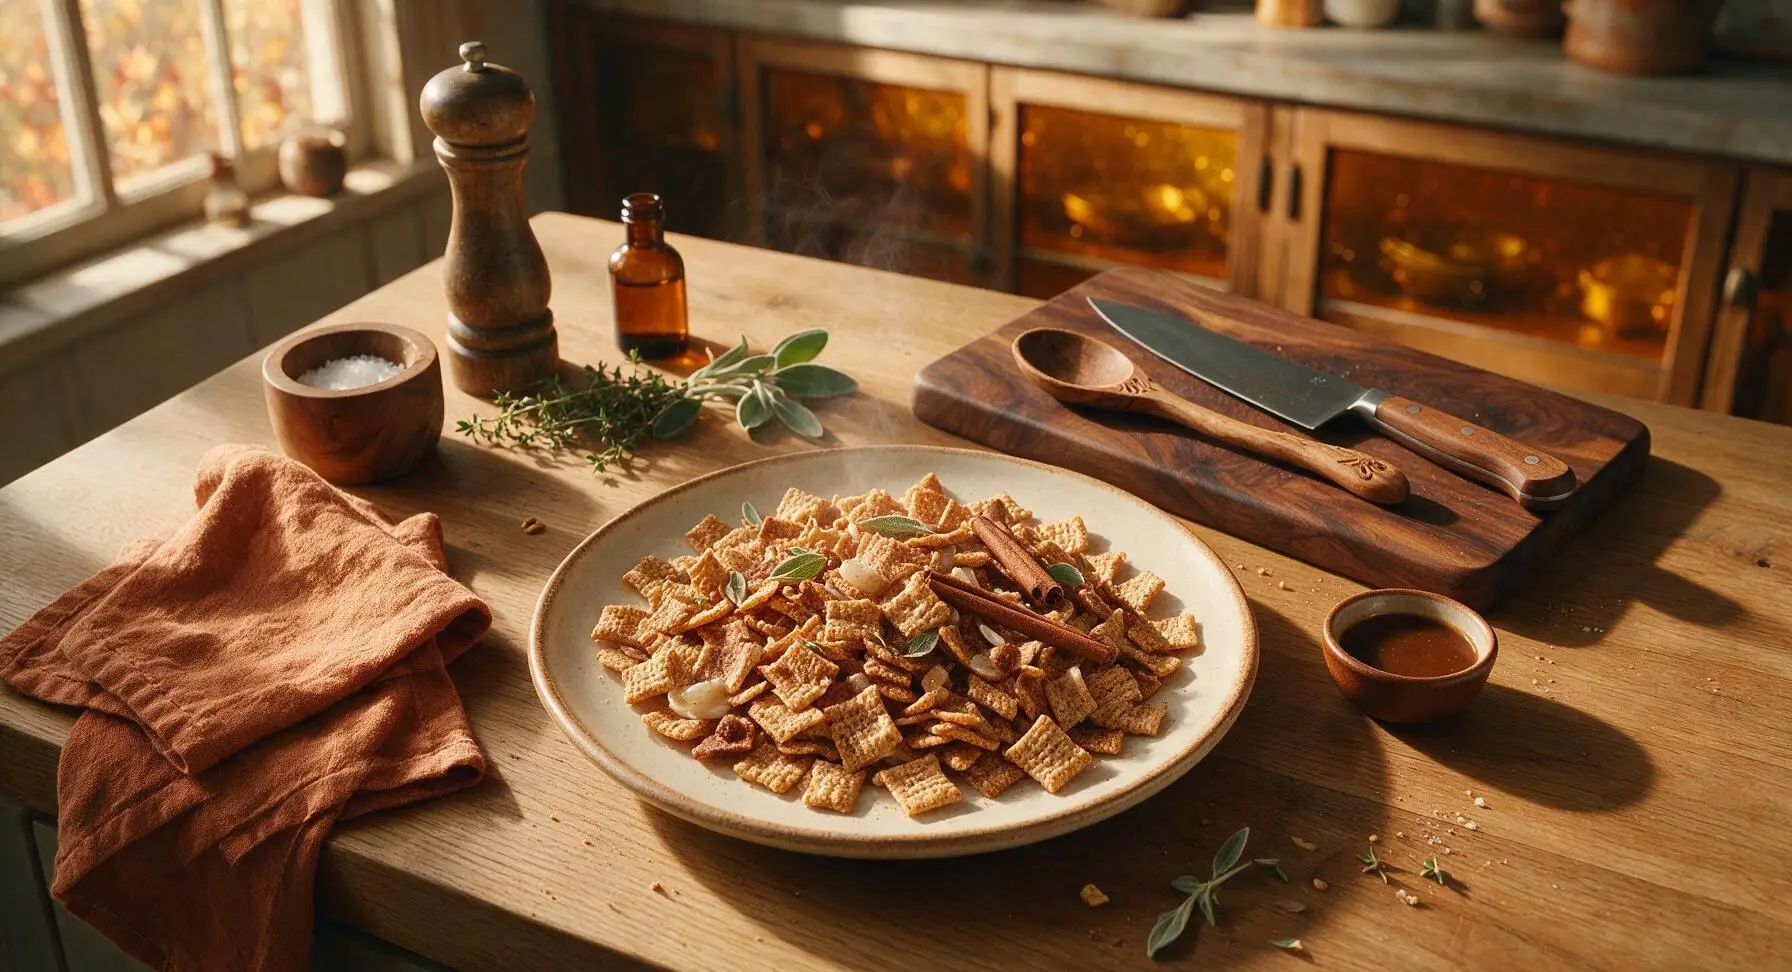
⏱️ cook time 15 minutes
🍽️ servings 4
⚡ Difficulty easy

intro

Crunchy, cinnamon-kissed whole-grain cereal with zero refined sugar, delivering nostalgic Cinnamon Toast Crunch flavor without processed additives, perfect for quick weekday breakfasts.

Ingredients
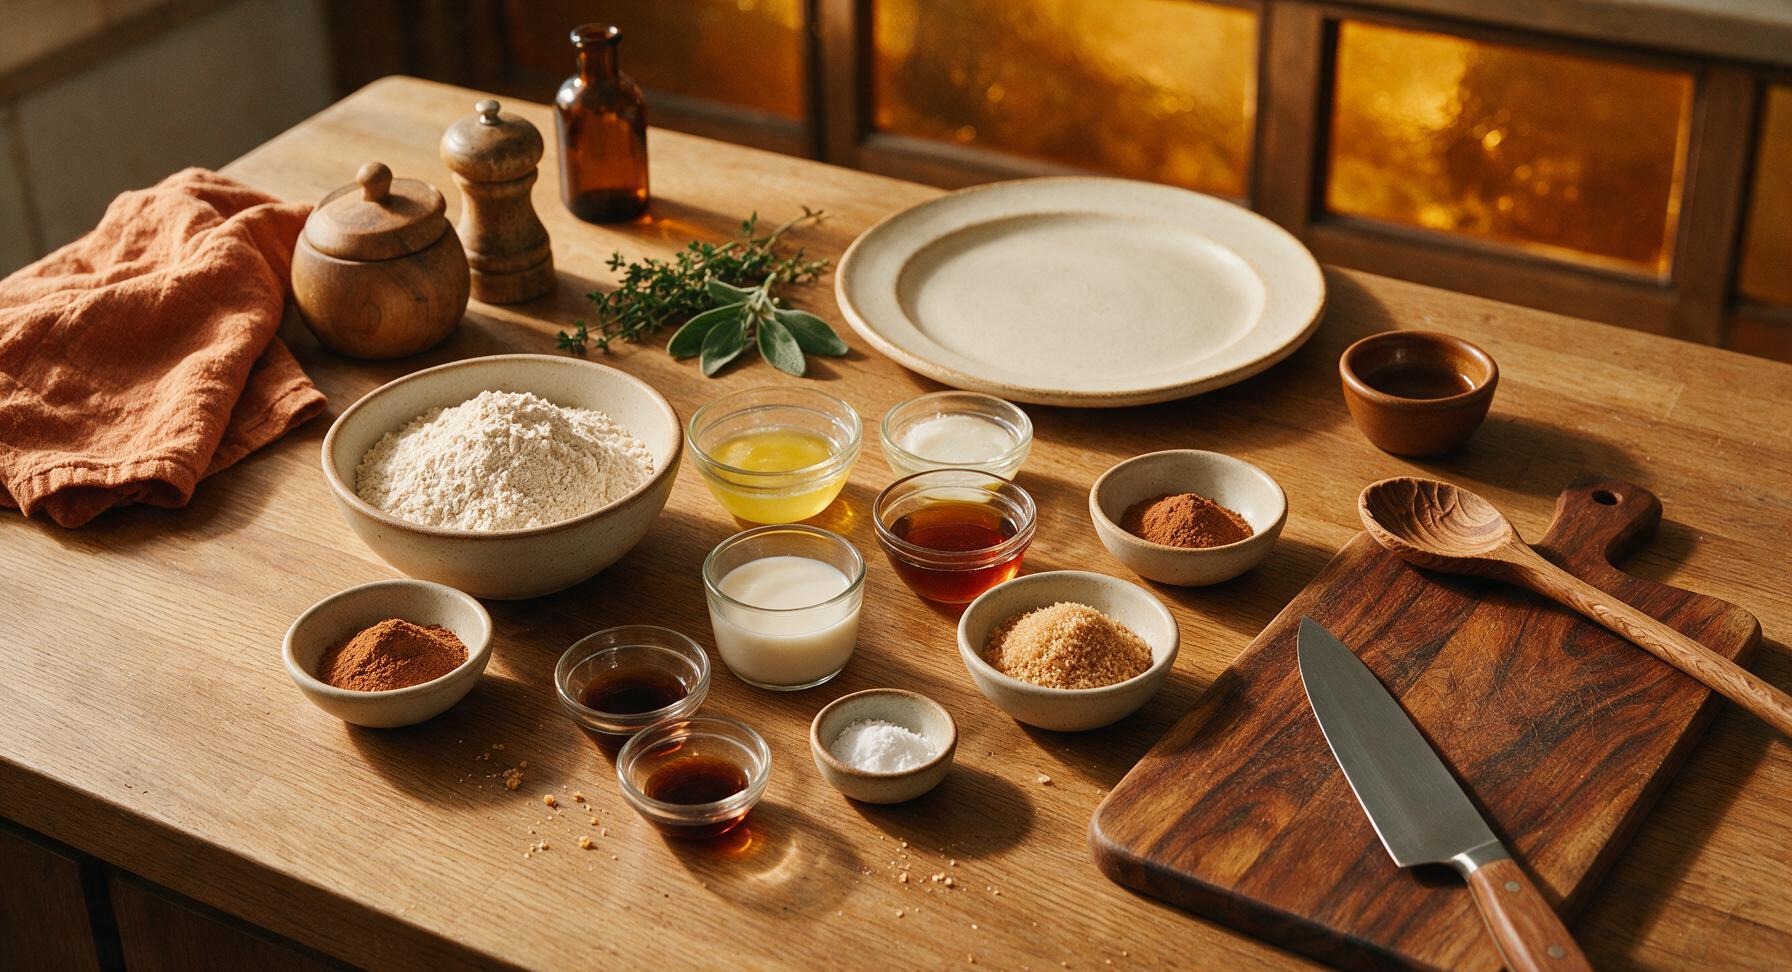
Whole wheat pastry flour 120g (1 cup)
Unrefined virgin coconut oil 2 tbsp (27g), melted and divided
Pure maple syrup 1 tbsp (15ml)
Unsweetened almond milk 3 tbsp (45ml)
Ground cinnamon 1 tbsp + 1 tsp (8g), divided
Coconut sugar 1 tbsp (12g), divided
Fine sea salt 1/8 tsp (0.75g)
Pure vanilla extract 1 tsp (5ml)
Baking soda 1/8 tsp (0.5g)

Steps

1

Combine Dry Ingredients

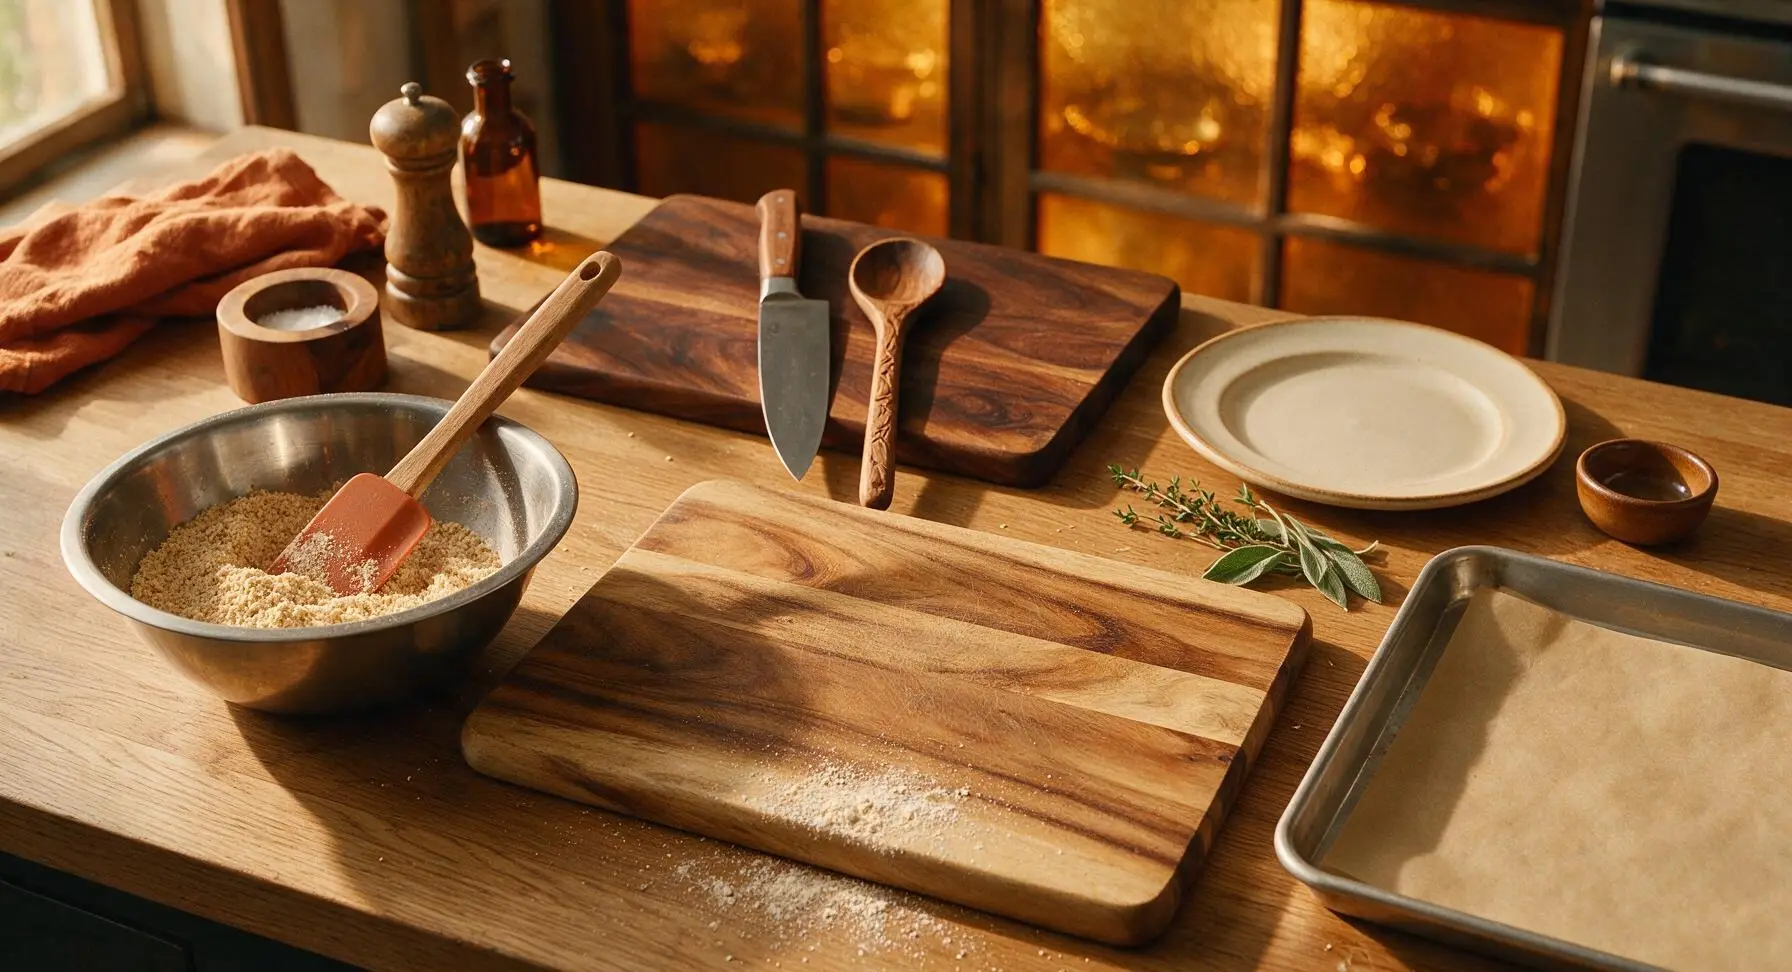
First, preheat your oven to 350°F (175°C) and line the rimmed stainless steel baking sheet with unbleached parchment paper, placing it in its fixed position to the right of where the cutting board will sit. Set the acacia wood cutting board dead center on the counter. In the medium stainless steel mixing bowl, combine 120g (1 cup) whole wheat pastry flour, 1/8 tsp fine sea salt, 1/8 tsp baking soda, 1 tsp ground cinnamon, and 1 tsp coconut sugar. Stir with the terracotta silicone spatula for 30 seconds until all dry ingredients are evenly mixed, with no clumps of cinnamon remaining. The mixture should be a uniform pale tan color.
Step 1
step1:Combine Dry Ingredients
2

Add Wet Ingredients

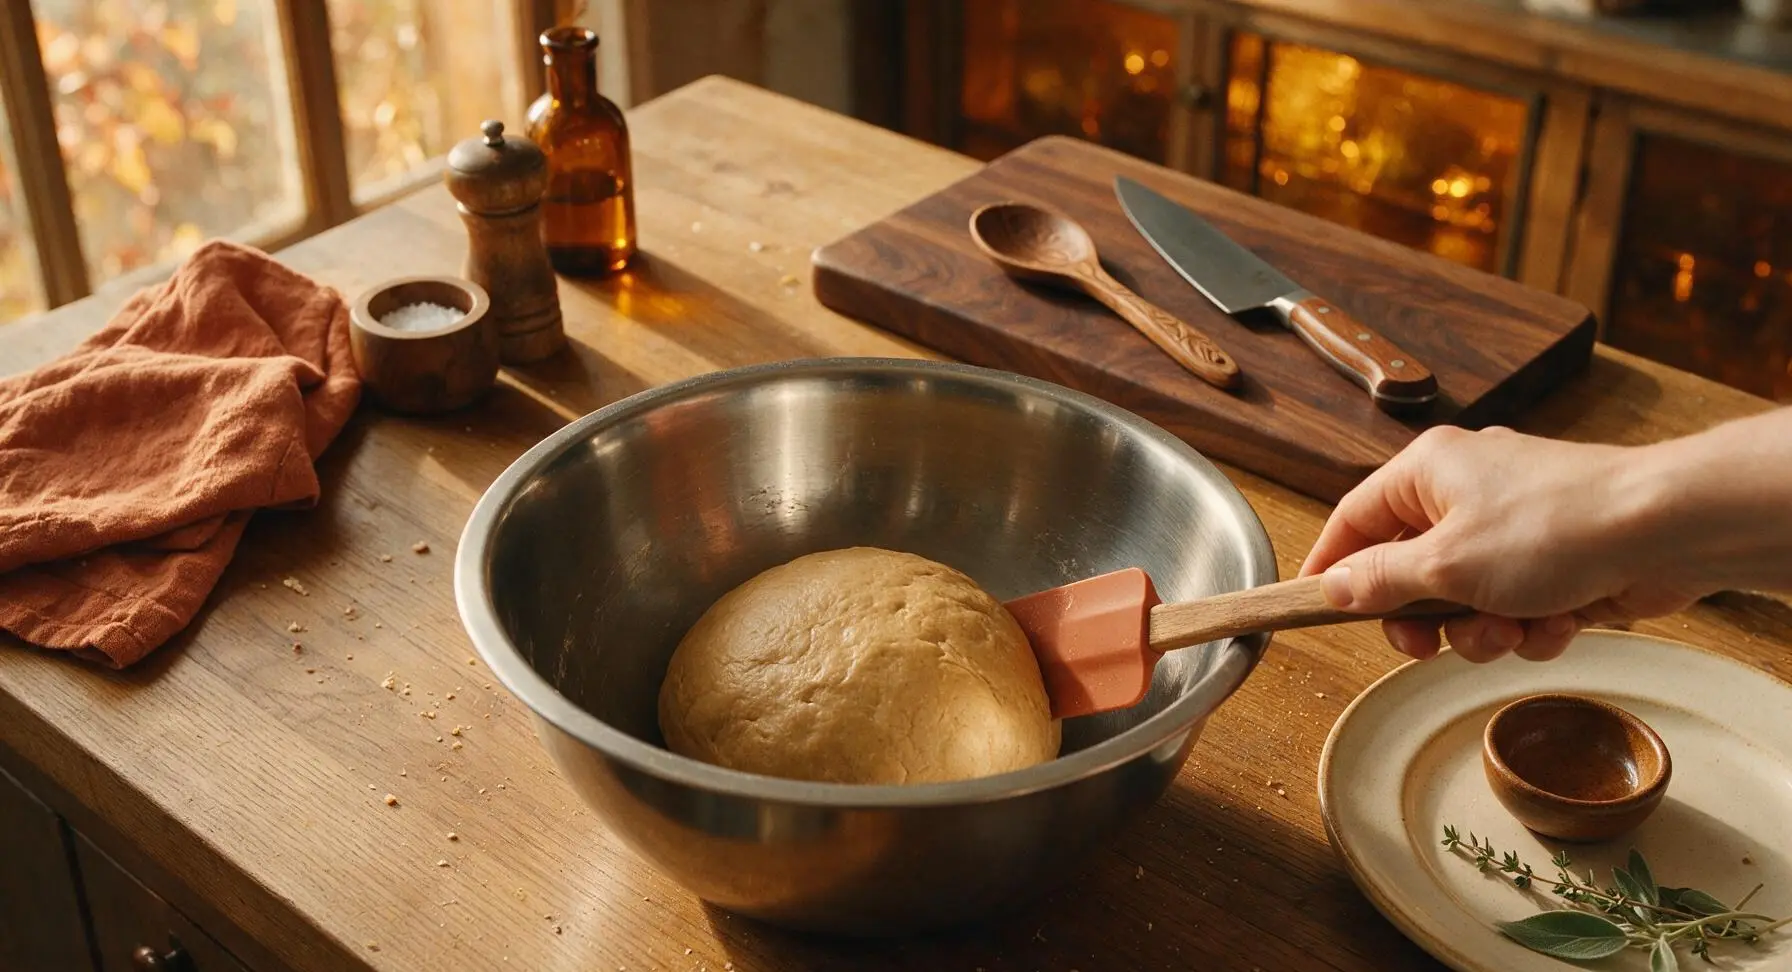
To the mixed dry ingredients in the bowl, add 1.5 tbsp melted and slightly cooled unrefined coconut oil, 1 tbsp pure maple syrup, 1 tsp pure vanilla extract, and 3 tbsp unsweetened almond milk. Stir continuously with the silicone spatula for 1 minute until a stiff, uniform dough forms, pulling cleanly away from the sides of the bowl with no dry flour pockets. The dough should feel firm, not sticky, when pressed with a fingertip; adjust consistency as needed with 1 tsp extra flour if sticky, or 1/2 tsp extra almond milk if crumbly.
Step 2
step2:Add Wet Ingredients
3

Roll Dough Ultra Thin

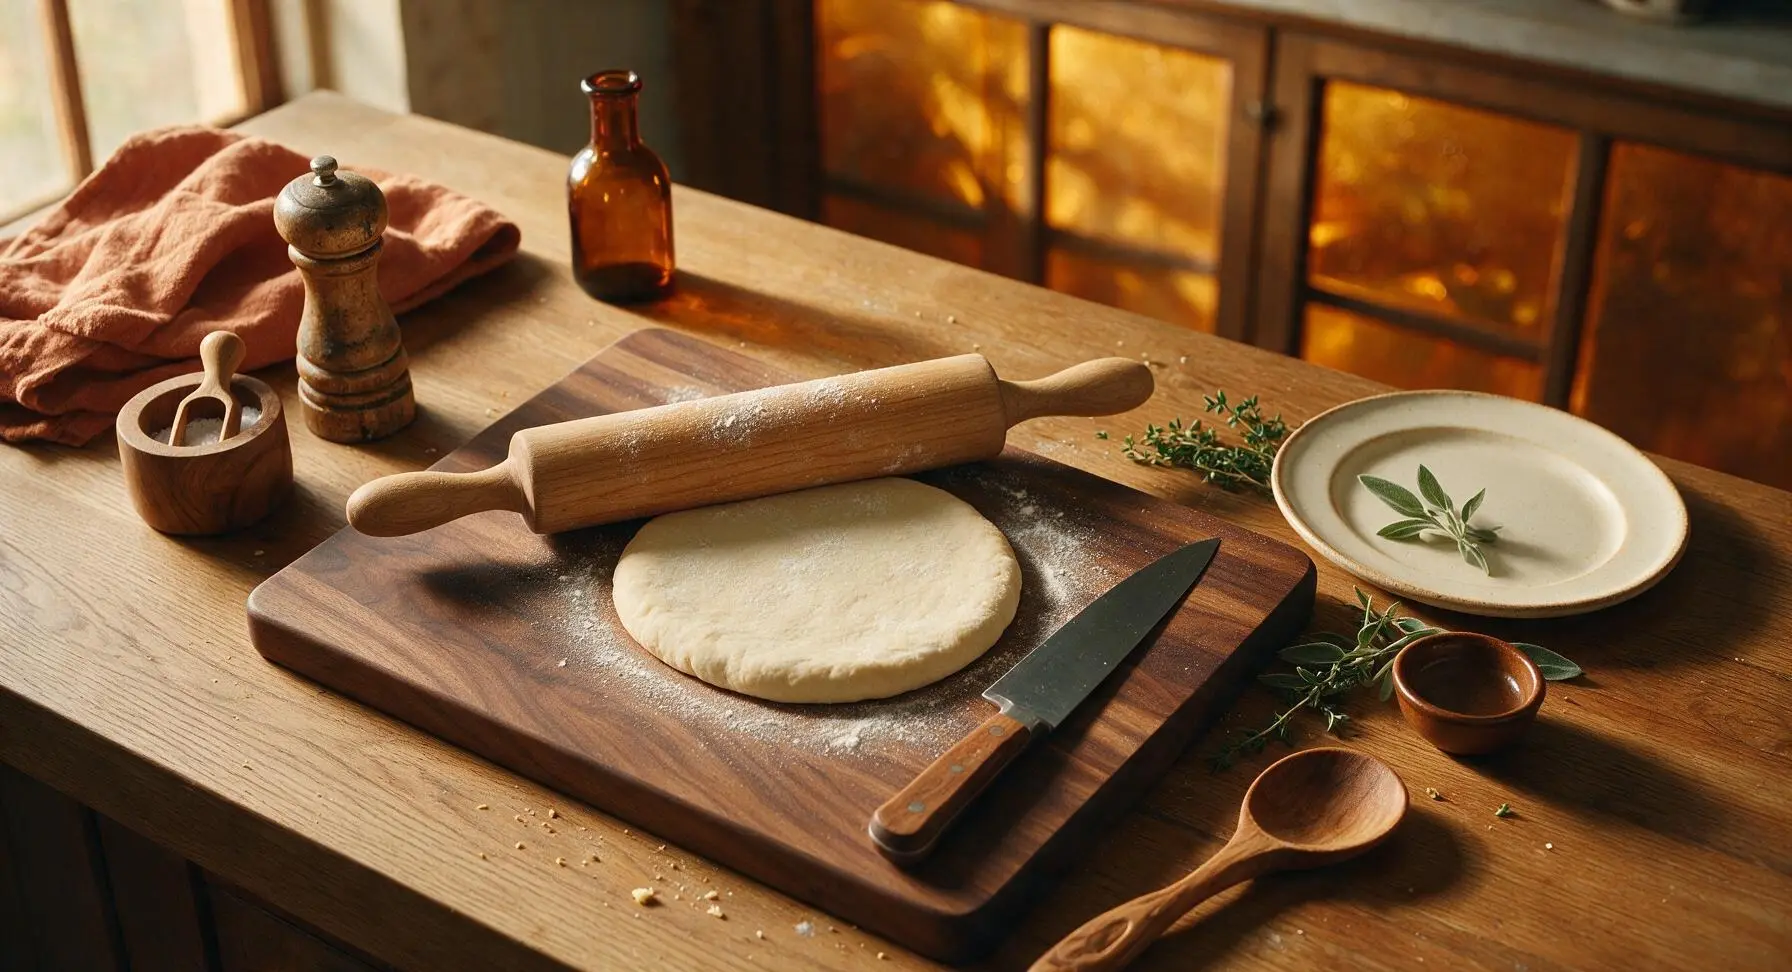
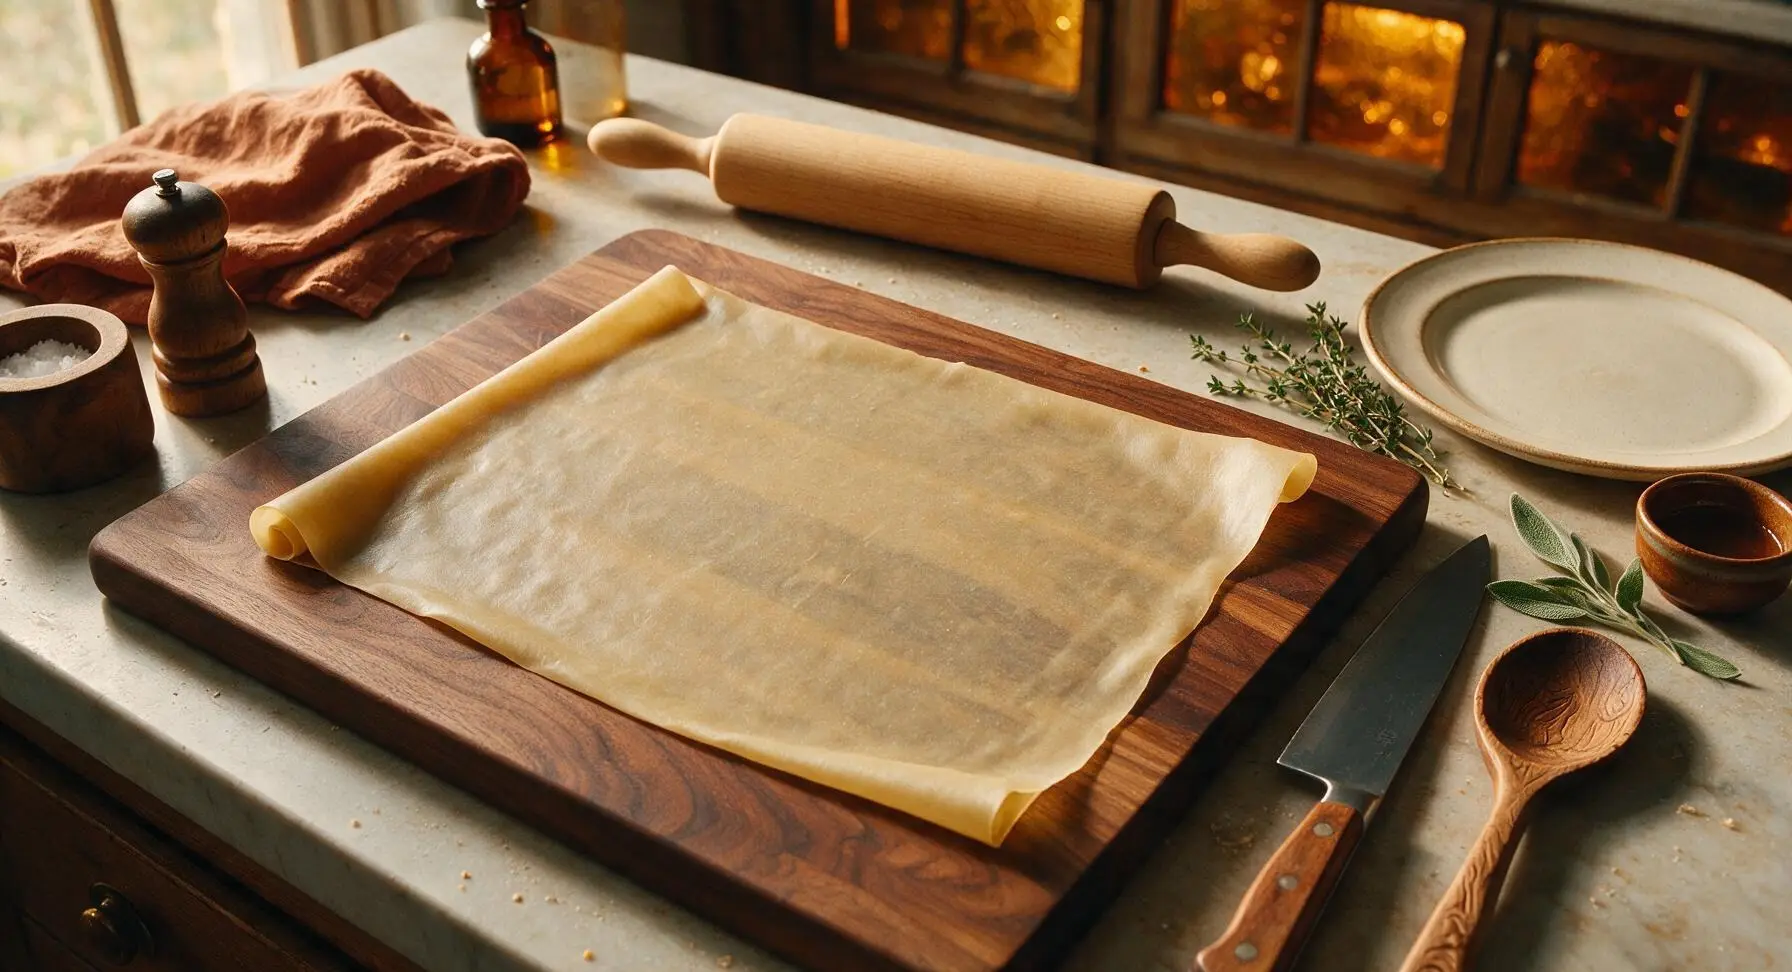
Bring the beech wood rolling pin to the top edge of the cutting board. Transfer the dough ball from the mixing bowl to the center of the acacia wood cutting board. Press into a 1cm thick flat disc with your palm, then use the rolling pin to roll the dough into an even, paper-thin sheet (1mm thickness, roughly the thickness of a standard credit card). Flip the dough once halfway through rolling to prevent sticking, only dusting with a tiny pinch of extra flour if the dough adheres to the pin. When fully rolled, you should be able to faintly see the acacia wood grain of the cutting board through the translucent dough.
Step 3
step3:Roll Dough Ultra Thin
Step 3
step3:Roll Dough Ultra Thin
4

Cut Tiny Squares

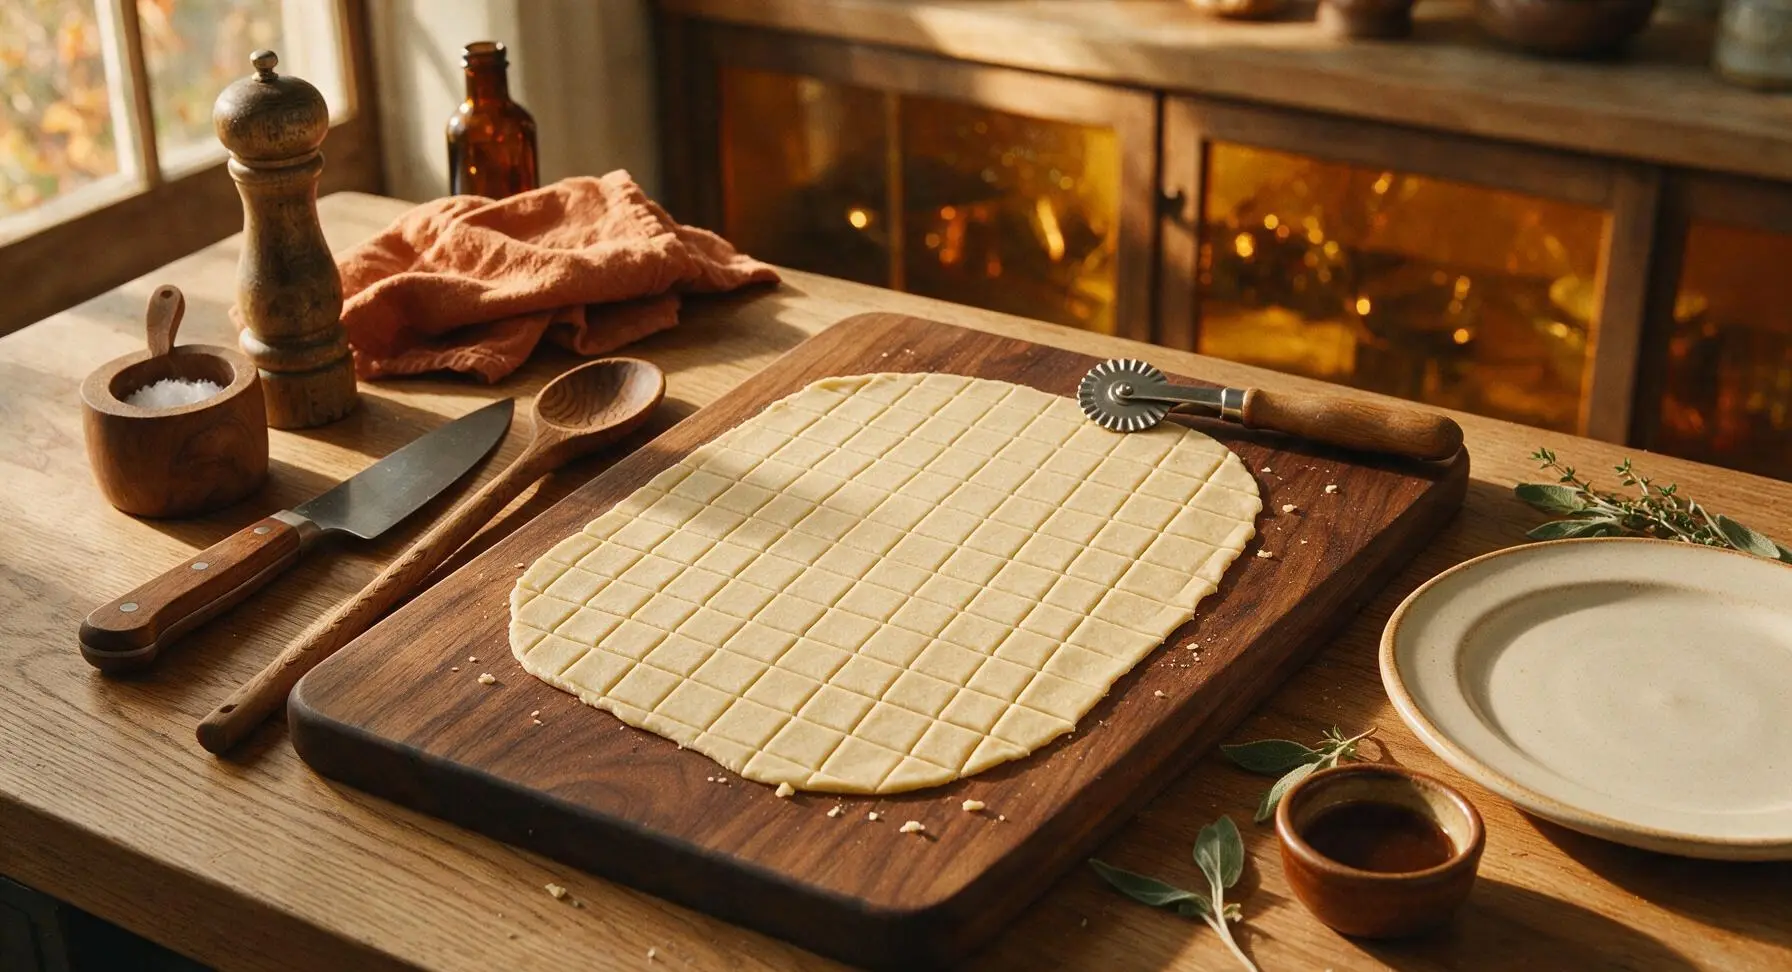
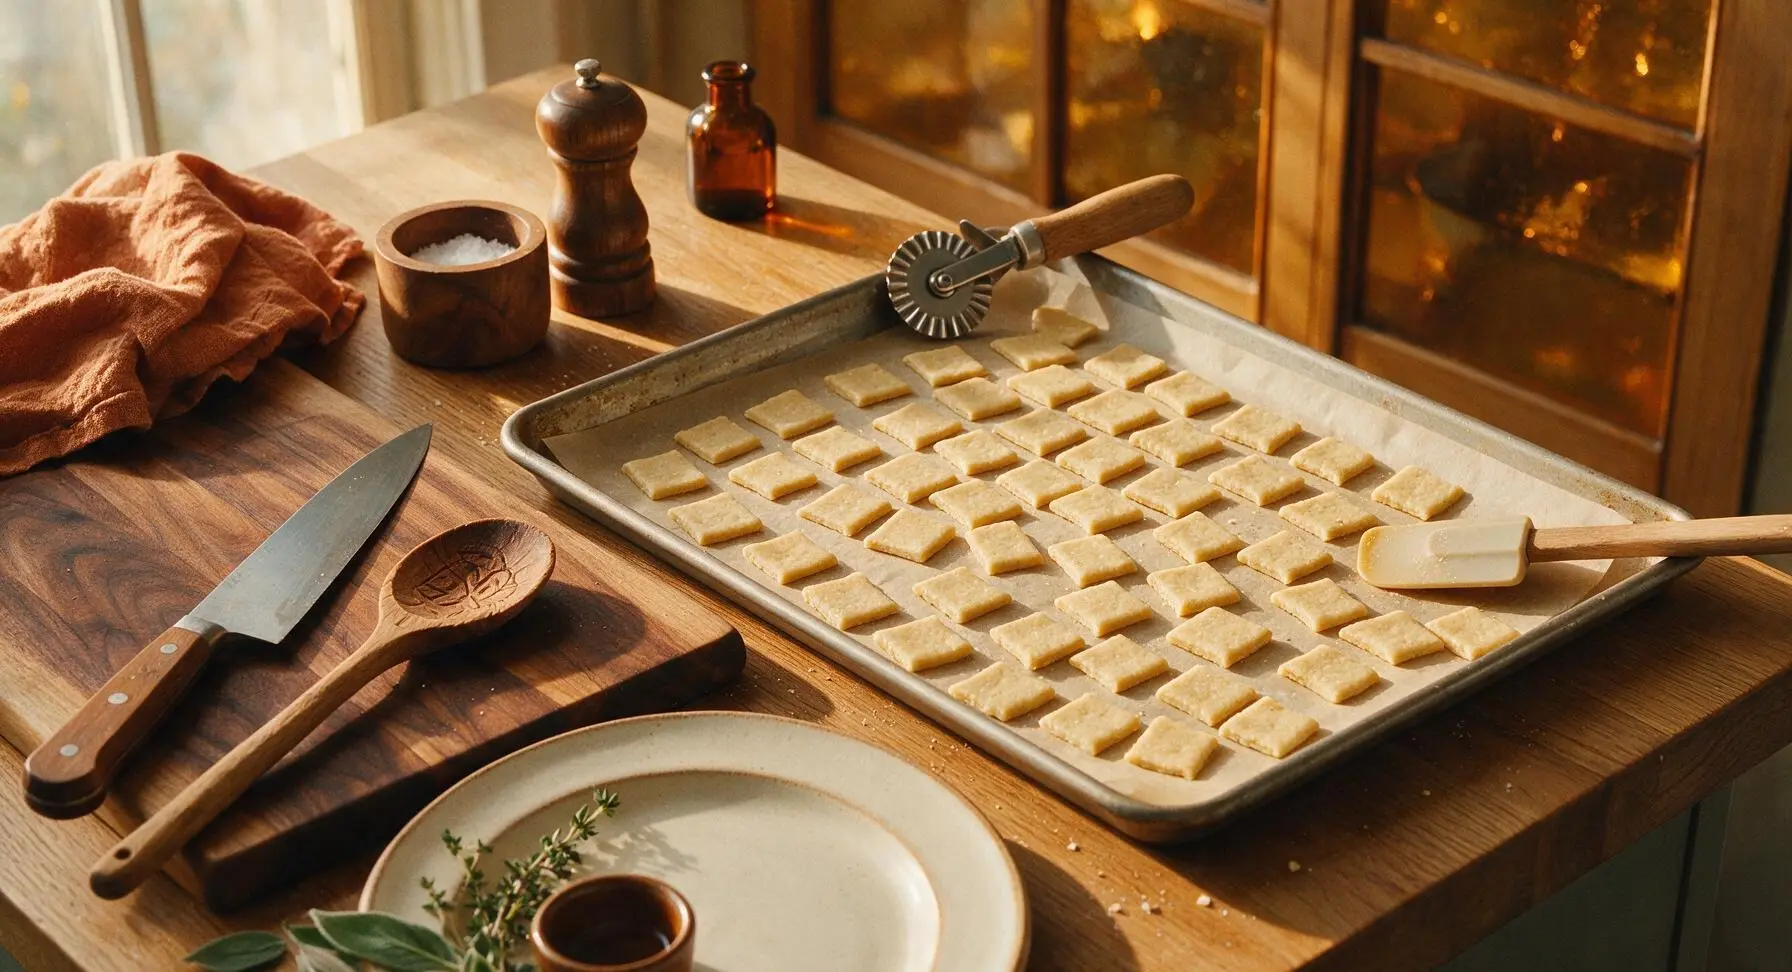
Bring the fluted pastry wheel to rest on the top edge of the baking sheet. Use the pastry wheel to cut the thin dough sheet into uniform 1cm x 1cm squares. First cut straight parallel vertical lines 1cm apart across the entire dough sheet, then cut horizontal lines 1cm apart to form a tight grid of tiny squares. You do not need to separate the squares fully at this stage, as they will break apart easily after baking. Gather any uneven edge scraps, re-roll them to the same 1mm thickness, and cut into squares to avoid waste. Use the silicone spatula to gently transfer all cut squares to the parchment-lined baking sheet, spreading them in a single even layer with 2mm gaps between pieces for air flow.
Step 4
step4:Cut Tiny Squares
Step 4
step4:Cut Tiny Squares
5

Bake Until Golden

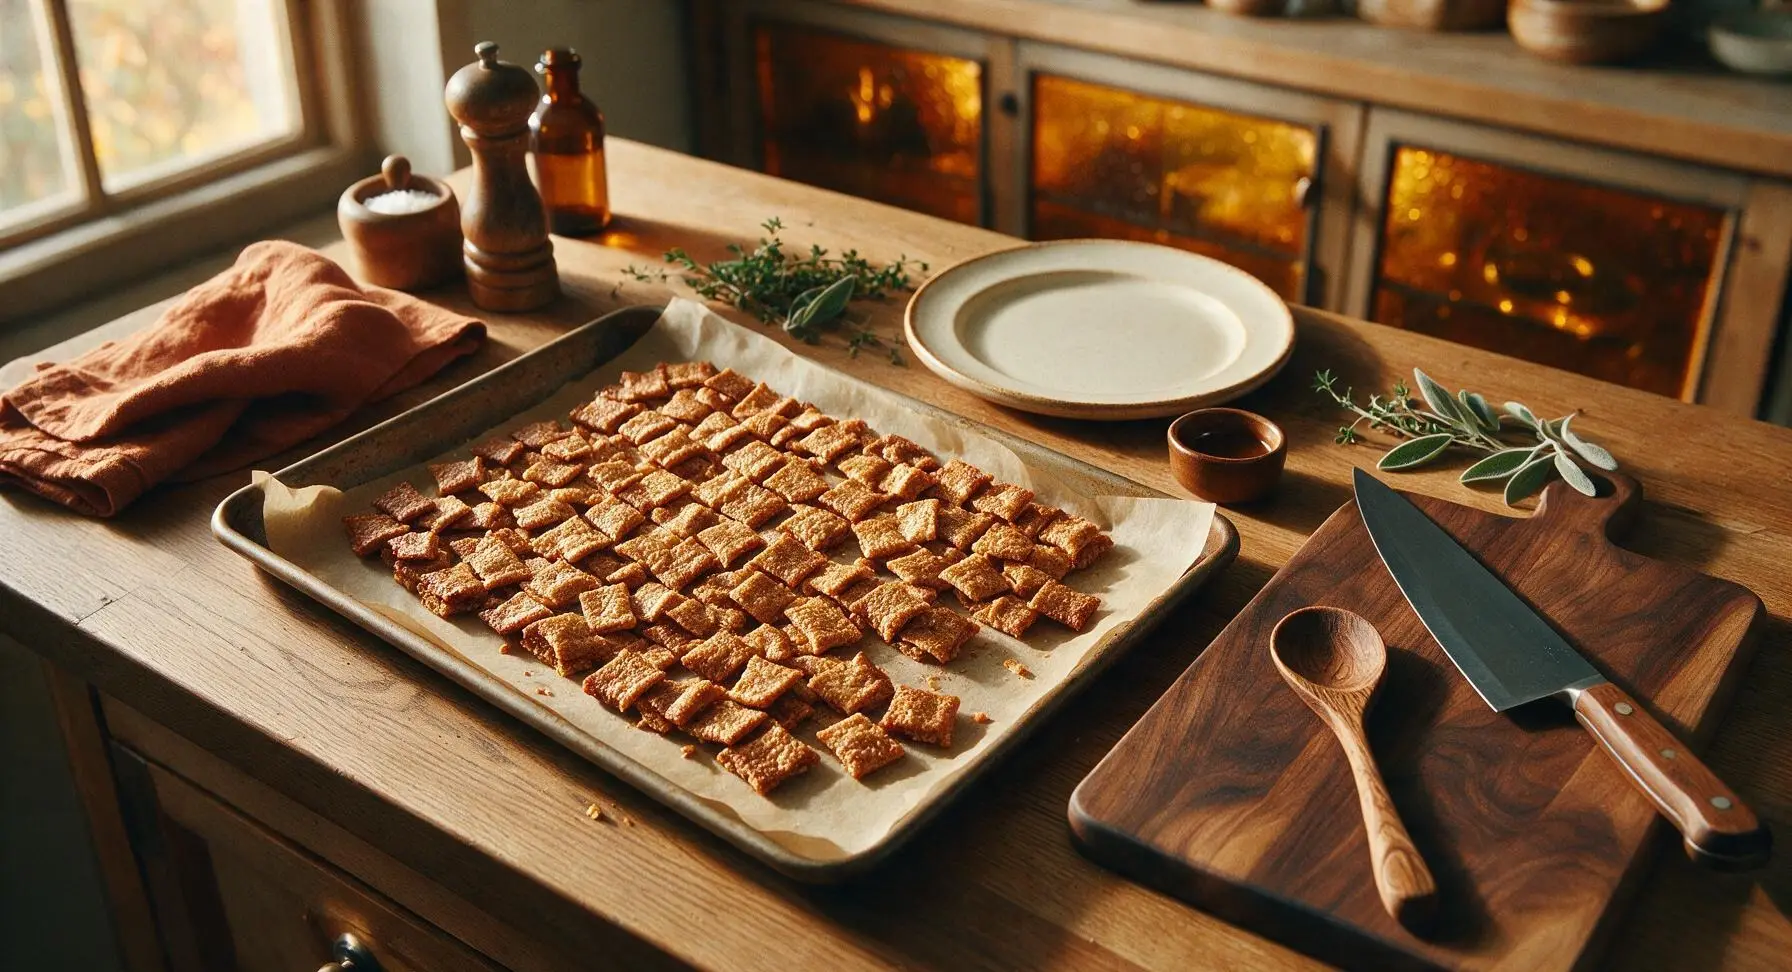
Carefully transfer the baking sheet to the middle rack of the preheated 350°F (175°C) oven. Bake for 12-15 minutes total, opening the oven at the 10 minute mark to gently stir the squares with the spatula for even toasting. The cereal is fully baked when every square is deep golden brown, with no pale, soft doughy spots remaining. Watch closely during the final 3 minutes of baking, as the ultra-thin dough burns very quickly once it reaches toasting temperature. Once done, return the baking sheet to its fixed position on the counter.
Step 5
step5:Bake Until Golden
6

Toss With Cinnamon Coating

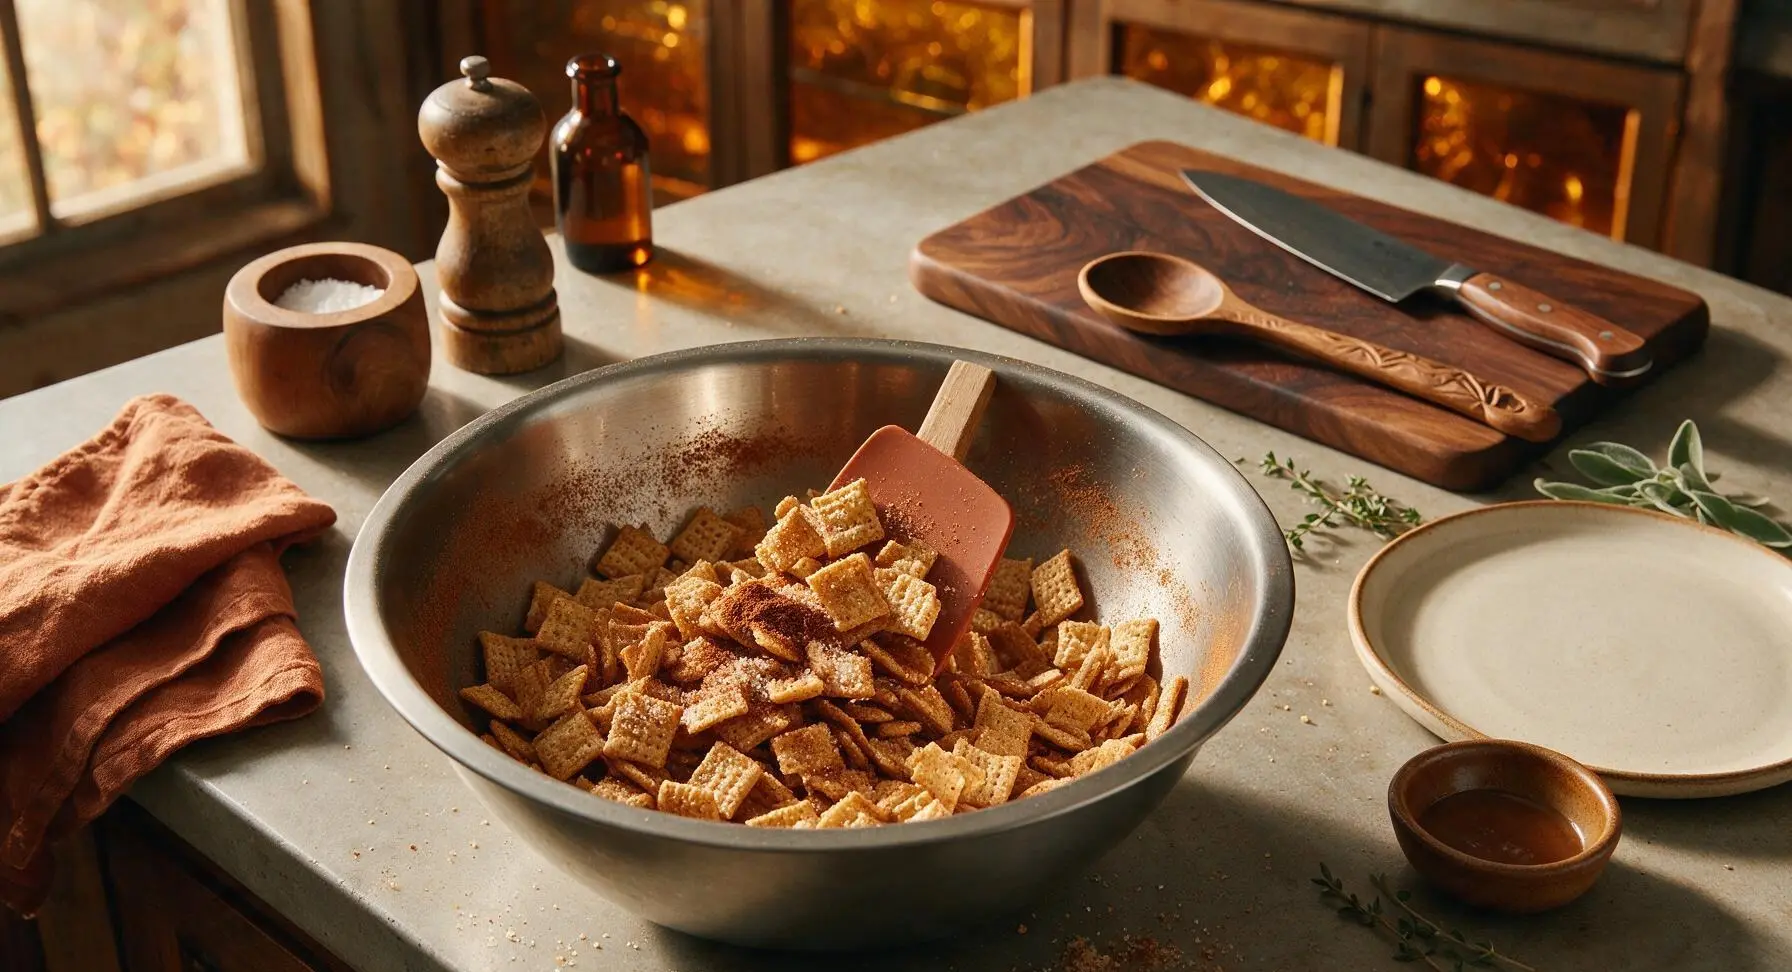
Let the baked squares cool on the baking sheet for 2 minutes (they should be warm, not piping hot, to avoid melting the coating too quickly). Transfer the warm squares back to the stainless steel mixing bowl, drizzle with the remaining 0.5 tbsp melted coconut oil, then sprinkle with the remaining 1 tbsp ground cinnamon and 2 tsp coconut sugar. Toss gently with the silicone spatula for 1 minute until every square is evenly coated, with no dry clumps of cinnamon or sugar left at the bottom of the bowl.
Step 6
step6:Toss With Cinnamon Coating
7

Cool Completely For Crunch

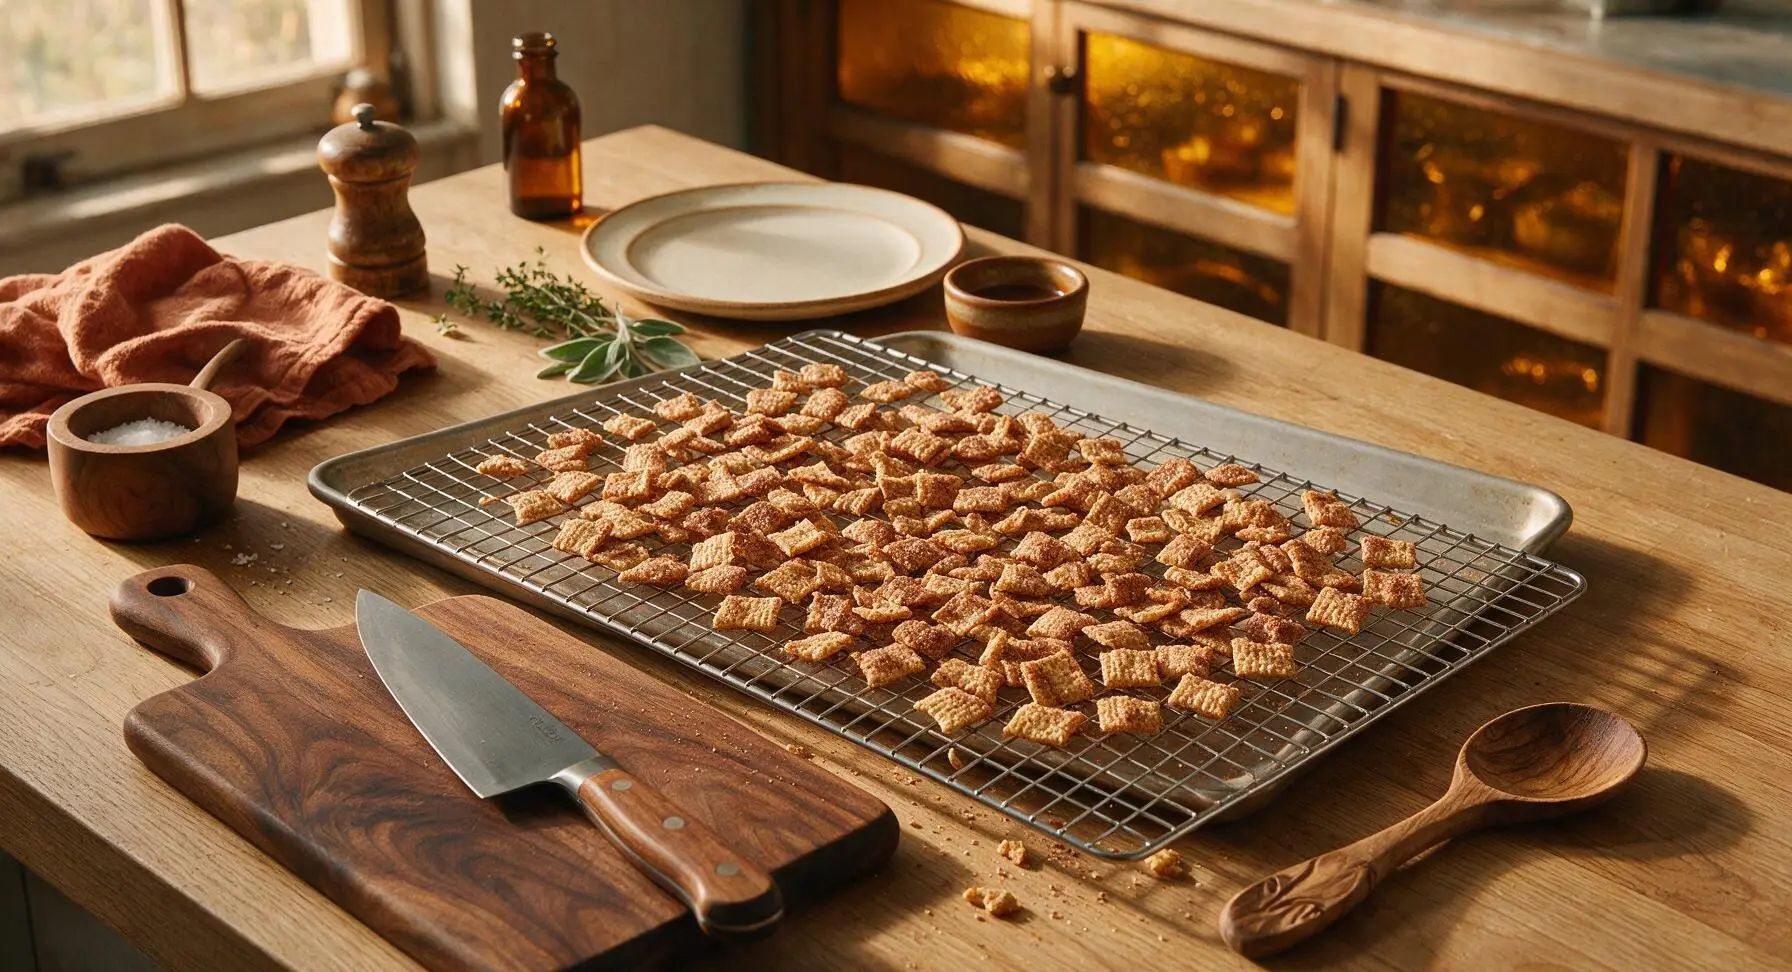
Set the chrome wire cooling rack in its fixed position 5cm in front of the baking sheet. Spread the cinnamon-coated cereal squares in a single even layer across the cooling rack. Let cool completely for 20 minutes at room temperature, resisting the urge to pile the warm squares into a bowl early—trapped steam from warm cereal will create soggy, soft pieces instead of the desired crisp crunch. The cereal will continue to crisp as it cools, reaching perfect crunchy texture once it is fully room temperature. Once cool, store in an airtight glass container for up to 1 week.
Step 7
step7:Cool Completely For Crunch

Tips

1.Roll dough to a full 1mm thickness (about the thickness of a credit card) for authentic crunch: any thicker and the centers will remain soft and cracker-like, as they won’t fully dehydrate during the short baking time.
2.Let baked squares cool 2 minutes before adding the cinnamon coating: piping hot squares will cause the coconut oil to soak in too fast, leading to clumpy, uneven cinnamon coverage instead of a light, even dusting on every piece.
3.Store fully cooled cereal in an airtight glass container at room temperature for up to 1 week: avoid storing in the fridge, as moisture from condensation will make the crispy squares turn soft and stale quickly.


✨ You May Also Like

Breakfast
🍜 United States

Crisp-edged, fluffy lard griddle cakes are a nostalgic homestyle staple, with rich savoriness from rendered lard, perfect topped with maple syrup or savory gravy.

⏱️ 25 minuteBreakfast ★ 4.8
Breakfast
🍜 United States

Flaky, buttery homemade buttermilk biscuits smothered in creamy, peppery pork sausage gravy: a beloved, hearty Southern American comfort food classic.

⏱️ 35 minuteBreakfast ★ 4.8
Breakfast
🍜 United States

Golden, custardy brioche stuffed with sweet cream cheese and fresh berries, pan-fried to crisp perfection. An indulgent, cozy breakfast perfect for slow weekend mornings.

⏱️ 30 minuteBreakfast ★ 4.7
Breakfast
🍜 United States

Flaky, buttery Southern-style biscuits stuffed with savory salty country ham, a portable, satisfying classic perfect for casual on-the-go meals.

⏱️ 25 minuteBreakfast ★ 4.8
Breakfast
🍜 United States

Iconic puffy baked pancake popularized in Seattle, with crisp golden edges and soft custardy center, served warm with classic sweet toppings.

⏱️ 35 minuteBreakfast ★ 4.6
Breakfast
🍜 United States

Fluffy, golden pancakes studded with juicy peak-summer mixed berries, drizzled with maple syrup for a bright, comforting, crowd-pleasing family breakfast.

⏱️ 25 minuteBreakfast ★ 4.7

healthy cinnamon toast crunch:Frequently Asked Questions

1.Is this healthy Cinnamon Toast Crunch actually as crunchy as the original store-bought version? ▾
It absolutely is, as long as you follow two key steps: roll the dough to an almost paper-thin 1/8-inch thickness before baking, and let the baked cereal pieces cool fully on the baking sheet for 10 minutes out of the oven. It stays crunchy in milk for 5 to 7 minutes, just like the classic processed version you remember.
2.Can I substitute whole wheat pastry flour if I only have regular whole wheat flour on hand? ▾
You can, but expect a slightly heartier, denser crunch instead of the light, crisp texture pastry flour delivers. If using regular whole wheat flour, sift it twice before mixing to remove extra coarse bran bits, and add 1 extra teaspoon of almond milk to keep the dough from being too crumbly to roll out. Skip high-protein bread flour, as it makes the cereal tough.
3.How long does this homemade cereal stay fresh after I make it? ▾
Stored in an airtight glass or plastic container at cool room temperature, away from direct sunlight or stovetop steam, it stays perfectly crisp for up to 10 days. Do not refrigerate it, as condensation inside the container will make pieces soggy. If it loses a little crunch after a week, toast it at 300°F for 3 minutes to refresh it.
4.I don’t have unrefined coconut oil—can I use another fat to make this cereal? ▾
Unrefined coconut oil gives the best subtle, toasty base that pairs perfectly with cinnamon, but you can swap it for melted unsalted butter or vegan buttery sticks for a similar texture. Avoid liquid vegetable oils like canola or light olive oil, as they will make the cereal greasy instead of crisp, and won’t hold the cinnamon coating well.
5.This recipe has zero refined sugar—does it actually taste sweet enough, like the original? ▾
The pure maple syrup adds just enough warm, caramel-like sweetness to match that nostalgic Cinnamon Toast Crunch flavor without the cloying refined sugar hit of the store-bought version. If you prefer a sweeter cereal, toss warm baked pieces with an extra 1/2 teaspoon of cinnamon mixed with 1 teaspoon of maple sugar right out of the oven.
6.Can I make this recipe gluten-free for family members with celiac disease or gluten sensitivity? ▾
Absolutely! Simply swap the whole wheat pastry flour for a 1:1 gluten-free all-purpose baking blend that contains xanthan gum to hold the dough together. Make sure your ground cinnamon and other ingredients are certified gluten-free to avoid cross-contamination, and roll the dough to the same thin thickness for ideal crunch.
7.Why do my cereal pieces come out soft instead of crispy when I make this? ▾
Soft cereal almost always traces back to one of three common missteps: you rolled the dough too thick, your oven ran cooler than its set temperature (use an oven thermometer to confirm it hits 350°F), or you pulled pieces out before they turned a deep golden brown. Pieces crisp as they cool, so don’t pull them early if they look pale.
8.What kind of milk pairs best with this homemade cinnamon cereal? ▾
Unsweetened plain almond milk, as noted in the ingredient list, is the classic pairing, since its mild, nutty flavor doesn’t overpower the warm cinnamon notes. It also pairs beautifully with cold oat milk, dairy whole milk, or even plain Greek yogurt for a higher-protein breakfast. Skip heavily sweetened vanilla plant milks, which mask the subtle whole-grain flavor.
9.Can I add extra mix-ins to this cereal for more flavor and texture? ▾
Definitely! Once the baked cereal is fully cooled, you can toss in 2 tablespoons of mini unsweetened dried apple chips, a sprinkle of chia seeds, or a handful of low-sugar white chocolate chips for a fun twist. Wait to add mix-ins until right before storing, though—moist add-ins like fresh fruit will make crunchy pieces go soggy fast.
10.Do I need any special equipment to make this cereal at home? ▾
You don’t need any fancy gadgets! A standard rolling pin, rimmed baking sheet, and parchment paper are all you need to pull this recipe off. If you have a pizza cutter, it makes quick work of slicing rolled dough into tiny, uniform 1/4-inch squares, but a regular sharp kitchen knife works just as well to cut pieces before baking.

Comments (13)

2 hours ago

OMG this is such a game changer! I’ve been craving Cinnamon Toast Crunch for weeks but didn’t want all the added sugar, and this version hits every single note. My 7 year old asked for seconds before he even finished his first bowl! Total win for school morning breakfasts.

1 hour ago

Wait did you use the almond flour option listed in the swaps? I’ve been nervous to try that instead of whole wheat, curious how it turned out!

45 minutes ago

So glad your kiddo loved it, Molly! The almond flour swap works perfectly for a gluten-free version, just make sure to press the dough thin enough for that signature crunch!

3 days ago

Super easy to throw together for meal prep on Sundays! I made a double batch last weekend and it stayed crunchy all week in an airtight container. I added a tiny handful of mini marshmallows to my bowl last night for a little treat, chef’s kiss.

2 days ago

Love the marshmallow add-in, Lila! That sounds like such a fun twist on the classic cereal milk vibe. So happy it held up for your weekly meal prep!

5 days ago

Tastes pretty close to the original, but I burned the first batch because I walked away for 2 minutes while it was in the oven. Definitely set a timer! The 10 minute mark was perfect for my oven once I paid attention.

1 week ago

Brought this to my neighborhood potluck last weekend and people were begging for the recipe! I had no idea a homemade, healthier version could be this easy. Even my neighbor who swears he “hates healthy food” went back for a third helping.

6 days ago

Wait did you serve it as a cereal with milk, or as a snack mix? I’m supposed to bring a snack to my book club next week and this sounds perfect!

5 days ago

That’s the best potluck win! This works great both as a cereal with your favorite milk and as a crunchy standalone snack—perfect for book club!

30 minutes ago

Quick question—can I use maple syrup instead of honey for the sweetener? My toddler is under 1 so we avoid honey right now, and I’d love to make this for the whole family.

15 minutes ago

Great question, Tyler! Pure maple syrup works as a perfect 1:1 swap for honey here, it gives the cereal a slightly warmer, nuttier sweetness that pairs so well with the cinnamon. No other adjustments needed!

yesterday

SO good. I was skeptical at first because so many “healthy copycat” recipes taste like cardboard, but this has that perfect cinnamon-sugar crunch I remember from childhood. 10/10 will be making this again.

2 weeks ago

Cook time was spot on for me, 15 minutes total from getting the ingredients out to pulling it out of the oven. I used coconut oil instead of butter and it still tasted amazing, didn’t notice a coconut flavor at all.

1 week ago

Oh good to know about the coconut oil swap! I’m dairy free so that’s exactly what I was planning to use, now I’m even more excited to make it this weekend.

2 days ago

My kids loved it! They’ve been turning their noses up at every healthy breakfast I’ve tried lately, so I was shocked when they asked if we could have “the crunchy cinnamon stuff” again for dinner. I did add a little extra cinnamon because we are cinnamon obsessed in this house.

1 day ago

How much extra cinnamon did you add? I’m also a cinnamon fiend, I never think recipes call for enough!

20 hours ago

That’s the best kid approval we could ask for! Adding extra cinnamon is always a good call—we usually do an extra 1/2 teaspoon when we make it for our own cinnamon-obsessed households too.

5 minutes ago

Solid recipe, but I wish the instructions specified how small to cut the dough squares. I cut mine a little too big the first time, so they were more like cinnamon crackers than cereal. Tasted great, just not the texture I was going for.

3 days ago

Game changer for my post-workout snacks! I portion this out into little baggies to grab on my way out the door, and it’s way more satisfying than the boring protein bars I used to eat. I sprinkle a little chia seed on top before baking for extra fiber.

2 days ago

The chia seed add-in is genius, Carla! That extra fiber and protein makes this such a great balanced snack for busy days. Love the portion bag idea for on-the-go!

just now

Wait is this actually crunchy? I tried another healthy Cinnamon Toast Crunch copycat a few months ago and it got soggy 2 seconds after pouring almond milk on it, total waste of time.

just now

I made this last week and it stayed crunchy for like 10 minutes in oat milk, no sogginess! Just make sure you bake it until the edges are golden, don’t pull it out early.

just now

Hi Evan! The key to that long-lasting crunch is rolling the dough super thin (about 1/8 of an inch) and letting it cool completely on the baking sheet after it comes out of the oven—no soft, soggy cereal promise!

1 week ago

So easy even my teen could make it without help! He’s been trying to learn simple recipes for when he goes off to college next year, and this was the perfect first baking project. No fancy equipment needed, just a bowl, a rolling pin, and an oven.

5 days ago

That’s such a good idea! I’m always looking for easy recipes to teach my high schooler too, he’s been living off microwave popcorn lately so this will be a nice upgrade.

2 weeks ago

Made this for my Sunday brunch spread last week and got so many compliments. I served it alongside yogurt parfaits and fresh fruit, and people loved sprinkling it on top for extra crunch. Will 100% be adding this to my regular brunch rotation.



