
healthy mexican casserole

title 1
healthy mexican casserole
⏱️ cook time 30 minutes
🍽️ servings 6
⚡ Difficulty easy

intro

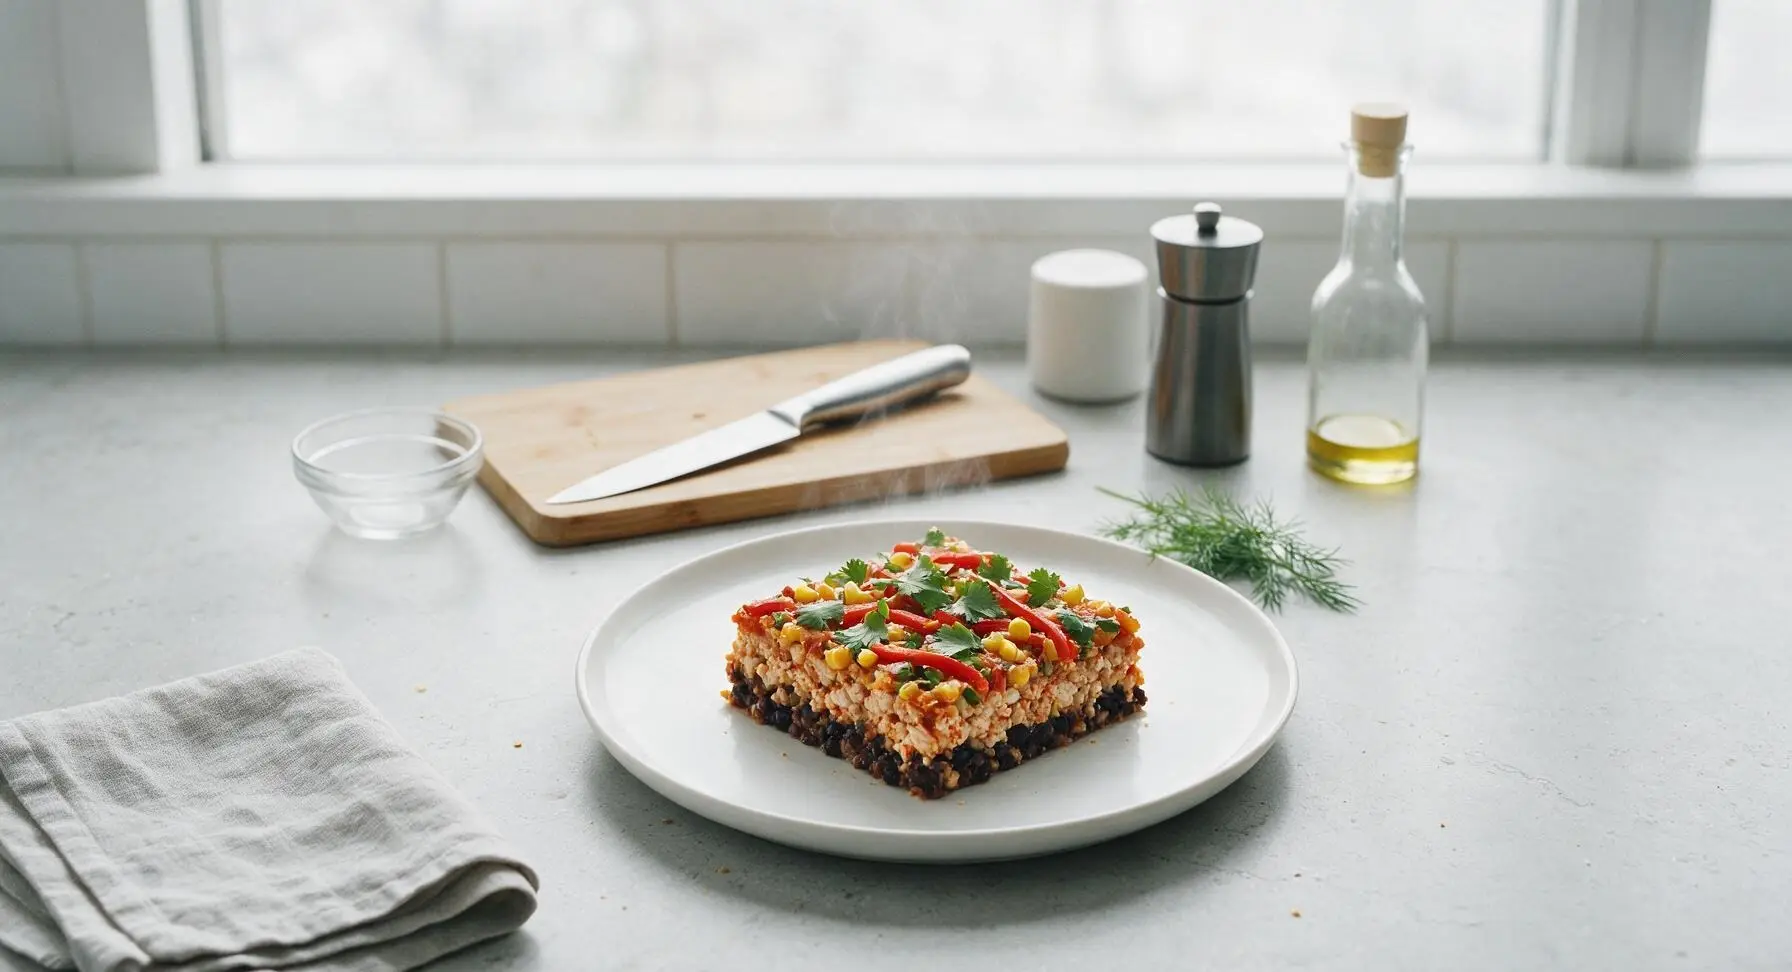
A protein-packed, veggie-loaded layered Mexican casserole lightened up with whole grains, lean turkey, and fresh toppings, delivering bold zesty flavor for quick, satisfying weeknight meals.

Ingredients
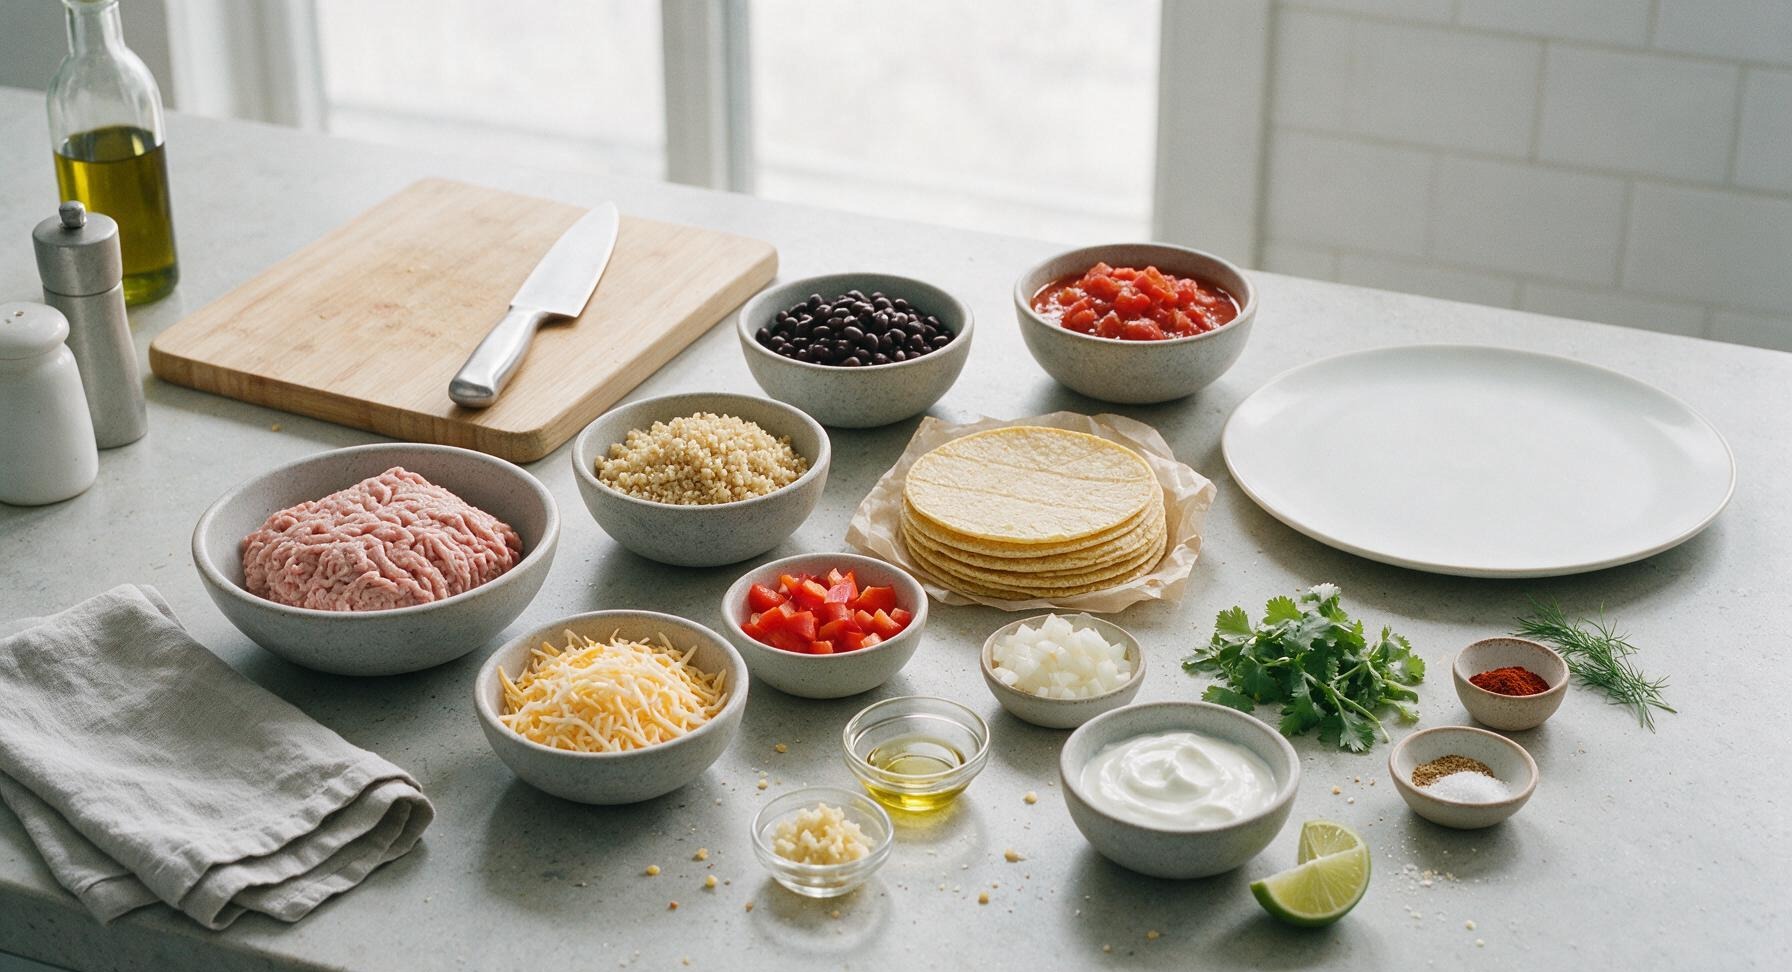
Extra-lean ground turkey (93/7) 450g
Cooked quinoa 1 cup (185g)
Low-sodium black beans, rinsed and drained 1 can (425g, 255g drained weight)
Frozen sweet corn, thawed 1 cup (165g)
No-salt-added fire-roasted diced tomatoes 1 can (400g)
Whole-grain corn tortillas (15cm diameter) 6 each
Reduced-fat shredded Mexican cheese blend 1.5 cups (170g)
Medium red bell pepper, diced 1 each (150g)
Small yellow onion, diced 1 each (100g)
Garlic cloves, minced 3 each (10g total)
Extra-virgin olive oil 1 tbsp (15ml)
Chili powder 2 tbsp
Ground cumin 1 tsp
Smoked paprika 1 tsp
Garlic powder 1/2 tsp
Fine sea salt 1/2 tsp
Fresh cilantro, divided 1/4 cup (10g)
Non-fat plain Greek yogurt, for serving 1/2 cup (120g)
Medium lime, cut into wedges 1 each (60g)

Steps

1

Preheat Oven, Prep Dish

Preheat your oven to 190C (375F). Use a small scrap of paper towel to rub 1/4 teaspoon of olive oil across the interior bottom and 1cm up the sides of the 9x13 inch matte white ceramic baking dish, creating a thin non-stick coating. Set the prepared dish on the back section of the counter while you prep the filling.
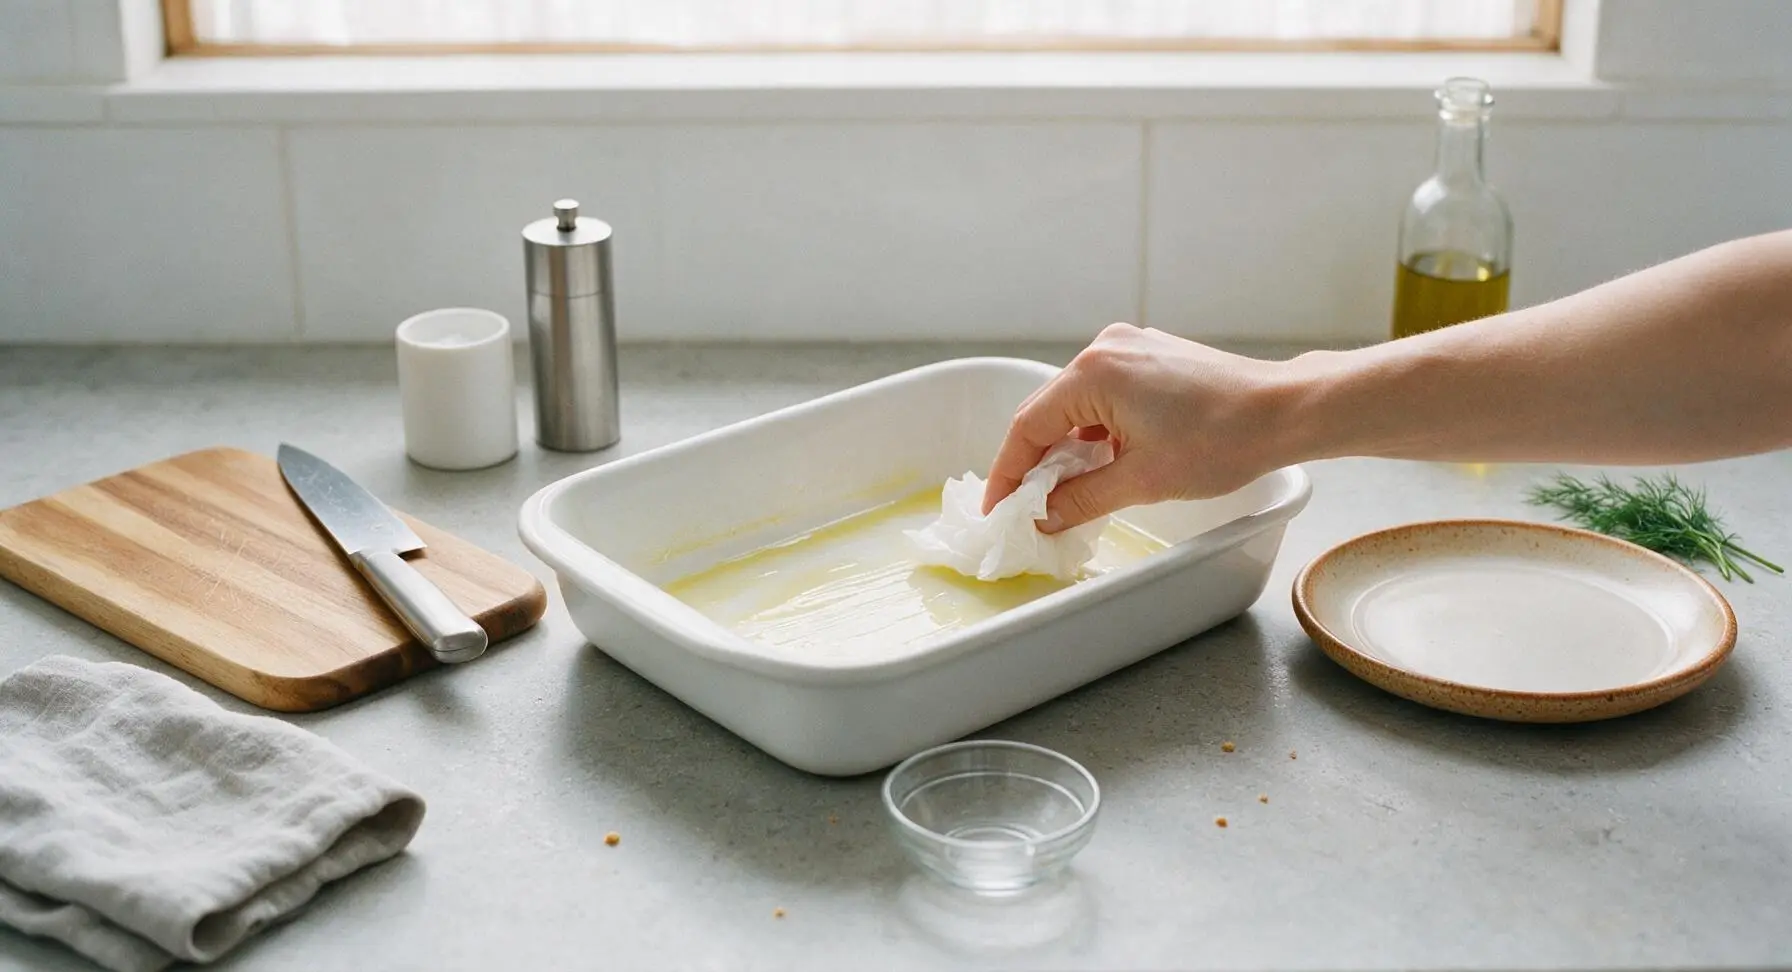
Step 1
step1:Preheat Oven, Prep Dish
2

Sauté Aromatic Vegetables

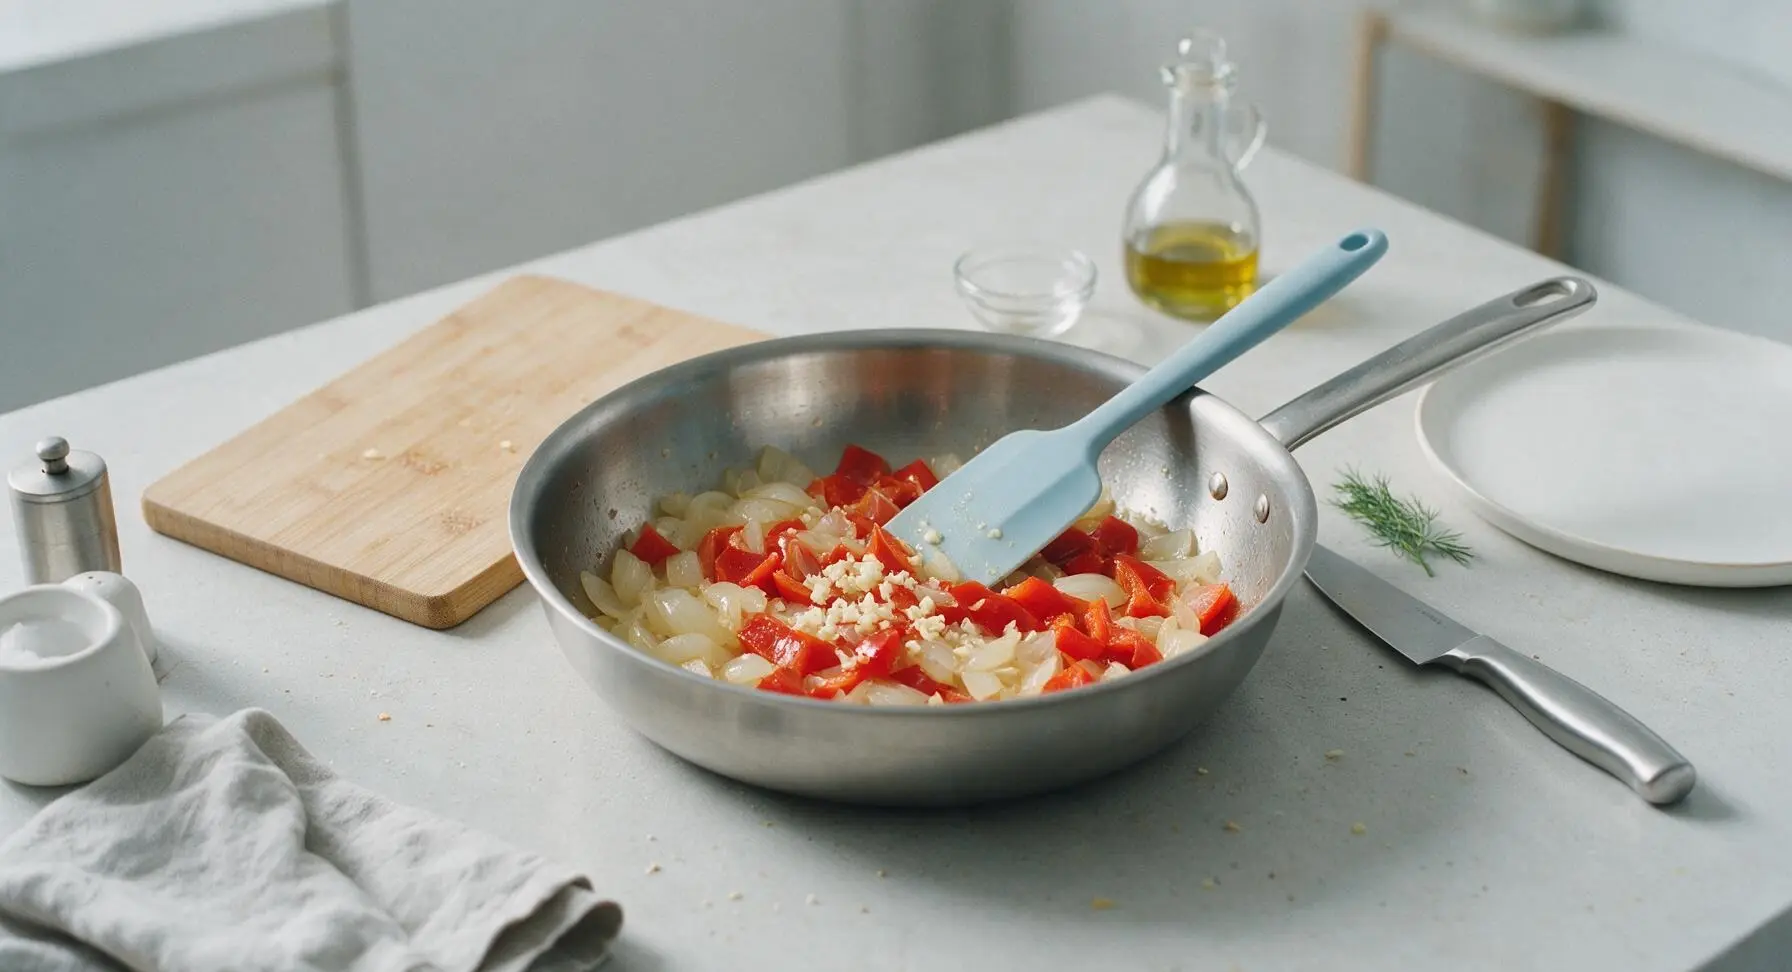
Heat the remaining 1 tablespoon of olive oil in the 10-inch brushed stainless steel skillet over medium heat. Add diced yellow onion and red bell pepper to the pan, cooking for 4 minutes, stirring occasionally with the light blue silicone spatula, until vegetables are soft and slightly translucent. Add minced garlic and cook for 30 seconds more, until fragrant – do not let the garlic turn dark brown, as it will develop a bitter flavor.
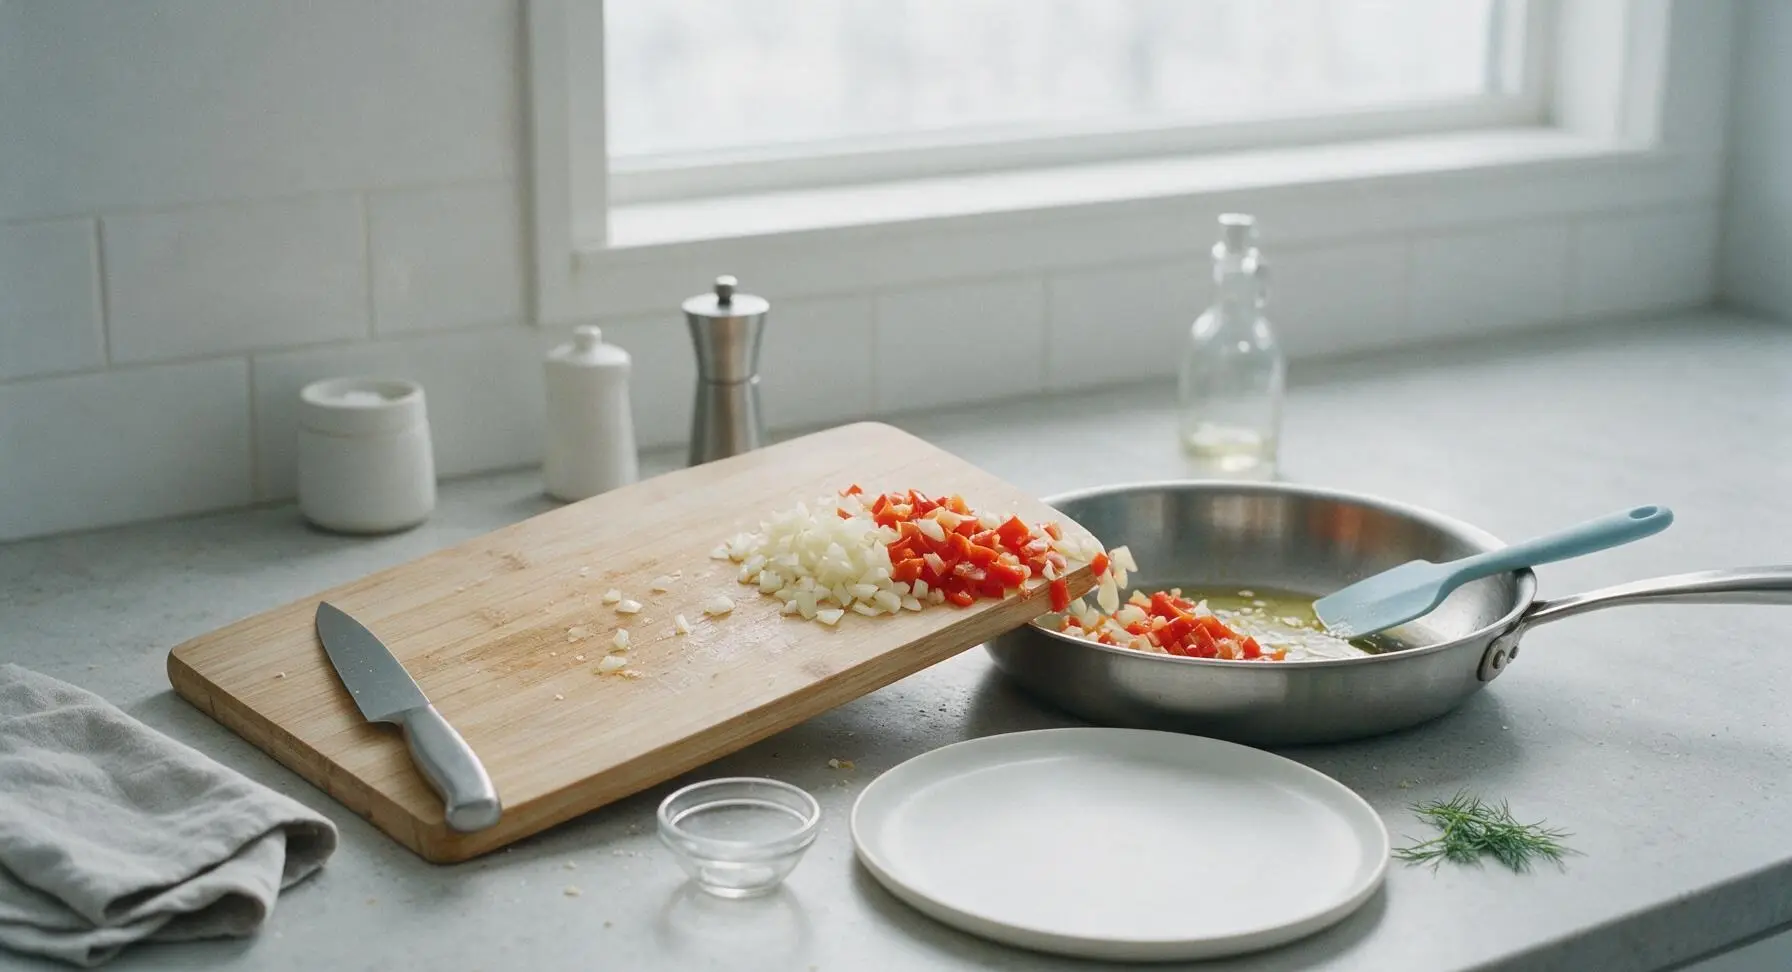
Step 2
step2:Sauté Aromatic Vegetables
Step 2
step2:Sauté Aromatic Vegetables
3

Brown Turkey and Spices

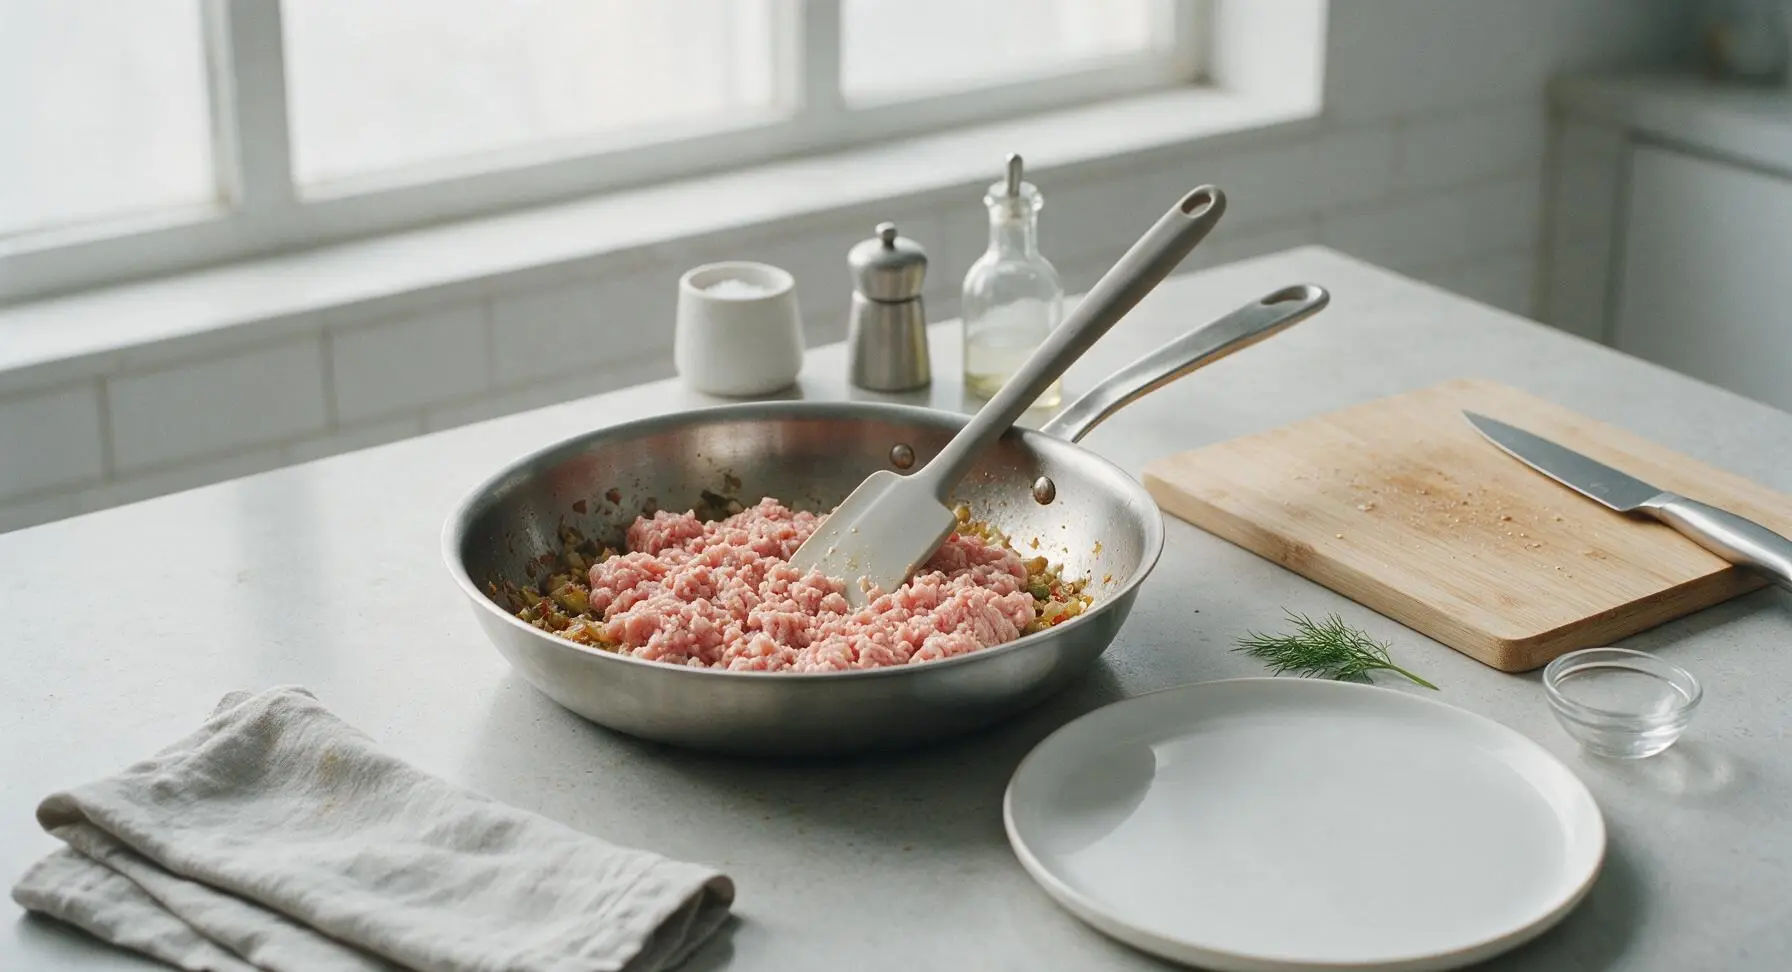
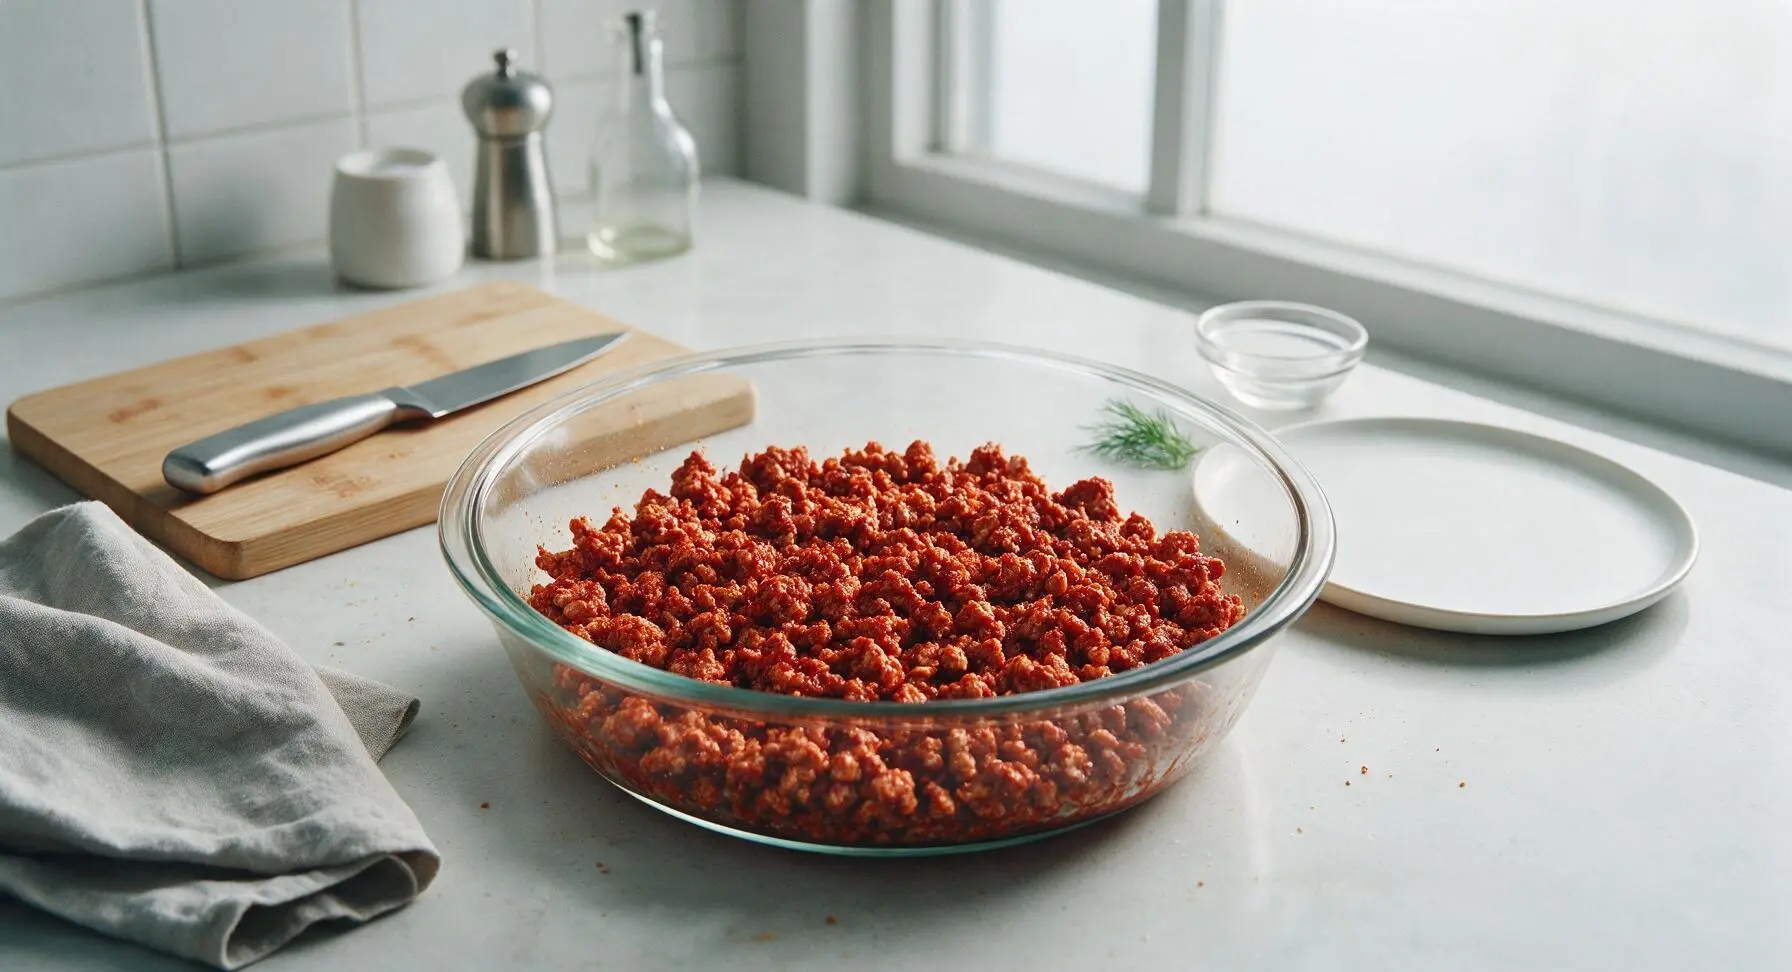
Add the 450g extra-lean ground turkey to the skillet with the cooked aromatics. Use the silicone spatula to break the turkey into small, even crumbles as it cooks, for 5-6 minutes, until no pink meat remains. Add chili powder, ground cumin, smoked paprika, garlic powder, and sea salt, stirring to coat the turkey evenly, and cook for 1 additional minute to toast the spices and deepen their flavor.
Step 3
step3:Brown Turkey and Spices
Step 3
step3:Brown Turkey and Spices
4

Mix Filling Ingredients

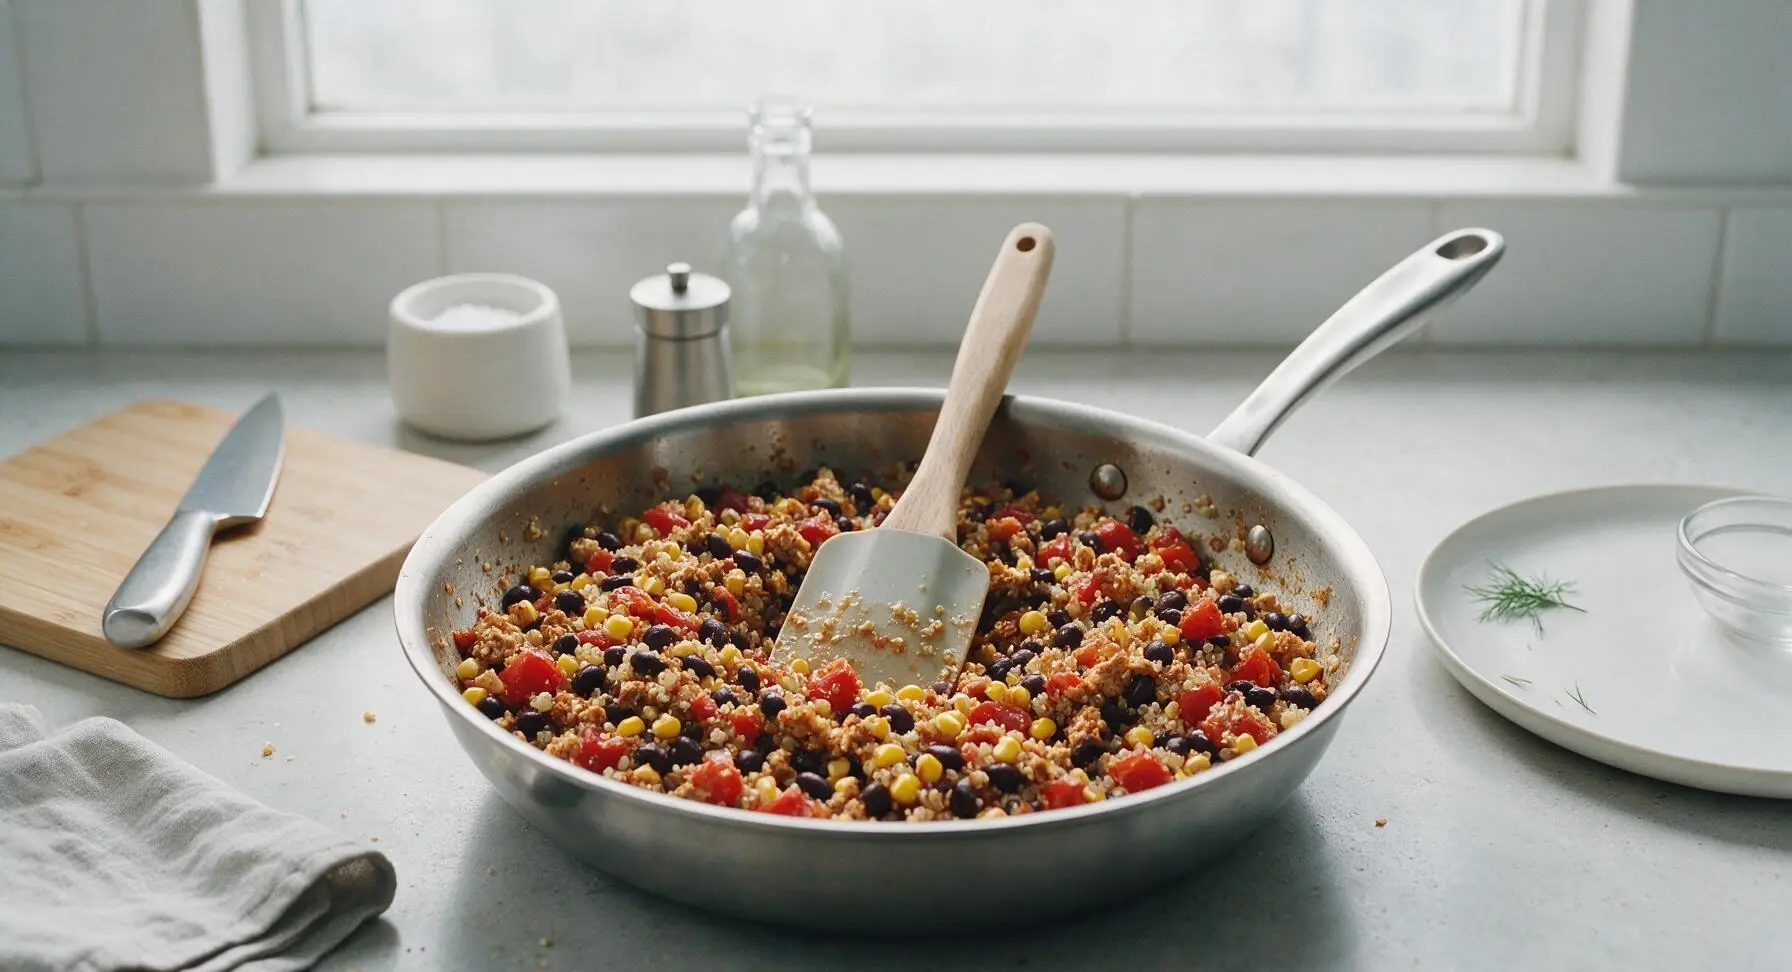
Remove the skillet from heat. Add rinsed drained black beans, thawed sweet corn, undrained fire-roasted diced tomatoes, and cooked quinoa to the pan. Stir thoroughly with the silicone spatula until all ingredients are evenly distributed throughout the spiced turkey, creating a cohesive, colorful filling.
Step 4
step4:Mix Filling Ingredients
5

Layer Casserole Base

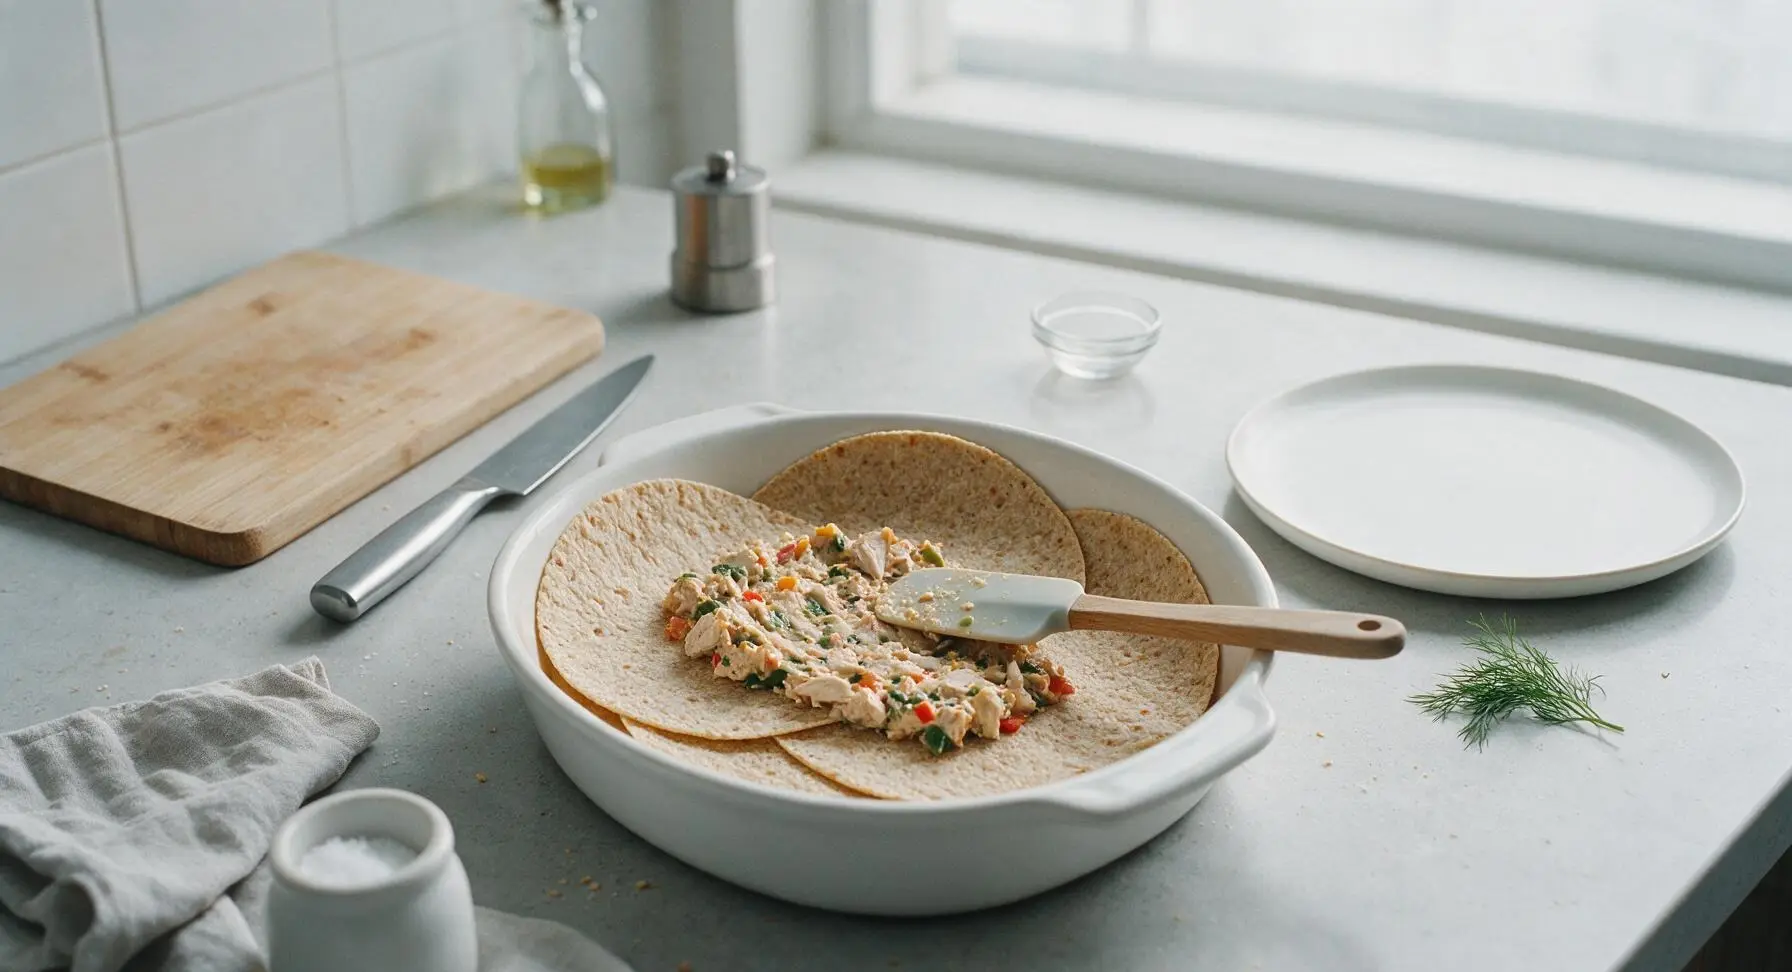
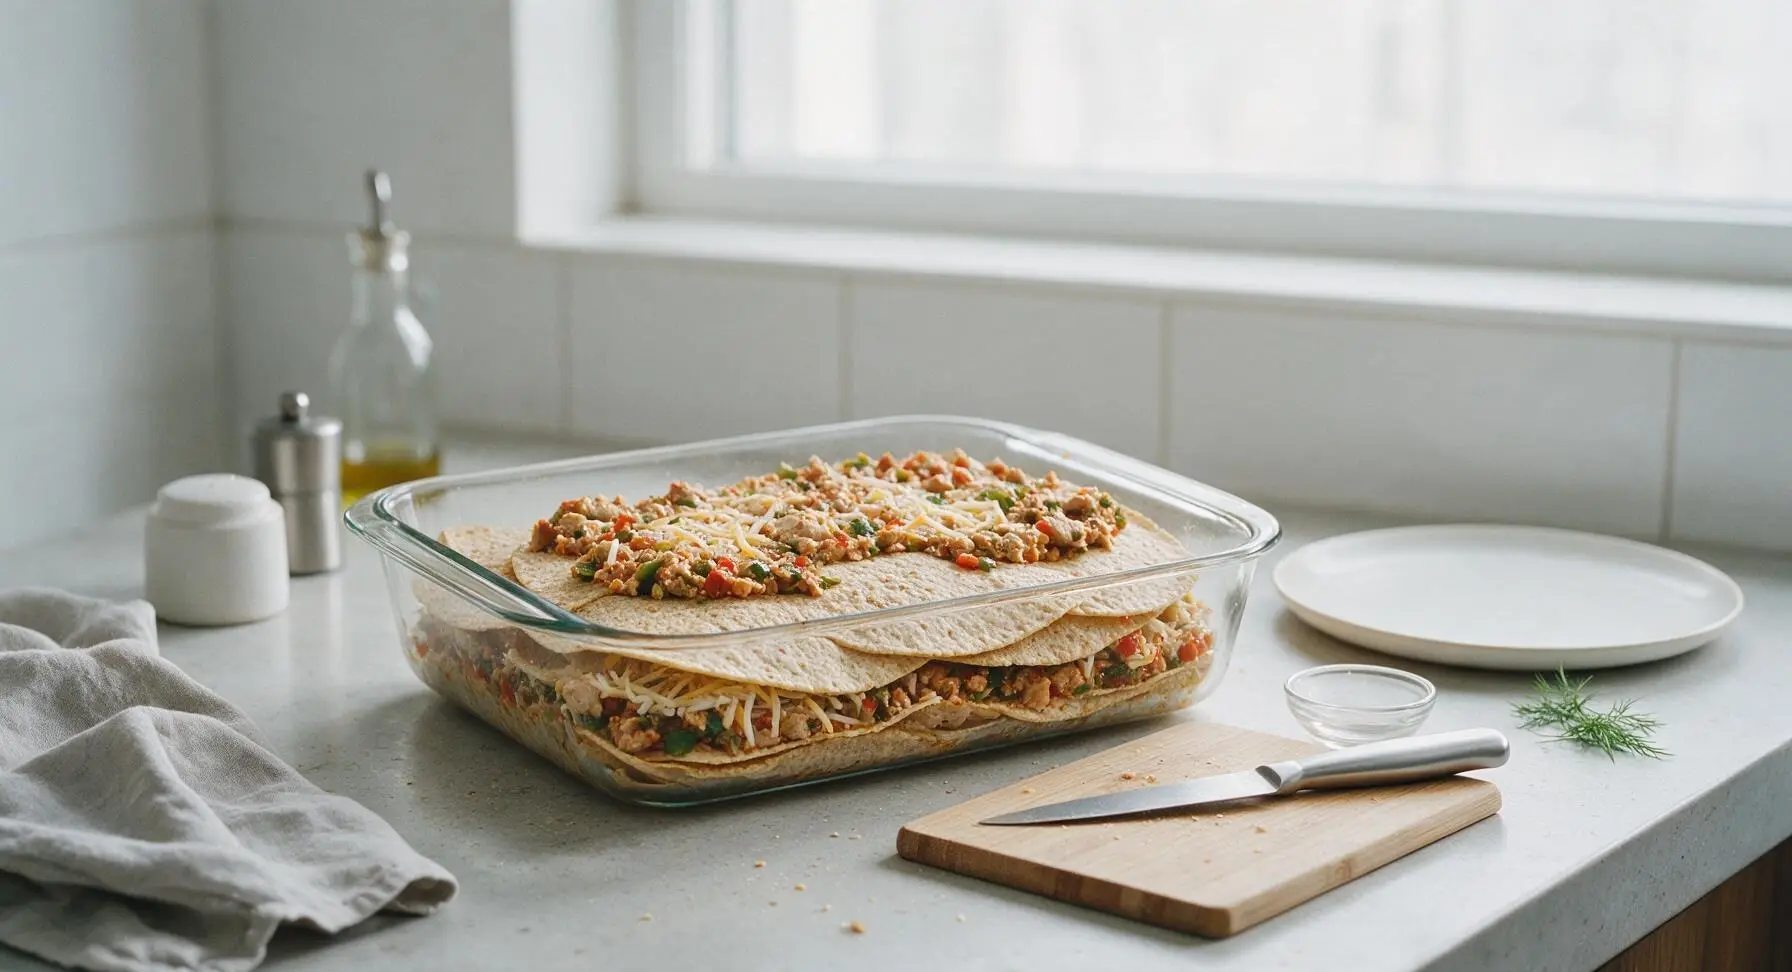
Arrange 3 whole-grain corn tortillas in a single, slightly overlapping layer across the bottom of the prepared baking dish, covering the entire base. Spread half of the turkey-veggie filling evenly over the tortillas, then top with 1/2 cup of shredded cheese. Repeat with a second layer of the remaining 3 tortillas, and the remaining half of the filling, pressing gently with the spatula to compact the layers so they hold together when sliced.
Step 5
step5:Layer Casserole Base
Step 5
step5:Layer Casserole Base
6

Bake Until Golden Bubbly

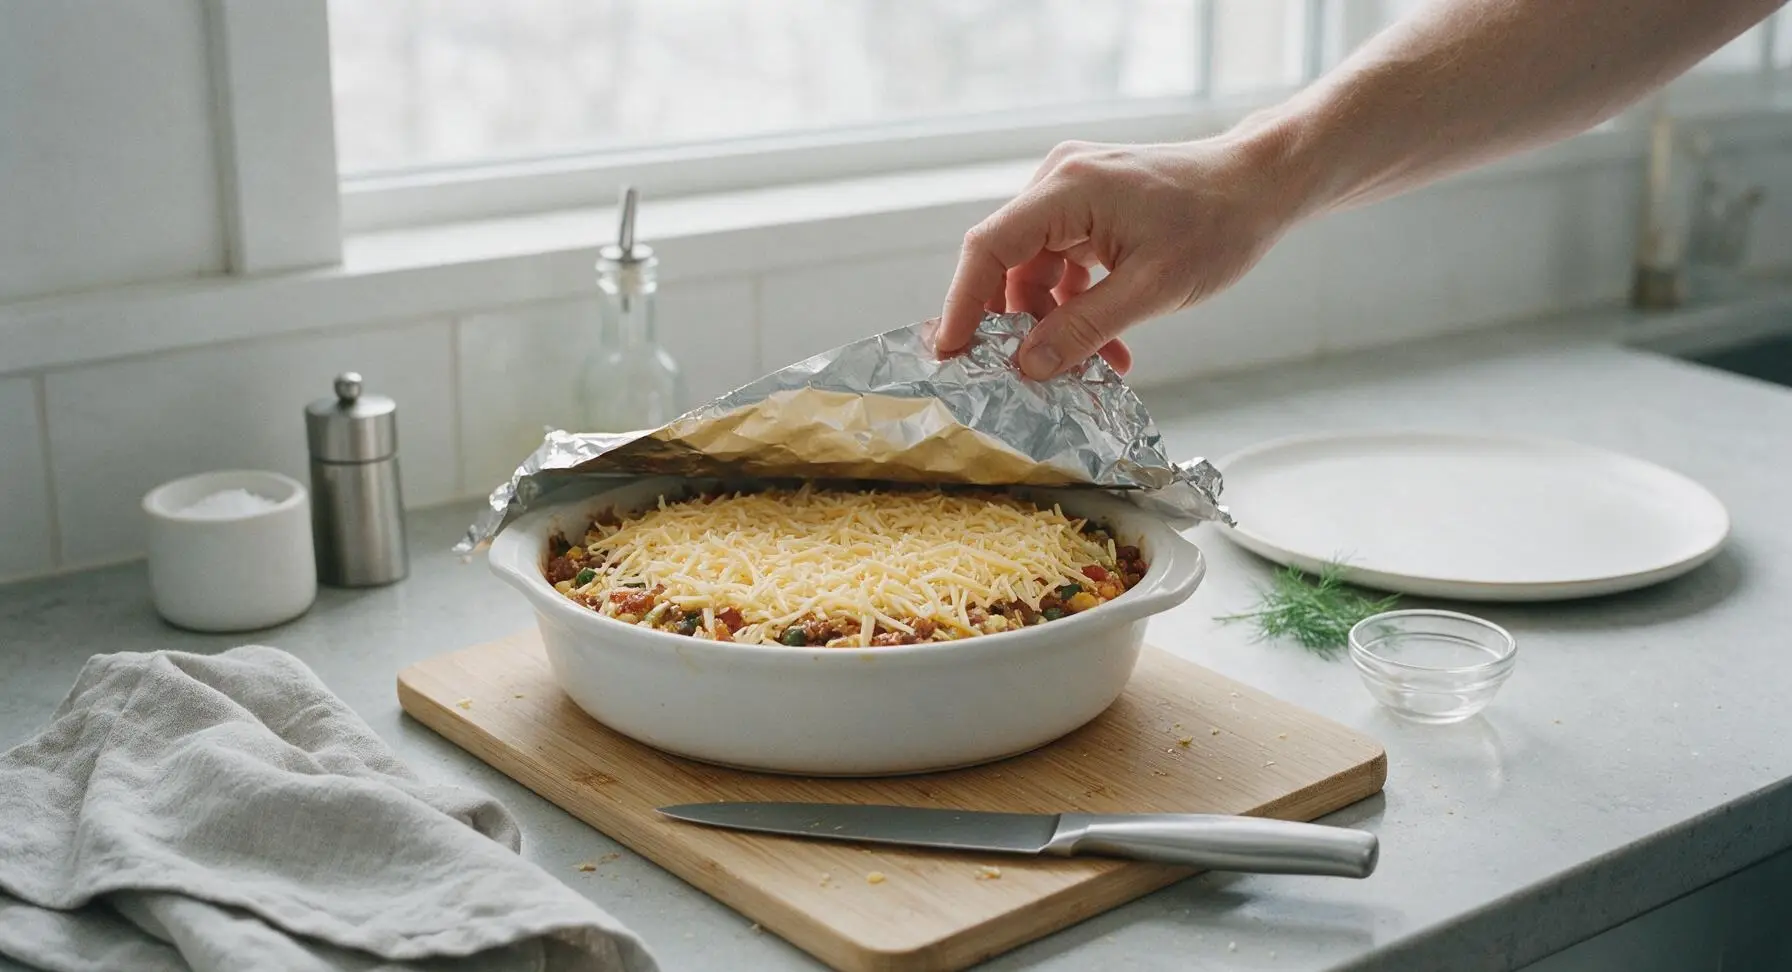
Sprinkle the final 1/2 cup of shredded cheese evenly over the top of the casserole filling. Cover the dish tightly with a sheet of aluminum foil, crimping the edges to seal in steam. Bake in the preheated 190C (375F) oven for 20 minutes covered, then remove the foil and bake for 10 minutes more, until the top cheese is melted, dotted with golden brown spots, and the sauce bubbles gently around the dish edges.
Step 6
step6:Bake Until Golden Bubbly
7

Rest and Garnish

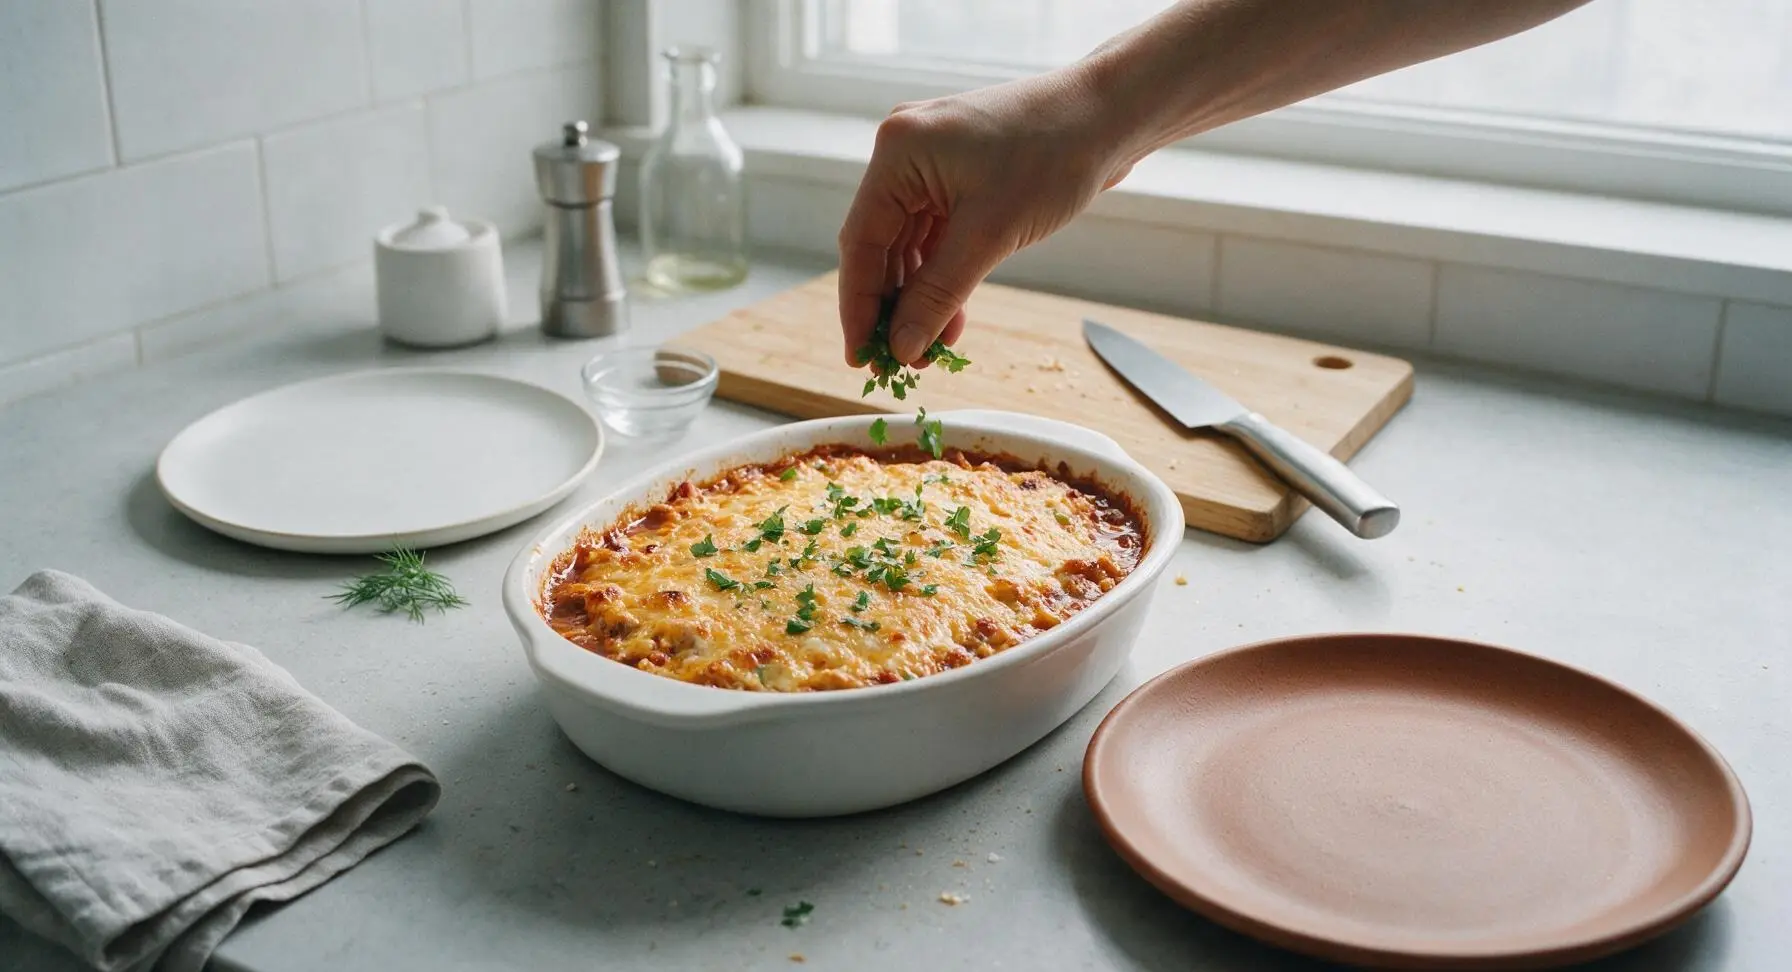
Remove the baked casserole from the oven, and let it rest uncovered for 5 minutes at room temperature to allow layers to set. Sprinkle 2 tablespoons of chopped fresh cilantro over the warm, cheesy top before slicing into 6 equal square portions. Serve with remaining cilantro, lime wedges, and plain Greek yogurt as a lighter alternative to sour cream.
Step 7
step7:Rest and Garnish

Tips

1.Don’t skip the 5-minute rest after baking: cutting into the casserole immediately causes layers to slide apart and filling to spill, while resting lets tortillas absorb excess moisture and cheese set for clean, holdable slices.
2.For a 100% gluten-free version, use certified gluten-free corn tortillas (many conventional brands include wheat fillers to prevent sticking) and certified gluten-free shredded cheese to avoid cross-contamination.
3.This casserole is ideal for meal prep: assemble the fully layered dish (without baking) and freeze for up to 3 months, then bake directly from frozen by adding 15 minutes to the covered bake time, no thawing required.


✨ You May Also Like

Main Course
🍜 United Kingdom

A showstopping classic of tender seared beef, savory mushroom duxelles, and crisp prosciutto wrapped in flaky golden puff pastry, baked to juicy perfection.

⏱️ 2 hours 1Main Course ★ 4.7
Main Course
🍜 India

Tender charred marinated chicken simmered in a rich, spiced creamy tomato sauce, this iconic Anglo-Indian curry pairs perfectly with basmati rice or warm naan.

⏱️ 50 minuteMain Course ★ 4.6
Main Course
🍜 Thailand

Classic tangy, sweet, and savory Thai stir-fried rice noodles with shrimp, tofu, and crunchy garnishes, balancing all five core Thai flavor profiles.

⏱️ 30 minuteMain Course ★ 4.5
Main Course
🍜 United Kingdom

Crispy golden beer-battered cod and fluffy double-fried chips, served with tangy tartar sauce and malt vinegar: the timeless, beloved British pub comfort classic.

⏱️ 45 minuteMain Course ★ 4.7
Main Course
🍜 Mexico

Smoky, chile-marinated pork tacos with caramelized pineapple, fresh cilantro, and lime: a beloved classic Mexican street food perfect for casual summer gatherings.

⏱️ 1 hour 45Main Course ★ 4.8
Main Course
🍜 United States

Crunchy Fritos corn chips layered with savory beef chili and melted cheddar, topped with cool, zesty fixings for a beloved, cozy Tex-Mex comfort food.

⏱️ 35 minuteMain Course ★ 4.8

healthy mexican casserole:Frequently Asked Questions

1.Can I prep this Healthy Mexican Casserole ahead for busy weeknights? ▾
Absolutely! You can fully assemble the uncooked casserole, cover it tightly, and refrigerate it for up to 3 days before baking, or freeze it for up to 3 months. If baking from chilled, add 10–12 minutes to the cook time; if frozen, thaw it overnight in the fridge first for even, consistent heating.
2.Can I substitute the extra-lean ground turkey for another protein? ▾
Definitely! Ground chicken breast, lean ground bison, or crumbled extra-firm tofu work great as swaps to match your dietary preferences. If using plant-based crumbles, pick an unseasoned variety so you can control sodium levels and keep the bright, zesty Mexican flavor profile nicely balanced.
3.Do I have to use quinoa, or can I swap in another whole grain? ▾
You don’t have to stick to cooked quinoa! Cooked brown rice, farro, or whole-grain barley make excellent swaps that keep the dish high in fiber. Just make sure any grain you use is fully cooked before layering, so it doesn’t turn crunchy or dried out during the casserole’s bake time.
4.How do I keep this casserole from turning out soggy? ▾
Great question! Sogginess usually comes from excess liquid in ingredients. Be sure to fully drain your rinsed low-sodium black beans, thawed corn, and no-salt-added fire-roasted tomatoes before layering, and skip extra watery sauces. Bake uncovered for the last 10 minutes to crisp up the top layer slightly.
5.Is this recipe freezer-friendly for long-term storage? ▾
It sure is! You can freeze either the fully assembled unbaked casserole or baked, portioned slices for up to 3 months. Wrap it tightly in plastic wrap followed by aluminum foil to prevent freezer burn, and reheat portions to a 165°F internal temperature to follow standard food safety guidelines.
6.What cheese works best if I want to add it while keeping the dish healthy? ▾
Opt for a small amount of shredded reduced-fat Mexican blend, pepper jack, or cotija for big flavor without excess saturated fat. Sprinkle just ¼ to ⅓ cup over the top during the last 5 minutes of baking so it melts evenly without turning greasy or overwhelming other fresh flavors.
7.Can I adjust this recipe to make it vegetarian? ▾
Absolutely! Swap the extra-lean ground turkey for seasoned crumbled extra-firm tofu, cooked lentils, or unseasoned plant-based ground crumbles. Stick to low-sodium beans and no-salt-added fire-roasted tomatoes to keep the dish aligned with the original recipe’s lower-sodium, nutrient-dense profile.
8.How long will baked leftovers stay fresh in the refrigerator? ▾
Properly stored in an airtight container, leftover baked casserole will stay fresh in the fridge for 4 to 5 days. Reheat individual portions in the microwave for 1 to 2 minutes, or in a 350°F oven for 10 minutes, and add fresh toppings right before serving for the best flavor.
9.Do I need to cook the ground turkey before layering it in the casserole? ▾
Yes, always fully cook and drain any excess fat from your 93/7 extra-lean ground turkey before layering it. Raw turkey will release excess grease and liquid as it bakes, leading to a soggy casserole, and it poses a food safety risk if it can’t reach a safe internal temperature evenly.
10.What fresh, healthy toppings do you recommend serving with this? ▾
Stick to bright, fresh, low-calorie toppings: diced avocado, a squeeze of fresh lime, chopped cilantro, thinly sliced jalapeño, a dollop of non-fat plain Greek yogurt (as a sour cream swap), or fresh pico de gallo. These add bold, zesty flavor without excess sodium or saturated fat.
11.Can I use canned corn instead of thawed frozen sweet corn? ▾
You absolutely can! Just pick no-salt-added canned corn, and drain and rinse it really well before adding it to your layers to cut down on excess sodium and unwanted canning liquid that can make the casserole soggy. Frozen sweet corn is picked at peak ripeness, but canned is a convenient, budget-friendly swap.
12.What size baking dish works best for this recipe? ▾
A standard 9x13-inch glass or ceramic baking dish works perfectly for this recipe, creating evenly layered slices that cook consistently. If you use a smaller dish, your layers will be thicker, so add 8 to 10 minutes of bake time and cover with foil if the top browns too quickly.
13.Is this casserole spicy? I have young kids who don’t handle heat well. ▾
The base recipe is very mild, since it uses no-salt-added fire-roasted tomatoes without added chiles, plain corn, and unseasoned turkey and beans. Leave out spicy add-ins like jalapeños or pepper jack, and let guests add their own heat at the table with hot sauce so it works for everyone.
14.Can I add extra veggies to boost the nutrition even more? ▾
Definitely! Diced bell peppers, sautéed zucchini, finely chopped spinach, or diced roasted sweet potato all mix in beautifully. Sauté high-moisture veggies like zucchini first and drain off excess liquid so they don’t make the casserole watery; stick to 1 to 1.5 cups of extra veggies to keep layers balanced.
15.What temperature and bake time gives the best results? ▾
Bake the assembled casserole uncovered at 375°F for 25 to 30 minutes, until it’s bubbly around the edges and reaches a 165°F internal temperature. If you add cheese, sprinkle it on during the last 5 minutes of baking so it melts perfectly without burning. Let it rest 5 minutes before slicing for clean, neat servings.

Comments (4)

3 days ago

OMG this healthy Mexican casserole was such a game changer for our weeknight family dinner! My kids loved it—they usually turn their noses up at anything labeled 'healthy' but they went back for seconds, even asked if I could pack leftovers for their school lunches tomorrow. It was so easy to throw together after work too, which lines up perfectly with the 30 minute cook time and easy difficulty rating. 10/10 will be adding this to our regular meal prep rotation!

1 week ago

Brought this to our neighborhood block party potluck last weekend and people were hounding me for the recipe all night! I swapped the regular corn for roasted corn to add a little extra smoky flavor, and it was SO good. Even the people who say they hate 'health food' were raving. Love that it doesn’t leave you feeling super heavy like the cheesy, loaded Mexican casserole I used to make. Such a win!

5 days ago

Love that roasted corn swap, that sounds absolutely delicious! So glad it was a hit at your block party—this recipe is one of my go-tos for potlucks too because it travels really well and holds up for a couple hours in a serving dish without getting soggy. Thanks for giving it a try, I appreciate the kind words!

2 hours ago

Made a big pan of this on Sunday for my weekly meal prep and it held up perfectly all week in the fridge! Each portion is packed with protein and veggies, and the flavor doesn’t get boring at all even after eating it 4 days in a row. It was super easy to customize too—I added a little extra pickled jalapeño for heat since I love spicy food, plus a pinch of cumin because I felt like the base needed a little extra oomph. Only bummer is I wish I’d made a double batch because I ran out a day early!

30 minutes ago

Oh the pickled jalapeño addition is genius! I sprinkled a little cotija cheese and a dash of hot sauce on top when I reheated my meal prep portions too, totally takes it up a notch. I tried making a double batch last week and still ended up sharing half with my roommate, ha—this stuff is impossible not to eat straight out of the pan.

yesterday

Y’all, I’m a total beginner in the kitchen and this was actually so easy to make! I was nervous I’d mess it up since I usually burn even toast, but the steps were super straightforward and it came out perfect on the first try—total win for Taco Tuesday last night. My roommate said it’s better than the Mexican takeout we usually order on Friday nights. Quick question though—can I freeze the leftovers if I make a bigger batch? I want to stock my freezer for busy midterm weeks coming up!

2 hours ago

I froze half of my batch last month! Just let it cool completely first, then wrap it tight in a double layer of foil and it lasted almost 3 months in the freezer. When I was ready to eat it, I popped it in the oven at 350 for about 20 minutes (no need to thaw first!) and it tasted just as fresh as the day I made it.

5 minutes ago

So proud of you for nailing this on your first try, that’s what I love to hear—cooking should be approachable for everyone! And @FreezerMealFan is spot on with the freezing tips: just make sure to squeeze out as much air as possible when wrapping to avoid freezer burn. Hope those midterms go smoothly, and so glad you and your roommate loved the casserole!



