
Heart-shaped chocolates / Chocolate hearts
intro
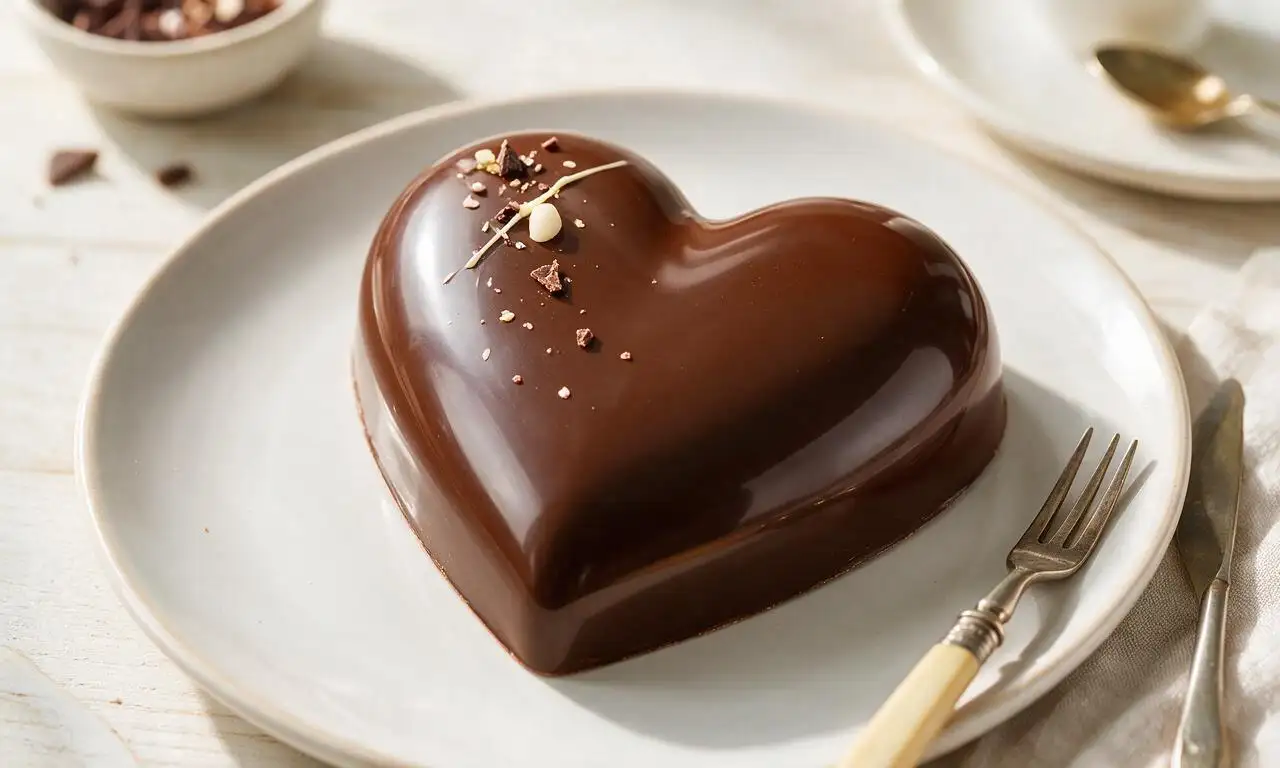
Silky, glossy tempered heart-shaped chocolates, perfect for Valentine’s Day gifting, with a crisp snap and smooth melt-in-your-mouth texture, easily customized with simple garnishes.
Ingredients
Steps
Prep chocolate molds
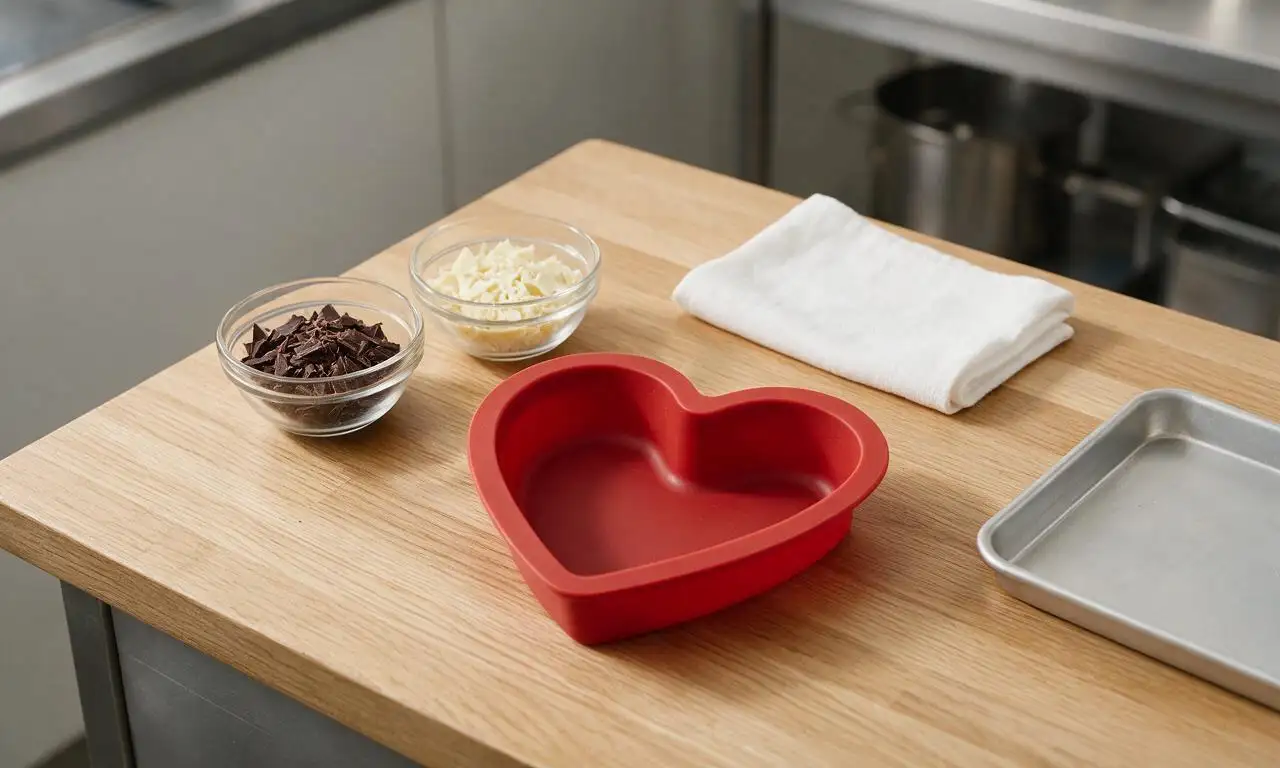
Wash a 12-cavity silicone heart mold (each cavity 3cm wide, 2cm deep) with warm soapy water, dry completely with a lint-free cloth to avoid water spots that mar chocolate finish, and set on a small 20x30cm baking sheet for stability. Measure 200g chopped dark chocolate and 30g chopped white chocolate into separate dry, heatproof glass bowls, ensuring no water touches any equipment.
Temper dark chocolate
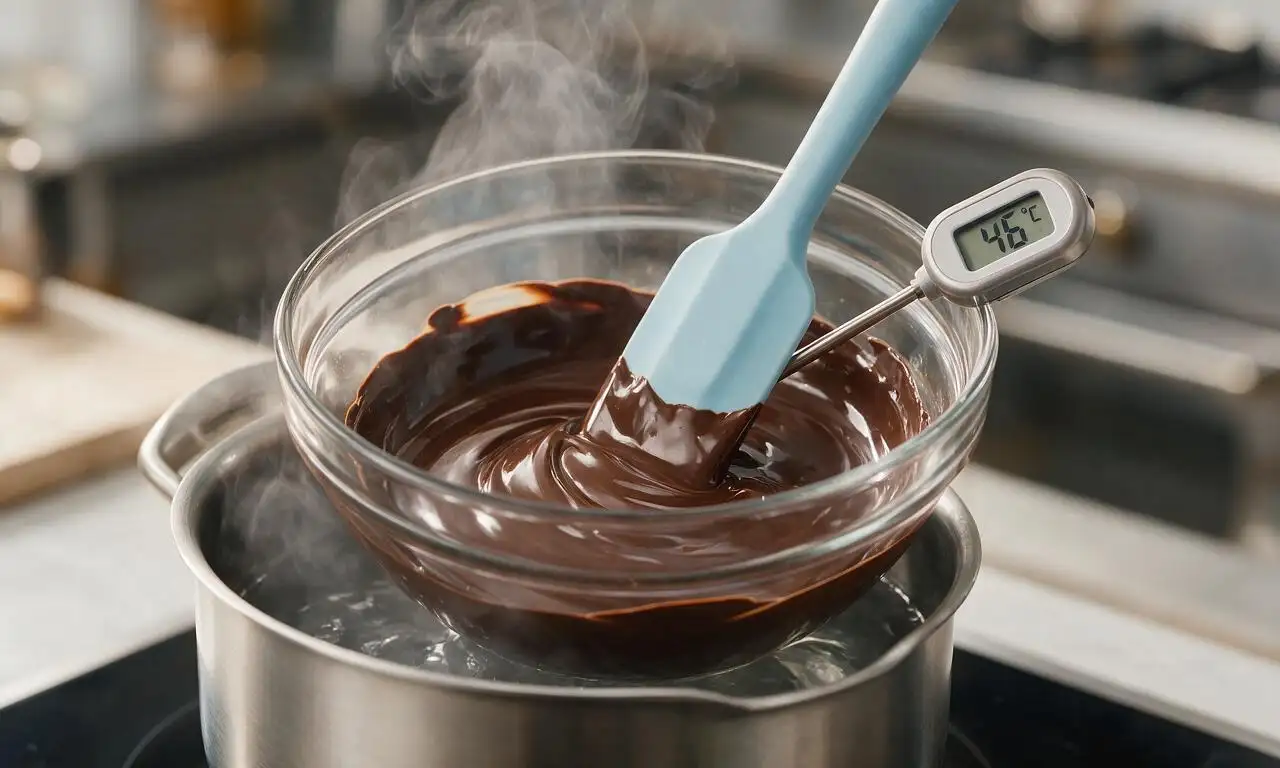
Place 150g of the chopped dark chocolate in a dry heatproof bowl set over a small saucepan of gently simmering water (double boiler setup, ensure water does not touch the bottom of the bowl). Heat on low, stirring constantly with a flexible silicone spatula, until chocolate reaches 45-48°C (113-118°F) on a digital candy thermometer, about 5 minutes. Remove bowl from heat, add the remaining 50g chopped dark chocolate (seed chocolate), stir continuously until fully melted and chocolate cools to 27-28°C (81-82°F). Return bowl to the double boiler for 5-10 seconds, stirring, until temperature reaches 31-32°C (88-90°F), the ideal working temperature for tempered chocolate.
Coat mold cavity sides
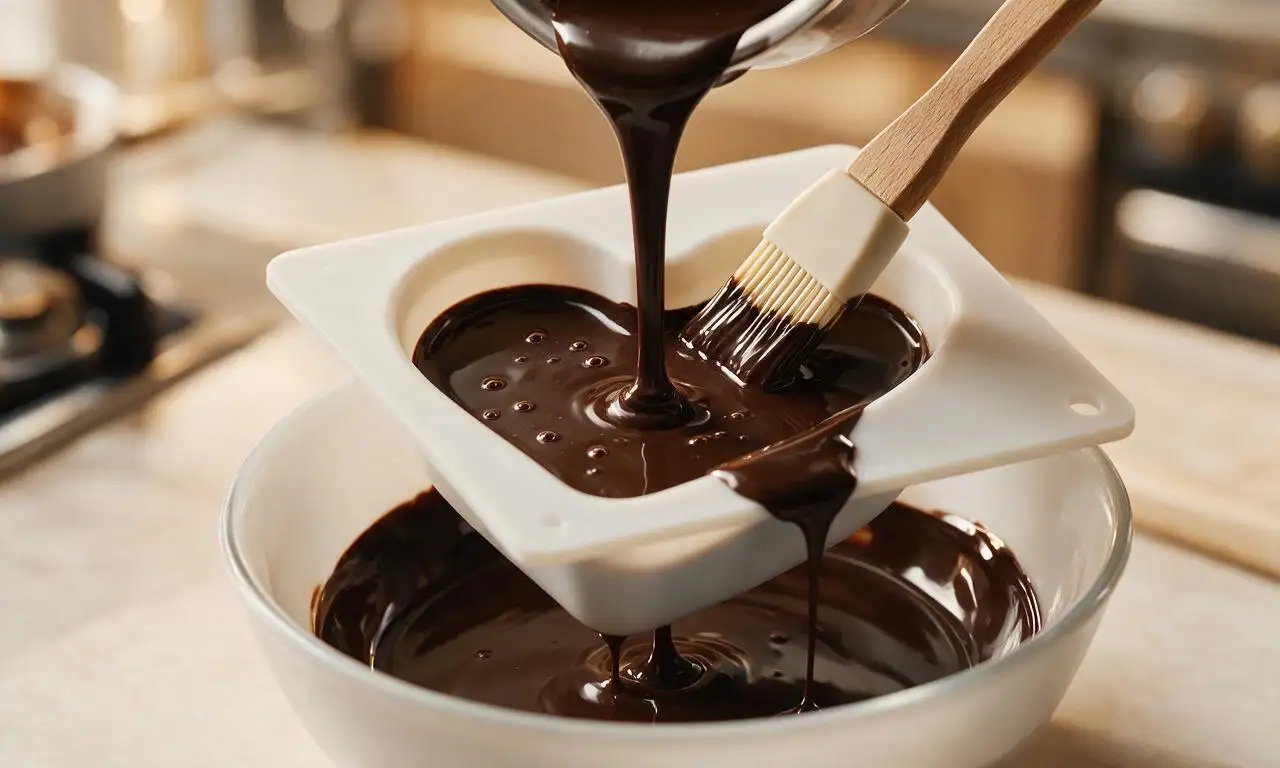
Spoon 1 teaspoon of tempered dark chocolate into each heart cavity, then use a small 1cm wide clean pastry brush to paint chocolate up the inner sides of each cavity, ensuring full, even coverage with no thin spots to prevent holes once set. Tap the mold firmly on the counter 3-4 times from a 5cm height to release any trapped air bubbles, then pour excess chocolate back into the bowl, leaving a thin even shell lining each cavity.
Fill and seal chocolates
Place the mold on the baking sheet in the refrigerator for 10 minutes to let the thin chocolate shells firm up completely, until the surface is matte and no longer tacky to the touch. Remove from fridge, add 1/2 teaspoon of optional thick filling (salted caramel, nut butter) per cavity if desired, ensuring filling does not touch the top mold edge. Pour remaining tempered dark chocolate into each cavity until level with the mold top, then scrape excess chocolate off the surface with a straight 15cm bench scraper to create a flat, even base for each chocolate.
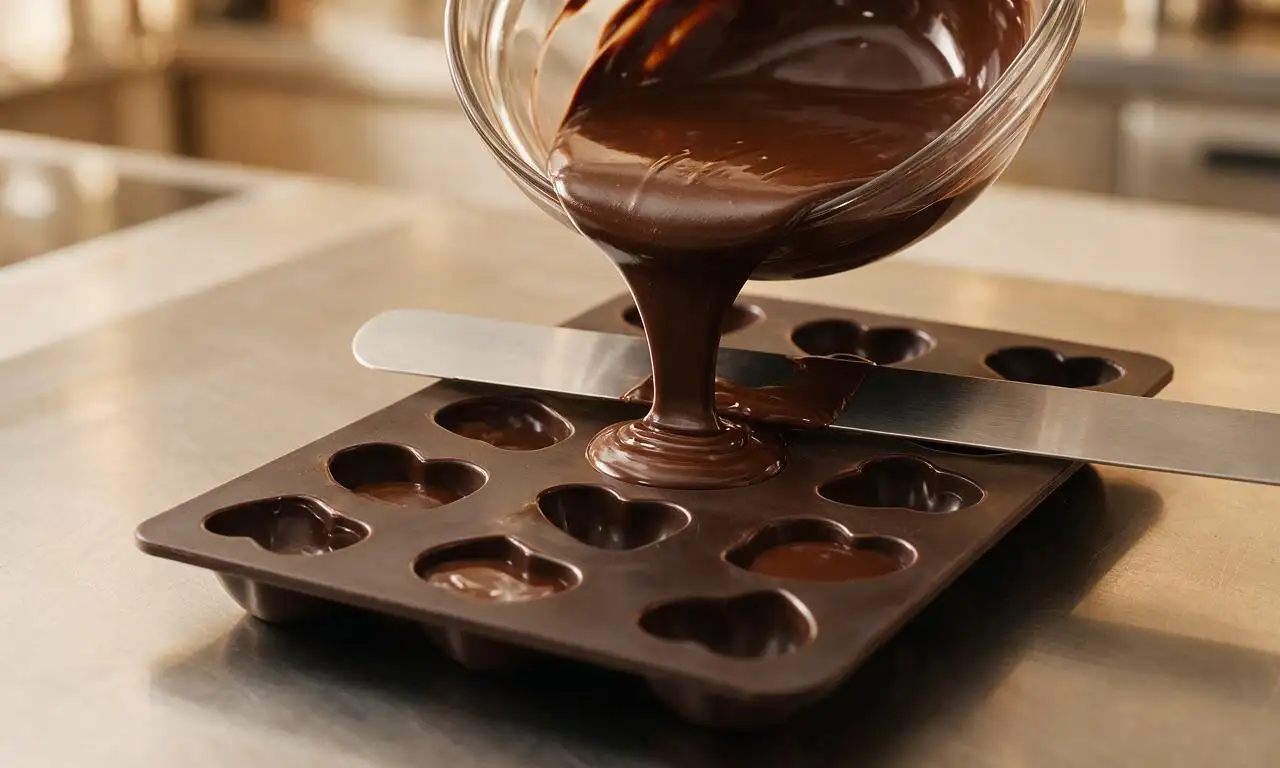
Let chocolates fully set
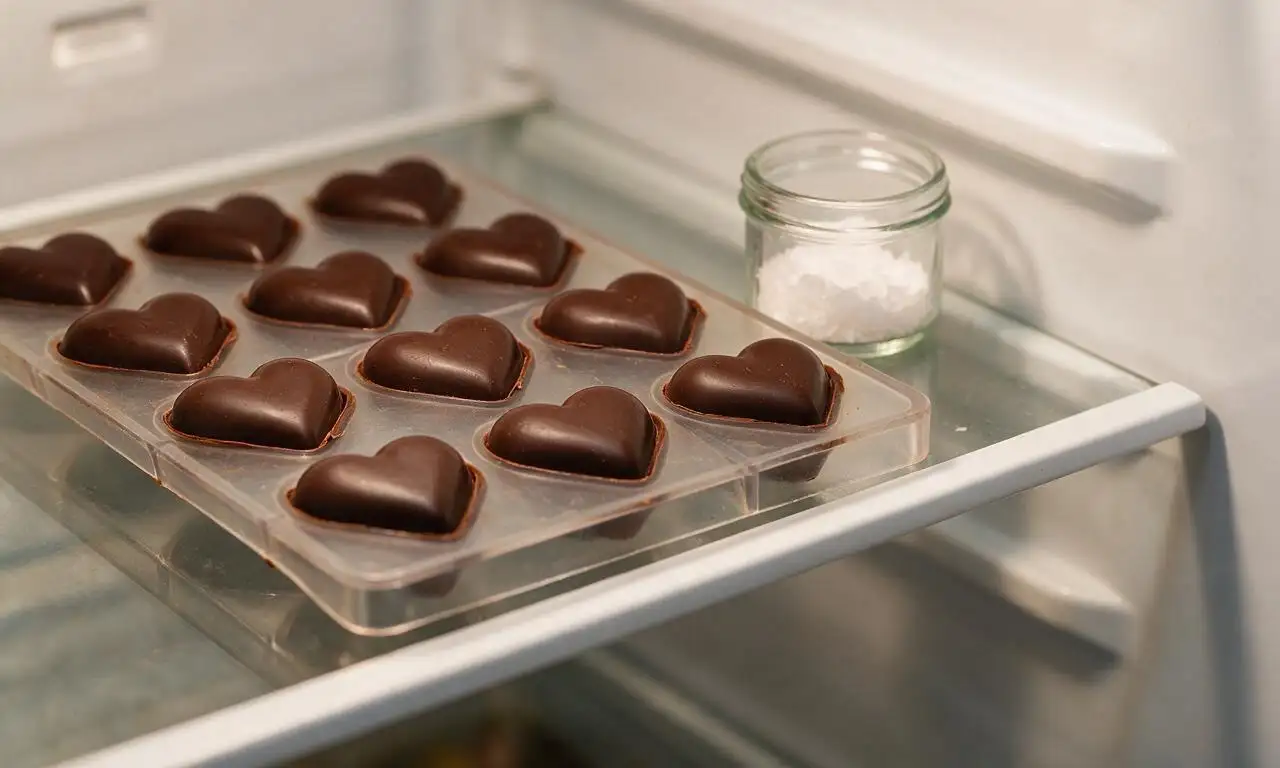
Return the filled mold to the refrigerator for 20 minutes, until the chocolate is completely firm and pulls away slightly from the edges of the silicone cavities. Do not freeze the chocolates, as rapid temperature change will cause fat bloom (white powdery spots) on the chocolate surface once thawed.
Unmold and garnish chocolates
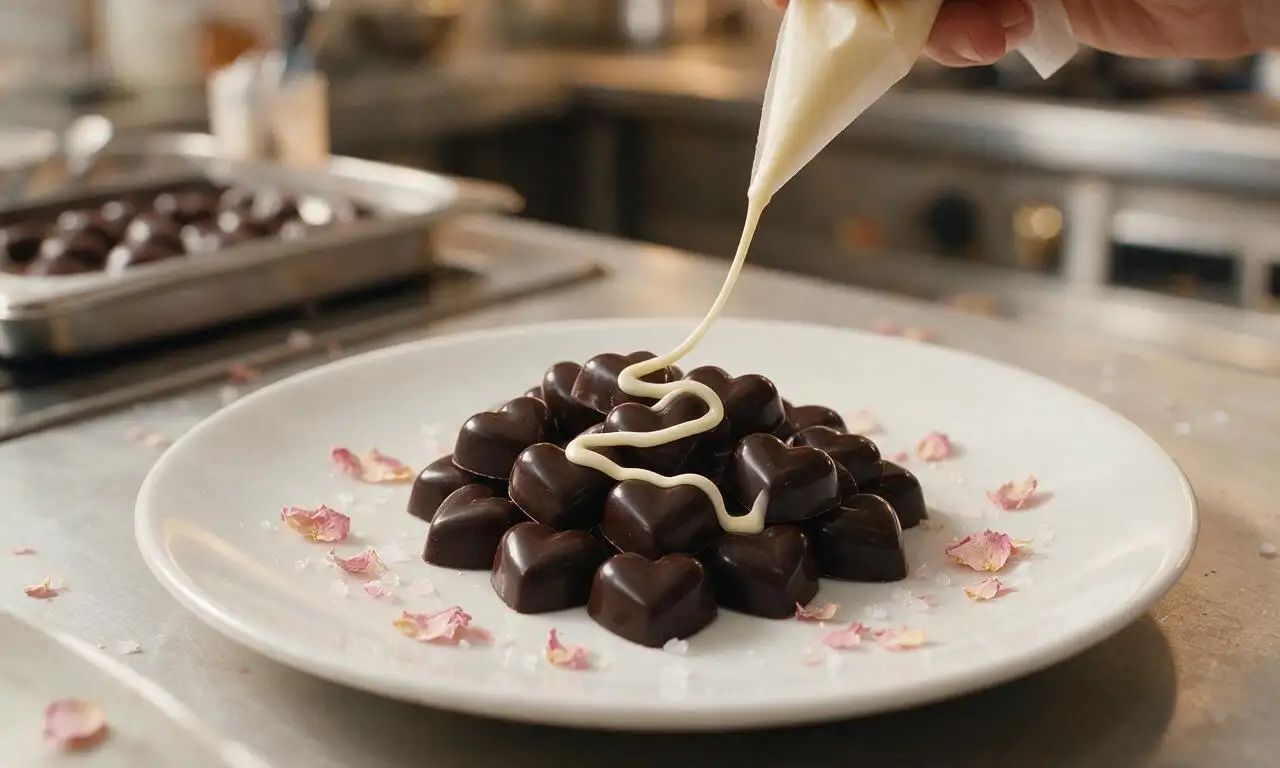
Gently peel the flexible silicone mold away from each chocolate heart, turning them out onto a clean dry white ceramic plate. Melt the 30g chopped white chocolate using the same double boiler method on low heat, until it reaches 43°C (109°F), then transfer to a small parchment paper piping bag with a 1mm round tip. Drizzle thin zig-zag lines of white chocolate over the hearts, then sprinkle with optional edible rose petals or flaky sea salt before the drizzle sets, about 5 minutes at room temperature (20°C/68°F).
Tips
2.Skip the freezer to speed up setting: rapid temperature changes cause fat bloom, the harmless but unappealing white powdery coating that can form on chocolate surfaces.
3.Store finished chocolates in an airtight container in a cool, dark spot (16-18°C/60-65°F) for up to 2 weeks, rather than the fridge, to avoid condensation and sugar bloom.






Wait a second, do I need a fancy double boiler to melt the chocolate for these? I only have regular pots and a microwave, lol. Don’t wanna mess these up before my date night tomorrow!
Game changer! I made these for my husband’s work potluck last week and people were asking me for the recipe left and right. I stuffed a few with salted caramel filling and oh my GOD, chef’s kiss. Only note is I let mine set a little longer than the recipe said because my kitchen was super warm.
Made these last minute for my roommate’s birthday and they came out so cute even though I totally messed up the first batch of melted chocolate (burnt it oops). Second batch was perfect, used semi-sweet and white chocolate swirl. Super easy even for a cooking noob like me!
My kids loved it! We did a little decorating station after the chocolates set with sprinkles, edible glitter, and mini M&Ms. It was the perfect rainy Saturday activity, no mess really and they got to eat a fun snack after. Highly recommend for any fellow parents looking for easy kid-friendly crafts!
Wait, can I use dark chocolate for these? I’m cutting back on added sugar so semi-sweet is a little too sweet for me right now, but I still wanna make a little treat for my partner for our anniversary.
SO good! I brought these to my church potluck on Sunday and they were gone before the casseroles even got passed around. I did a mix of milk chocolate and peanut butter filled ones, everyone thought I bought them from a fancy candy shop! The 10 minute prep time is no joke, too, I threw them together after work on Friday.
OMG, made these for my girlfriend for Valentine’s and she cried happy tears lmao. I added little crushed freeze-dried strawberries on top for a pop of pink, they looked professional even though I can barely cook toast without burning it. 10/10, easy enough for total beginners.
Wait, how long do these stay good for if I store them in an airtight container? I wanna make a big batch ahead of time for my kid’s soccer team snacks next week, don’t want them to get all chalky or weird.
Help!! I tried making these last night and my chocolate got all clumpy and grainy when I melted it? Did I overheat it? I was so excited to make these for my Galentine’s party and now I’m stressed I ruined them.
These were so easy to make even in my tiny apartment kitchen with zero counter space! I used a silicone heart mold I got at the dollar store and they popped right out no problem, no broken edges or anything. Added a little espresso powder to half the batch for a mocha twist, chef’s kiss.
I’ve been making homemade chocolates for my grandkids for Valentine’s Day for 20 years, and this recipe is by far the easiest one I’ve ever tried! No fussy steps, no weird ingredients, and the shape comes out perfect every time. I added a little toasted pecan piece to the center of each one and the grandkids went wild for them.
I swapped in dairy-free dark chocolate and coconut cream filling to make these vegan for my friend group, and even the non-vegans were raving about them! No one could tell they were dairy free, they were so rich and creamy. Will 100% be adding this to my regular treat rotation.
How hard is it to get the chocolates out of the mold without breaking them? I’m making these for a first date tonight and I’m so clumsy I know I’m gonna break half of them if they’re tricky to pop out 😭