
Hobnobs
intro
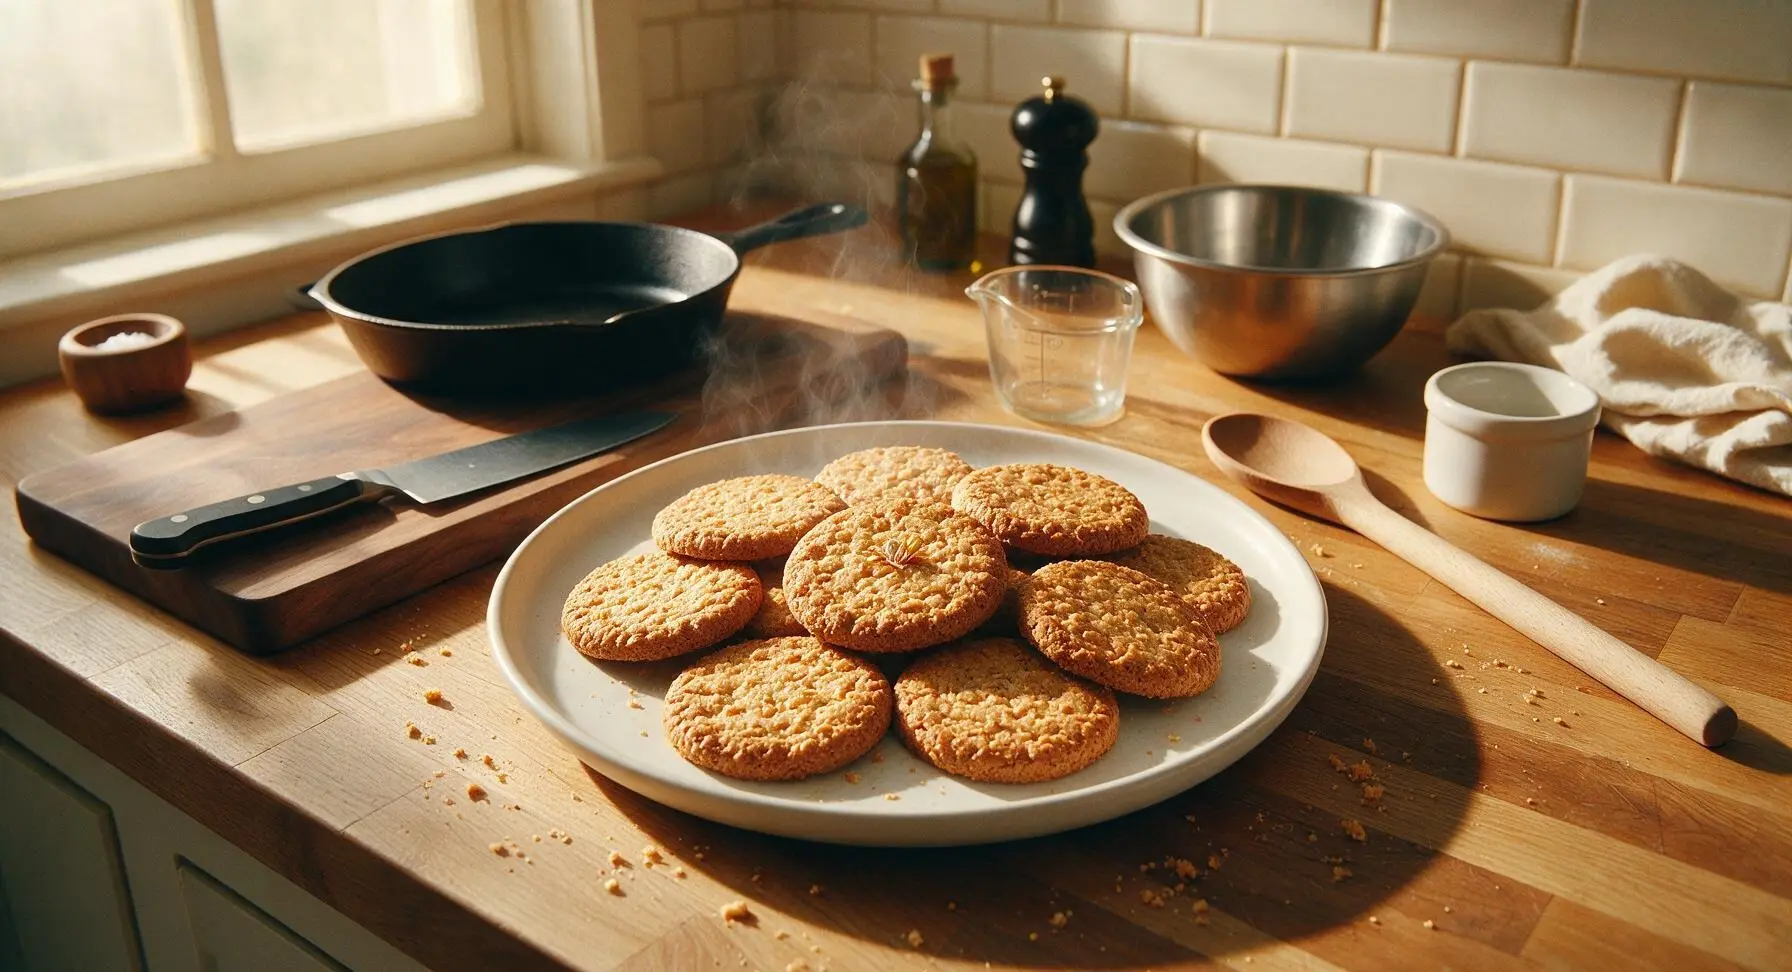
Crunchy, oaty, buttery classic British hobnobs with subtle golden syrup sweetness, perfect for tea dunking. Slightly crumbly, deeply toasty, and utterly nostalgic.
Ingredients
Steps
Preheat Oven, Prep Trays
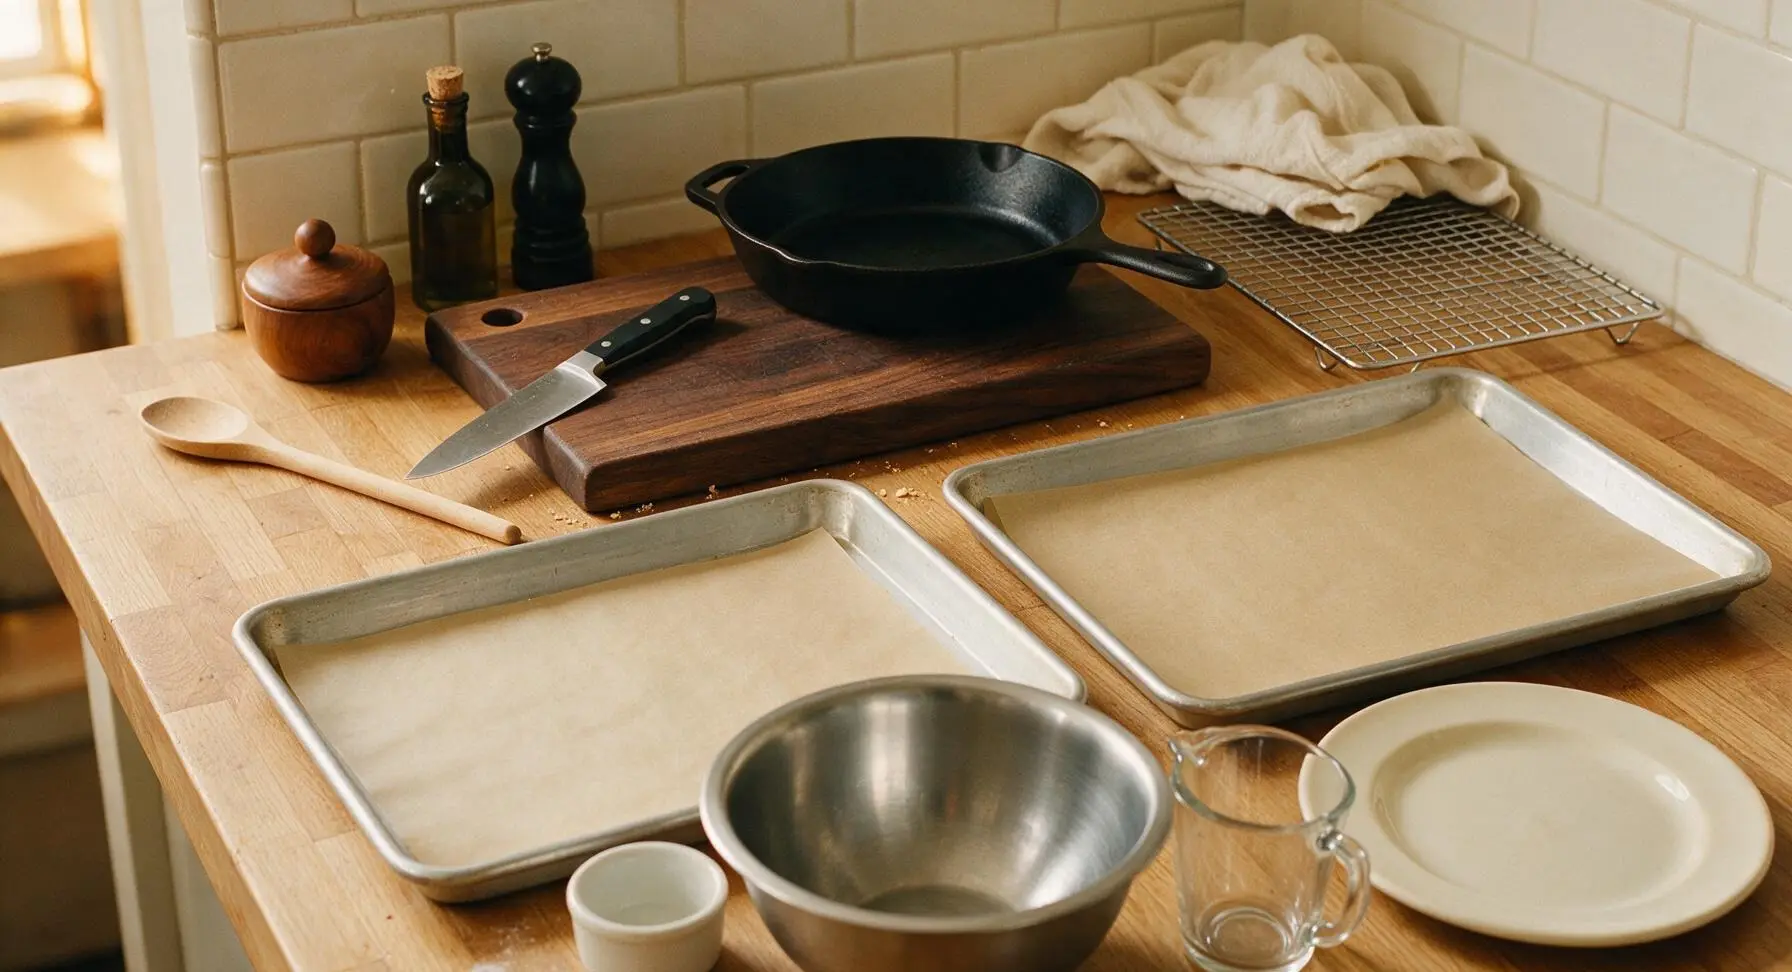
Preheat your oven to 180°C (350°F / Gas Mark 4), with oven racks positioned in the middle. Line both heavy-gauge matte silver baking sheets with pre-cut unbleached parchment paper, smoothing out large creases so the paper lies flat against the metal. Set the lined sheets on the worktop near the chrome wire cooling rack at the back right.
Melt Butter, Sugar, Syrup
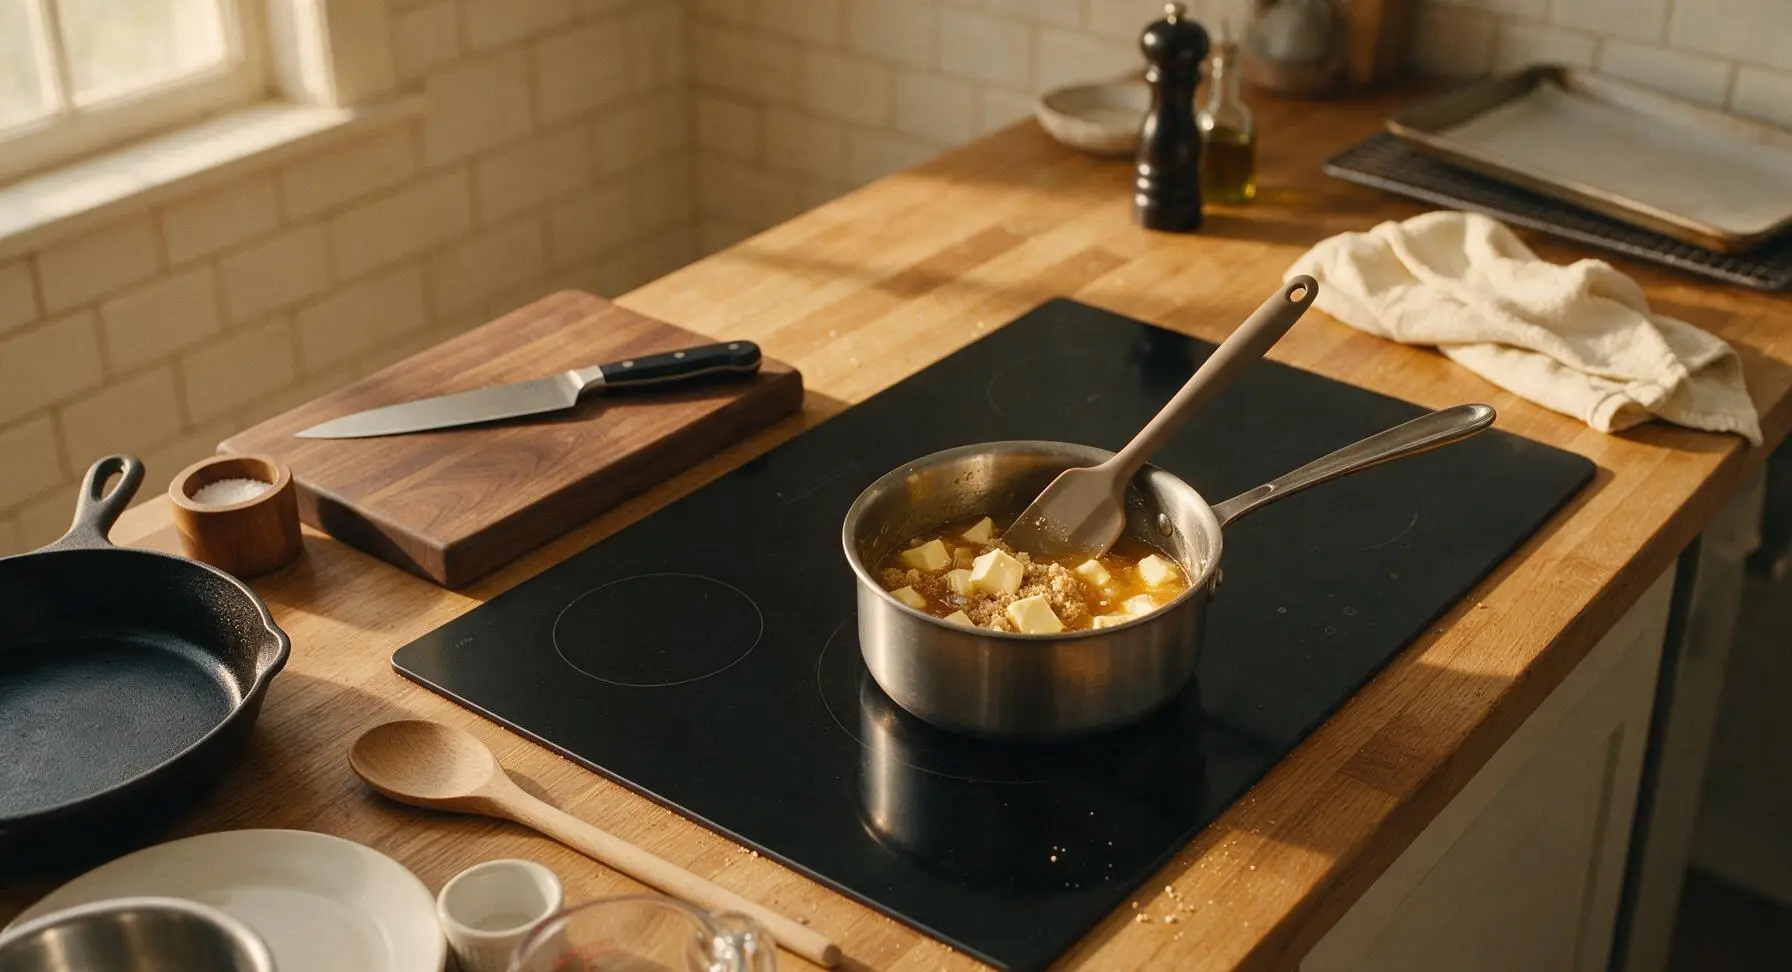
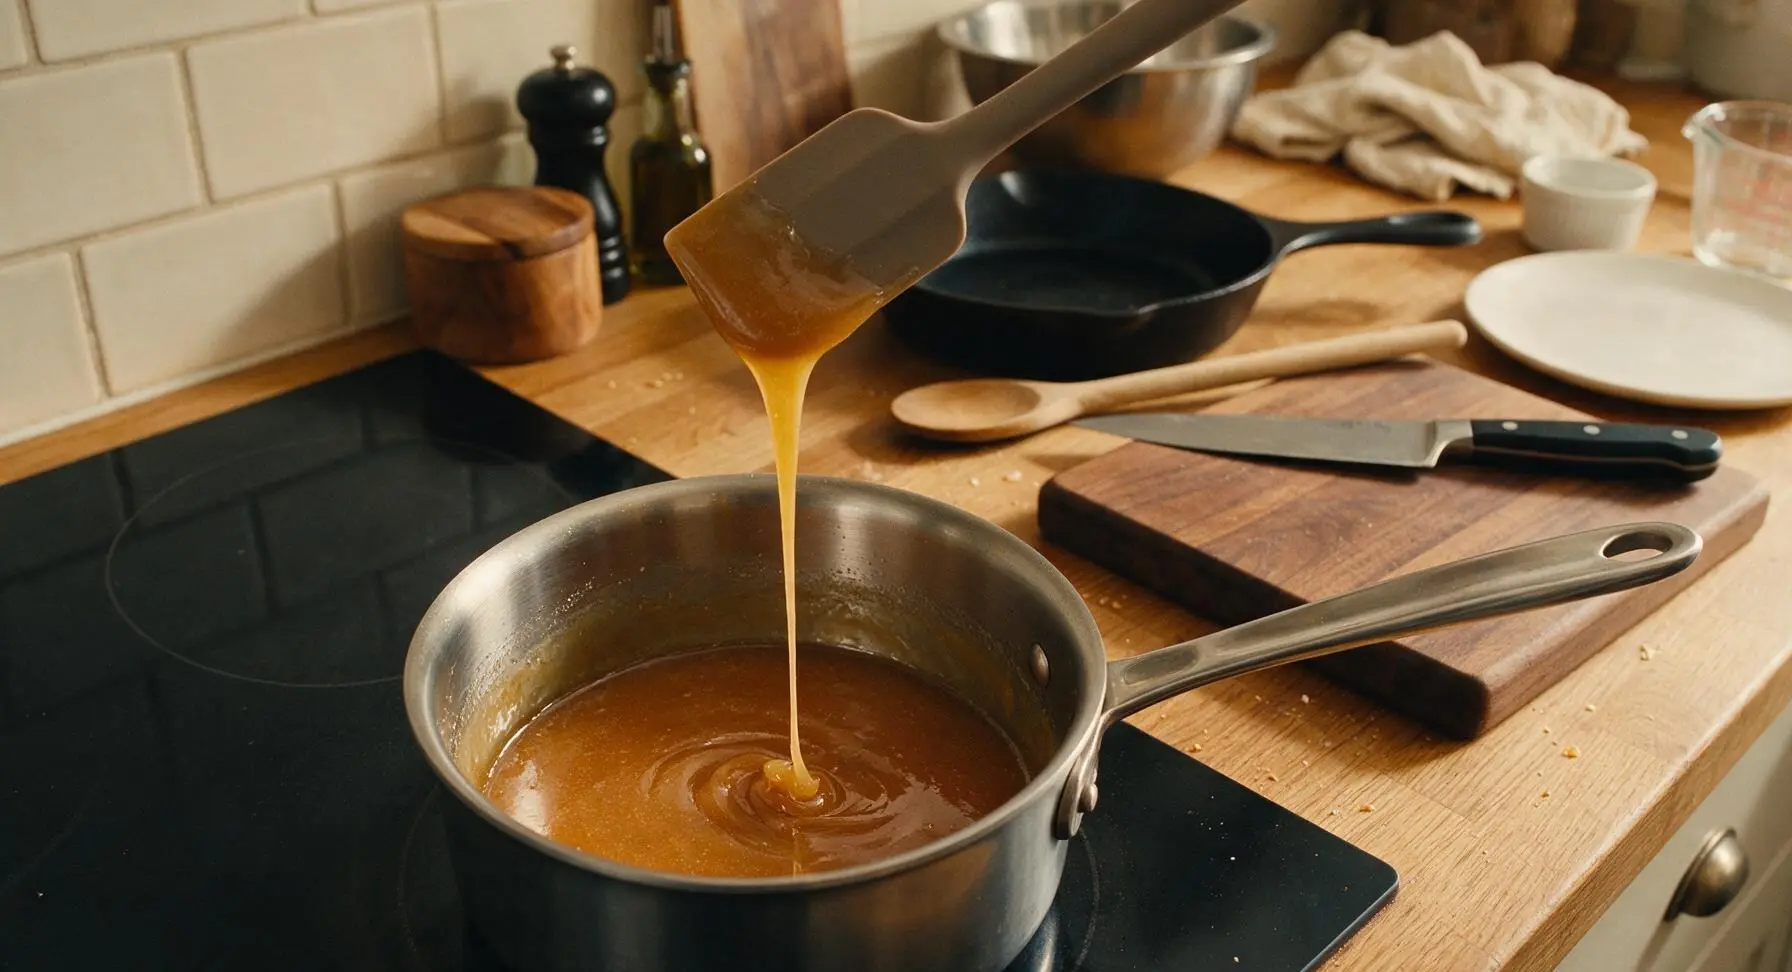
Place the small brushed stainless steel saucepan on the matte black induction hob over low heat. Add the cubed unsalted butter, light brown soft sugar, and golden syrup. Stir gently with the taupe silicone spatula until the butter is fully melted, sugar dissolves completely, and the mixture is smooth, glossy, and free of gritty sugar grains at the pan bottom. Do not bring the mixture to a boil, as high heat will burn the golden syrup and create a bitter flavor.
Combine Dry Ingredients
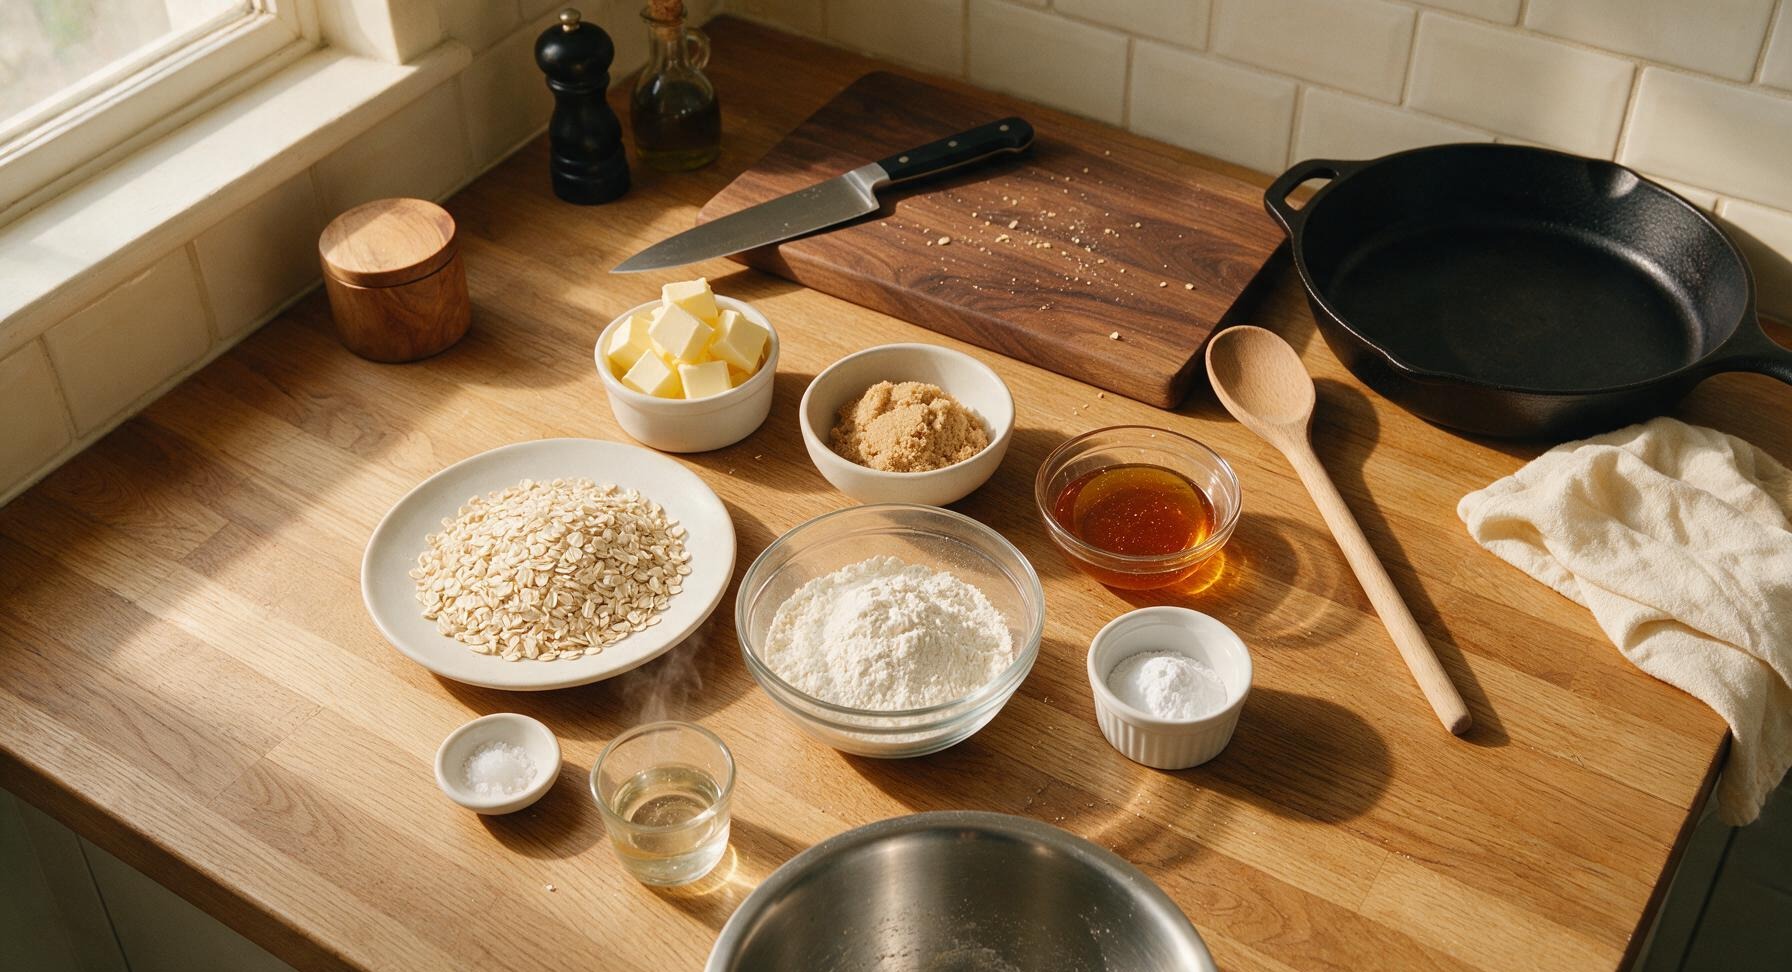
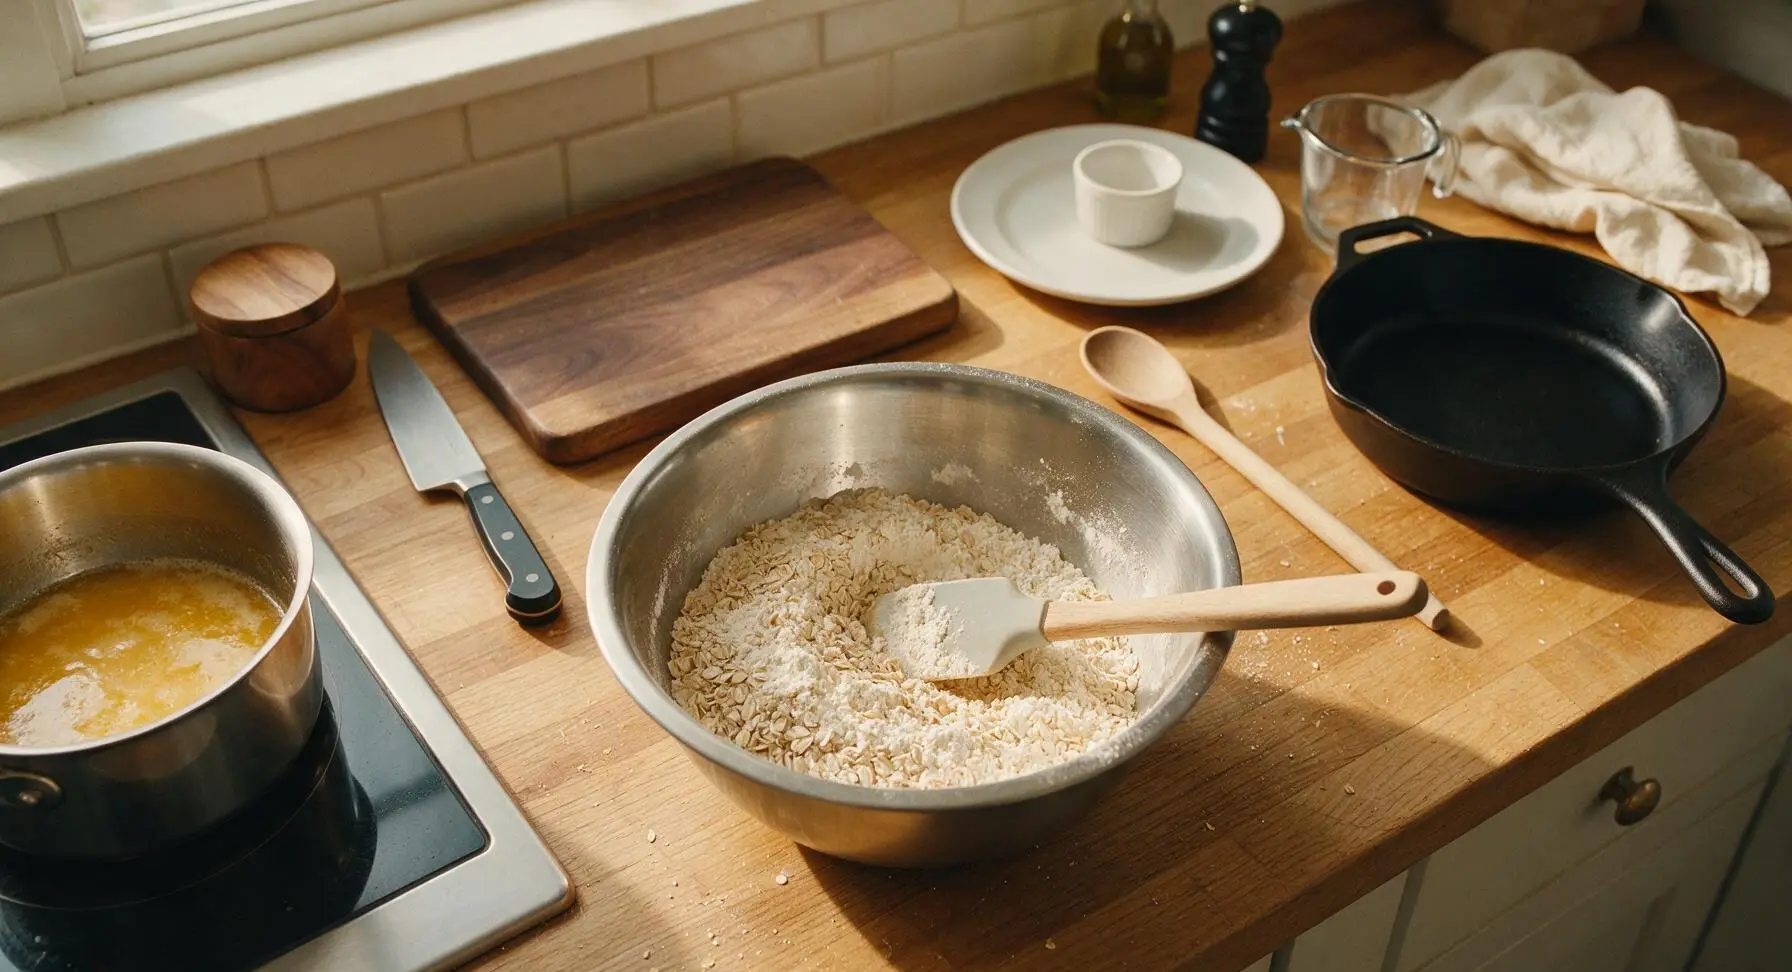
Add the old-fashioned rolled oats, plain all-purpose flour, and fine sea salt to the large beech wood mixing bowl. Stir briefly with the silicone spatula to evenly distribute the salt and flour through the oats, breaking up any small clumps of flour so no dry pockets remain at the bottom of the bowl.
Activate Baking Soda
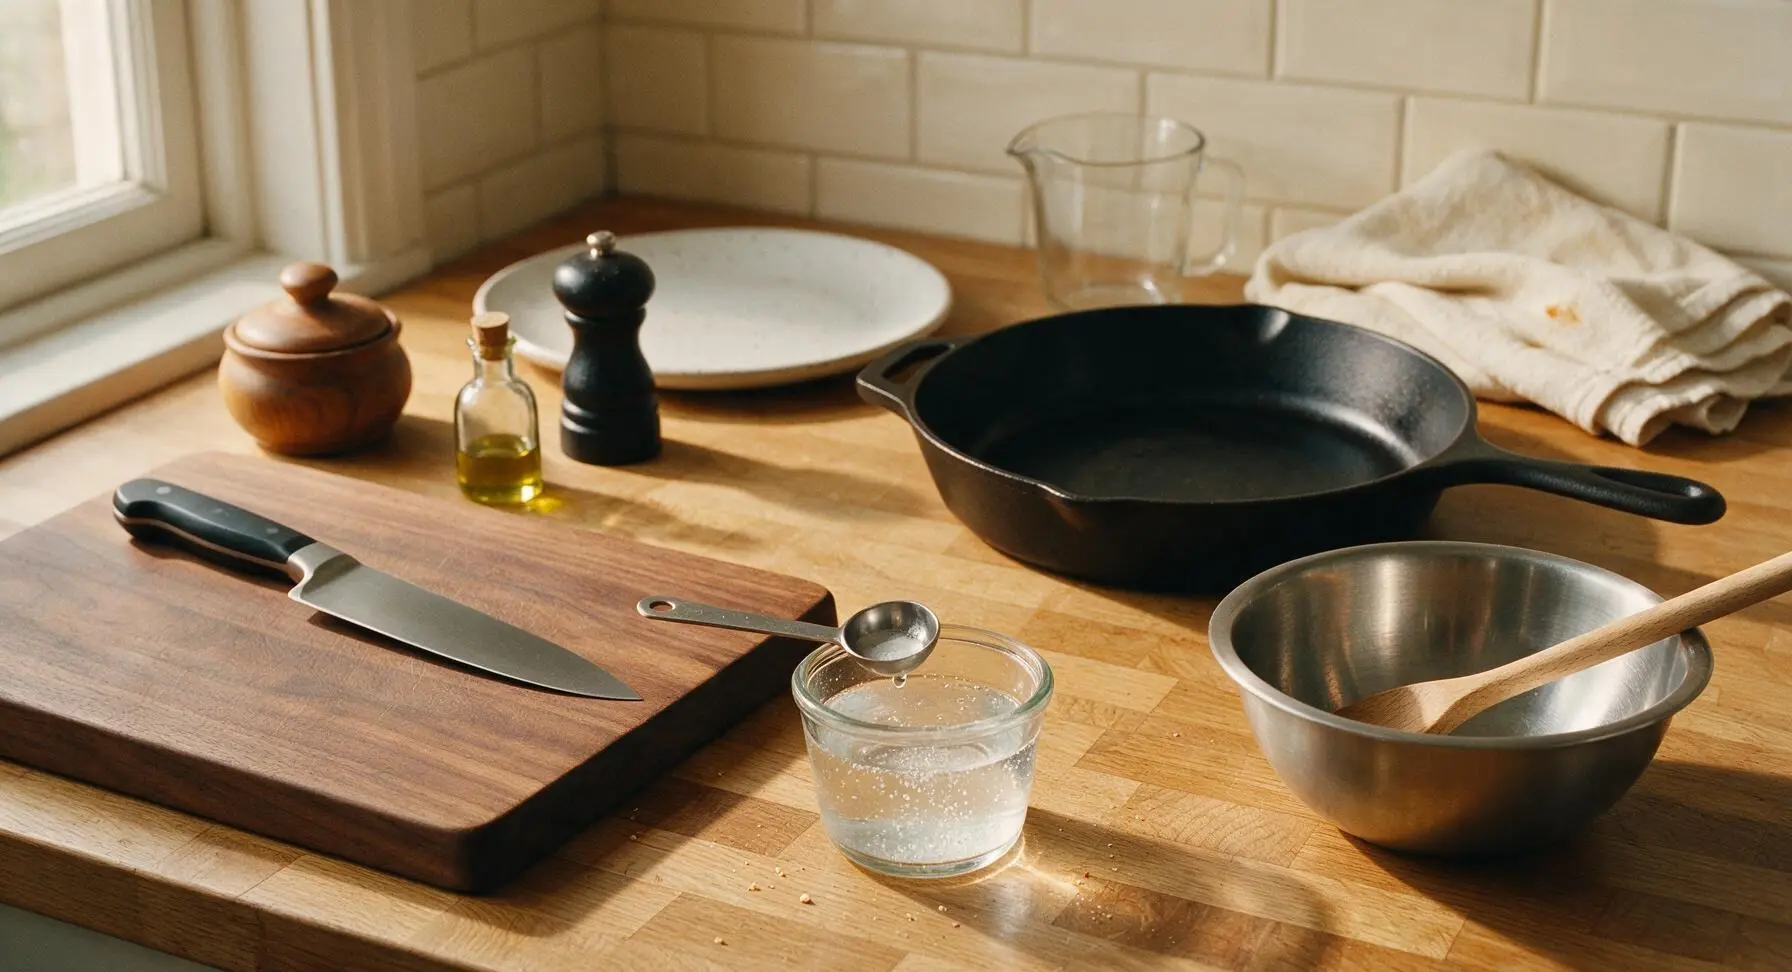
Measure the bicarbonate of soda into the small clear glass ramekin. Pour the 1 tablespoon of boiling water over the soda, and stir briefly with the smallest stainless steel measuring spoon until the soda fully dissolves and the mixture fizzes lightly.
Mix Biscuit Dough
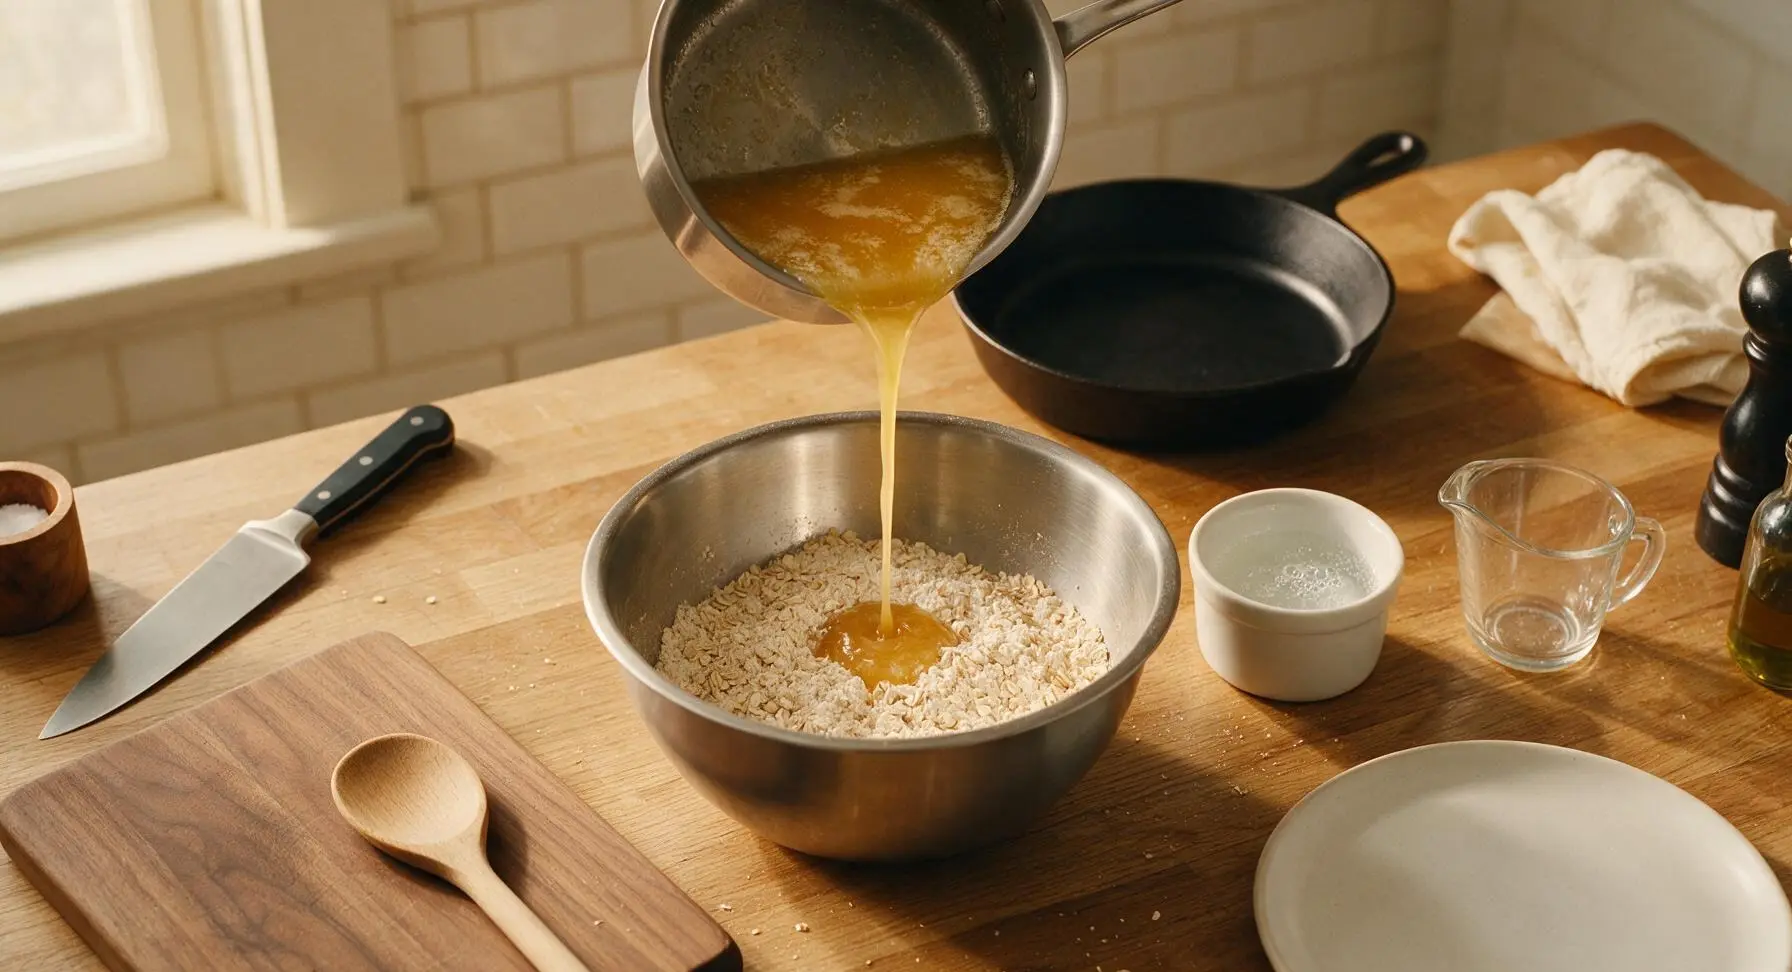
Pour the warm melted butter-syrup mixture into the dry ingredient bowl, followed by the dissolved bicarbonate of soda mixture. Stir thoroughly with the silicone spatula until all dry oats and flour are fully coated in the wet mixture, forming a thick, sticky, cohesive dough with no dry patches left in the bowl. Let the dough rest for 5 minutes to allow oats to absorb some moisture, which makes portioning easier and reduces spreading during baking.
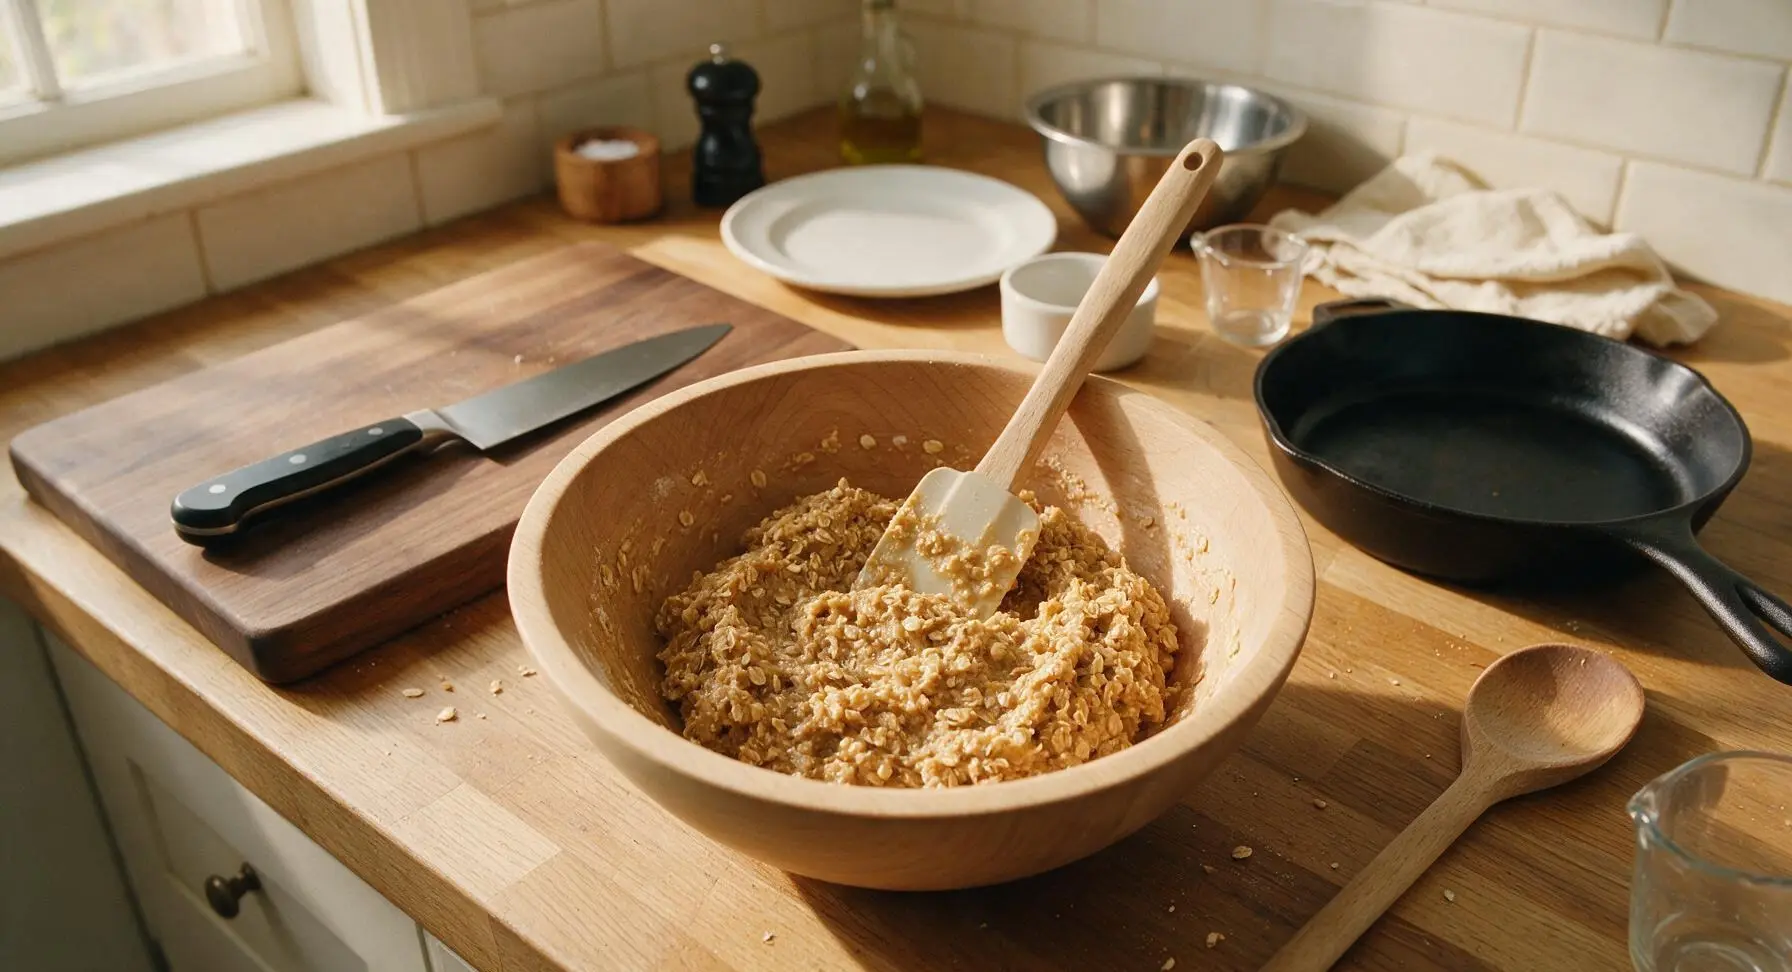
Portion Dough Evenly
Use the small spring-loaded stainless steel ice cream scoop to portion 3cm balls of dough, placing them 5cm apart on the parchment-lined baking sheets to allow for spreading. You will yield roughly 9 biscuits per sheet, for 18 total. Do not press the dough balls flat; they will spread naturally into thin, round biscuits as they bake.
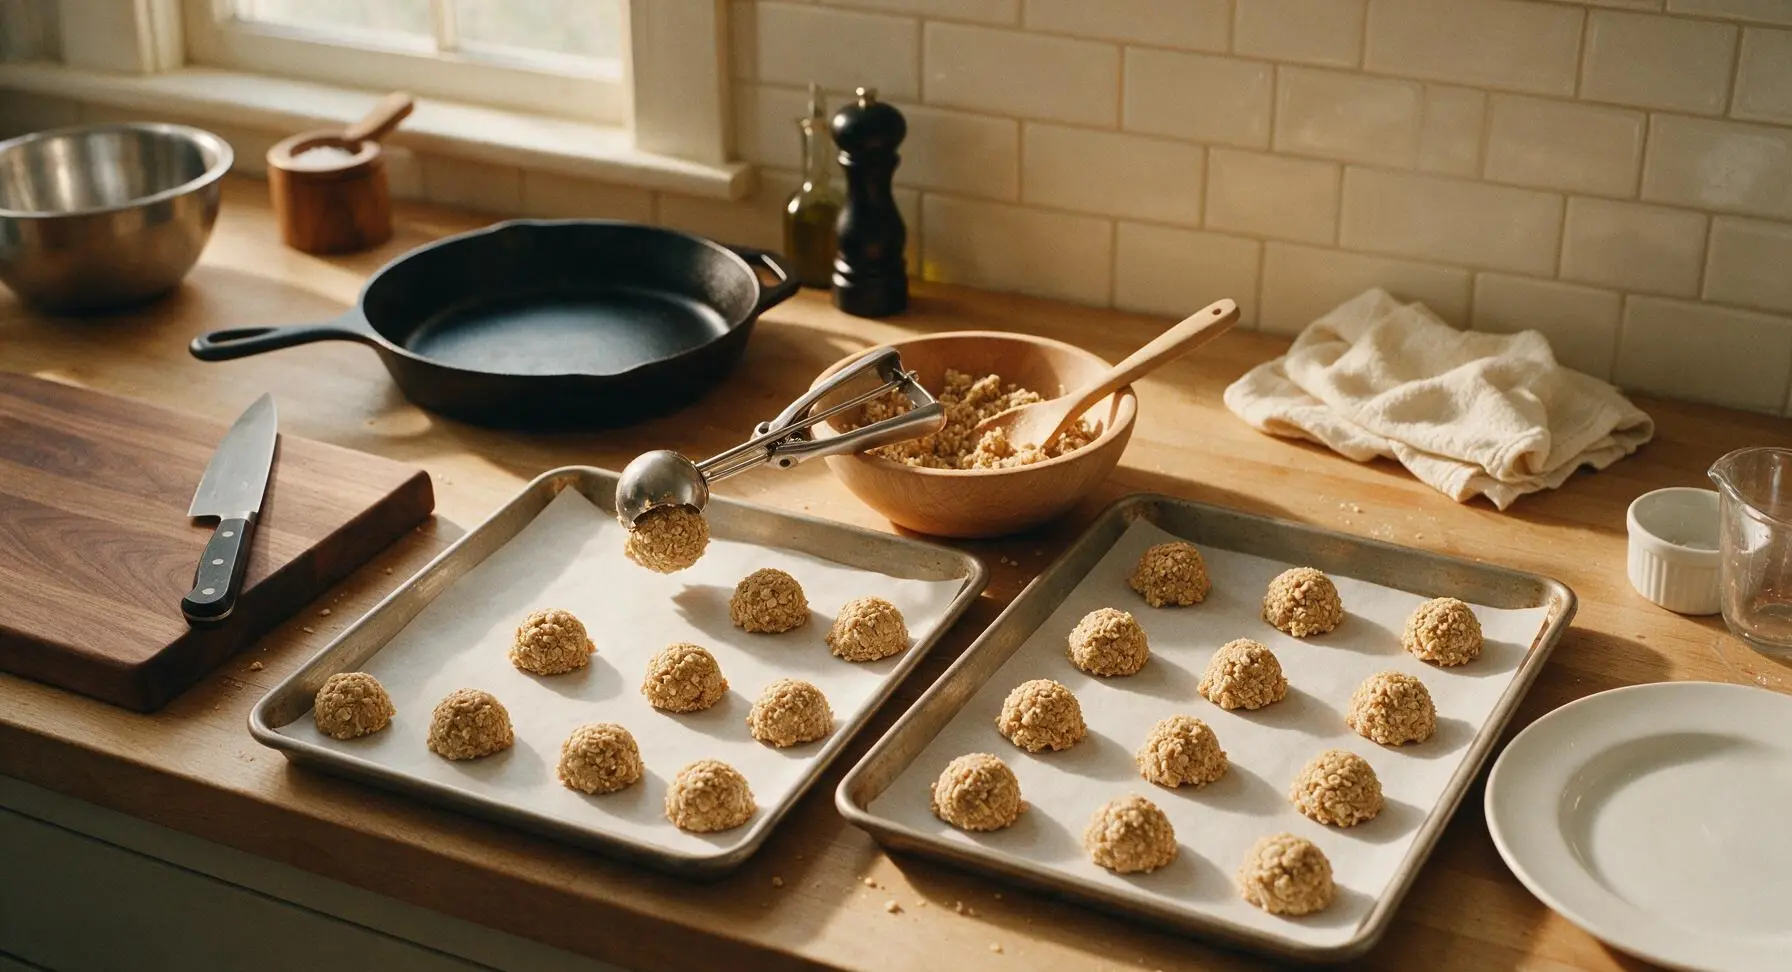
Bake to Golden Perfection
Place both baking sheets on the middle rack of the preheated oven. Bake for 10-12 minutes, rotating the sheets halfway through cooking, until the biscuits are deep golden brown all over with slightly darker, caramelized edges. The biscuits will look very soft and underbaked when removed from the oven—this is normal, and they will crisp dramatically as they cool.
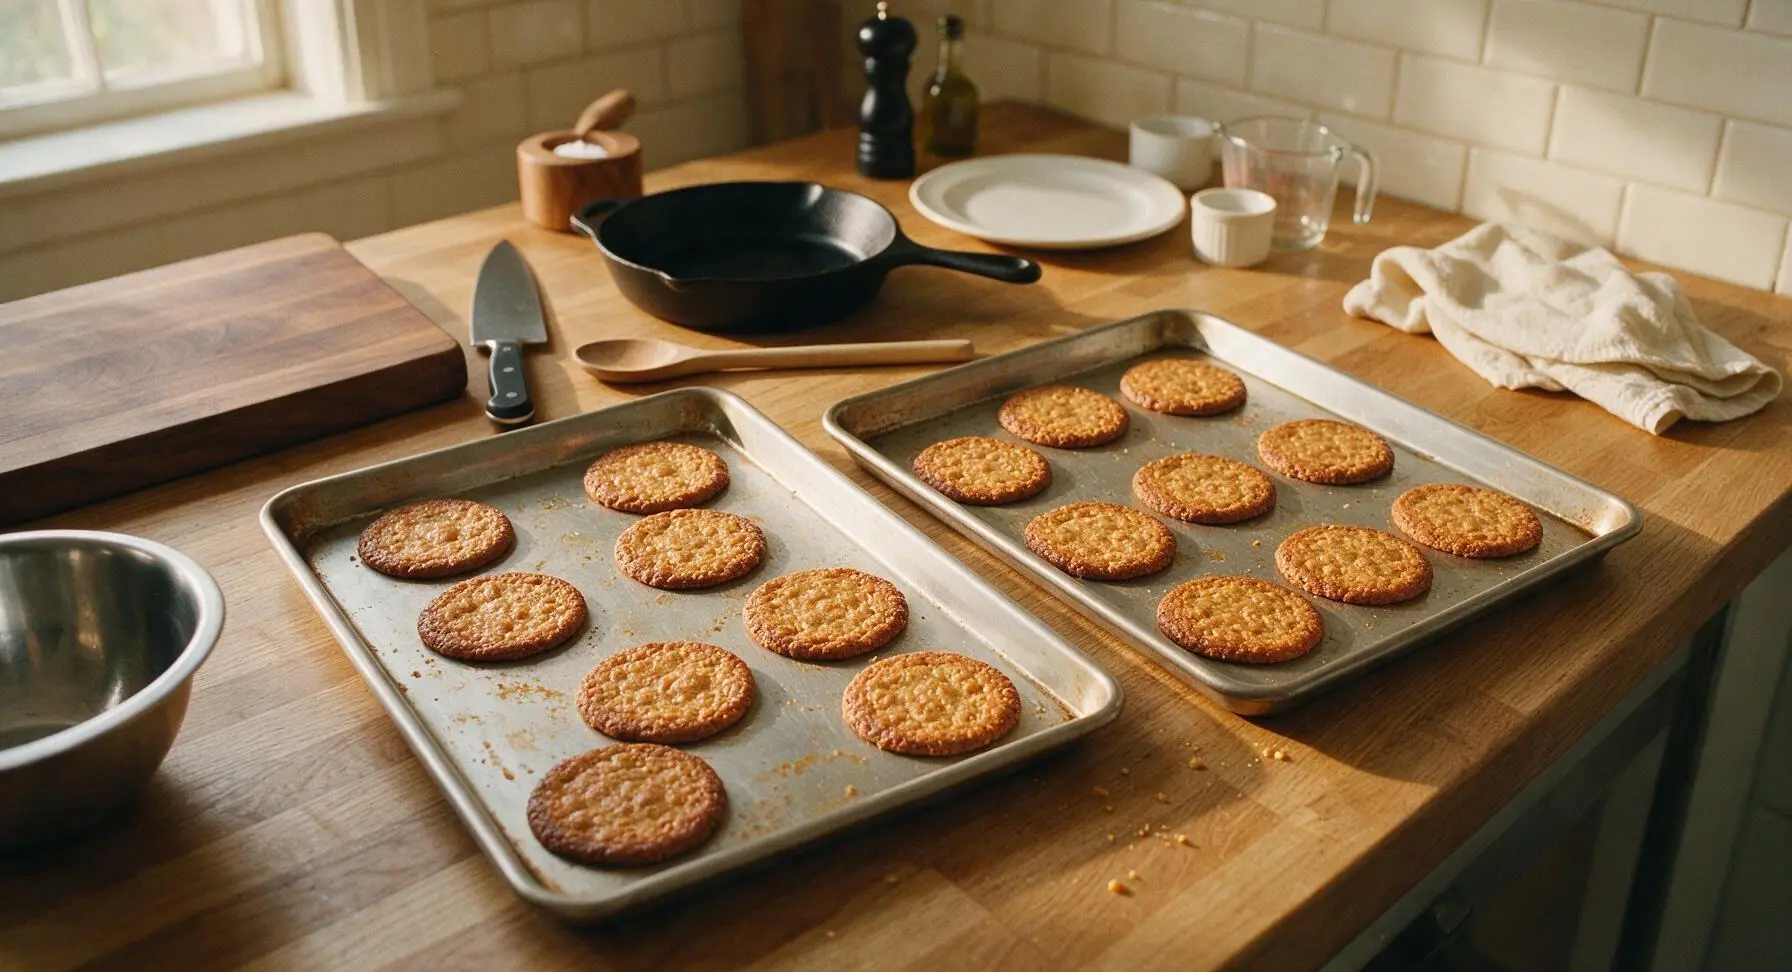
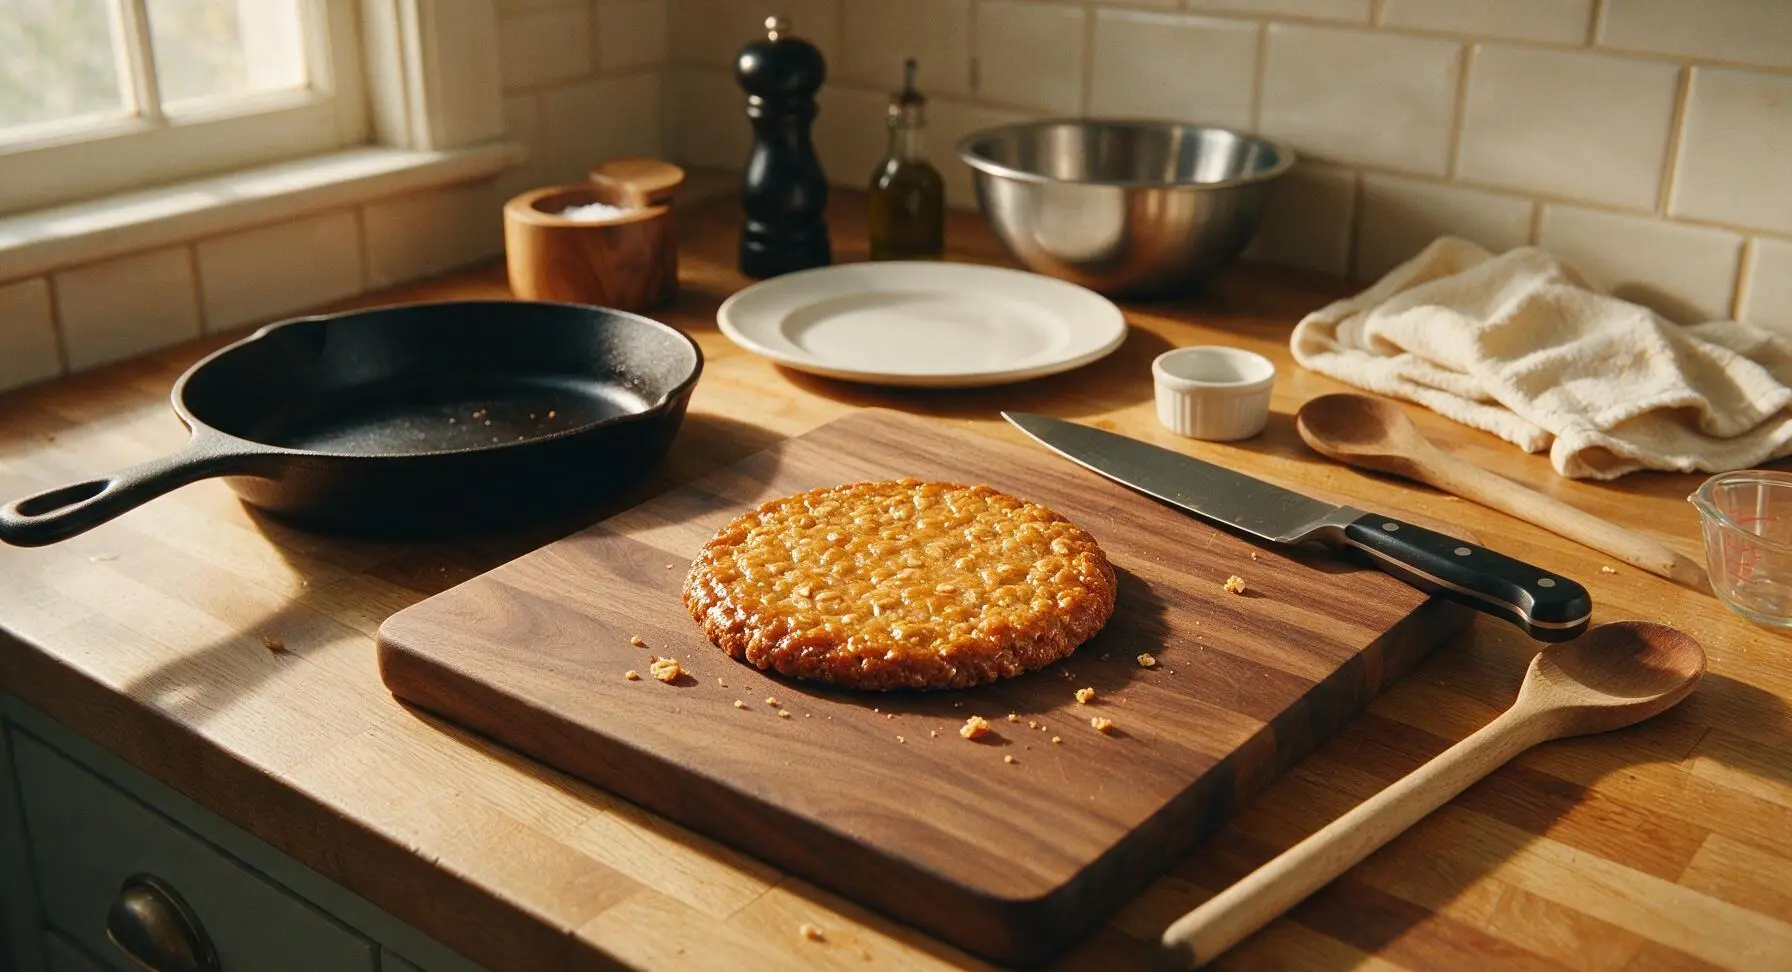
Cool Biscuits Completely
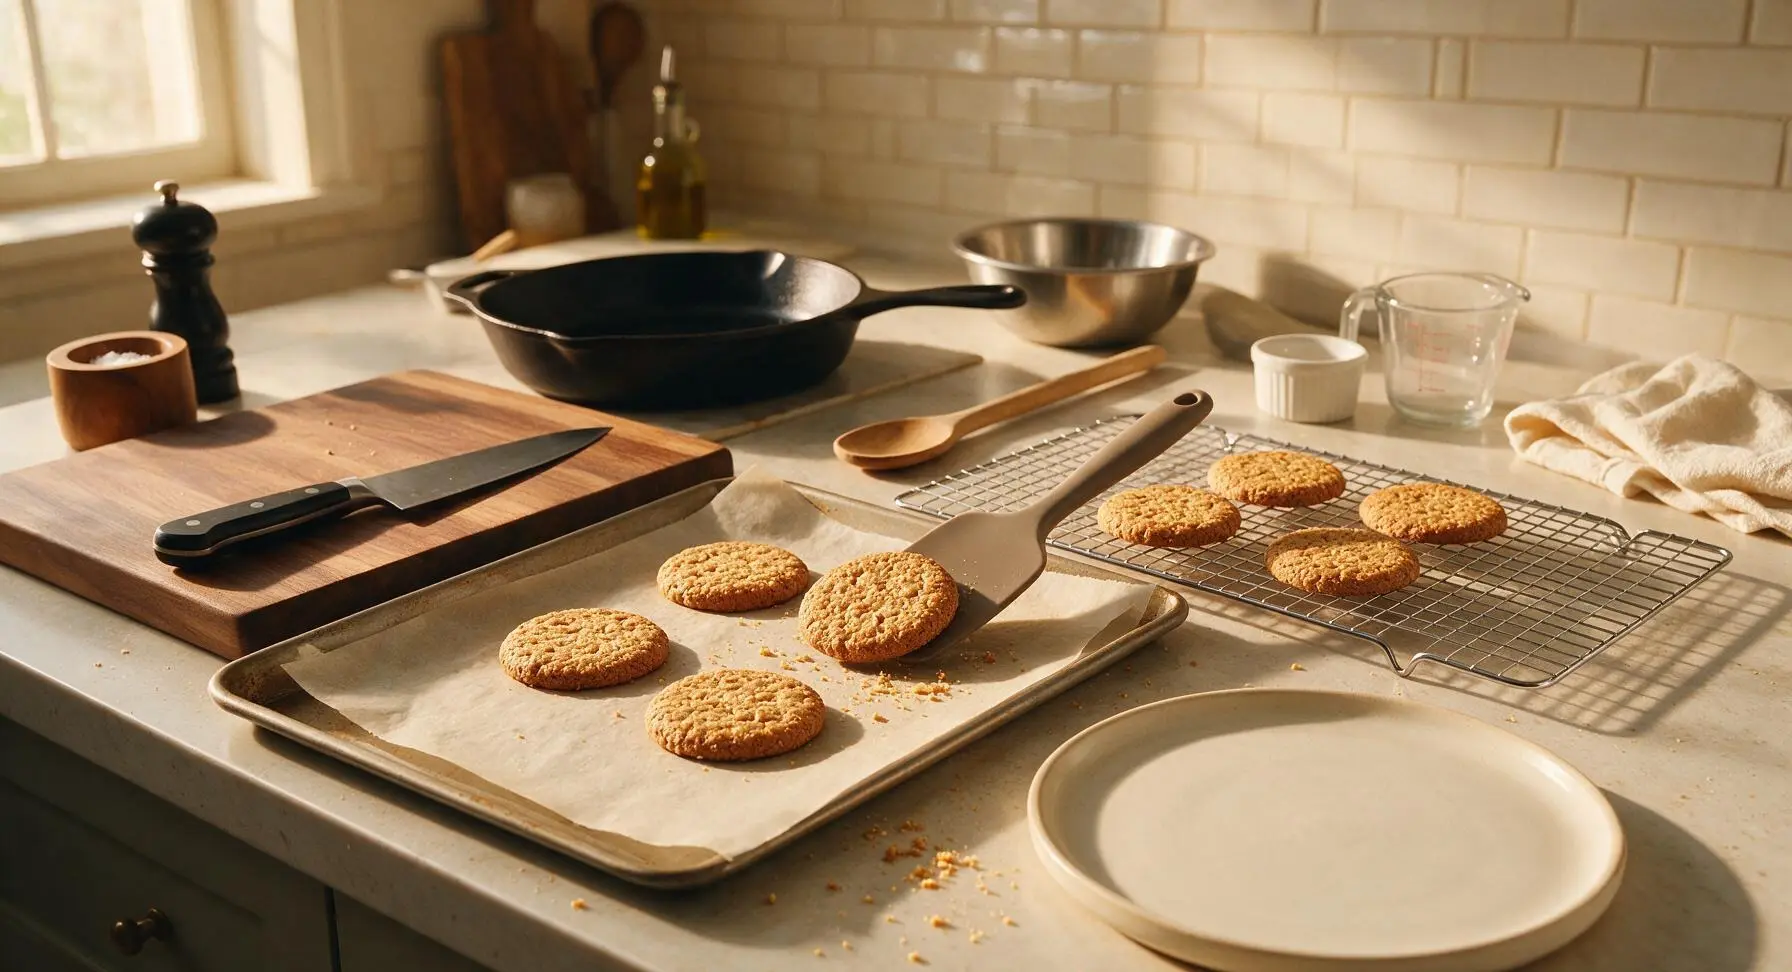
Let the biscuits rest on the hot baking sheets for 5 minutes immediately after removing from the oven—they will firm up enough to move without breaking during this time. Use the silicone spatula to transfer the warm biscuits to the chrome wire cooling rack, and let them cool completely for 20 minutes before serving. Do not stack warm biscuits, as they will stick together and lose their signature crisp crunch.
Tips
2.Do not move the biscuits immediately after baking: they will be extremely soft and fragile straight from the oven, and will firm up to a crisp, snap-able texture after 5 minutes resting on the hot tray, making them easy to transfer without breaking.
3.Leave at least 5cm of space between each dough ball on the baking sheet: the melted butter and golden syrup cause the dough to spread wide and thin as it bakes, and crowded portions will merge into a single uneven sheet instead of neat individual biscuits.






OMG these hobnobs are SO good! I made them for my kids’ after-school snack this week and they begged me to add them to our regular rotation. They’re perfectly oaty, buttery, and have that amazing crunch I remember from the ones I tried on a trip to London years ago. So easy too — I had all the ingredients in my pantry already! 12 minutes in the oven was exactly right for my oven, no burnt edges at all.
Total game changer! I brought these to our neighborhood potluck last weekend and every single one was gone before I even got a chance to grab a second. People kept asking me for the recipe all night. Love that the difficulty is easy — I’m not a fancy baker and these came out perfect on my first try.
Made these in my tiny dorm oven last night and wow, way better than the store-bought cookies I usually stock up on for late study sessions. Only took a few minutes to mix up, 12 minutes cook time is totally doable even when I’m cramming for midterms. Dipped half of mine in dark chocolate, 10/10.
I tried these at a friend’s house last weekend and they were incredible! 4 stars only because I haven’t been able to make a gluten-free batch for myself yet. Has anyone tried making these with gluten-free all purpose flour? I’m gluten intolerant but have been obsessed with that oaty, buttery flavor since my first bite, and would love to make them at home. Would the oat base work with GF flour?
These are perfect for meal prep! I baked a double batch on Sunday and they stayed crunchy all week in an airtight container. Grabbed two every morning on my way out the door to have with my commute coffee. Way cheaper than stopping at the coffee shop for a pastry every day.
My granddaughter is obsessed with all things British after watching that baking show, so we made these together yesterday. She had a blast measuring out the oats and squishing the dough balls flat. They came out golden and delicious, we even did a little taste test with our afternoon tea. Memory made for sure.
Bro these are insane. I thought hobnobs were just fancy oatmeal cookies but no, that caramelized buttery flavor is next level. I ate like 5 straight out of the oven (don’t judge, they smelled too good). Only note is my oven runs hot so I pulled mine at 10 minutes instead of 12 and they were perfect. Will be making these again for my roommate’s birthday next week!
As someone who drinks a cup of English breakfast tea every single morning, I can confirm these taste exactly like the hobnobs I bought when I visited Edinburgh a few years ago. Perfect crunch, not too sweet, perfect for dipping. No more paying import prices for biscuits at the specialty grocery store for me!
First time ever making cookies from scratch and these were so easy! I was nervous I’d mess them up but the instructions are super straightforward. Mine came out a little crumblier than I expected but still tasted amazing. Did I maybe press the dough too thin?
These are the perfect addition to my Sunday family dinner dessert spread. I served them with a little vanilla ice cream on the side and everyone went back for seconds. The oaty flavor pairs so well with creamy vanilla, I can’t believe I never thought to make hobnobs before.
I added a tiny bit of flaky sea salt on top before baking and OH MY GOODNESS. It cuts the sweetness perfectly and makes that buttery oaty flavor pop even more. 10/10 will be making these every other week from now on.
Made these for my son’s soccer team snack after practice yesterday and the whole team went wild. Even the kids who usually turn down homemade snacks were asking for seconds. Super easy to throw together before practice, no fancy ingredients needed, and they didn’t get all crumbly in the snack bag which is a total win.