
Hokey Pokey
intro
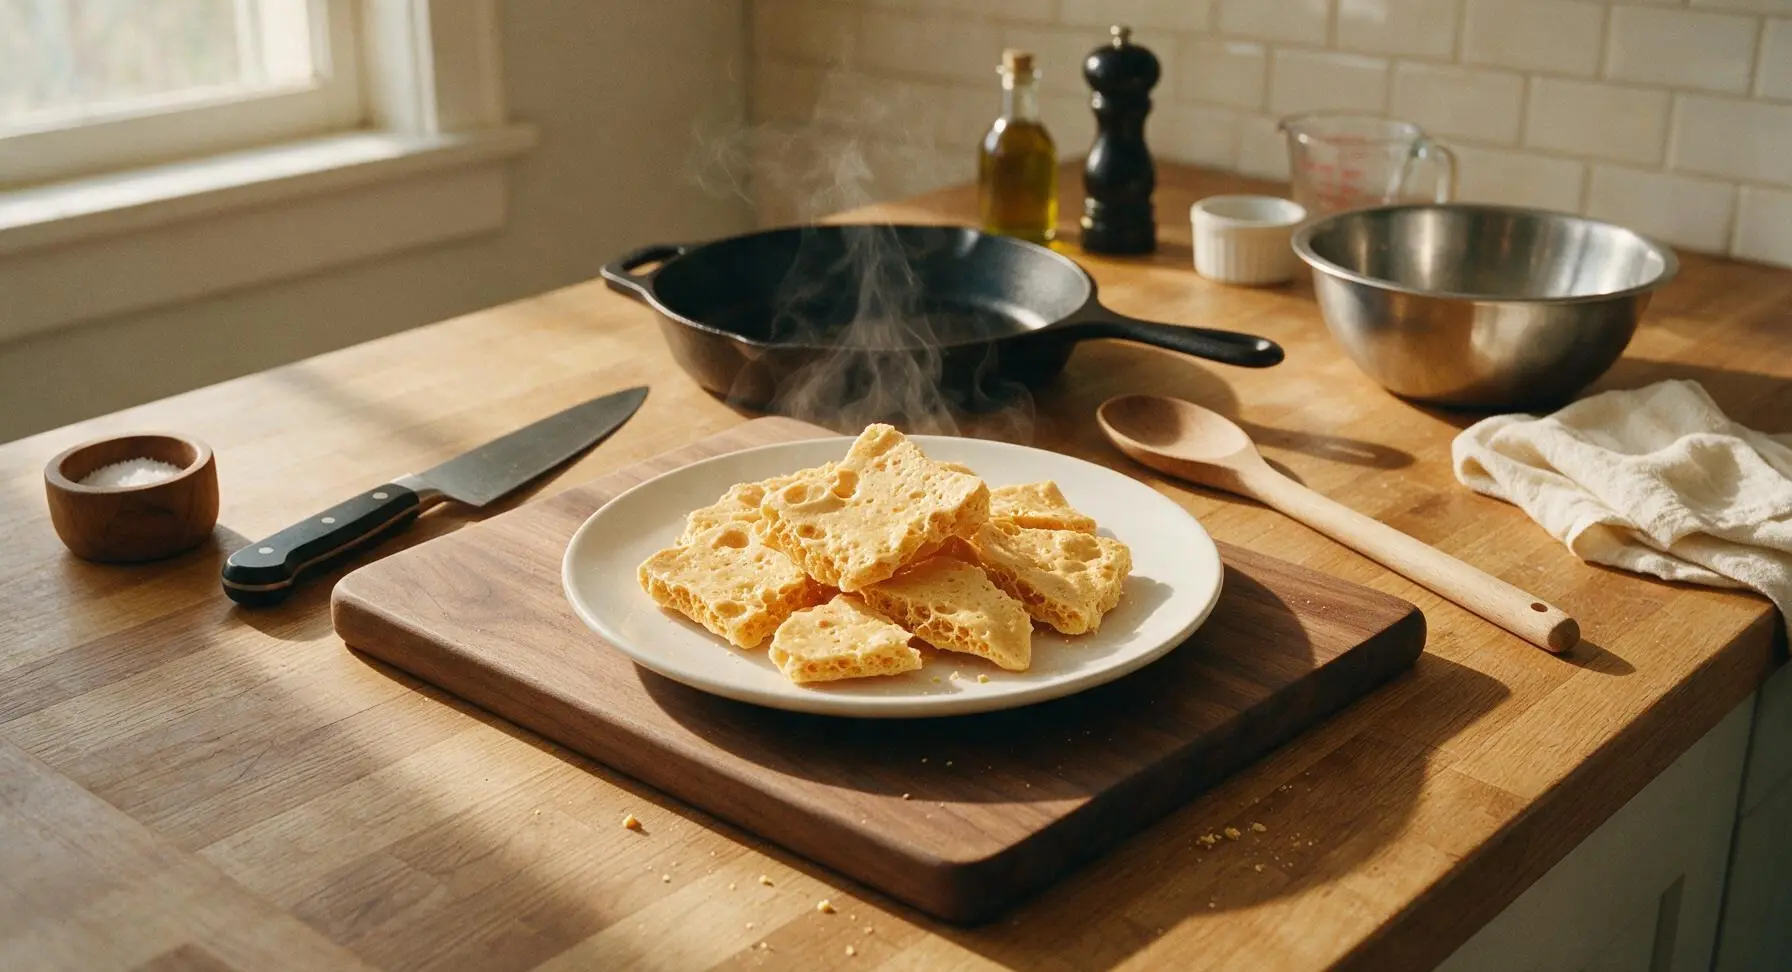
Light, crisp golden honeycomb toffee with a signature bubbly, airy texture—perfect for snacking, chocolate-dipping, or stirring into vanilla ice cream.
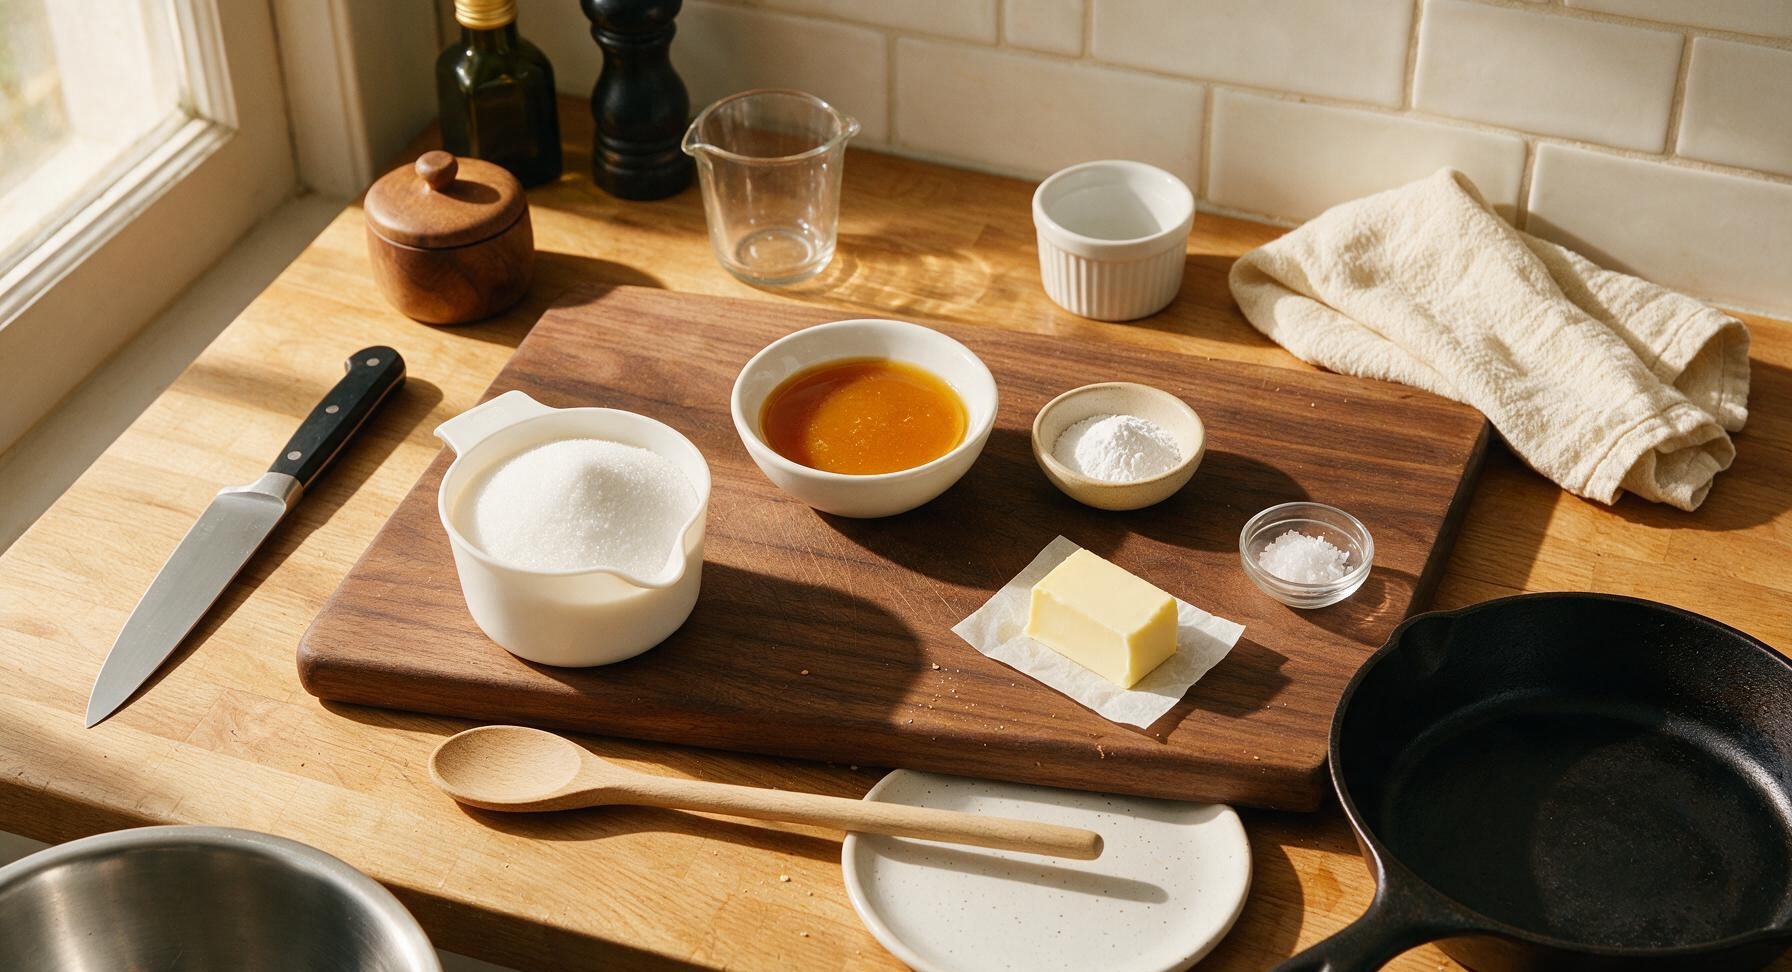
Ingredients
Steps
Line and Grease Tin
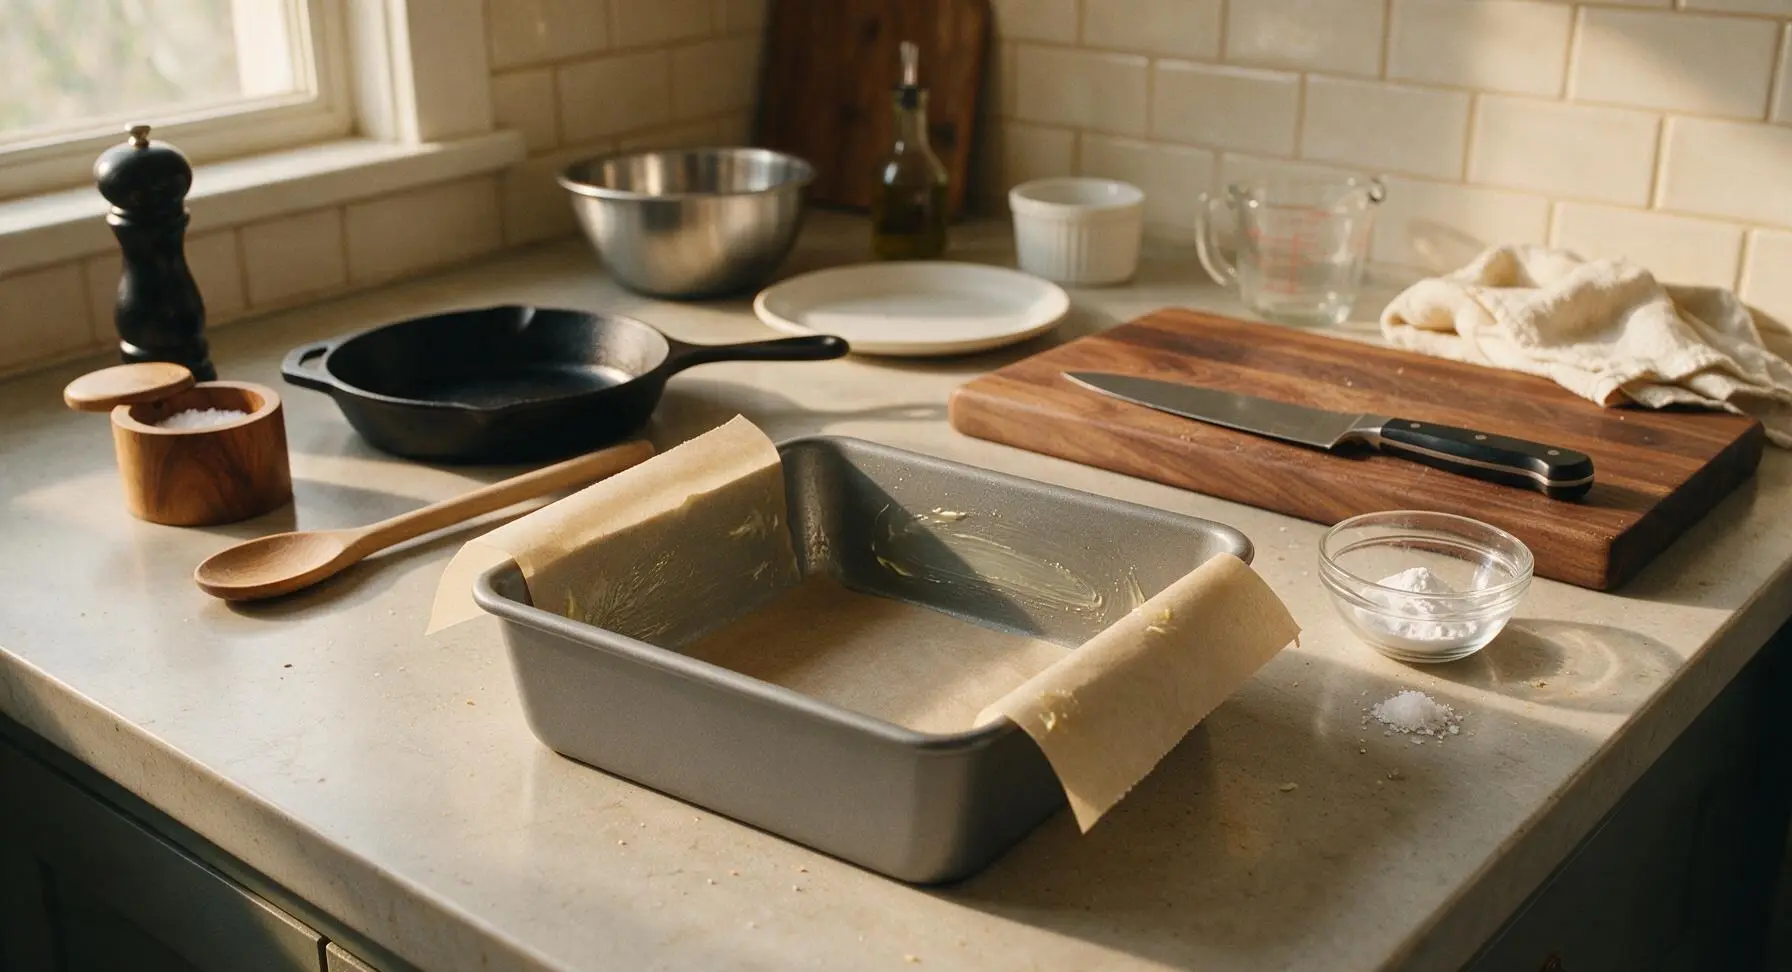
Use the 1 tsp unsalted butter to generously grease the base and inner sides of the 20cm matte grey non-stick baking tin. Press the cut parchment paper into the tin base, leaving 5cm overhang on two opposite sides to act as handles for lifting set toffee out later. Set the prepared tin within arm’s reach of the stovetop. Use the polished stainless steel measuring spoon set to measure 1 tsp baking soda into the small clear glass prep bowl, and measure 1/8 tsp flaky sea salt into a tiny pile next to the bowl, so both are ready to add in one quick motion once the syrup is ready.
Heat Sugar Mixture
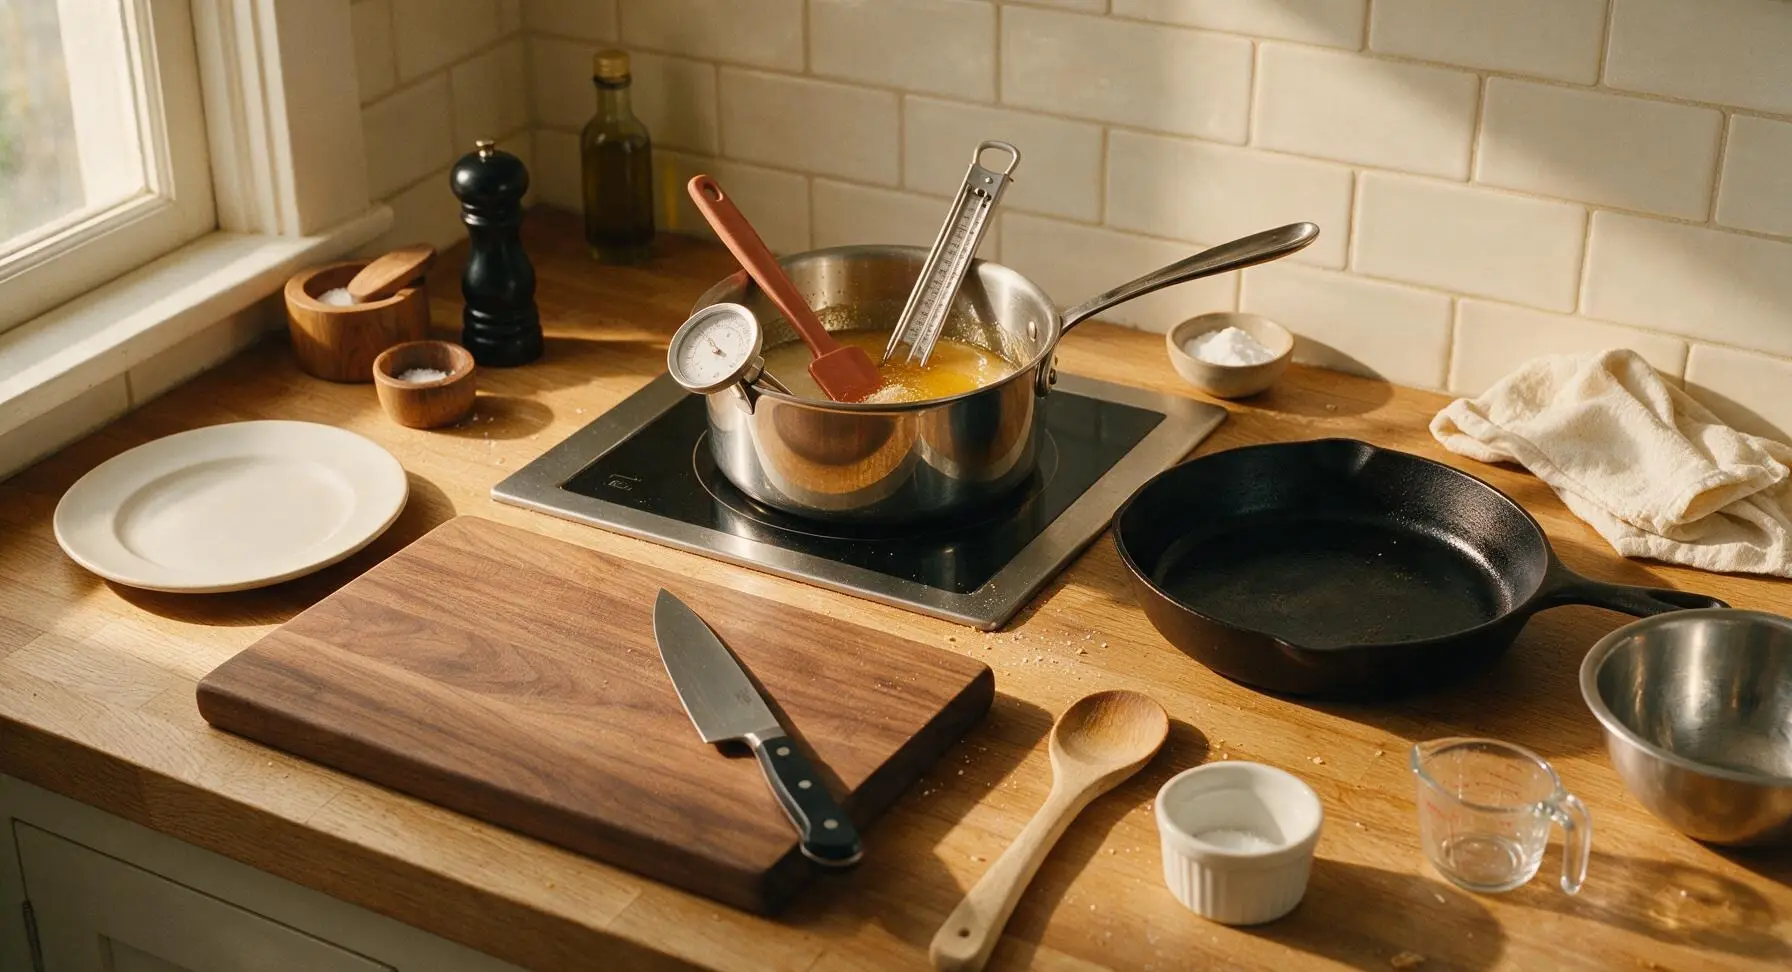
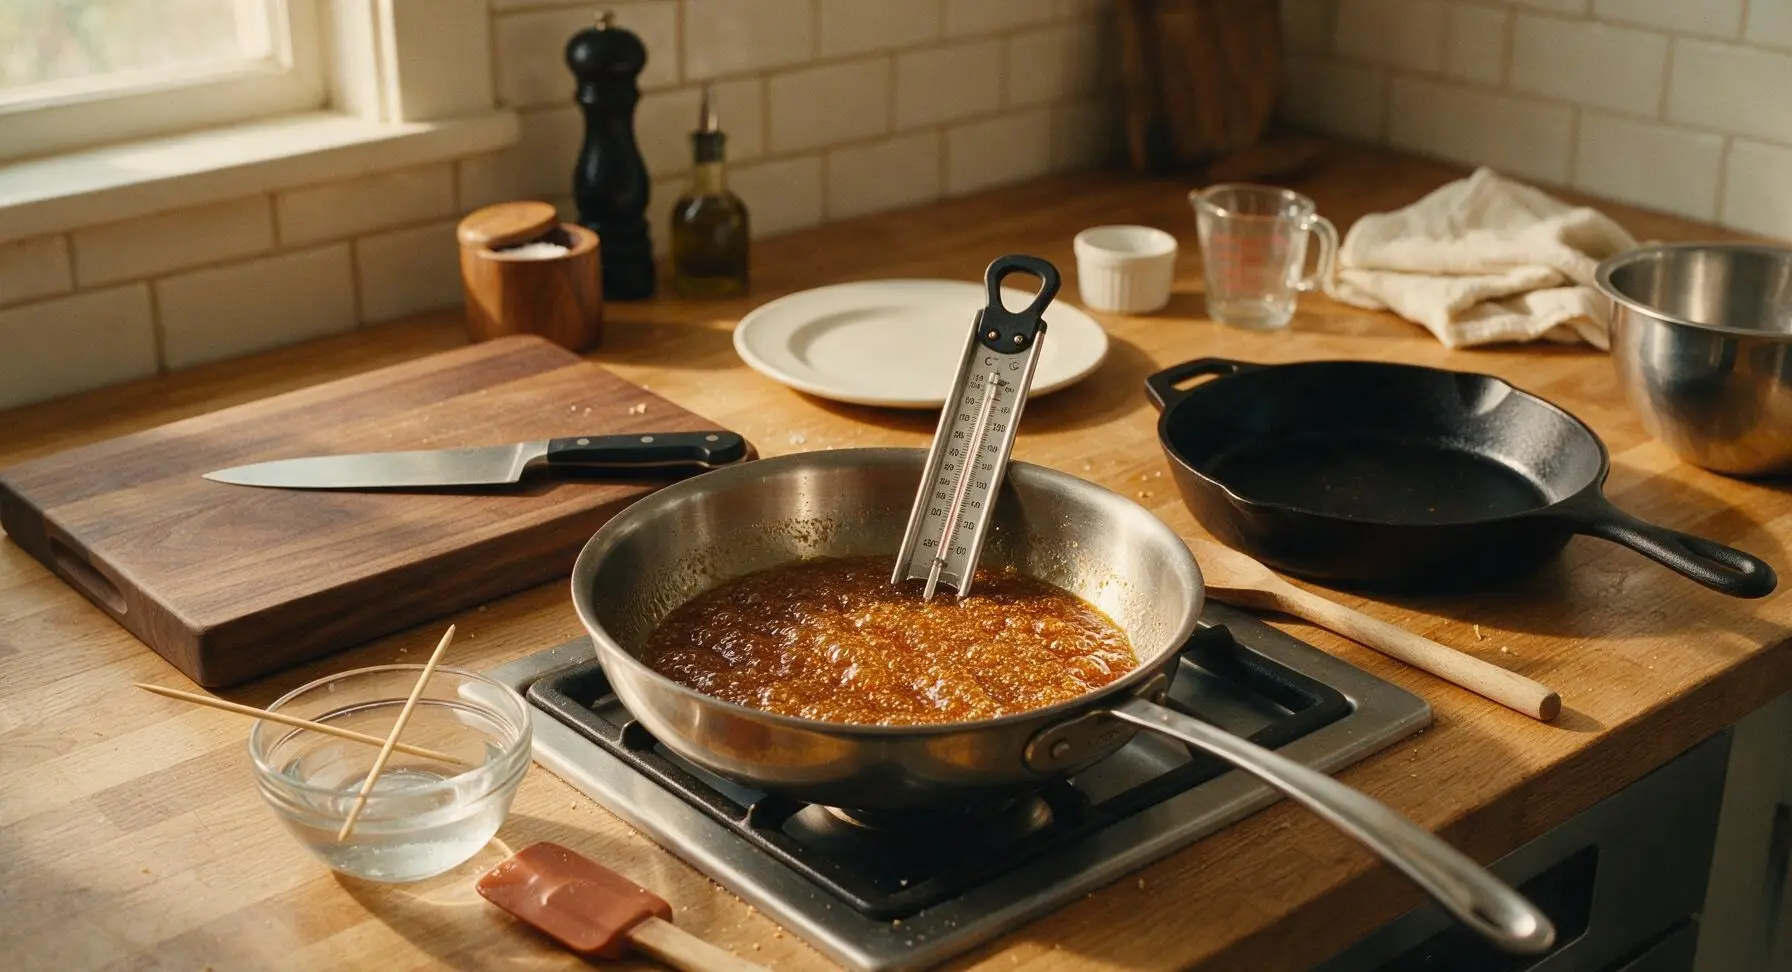
Place the 1.5L heavy-bottomed polished stainless steel saucepan on the induction stovetop inset at the back center of the counter, set to medium-low heat. Add 100g caster sugar and 3 tbsp golden syrup to the pan, stirring slowly with the terracotta silicone spatula until the sugar fully dissolves into a smooth liquid, with no gritty sugar crystals visible on the pan sides. Clip the stainless steel candy thermometer to the pan side, ensuring the tip is fully submerged in syrup but not touching the hot pan bottom for an accurate reading.
Cook to Hard Crack
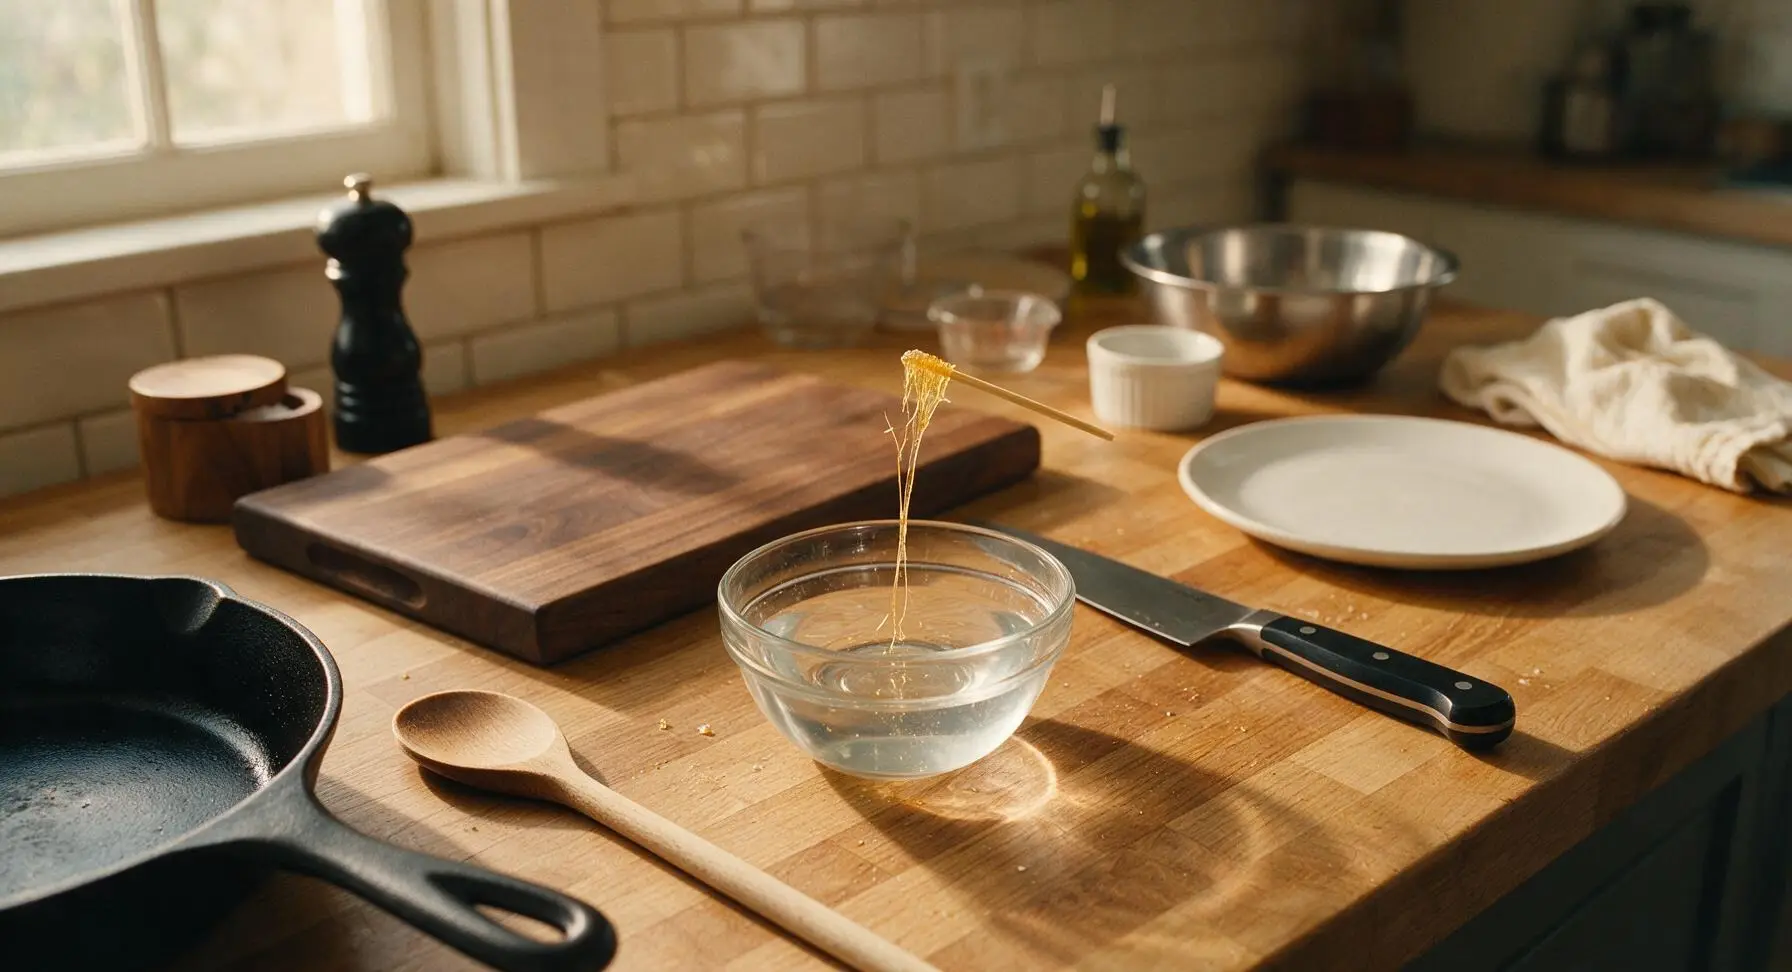
Stop stirring once the sugar is fully dissolved, and let the syrup come to a gentle, steady rolling boil. Cook until the candy thermometer reads 150°C (300°F), known as the hard crack stage. As a backup test, drop a tiny dot of syrup into the small clear glass bowl of cold water using the birch wood skewer: properly cooked syrup will form hard, brittle threads that snap cleanly when bent, rather than soft, chewy blobs. This takes 5-7 minutes total; do not stir the boiling syrup, as this can cause sugar crystallization. Watch closely once the syrup passes 140°C, as it will burn very quickly at high temperatures.
Add Baking Soda
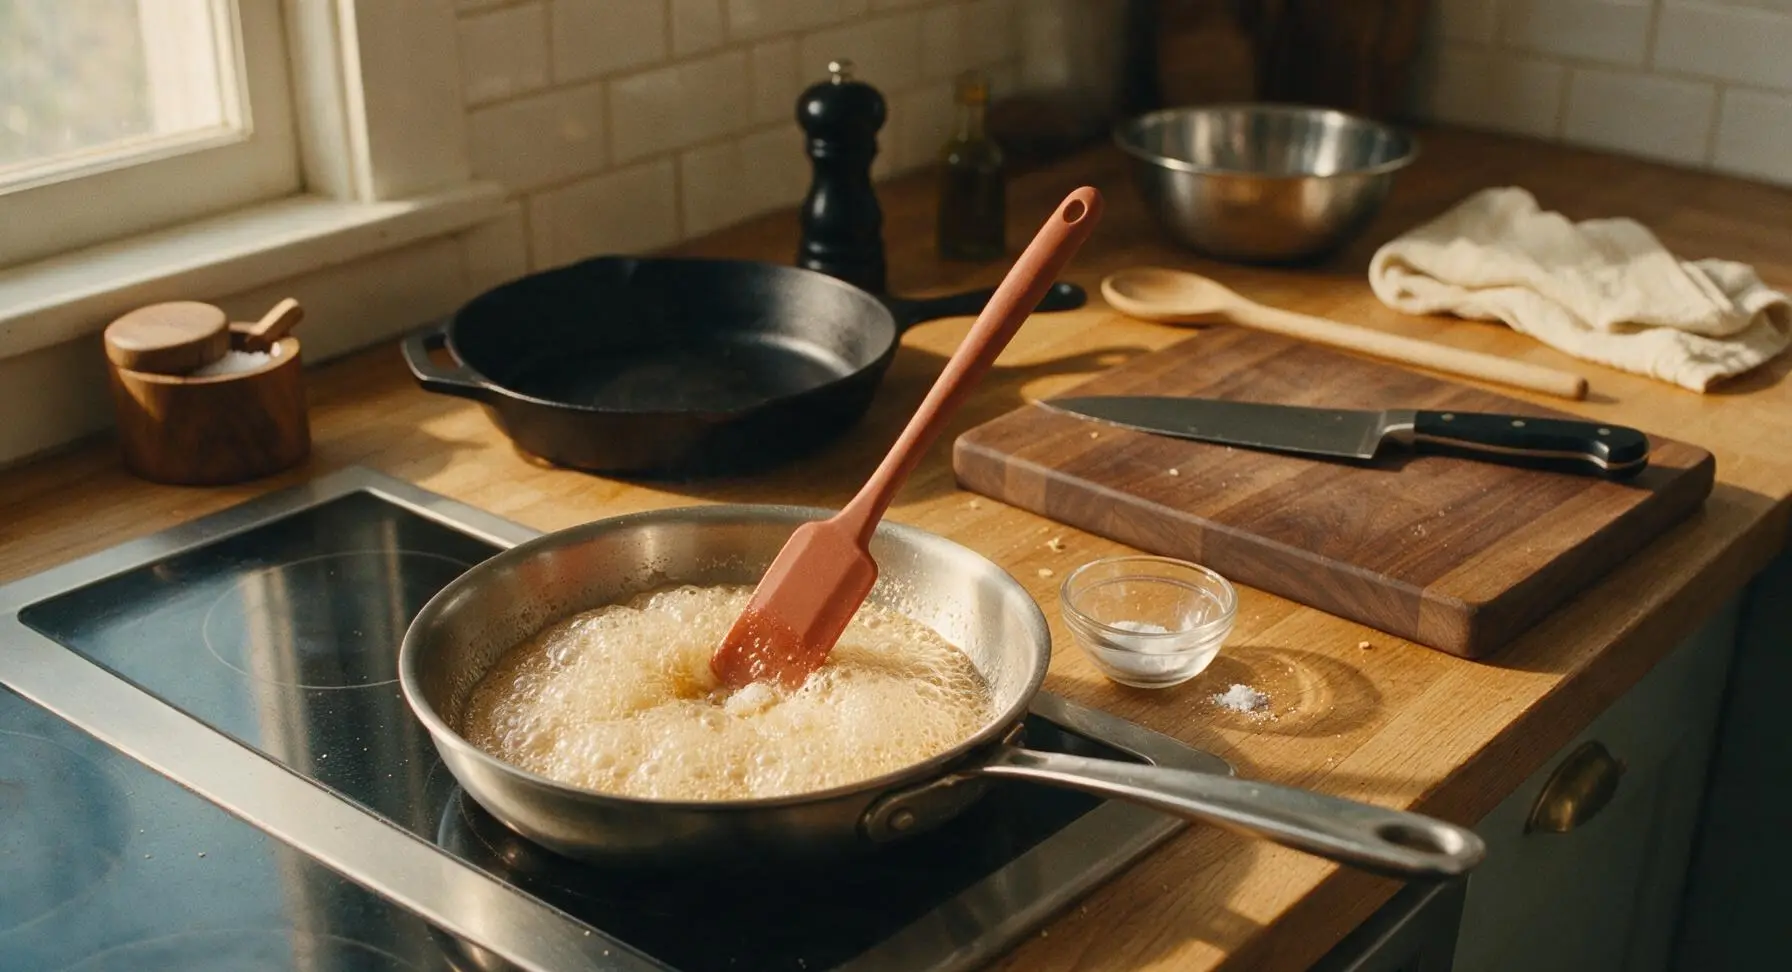
Working extremely quickly, remove the pan from heat immediately once it reaches 150°C. Tip the pre-measured baking soda and flaky sea salt into the hot syrup all at once, stirring vigorously and quickly with the silicone spatula for only 2-3 seconds. The mixture will foam up dramatically, tripling in volume and turning a lighter, clouded golden color as air bubbles form throughout. Do not over-stir, as this will pop the delicate bubbles and result in dense, hard toffee instead of light, airy hokey pokey.
Pour Hot Toffee
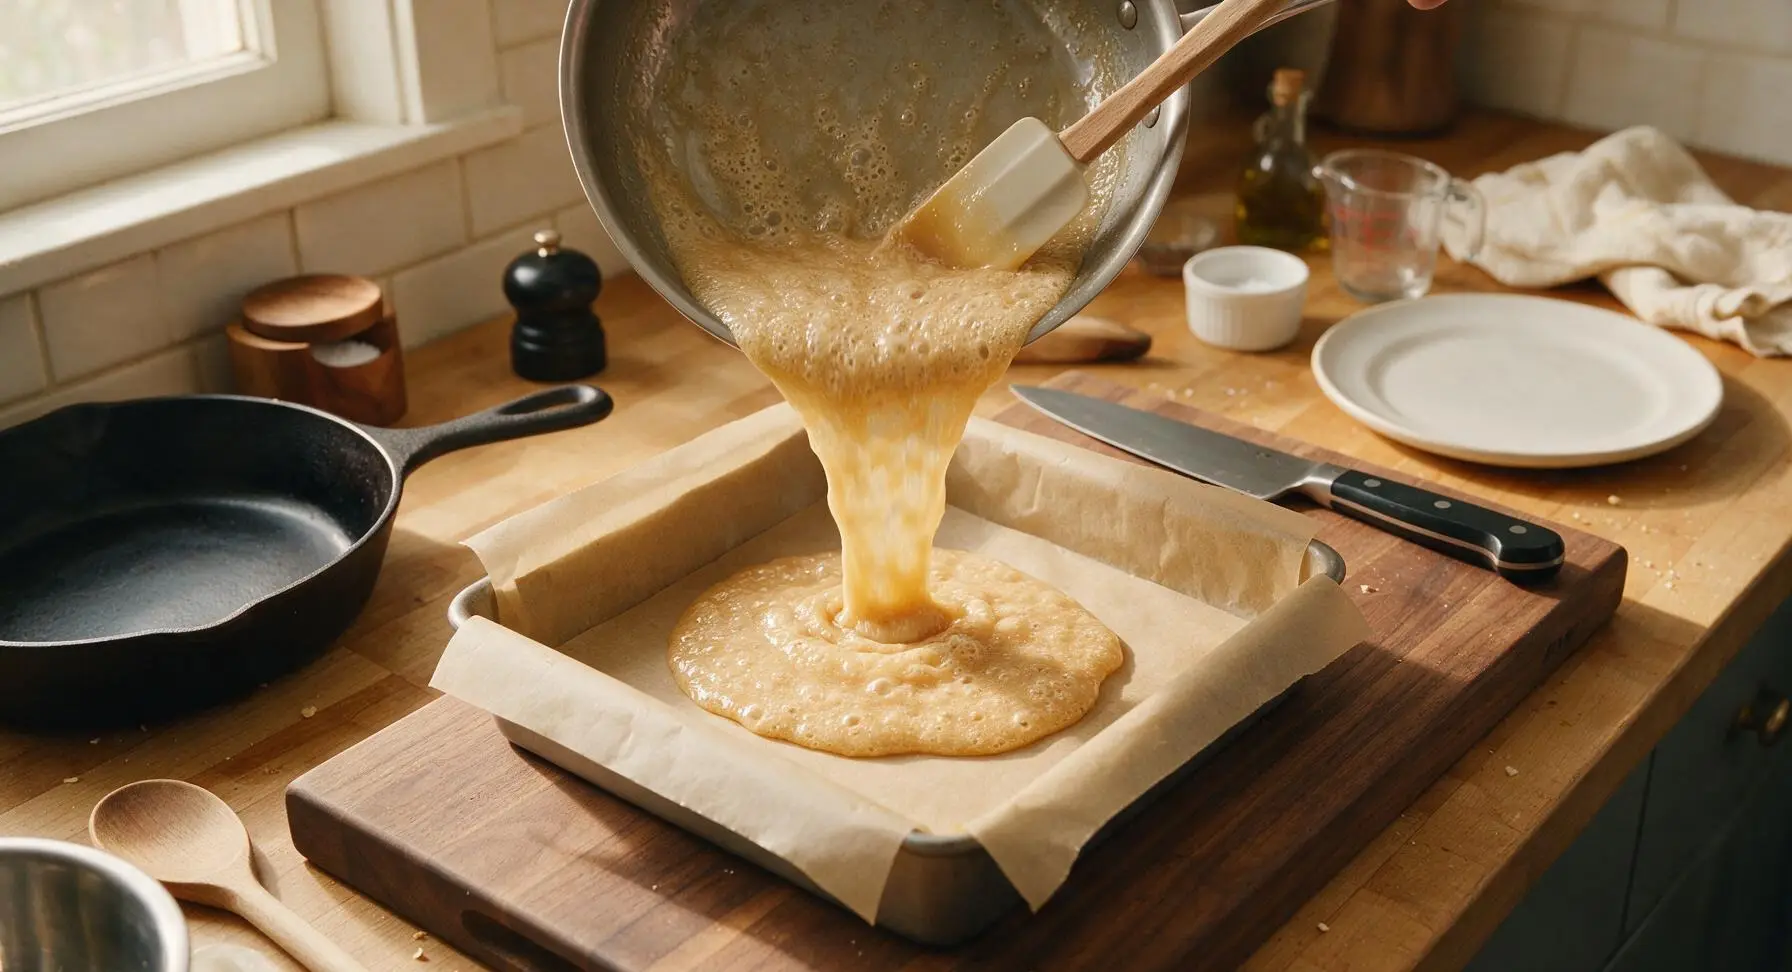
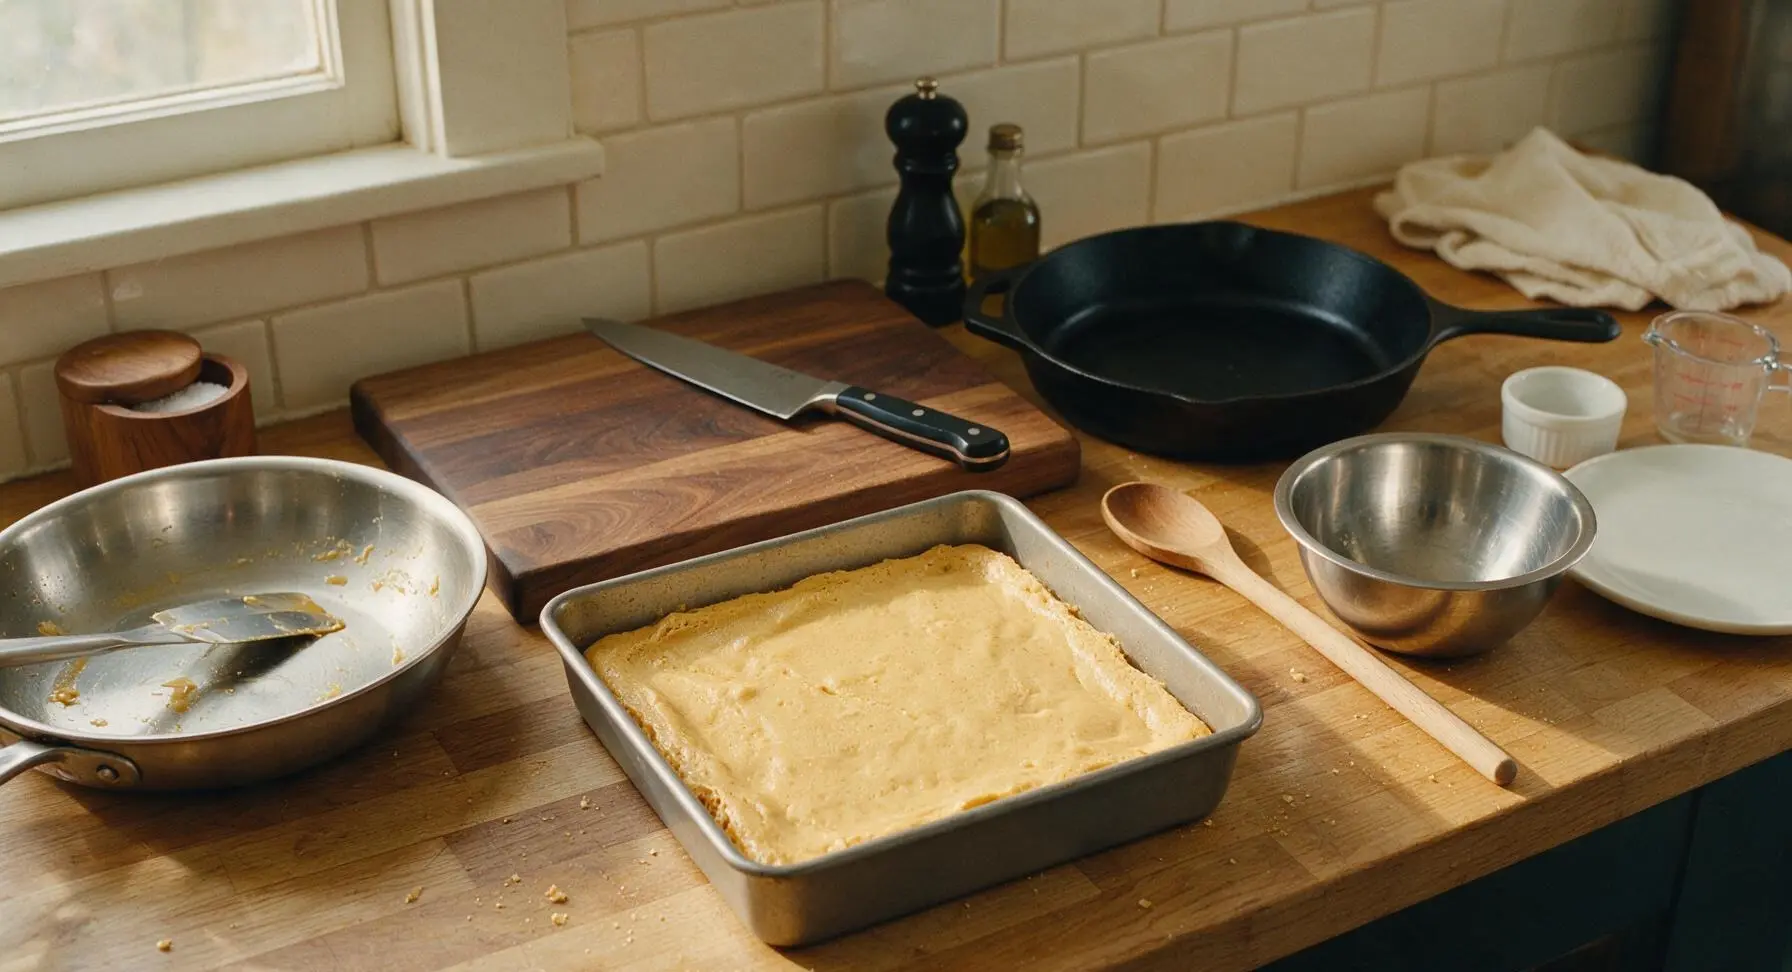
Immediately pour the foaming toffee mixture into the prepared lined baking tin, scraping the pan sides gently with the spatula to get every bit of toffee out. Do not spread the toffee or smooth the top with the spatula—let it spread naturally into an even layer on its own, as spreading will pop the delicate air bubbles and ruin the light, porous texture.
Let Toffee Set
Leave the tin of toffee completely undisturbed at room temperature for 30-40 minutes, until it is fully hard and cool to the touch. Do not move the tin, tap it, or place it in the refrigerator, as sudden temperature changes or movement can make the toffee sticky or cause the air bubbles to collapse. Fully set hokey pokey will sound hollow when tapped lightly with a finger.
Break into Pieces
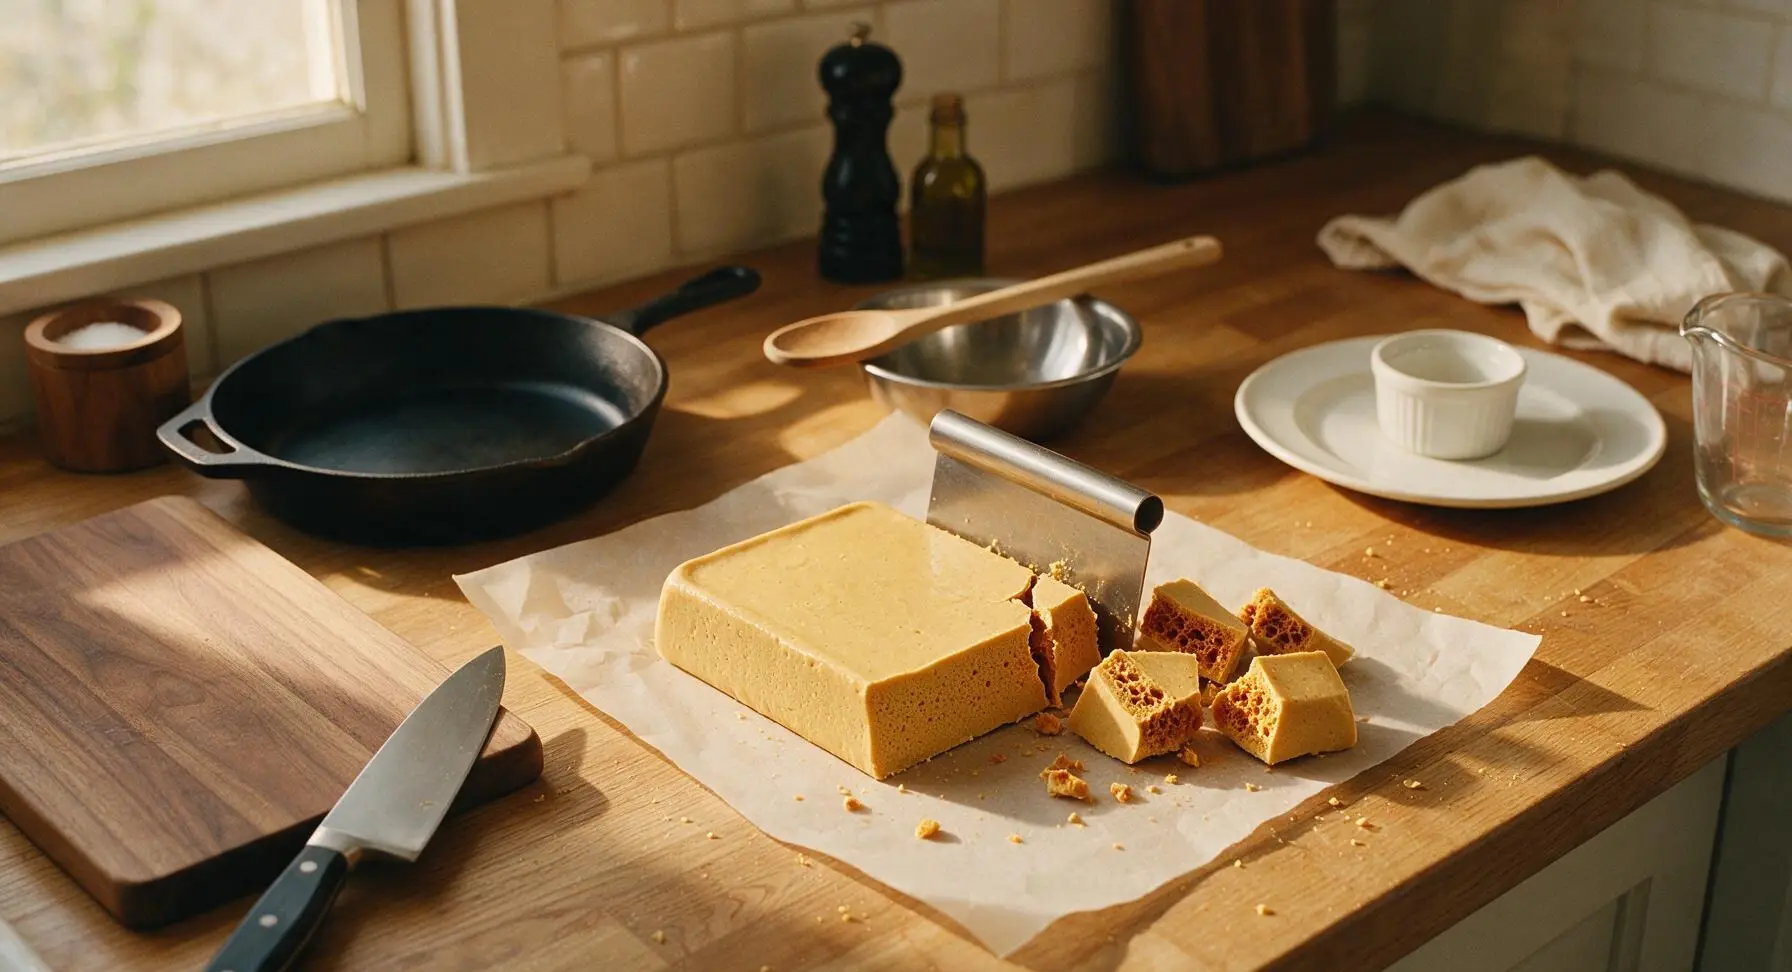
Lift the solid block of set hokey pokey out of the tin using the overhanging parchment paper handles. Set the block on the parchment paper on the counter surface, then press the edge of the stainless steel bench scraper into the toffee block to snap it into irregular, jagged 3-5cm pieces. Do not cut the toffee with a sharp knife, as this creates smooth, uniform edges instead of the classic rough, bubbly broken look. Save any tiny crumbs to stir into vanilla ice cream, if desired.
Arrange and Serve
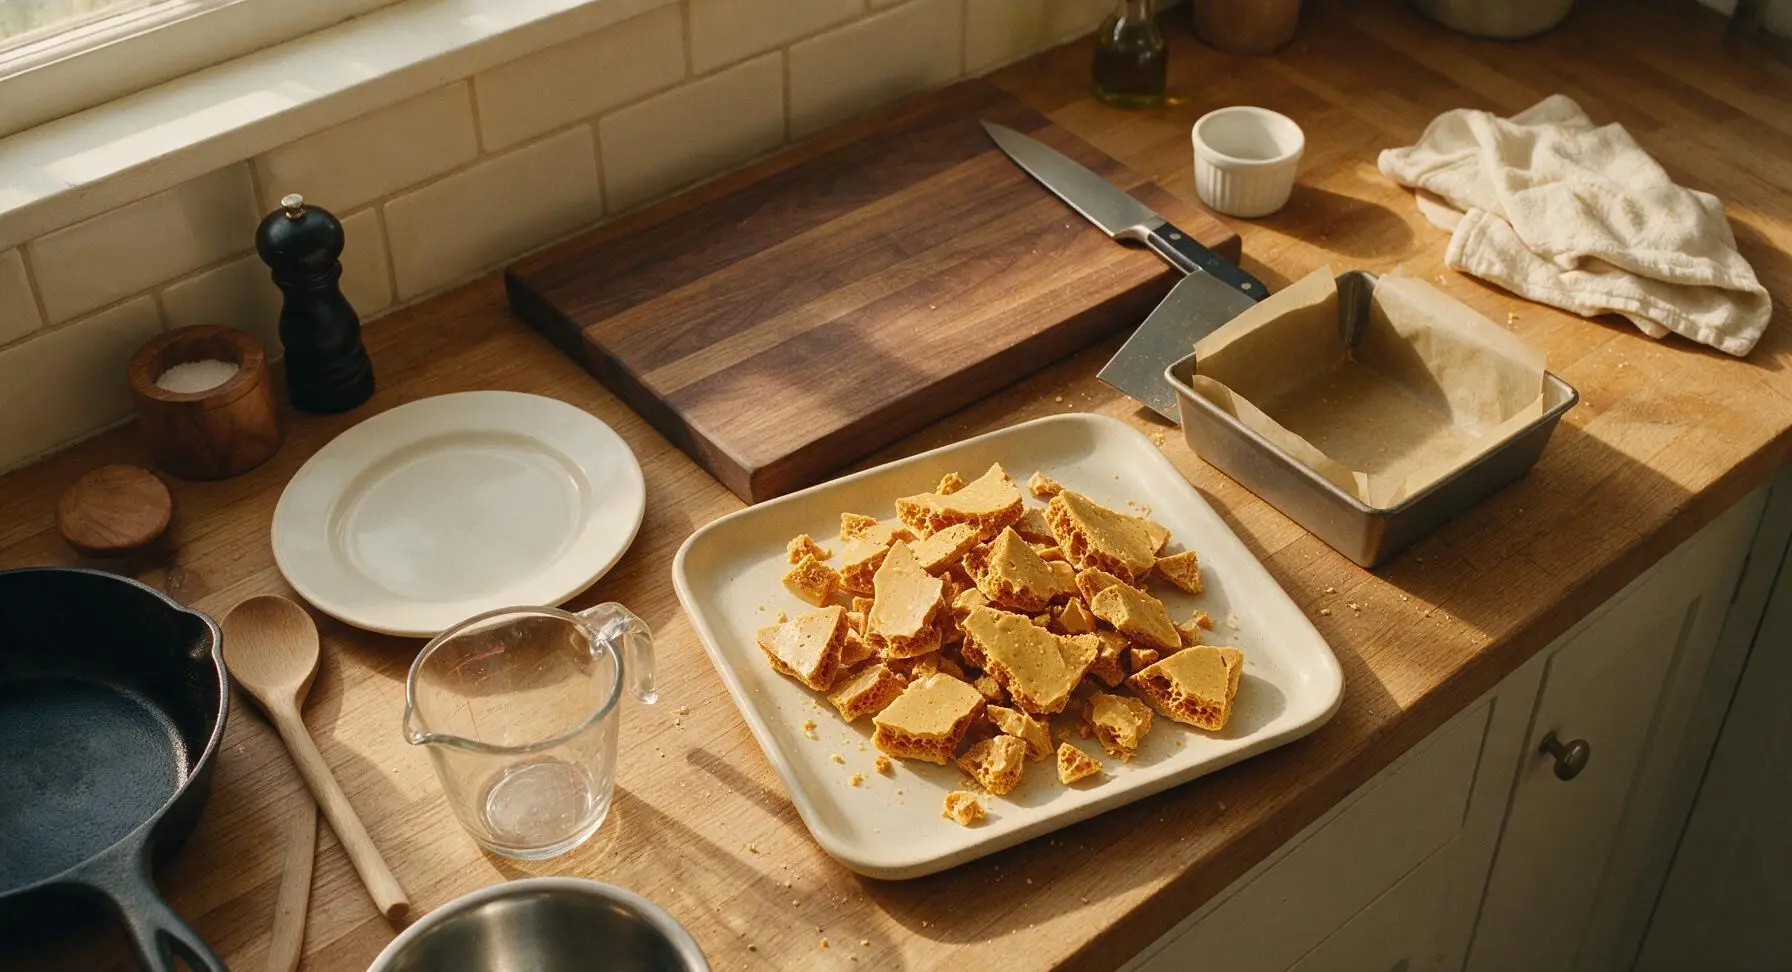
Pile the broken hokey pokey pieces loosely onto the matte cream ceramic rectangular serving platter. Sprinkle a tiny extra pinch of flaky sea salt over the top if desired. Serve plain, dip half of each piece in melted dark chocolate and let set for a chocolate-coated treat, or crush pieces to fold into softened vanilla ice cream for classic Australian hokey pokey ice cream. Store leftover pieces in an airtight container at room temperature for up to 1 week.
Tips
2.Avoid making hokey pokey on very humid days: sugar is highly hygroscopic, meaning it absorbs moisture from the air, which will turn your crisp toffee sticky and chewy. If you live in a humid climate, run a dehumidifier in the kitchen for 30 minutes before starting for the best crisp texture.
3.Never stir the boiling syrup or over-mix after adding baking soda: stirring boiling sugar can cause crystals to form, leading to a grainy texture, while over-mixing after adding baking soda pops the tiny air bubbles that create hokey pokey’s signature light, honeycomb structure.






OMG this hokey pokey is SO good! I made it for my kid’s soccer team potluck last weekend and every single kid (and parent!) was begging me for the recipe. It took literally 8 minutes just like the recipe said, no fancy tools needed. I sprinkled a tiny pinch of flaky sea salt on top right before it set and *chef’s kiss*. Total game changer for quick homemade candy! Quick question though — can I store this in an airtight container on the counter or does it need to go in the fridge?
Super easy recipe, turned out perfect on my first try! I’ve messed up honeycomb so many times before because I overcooked the sugar, but the timing note here was totally spot on. Crunchy, light, exactly the hokey pokey I remember getting from the local candy shop as a kid. I dipped half of mine in dark chocolate and they taste like fancy gourmet candy bar bites. 10/10 will make again for my next board game night with friends.
Made this last night for a quick movie night snack and my whole family devoured it in 10 minutes flat. It’s so satisfying watching the baking soda fizz up and turn that golden sugar syrup into that light, airy, crunchy honeycomb! I thought for sure it’d be way harder since candy making usually intimidates me, but this was totally foolproof. Even my teen who turns his nose up at all my “experimental cooking” asked when I’m making a second batch. SO good!
Wait, I tried making this earlier and it turned out really dense and chewy instead of light and crunchy? I think I might have stirred too much after adding the baking soda? Not sure, it still tasted great but the texture was totally off. Any tips for next time so I don’t mess it up? I wanted to bring a big batch to my neighborhood block party next weekend!