
New Zealand Hokey Pokey
intro
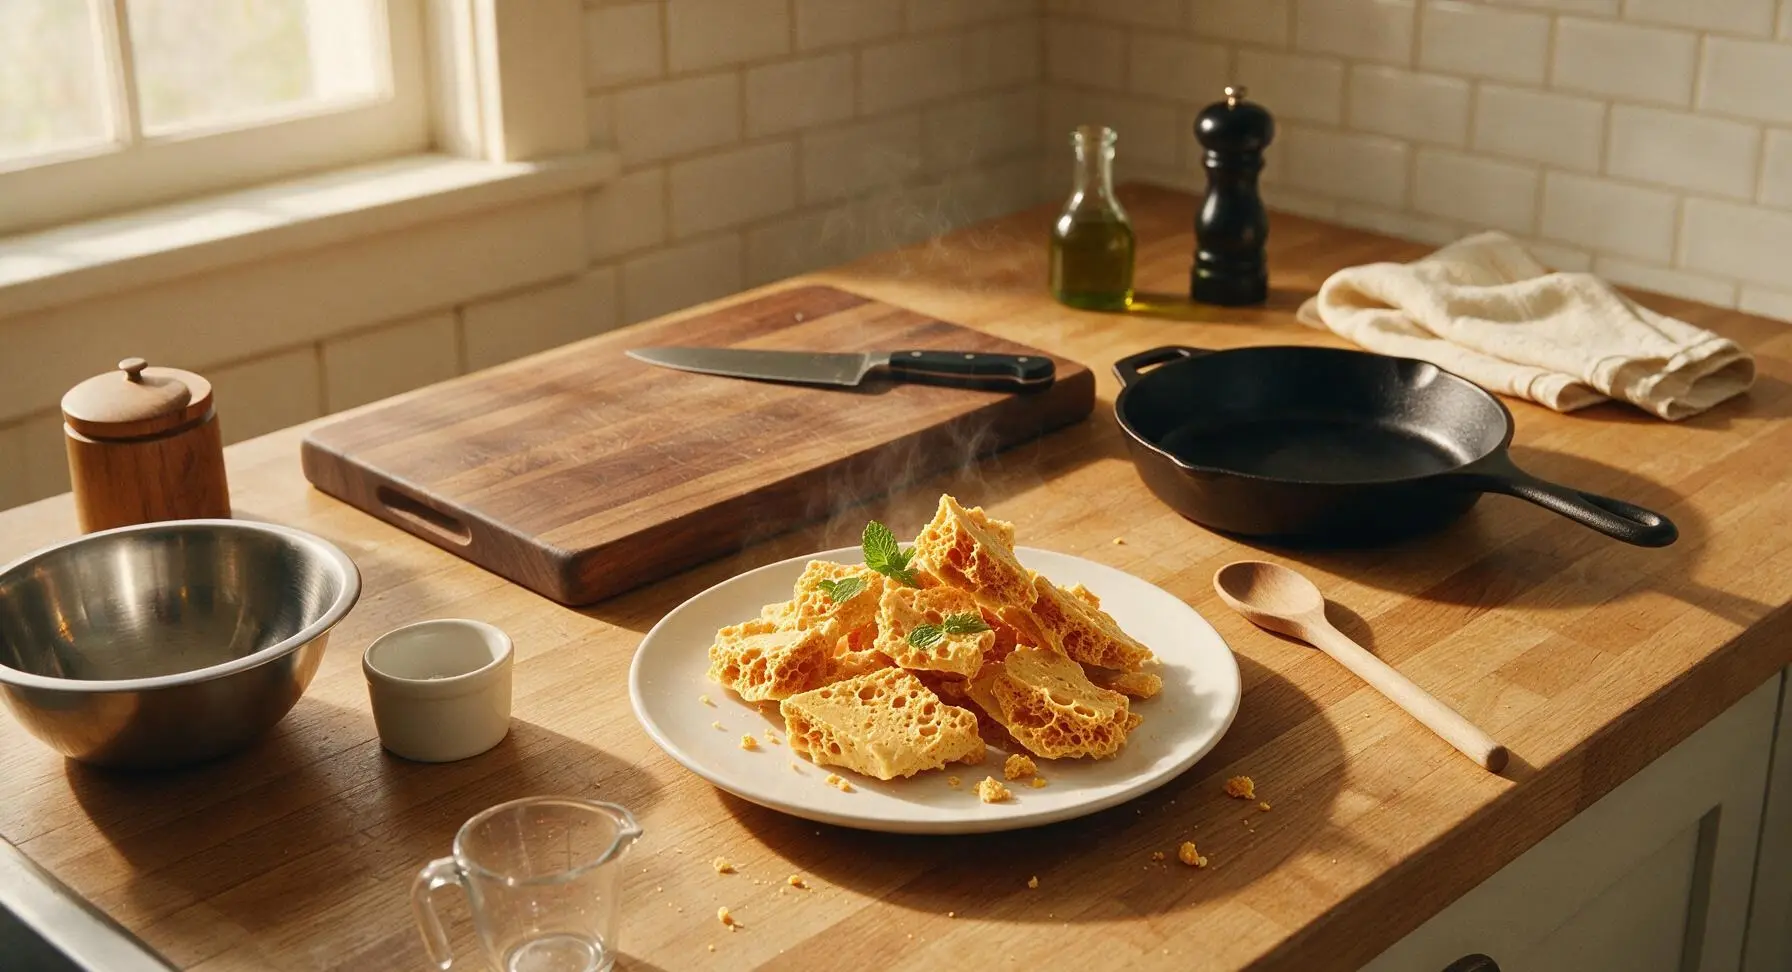
Light, crisp, bubbly golden honeycomb toffee, this iconic nostalgic New Zealand treat is perfect for snacking or crumbling over vanilla ice cream.
Ingredients
Steps
Line Baking Tin
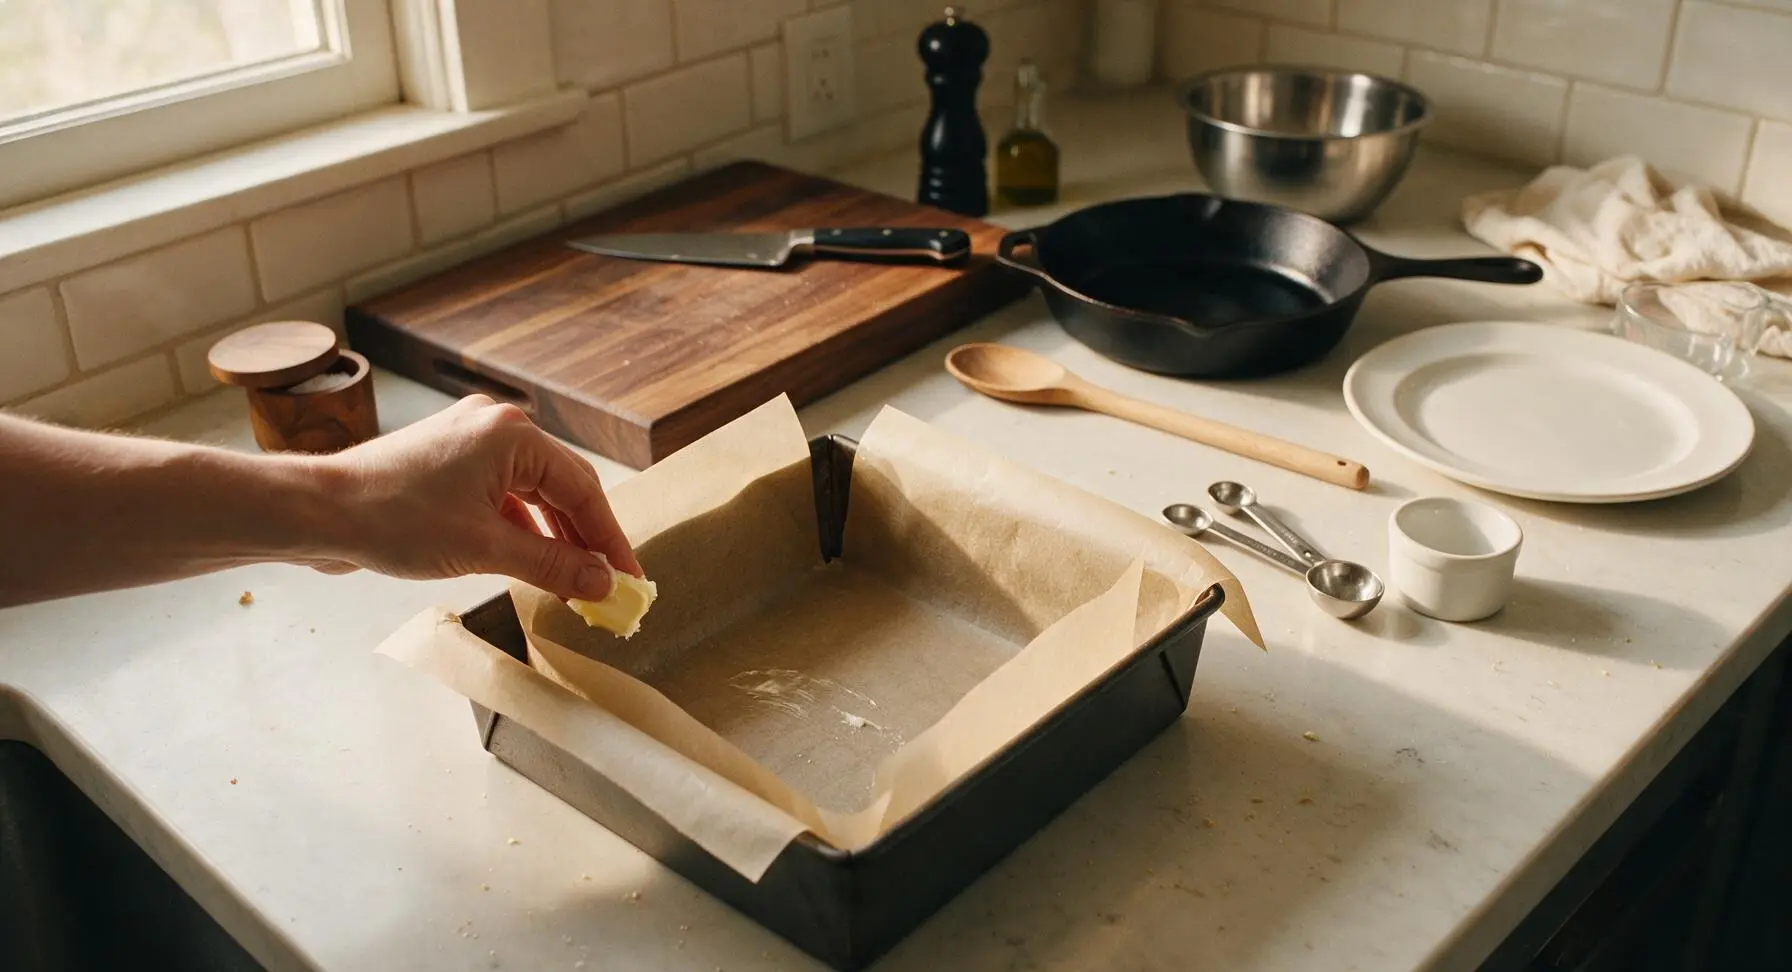
Use a tiny dab of the measured unsalted butter to lightly grease the base and sides of the 18cm square carbon steel baking tin. Press the unbleached parchment paper sheet into the tin, leaving a 2cm overhang on all sides to easily lift the set hokey pokey out later. Smooth out any wrinkles in the parchment so the toffee sets with a flat, even base. Set the prepared tin within arm's reach of the stovetop, as you will need to pour the hot mixture immediately once ready.
Measure All Ingredients
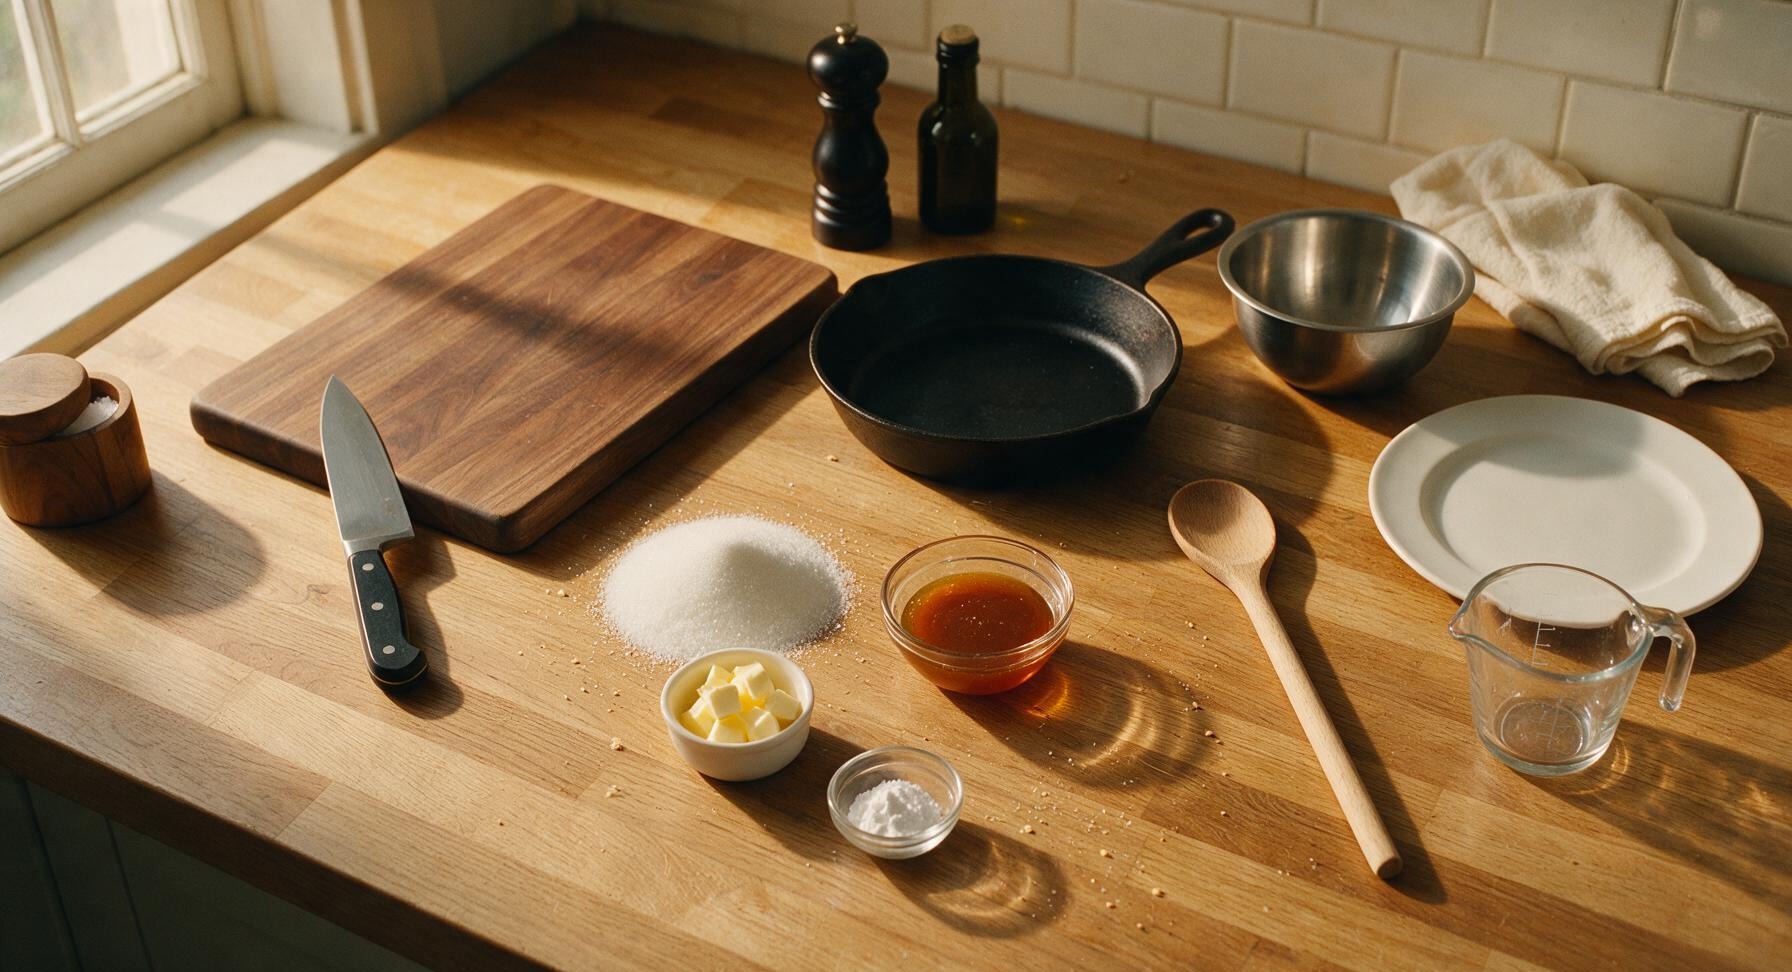
Use the stainless steel measuring spoons to carefully portion all ingredients before you start cooking: 100g caster sugar, 3 tbsp golden syrup, the remaining cubed unsalted butter, and 1 tsp baking soda. Place the baking soda in a small clear glass ramekin within easy reach—once the syrup reaches target temperature, you will have no time to stop and measure it. Skipping this prep step is the most common cause of burnt, ruined hokey pokey.
Melt Sugar Mixture
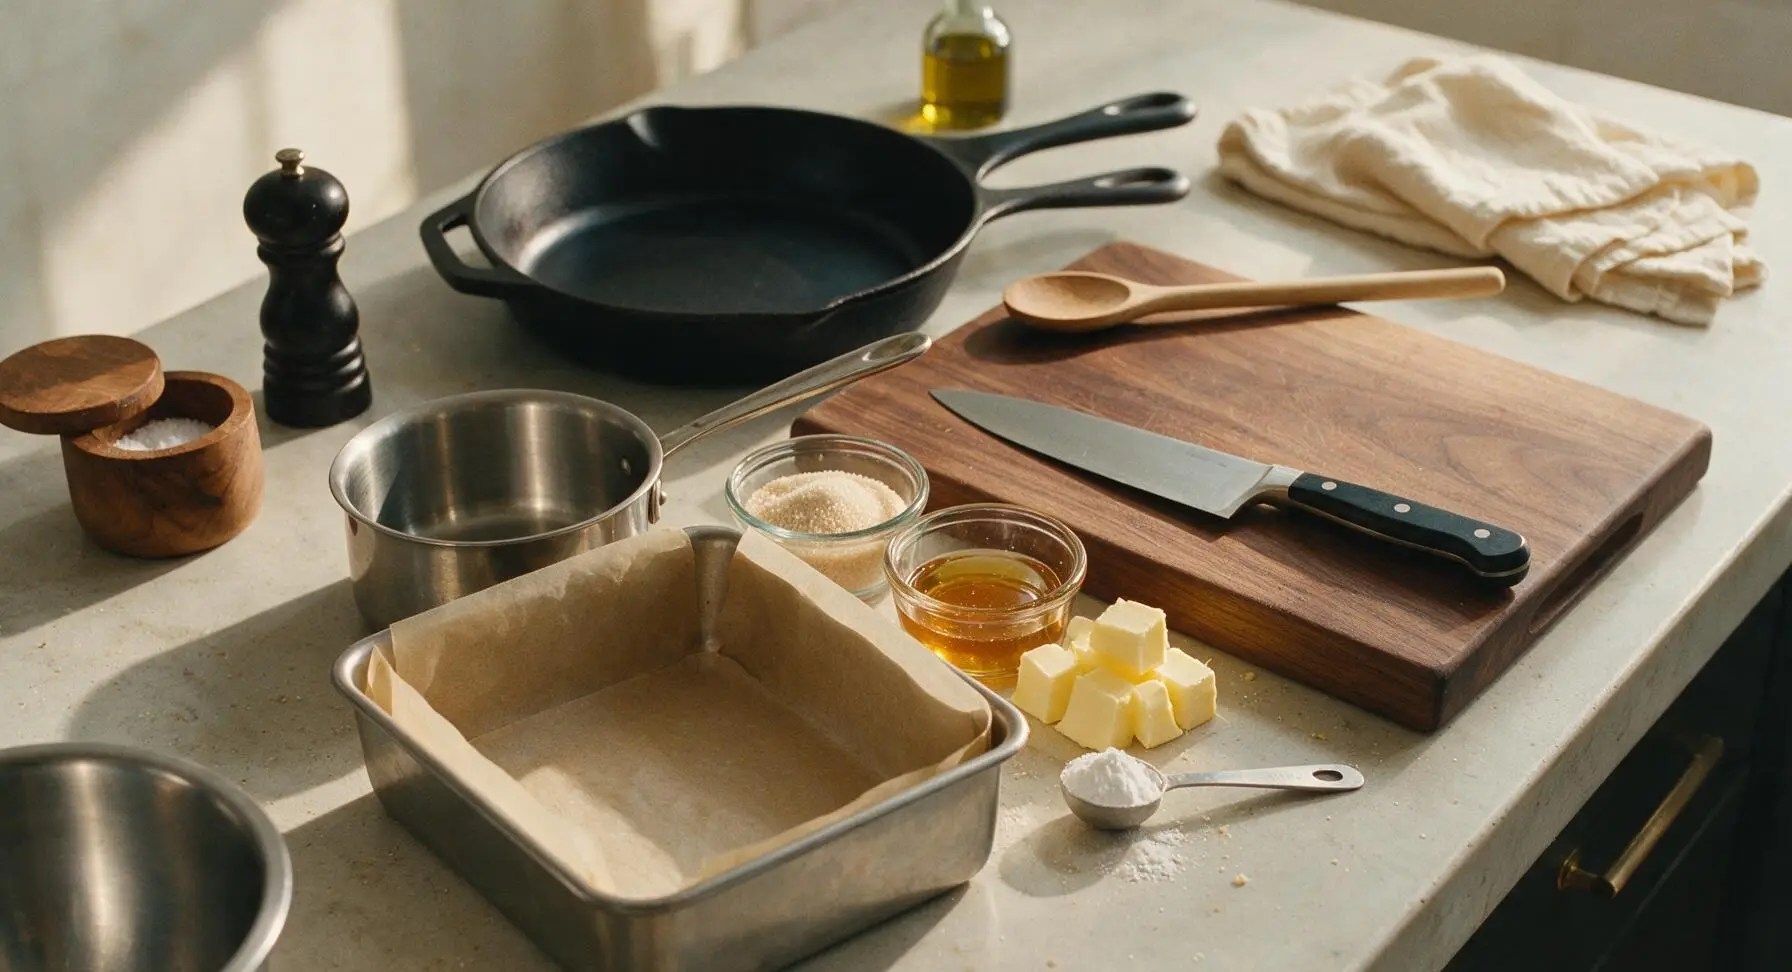
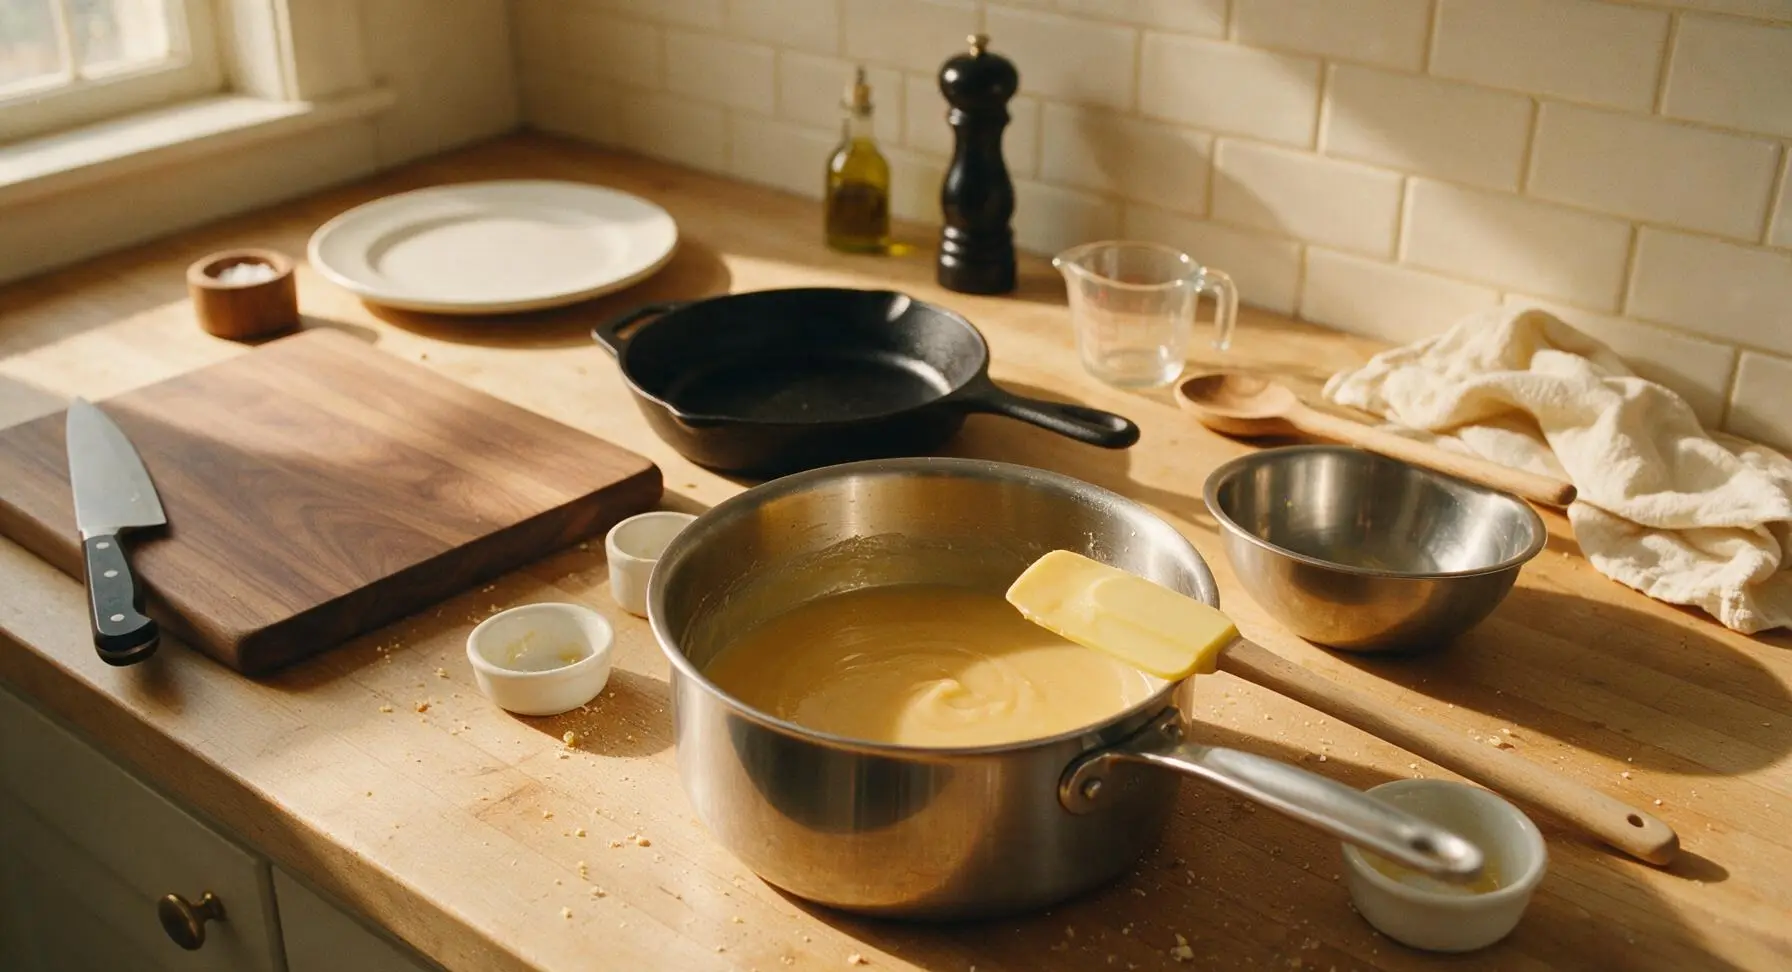
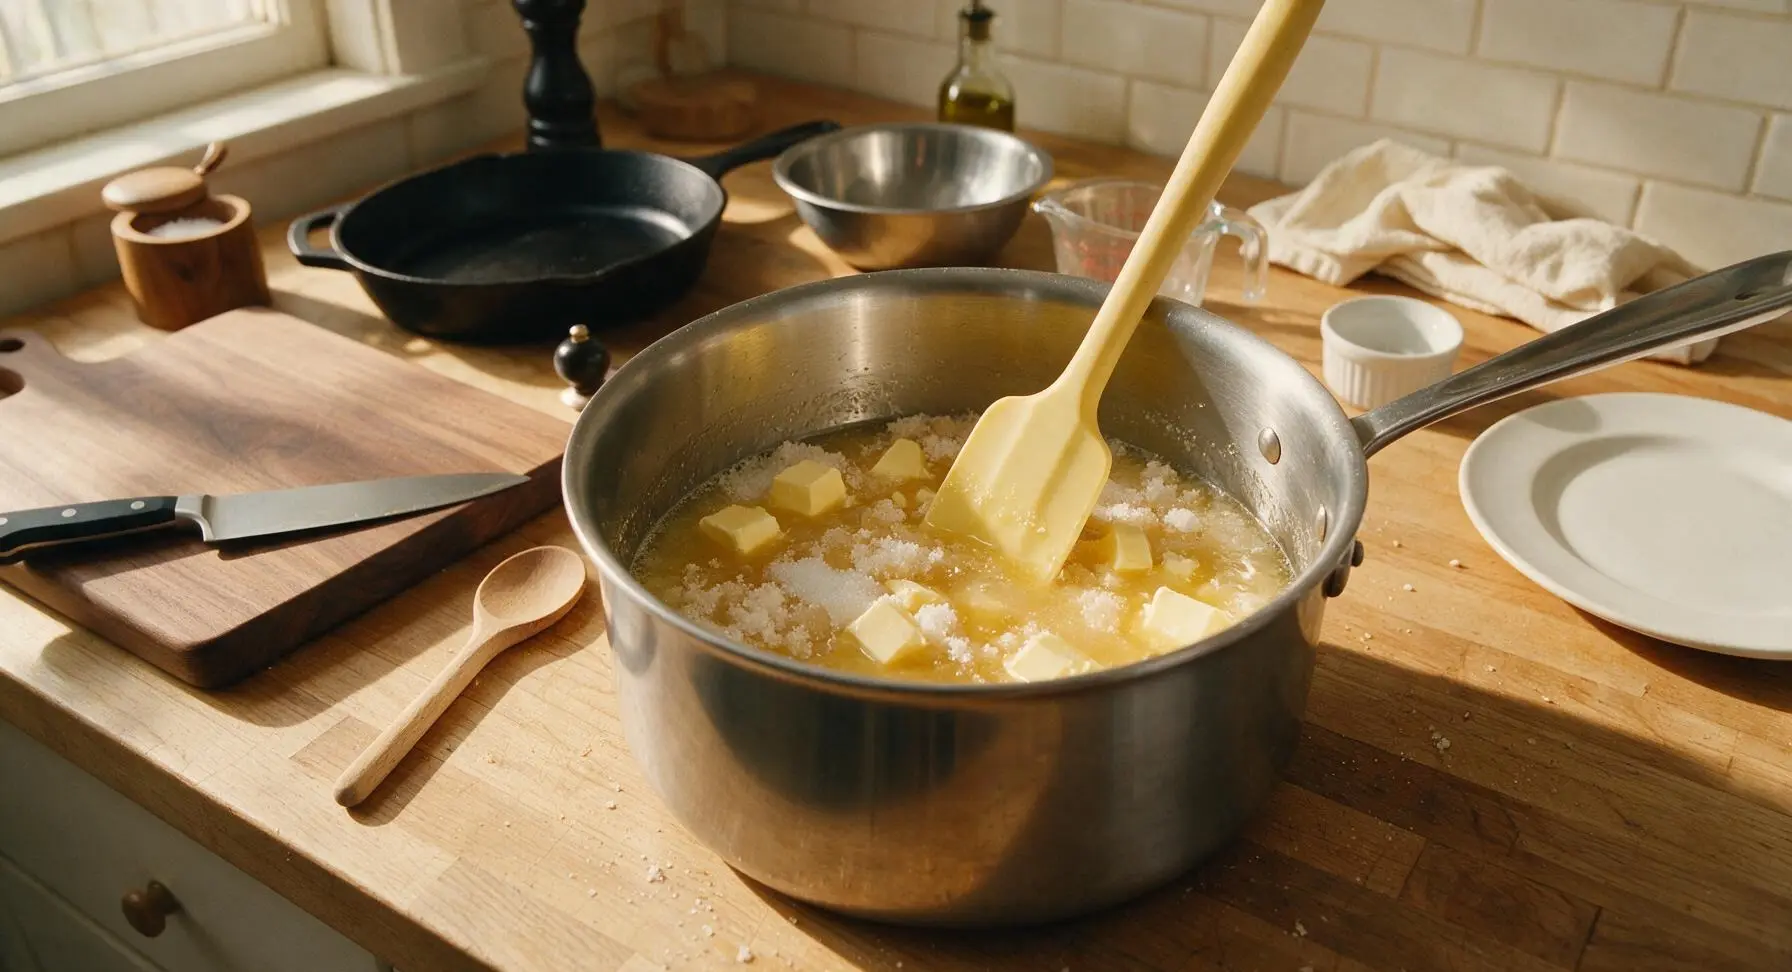
Place the heavy-bottomed stainless steel saucepan over medium-low heat. Add the caster sugar, golden syrup, and cubed unsalted butter to the pan. Stir slowly and constantly with the pale yellow silicone spatula until the sugar fully dissolves, the butter melts, and the mixture forms a smooth, lump-free pale golden liquid, about 3-4 minutes. Do not turn the heat up high to speed this process, as this will cause the sugar to burn before it fully dissolves.
Heat Syrup to Temperature
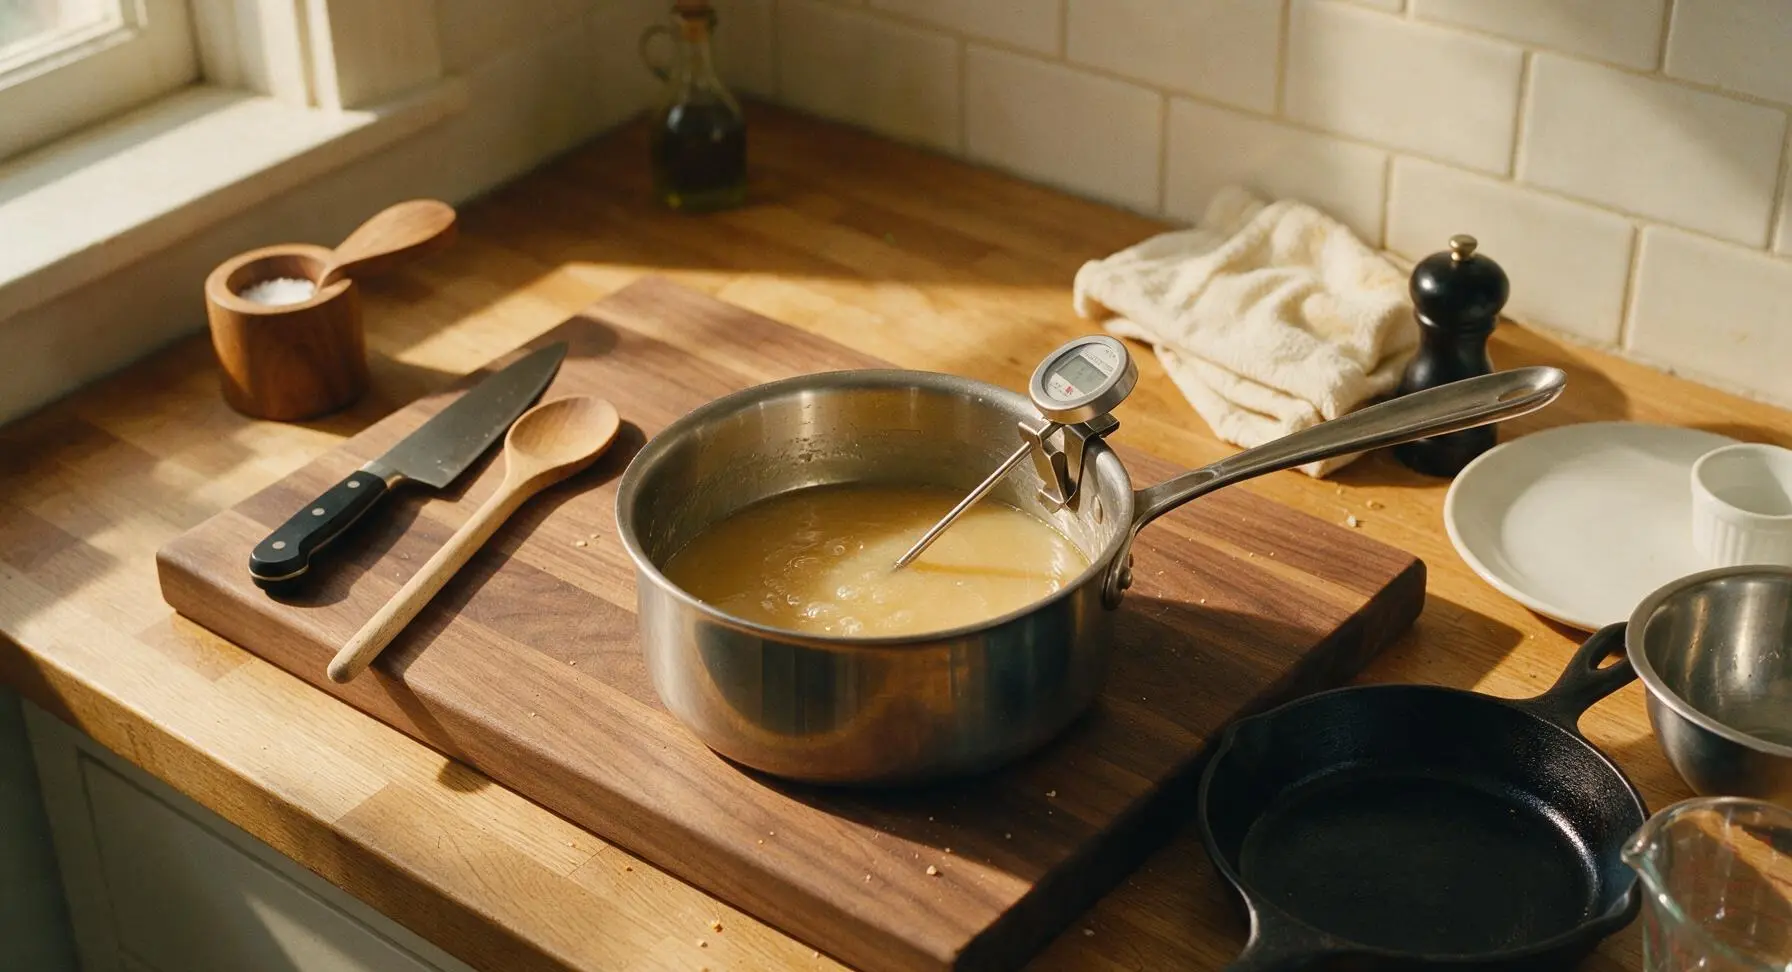
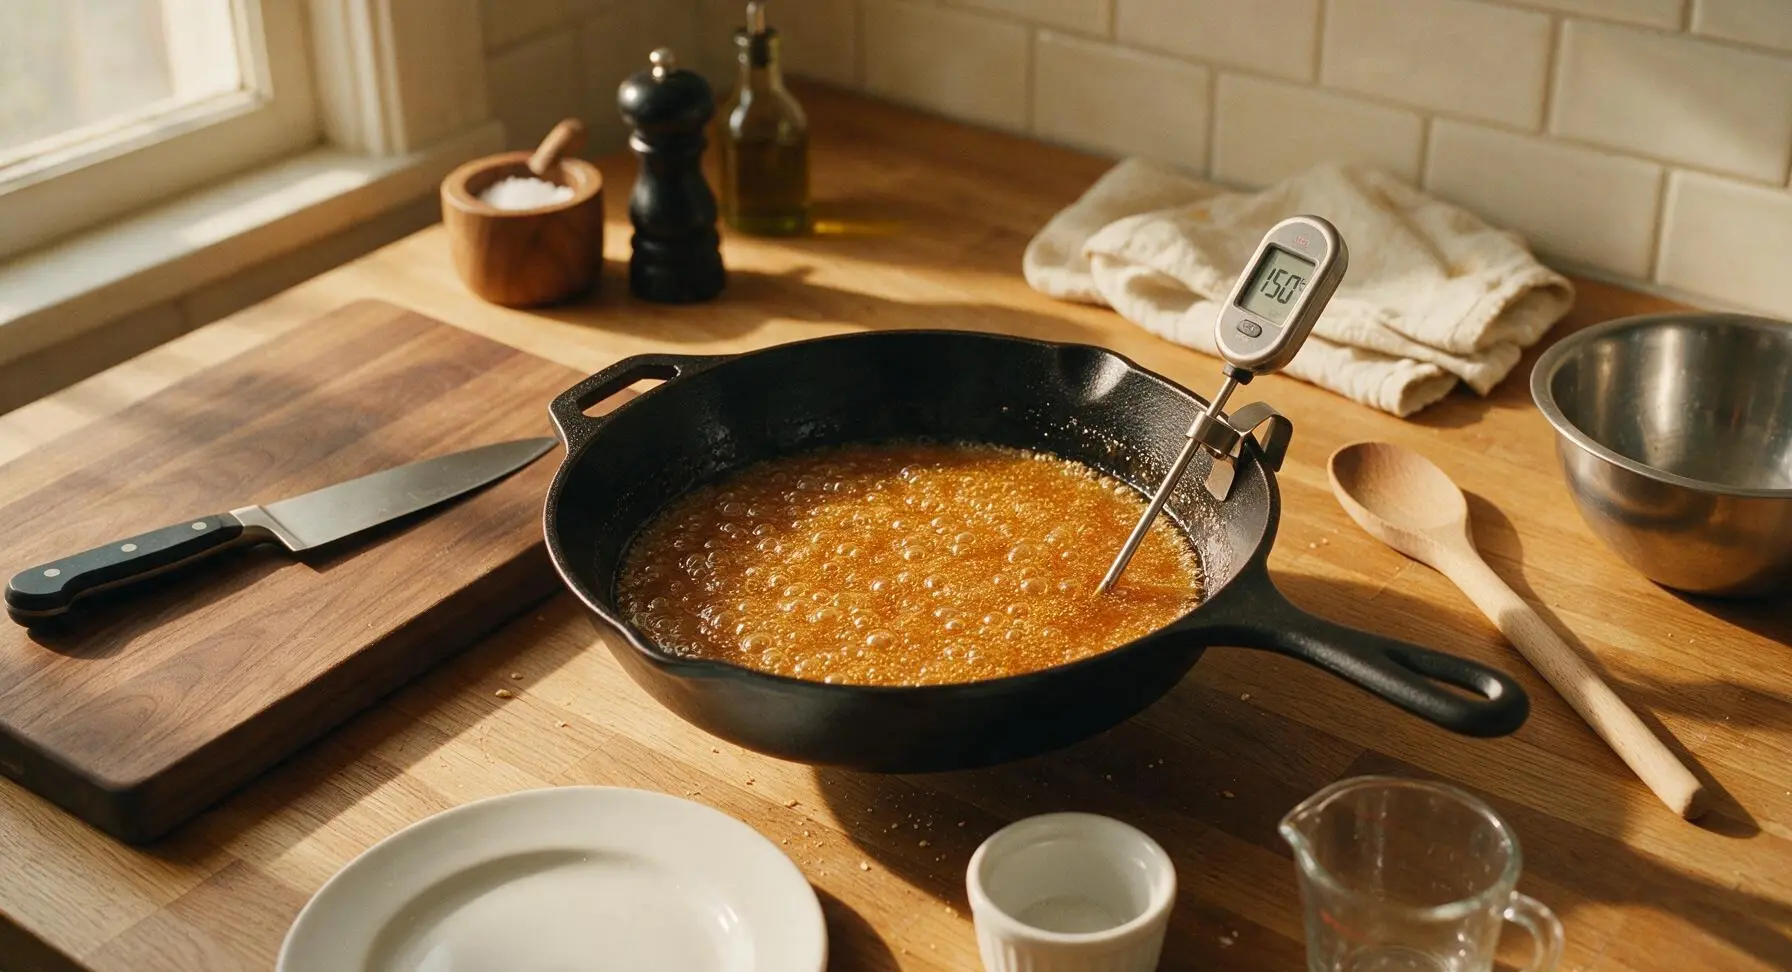
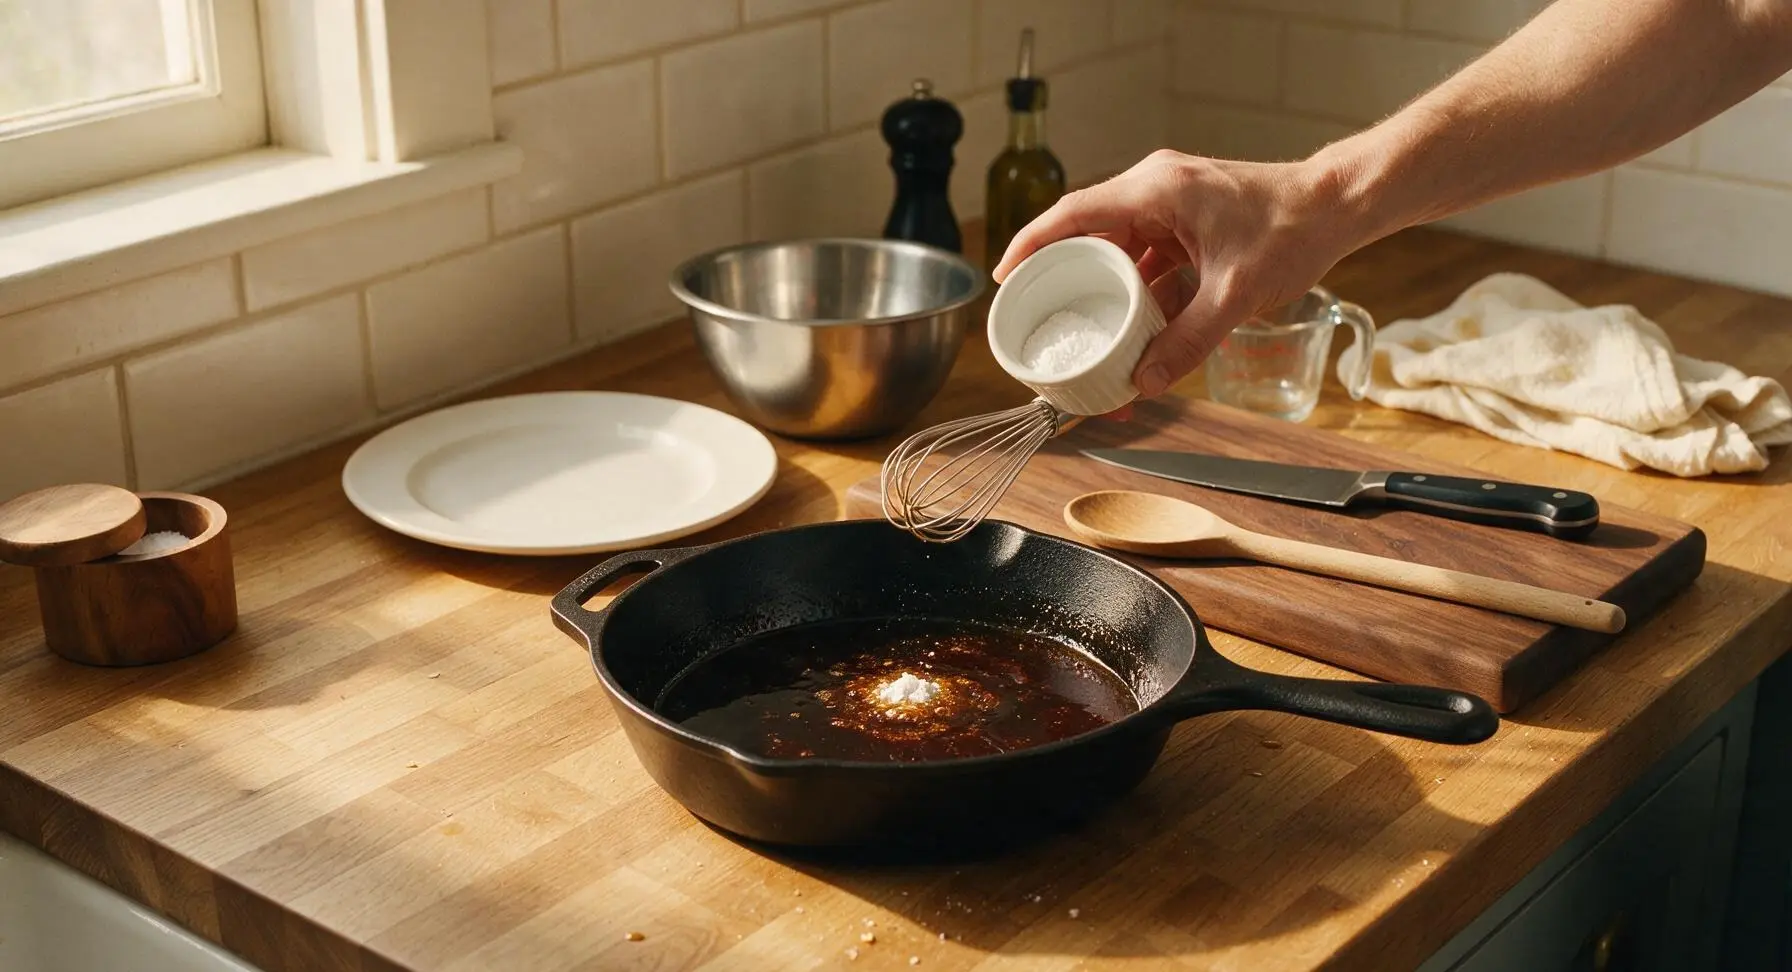
Once the mixture is fully smooth and lump-free, clip the digital candy thermometer to the side of the pan, ensuring the probe is submerged in the syrup but not touching the hot pan base (which will give a false high temperature reading). Continue to cook the syrup over medium-low heat, stirring very gently occasionally, until it reaches exactly 150°C (300°F, hard crack stage) and turns a rich, deep amber golden color, about 4-5 minutes. Watch closely during this stage, as the syrup can go from perfect amber to burnt black in under 30 seconds. Once it hits temperature, immediately remove the pan from heat.
Whisk in Baking Soda
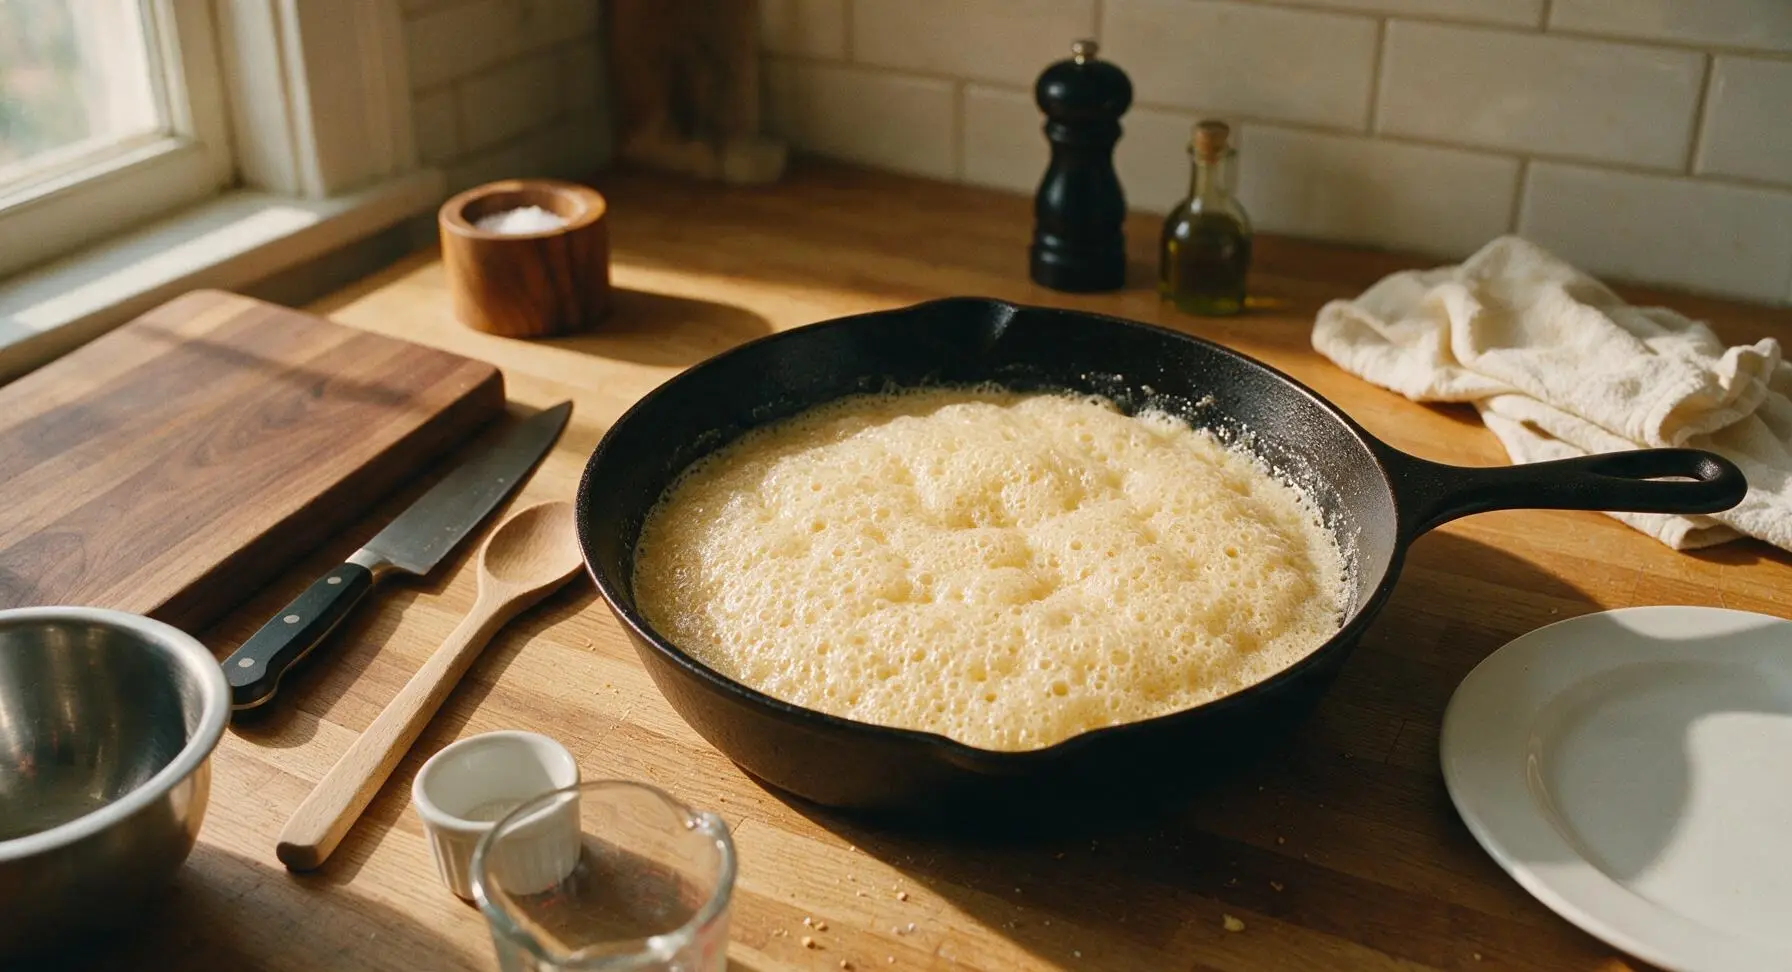
As soon as you remove the pan from heat, immediately add the pre-measured 1 tsp baking soda to the hot syrup. Whisk quickly and vigorously with the small stainless steel whisk for exactly 2-3 seconds, just until the baking soda is fully incorporated and the mixture foams up into a light, airy, pale golden froth that triples in volume. Do not over-whisk, as this will pop too many of the carbon dioxide bubbles created by the baking soda, resulting in a dense, heavy hokey pokey instead of a light, crisp, bubbly texture.
Pour Mixture to Set
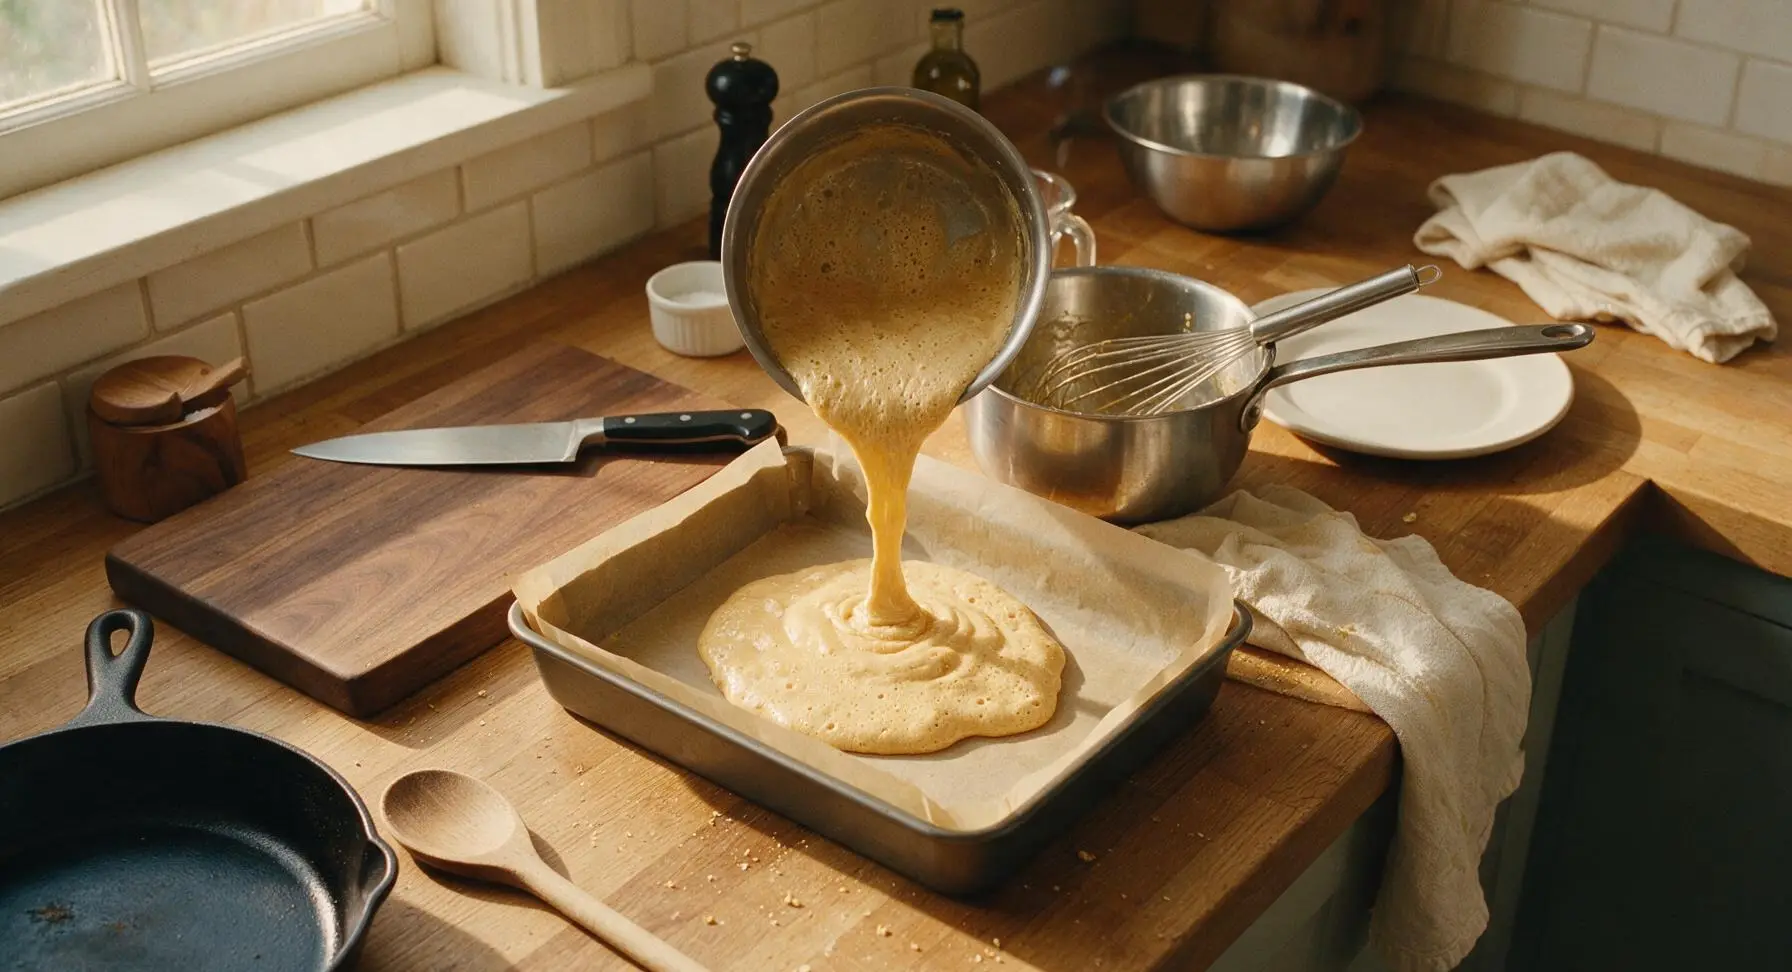
Immediately pour the frothy hot mixture directly into the center of the parchment-lined baking tin. Do not scrape the sides of the pan or spread the mixture with a spatula—simply let it flow and spread naturally into an even layer. Scraping the pan can introduce deflated, dense syrup into the mix, and spreading will pop valuable air bubbles. Leave the tin undisturbed on the cool countertop for 30 minutes at room temperature, until the hokey pokey is completely hard and set to the touch. Do not move the tin or tap it while it sets, as this can cause the candy to collapse and lose its light texture.
Break Into Shards
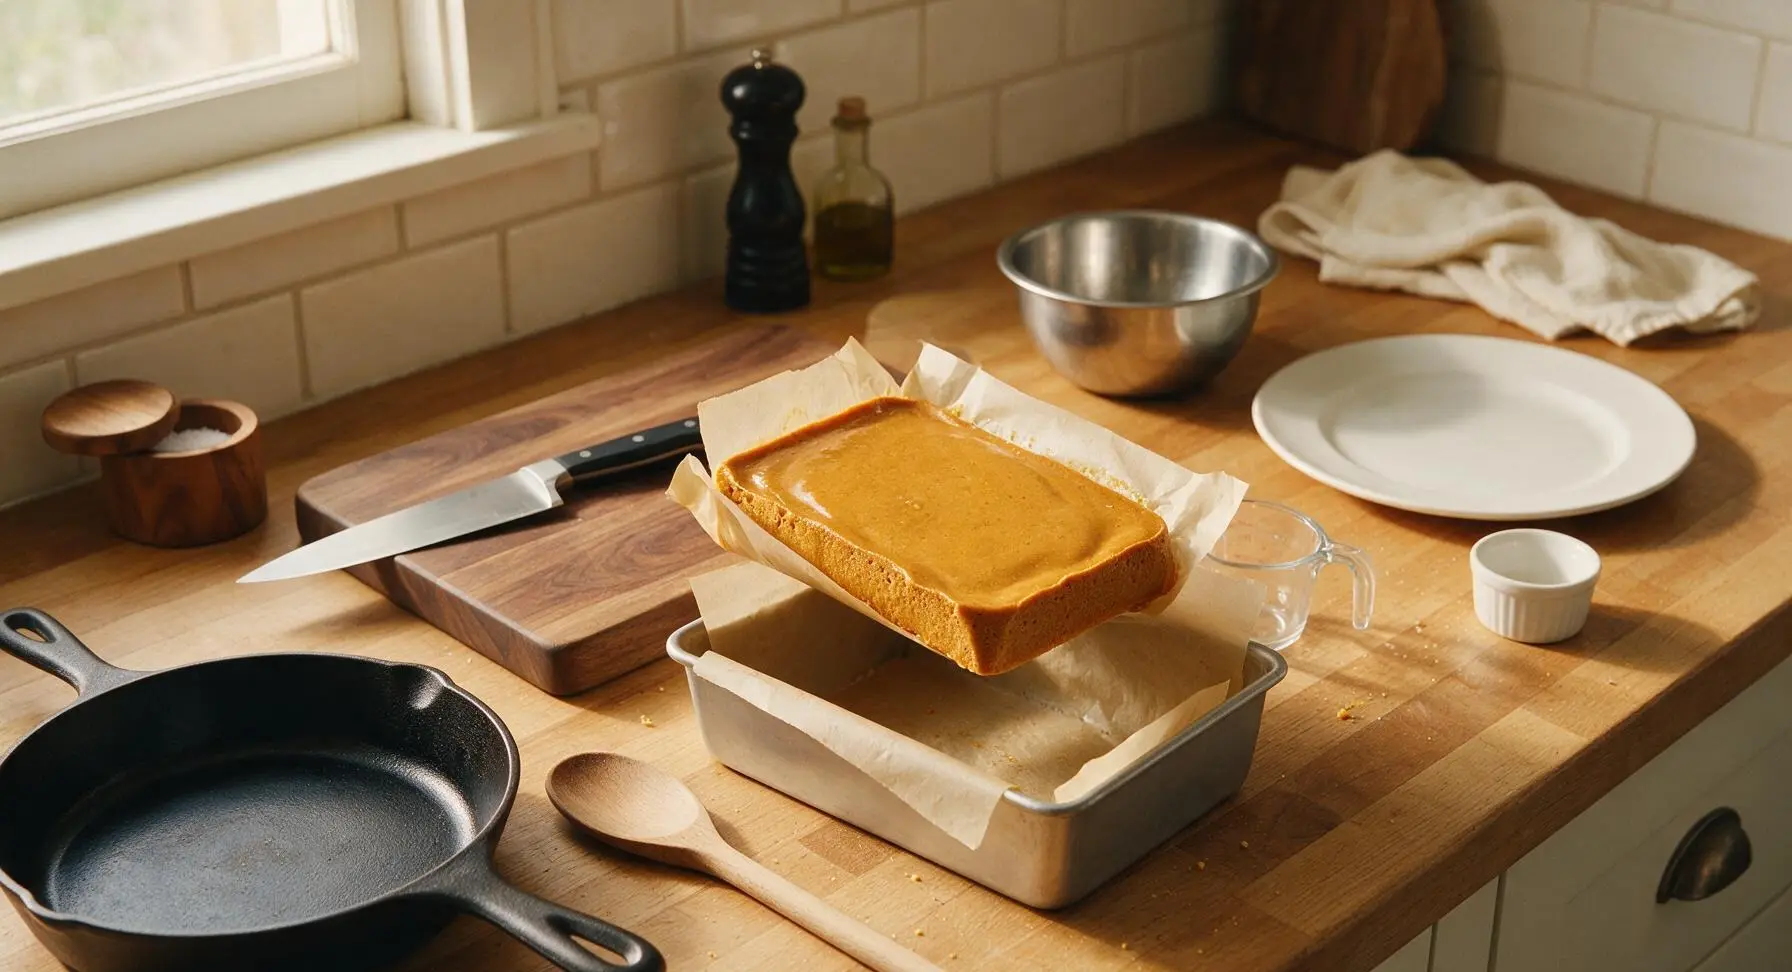
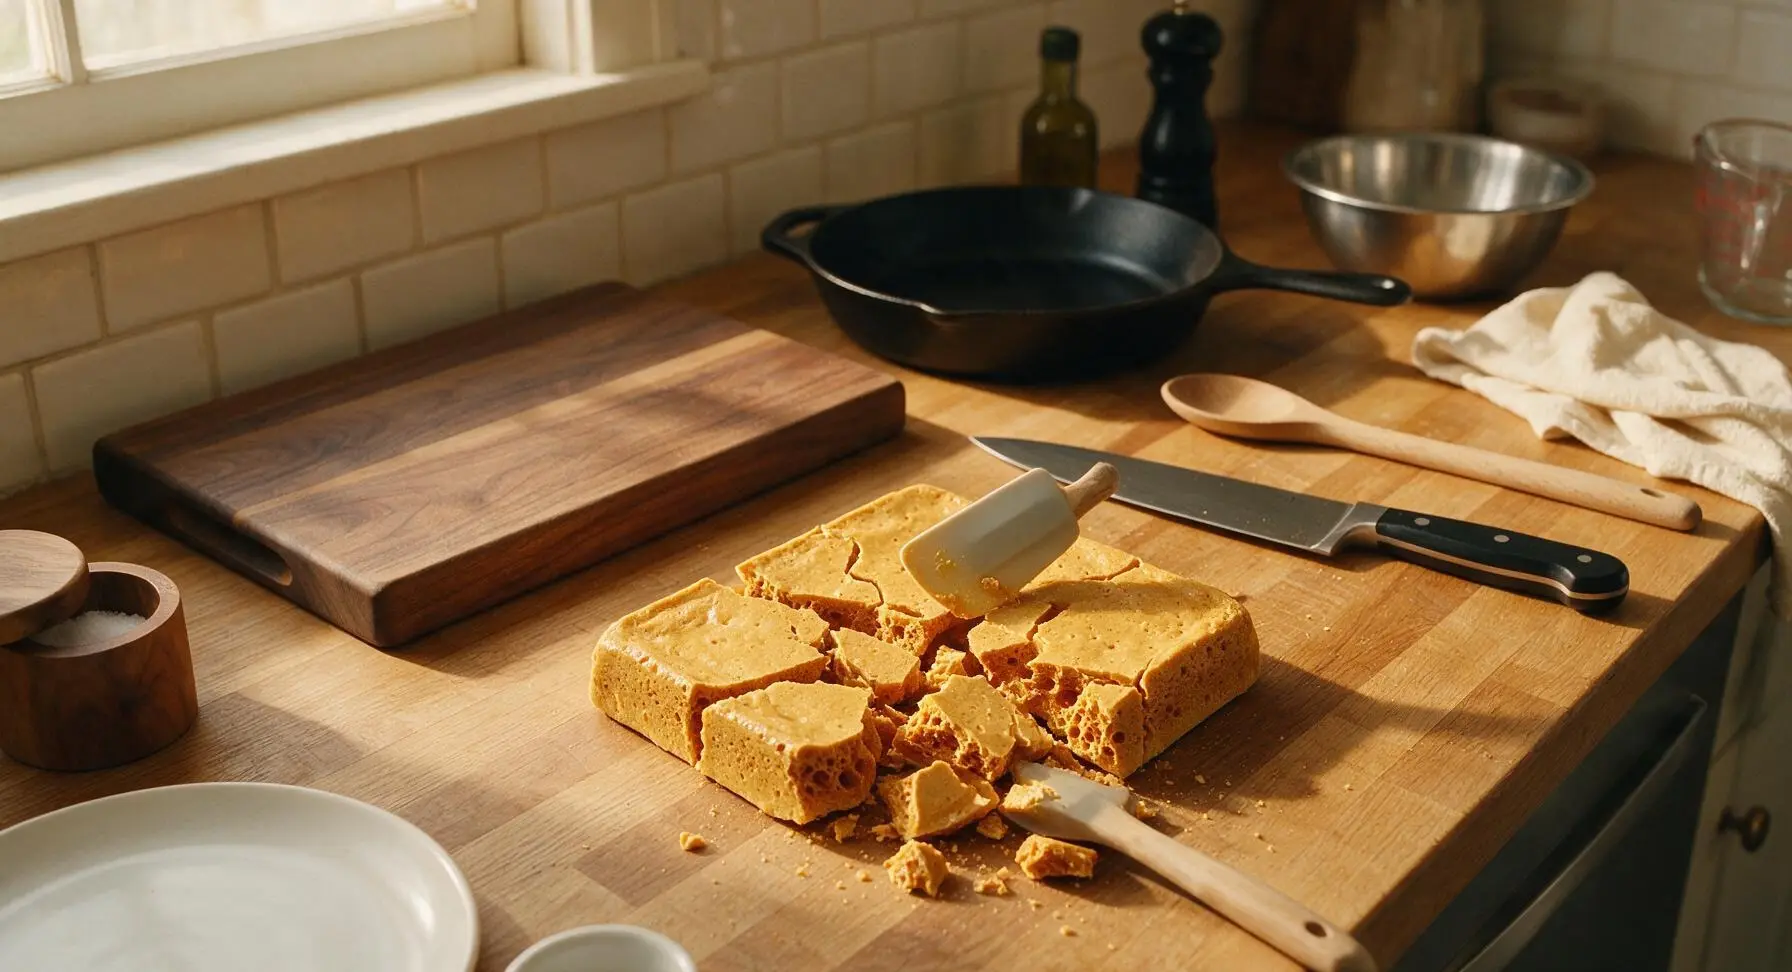
Once the hokey pokey is fully set and hard (it should not give at all when pressed lightly with a finger), lift it out of the tin using the parchment paper overhang. Place the block of hokey pokey on the oak countertop, then tap it gently with the handle of the silicone spatula to break it into irregular, bite-sized shards. Do not cut it with a knife, as this creates uniform, sharp-edged pieces that lack the charming, rustic look of traditional homemade hokey pokey.
Tips
2.Avoid over-stirring the syrup once it reaches a boil, as this can cause sugar crystals to form on the pan sides, leading to a grainy, textured final candy instead of a smooth, crisp one. If you spot crystals forming on the pan edges, brush them down with a damp pastry brush to dissolve them back into the syrup.
3.Make hokey pokey on a cool, low-humidity day: high ambient moisture will cause the set candy to absorb water from the air, turning it soft, sticky, and chewy instead of light and snappy. Store finished shards in an airtight container at room temperature for up to 1 week; do not refrigerate, as condensation will ruin the crisp texture.






OMG this hokey pokey is SO good! I brought a batch to my neighborhood potluck last weekend and people were practically begging for the recipe. I was worried it’d be fussy since it’s candy, but 8 minutes cook time? Total game changer. My kids kept sneaking pieces off the cooling rack before we even left the house lmao
Wait, I followed the recipe exactly but my hokey pokey came out super chewy instead of light and crisp? Did I mess up the temperature when I added the baking soda? I’m so sad, I was really looking forward to nailing this on the first try
First time making any kind of candy ever and this was so easy! I’ve burned so many caramel recipes before but this was totally foolproof. Dipped half the pieces in dark chocolate to give out as Halloween treats this year, and my roommates say they’re better than the fancy store-bought candy bars
Wait a second — is this actually gluten free? I have celiac so I’m super careful about cross contamination, but I’ve been craving hokey pokey ever since I tried it on a trip to Auckland a few years back! So excited if I can make this at home safely
Made this for my kids’ after school snack this week and they went crazy for it! I love that it only takes 8 minutes so I don’t have to spend forever in the kitchen after a long work day. Already added it to our weekly rotation of easy treats
Wait, can I use regular honey instead of golden syrup? I don’t have any golden syrup in my pantry right now and I really don’t wanna run to the grocery store in the pouring rain lol
This tastes exactly like the hokey pokey my grandma used to make when I was a kid growing up in the 90s! I haven’t had it in years and I almost cried when I took the first bite. So simple, so perfect, no fancy ingredients needed. 10/10
How long does this keep for? I wanna make a big batch on Sunday to portion out for little sweet treats throughout the week for meal prep, but I don’t want it to go soft before I get to eat it
I crushed this up and mixed it into homemade vanilla ice cream and it’s literally better than any hokey pokey ice cream I’ve ever bought from the grocery store. Total game changer for our summer ice cream nights with the neighbors!
Made this in my tiny dorm kitchen with just a cheap pot, a baking pan, and ingredients I grabbed from the corner bodega. Zero fancy equipment needed, and my whole floor came by to grab pieces when they smelled it cooking down the hall. 10/10, will make again for our next floor study break
I added a tiny splash of vanilla extract when I mixed in the baking soda and it turned out chef’s kiss. Just a little extra depth of flavor without messing up the light, crispy texture at all. Already ate half the batch while watching TV last night oops
This was super easy even for a total candy newbie, but I learned the hard way that you have to move FAST once you add the baking soda! I hesitated for 10 seconds too long and the mixture started setting in the pot before I could pour it into the pan. Still tasted amazing, just was a little lumpy and uneven looking lol