
homemade green enchilada sauce

title 1
homemade green enchilada sauce
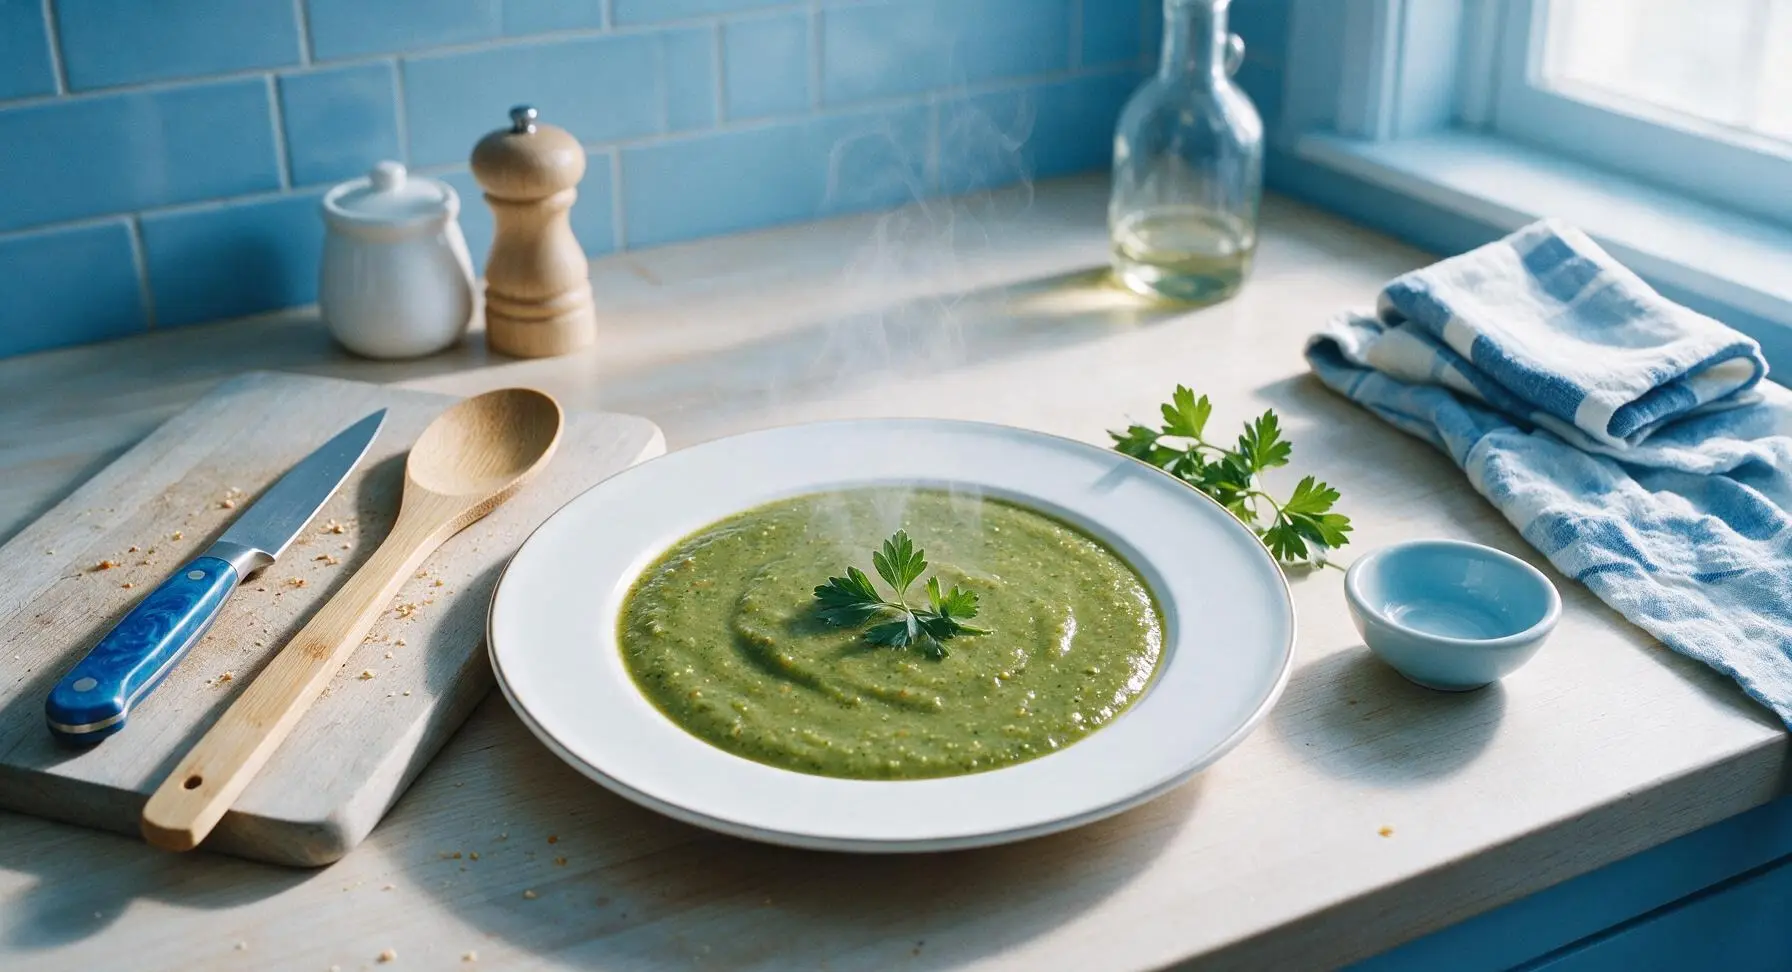
⏱️ cook time 20 minutes
🍽️ servings 4
⚡ Difficulty easy

intro

Bright, tangy, and deeply aromatic, this homemade green enchilada sauce outshines store-bought by a mile. Made with fresh tomatillos and warm spices, it comes together in 30 minutes for enchiladas, chilaquiles, and more.

Ingredients
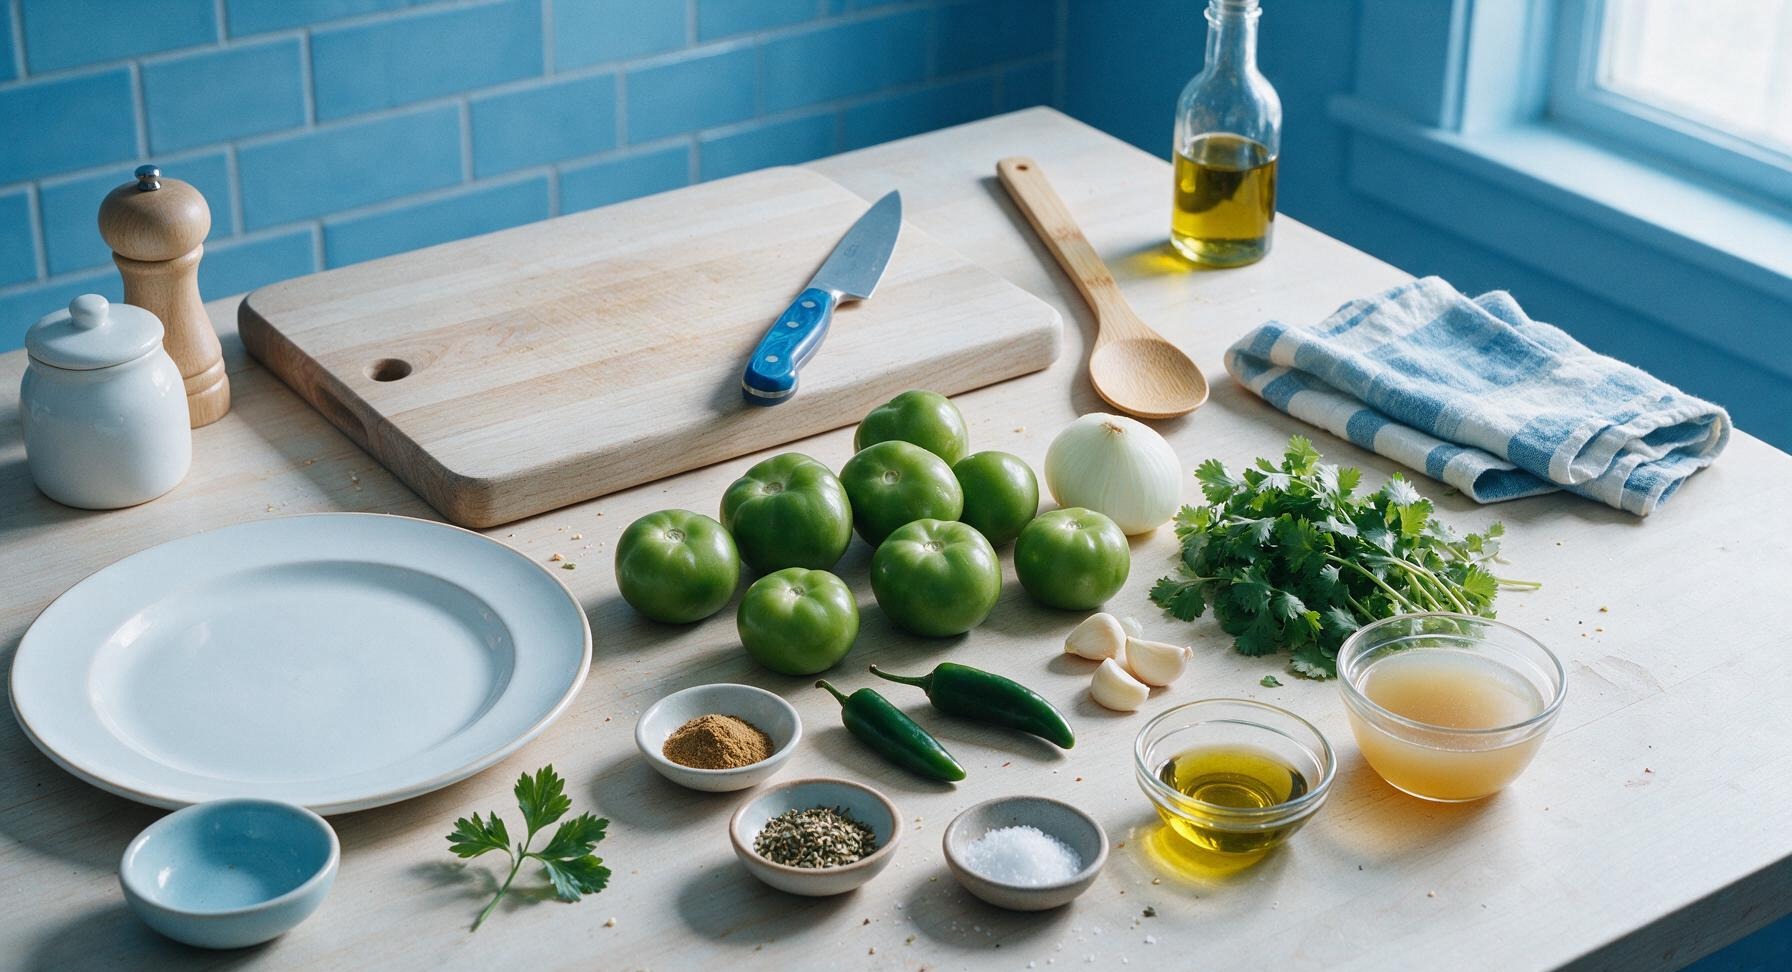
Tomatillos, husked and rinsed 450g (about 8 medium)
Small white onion, peeled and quartered 110g (1 small)
Serrano peppers, stemmed 20g (2 medium)
Garlic cloves, peeled 9g (3 cloves)
Fresh cilantro (leaves and tender stems) 15g (1 cup, packed)
Ground cumin 1 teaspoon (2g)
Dried Mexican oregano, crumbled 1 teaspoon (1g)
Kosher salt 1 teaspoon (5g)
Extra-virgin olive oil 2 tablespoons (27g)
Low-sodium chicken broth 240ml (1 cup)

Steps

1

Prep fresh produce

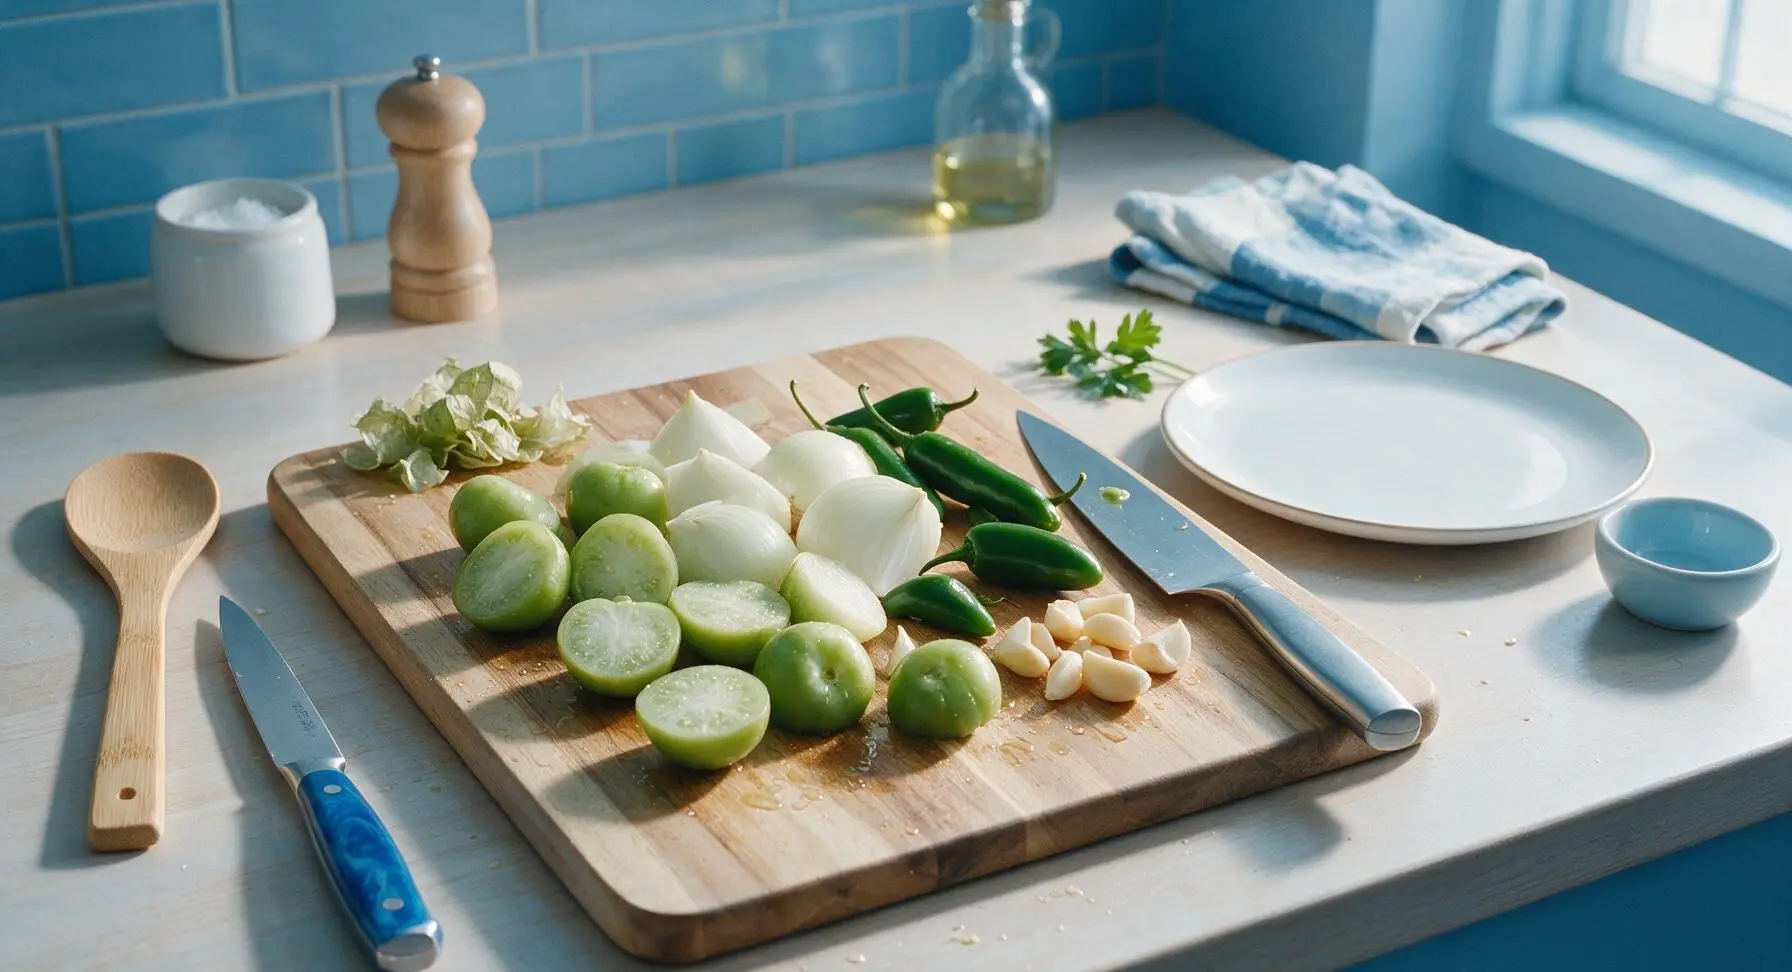
Working on the acacia wood cutting board with the chef’s knife, remove papery husks from 450g (8 medium) tomatillos, rinse under cool water to wash away the sticky natural residue, then cut each tomatillo in half. Quarter 1 small white onion (110g), stem 2 serrano peppers (remove seeds and membranes for a mild sauce, leave in for extra heat), and peel 3 garlic cloves. Pat all cut vegetables dry with a corner of the cream linen towel.
Step 1
step1:Prep fresh produce
2

Heat olive oil

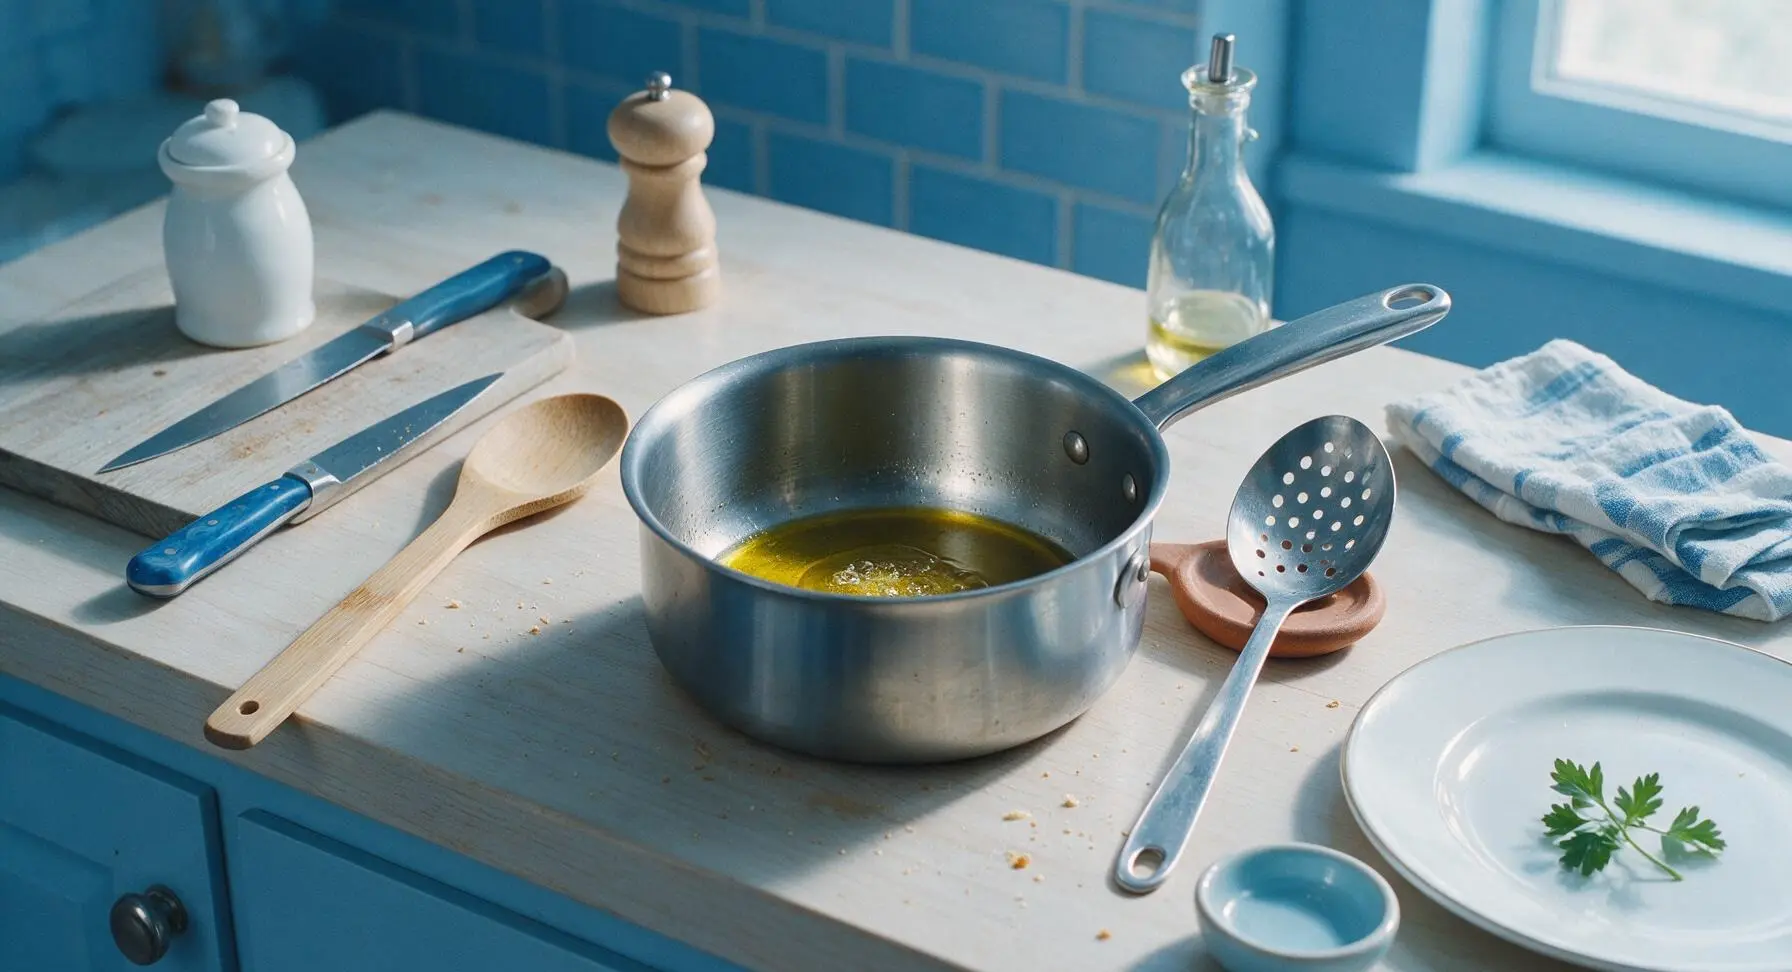
Retrieve the 3-quart stainless steel saucepan from its back-right resting position, place it in the central work zone, and add 2 tablespoons of extra-virgin olive oil. Heat over medium heat for 2 minutes, until the oil shimmers and slides easily across the pan bottom; do not let the oil reach smoking point.
Step 2
step2:Heat olive oil
3

Sear base vegetables

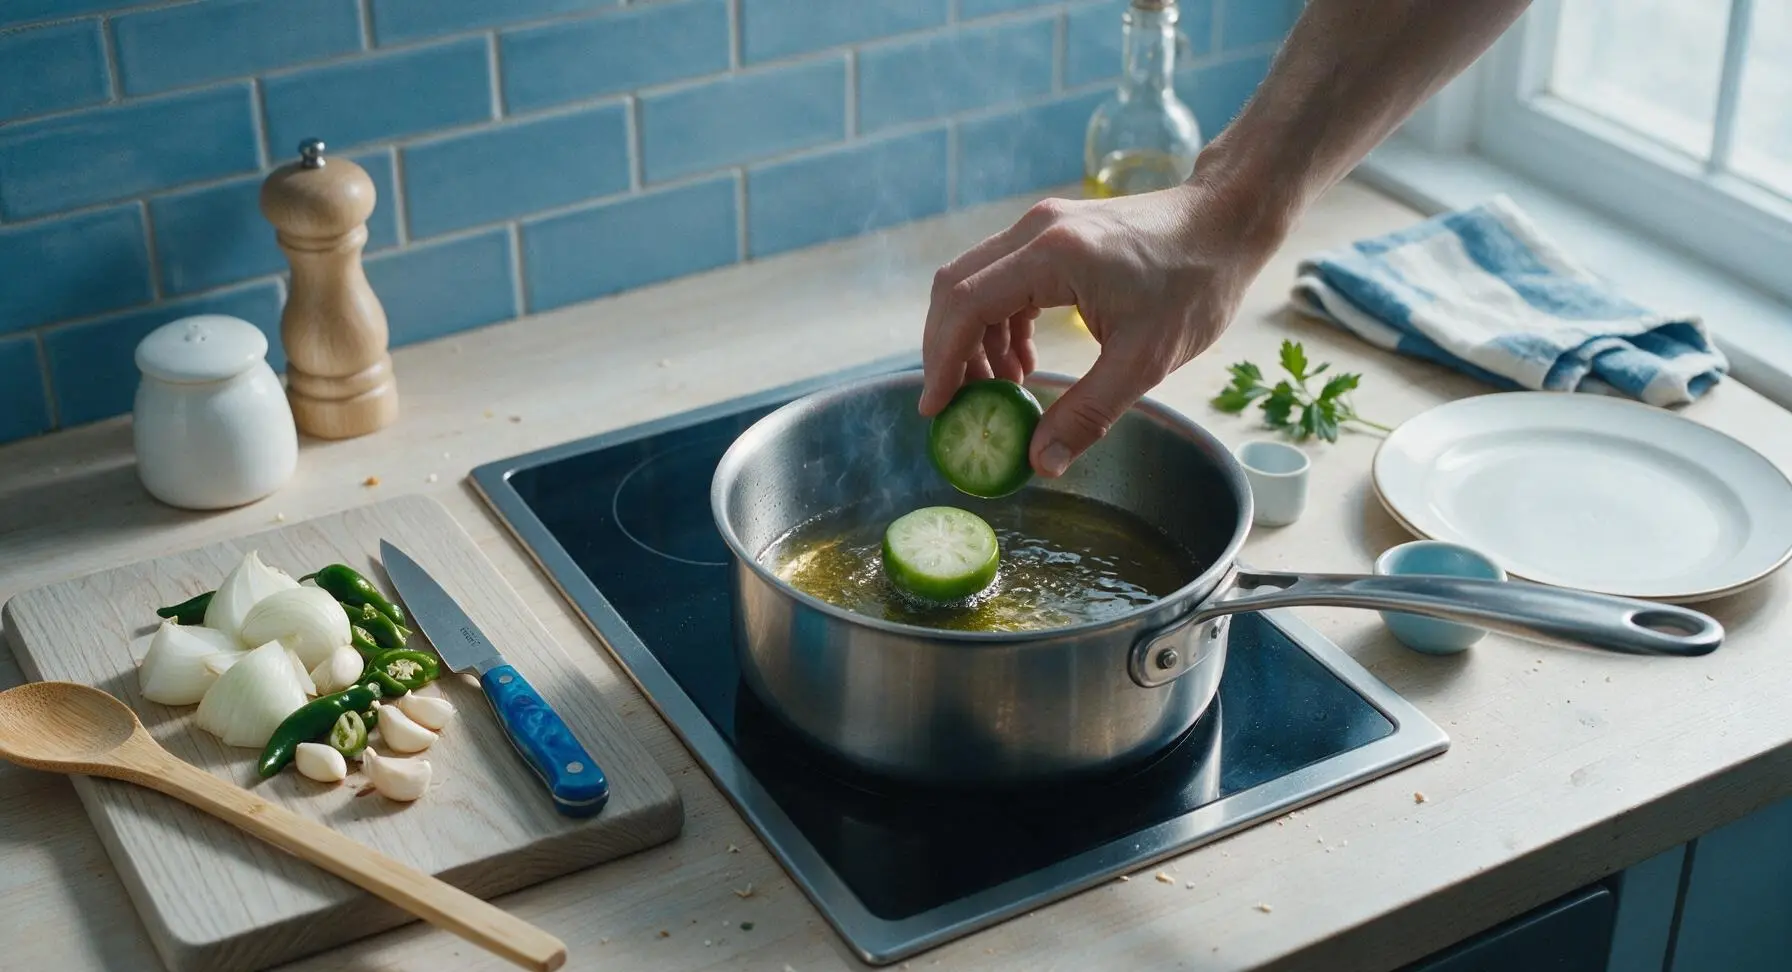
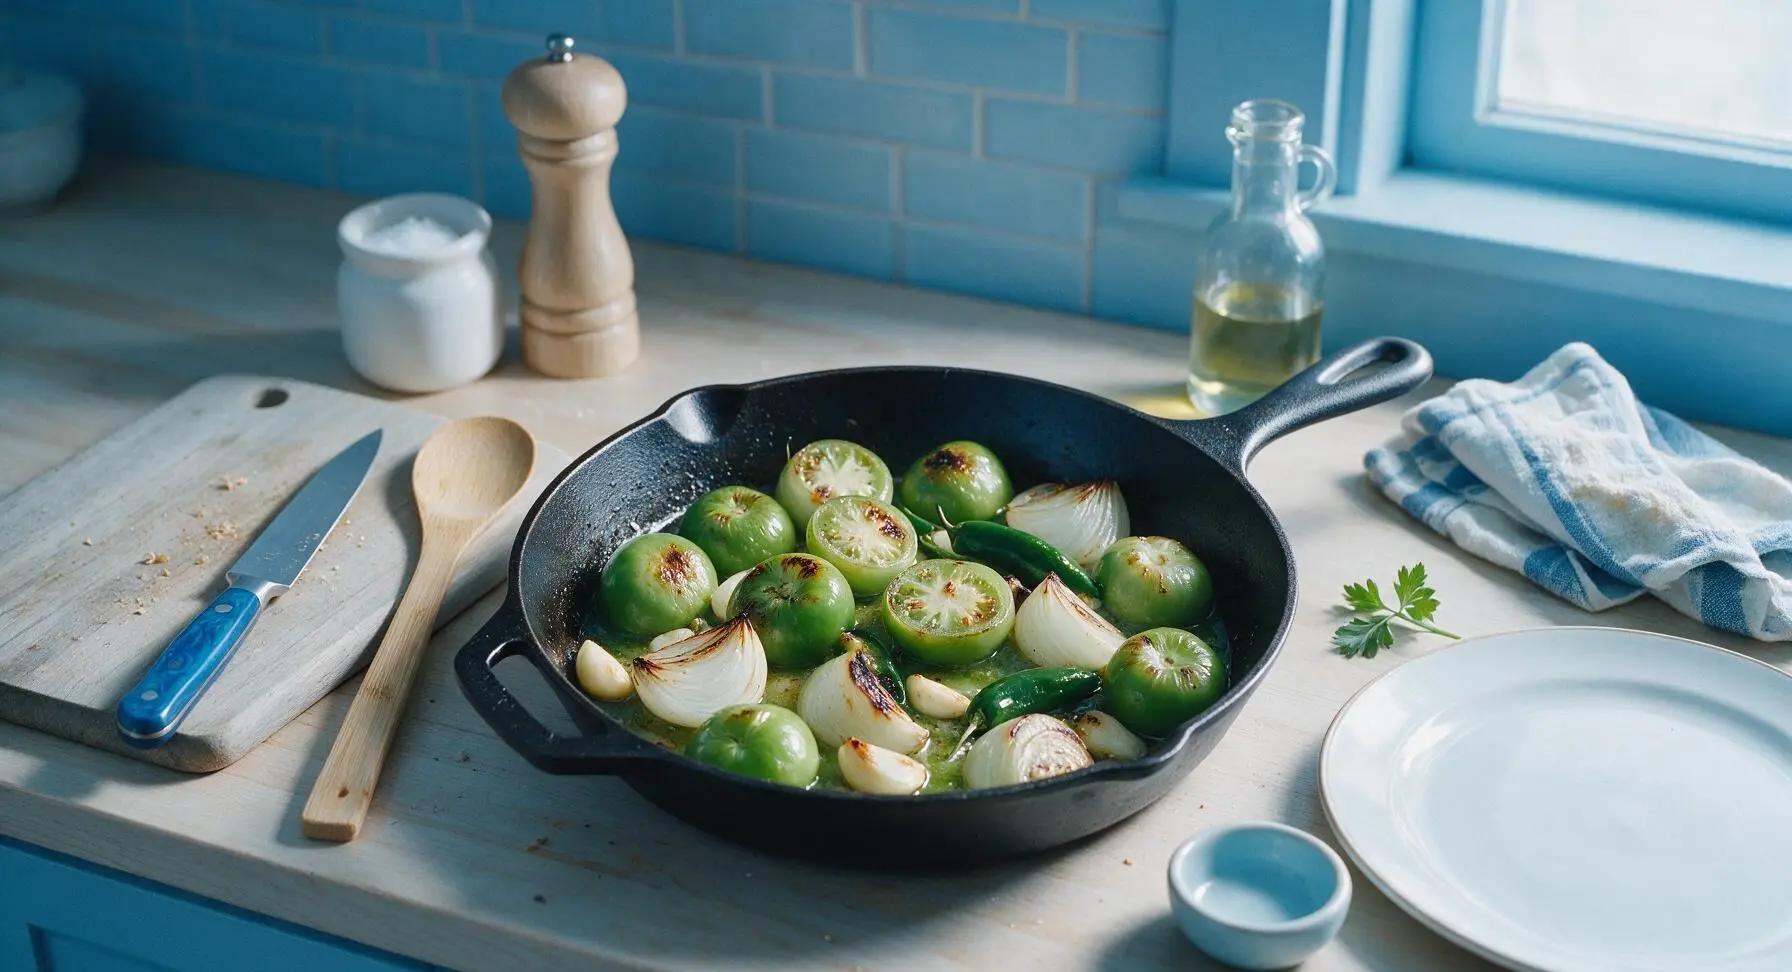
Carefully add the prepped tomatillos (cut-side down), quartered onion, serrano peppers, and whole garlic cloves to the hot oil. Cook for 6-7 minutes over medium heat, flipping once with the slotted spoon, until vegetables develop deep golden charred spots, tomatillos soften and release bright green juice, and onion edges turn translucent. Take care not to burn the garlic, as it will turn the sauce bitter.
Step 3
step3:Sear base vegetables
Step 3
step3:Sear base vegetables
4

Add spices and broth

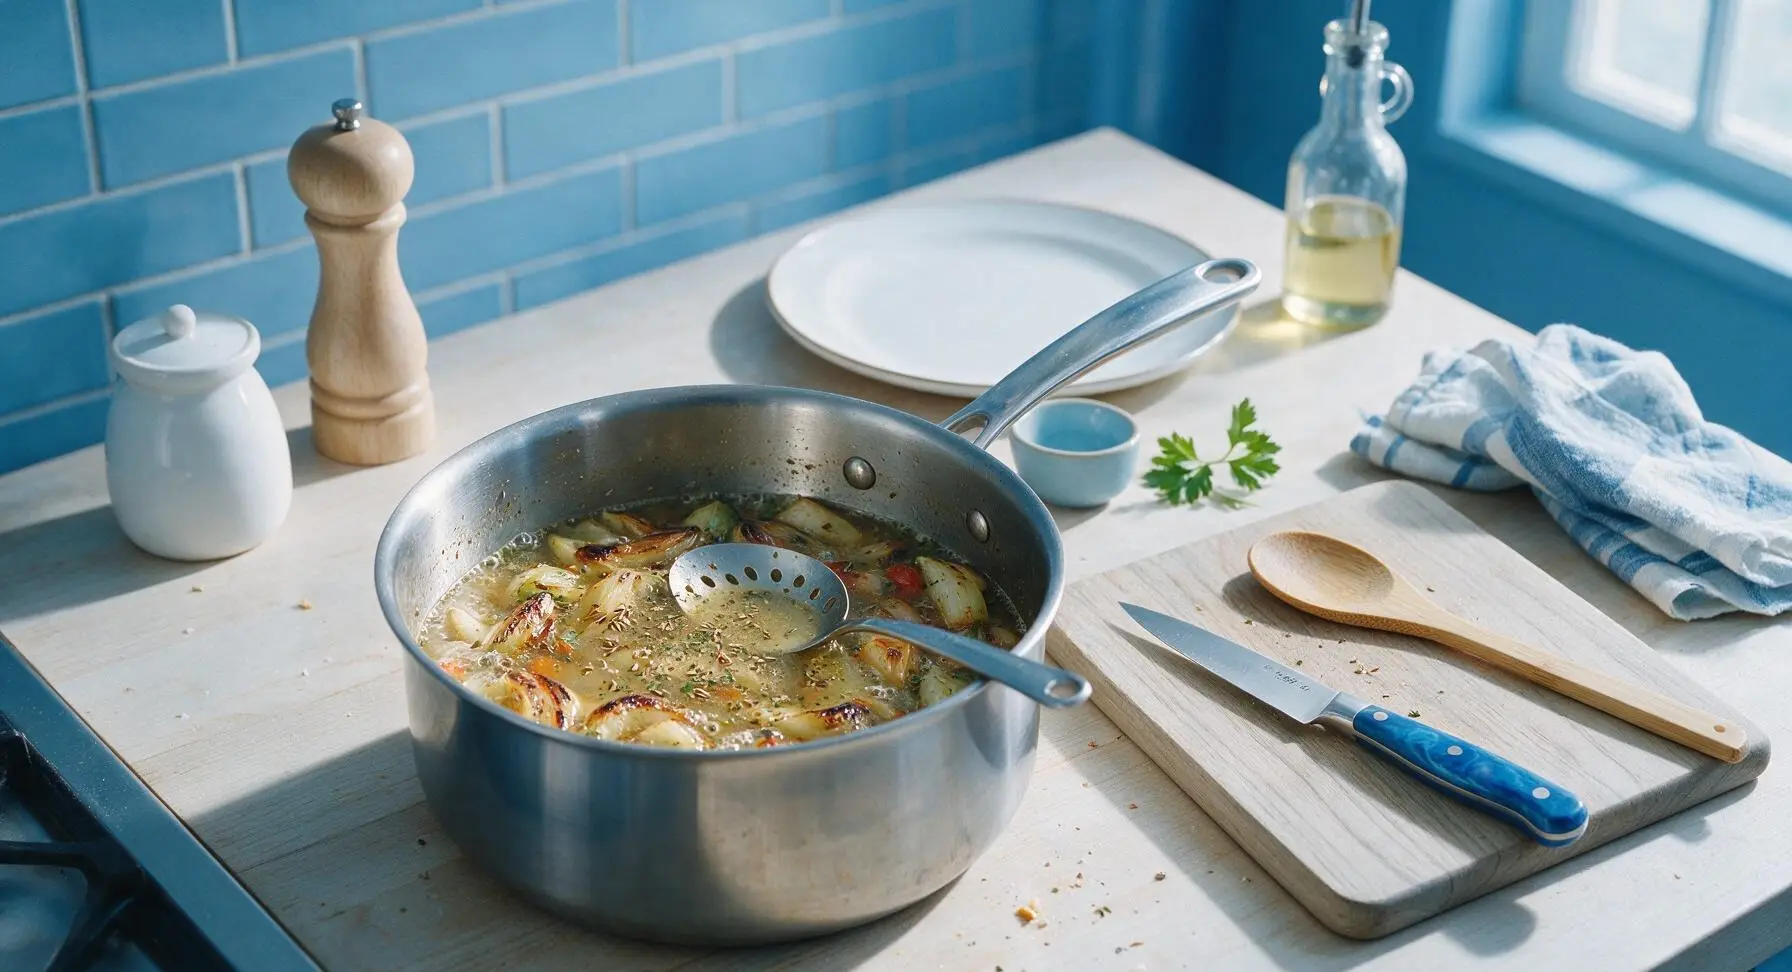
Sprinkle 1 teaspoon ground cumin, 1 teaspoon crumbled Mexican oregano, and 1 teaspoon kosher salt evenly over the seared vegetables, then pour in 240ml (1 cup) low-sodium chicken broth. Stir gently with the slotted spoon to combine, scraping up any browned flavor bits from the pan bottom. Bring to a gentle simmer, reduce heat to low, cover, and cook for 8 minutes, until all vegetables are completely fork-tender.
Step 4
step4:Add spices and broth
5

Transfer to blender

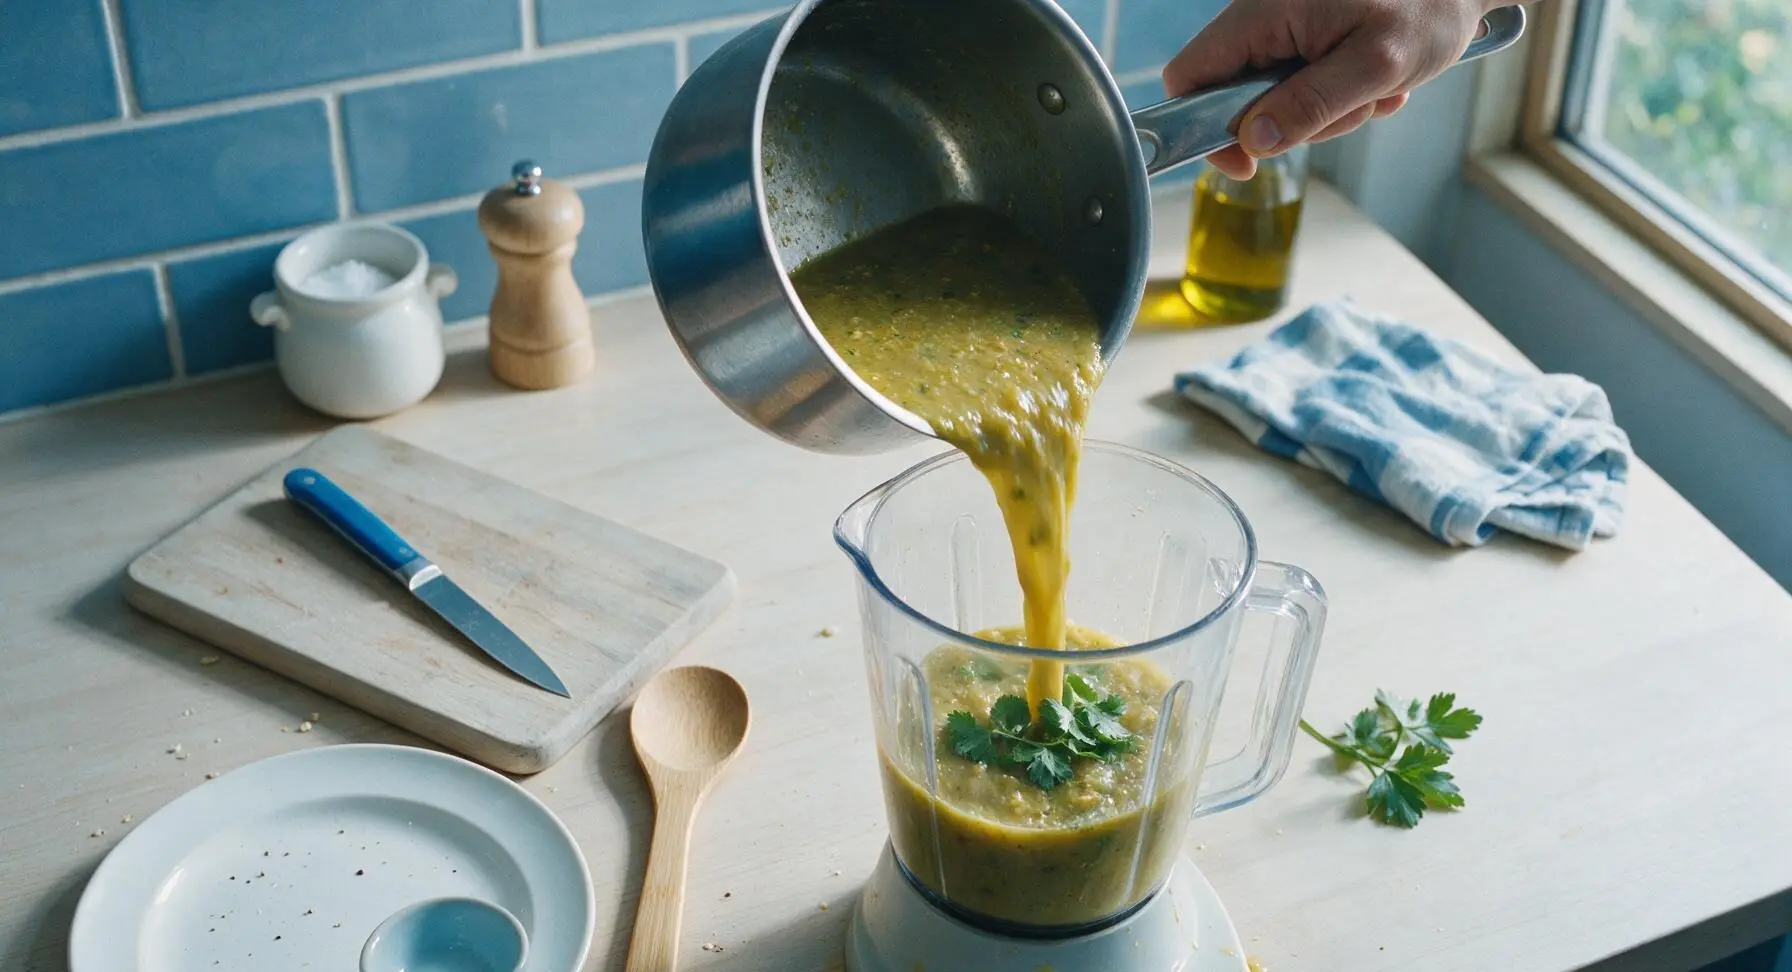
Turn off the heat, let the cooked vegetable and broth mixture cool for 5 minutes (critical to prevent blender pressure buildup), then carefully pour all contents of the saucepan into the clear pitcher of the countertop blender. Add 1 cup (15g) packed fresh cilantro leaves and tender stems to the pitcher.
Step 5
step5:Transfer to blender
6

Blend sauce until smooth

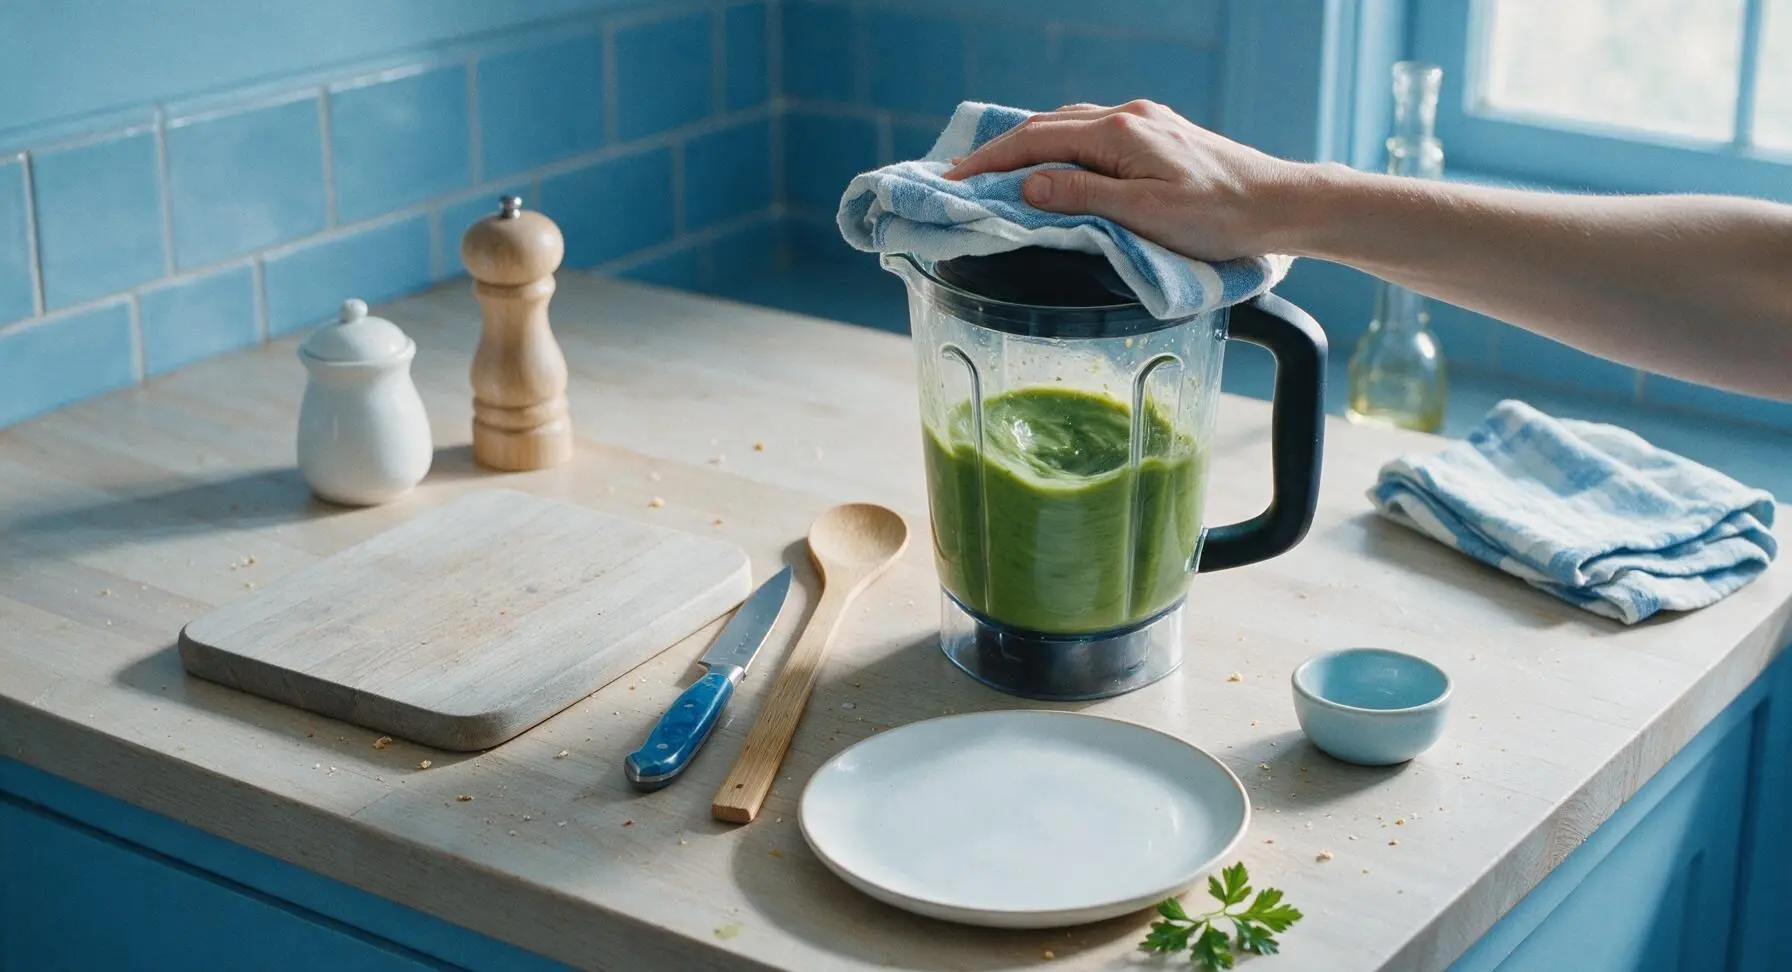
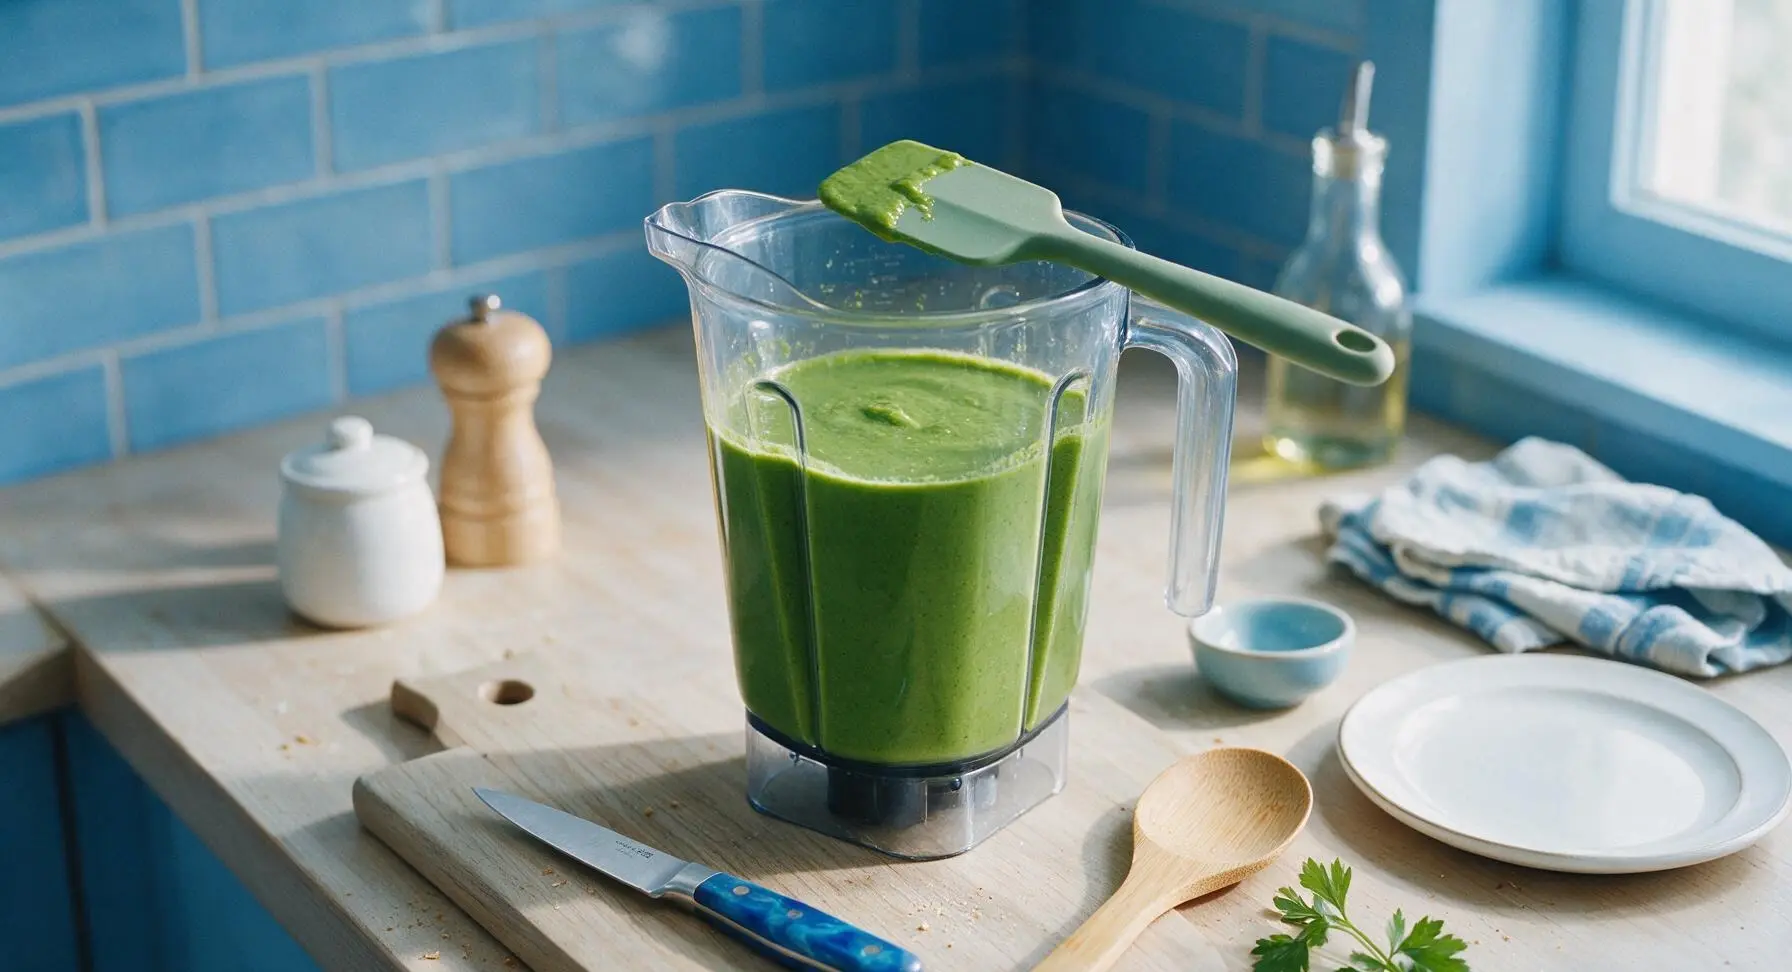
Secure the blender lid tightly, hold the folded cream linen towel over the lid to catch any potential splatters, then blend on high for 45-60 seconds, stopping once to scrape down the pitcher sides with the sage green silicone spatula, until the sauce is completely smooth with no visible veggie chunks.
Step 6
step6:Blend sauce until smooth
Step 6
step6:Blend sauce until smooth
7

Simmer to thicken

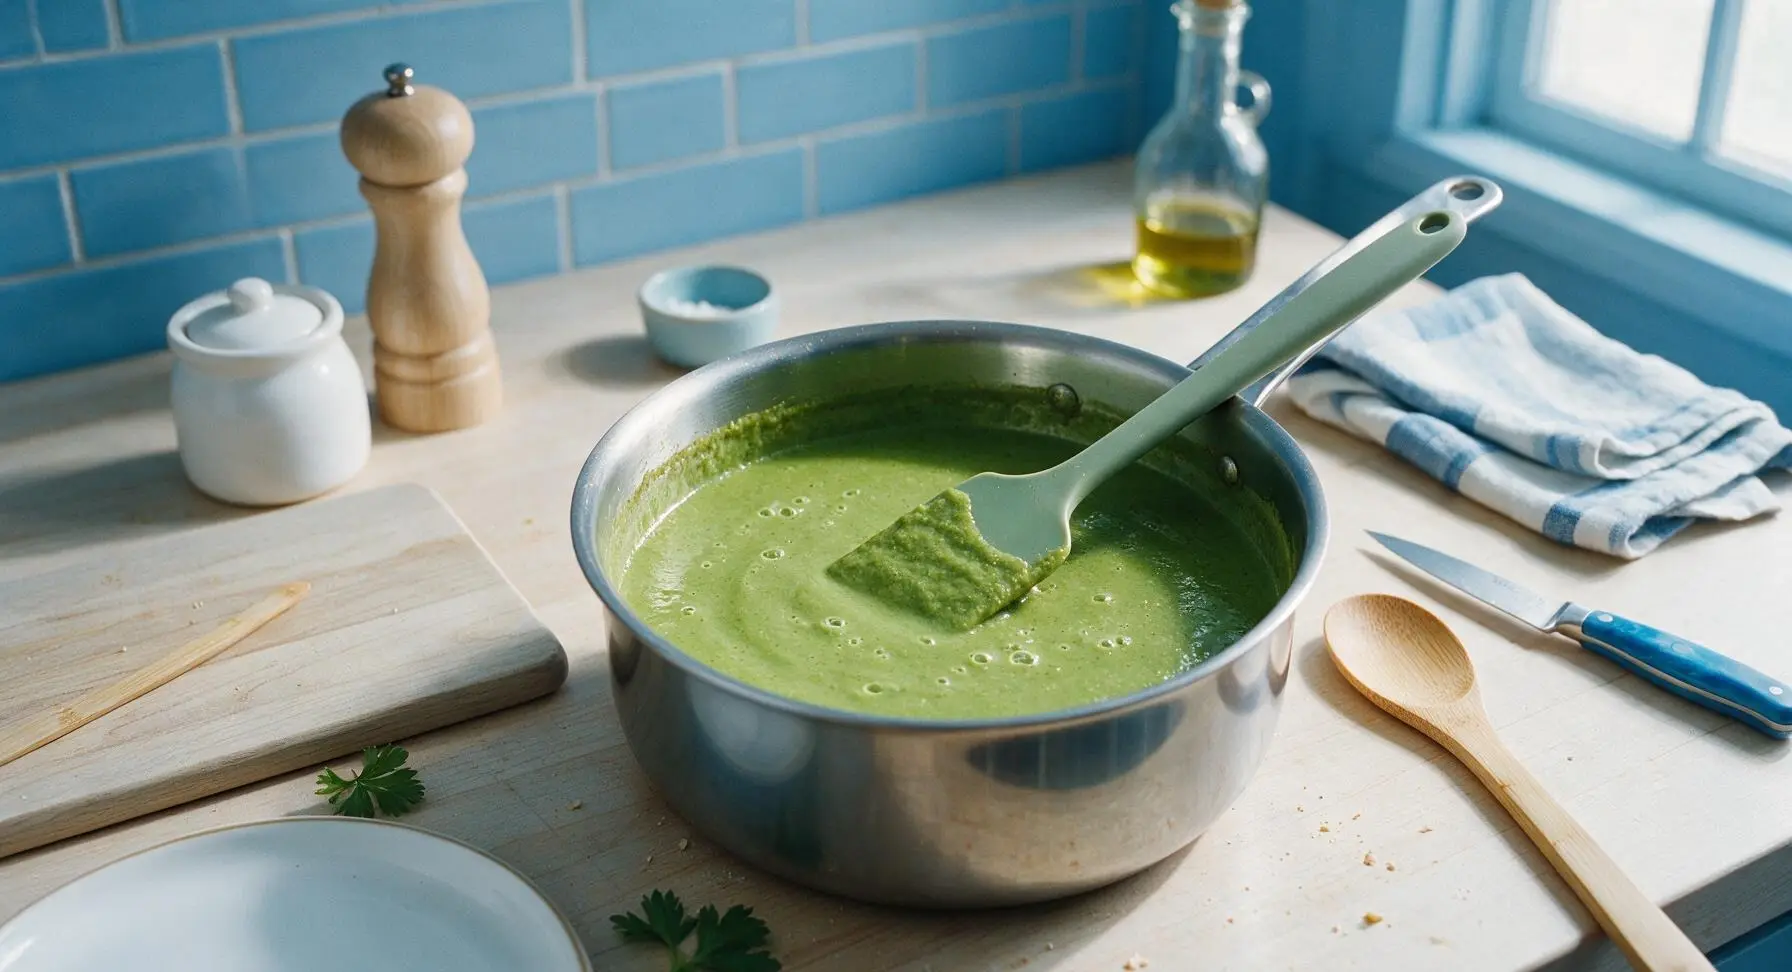
Pour the blended smooth sauce back into the stainless steel saucepan, return to medium-low heat, and simmer uncovered for 5 minutes, stirring occasionally with the silicone spatula, until the sauce thickens enough to evenly coat the back of the spatula, and the raw spice flavor mellows into a balanced, bright taste. Taste and add extra salt if desired.
Step 7
step7:Simmer to thicken
8

Rest and serve

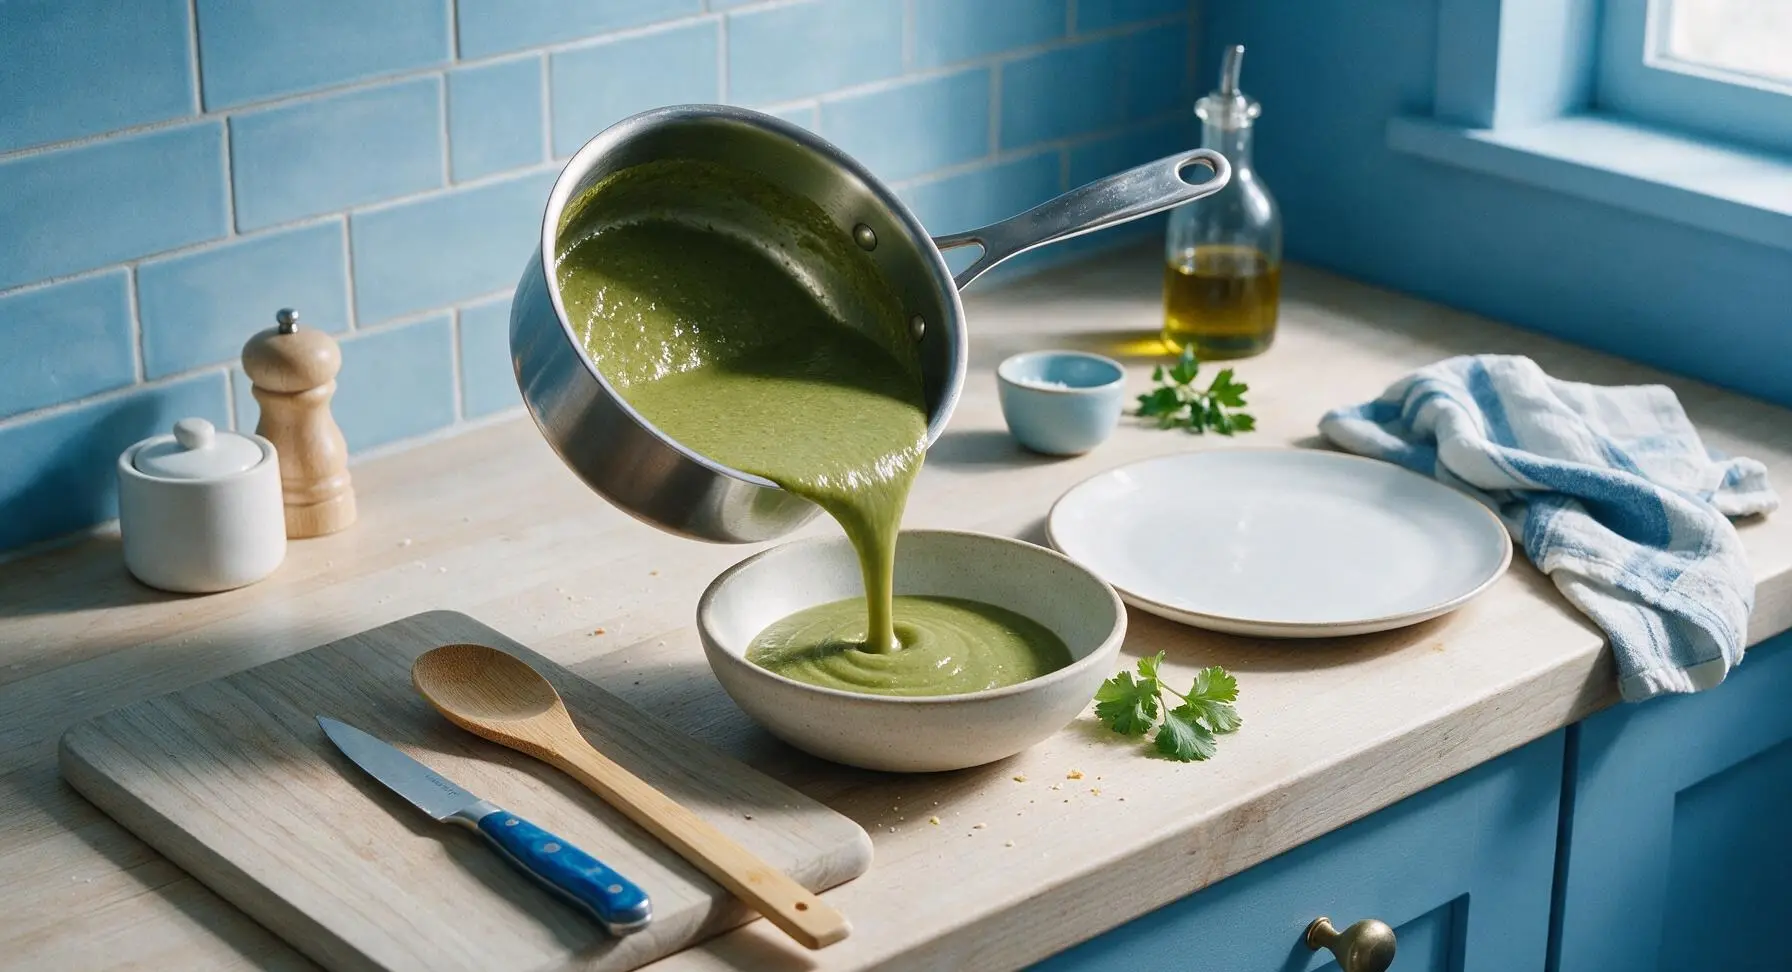
Remove the sauce from heat, let it rest for 3 minutes to allow flavors to meld, then pour into the waiting off-white stoneware serving bowl. Garnish with a few torn cilantro leaves before using for enchiladas, chilaquiles, or as a tangy table salsa.
Step 8
step8:Rest and serve

Tips

1.Always let the hot vegetable mixture cool 5 minutes before blending: sealed blenders trap steam that can build enough pressure to blow the lid off, causing hot sauce splatters that lead to burns or messy cleanup. Holding a towel over the lid adds an extra layer of protection.
2.For a deeper, smokier flavor variation, broil the prepped veggies on a rimmed baking sheet 4 inches from the broiler element for 5 minutes (instead of pan-searing) until charred; this adds a rich, roasted note that pairs perfectly with melted cheese in baked enchiladas.
3.This sauce freezes beautifully for up to 3 months: let it cool completely to room temperature, pour into a labeled airtight freezer bag, and press out all excess air before sealing to prevent freezer burn, so you can have homemade sauce ready for fast weeknight meals with zero prep.


✨ You May Also Like

Main Course
🍜 United Kingdom

A showstopping classic of tender seared beef, savory mushroom duxelles, and crisp prosciutto wrapped in flaky golden puff pastry, baked to juicy perfection.

⏱️ 2 hours 1Main Course ★ 4.7
Main Course
🍜 India

Tender charred marinated chicken simmered in a rich, spiced creamy tomato sauce, this iconic Anglo-Indian curry pairs perfectly with basmati rice or warm naan.

⏱️ 50 minuteMain Course ★ 4.6
Main Course
🍜 Thailand

Classic tangy, sweet, and savory Thai stir-fried rice noodles with shrimp, tofu, and crunchy garnishes, balancing all five core Thai flavor profiles.

⏱️ 30 minuteMain Course ★ 4.5
Main Course
🍜 United Kingdom

Crispy golden beer-battered cod and fluffy double-fried chips, served with tangy tartar sauce and malt vinegar: the timeless, beloved British pub comfort classic.

⏱️ 45 minuteMain Course ★ 4.7
Main Course
🍜 Mexico

Smoky, chile-marinated pork tacos with caramelized pineapple, fresh cilantro, and lime: a beloved classic Mexican street food perfect for casual summer gatherings.

⏱️ 1 hour 45Main Course ★ 4.8
Main Course
🍜 United States

Crunchy Fritos corn chips layered with savory beef chili and melted cheddar, topped with cool, zesty fixings for a beloved, cozy Tex-Mex comfort food.

⏱️ 35 minuteMain Course ★ 4.8

homemade green enchilada sauce:Frequently Asked Questions

1.How do I select ripe, good-quality tomatillos for this sauce? ▾
Pick firm, bright green tomatillos with intact, dry papery husks that fully cover the fruit. Skip any that are soft, yellowing, or have sticky, mushy spots under the husk—those are overripe, and will make your sauce taste flat or overly sweet instead of bright and tangy. A light sticky residue on the skin after husking is normal; just rinse it off well.
2.Can I make this sauce less spicy if I don’t tolerate much heat? ▾
Absolutely! Start by using only 1 serrano pepper, and scrape out all the white pith and seeds (that’s where most of the heat-causing capsaicin lives) before cooking. If you want zero heat, swap the serranos entirely for 1 small seeded, diced poblano pepper, which adds rich, earthy flavor without the burn. Taste as you go to adjust to your preference.
3.Do I have to roast the vegetables first, or can I boil them instead? ▾
Roasting delivers a deeper, nuttier, more complex flavor with subtle charred notes that make the sauce taste restaurant-worthy, and it only takes 10 minutes under a high broiler. If you’re crunched for time, boiling the tomatillos, onion, peppers, and garlic for 8 minutes works in a pinch—just drain them really well before blending to avoid watery sauce.
4.How long does this homemade green enchilada sauce last in the fridge? ▾
Stored in a tightly sealed glass jar or airtight container, this sauce will stay fresh in the fridge for 5 to 7 days. Let it cool completely to room temperature before sealing and putting it away, to prevent condensation buildup that can make the sauce watery or speed up spoilage between uses.
5.Can I freeze this sauce for later long-term use? ▾
Definitely! This sauce freezes beautifully for up to 6 months. Pour cooled sauce into freezer-safe bags or silicone ice cube trays for easy portioning, leaving ½ inch of headspace to account for expansion as it freezes. Thaw it in the fridge overnight, or reheat gently on the stovetop straight from frozen when you’re ready to cook.
6.Why is my sauce coming out watery, and how do I fix it? ▾
Watery sauce usually happens if you didn’t drain cooked vegetables well before blending, or if your tomatillos were extra juicy. To fix it, simmer the blended sauce in a small saucepan over medium-low heat for 5 to 10 minutes, stirring occasionally, to cook off excess moisture and thicken it to a nice, pourable, coating consistency.
7.What can I use this green enchilada sauce for, besides enchiladas? ▾
This versatile sauce works for so much more than enchiladas! Toss it with fried tortilla chips for quick chilaquiles, drizzle it over huevos rancheros or breakfast tacos, use it as a simmer sauce for chicken or pork, stir a spoonful into rice for extra flavor, or serve it as a zesty dip for tortilla chips.
8.Can I use canned tomatillos instead of fresh if I can’t find fresh ones? ▾
Yes, canned tomatillos are a totally reliable swap when fresh ones are out of season or hard to track down. Use two 11-ounce cans of whole tomatillos, drained really well, to replace the fresh tomatillos in this recipe. Cut back on added salt a touch, since most canned tomatillos are packed in lightly salted brine.
9.Should I only use cilantro leaves, or can I keep the stems in? ▾
Definitely use the tender, light green cilantro stems along with the leaves! Those stems have just as much bright, herby cilantro flavor as the leaves, and they blend up completely smooth so you won’t notice any tough texture. Just skip the thick, woody lower stems that feel firm when pinched, since those won’t break down fully.
10.My sauce turned out a little bitter—what went wrong, and can I fix it? ▾
Bitter sauce usually comes from over-charring vegetables to the point of black, burnt edges, or from blending the sauce too long at high speed, which can break down ingredients and create off-flavors. Fix it by stirring in a tiny pinch of sugar (1/4 teaspoon at a time) or a squeeze of fresh lime juice to balance the bitterness, tasting as you go.
11.Do I need to strain the sauce after blending to get a smooth texture? ▾
That depends on your texture preference! If you blend the sauce for 30 to 60 seconds in a standard countertop blender, it will be mostly smooth with a pleasant, subtle rustic texture, so no straining is needed for most home cooks. If you want an ultra-silky, restaurant-style sauce, pour it through a fine-mesh sieve after blending, discarding any tough fibrous bits.
12.Can I make this sauce ahead of time for meal prep or a party? ▾
Absolutely! This sauce actually tastes better the day after you make it, because the flavors have time to meld and deepen as they chill in the fridge. You can make it up to 3 days ahead of your event, store it tightly sealed in the fridge, and give it a quick stir before using it to cut down on day-of cooking stress.

Comments (6)

3 days ago

Made this for our potluck at work last week and everyone was begging me for the recipe! I was worried it would be too spicy for my coworkers but the heat level was perfect, even for the people who hate spicy food. Super easy to make a big batch too, I froze half of it for quick dinners later. 10/10

1 week ago

I swapped the chicken broth for vegetable broth to make this vegan and it turned out SO good! Drizzled it over my roasted veggie burrito bowls all week for meal prep and it didn’t get weird or separated in the fridge like store bought sauce does. So fresh and bright, will definitely make again.

5 minutes ago

Wait, do you have to roast the tomatillos first? I tried making a green sauce once before and skipped roasting them and it was super bitter, wanna make sure I don’t mess this up for our dinner party this weekend!

just now

Great question! We highly recommend roasting the tomatillos (and the jalapeños and onion!) for 7-8 minutes under your broiler to bring out their natural sweetness and cut down on that bitter tang you ran into last time. It adds barely any extra time to the 20 minute cook time, and it makes all the difference in flavor. Hope your dinner party is a huge hit!

2 hours ago

Just made this for the first time and OMG, this is a total game changer, I want to put this on everything. I threw in extra garlic because I’m a total garlic fiend and it was chef’s kiss. Way easier than I thought it would be, I was intimidated by homemade enchilada sauce for literally no reason!

30 minutes ago

Same! I stirred in a handful of chopped cilantro right at the end too and it made it even brighter, highly recommend if you’re a cilantro fan!

yesterday

Wait a second, this is SO much better than the jarred green sauce I’ve been grabbing at the grocery store my whole life?!!! I made a batch last night for our family taco night, and I even used some of it on chile rellenos too (no judgment) and everyone was raving — my kids loved it so much they asked for enchiladas again tomorrow! That 20 minute cook time is no joke, I had the whole sauce done before my oven even finished preheating for the enchiladas. Absolute new staple in our house.

2 hours ago

Omg using it on chile rellenos is such a genius idea! I’ve only ever used this for regular enchiladas, never thought to branch out. Gonna have to try that next time I whip up a batch for my weekly meal prep.

30 minutes ago

Love that you’re getting creative with it! This sauce works so well on chile rellenos, breakfast burritos, even thinned out a little as a dip for tortilla chips. So glad it was a hit with your family!

2 days ago

I added an extra serrano pepper because I love my sauce with a real kick, and it was perfect! My partner said it’s better than the sauce we get at our favorite local Mexican restaurant, which is literally the highest compliment possible. Already planning to make a double batch this weekend to stock the freezer for quick weeknight meals.

yesterday

How spicy was it with the extra serrano? I have a pretty low spice tolerance but love all the bright flavors here, wondering if I should stick to just one pepper or even half a serrano?

2 hours ago

Great question! If you have a lower spice tolerance, we recommend seeding and deveining your peppers first (that’s where most of the capsaicin/heat lives!) or sticking to just one serrano for a mild, super flavorful sauce. The extra serrano adds a pretty noticeable zing, which is perfect for spice lovers like Mia!



