
Honey Butter Fried Chicken (Korean Style)
intro
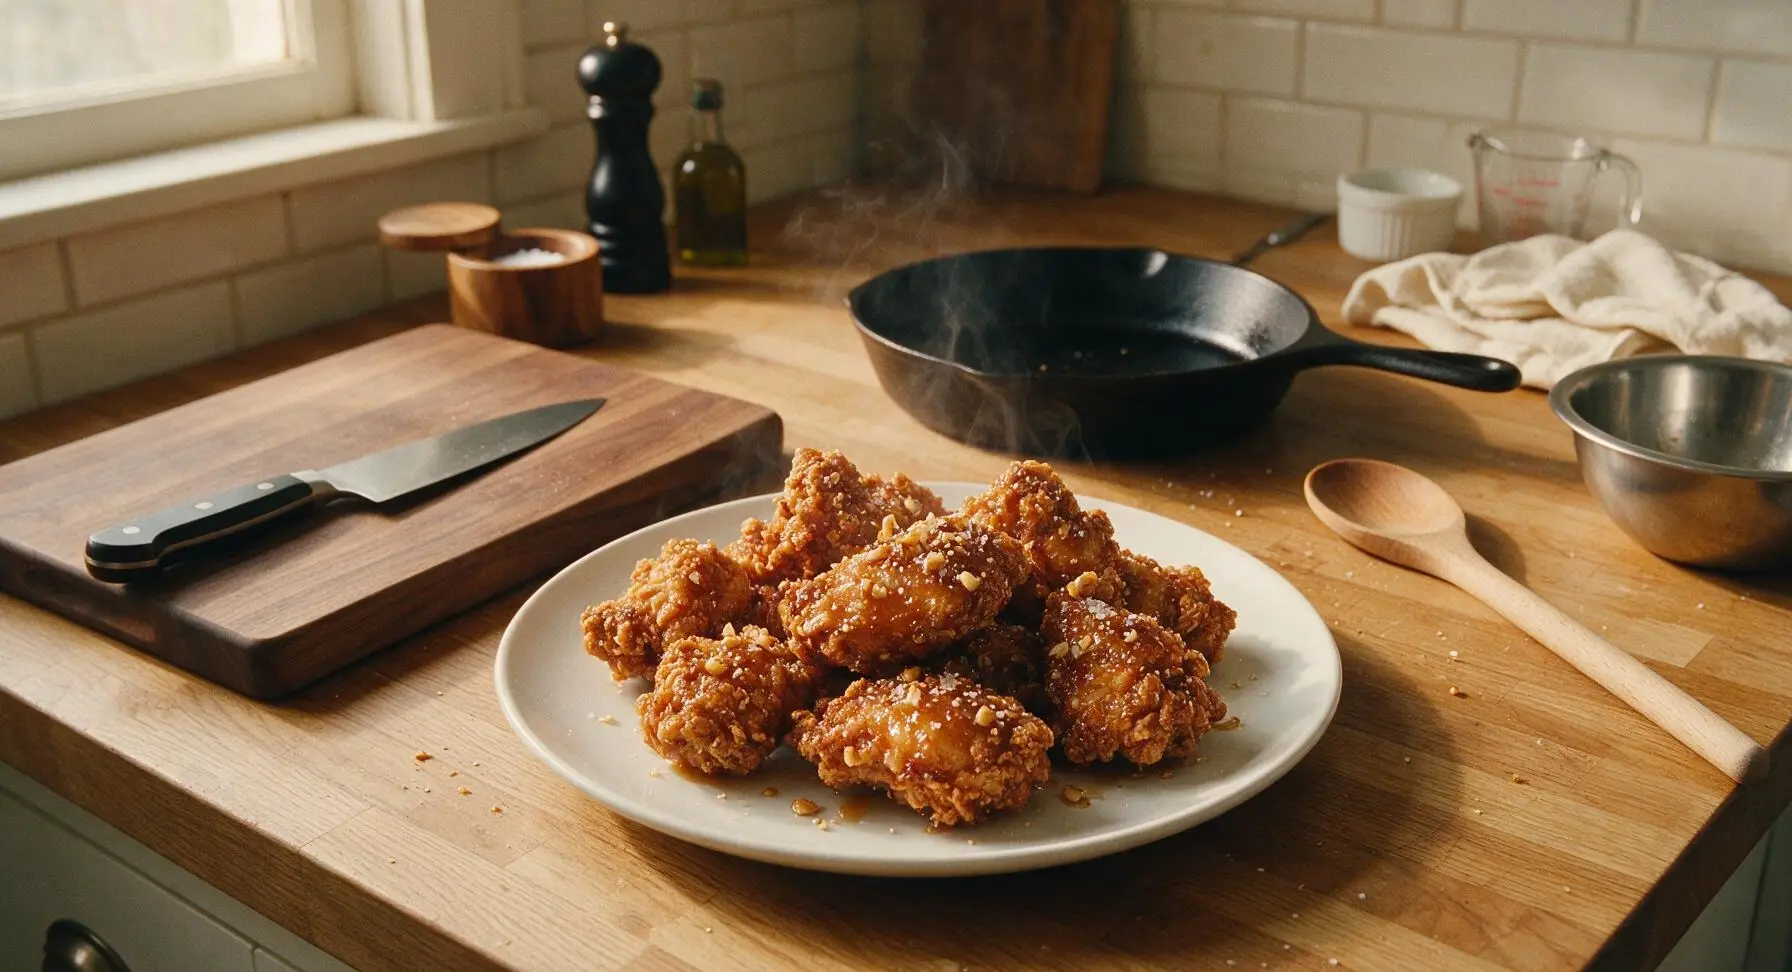
Shatteringly crisp double-fried chicken coated in glossy sweet-savory honey butter glaze, fragrant with toasted garlic, finished with flaky salt and sesame—classic Korean indulgence.
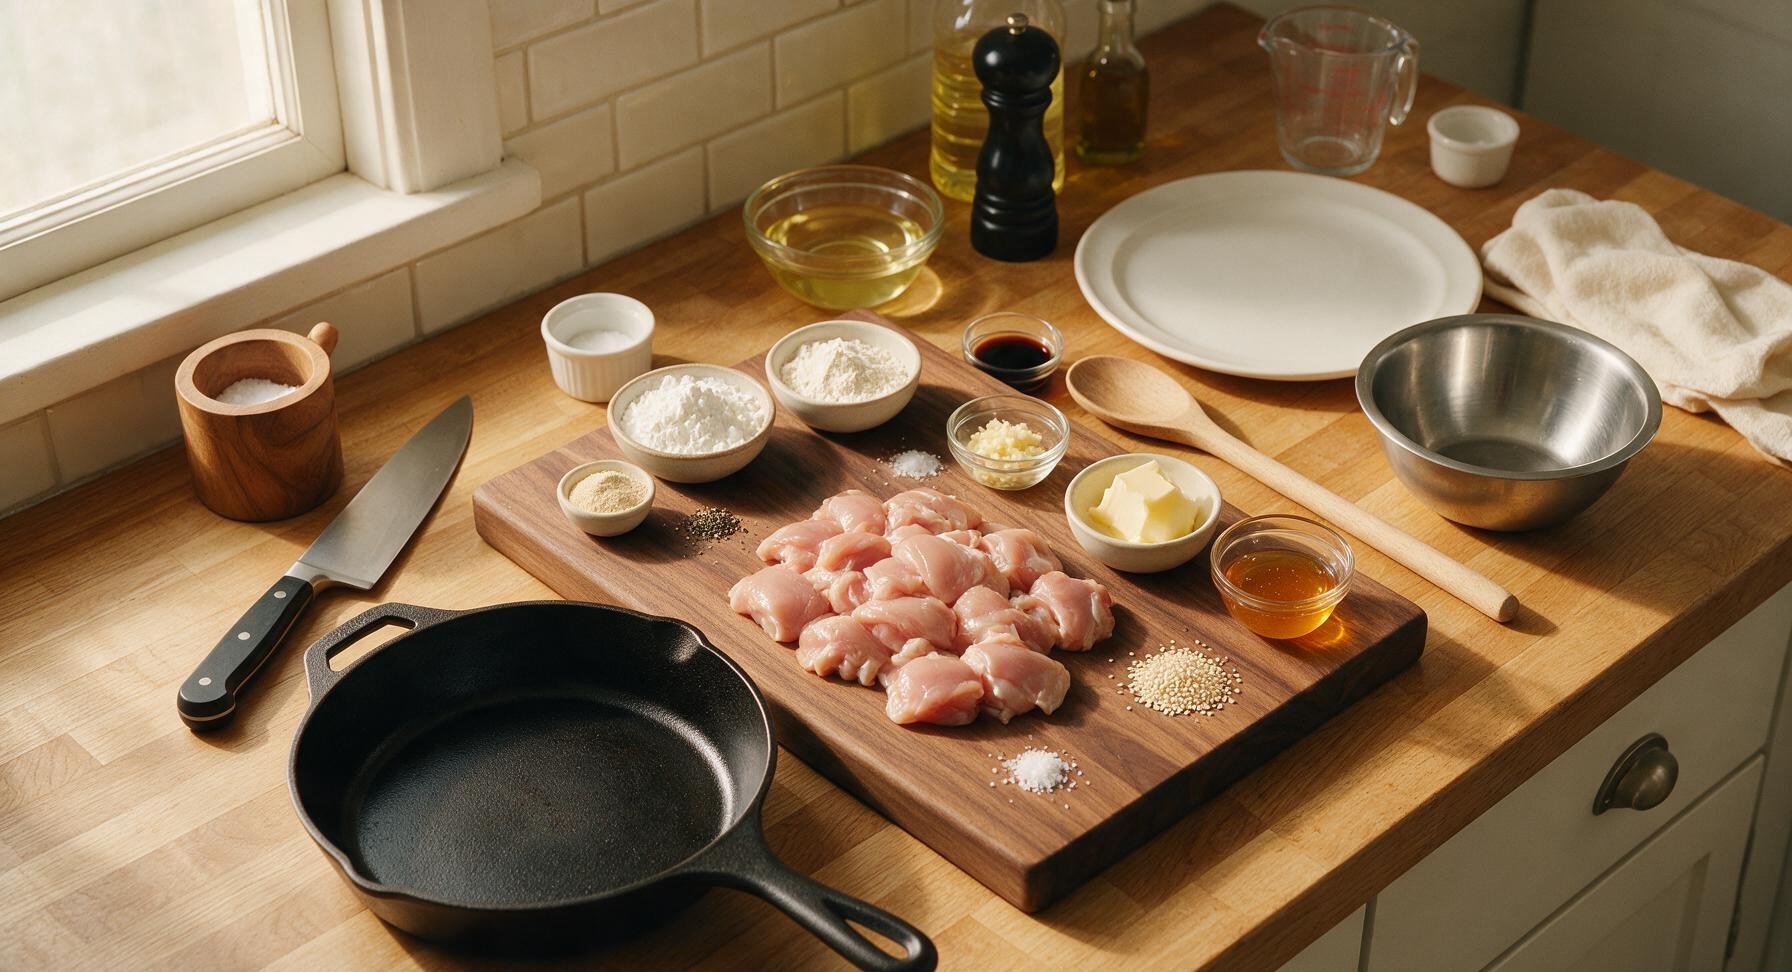
Ingredients
Steps
Coat Chicken Bites
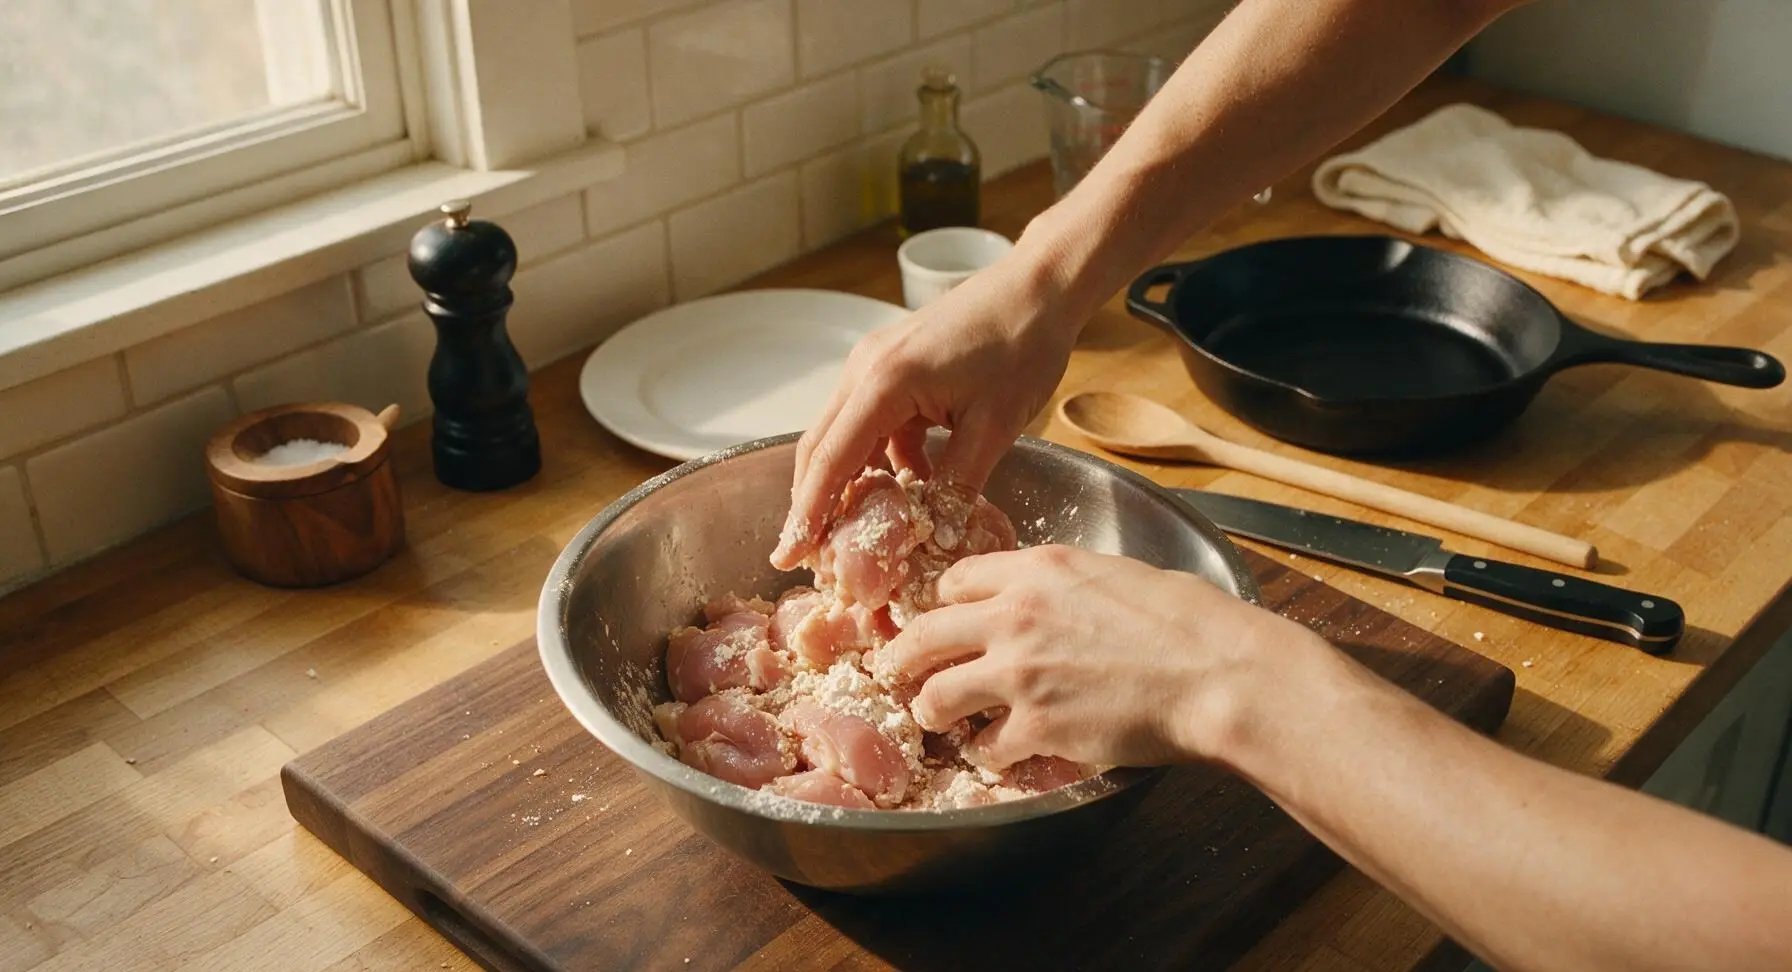
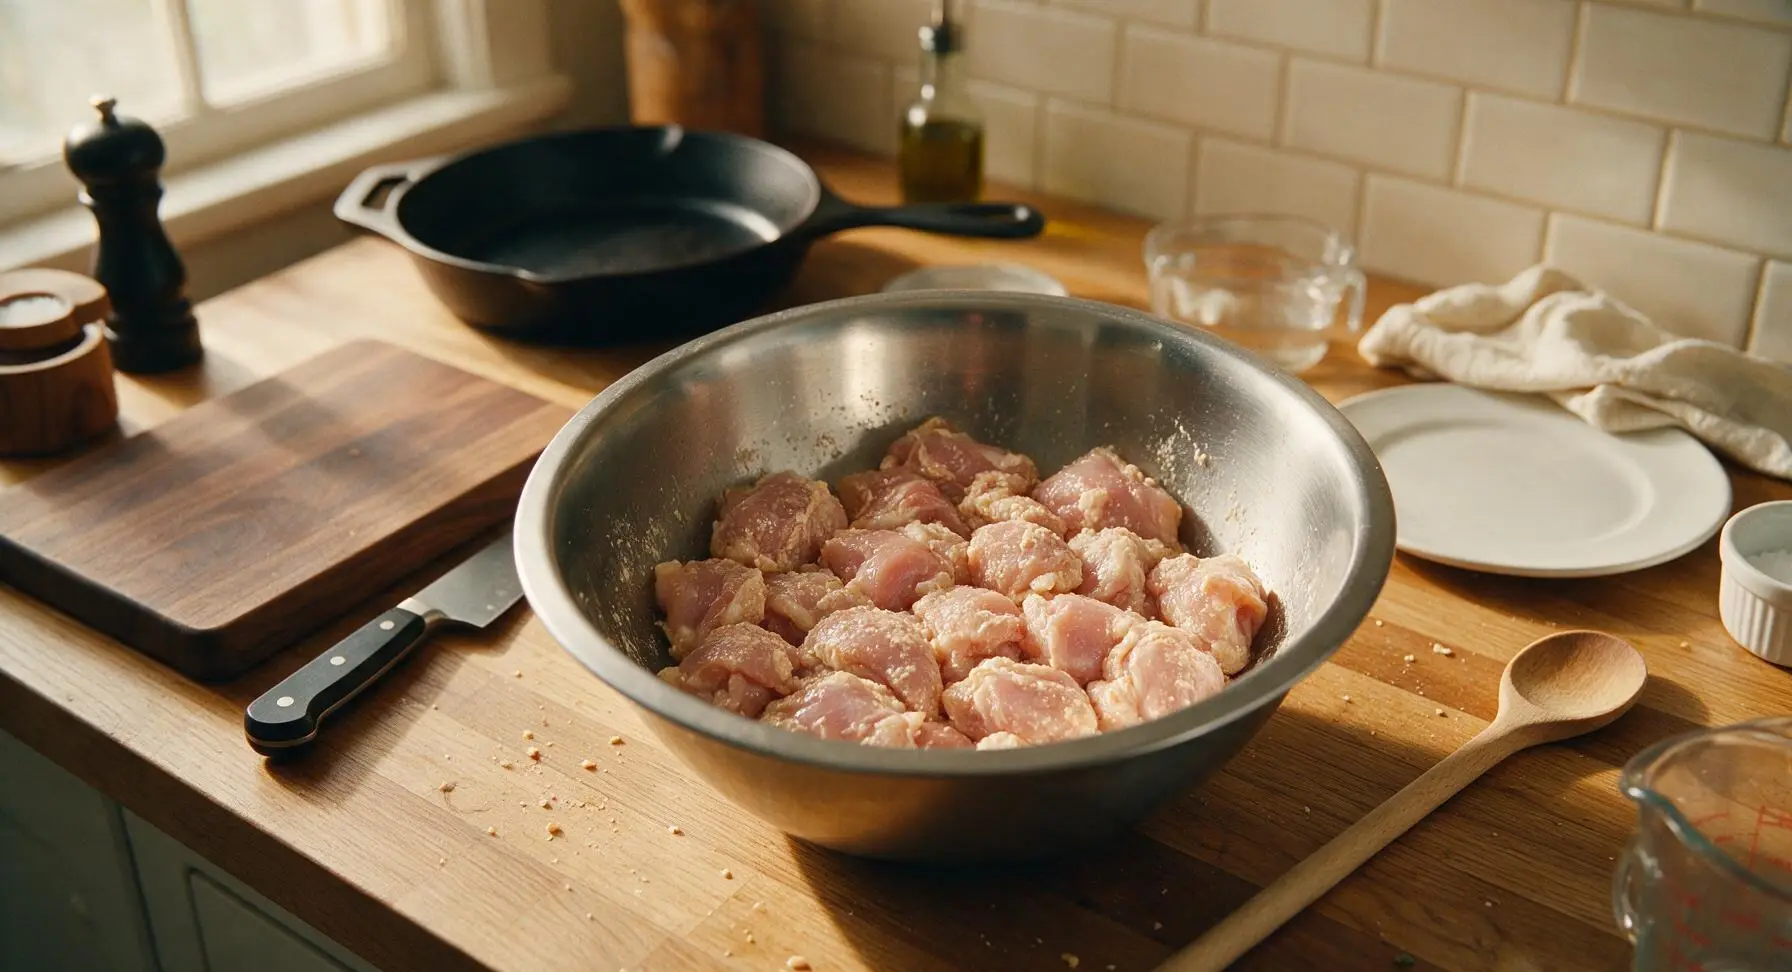
Pat 800g of 4cm boneless skinless chicken thigh pieces completely dry with paper towels, then transfer to the medium brushed stainless steel mixing bowl. Add 120g potato starch, 40g all-purpose flour, 1 tsp garlic powder, 1 tsp fine sea salt, and ½ tsp ground black pepper. Toss thoroughly until every piece is fully coated in dry starch mix, pressing lightly to help coating stick. Rest 10 minutes to let starch absorb surface moisture, reducing fry splatter and creating a tighter crust.
Heat Frying Oil
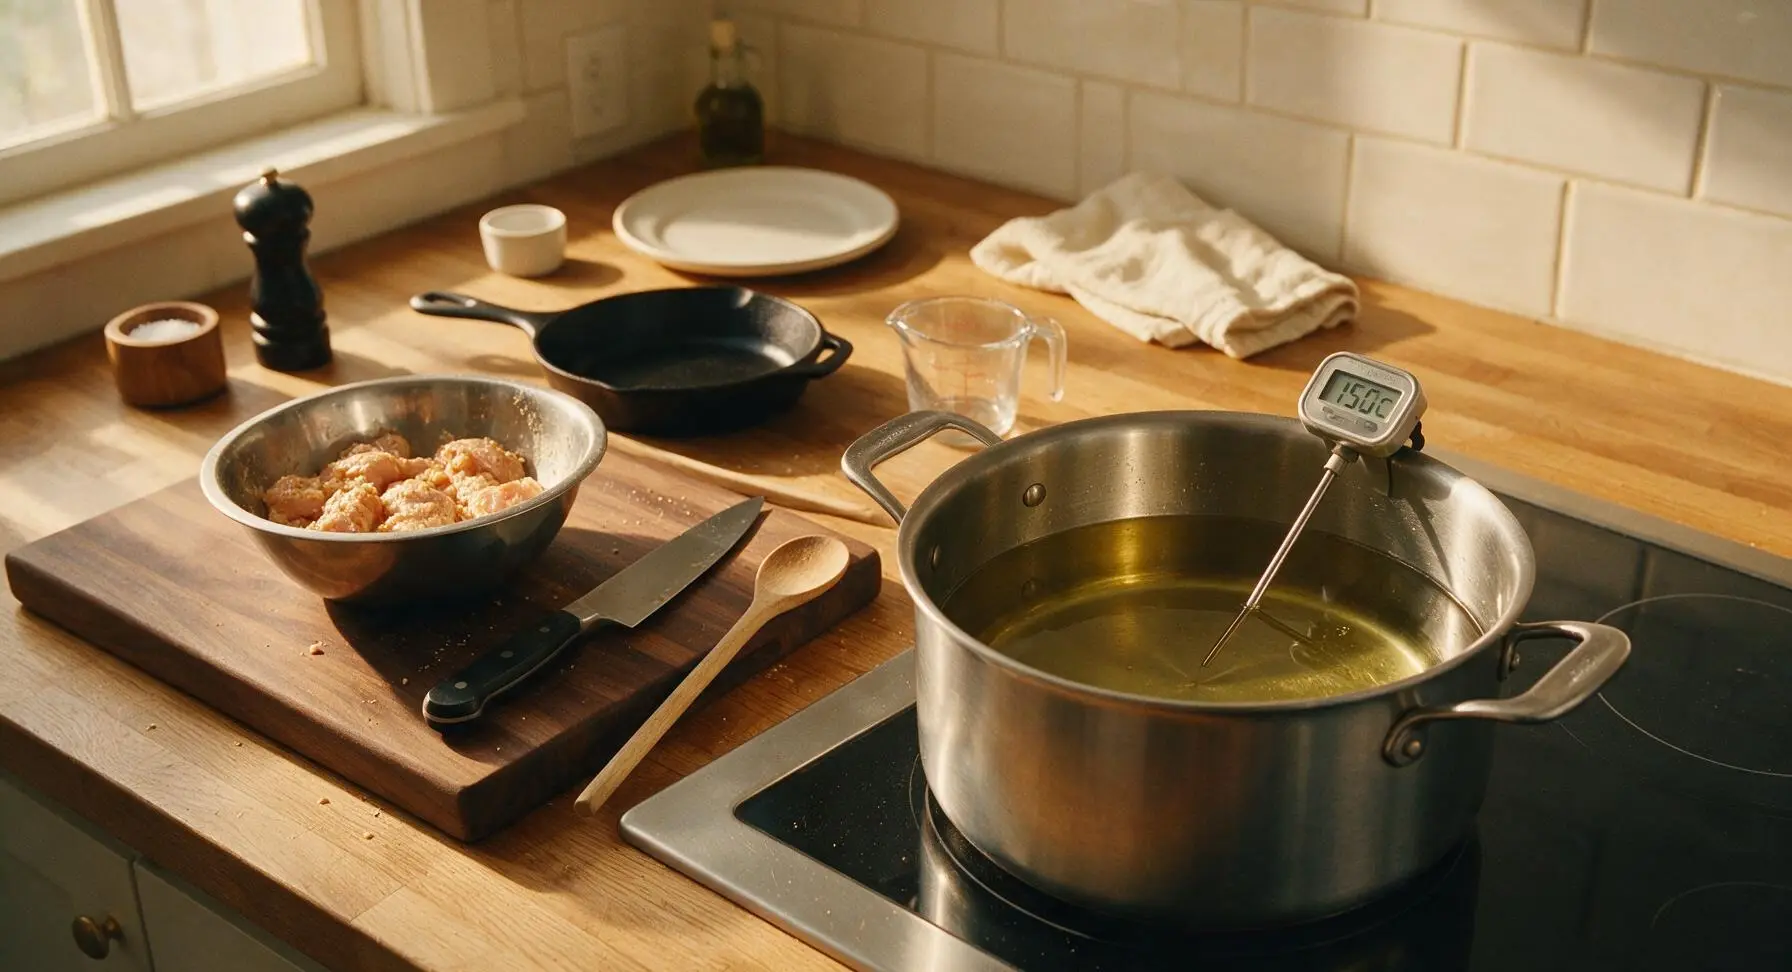
Pour 1.5L neutral canola oil into the 5L heavy-bottomed stainless steel deep pot, then clip the digital candy thermometer to the pot edge so the probe is submerged 2cm into the oil, not touching the pot bottom. Heat oil over medium heat until it reaches a steady 150C (300F) for the first fry. Adjust heat as needed to hold this temperature consistently throughout the first fry.
First Fry Chicken
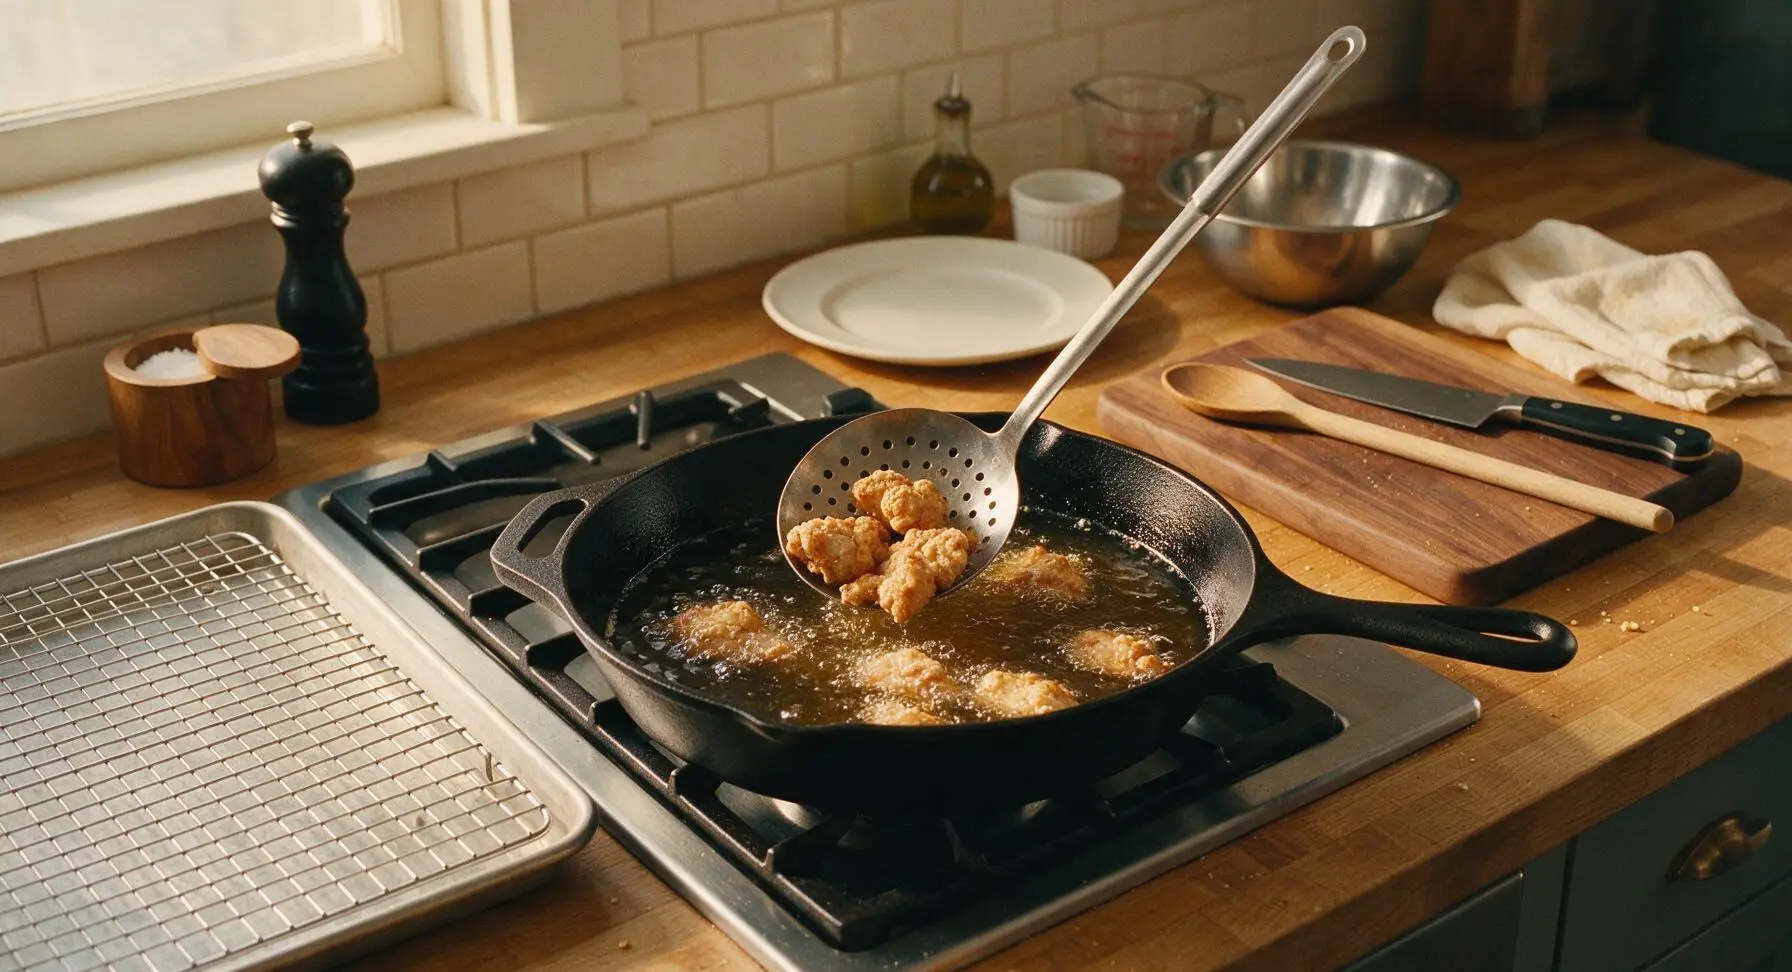
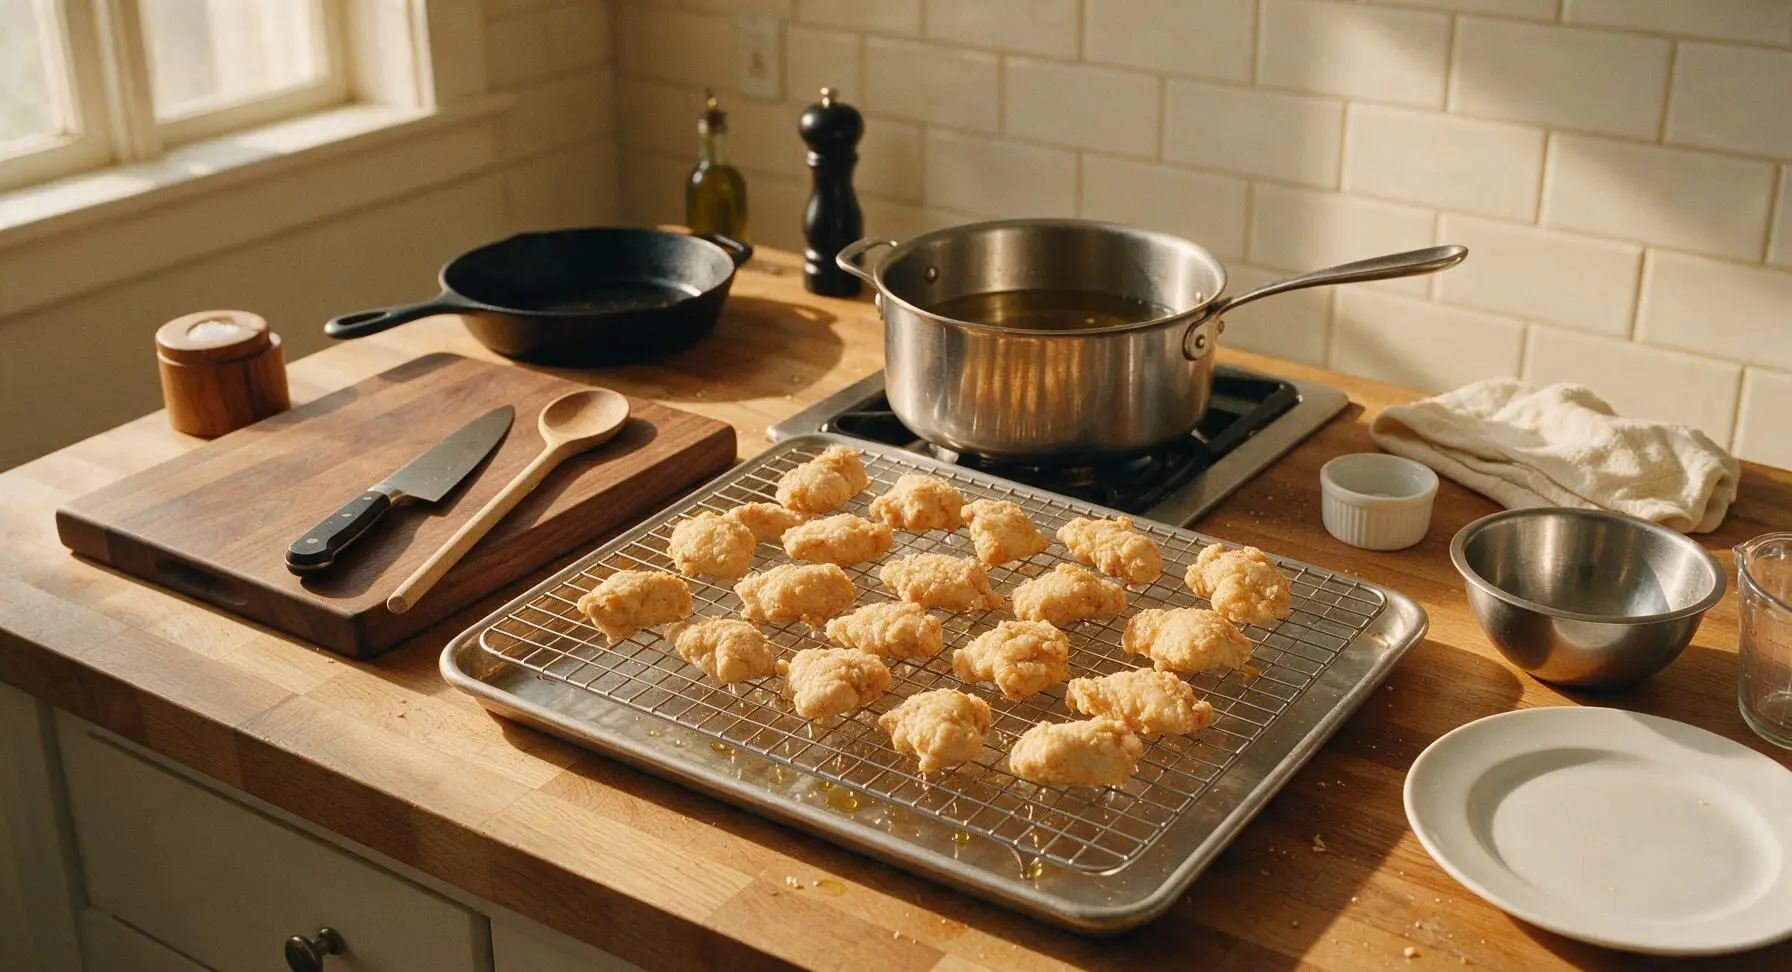
Working in 3 small batches to avoid dropping oil temperature, use the long slotted stainless steel frying spoon to lower coated chicken pieces gently into the 150C oil. Fry each batch for 5 minutes, until chicken is pale golden, cooked through but not deeply browned, with a soft initial crust. Lift pieces from oil with the slotted spoon, letting excess oil drain for 10 seconds, then transfer to the chrome wire cooling rack set over the rimmed aluminum baking sheet. Let chicken rest 3 minutes between first and second fry.
Double Fry for Crunch
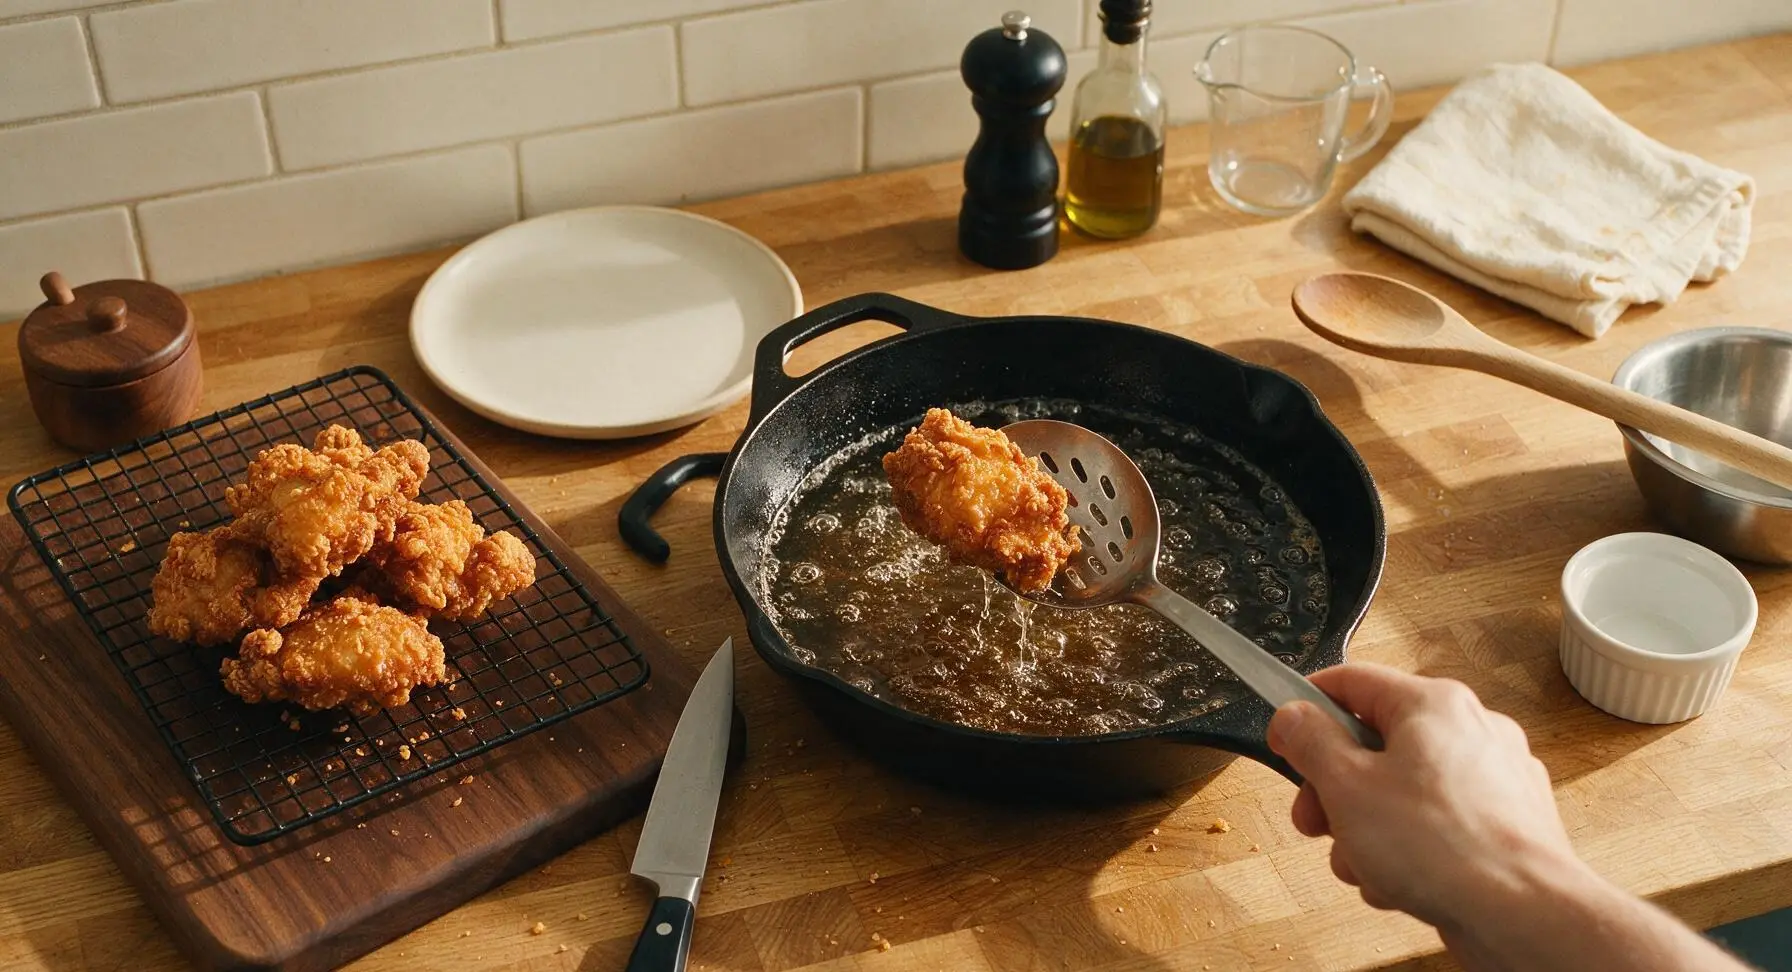
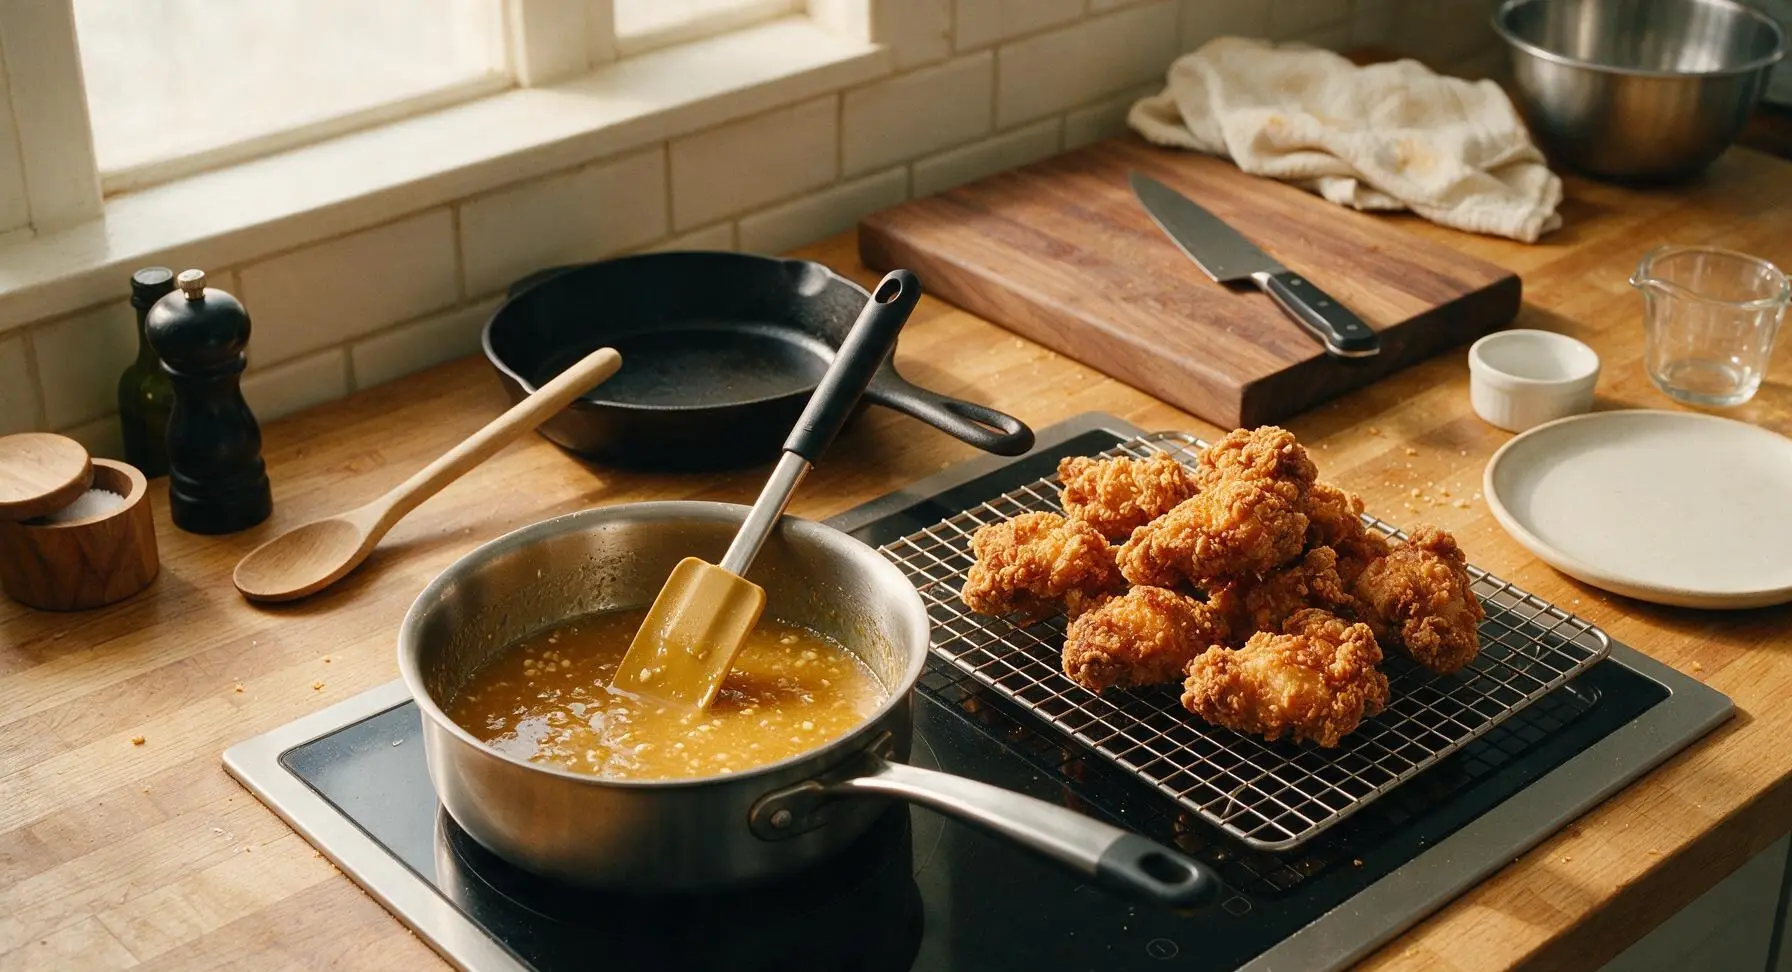
Increase stovetop heat to bring oil temperature up to a steady 180C (350F). Working again in 3 batches, return the first-fried chicken pieces to the hot oil. Fry each batch for 3 minutes, until the crust is deep golden brown, shatteringly crisp, with visible bubbly texture across the surface. Remove from oil, drain fully on the wire rack for 15 seconds, and set aside while making the glaze. This double fry method creates the signature crisp crust that won’t get soggy under the honey butter glaze.
Make Honey Butter Glaze
While chicken rests after the second fry, place the small stainless steel saucepan on the second empty induction burner over low heat. Add 60g unsalted butter, 80g raw honey, 12g minced fresh garlic, and 1 tbsp low-sodium soy sauce to the pan. Stir constantly with the honey gold silicone spatula for 2-3 minutes, until butter is fully melted, garlic is fragrant and lightly golden, and the glaze is smooth, glossy, and just starting to bubble around the pan edges. Do not boil, as high heat will cause honey to burn and turn bitter.
Toss in Honey Glaze
Transfer all hot, double-fried chicken pieces to the wiped-clean medium stainless steel mixing bowl, then pour the hot honey butter glaze over the chicken. Use the silicone-tipped tongs to toss thoroughly for 30-45 seconds, until every piece of chicken is evenly coated in the glossy glaze, with no dry crisp spots left. Work quickly while chicken and glaze are both hot to help the coating set evenly without sogginess.
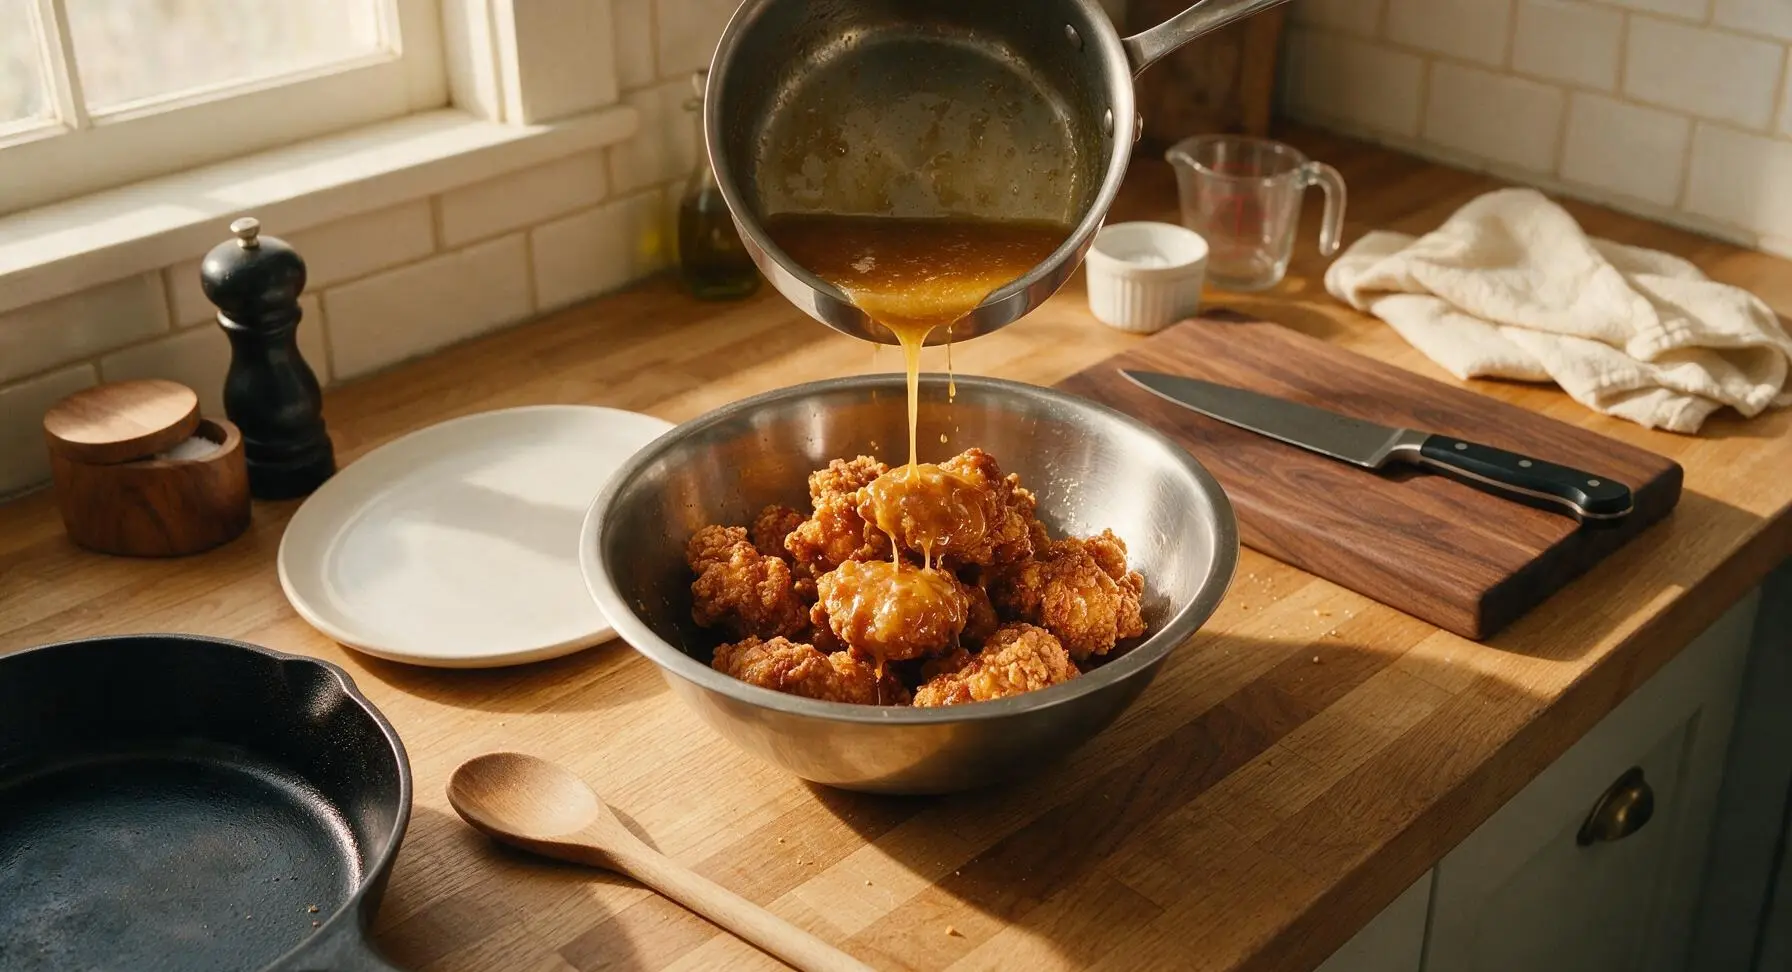
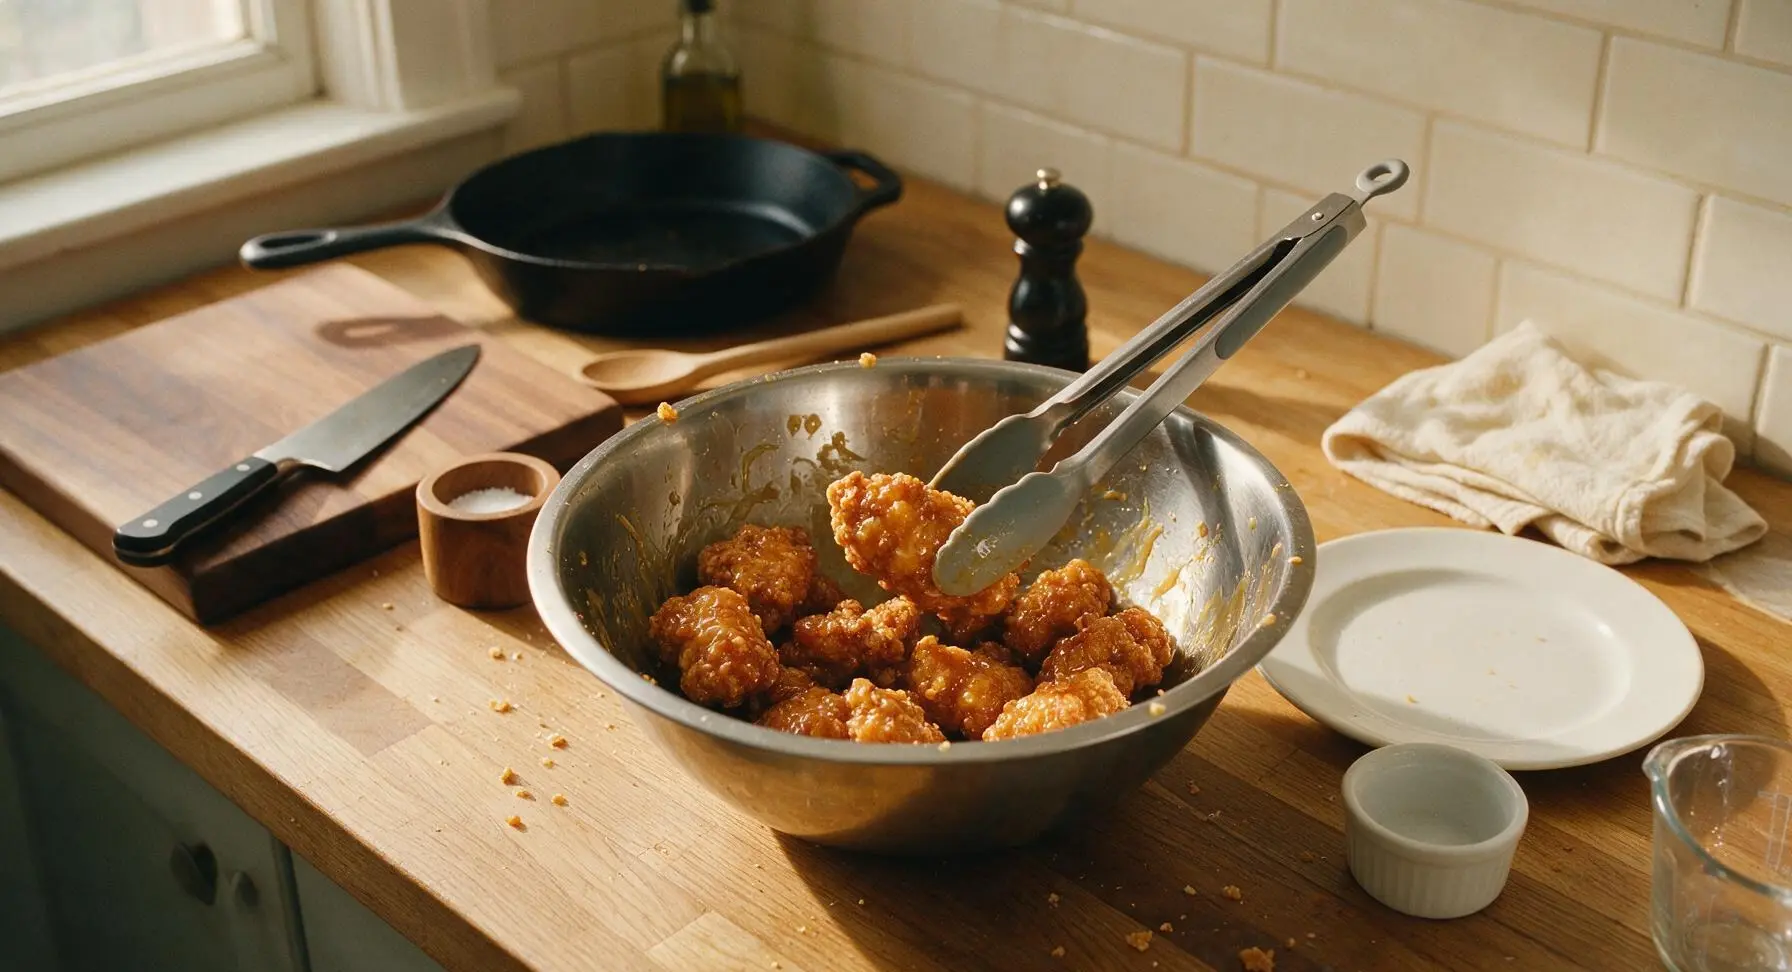
Plate and Garnish
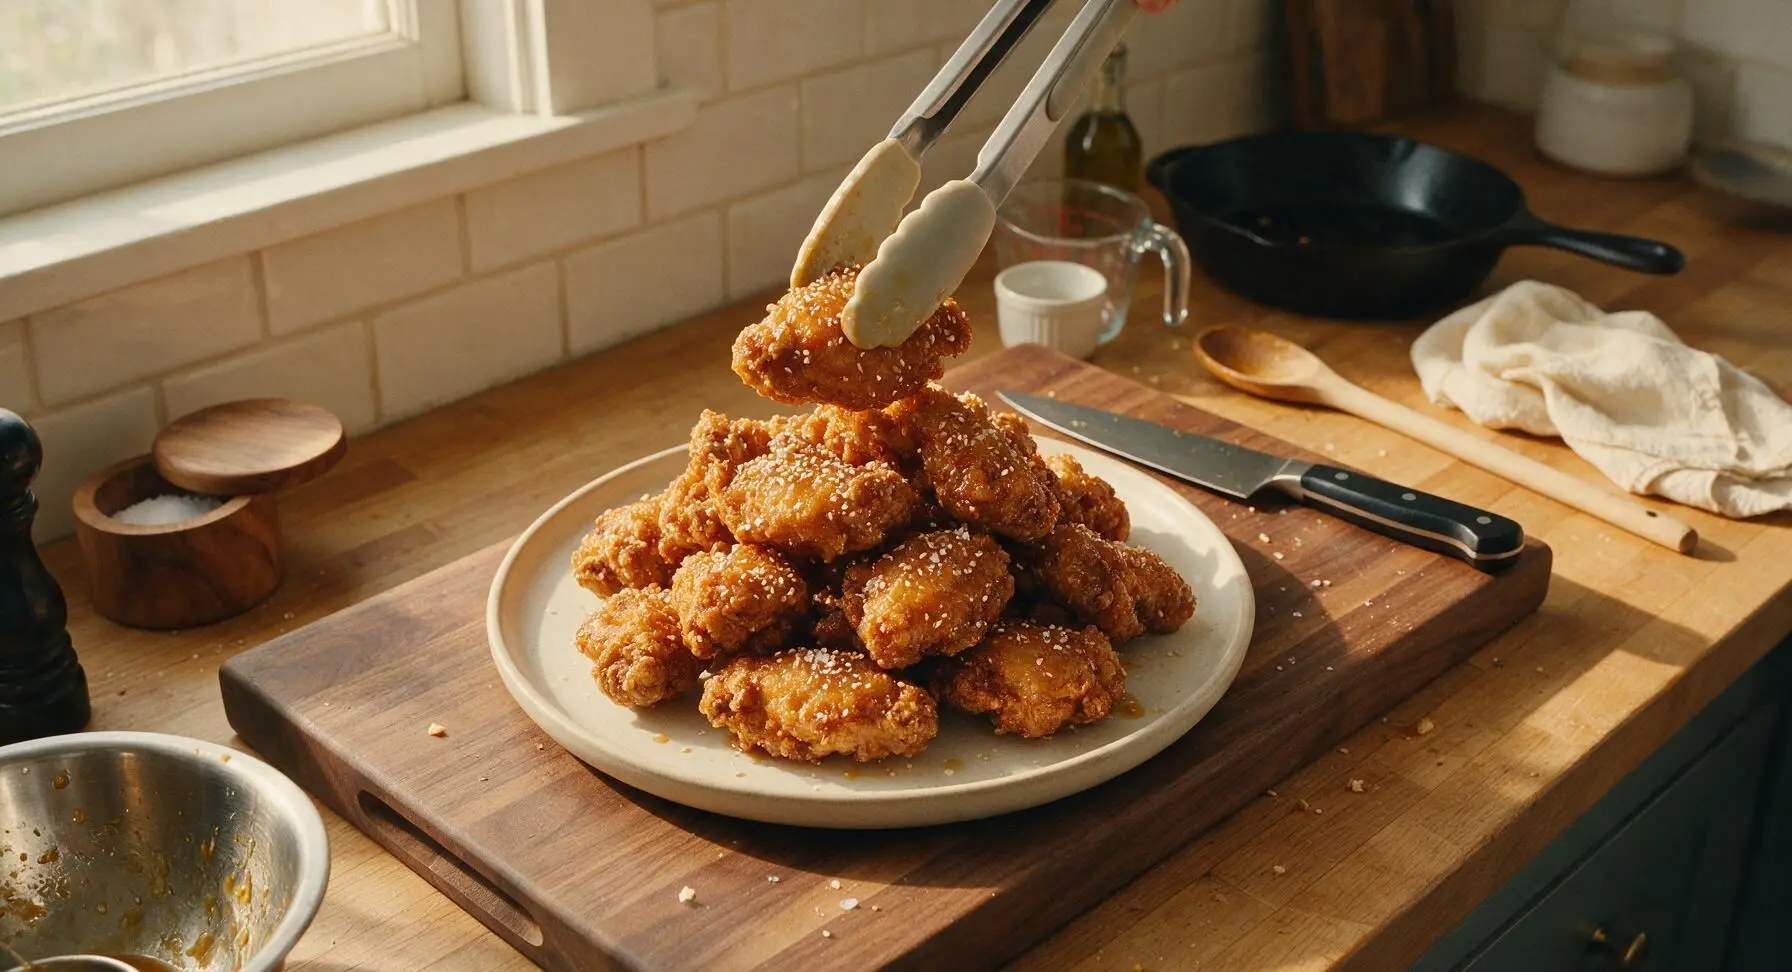
Arrange the glaze-coated chicken pieces in a loose, tall pile on the off-white matte ceramic serving platter. Sprinkle evenly with 1 tbsp toasted white sesame seeds and ¼ tsp flaky sea salt, adding a light nutty finish and bright saltiness that cuts the sweetness of the honey. Serve immediately while the crust is still crisp and the glaze is warm, alongside pickled radish if desired.
Tips
2.Never skip the resting steps: Resting coated chicken for 10 minutes before frying lets the starch form a tight bond that won’t blow off in hot oil, and resting chicken for 3 minutes between fries lets surface moisture evaporate for a shatteringly crisp crust that won’t turn soggy under glaze.
3.Use a clip-on thermometer to maintain consistent oil temperature: If oil drops below 150C during the first fry, chicken will absorb excess oil and turn greasy; if it climbs above 185C during the second fry, the crust will burn before the glaze can adhere evenly.






OMG this honey butter fried chicken was a total game changer for our weekly family dinner! My kids usually turn their noses up at anything labeled ‘Korean style’ but they devoured every last piece and asked for seconds before I even sat down. The balance of sweet honey, salty butter, and that tiny hint of garlic is perfect. Only note: I doubled the sauce because we’re a sauce-obsessed household, no regrets!
Brought this to our neighborhood potluck last weekend and people were literally coming up to me asking for the recipe before they even finished their first bite. The crispy crust stays crunchy even after it cools down a little, which is perfect for serving at parties. Will 100% be making this again for our next game night. SO good.
Tried this for my weekly meal prep and it held up way better than I thought it would! I stored the chicken and sauce separately, then tossed them together after reheating the chicken in the air fryer for 3 minutes, and it tasted almost as good as fresh. The only tweak I made was adding a tiny pinch of red pepper flakes for a little heat, which paired so well with the sweet honey butter. 10/10.
Okay, I’ve never successfully made fried chicken at home before (it always comes out soggy or burnt on the outside and raw inside yikes) but this recipe was so easy to follow! The 30 minute cook time was totally accurate too, which I was shocked by. My only mistake was not having enough paper towels to drain the excess oil, oops. Definitely a staple now.
As someone who eats Korean honey butter chicken every time I go out to K-town in NYC, I can confirm this recipe is just as good, if not BETTER, than the takeout version! The honey butter glaze isn’t cloyingly sweet, which is where so many copycat recipes go wrong. I added a little sprinkle of sesame seeds on top for extra nuttiness, chef’s kiss.
This was solid, but I wish the recipe noted how much oil you actually need for frying? I ended up using way too little on my first batch and the chicken stuck to the bottom of my Dutch oven. Flavor was 10/10 but the prep note about oil depth would have saved me a little hassle. Still will make it again now that I know!
Made this for the football watch party last weekend and it was gone in 10 minutes flat. My friends thought I ordered it from a local Korean spot! I used boneless thigh meat instead of breasts like the recipe suggested, and it was so juicy, no dry bites at all. Will be on my regular game day rotation from now on.
Wait why did I think the ‘medium’ difficulty rating was a lie? I burned the first batch of glaze because I had the heat too high, oops. Second batch I turned the stove down to low like the recipe said and it came out perfect. Pro tip for other messy cooks: don’t walk away from the glaze while it’s melting! Tastes insane though, totally worth the minor kitchen mishap.
I was a little worried this would be too sweet for my husband who hates super sugary savory food, but he went back for thirds! I served it with pickled radishes on the side like they do at Korean fried chicken spots, and the tang cut through the richness perfectly. Such a fun weekend meal, we’ll be making this all the time.