
honey chicken
intro
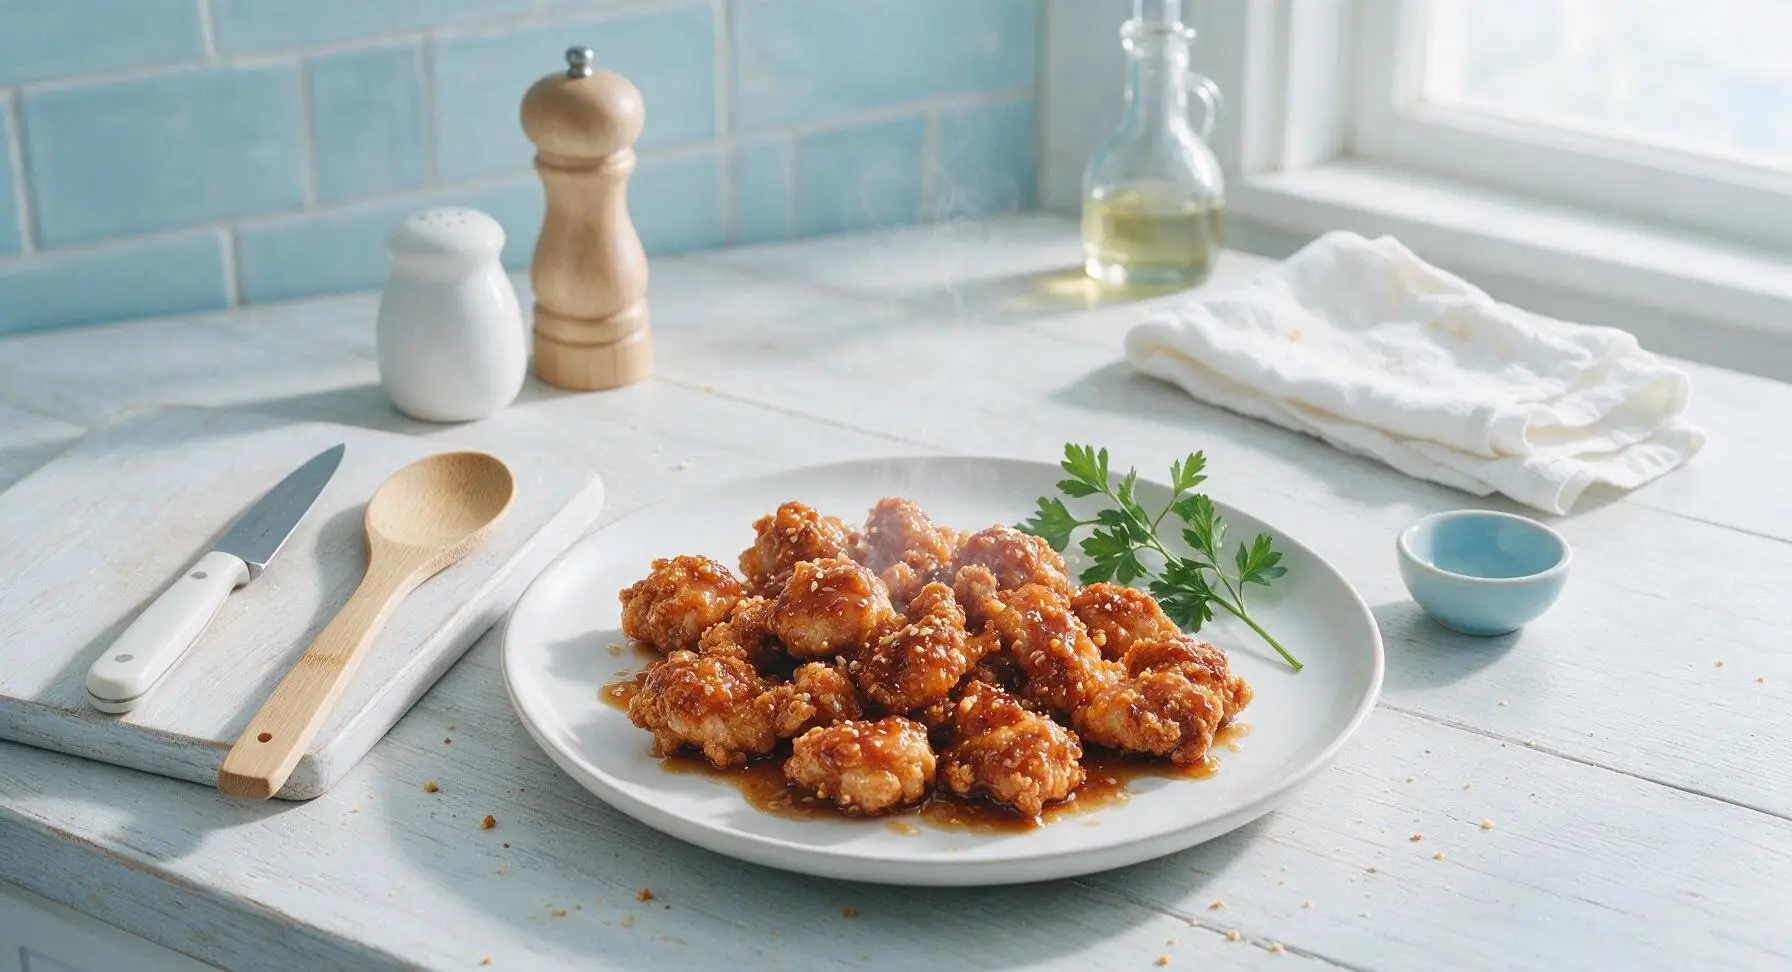
Crispy, juicy chicken pieces coated in glossy, sweet-savory honey garlic sauce, the beloved Cantonese-American takeout classic made easy, ready in under 40 minutes.
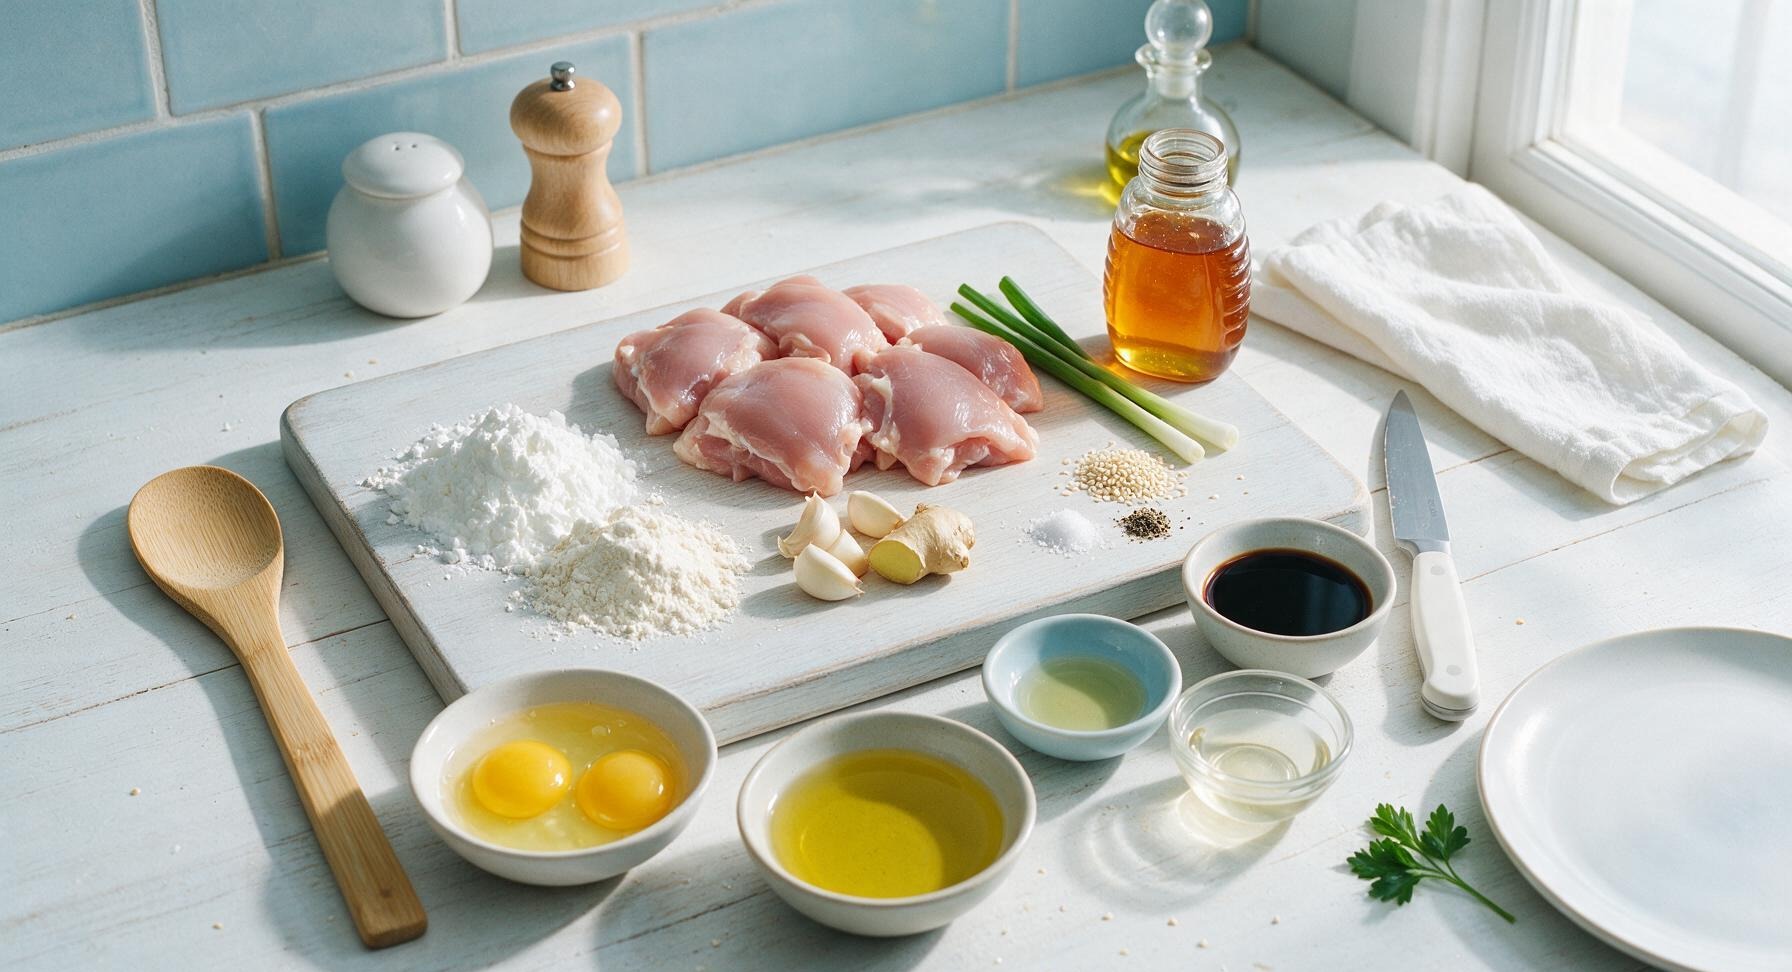
Ingredients
Steps
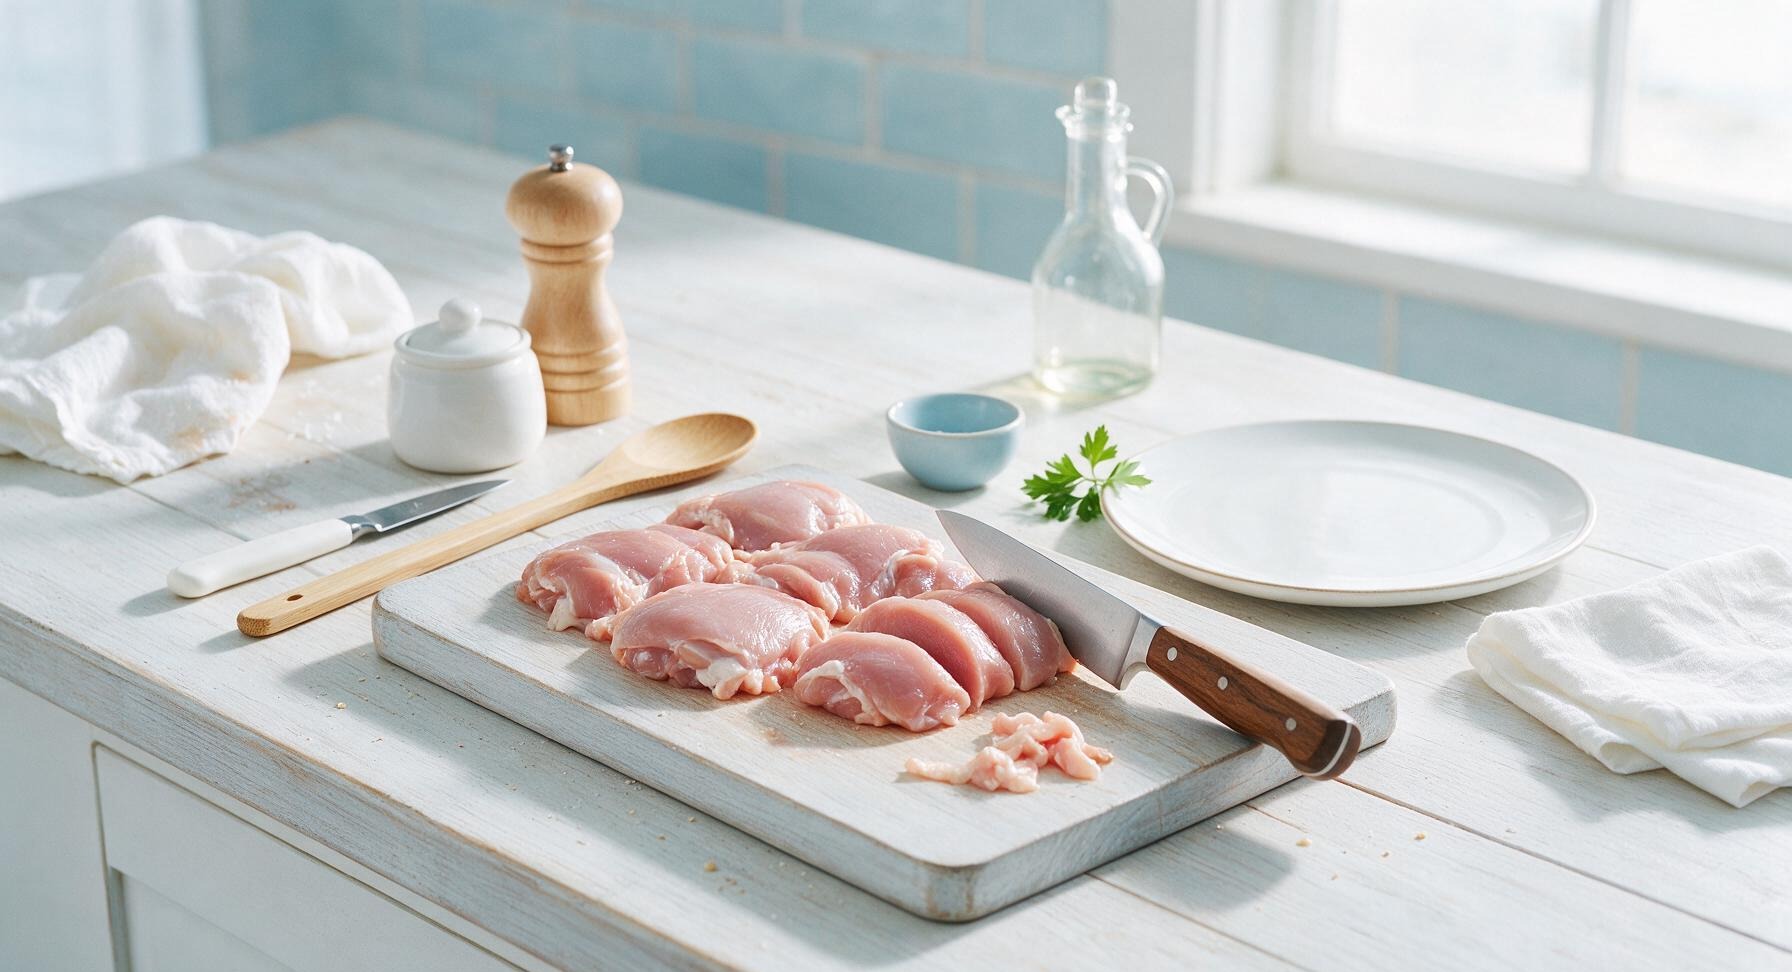
Cut Chicken Into Pieces
Place 600g boneless, skinless chicken thighs on the acacia wood cutting board. Use the walnut-handled chef’s knife to trim any excess fat or silver skin, then cut into uniform 3cm (1.25 inch) bite-sized pieces. Pat pieces completely dry with the linen towel to ensure crisping; dry chicken will not splatter during frying.
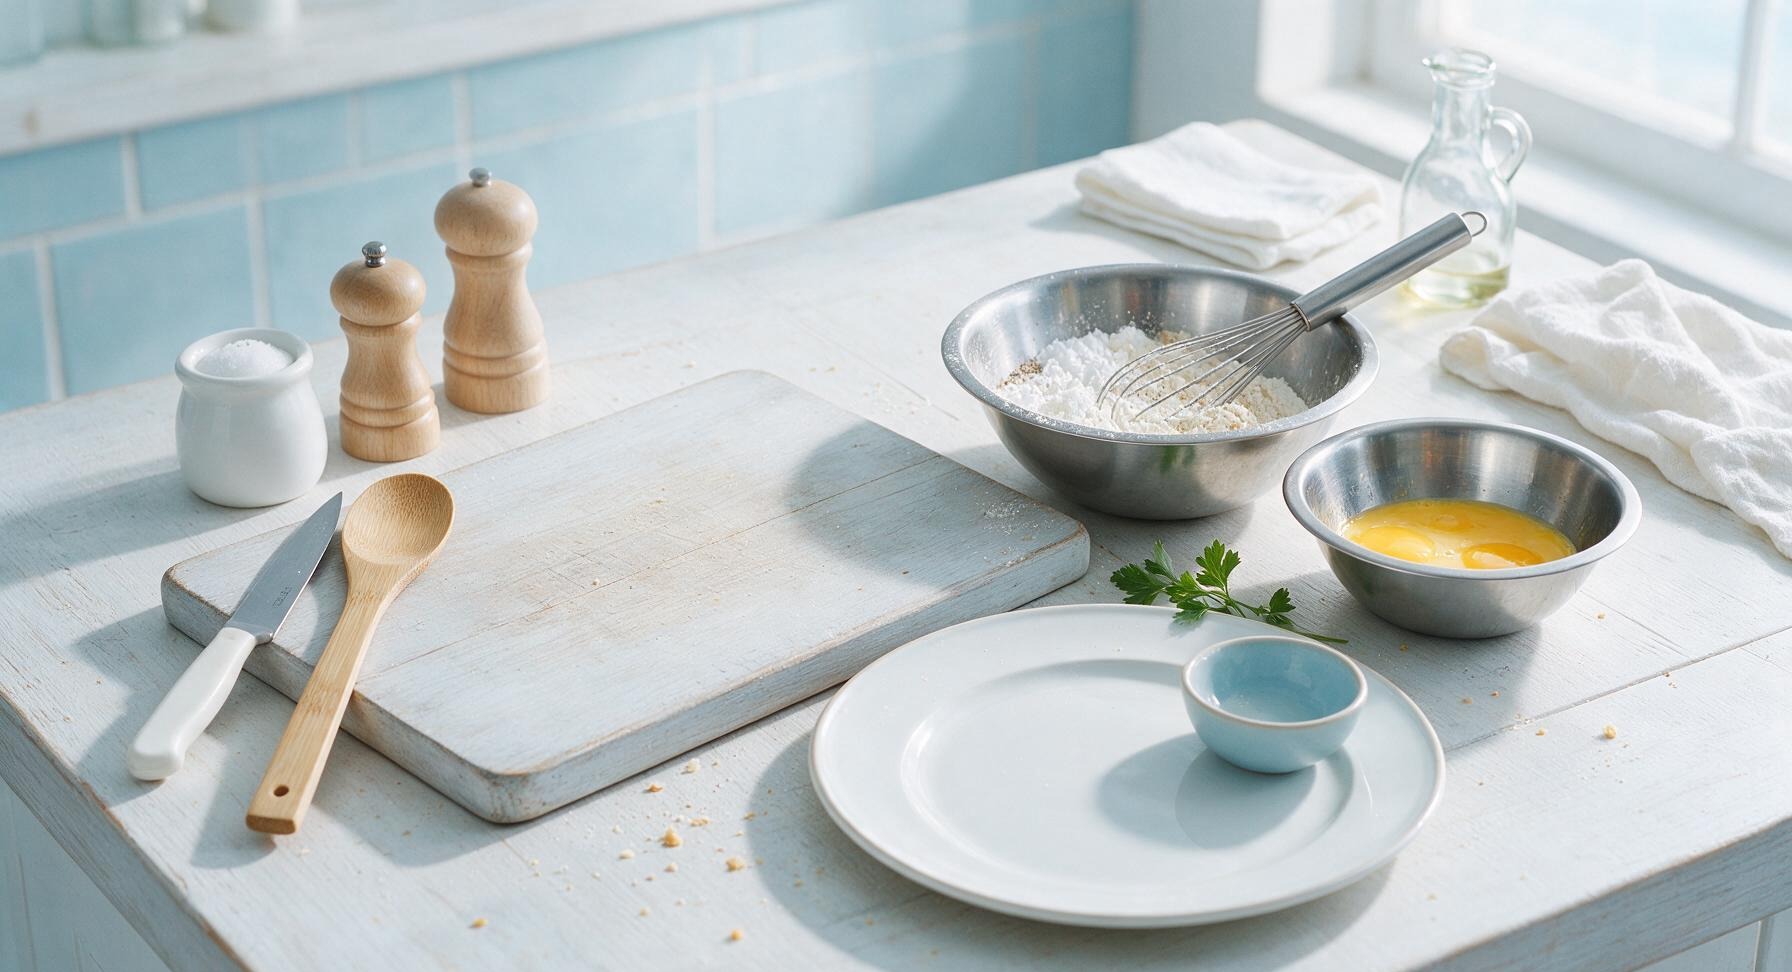
Mix Crispy Coating
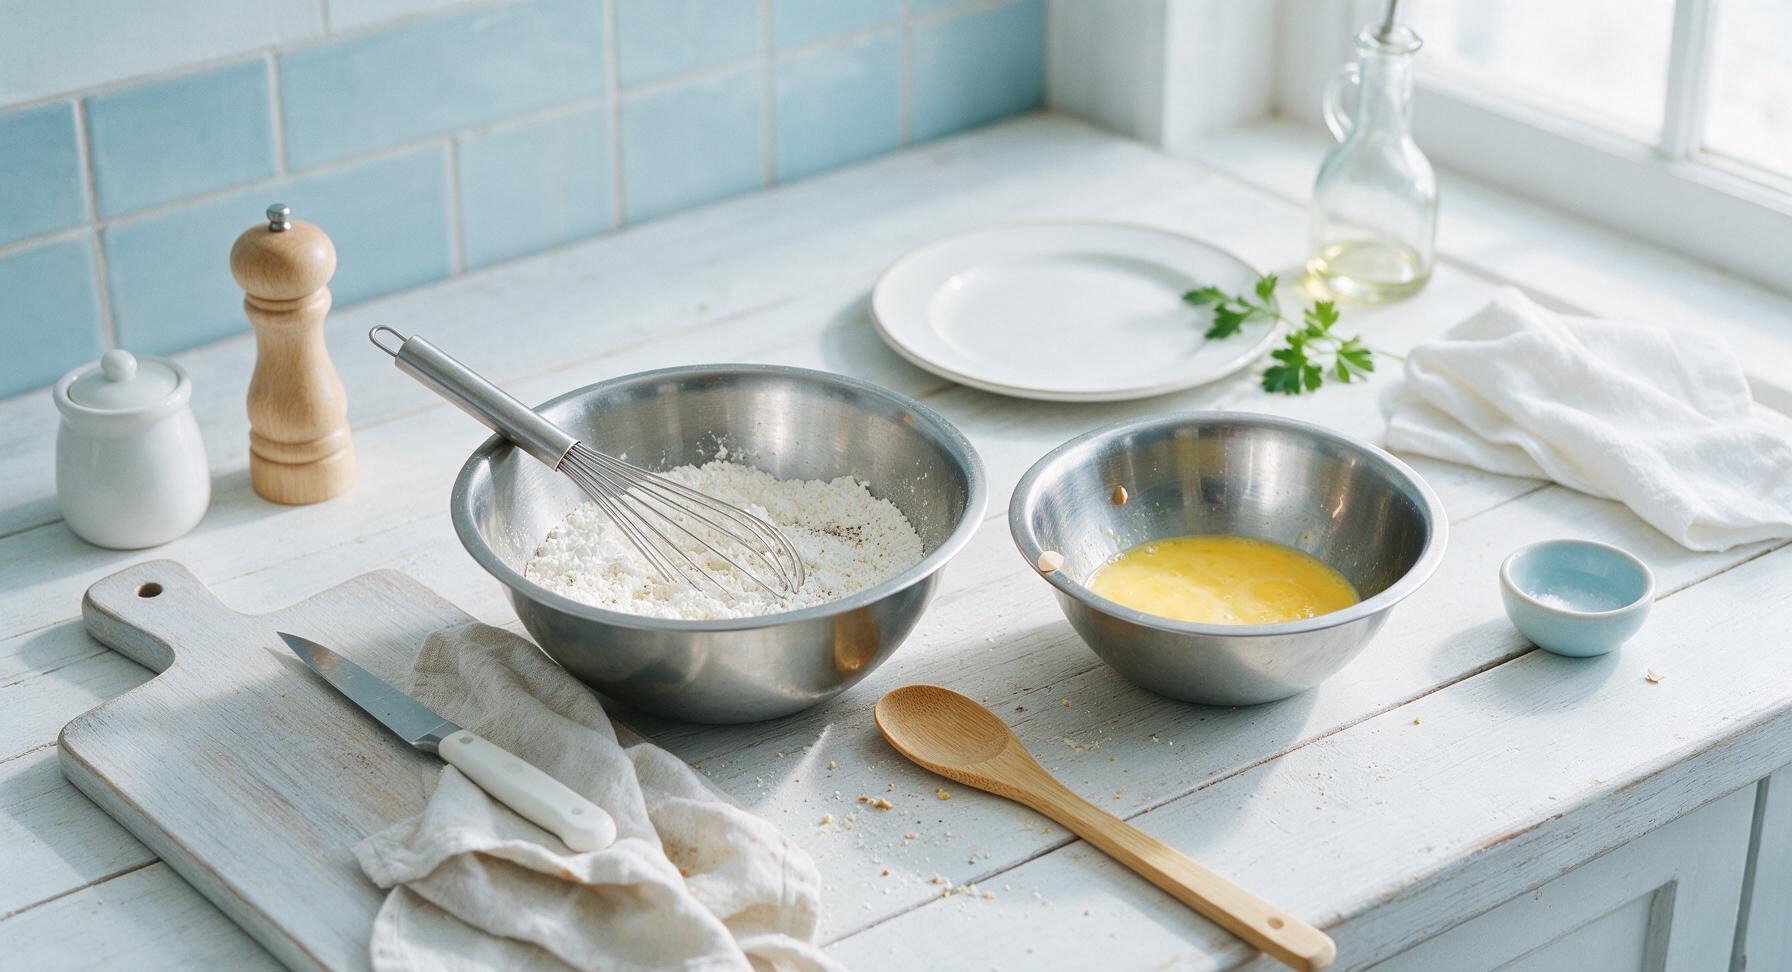
In the 20cm stainless steel mixing bowl, combine ½ cup cornstarch, ¼ cup all-purpose flour, ½ tsp salt, and ¼ tsp black pepper. Whisk briefly with the wire whisk to evenly combine the dry ingredients. In a separate 16cm stainless steel mixing bowl, crack 2 large eggs and beat until smooth with no visible streaks of egg white.
Coat Chicken Evenly
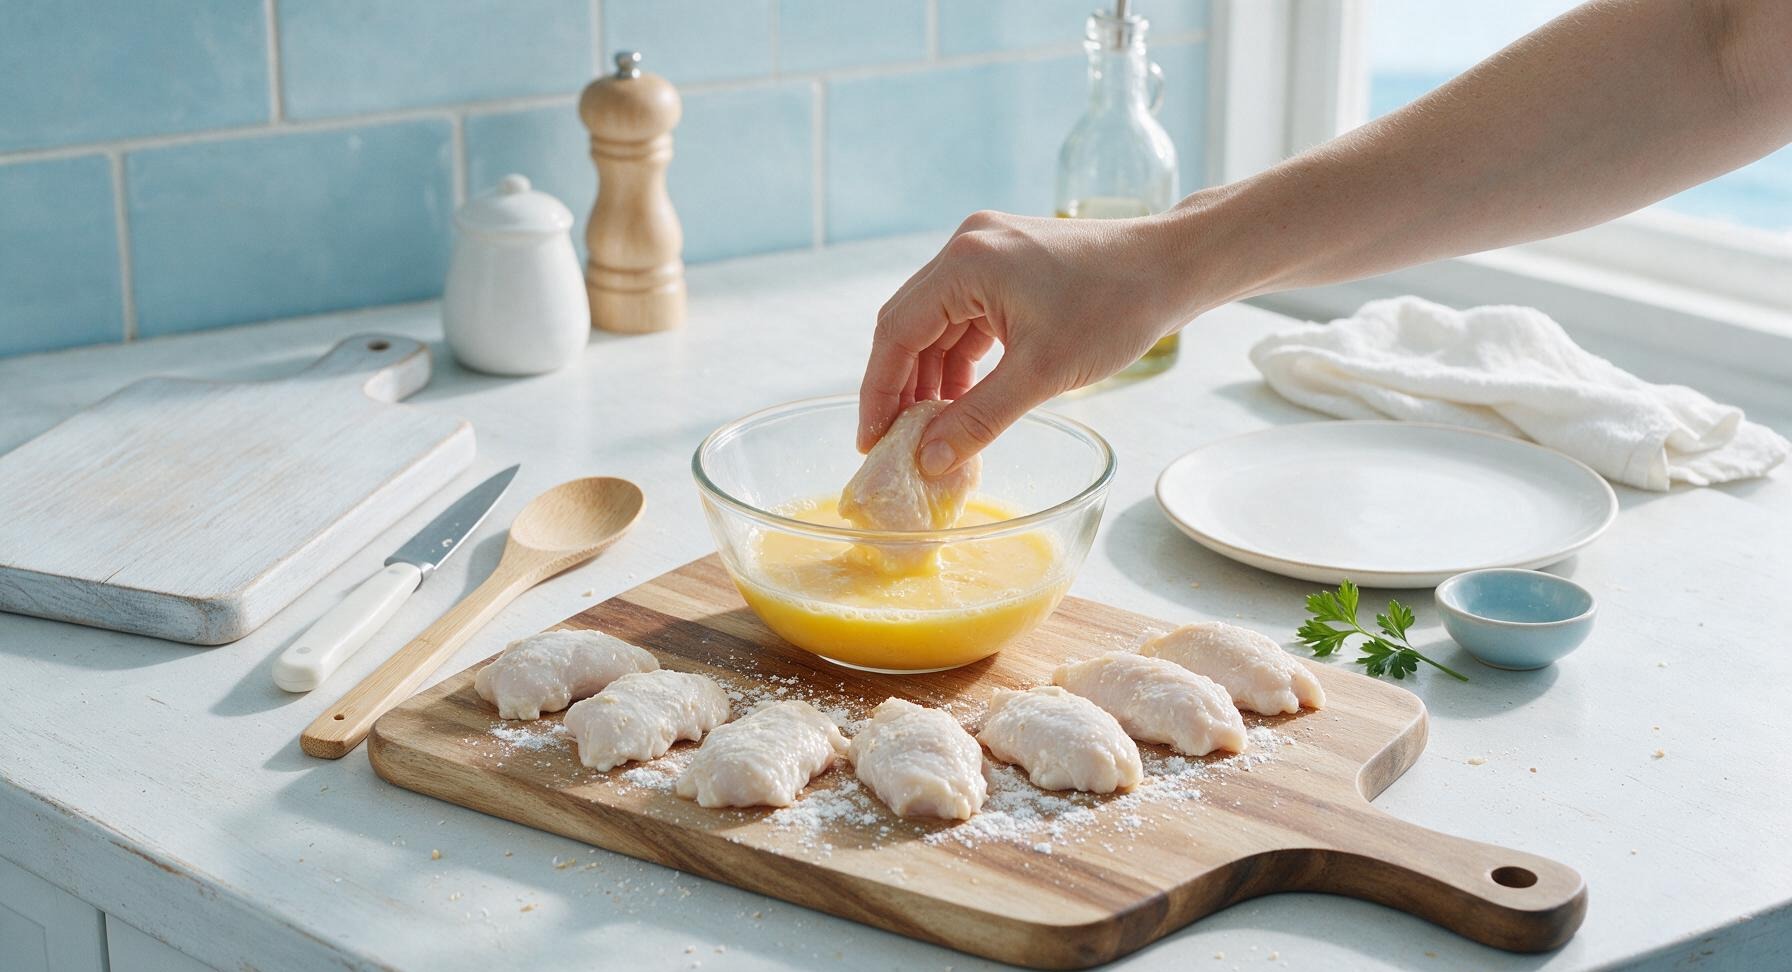
Working in 5-6 piece batches, dip chicken pieces first into the beaten egg, letting excess egg drip off for 2 seconds, then toss in the dry flour-cornstarch mixture until fully coated on all sides. Set coated pieces on a clean corner of the acacia cutting board, and let rest for 5 minutes to allow the coating to adhere—this prevents the breading from falling off during frying.
Mix Honey Sauce
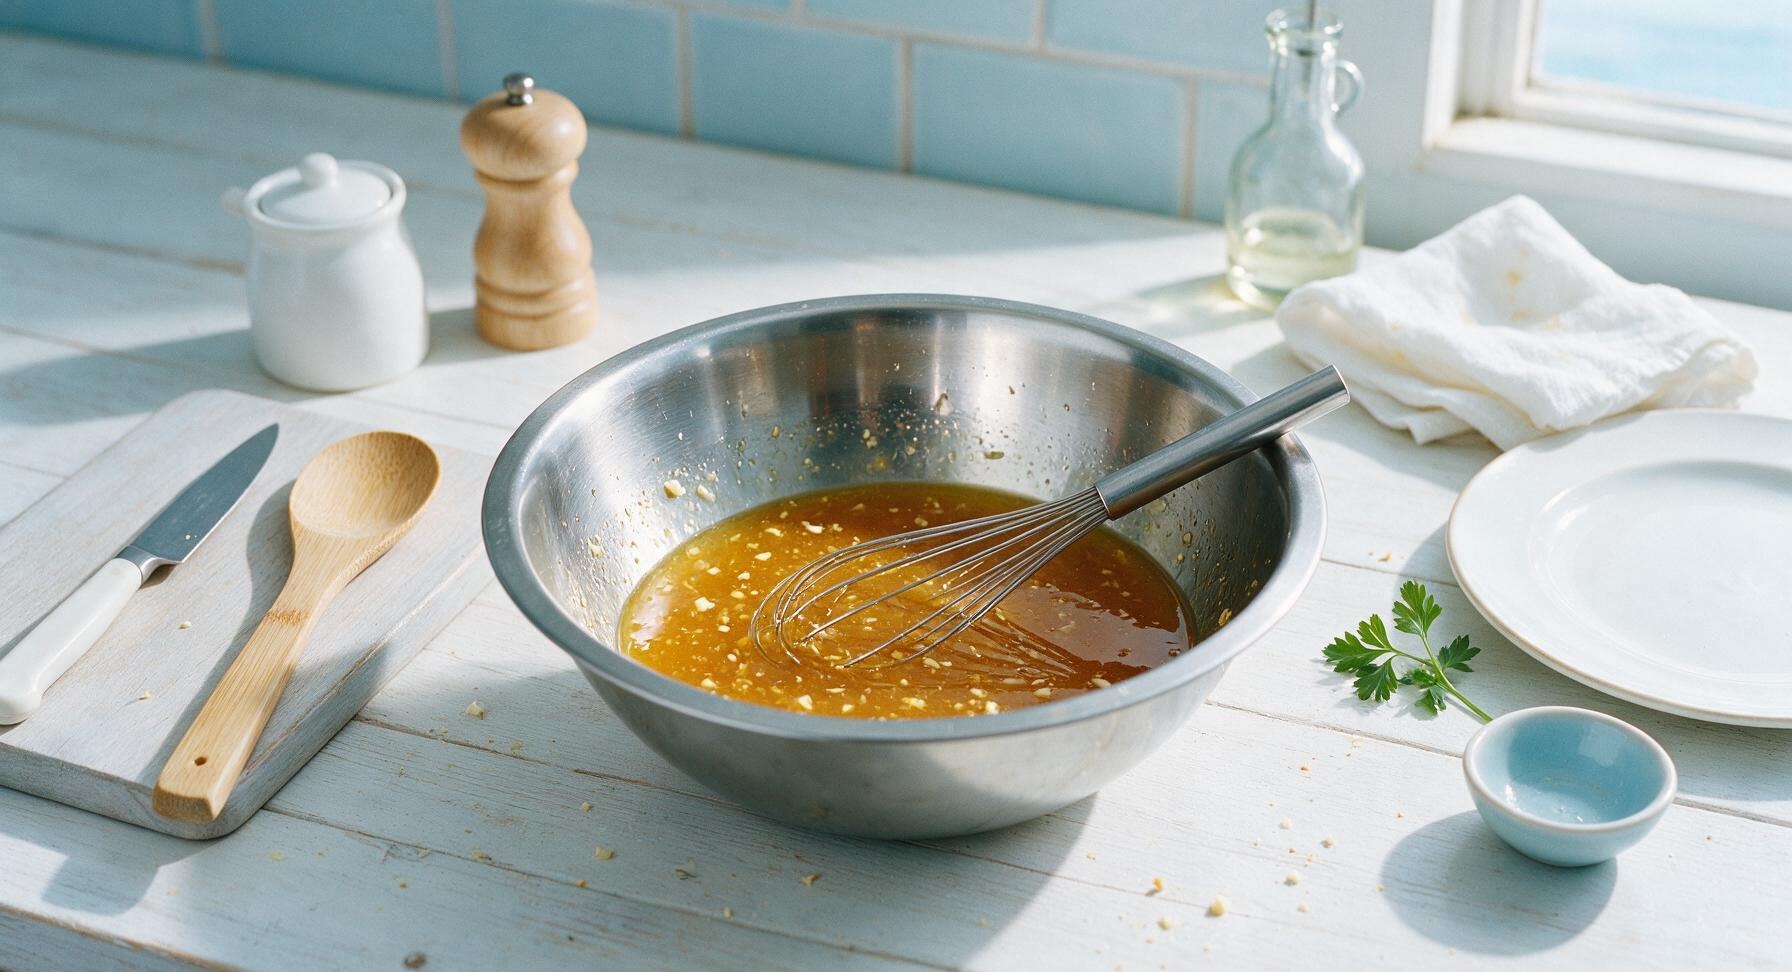
While the coated chicken rests, use the wire whisk to mix the honey sauce in the rinsed 16cm stainless steel mixing bowl: combine ⅓ cup honey, 2 tbsp low-sodium soy sauce, 1 tbsp rice vinegar, 1 tsp toasted sesame oil, 4 minced garlic cloves, and 1 tbsp finely grated fresh ginger. Whisk until completely smooth, with no lumps of honey stuck to the bowl bottom.
Fry Chicken Until Crisp
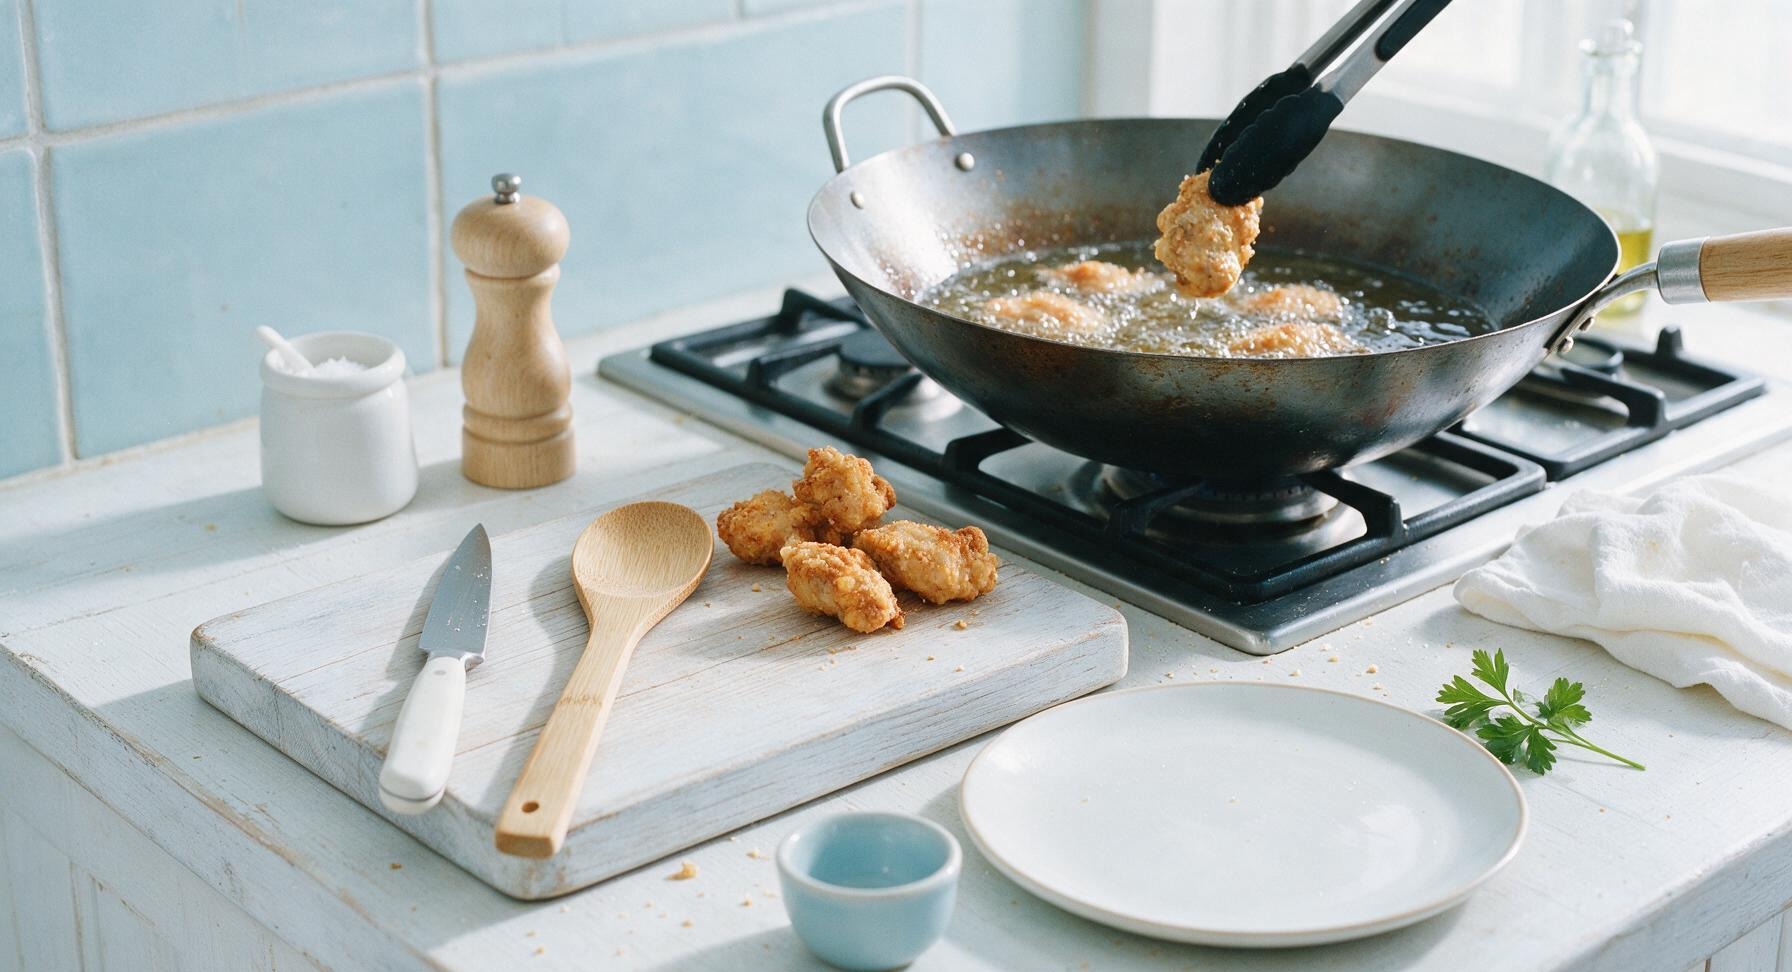
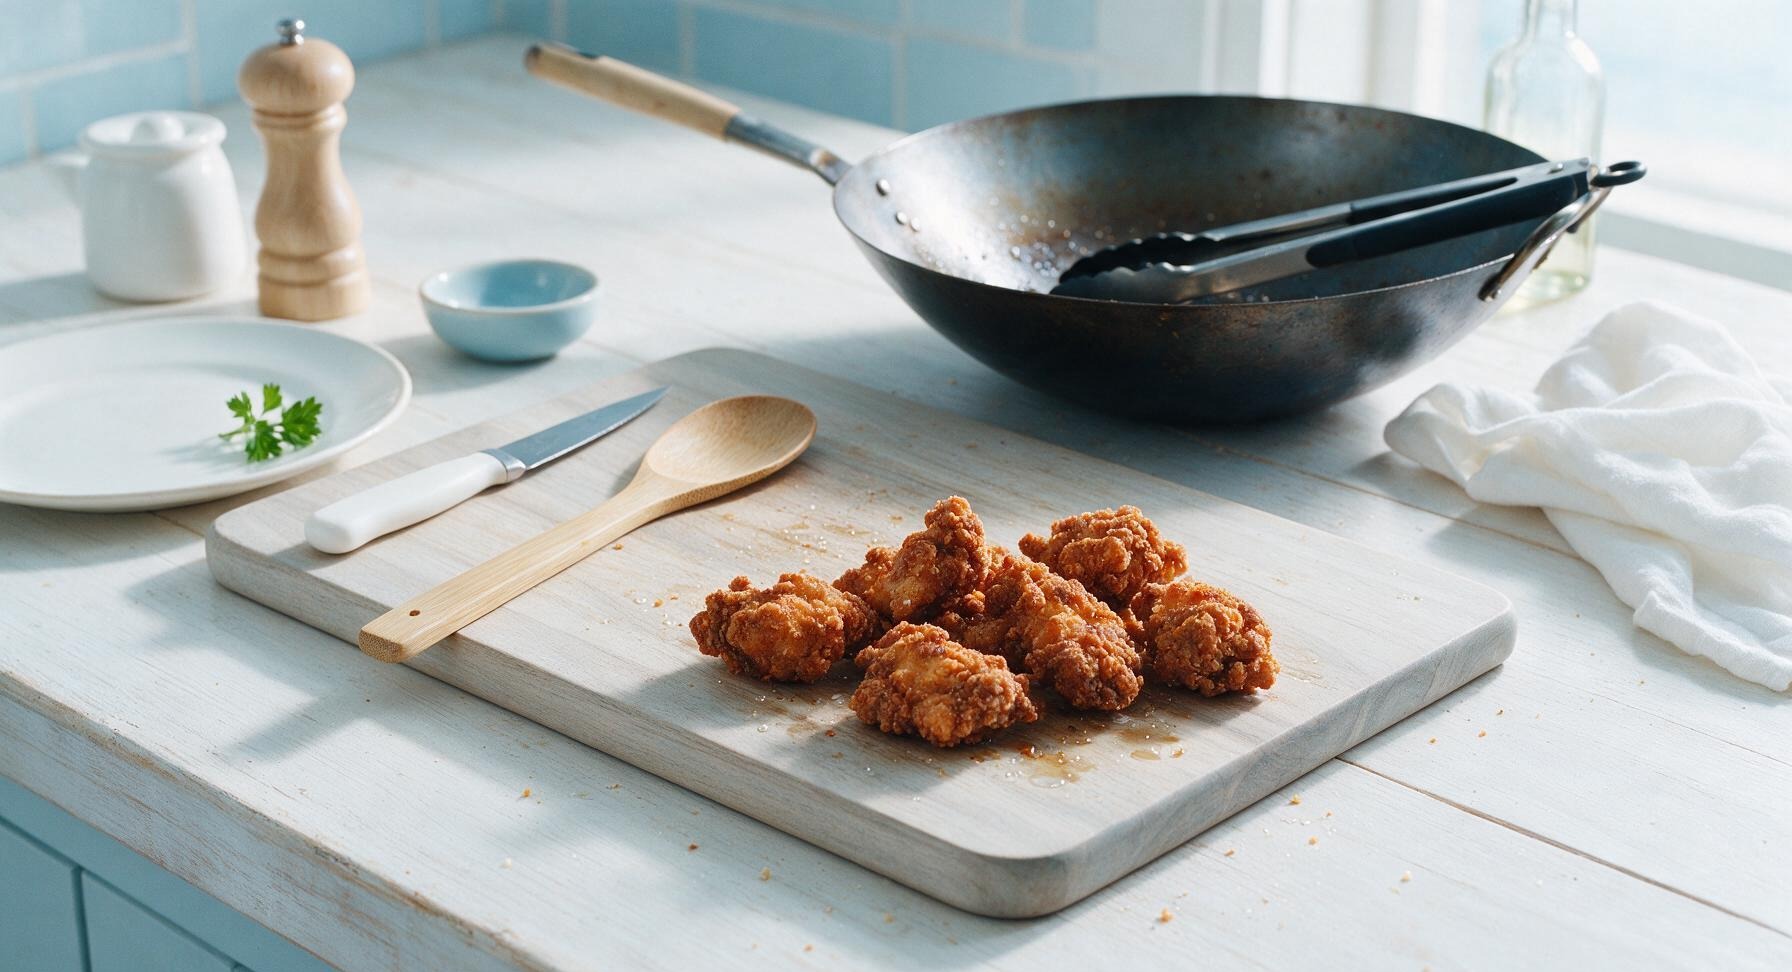
Heat ½ cup neutral canola oil in the 12-inch carbon steel wok over medium-high heat to 175C (350F). Test oil temperature by dropping a tiny pinch of the dry coating into the oil—it should sizzle immediately and rise to the surface. Working in 3 batches to avoid crowding the pan, fry coated chicken pieces for 4-5 minutes per batch, turning once with the black-handled tongs, until deep golden brown and crispy all over, with an internal temperature of 75C (165F). Transfer fried pieces to the clean edge of the acacia cutting board to drain for 1 minute between batches.
Simmer Honey Sauce
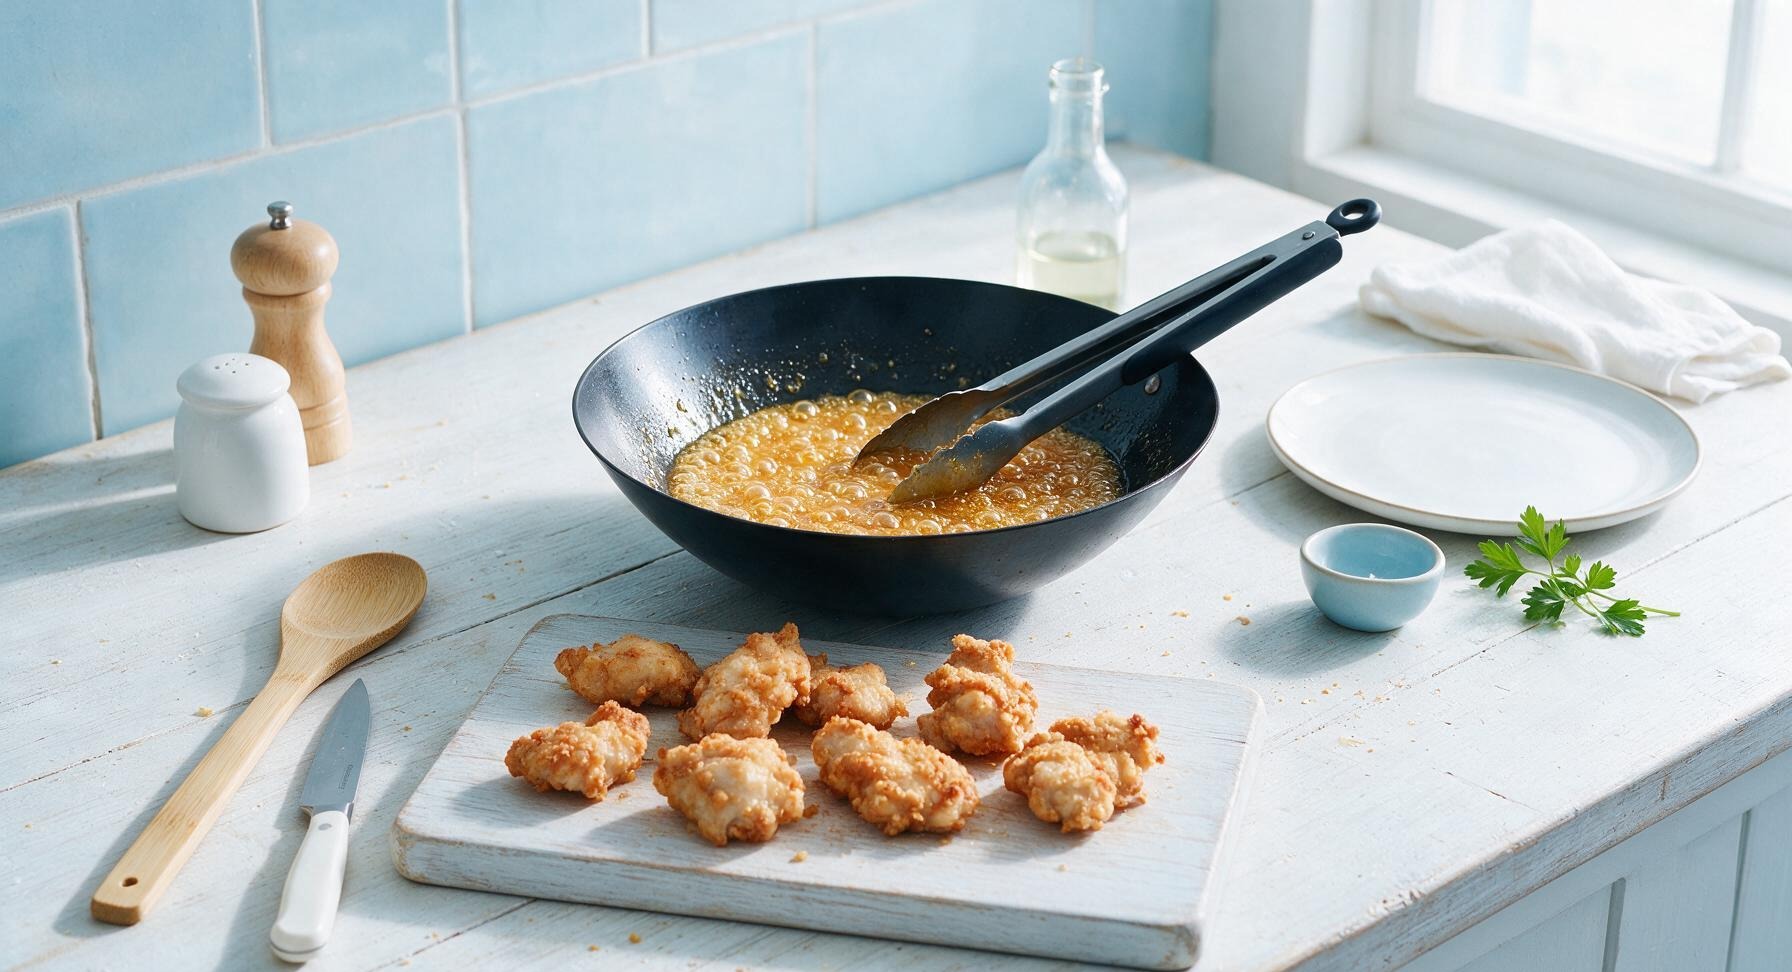
Carefully pour off all but 1 teaspoon of excess oil from the wok, leaving the browned crispy bits at the bottom. Turn heat to medium, pour the pre-mixed honey sauce into the wok, and simmer for 1-2 minutes, stirring constantly with the tongs, until the sauce bubbles and thickens to a syrupy consistency that coats the back of a spoon.
Toss Chicken In Sauce
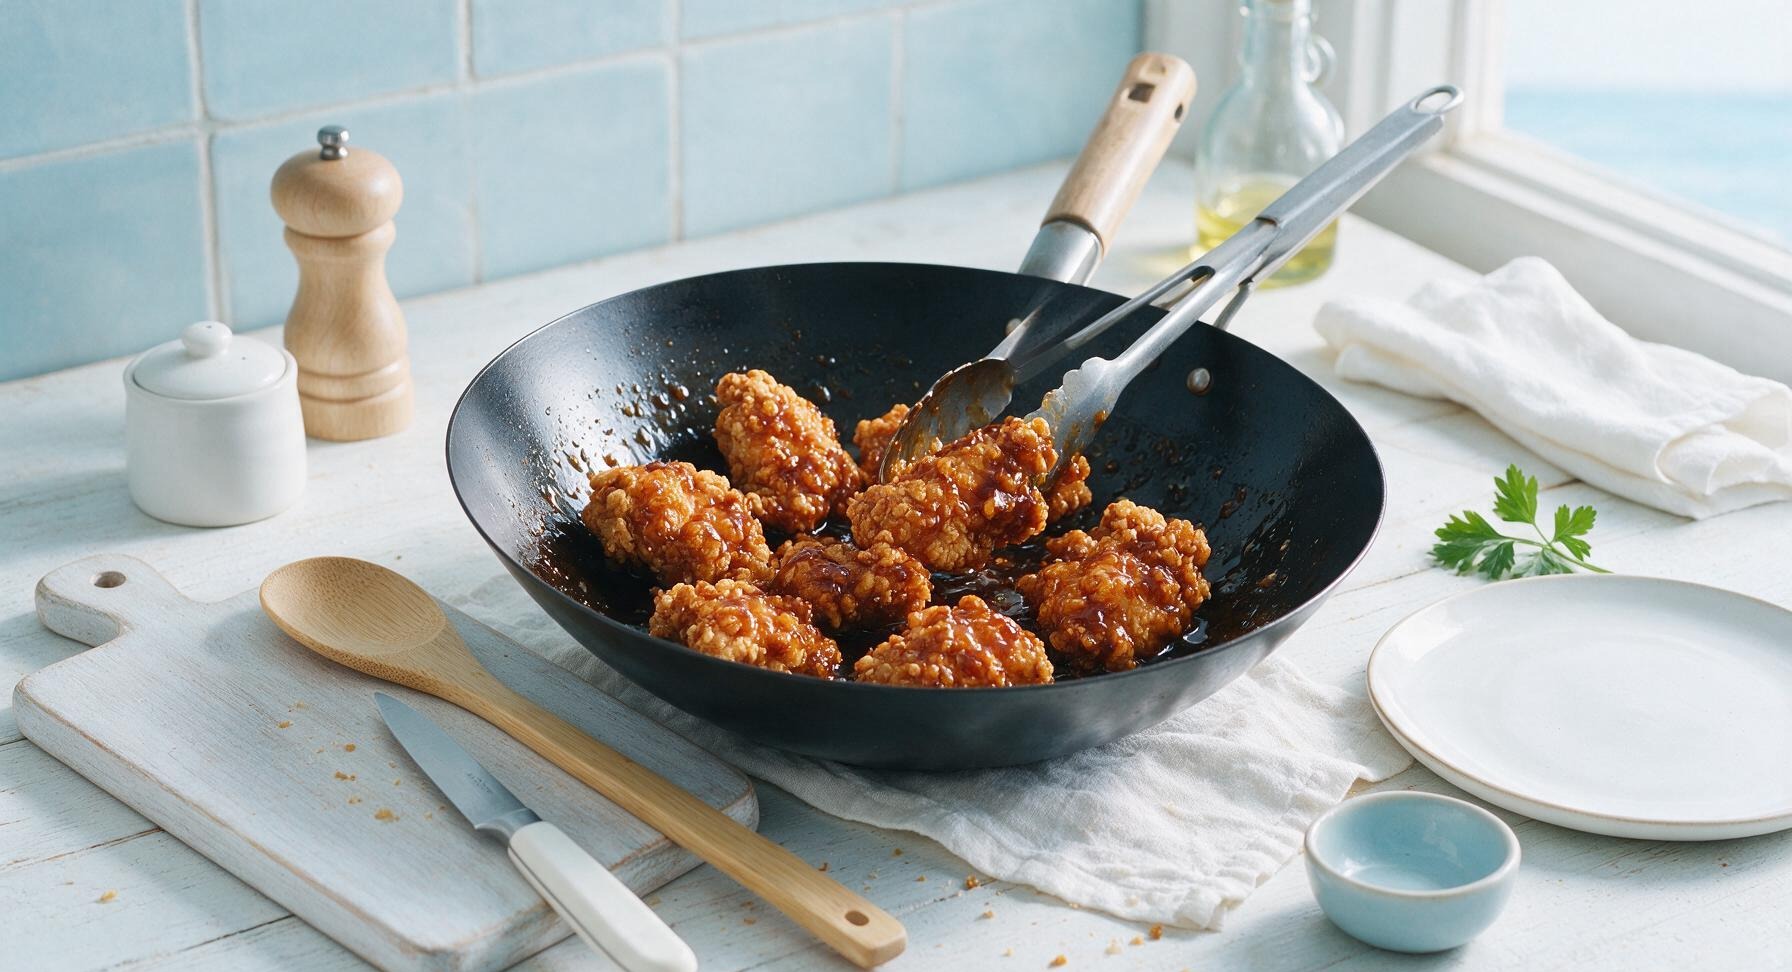
Add all the fried crispy chicken pieces back into the wok with the thickened sauce. Toss continuously for 30-45 seconds, using the tongs to turn every piece until fully coated in the glossy sauce, taking care not to scrape off the crispy coating. Turn off heat immediately once all pieces are coated—overcooking will make the coating soggy.
Garnish And Serve
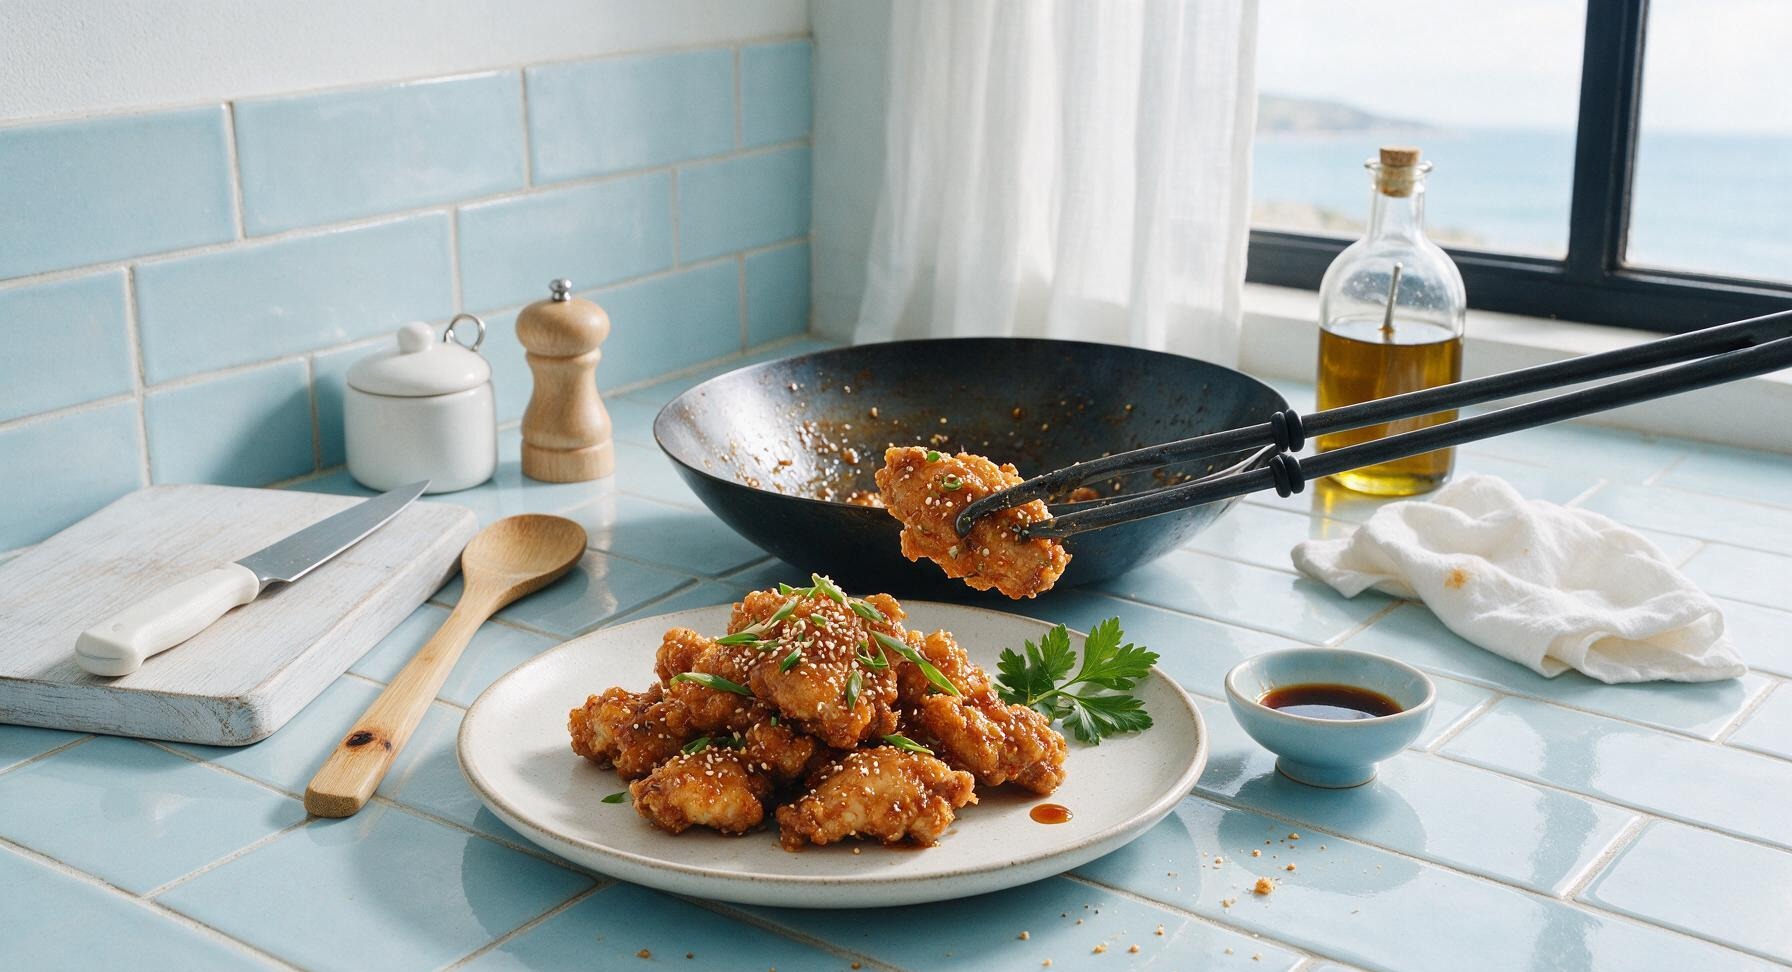
Transfer the sauced honey chicken to the waiting off-white stoneware dinner plate. Sprinkle the top with 1 tsp toasted white sesame seeds and thin slices of green scallion tops for color and fresh flavor. Serve immediately while the coating is still crisp, alongside steamed white rice if desired.
Tips
2.Let coated chicken rest for 5 minutes before frying: This short rest allows the egg and starch coating to hydrate and form a tight, adhesive layer, so the breading does not fall off into the oil or slide off the chicken when tossed in sauce.
3.Never crowd the wok when frying: Adding too many chicken pieces at once drops the oil temperature rapidly, leading to soggy, oil-soaked coating instead of a light, shatteringly crisp crust. Fry in 3 small batches, letting the oil return to 175C (350F) between batches for the best texture.






OMG this honey chicken is a total game changer!! I made it for my family dinner last night and even my super picky 7 year old asked for seconds. The crispiness held up even after tossing in the sauce, no soggy chicken at all? Total win.
SO good, I made a big batch on Sunday for meal prep and it reheated perfectly in the air fryer all week! 20 minute cook time is no joke, I had the whole thing done faster than it takes to get takeout from our local Chinese place.
Brought this to my neighborhood potluck last weekend and people were asking me for the recipe before I even set the platter down! The balance of sweet and a little salty is chef's kiss, I added a pinch of red pepper flakes for a tiny kick and it was perfect.
Wait this is so easy? I'm a total beginner who burns toast half the time and I pulled this off without a single issue. The only thing I had to run to the store for was honey, everything else was already in my pantry.
Made this with the honey from my backyard beehives and oh my gosh, it was next level. My husband said it's better than the takeout we used to get when we were dating, lmao. Only note: I doubled the sauce because we love extra to drizzle over rice.
Made this for my watch party last Sunday for the football game and it was gone in 10 minutes flat. People thought I ordered catering lmao. The sticky sauce doesn't make a mess either, which was perfect for eating in front of the TV.
Swapped the regular soy sauce for tamari to make this gluten free and it came out perfect! No weird texture, no off flavor, my whole family (none of whom are gluten free) devoured it. Will be adding this to our weekly rotation for sure.
Wait has anyone made this in the air fryer instead of pan frying? I'm trying to cut down on oil use but I'm scared I'll lose that crisp factor the recipe talks about.
20 minute cook time my ENTIRE LIFE. I have three kids under 6 and zero time for elaborate weeknight meals, and this came together so fast I even had time to throw a side of roasted veggies on the plate before they started asking when dinner was ready. 10/10.
Added a whole tablespoon of sriracha to the sauce because I love that sweet heat, and it was insane. Next time I might even toss in some toasted sesame seeds and green onions for garnish to make it look fancy for when my in-laws come to visit.
Wait I messed up the first batch because I had my heat too low and the chicken got oily, but I cranked it up for the second batch and it was PERFECT. Don't be like me, make sure your oil is hot before you drop the chicken in!
Made this for my office potluck today and already sent the recipe link to three of my coworkers. The sticky honey coating doesn't get all gummy when it sits out for a couple hours, which makes it ideal for bringing to events.
Wait the leftovers? I ate them cold straight out of the container last night when I got home from the bar and it was still so good. No sad soggy chicken, even cold. That's how you know a recipe slaps.