
honey garlic chicken

title 1
honey garlic chicken
⏱️ cook time 15 minutes
🍽️ servings 4
⚡ Difficulty easy

intro

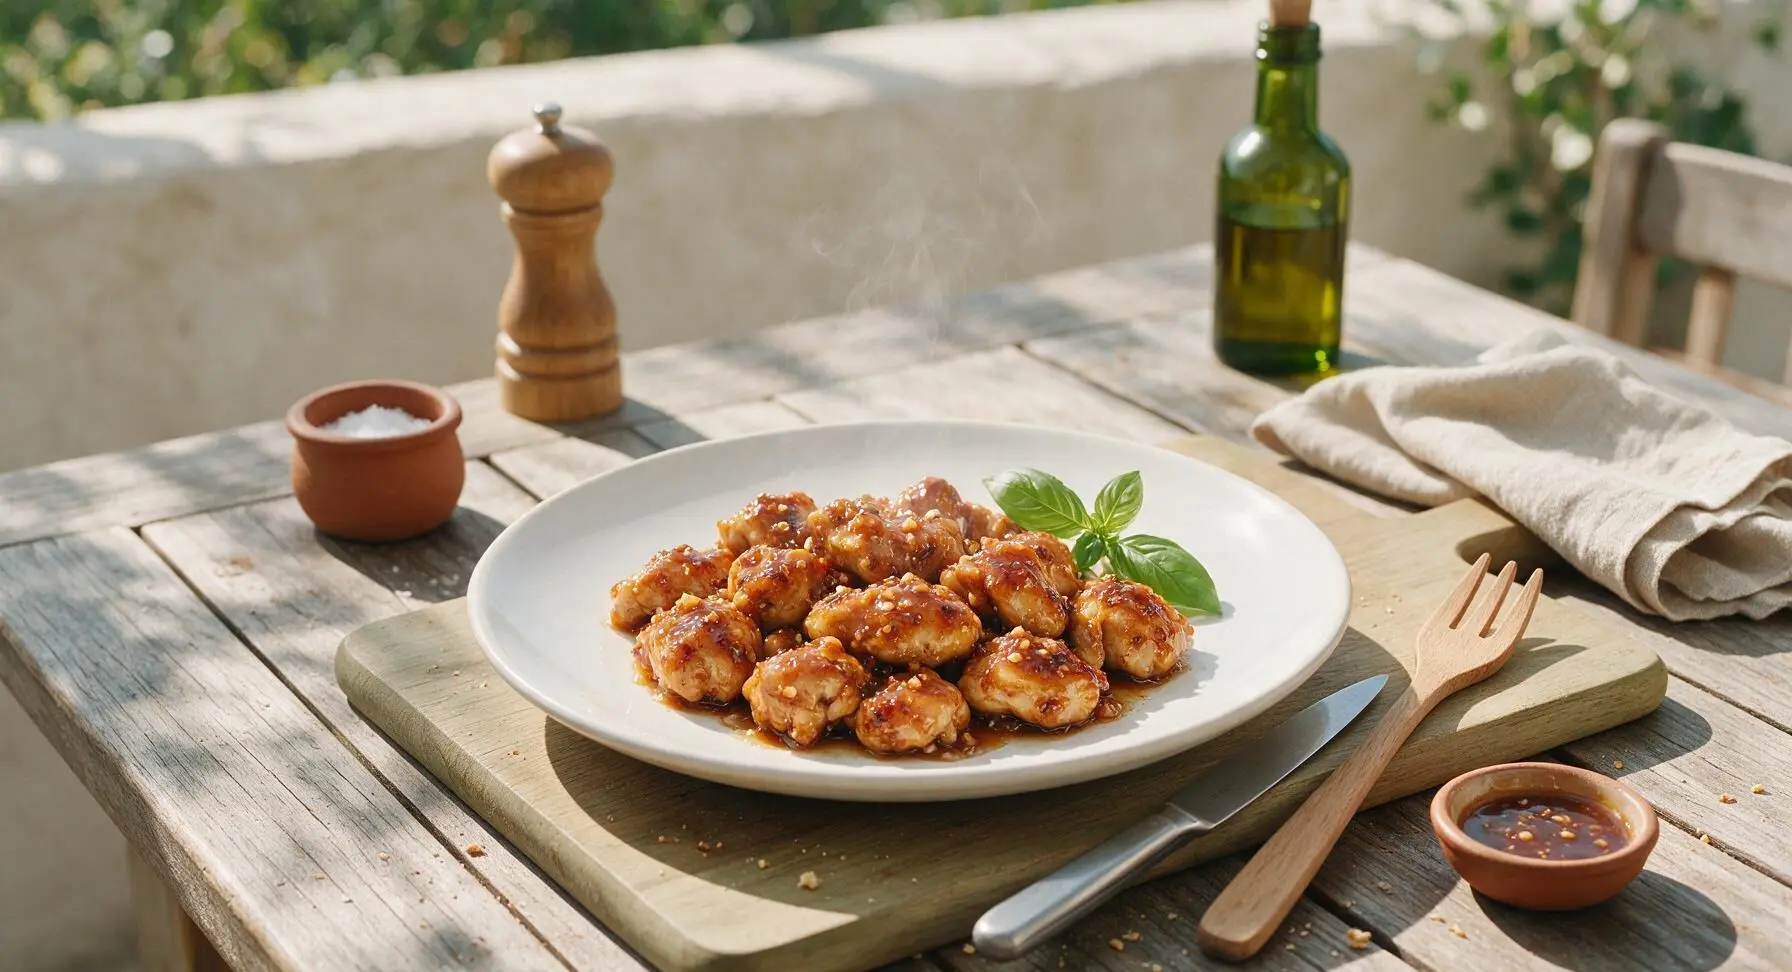
Sticky, glossy honey garlic chicken with crisp-tender, juicy bites coated in a sweet-savory garlic glaze, perfect for serving over rice for a fast, satisfying weeknight meal.

Ingredients
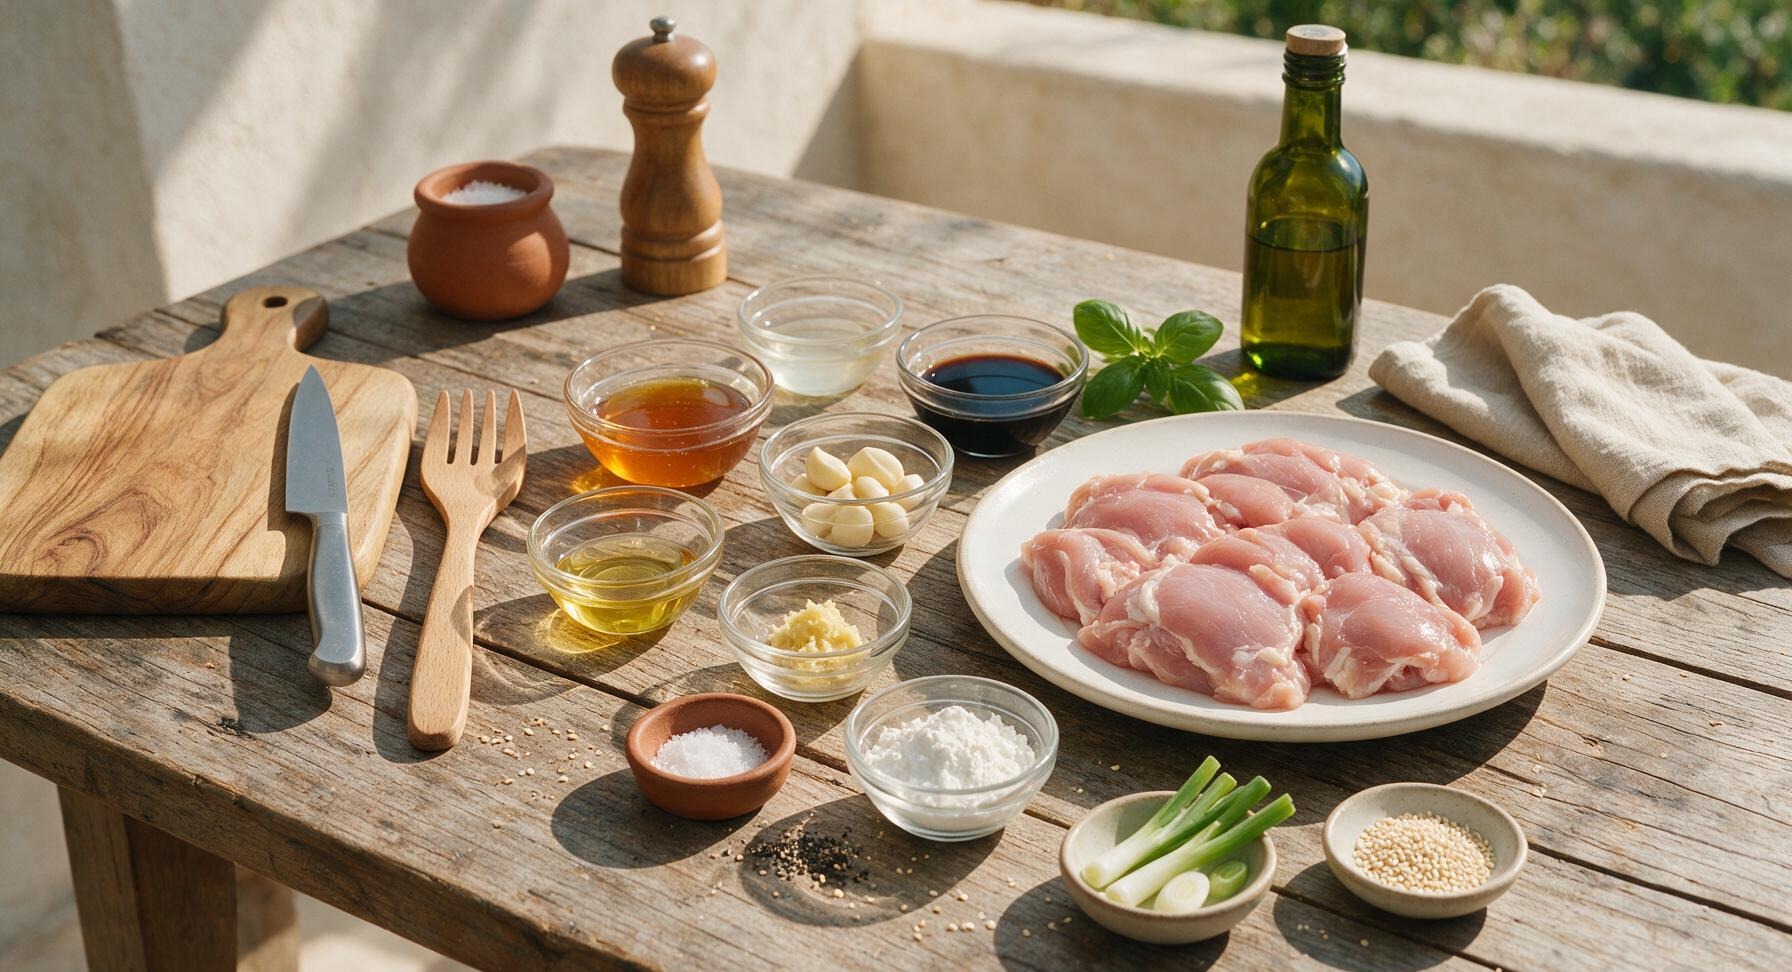
Boneless skinless chicken thighs 600g
Raw honey 80ml (1/3 cup)
Low-sodium soy sauce 60ml (1/4 cup)
Garlic cloves 8 cloves (25g, minced)
Fresh ginger 1 tsp (5g, grated)
Unseasoned rice vinegar 2 tbsp (30ml)
Cornstarch 2 tbsp (16g)
Toasted sesame oil 1 tsp (5ml)
Neutral canola oil 1 tbsp (15ml)
Fresh scallions 3 stalks (sliced, green/white parts separated)
Toasted white sesame seeds 1 tsp (3g)
Kosher salt 1/4 tsp
Freshly ground black pepper 1/4 tsp

Steps

1

Prep Chicken Bites

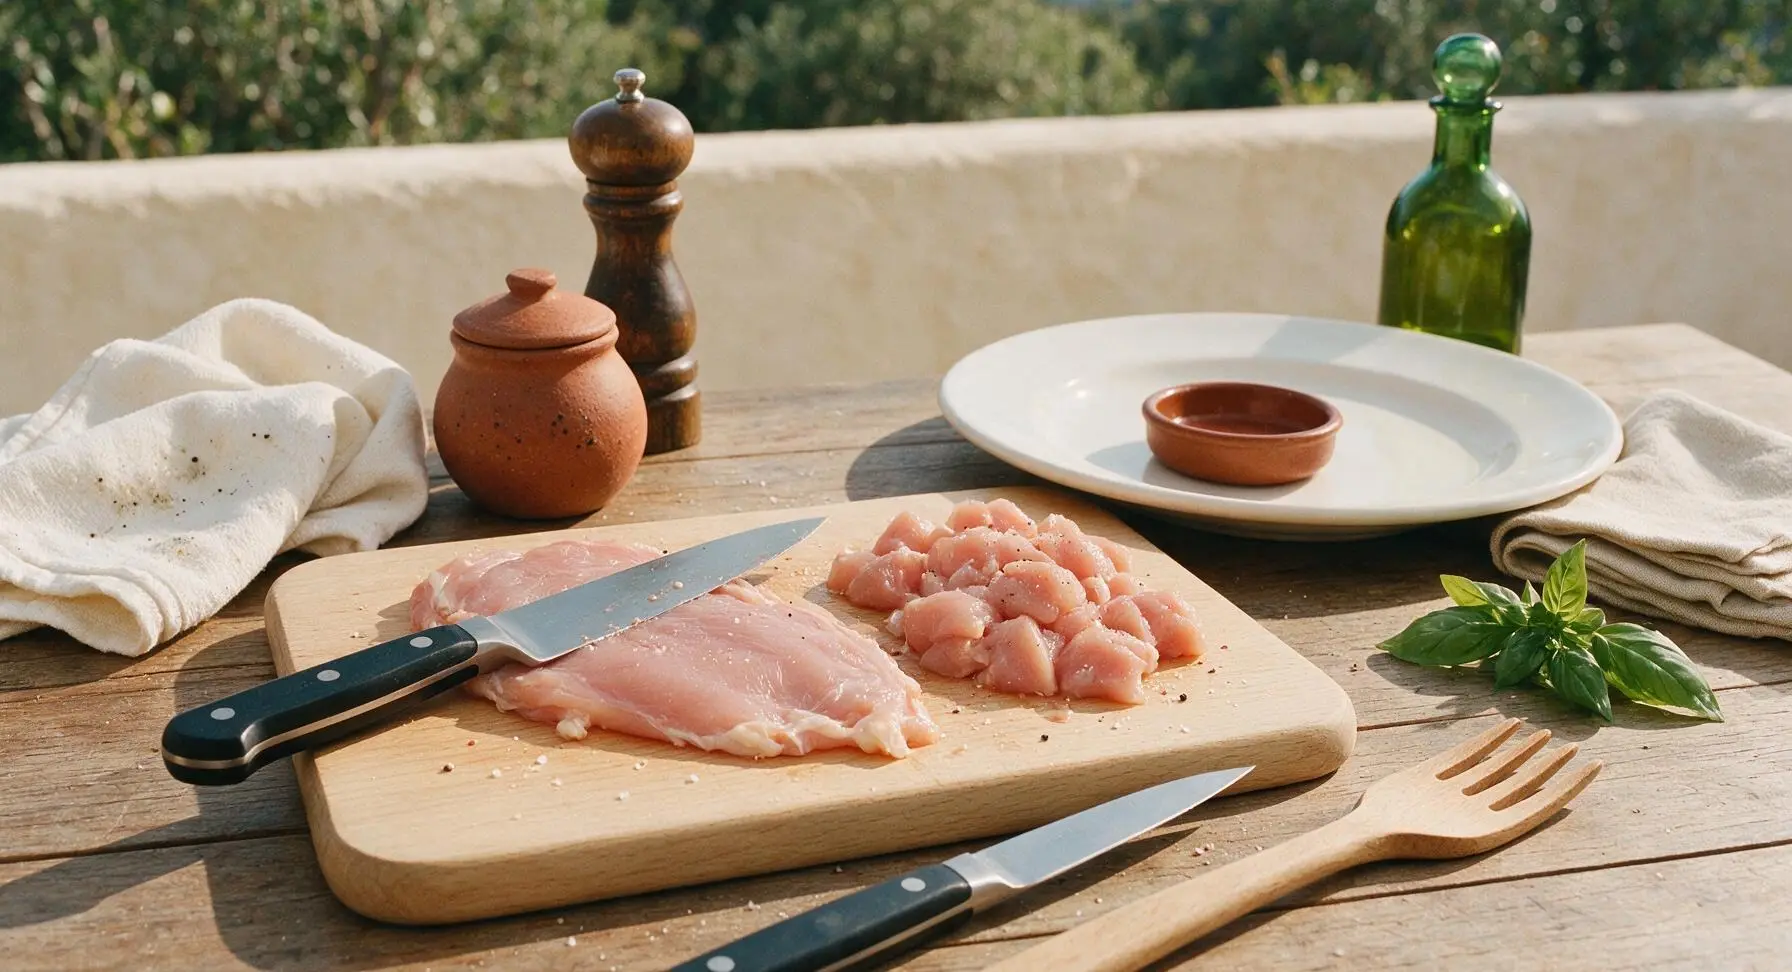
Place 600g boneless, skinless chicken thighs on the light maple cutting board. Pat completely dry with a corner of the folded ivory tea towel. Use the 8-inch chef knife to trim any tough silver skin or excess hard fat, then cut the chicken into uniform 2.5cm (1-inch) bite-sized pieces. Toss the pieces with 1/4 tsp kosher salt and 1/4 tsp freshly ground black pepper to season evenly. Uniform cuts ensure every piece cooks at the same rate and holds sauce well.
Step 1
step1:Prep Chicken Bites
2

Whisk Sauce Ingredients

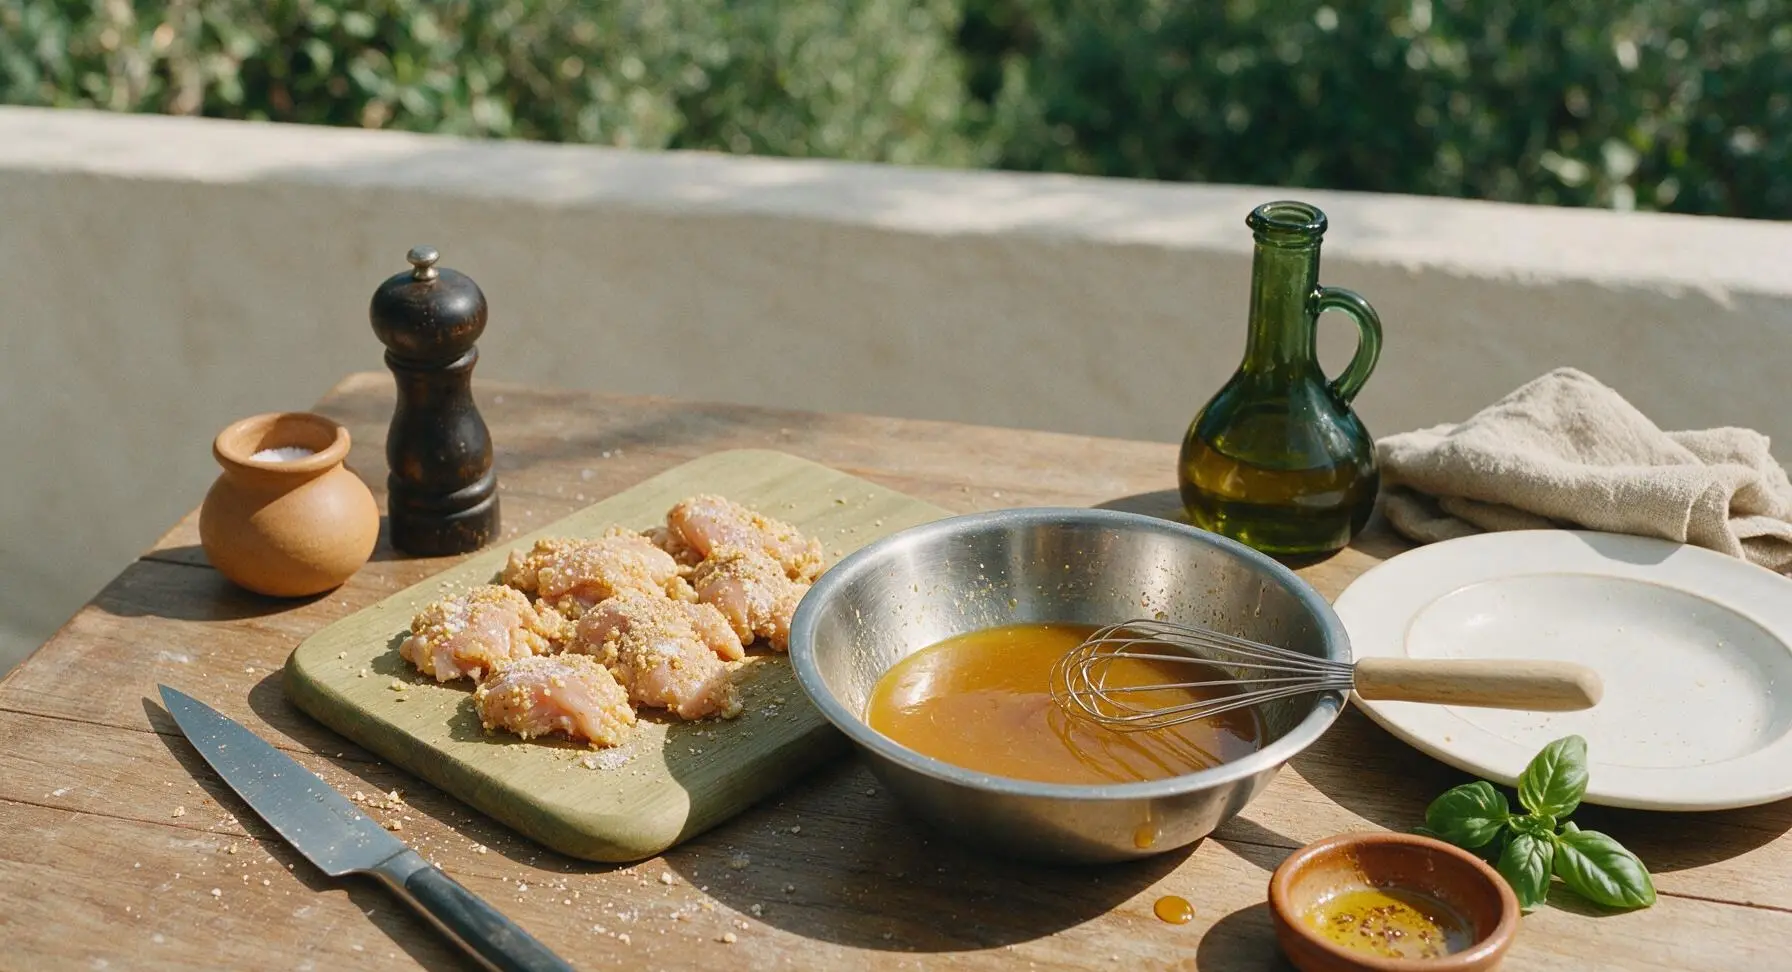
In the small brushed stainless steel mixing bowl, combine 80ml honey, 60ml low-sodium soy sauce, 30ml rice vinegar, 1 tsp grated fresh ginger, 4 of the minced garlic cloves (reserve the remaining 4 for cooking), 1 tsp toasted sesame oil, and 1 tbsp cornstarch. Whisk until completely smooth, with no visible cornstarch lumps remaining. Set the bowl aside within arm’s reach of the stovetop—this sauce comes together fast once cooking starts.
Step 2
step2:Whisk Sauce Ingredients
3

Toss Chicken with Cornstarch

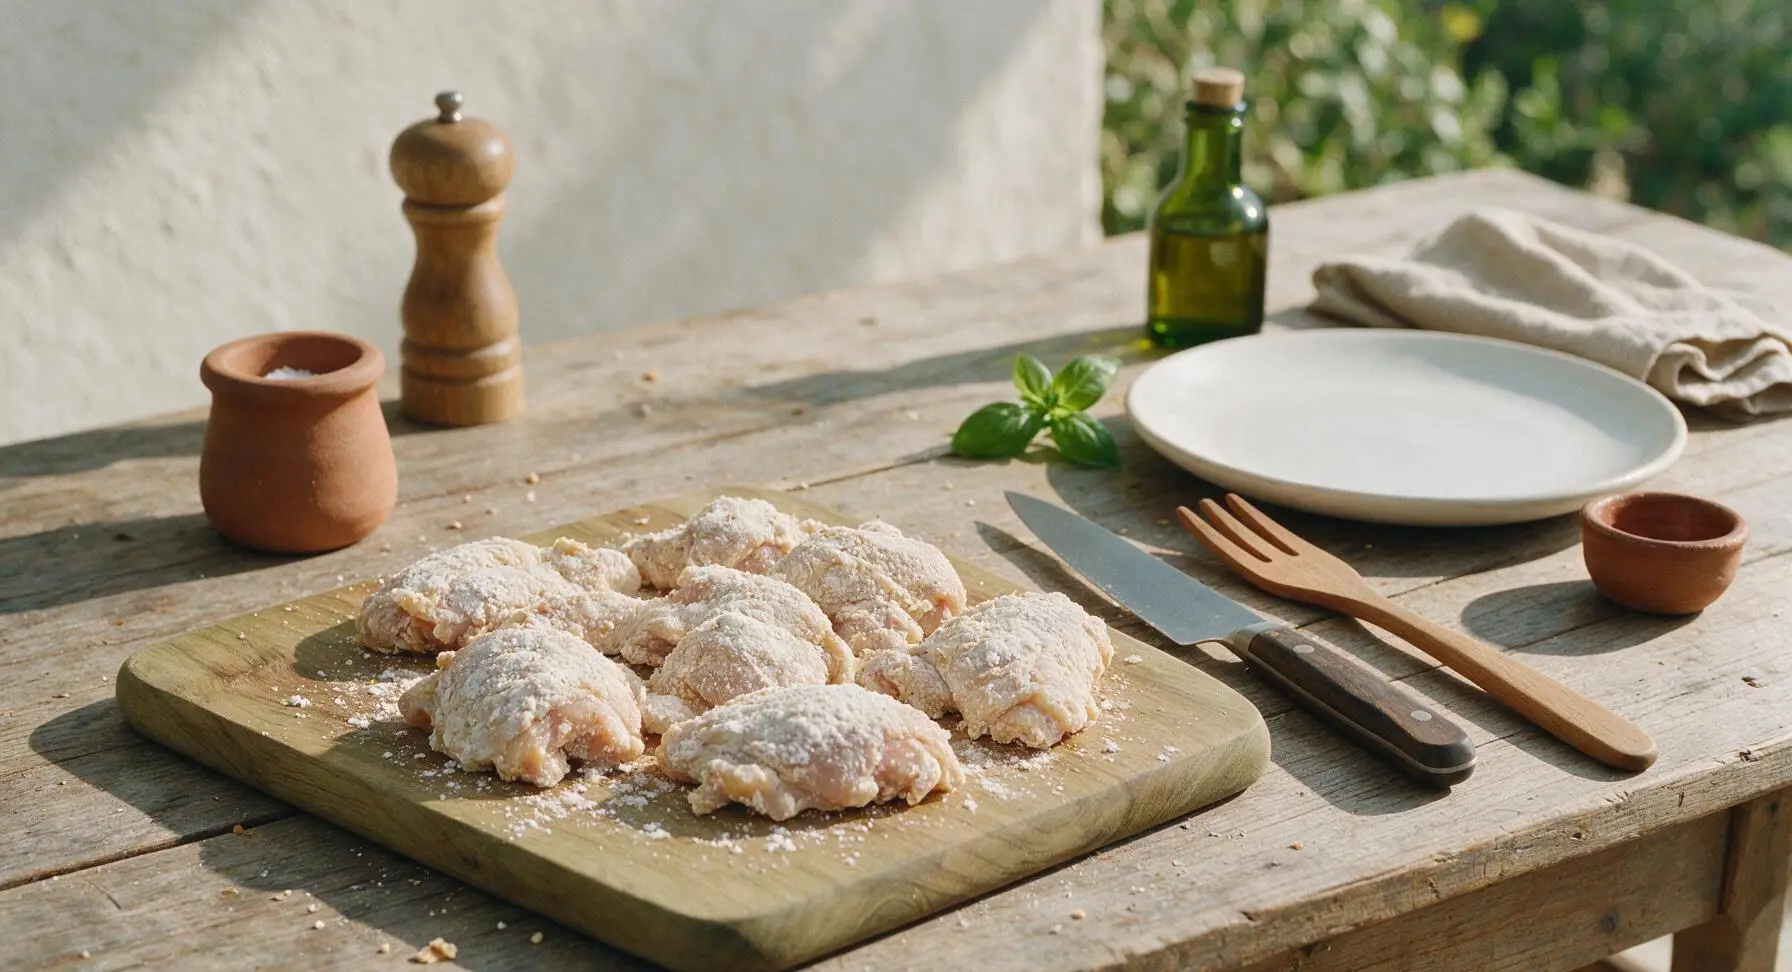
Sprinkle the remaining 1 tbsp cornstarch over the seasoned chicken bites on the cutting board. Toss thoroughly until every piece is lightly and evenly coated in a thin dusting of cornstarch. Shake off any excess cornstarch before cooking—this light coating creates a delicate, crisp exterior that grabs onto the sticky sauce without getting gummy.
Step 3
step3:Toss Chicken with Cornstarch
4

Sear Chicken to Crisp

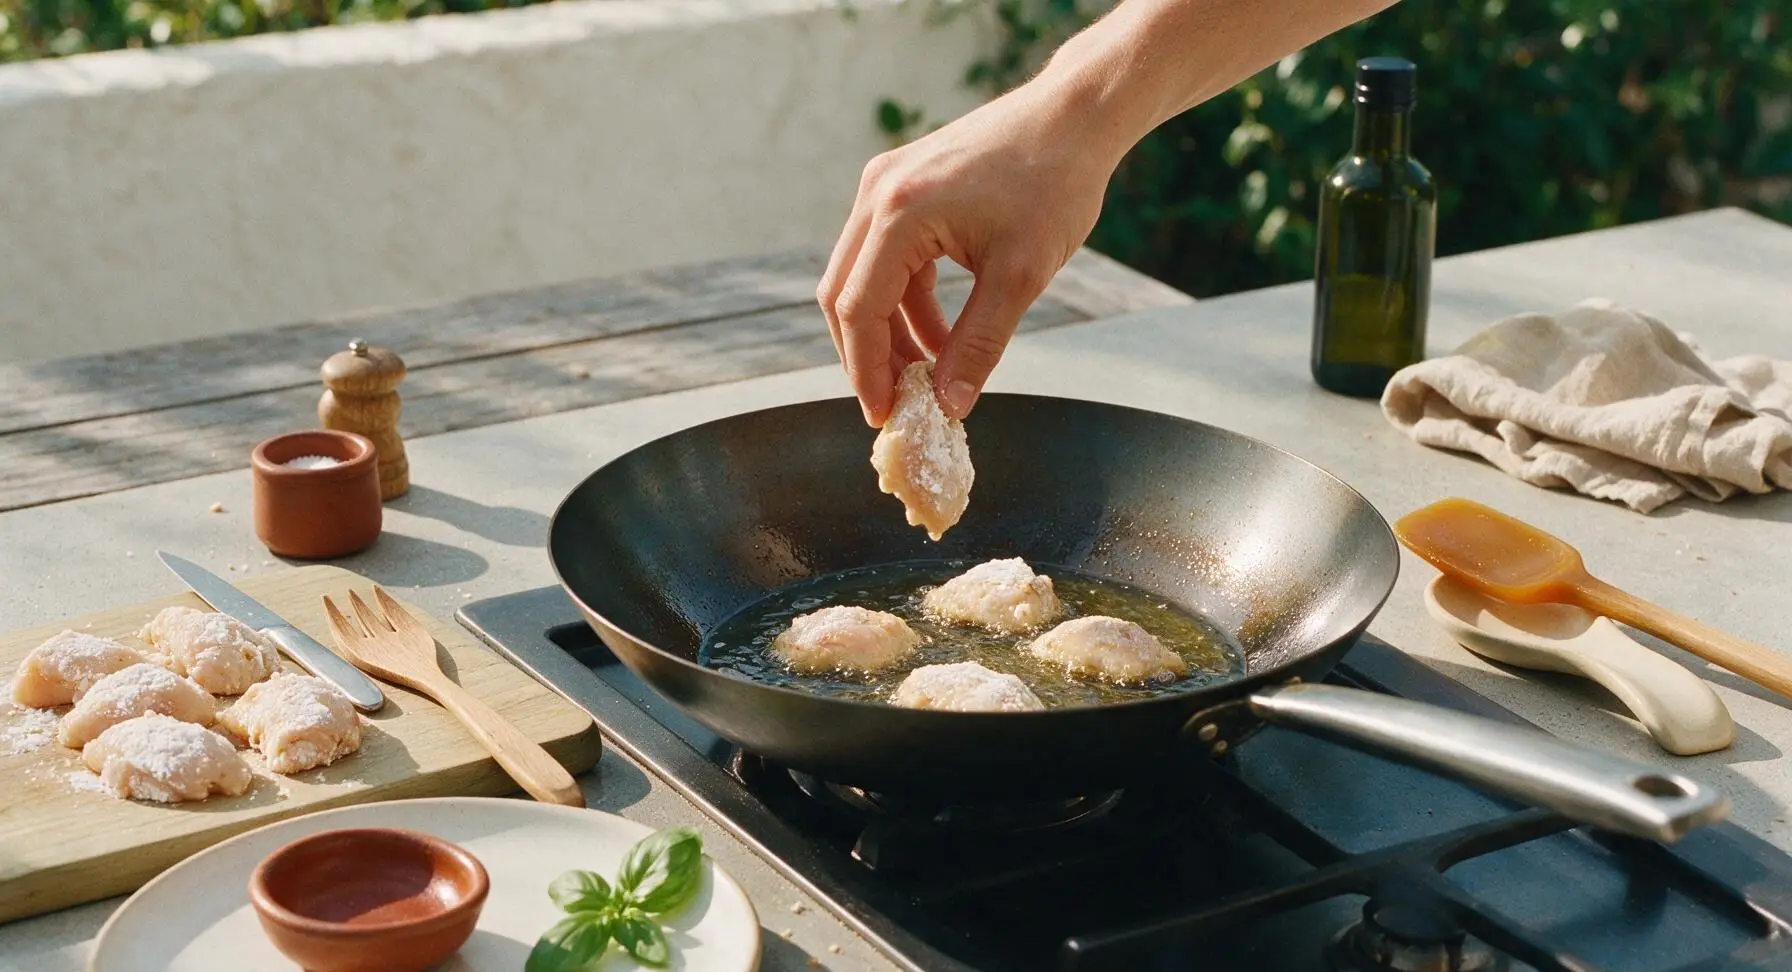
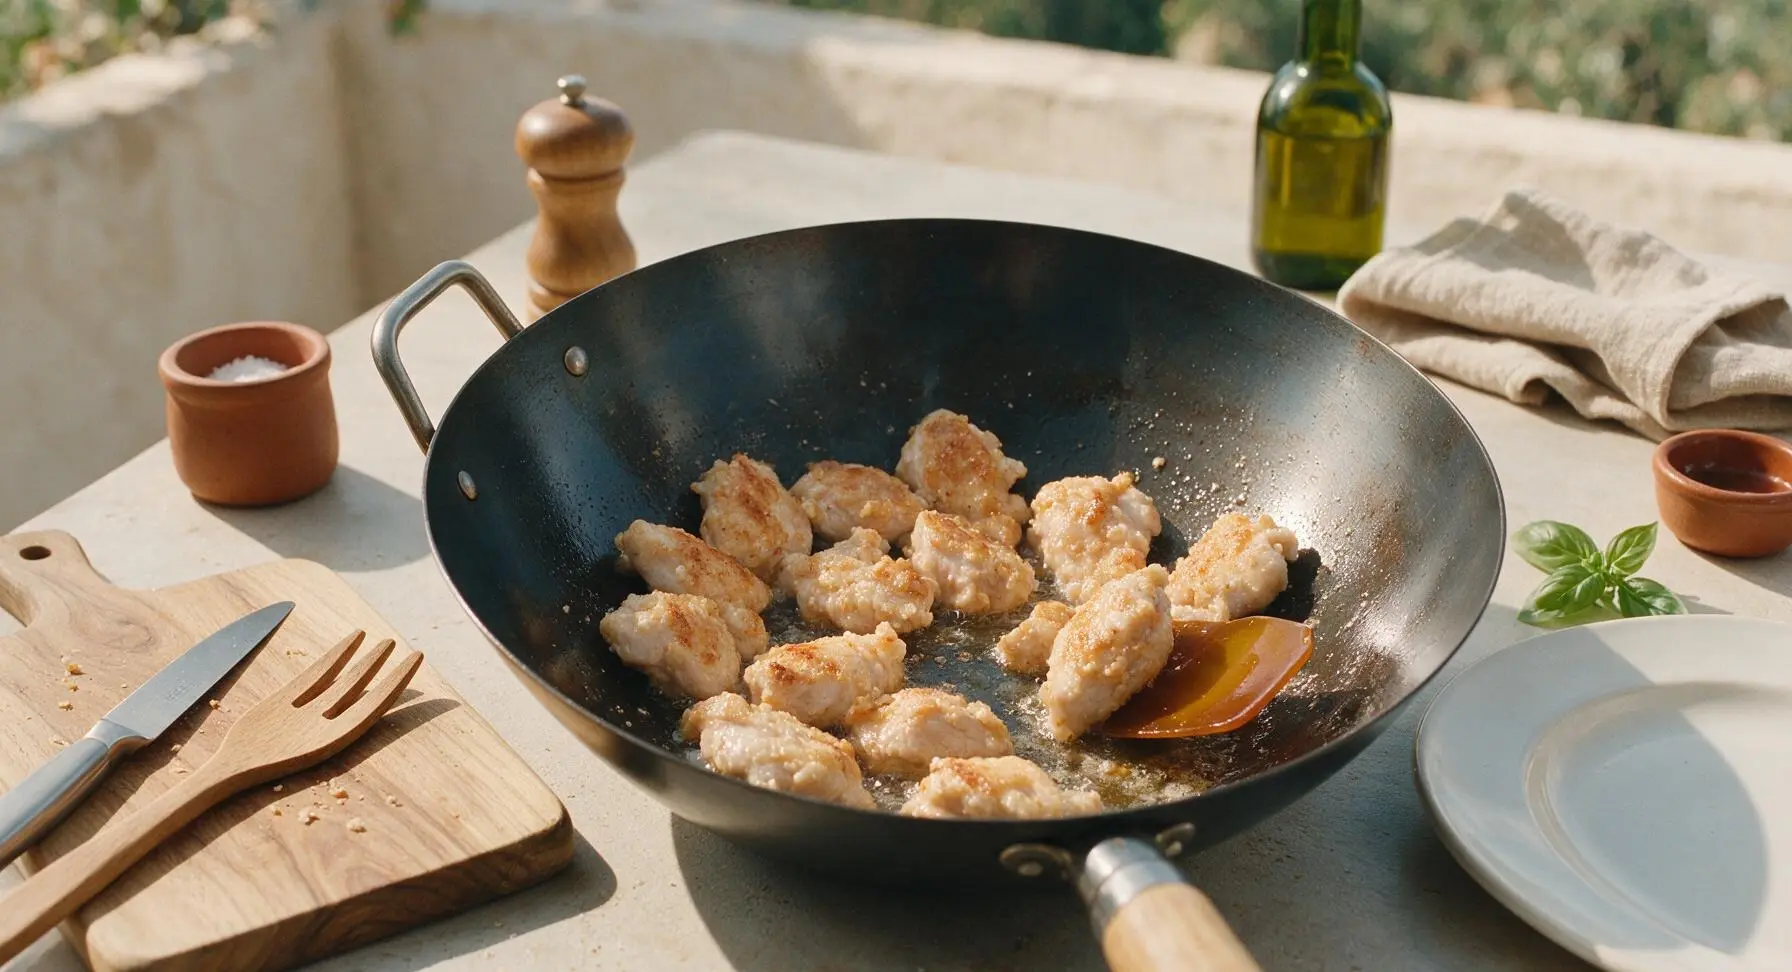
Heat 1 tbsp neutral canola oil in the 10-inch carbon steel wok over medium-high heat until the oil shimmers (about 1 minute, surface temperature ~190C/375F). Add the cornstarch-coated chicken pieces in a single layer, working in two batches if needed to avoid crowding the pan (crowding causes steaming instead of searing). Cook for 3-4 minutes per side, until the exterior is light golden brown and crisp, and the internal temperature reaches 74C (165F). Use the amber silicone spatula to flip the pieces halfway through cooking, transferring the first batch to a clean spot on the cutting board while cooking the second batch.
Step 4
step4:Sear Chicken to Crisp
Step 4
step4:Sear Chicken to Crisp
5

Sauté Garlic Aromatics

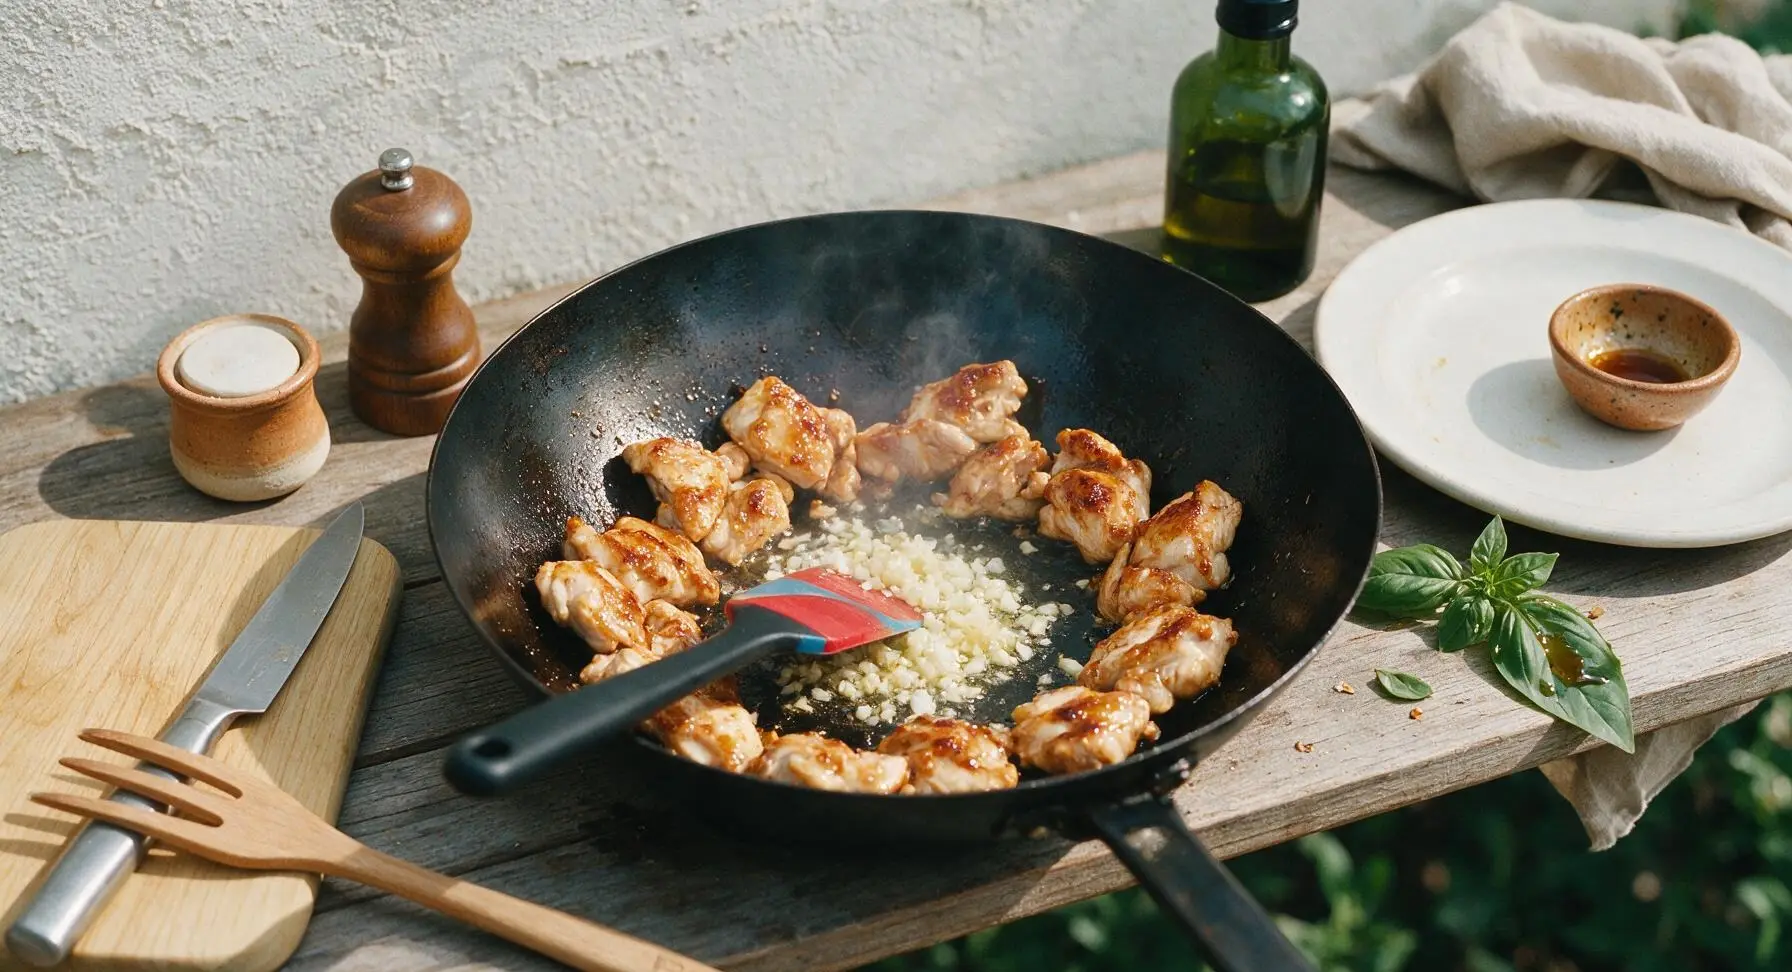
Push all seared chicken pieces to the sides of the wok, leaving a small empty well in the center. Add the reserved 4 minced garlic cloves and the white parts of the sliced scallions to the center. Sauté for 30 seconds, stirring constantly with the silicone spatula, until fragrant—do not let the garlic burn, as it will turn bitter quickly.
Step 5
step5:Sauté Garlic Aromatics
6

Toss in Sauce to Glaze

Give the reserved honey garlic sauce a quick re-whisk to re-incorporate any cornstarch that settled to the bottom of the bowl, then pour it evenly over the chicken and aromatics in the wok. Stir constantly with the silicone spatula as the sauce comes to a gentle simmer, about 1-2 minutes. The sauce will thicken quickly into a glossy, sticky coating that clings to every chicken piece. Turn off the heat once the sauce is thick enough to leave a clear line when you draw a finger across the spatula’s coated back—overcooking will make the sauce too thick and gummy as it cools.
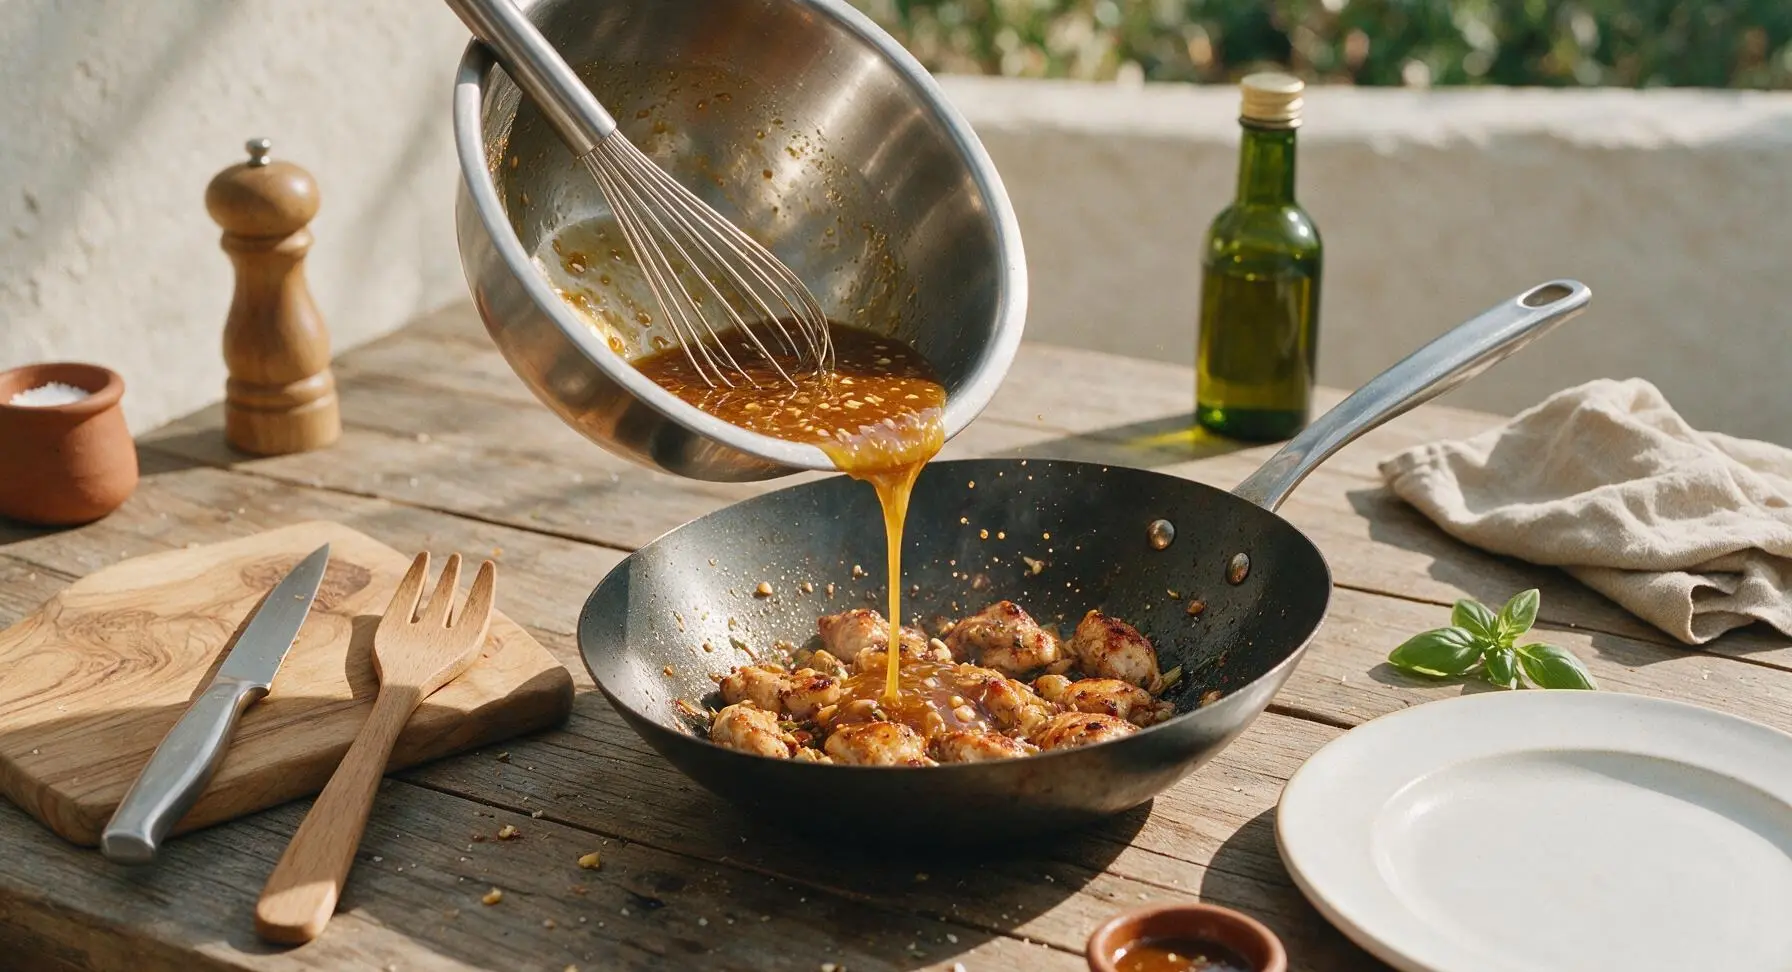
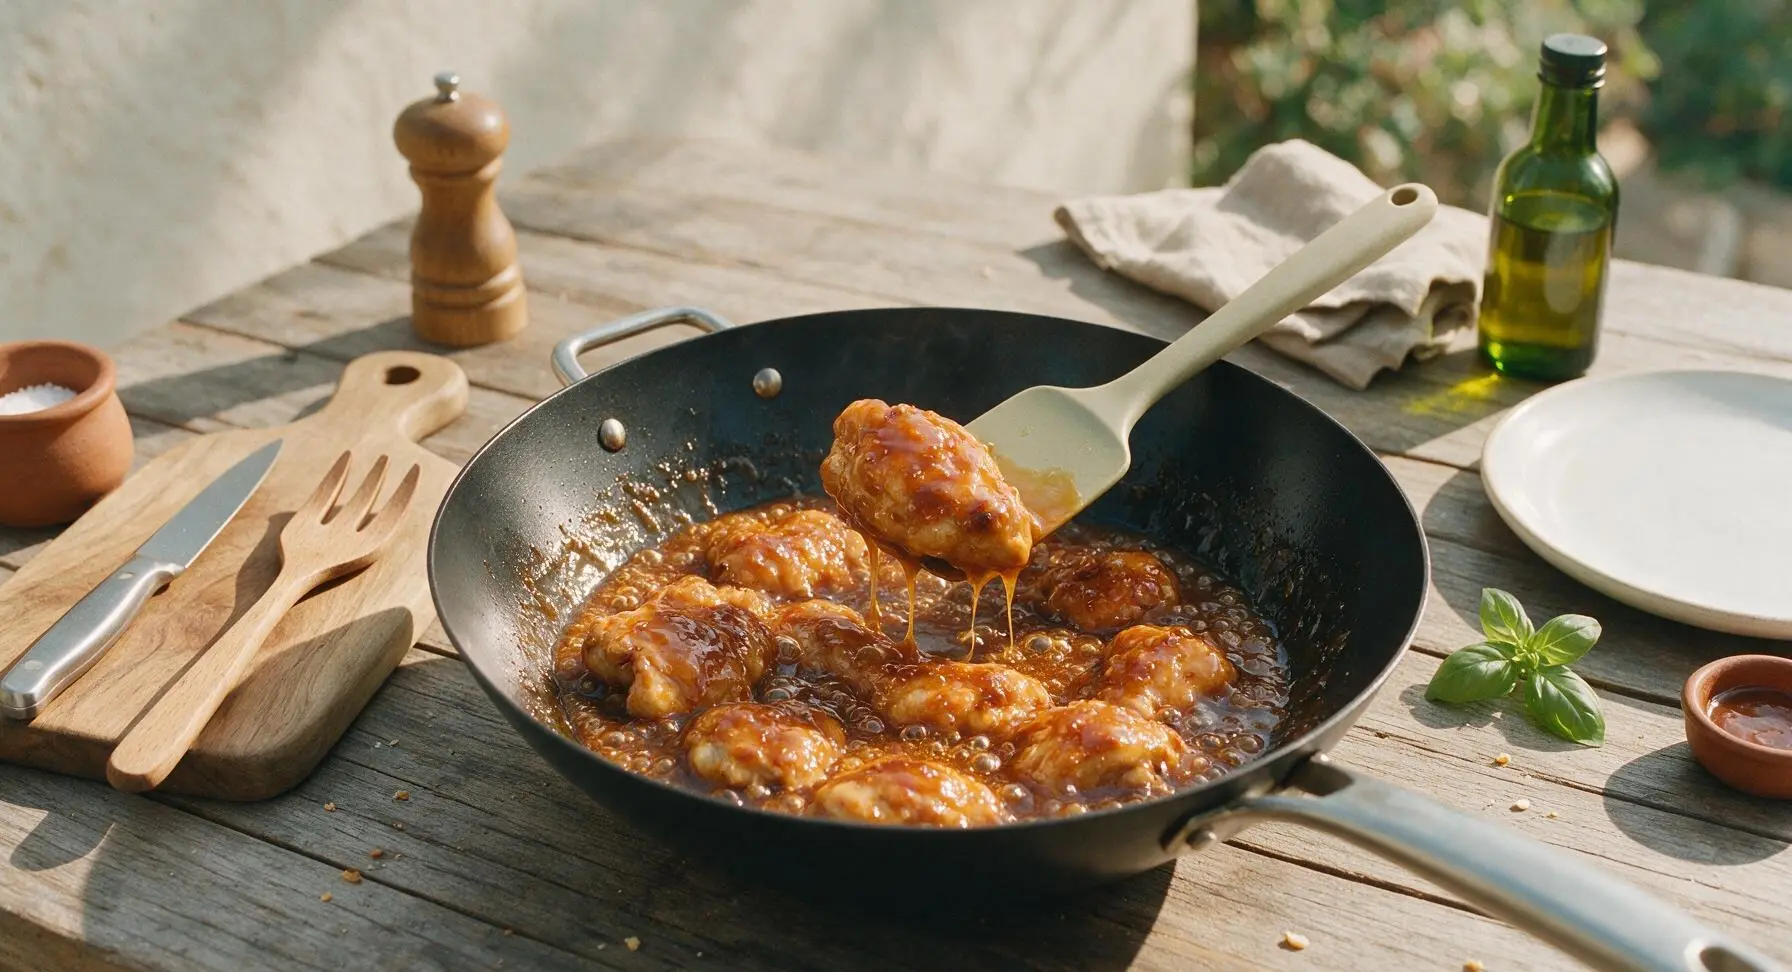
Step 6
step6:Toss in Sauce to Glaze
Step 6
step6:Toss in Sauce to Glaze
7

Plate and Garnish Dish

Transfer the glossy sauced chicken to the center of the matte warm white ceramic dinner plate. Sprinkle the top with the reserved green scallion slices and 1 tsp toasted white sesame seeds. Serve immediately alongside steamed white rice, while the chicken is hot and the sauce is sticky and glossy.
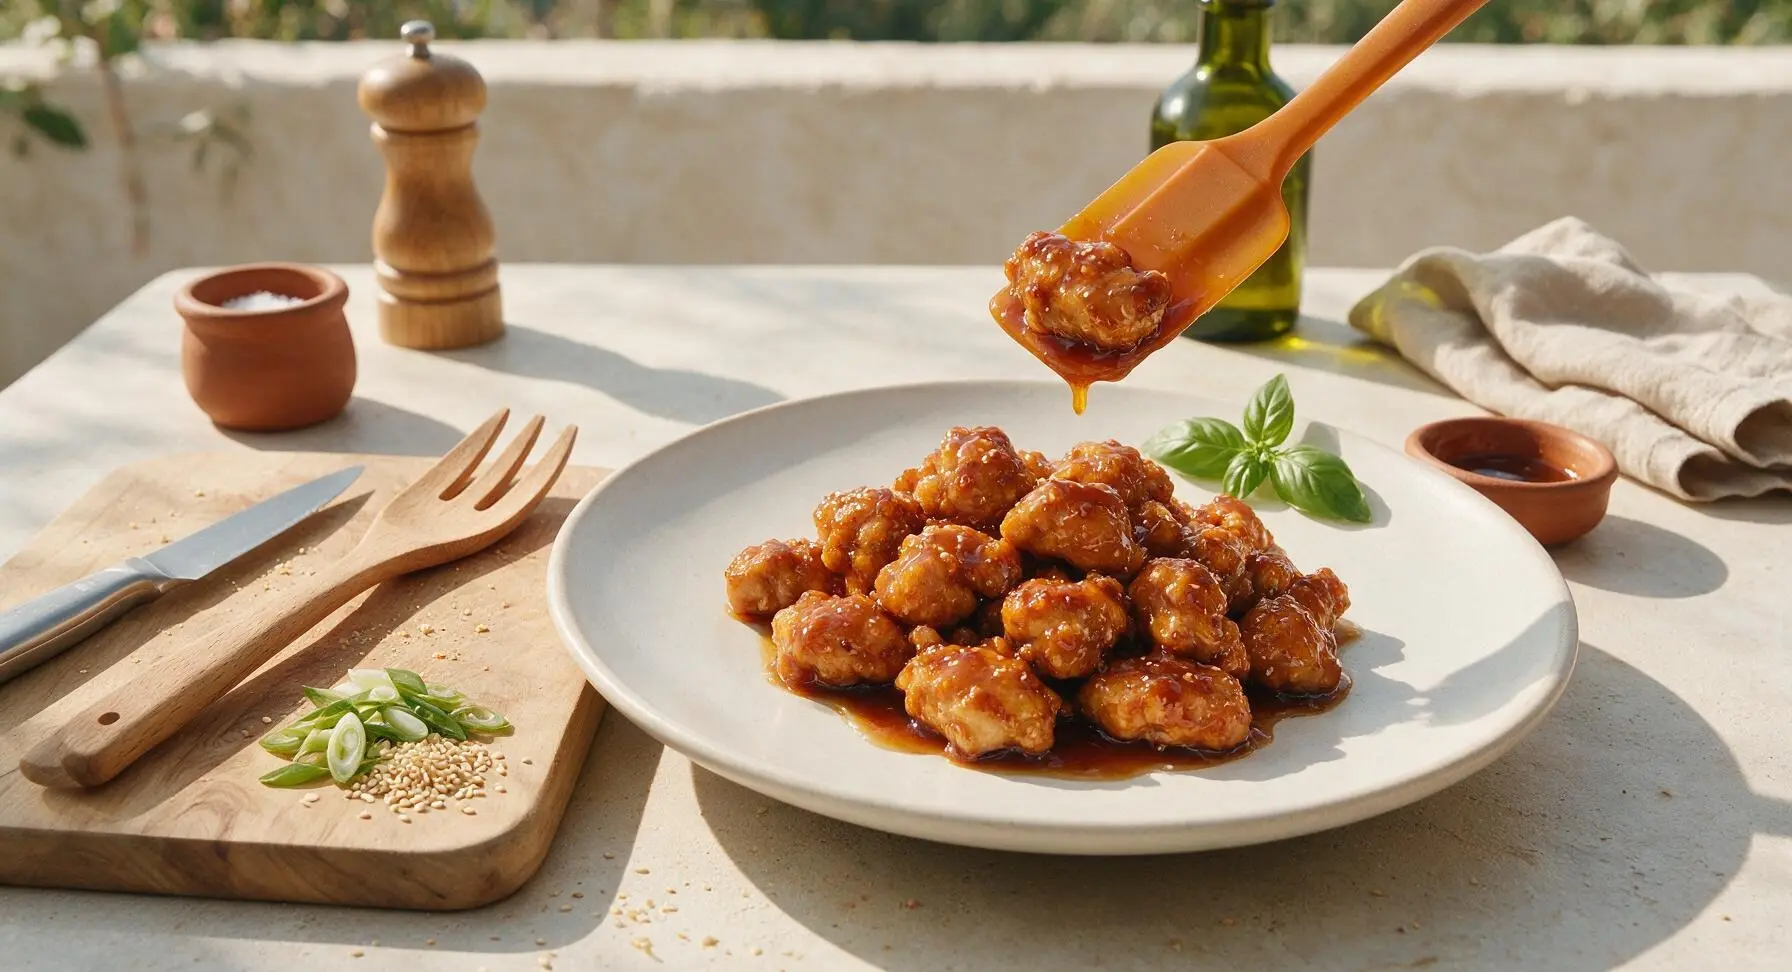
Step 7
step7:Plate and Garnish Dish

Tips

1.Opt for boneless, skinless chicken thighs over breast meat: Thighs have a mild, higher fat content that stays juicy and tender through high-heat searing, while lean breast meat easily dries out and becomes tough under the thick, hot glaze.
2.Keep cornstarch coatings light: When dusting chicken and mixing the sauce, avoid adding extra cornstarch, as this will create a gummy, pasty texture instead of a delicate crisp exterior and smooth, glossy glaze. Always shake excess starch off chicken pieces before searing.
3.Split garlic additions for better flavor: Add half the garlic to the raw sauce and reserve half for a quick 30-second sauté before adding sauce. This builds layered, mellow garlic flavor without the bitter, burnt taste that comes from cooking all garlic for the full searing time.


✨ You May Also Like

Main Course
🍜 United Kingdom

A showstopping classic of tender seared beef, savory mushroom duxelles, and crisp prosciutto wrapped in flaky golden puff pastry, baked to juicy perfection.

⏱️ 2 hours 1Main Course ★ 4.7
Main Course
🍜 India

Tender charred marinated chicken simmered in a rich, spiced creamy tomato sauce, this iconic Anglo-Indian curry pairs perfectly with basmati rice or warm naan.

⏱️ 50 minuteMain Course ★ 4.6
Main Course
🍜 Thailand

Classic tangy, sweet, and savory Thai stir-fried rice noodles with shrimp, tofu, and crunchy garnishes, balancing all five core Thai flavor profiles.

⏱️ 30 minuteMain Course ★ 4.5
Main Course
🍜 United Kingdom

Crispy golden beer-battered cod and fluffy double-fried chips, served with tangy tartar sauce and malt vinegar: the timeless, beloved British pub comfort classic.

⏱️ 45 minuteMain Course ★ 4.7
Main Course
🍜 Mexico

Smoky, chile-marinated pork tacos with caramelized pineapple, fresh cilantro, and lime: a beloved classic Mexican street food perfect for casual summer gatherings.

⏱️ 1 hour 45Main Course ★ 4.8
Main Course
🍜 United States

Crunchy Fritos corn chips layered with savory beef chili and melted cheddar, topped with cool, zesty fixings for a beloved, cozy Tex-Mex comfort food.

⏱️ 35 minuteMain Course ★ 4.8

honey garlic chicken:Frequently Asked Questions

1.Can I use boneless, skinless chicken breast instead of thighs for this recipe? ▾
You absolutely can, though thighs stay juicier thanks to their slightly higher fat content. If using breast, cut it into uniform 1-inch bites, pat dry, and cook 2-3 minutes per side max to avoid dry, tough meat. A light cornstarch dusting helps lock in moisture so it holds up to the thick glaze.
2.Why do you recommend low-sodium soy sauce instead of regular? ▾
Regular soy sauce is very high in sodium, which can overpower the warm, sweet notes of honey and the bright flavor of fresh garlic and ginger, leaving the dish overly salty. If you only have regular soy sauce on hand, cut the amount by 25% and add a splash of water to keep the glaze flavor balanced.
3.How do I get that signature sticky, glossy glaze without it being too thick or runny? ▾
After searing your chicken until it has crisp, golden edges, remove it from the pan and simmer the honey-soy-garlic-ginger mixture for 2-3 minutes until it coats the back of a spoon. Toss the chicken back in to coat evenly—don’t oversimmer, or the honey will turn thick, candy-like, and overly sweet.
4.Can I use jarred minced garlic instead of fresh garlic cloves? ▾
Fresh garlic is always best for that bright, sharp flavor that mellows perfectly as it cooks into the glaze. Jarred minced garlic has a flat, slightly preserved taste, but it works in a pinch: use 1 teaspoon of jarred garlic for every 2 fresh cloves called for, and skip products with added preservatives for the best flavor.
5.Do I need to peel the fresh ginger before adding it to the glaze? ▾
For the smoothest, most pleasant glaze texture, yes—ginger’s thin, papery outer skin is tough and fibrous, and it won’t break down during the quick cook time. You don’t need a fancy peeler, either: scrape the skin off easily with the edge of a regular spoon to avoid wasting fragrant ginger flesh.
6.How do I keep my chicken bites crisp-tender instead of soggy? ▾
Start by patting chicken bites completely dry with paper towels before cooking—surface moisture causes steaming instead of searing. Heat your pan fully before adding chicken, and don’t overcrowd the pan; cook in batches if needed, so each piece gets a nice crisp edge instead of steaming in released juices.
7.Can I make this honey garlic chicken ahead for weekly meal prep? ▾
Absolutely! This dish stores beautifully for up to 4 days in an airtight container in the fridge. Let it cool completely before sealing, and reheat gently in the microwave or a small skillet over low heat. Add a tiny splash of water if the glaze thickens up too much when cold, and serve over rice or with roasted veggies.
8.What can I use as a substitute for raw honey if I don’t have any on hand? ▾
Regular clover honey works as a direct 1:1 swap with no flavor difference. Avoid artificial honey substitutes, as they won’t caramelize to create that signature sticky glaze. In a real pinch, pure maple syrup works, but it adds a subtle earthy, woody note that shifts the classic honey garlic flavor profile slightly.
9.How much garlic is too much for this recipe? ▾
For a perfectly balanced sweet-savory glaze, 6-8 large garlic cloves (about 2 tablespoons minced) is ideal for 1.5 pounds of chicken. You can bump that up to 10 cloves if you’re a serious garlic fan, just don’t cook garlic over high heat for too long—it burns in 30 seconds and turns unpleasantly bitter.
10.Why did my honey glaze turn bitter when I cooked it last time? ▾
Bitter glaze almost always comes from cooking honey, garlic, or ginger over too-high heat for too long. Honey caramelizes quickly, and it will burn and turn bitter if it heats above 350°F. Keep heat at medium when simmering the glaze, stir constantly, and pull it off the heat as soon as it thickens to avoid burning.
11.Can I adjust this recipe to make it gluten-free? ▾
Definitely! The only gluten-containing ingredient in the base recipe is low-sodium soy sauce, so swap it for an equal amount of low-sodium tamari. Tamari has the same rich, umami depth as soy sauce but is brewed without wheat, so your glaze will taste identical to the original with zero gluten.
12.Should I coat my chicken in cornstarch before searing it? ▾
A light dusting of cornstarch (about 1 tablespoon per pound of chicken) is totally optional, but it creates a slightly crispier outer layer that grips the glaze really well. If you use cornstarch, shake off all excess before adding chicken to the pan—too much will leave a gummy, starchy texture on your chicken bites.
13.What side dishes pair best with this honey garlic chicken? ▾
Fluffy white jasmine rice is the classic pairing, as it soaks up every bit of that extra sticky glaze perfectly. For veggie sides, steamed broccoli, roasted bok choy, stir-fried snap peas, or a bright, tangy cucumber salad cut through the rich sweet-savory glaze to balance the whole meal.
14.Can I cook this honey garlic chicken in an air fryer instead of on the stovetop? ▾
Yes! Toss chicken bites with a tiny bit of neutral oil, air fry at 400°F for 8-10 minutes, shaking the basket halfway through, until chicken is cooked through and crisp on the edges. Simmer the glaze separately on the stovetop, then toss hot air-fried chicken in the glaze right before serving for a lower-oil version.
15.How do I know when boneless chicken thighs are fully cooked and safe to eat? ▾
One-inch chicken thigh bites will cook fully in 4-5 minutes over medium-high heat, reaching an internal temperature of 165°F when checked with an instant-read thermometer. The meat will be fully opaque with no pink remaining, juicy, and slightly golden on the edges—don’t overcook it, or it will turn tough and dry.
16.Can I add veggies directly to the pan to make this a one-pan meal? ▾
Absolutely! Toss in bite-sized veggies like broccoli florets, bell pepper chunks, snap peas, or sliced carrots during the last 3-4 minutes of cooking the chicken, so they stay crisp-tender. Don’t add too many veggies at once, though—overcrowding the pan causes steaming instead of searing, leading to mushy texture.
17.Why isn’t my glaze sticking to the chicken when I toss it? ▾
Glaze slides off for two common reasons: it’s too thin, or the chicken surface is too wet. Let the glaze simmer until it’s thick enough to leave a clear line when you run your finger through it on the back of a spoon. Also, make sure your chicken has a dry, seared outer edge to give the glaze something to grip onto.

Comments (5)

2 hours ago

OMG this honey garlic chicken is a total game changer for weeknight dinners! It only took me 15 minutes start to finish, even with my two toddlers hanging on my legs the whole time. My kids loved it so much they asked for seconds before they even finished their first plate. I tossed in some steamed broccoli on the side and the whole meal was chef’s kiss. SO good, will be adding this to our regular rotation!

30 minutes ago

Wait did you use boneless skinless thighs or breasts? I’ve been trying to find a quick chicken recipe my picky 7 year old will eat and this looks perfect!

5 minutes ago

So glad your family loved it! Both thighs and breasts work great for this recipe — if you use breasts just make sure not to overcook them so they stay nice and juicy!

yesterday

Super easy recipe, turned out pretty great! I added a tiny pinch of red pepper flakes for a little heat, which paired really well with the sweet honey and savory garlic. Only reason it’s not 5 stars is I messed up the sauce ratio a little when I doubled it for meal prep — next time I’ll measure the soy sauce more carefully so it’s not too salty. Definitely making this again though.

2 hours ago

Great call adding red pepper flakes! When doubling the sauce, just remember to taste as you go — soy sauce brands can vary a lot in saltiness, so adjusting to your preference is always smart. Glad you enjoyed it overall!

5 days ago

Brought this to my neighborhood potluck last weekend and people were swarming the platter! I cut the chicken into bite-sized pieces and served it with toothpicks as an appetizer, and it was gone in 10 minutes flat. The sweet-savory balance is absolutely perfect, even people who don’t like ‘fancy food’ were raving about it. Super easy to throw together before a party too!

3 days ago

Love the bite-sized appetizer idea! That’s such a smart way to serve this for a crowd, I’ll have to add that tip to the recipe notes. So glad it was a hit at your potluck!

2 weeks ago

Made this after a long day hike last weekend and it hit so hard. I didn’t have any fancy side dishes, just served it over microwaved white rice, and it tasted better than takeout from our local Chinese place. 15 minute cook time is no joke — I was starving and didn’t want to wait an hour for food, so this was perfect. So quick, minimal cleanup, and the sauce is to die for. Will be making this after every long hike from now on.

30 minutes ago

This recipe is almost perfect! My whole family loved the flavor, but I had a little trouble getting the sauce to thicken up like the photos show. I followed the measurements exactly, but it stayed pretty runny even after letting it simmer for a couple extra minutes. Any tips for next time?

5 minutes ago

I had that problem the first time I made it too! Turned out I had the heat too low — if you turn the burner up to medium-high and let it bubble for a minute without stirring, it thickens right up from the honey. Hope that helps!

just now

Great tip from HomeCookHelen! The sauce needs a gentle rolling bubble to help the honey caramelize and thicken — just make sure to watch it closely so it doesn’t burn. If it’s still too thin for your preference, you can also mix a tiny bit of cornstarch with cold water and stir it in to help it thicken faster. Hope that works for you next time!



