
honey sauce for chicken

title 1
honey sauce for chicken
⏱️ cook time 15 minutes
🍽️ servings 4
⚡ Difficulty easy

intro

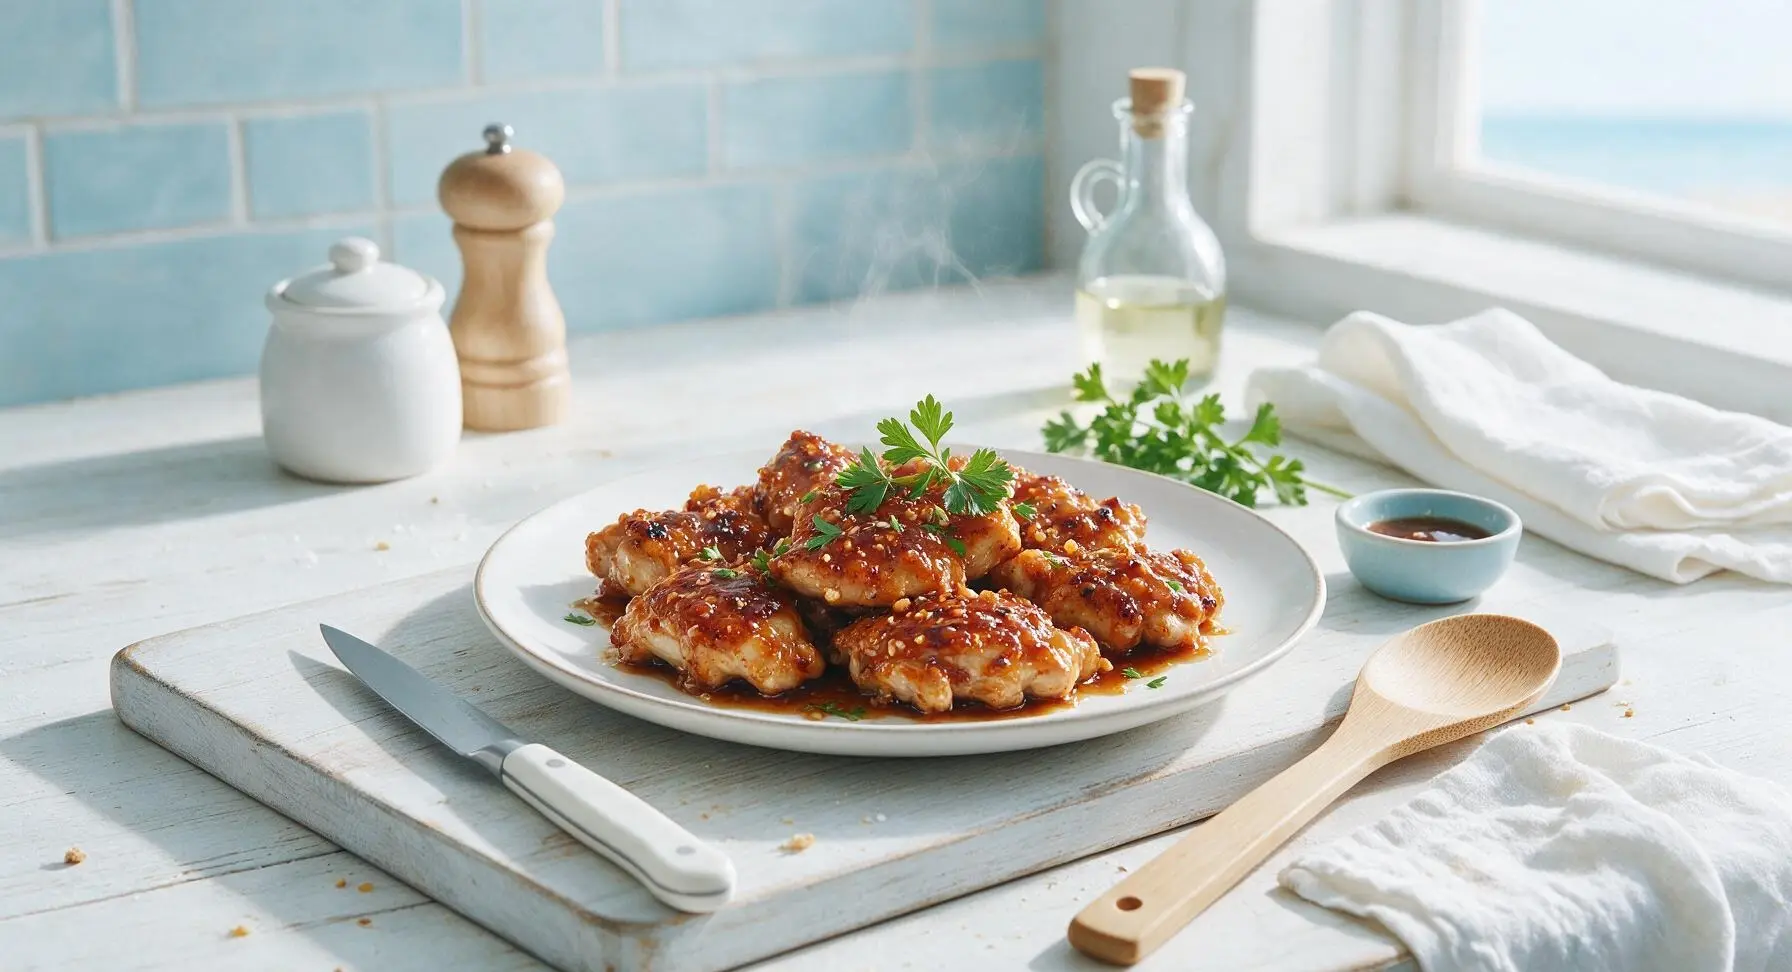
Glossy, sticky sweet-savory honey sauce that clings to crispy seared chicken, balanced with soy, garlic, and bright acid. This takeout favorite comes together in 20 minutes for a fast, satisfying meal.

Ingredients
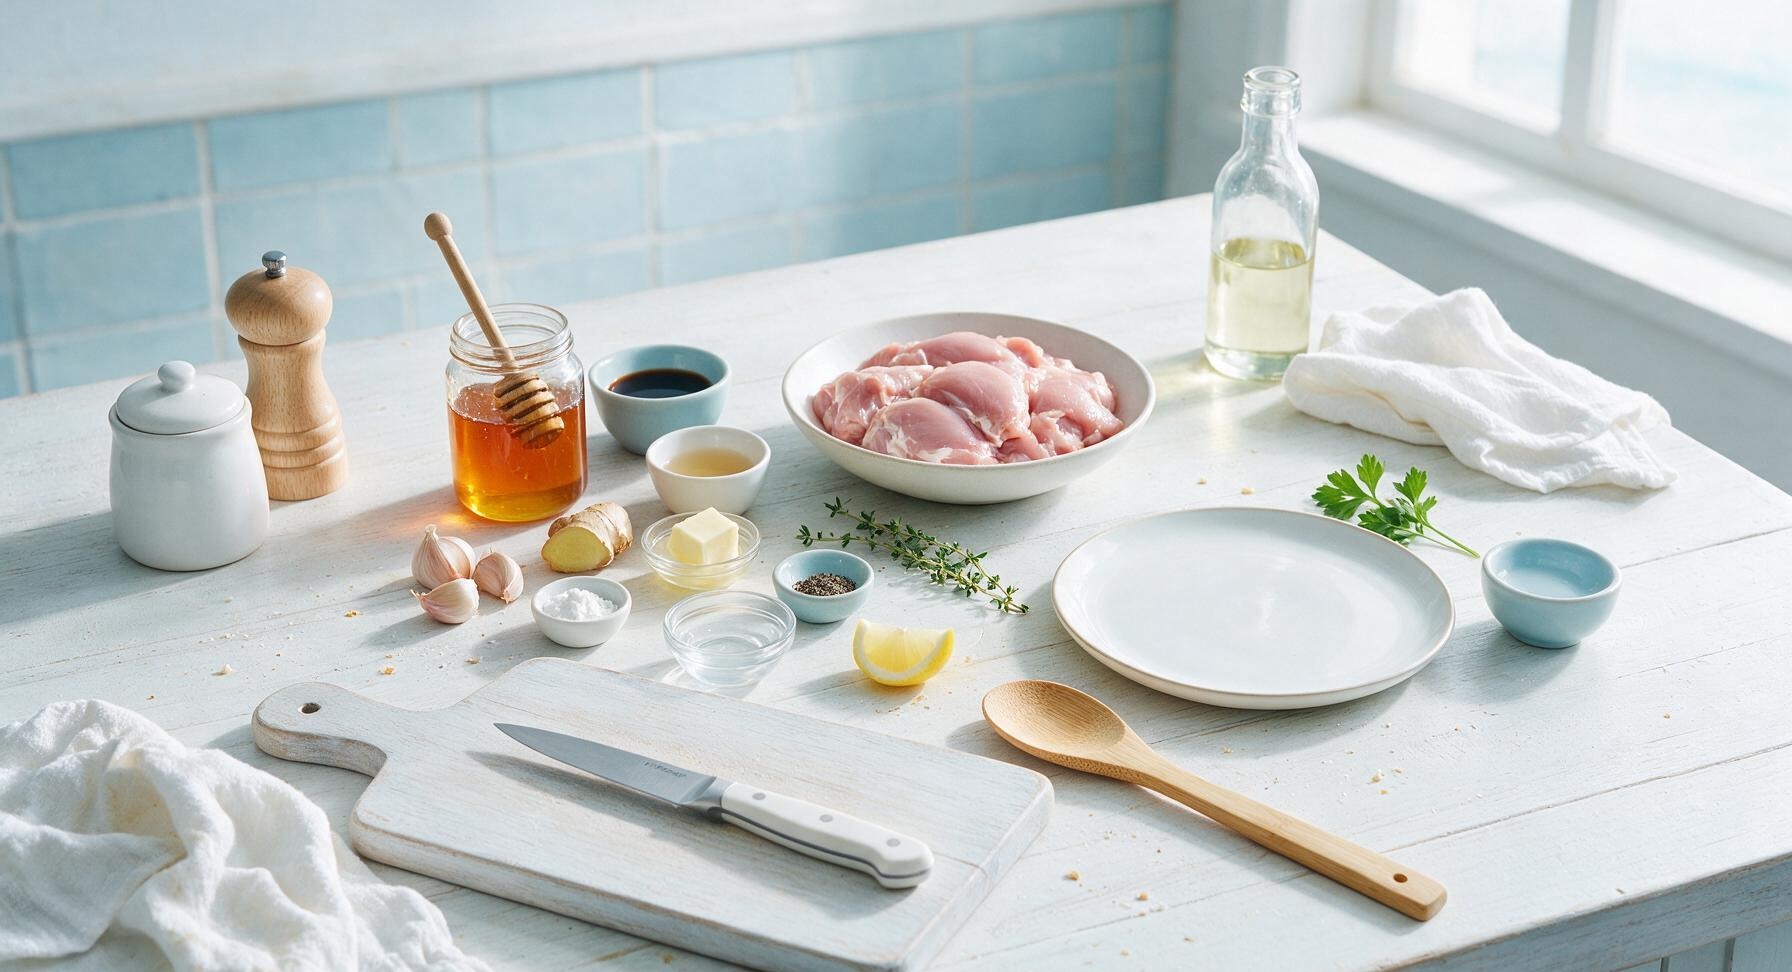
Boneless skinless chicken thighs 500g
Wildflower honey 1/3 cup (110g)
Low-sodium soy sauce 2 tbsp
Apple cider vinegar 1 tbsp
Fresh garlic 3 cloves
Fresh ginger 2.5cm (1 inch) piece
Unsalted butter 1 tbsp (14g)
Cornstarch 1 tsp
Cold water 2 tbsp
Fresh thyme 2 sprigs
Freshly ground black pepper 1/4 tsp
Lemon wedge 1 small

Steps

1

Pat Chicken Dry

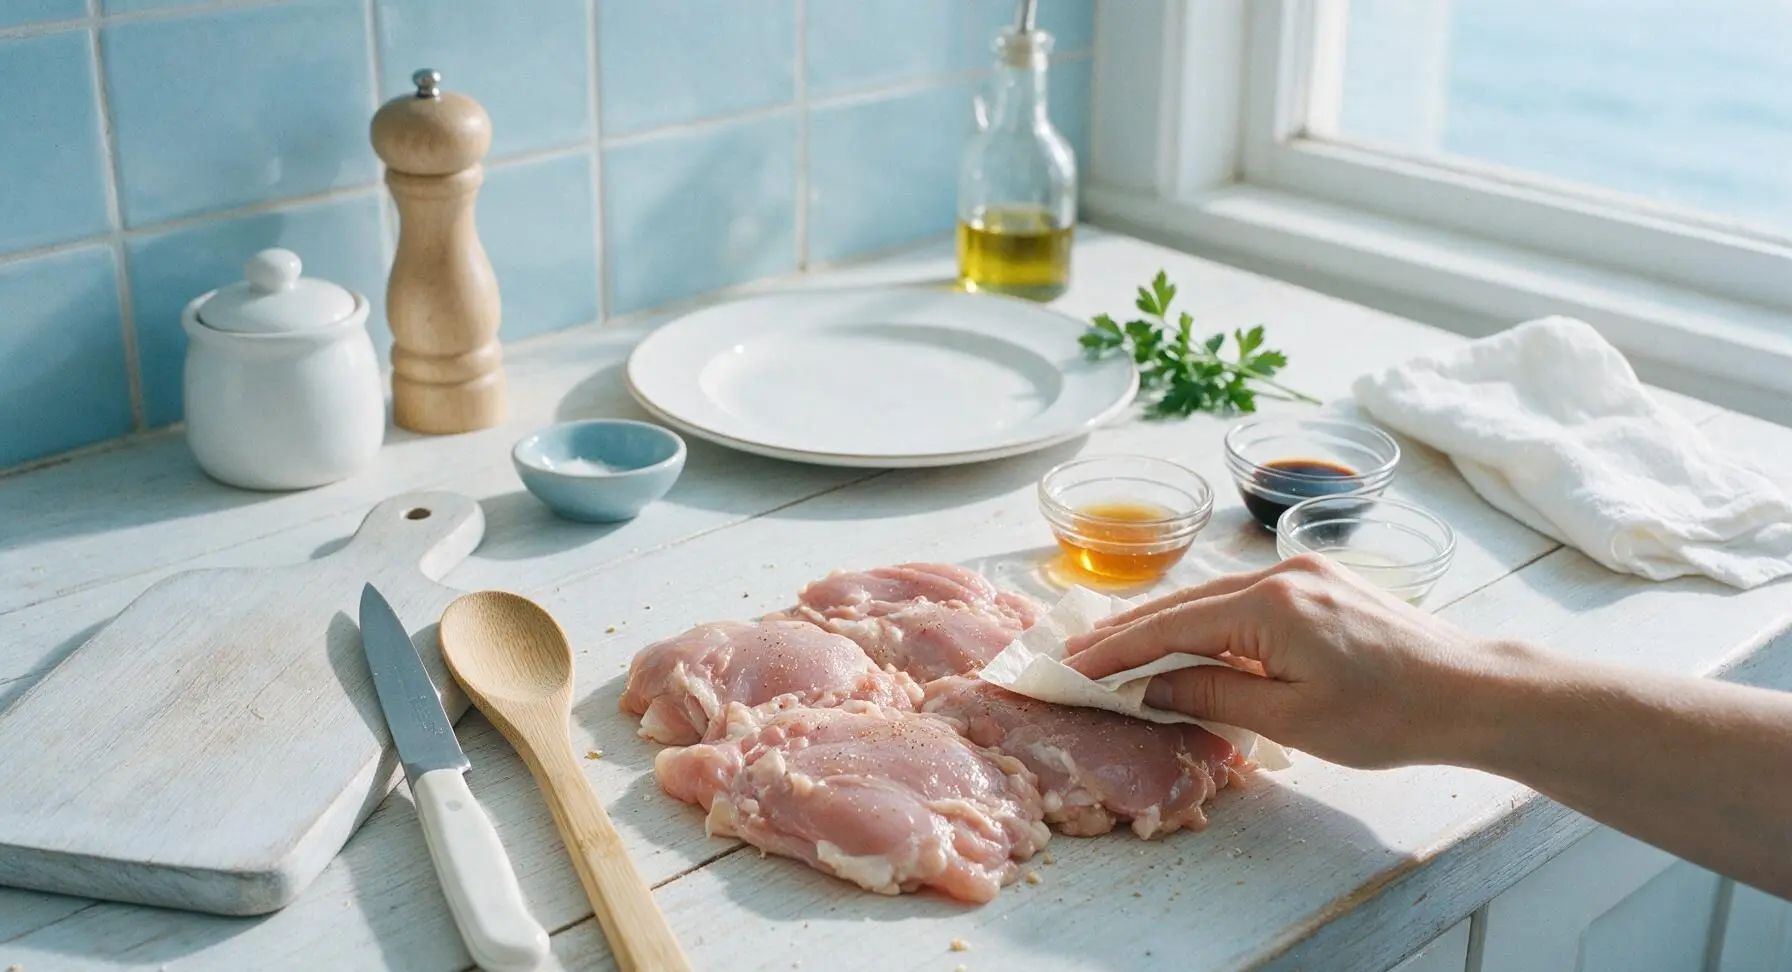
Place the 500g boneless, skinless chicken thighs on the central counter work surface. Pat both sides thoroughly dry with paper towel, then season lightly with 1/4 tsp freshly ground black pepper and a tiny pinch of salt. Drying the chicken surface is critical to develop a crispy, golden sear instead of steaming the meat.
Step 1
step1:Pat Chicken Dry
2

Whisk Sauce Base

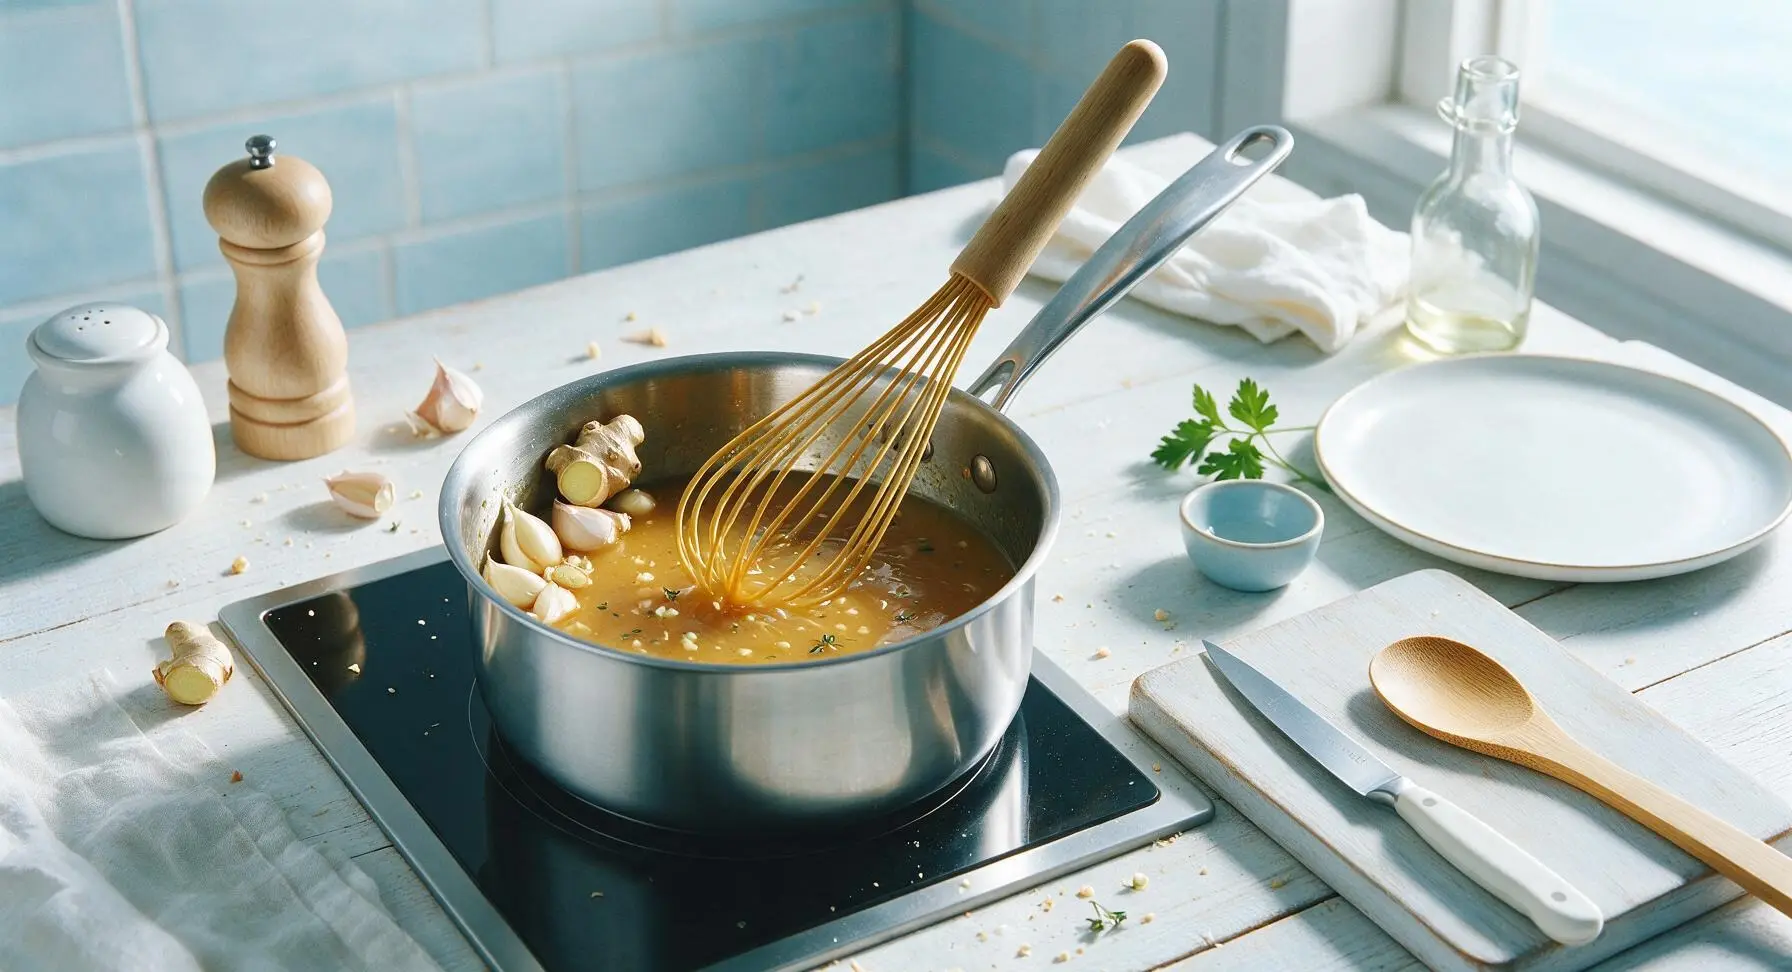
Place the 1.5L stainless steel saucepan on one burner of the induction cooktop. Add the honey, low-sodium soy sauce, apple cider vinegar, finely minced garlic, finely grated fresh ginger, leaves from 1 sprig of fresh thyme, and black pepper to the pan. Use the honey-gold silicone whisk to stir until fully combined, with no thick honey stuck to the pan bottom.
Step 2
step2:Whisk Sauce Base
3

Mix Slurry Thickener

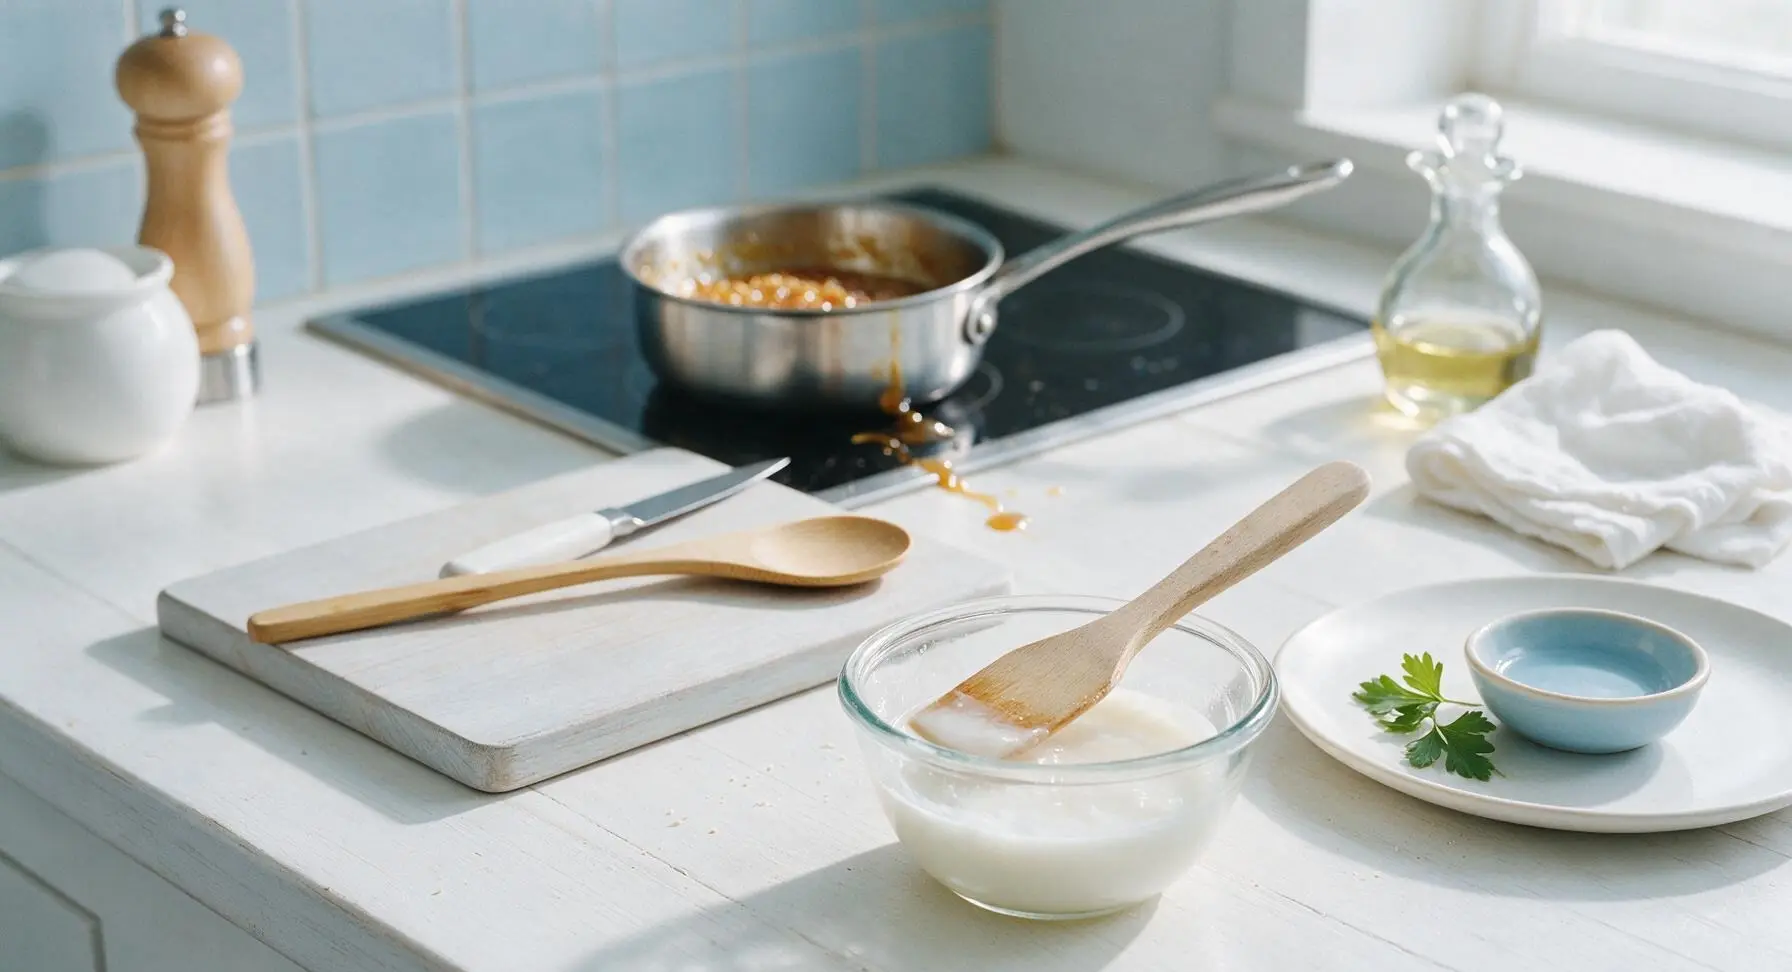
In one small clear glass prep bowl, stir together 1 tsp cornstarch and 2 tbsp cold water until completely smooth, with no dry lumps of cornstarch remaining. Set the slurry aside; never add dry cornstarch directly to hot sauce, as this will create unappetizing lumps that cannot be stirred out.
Step 3
step3:Mix Slurry Thickener
4

Sear Chicken Thighs

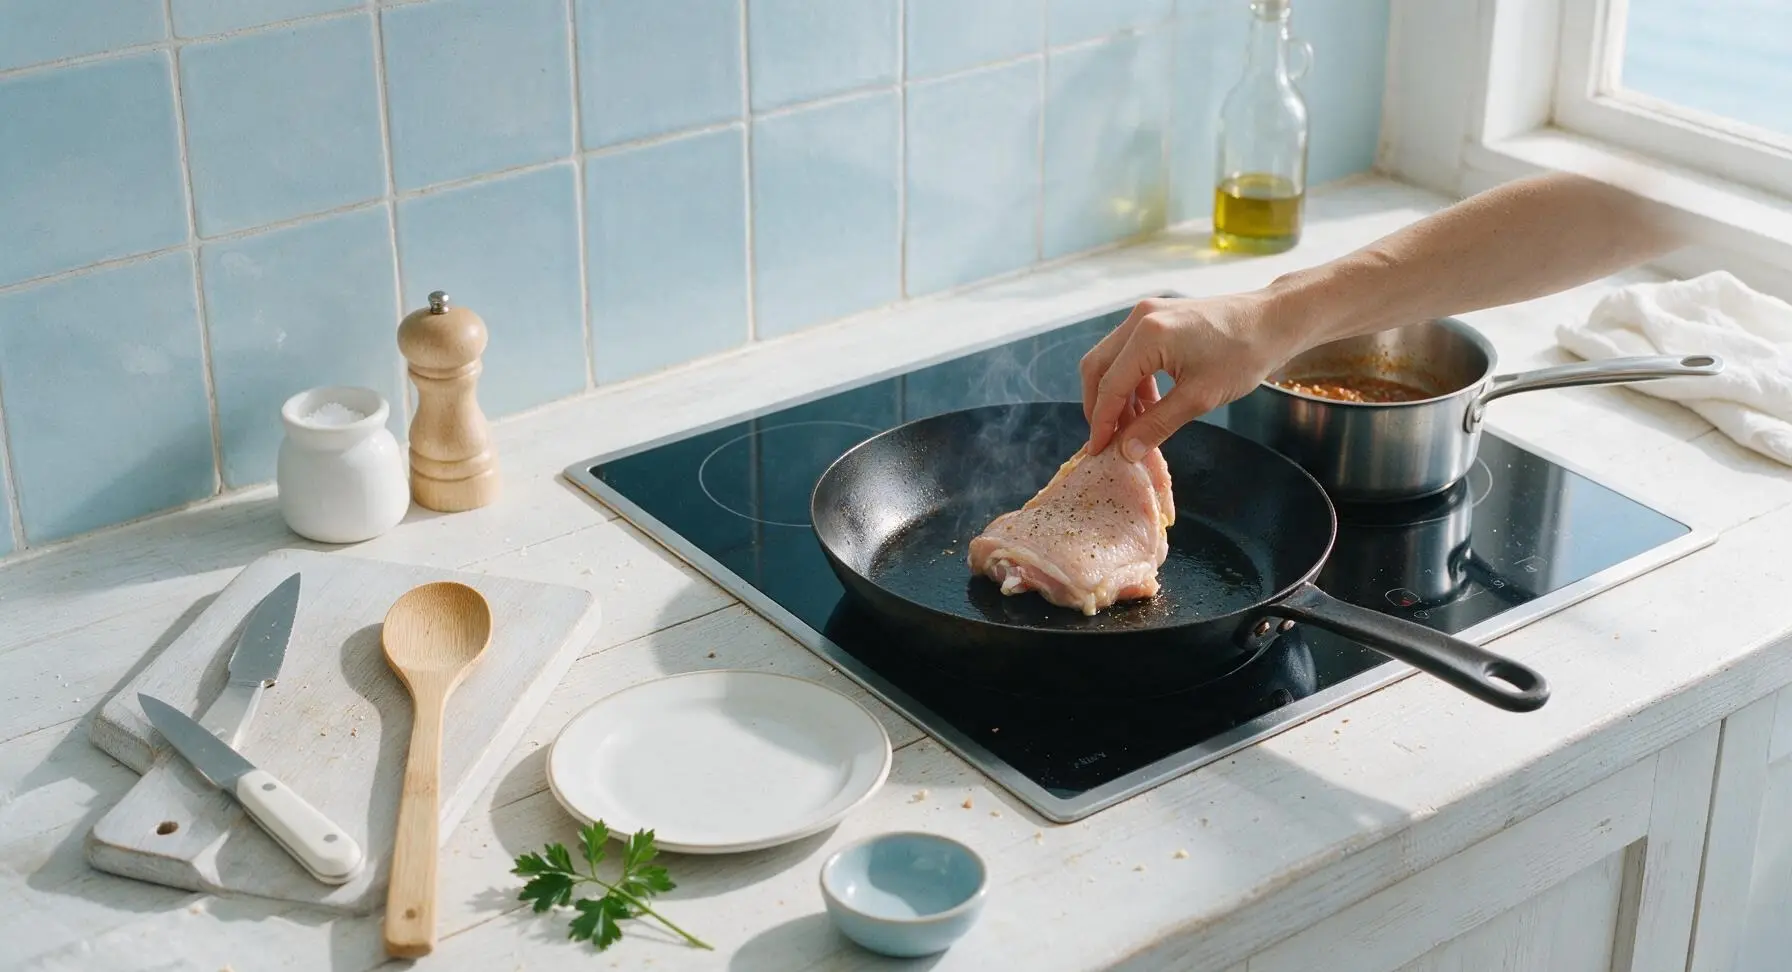
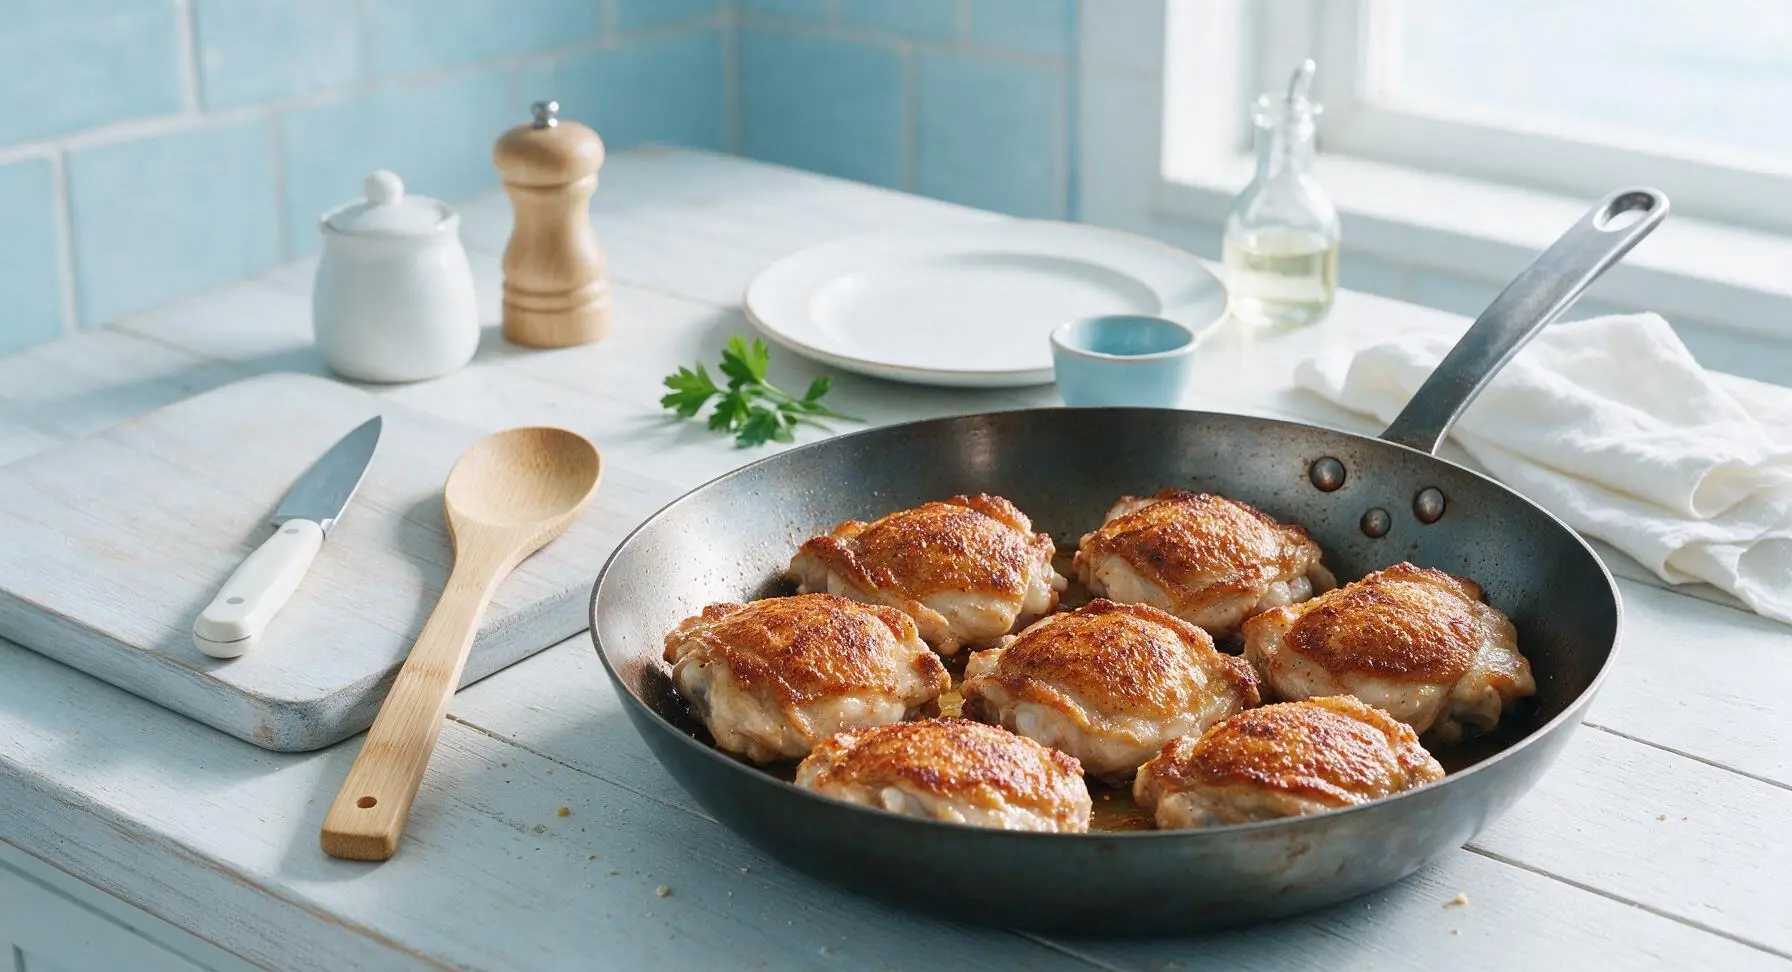
Heat the 24cm seasoned carbon steel skillet on the second induction burner over medium heat for 2 minutes, until a drop of water dances and evaporates immediately across the surface. Add the seasoned chicken thighs in a single layer, smooth side down. Cook for 5 minutes per side, until deep golden brown and crispy on the outside, reaching an internal temperature of 165°F (74°C). Transfer seared chicken to a clean small plate and tent loosely with foil to rest.
Step 4
step4:Sear Chicken Thighs
Step 4
step4:Sear Chicken Thighs
5

Simmer Honey Sauce

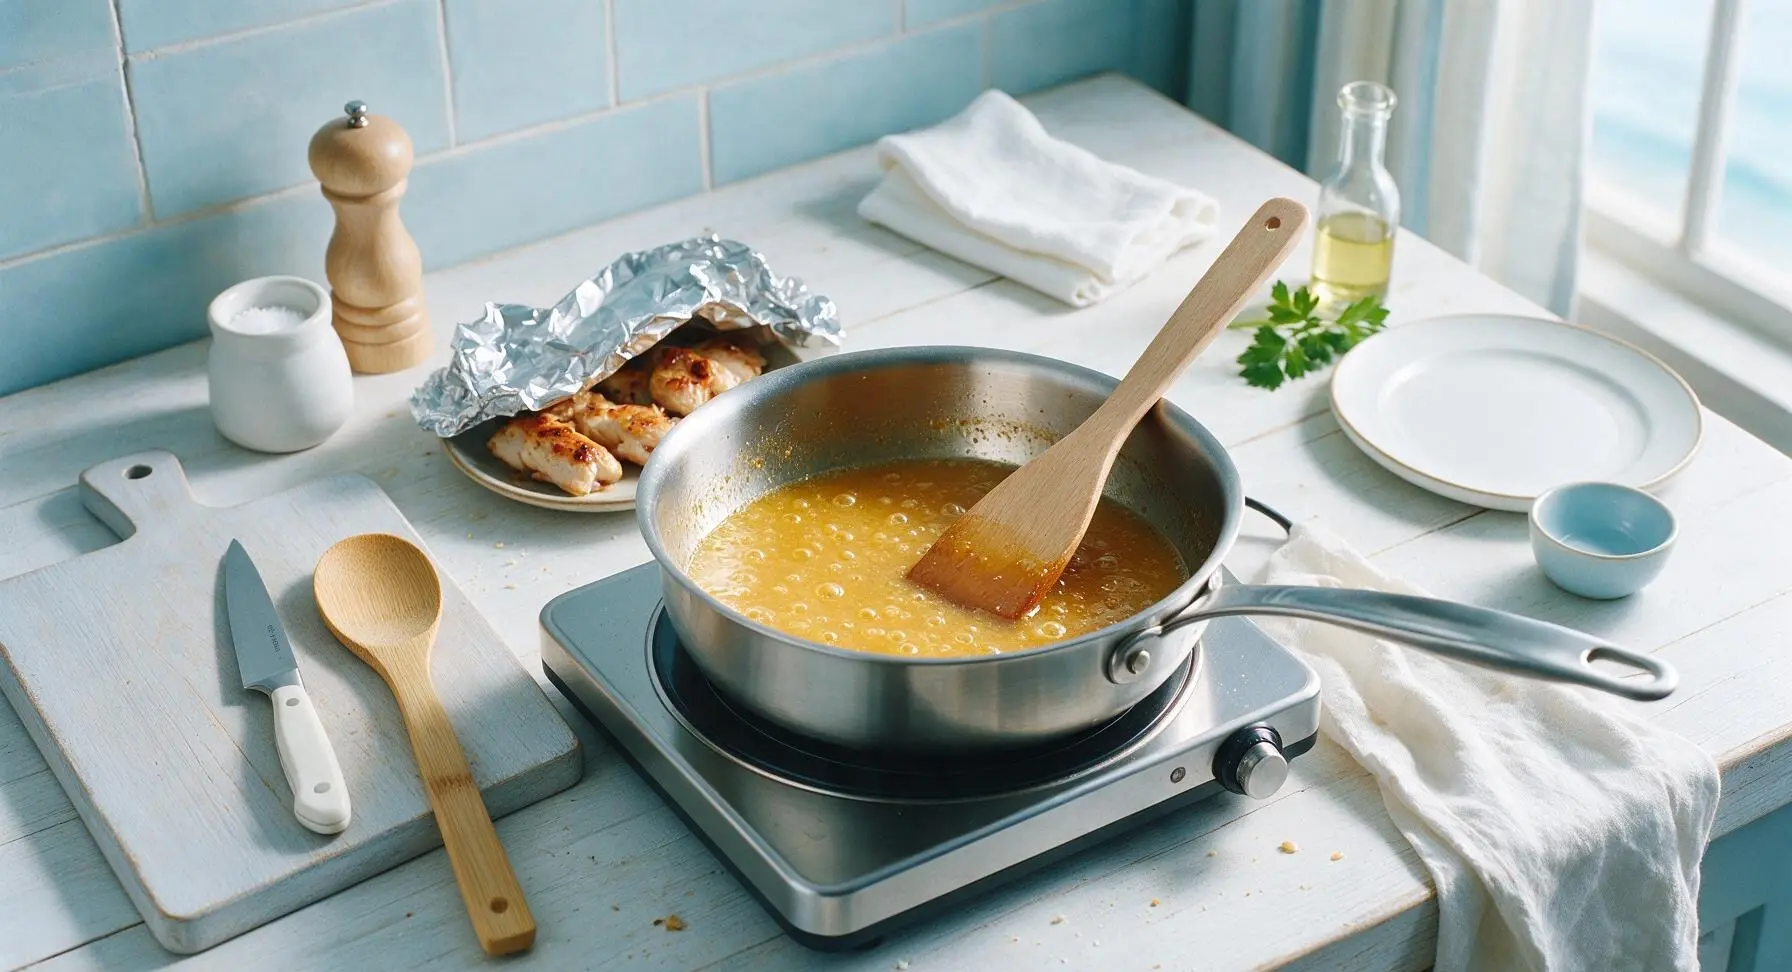
Turn the heat under the stainless steel saucepan to medium-low, bringing the honey sauce base to a gentle, slow simmer (small bubbles breaking slowly across the surface, not a rolling boil). Let simmer for 3 minutes, stirring occasionally with the beech wood spatula, to mellow the sharp raw garlic and ginger flavor and let the thyme infuse into the liquid.
Step 5
step5:Simmer Honey Sauce
6

Thicken Sauce to Gloss

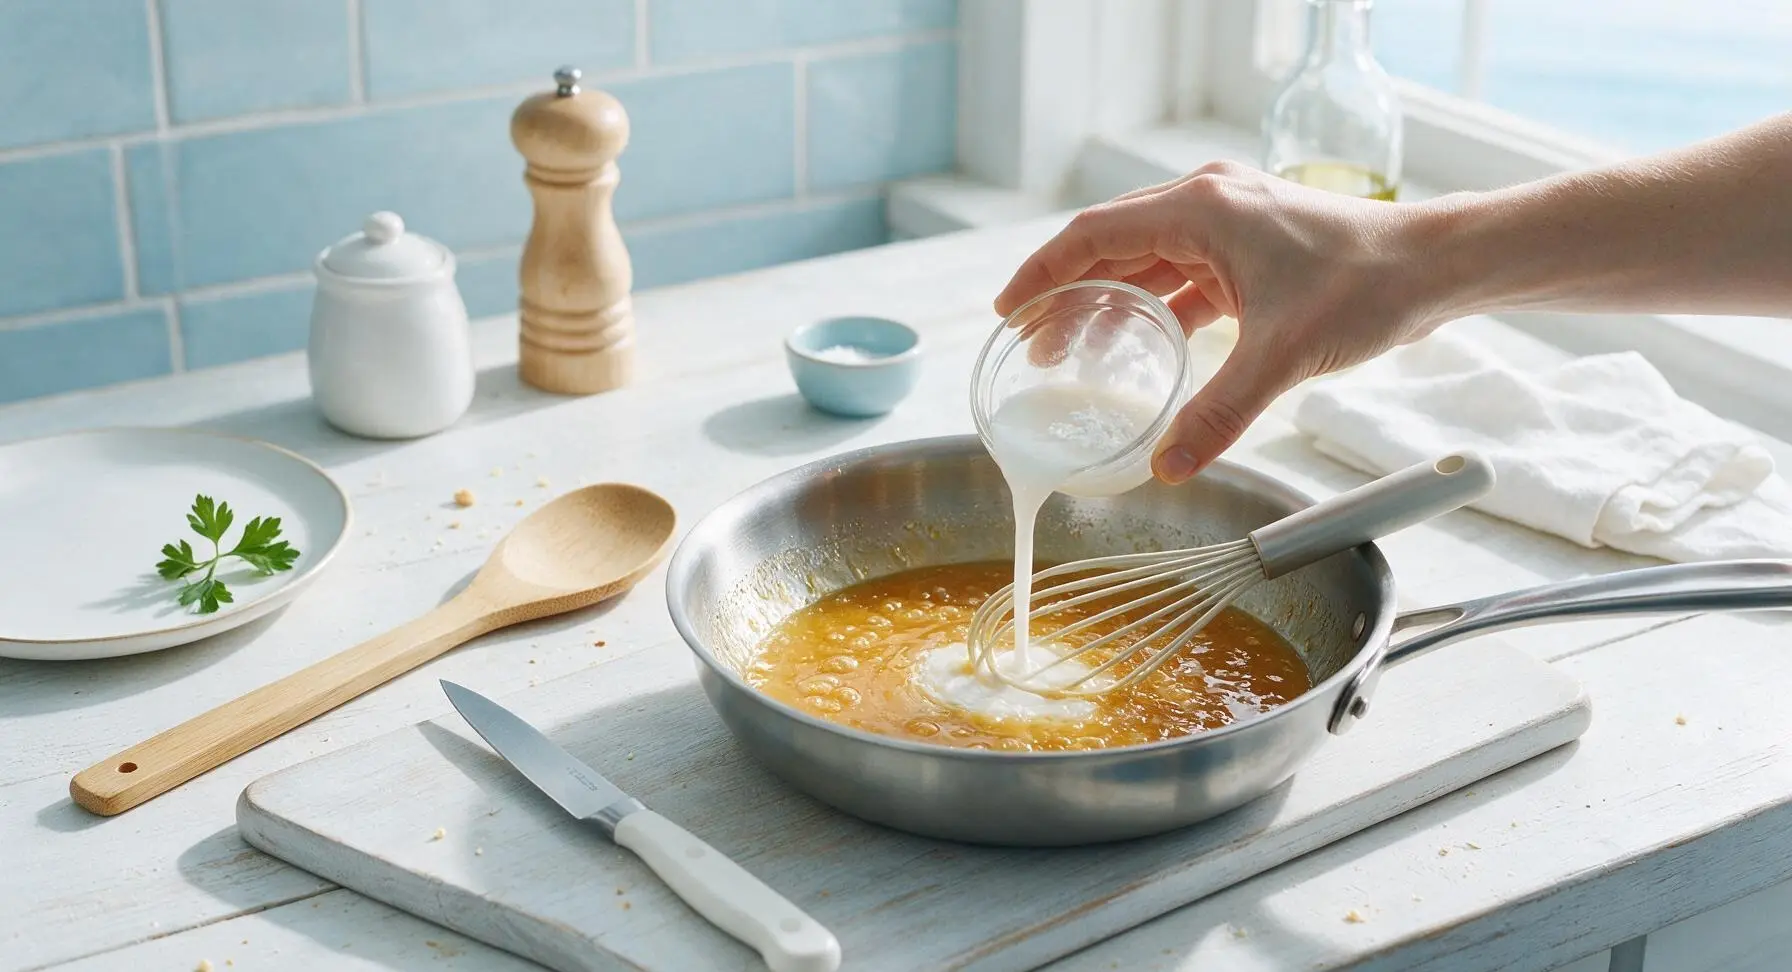
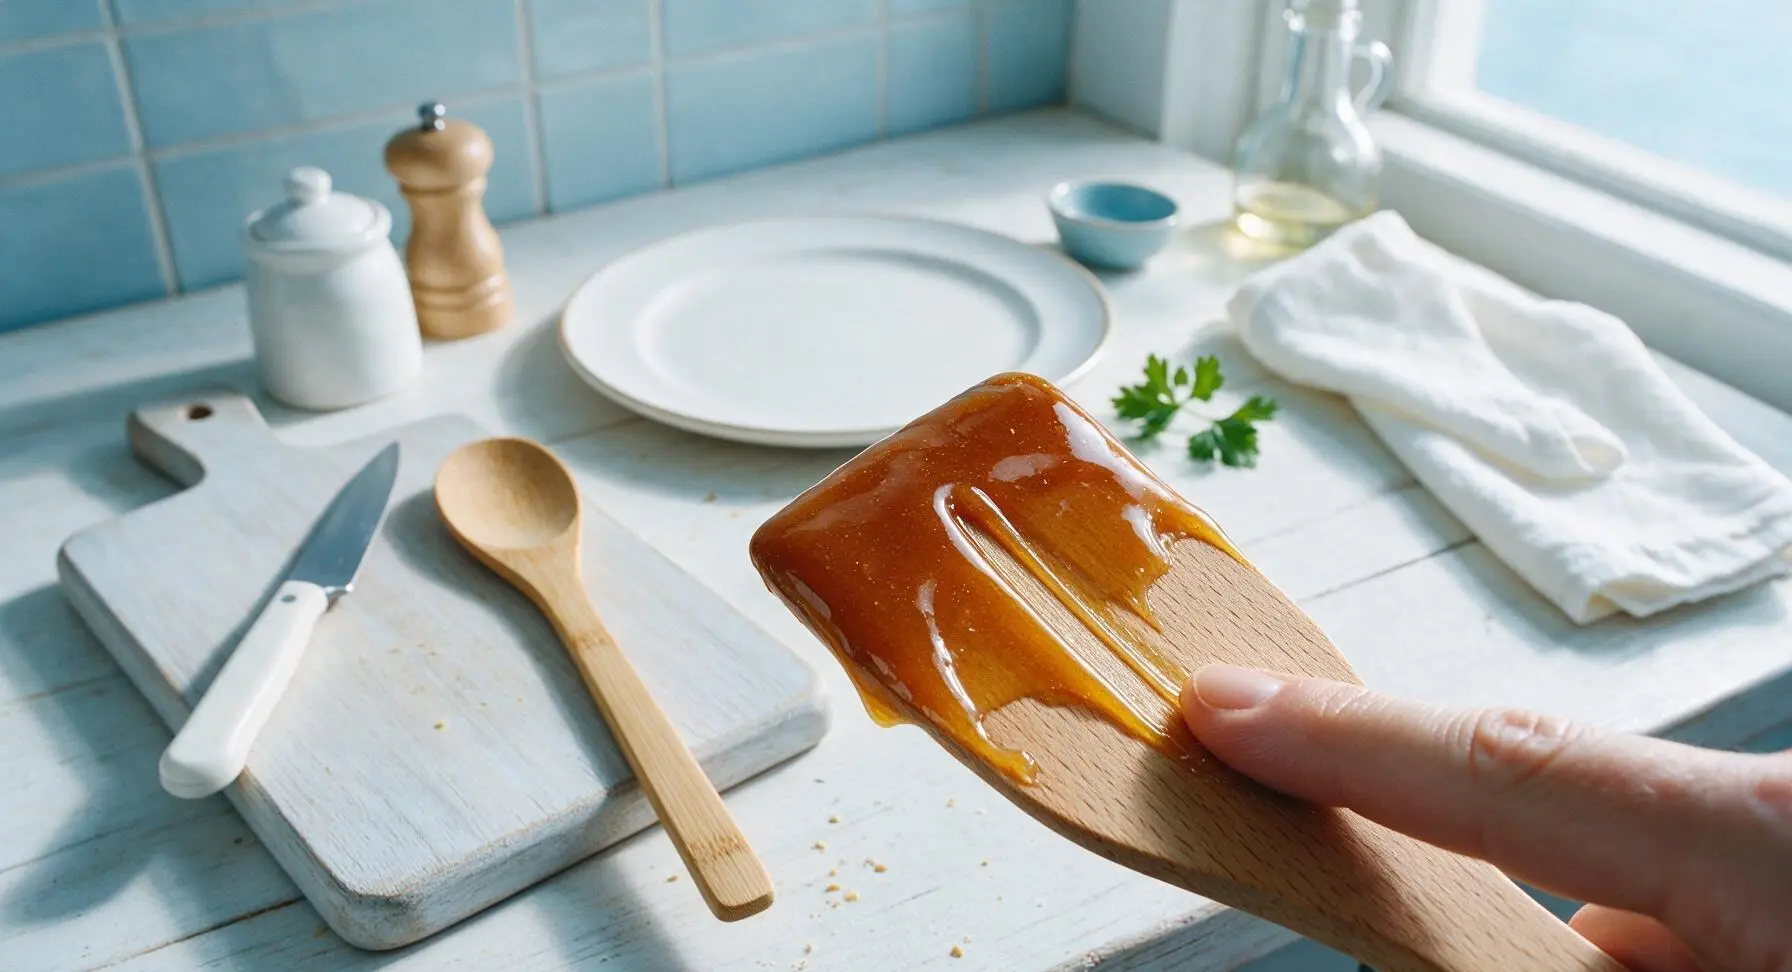
Give the reserved cornstarch slurry a quick stir to re-mix (cornstarch settles quickly to the bottom of the bowl), then pour it slowly into the simmering sauce while stirring constantly with the silicone whisk. Continue to simmer for 1-2 minutes, stirring nonstop, until the sauce thickens enough to coat the back of a spoon—when you run your finger across the coated spoon, the line should hold cleanly without running. Remove the pan from heat, then stir in the unsalted butter until fully melted for a luxurious, shiny finish.
Step 6
step6:Thicken Sauce to Gloss
Step 6
step6:Thicken Sauce to Gloss
7

Toss Chicken in Sauce

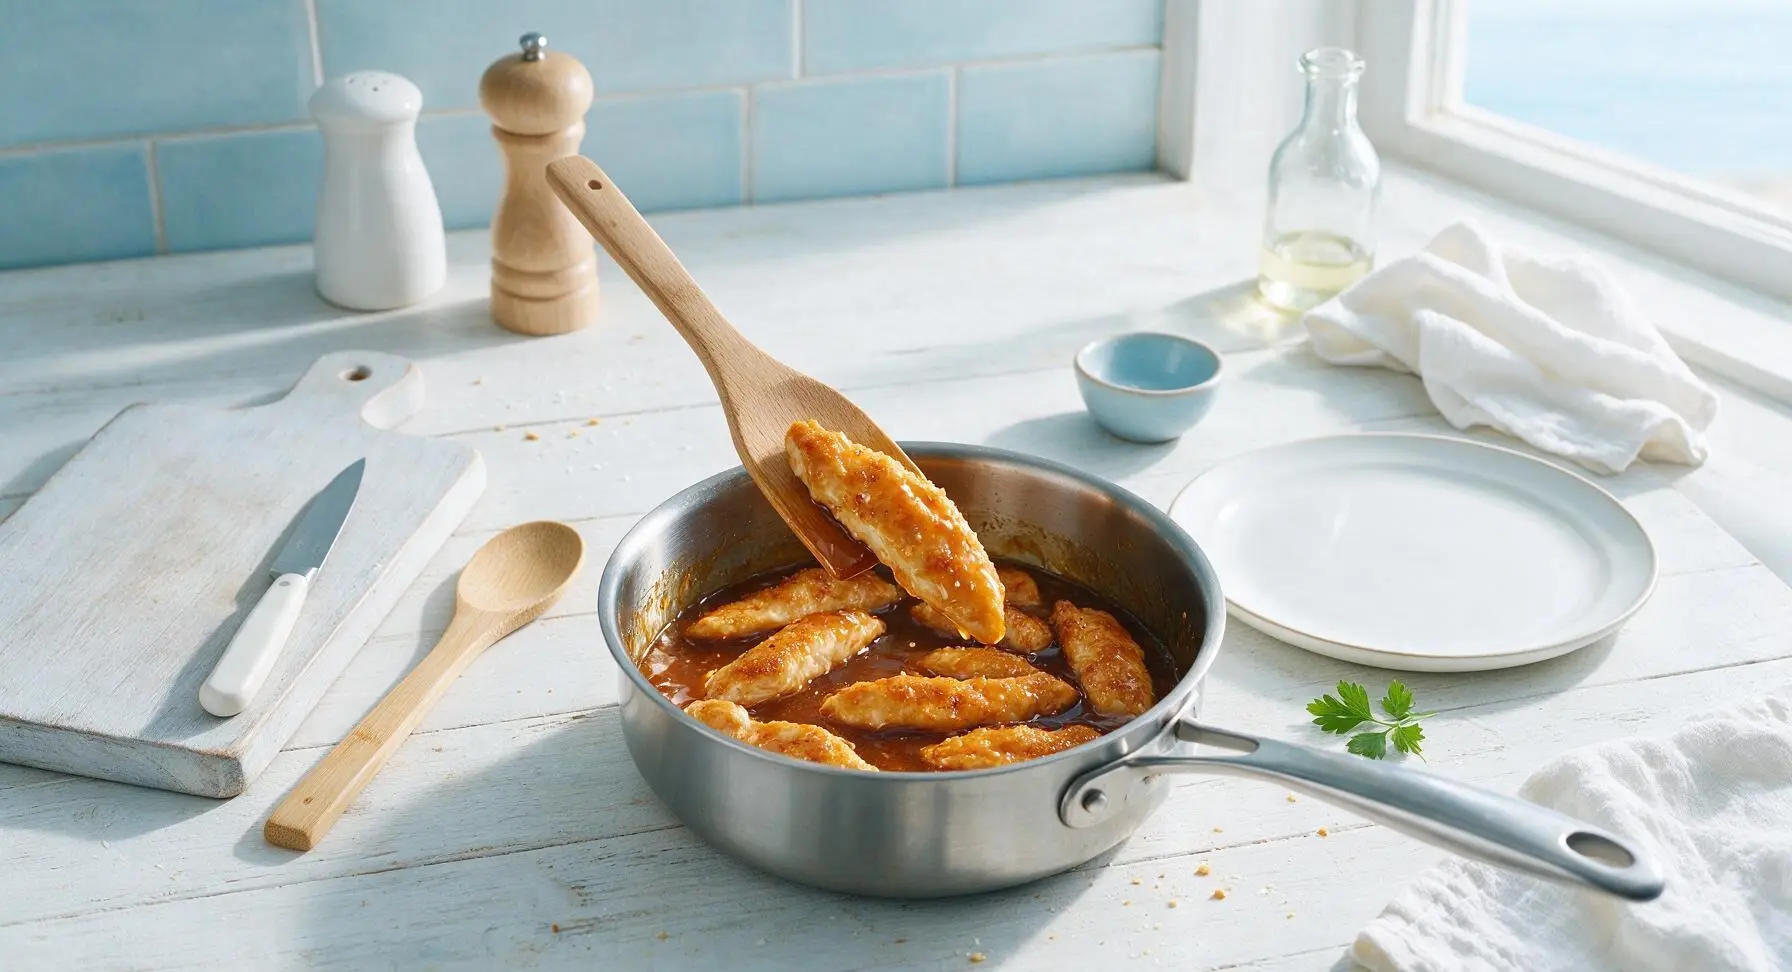
Slice the rested seared chicken thighs into 2cm thick strips against the grain. Add the sliced chicken to the saucepan with thickened honey sauce, tossing gently with the beech wood spatula until every piece is evenly coated in glossy sauce. Avoid stirring too hard, as this will break apart the crispy chicken exterior.
Step 7
step7:Toss Chicken in Sauce
8

Plate and Garnish

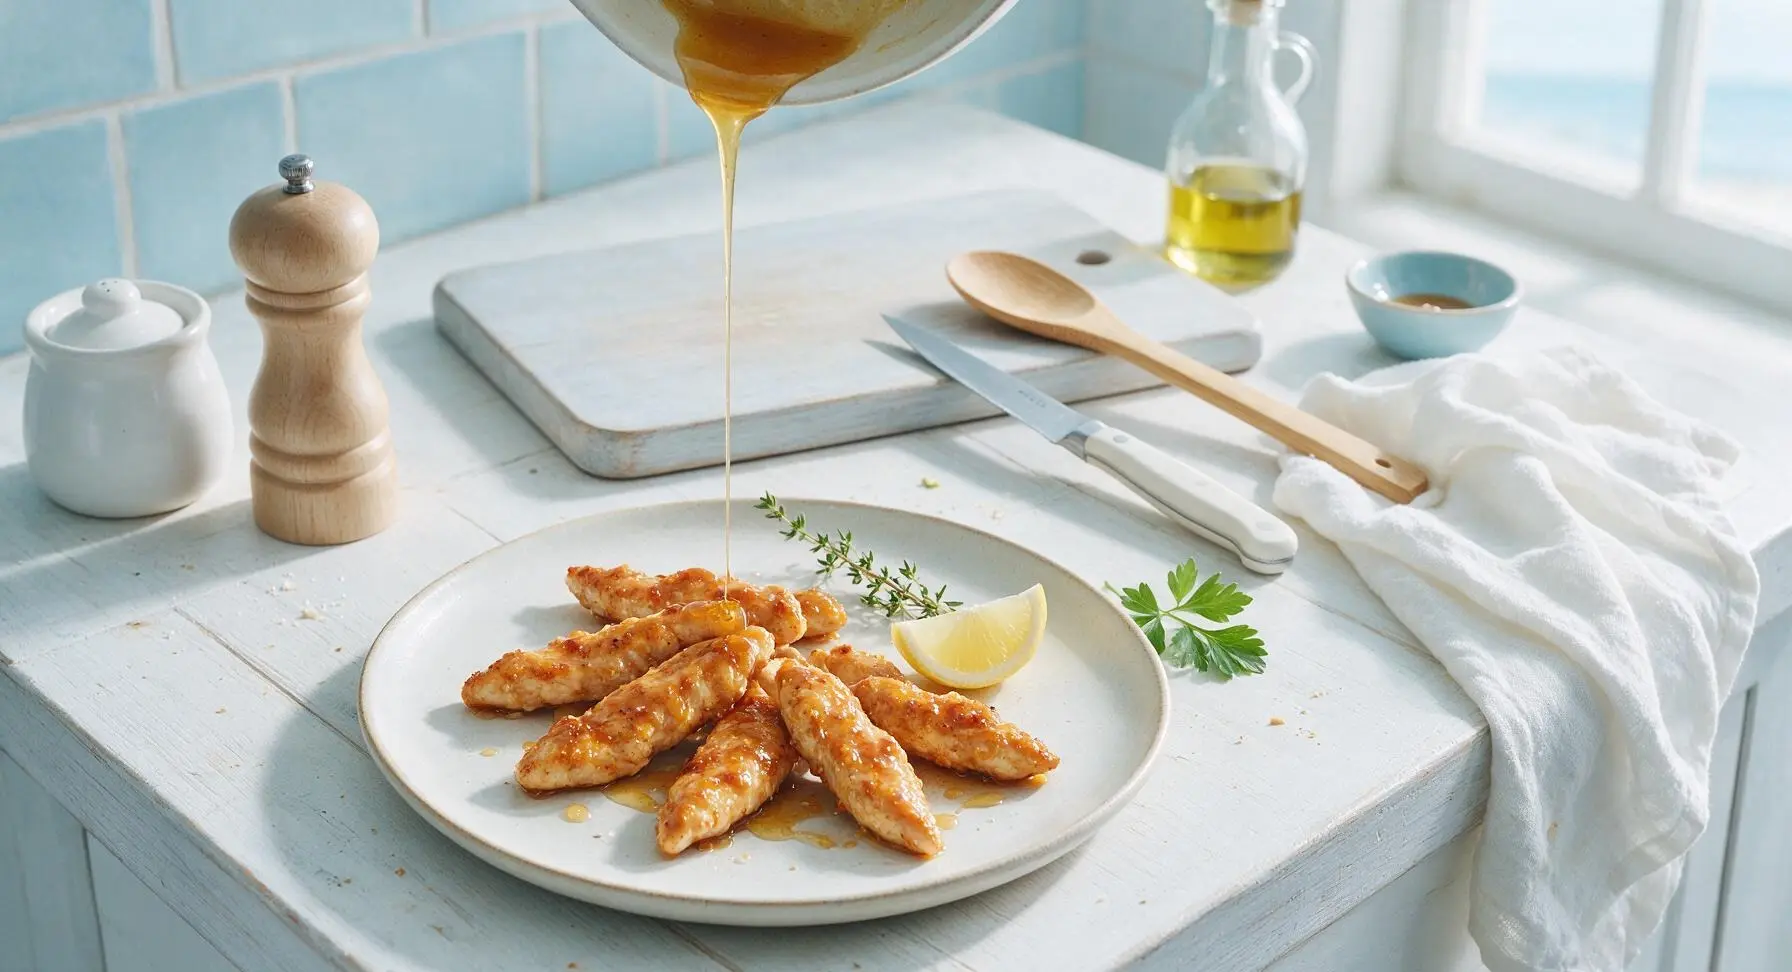
Arrange the sauce-coated chicken strips in a fanned pile in the center of the matte off-white hand-thrown ceramic dinner plate. Drizzle any remaining sauce from the pan over the top of the chicken, then garnish with fresh thyme leaves from the remaining sprig, a light twist of black pepper, and the small lemon wedge on the plate rim for squeezing. Serve immediately while hot, when the sauce is sticky and glossy.
Step 8
step8:Plate and Garnish

Tips

1.Always pat chicken completely dry before searing: any residual surface moisture will cause the chicken to steam instead of developing a crisp, textured crust that the thick honey sauce can cling to, rather than sliding off onto the plate.
2.Keep the sauce at a gentle simmer, not a rolling boil: high heat will cause the natural sugars in honey to caramelize too quickly and turn bitter, ruining the balanced sweet-savory flavor profile.
3.Stir the butter into the sauce after removing the pan from heat: this creates a silky, emulsified, restaurant-worthy glossy finish, rather than a greasy, separated sauce that can happen if butter is boiled.


✨ You May Also Like

Main Course
🍜 United Kingdom

A showstopping classic of tender seared beef, savory mushroom duxelles, and crisp prosciutto wrapped in flaky golden puff pastry, baked to juicy perfection.

⏱️ 2 hours 1Main Course ★ 4.7
Main Course
🍜 India

Tender charred marinated chicken simmered in a rich, spiced creamy tomato sauce, this iconic Anglo-Indian curry pairs perfectly with basmati rice or warm naan.

⏱️ 50 minuteMain Course ★ 4.6
Main Course
🍜 Thailand

Classic tangy, sweet, and savory Thai stir-fried rice noodles with shrimp, tofu, and crunchy garnishes, balancing all five core Thai flavor profiles.

⏱️ 30 minuteMain Course ★ 4.5
Main Course
🍜 United Kingdom

Crispy golden beer-battered cod and fluffy double-fried chips, served with tangy tartar sauce and malt vinegar: the timeless, beloved British pub comfort classic.

⏱️ 45 minuteMain Course ★ 4.7
Main Course
🍜 Mexico

Smoky, chile-marinated pork tacos with caramelized pineapple, fresh cilantro, and lime: a beloved classic Mexican street food perfect for casual summer gatherings.

⏱️ 1 hour 45Main Course ★ 4.8
Main Course
🍜 United States

Crunchy Fritos corn chips layered with savory beef chili and melted cheddar, topped with cool, zesty fixings for a beloved, cozy Tex-Mex comfort food.

⏱️ 35 minuteMain Course ★ 4.8

honey sauce for chicken:Frequently Asked Questions

1.Why does this recipe call for boneless skinless chicken thighs instead of chicken breast? ▾
Boneless skinless thighs stay juicy and tender even when seared to the crisp exterior needed for the sauce to cling, whereas breast easily dries out during high-heat searing. If you prefer breast, cut it into 1-inch chunks, cook just until it hits 165°F internal, and avoid over-searing to prevent tough, dry bites.
2.Can I substitute a different type of honey if I don’t have wildflower honey? ▾
Absolutely! Wildflower honey has a mild, balanced floral note that works perfectly here, but clover, orange blossom, or regular raw honey will work great. Just avoid strongly flavored honey like buckwheat, which can overpower the savory garlic and soy notes and throw off the sauce’s sweet-savory balance.
3.Why use low-sodium soy sauce instead of regular soy sauce? ▾
Low-sodium soy sauce lets you control the final salt level so it doesn’t overpower the bright honey and tangy vinegar notes. If you only have regular soy sauce on hand, cut the amount by 1 tablespoon and add an extra splash of apple cider vinegar to balance the higher salt concentration.
4.How do I get the sauce to be properly sticky instead of runny? ▾
After searing your chicken, let the combined sauce simmer 3 to 4 minutes over medium heat—it thickens naturally as the honey reduces and mixes with the browned, flavorful pan bits from searing. Skip extra cornstarch unless you want an extra-thick, candy-like glaze; over-thickening will keep it from coating every bite evenly.
5.Can I use a different vinegar instead of apple cider vinegar? ▾
Apple cider vinegar adds a bright, slightly fruity tang that cuts through the richness of the honey and chicken, but unseasoned rice vinegar makes a perfect 1:1 substitute. Avoid harsh white distilled vinegar or thick balsamic, as those will either make the sauce too sharp or too dark and cloyingly sweet.
6.Is it okay to use pre-minced jarred garlic instead of fresh garlic? ▾
Fresh garlic is strongly preferred here because it has a brighter, sharper flavor that balances the sweet honey and salty soy. Pre-minced jarred garlic has a muted, sometimes slightly bitter taste from preservatives, but if that’s all you have, use 1.5 times the called-for amount to make up for lost flavor.
7.The recipe says it comes together in 20 minutes—do I need any advance prep? ▾
No special advance prep is required at all! Mince your garlic while the pan heats up to sear the chicken, mix your sauce ingredients in a small bowl while the chicken cooks, and you’ll be ready to toss everything together right as the chicken finishes searing for a fast, low-fuss weeknight meal.
8.How do I keep my chicken crispy when I toss it in the sticky sauce? ▾
Sear the chicken over medium-high heat until it develops a deep golden, crisp crust on all sides before adding any sauce, and don’t add the sauce too early. Toss the chicken in the simmering sauce for no more than 1 to 2 minutes right before serving so the crust doesn’t get soggy from sitting in liquid.
9.Can I make this honey sauce ahead of time for meal prep? ▾
Definitely! Mix all the sauce ingredients—honey, soy sauce, vinegar, minced garlic—in an airtight jar and store it in the fridge for up to 1 week. Give it a good shake before using, and pour it over seared chicken, roasted veggies, or even tofu for quick, easy meals throughout the week.
10.Is this sauce spicy? My kids are sensitive to hot food. ▾
The base recipe is not spicy at all—it has a perfectly balanced sweet, savory, tangy flavor that’s very kid-friendly, just like your favorite takeout honey chicken. If you want a little heat for adult servings, add red pepper flakes or sriracha to individual portions instead of the whole pan.
11.What are the best sides to serve with this sticky honey chicken? ▾
This dish pairs perfectly with fluffy white rice, steamed jasmine rice, or roasted broccoli to soak up any extra sauce. For a lighter option, serve it over roasted cauliflower, and top with a sprinkle of toasted sesame seeds or sliced green onion for a little extra crunch and fresh, bright flavor.

Comments (6)

2 days ago

OMG this sticky honey sauce is an absolute game changer for weeknight chicken dinners! I tossed it with some baked boneless chicken thighs last night and my two super picky kids ate every single bite, zero complaints at all. It came together in literally 15 minutes like the recipe says, and I already had every ingredient in my pantry—no last minute grocery run needed. I’m already planning to make a double batch for our neighborhood block party potluck this weekend!

yesterday

That makes us so happy to hear, Sarah! So glad your picky eaters approved—this sauce is also fantastic tossed with crispy chicken wings if you ever need an easy game day appetizer. Pro tip: add a sprinkle of sesame seeds right before serving for extra crunch!

2 hours ago

Totally agree with the potluck call! I brought this sauced chicken to my work potluck last month and people were begging me for the recipe. I added a tiny pinch of red pepper flakes for a subtle heat kick and it was perfect.

1 week ago

SO good! I do meal prep every Sunday and this sauce is now in my regular rotation. I pan fry chicken breast cubes, toss them in this honey sauce, and portion them out with rice and roasted broccoli for the work week. It holds up so well in the fridge and doesn’t get soggy at all. 10/10, no notes.

5 days ago

Love that this works for your meal prep routine, Mia! If you ever want to switch it up, you can swap a splash of the soy sauce for fresh orange juice to give it a bright citrus twist that pairs great with roasted broccoli.

3 days ago

Really tasty sauce! My only note is that I let it simmer a little too long and it got way thicker than I wanted, almost taffy consistency once it cooled. Next time I’ll take it off the heat a minute or two earlier like the recipe says, oops. Flavor was 10/10 even with my mistake, though!

2 weeks ago

I made this for my husband’s birthday dinner last week, served it over crispy fried chicken tenders with roasted sweet potatoes, and he said it was better than the takeout honey chicken we usually order! I was worried it would be too sweet, but the soy sauce and garlic balance the honey perfectly. Absolutely saving this recipe forever.

1 week ago

Oh I did the crispy chicken tender version too! Dipping them in this sauce is *chef’s kiss*, way better than any fast food honey dipping sauce I’ve ever had.

5 days ago

Happy birthday to your husband, Patty! So glad you two enjoyed it. The balance of sweet and salty is exactly what we were going for with this recipe, so it means a lot that it hit the spot for your special dinner.

30 minutes ago

Just whipped this up for lunch and wow, I’m shocked how easy it was! I’m a total beginner cook, I burn toast half the time, and this still turned out perfect. Tossed it with some frozen air fryer chicken tenders and it tastes like something from a fancy restaurant. Will be making this again for sure.

5 minutes ago

Fellow terrible cook here, can confirm! I made this last month when I was trying to impress my new roommate and he thought I ordered special takeout, lmao. The recipe is so forgiving even if you eyeball the measurements a little, no fancy skills required.

just now

Game. Changer. I’ve been buying the pre-made sticky honey sauce from the grocery store for ages and it’s loaded with weird preservatives and way too much added sugar. This homemade version is so much fresher tasting, takes barely any time to make, and I can adjust the sweetness exactly how I like it. My whole family devoured the chicken I made with this last night, even my super picky teen who turns his nose up at everything homemade. 10/10, will never buy store bought again.



