
hot dogs on stove
intro
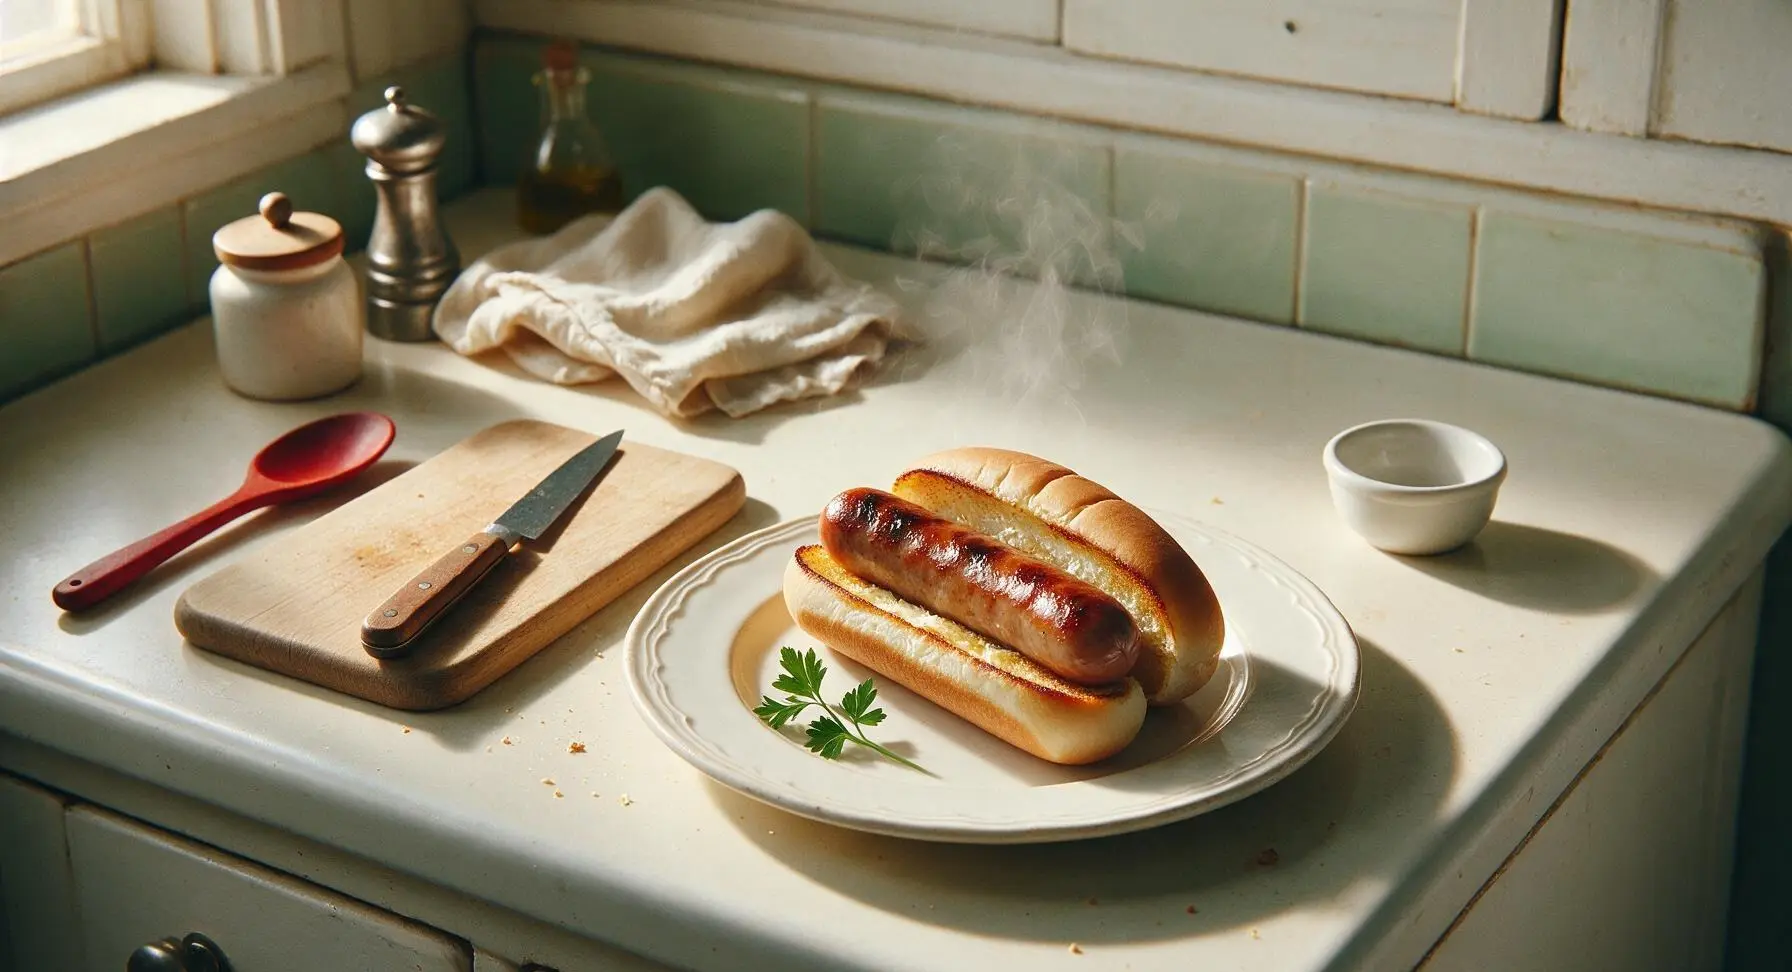
Juicy, snappy pan-seared hot dogs with butter-toasted buns, ready in under 15 minutes for a no-fuss, nostalgic, satisfying meal the whole family will love.
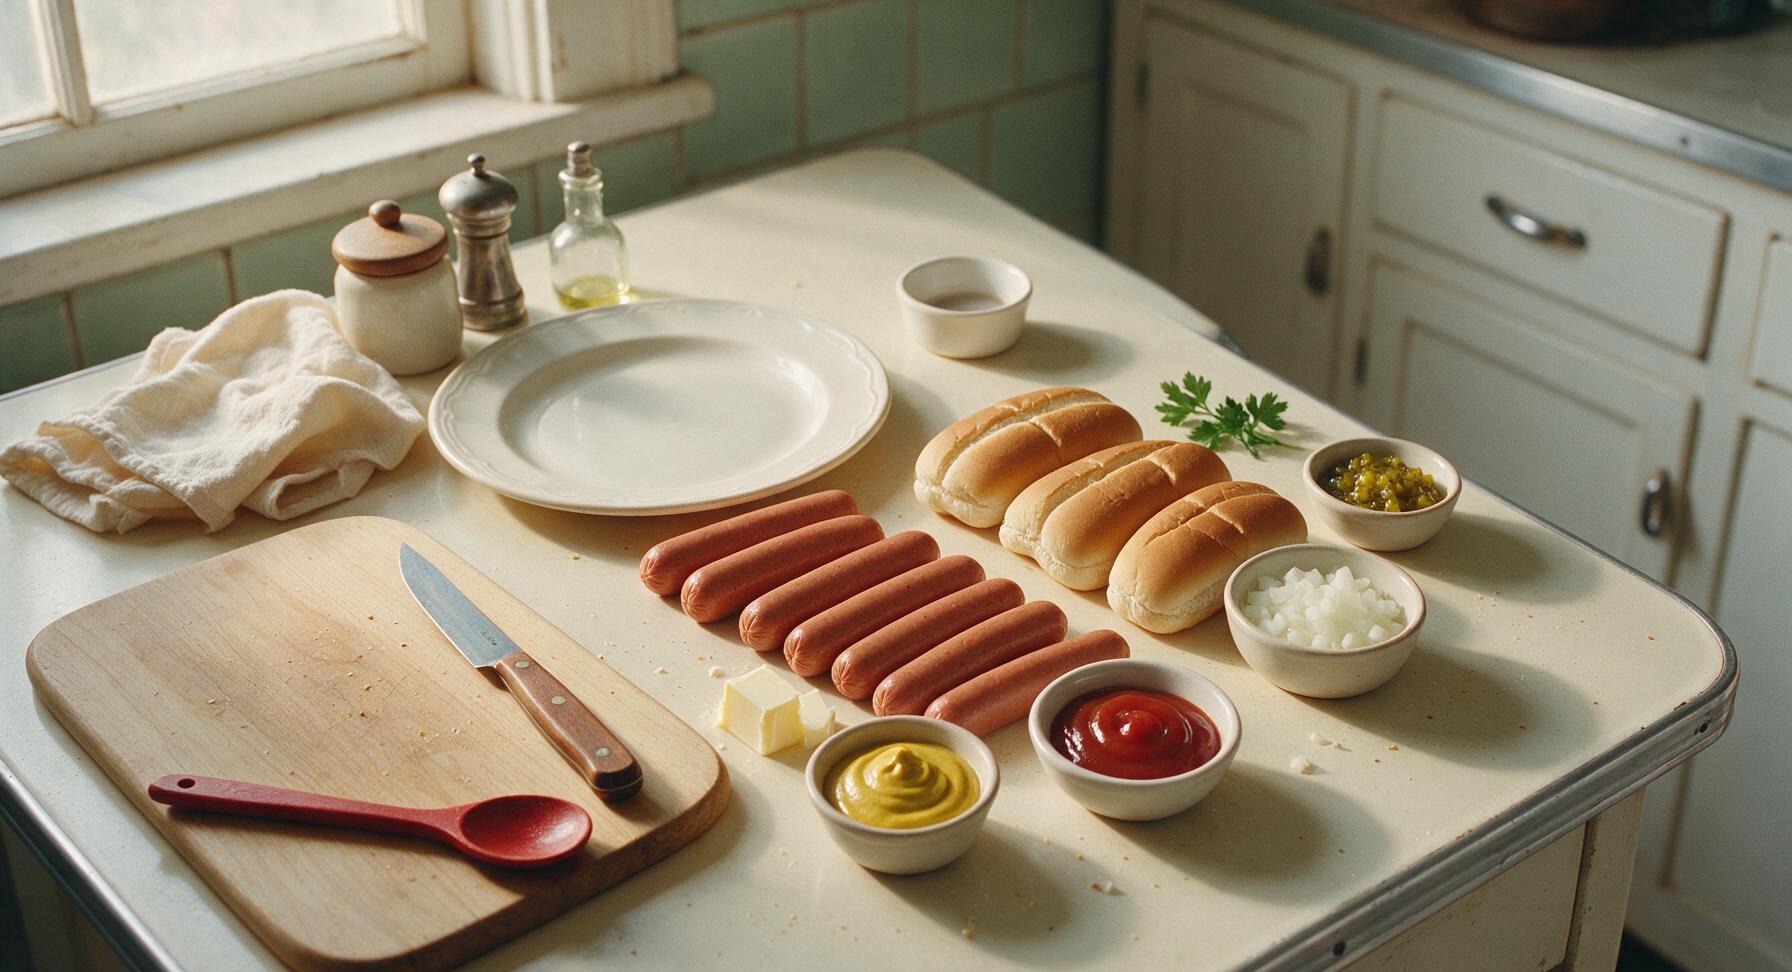
Ingredients
Steps
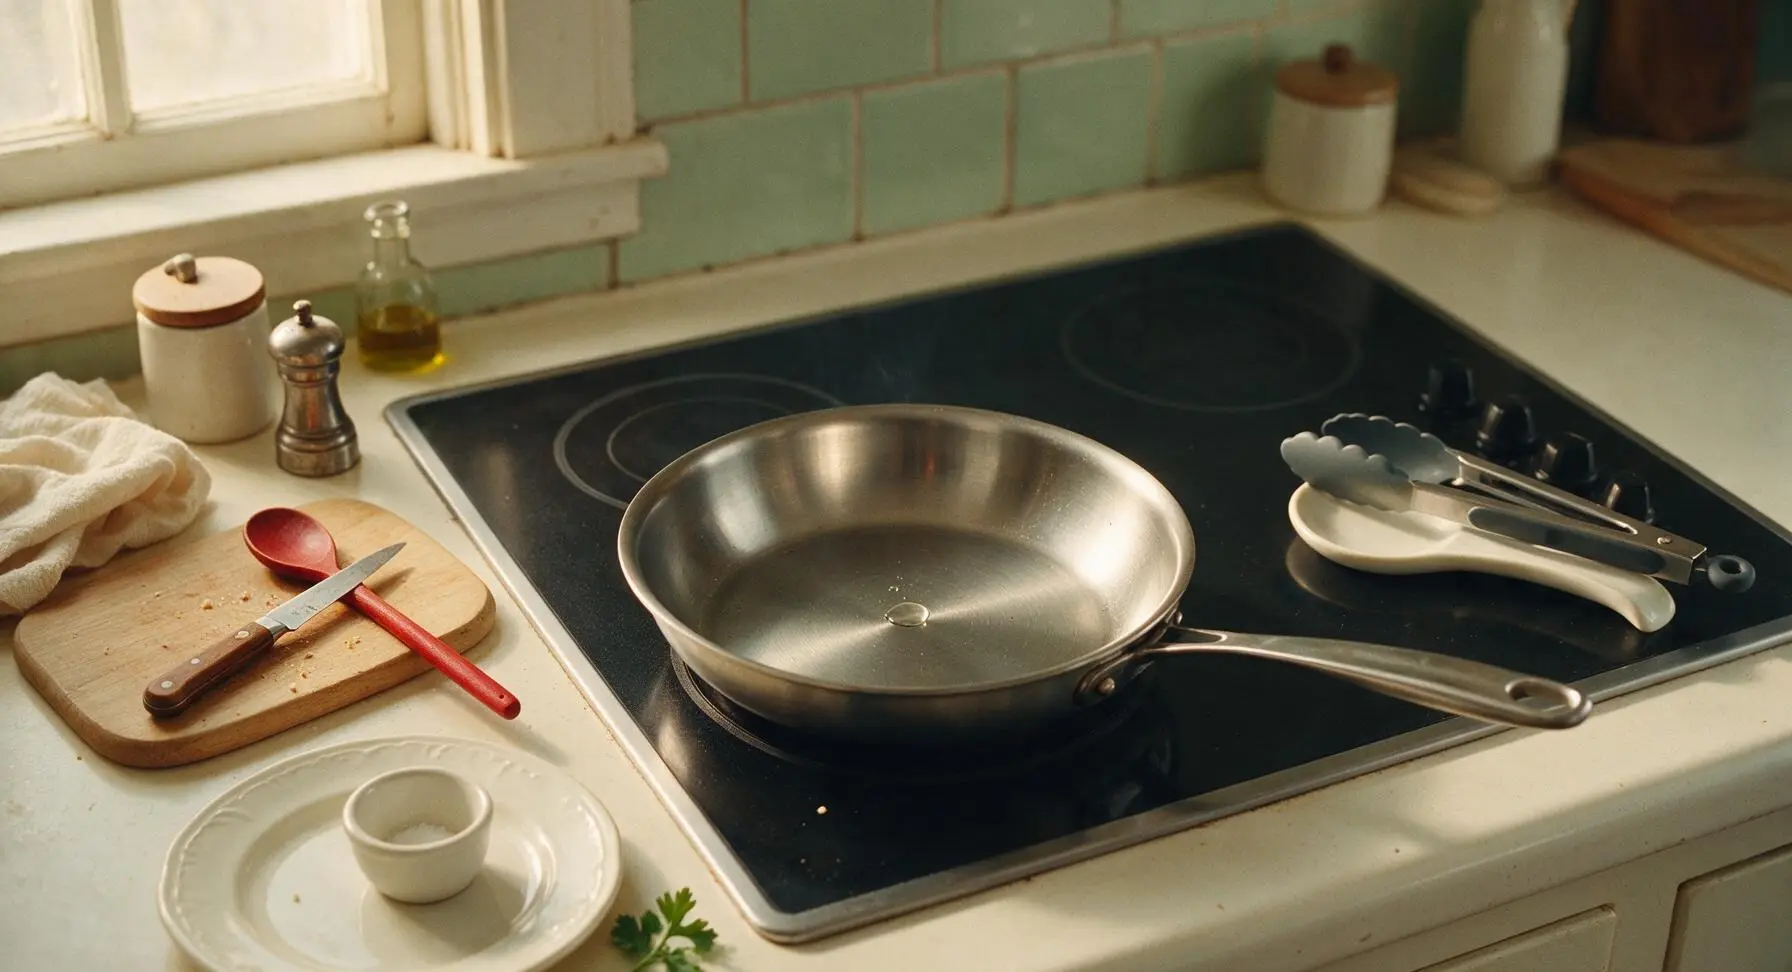
Preheat Dry Skillet
Remove the 10-inch stainless steel skillet from its rear right storage spot and place it on the center front burner of the embedded matte black glass stovetop. Heat over medium heat (350°F/175°C) for 3 minutes, until the pan is hot enough that a drop of cold water flicked onto the surface sizzles and evaporates in exactly 2 seconds. Do not add oil, butter, or hot dogs to the pan at this stage.
Score Hot Dog Surfaces
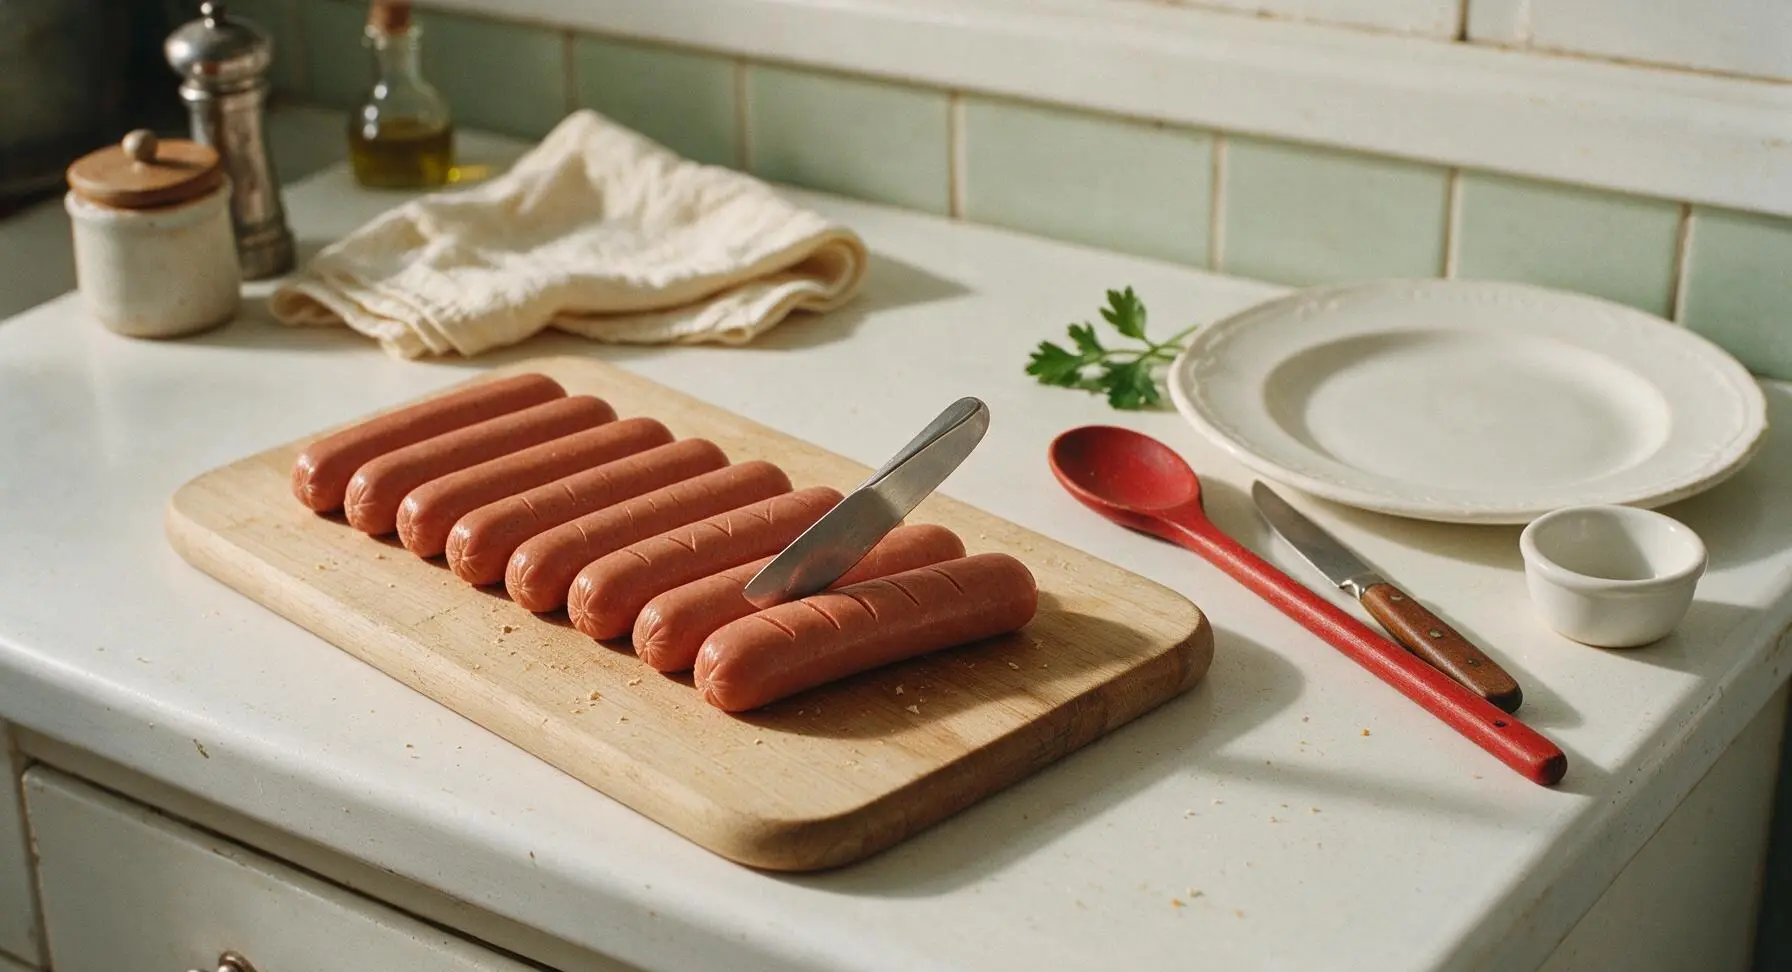
While the skillet preheats, arrange the 8 all-beef hot dogs in a single row on the fixed front-left birch cutting board. Use the 18cm stainless steel butter knife to cut 3 shallow, diagonal 1/4-inch deep slits across the top of each hot dog, spaced 1 inch apart. These slits allow steam to escape as the casings cook, preventing bursting and creating crisp, caramelized edges without letting flavorful juices run out.
Sear Hot Dogs Evenly
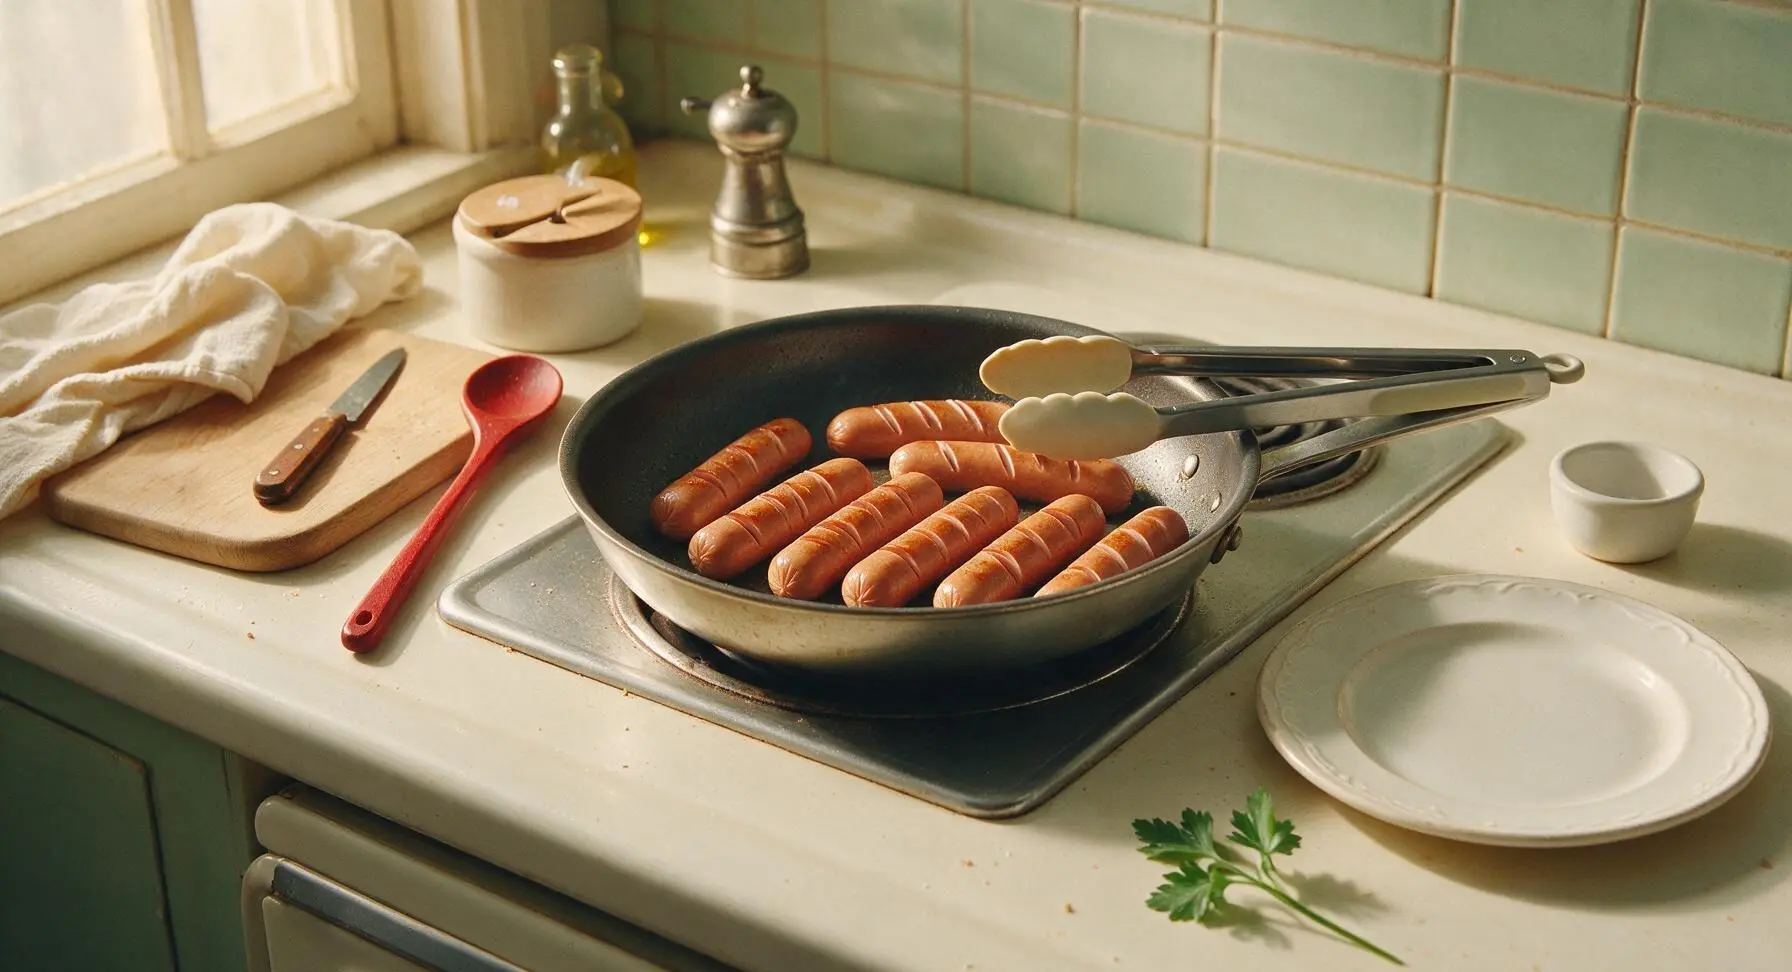
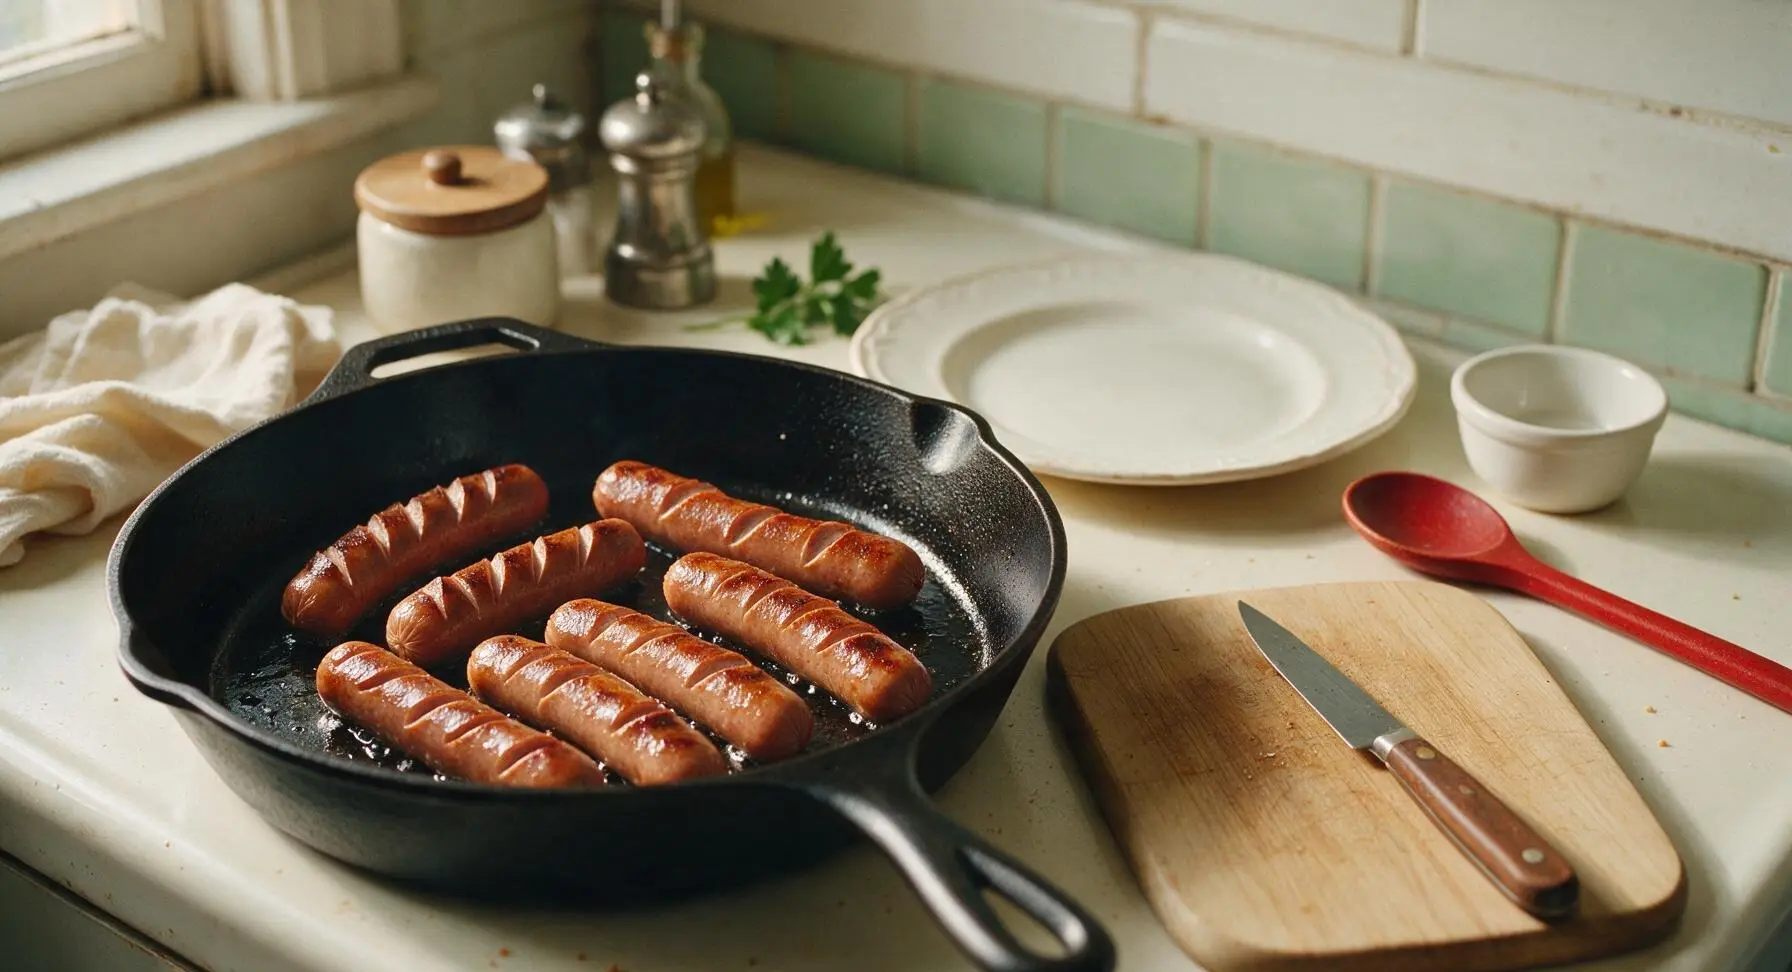
Carefully place all 8 scored hot dogs in a single layer in the preheated dry skillet. Cook for 6 minutes total, using the silicone-tipped tongs to turn the hot dogs every 90 seconds, until all sides are deep golden brown with slightly crisp, caramelized edges where the slits have opened slightly. Verify doneness with an instant-read thermometer: hot dogs are safe to eat when internal temperature reaches 160°F/71°C. If your skillet is too small to fit all hot dogs without touching, cook them in two equal batches to avoid steaming instead of searing.
Rest Cooked Hot Dogs
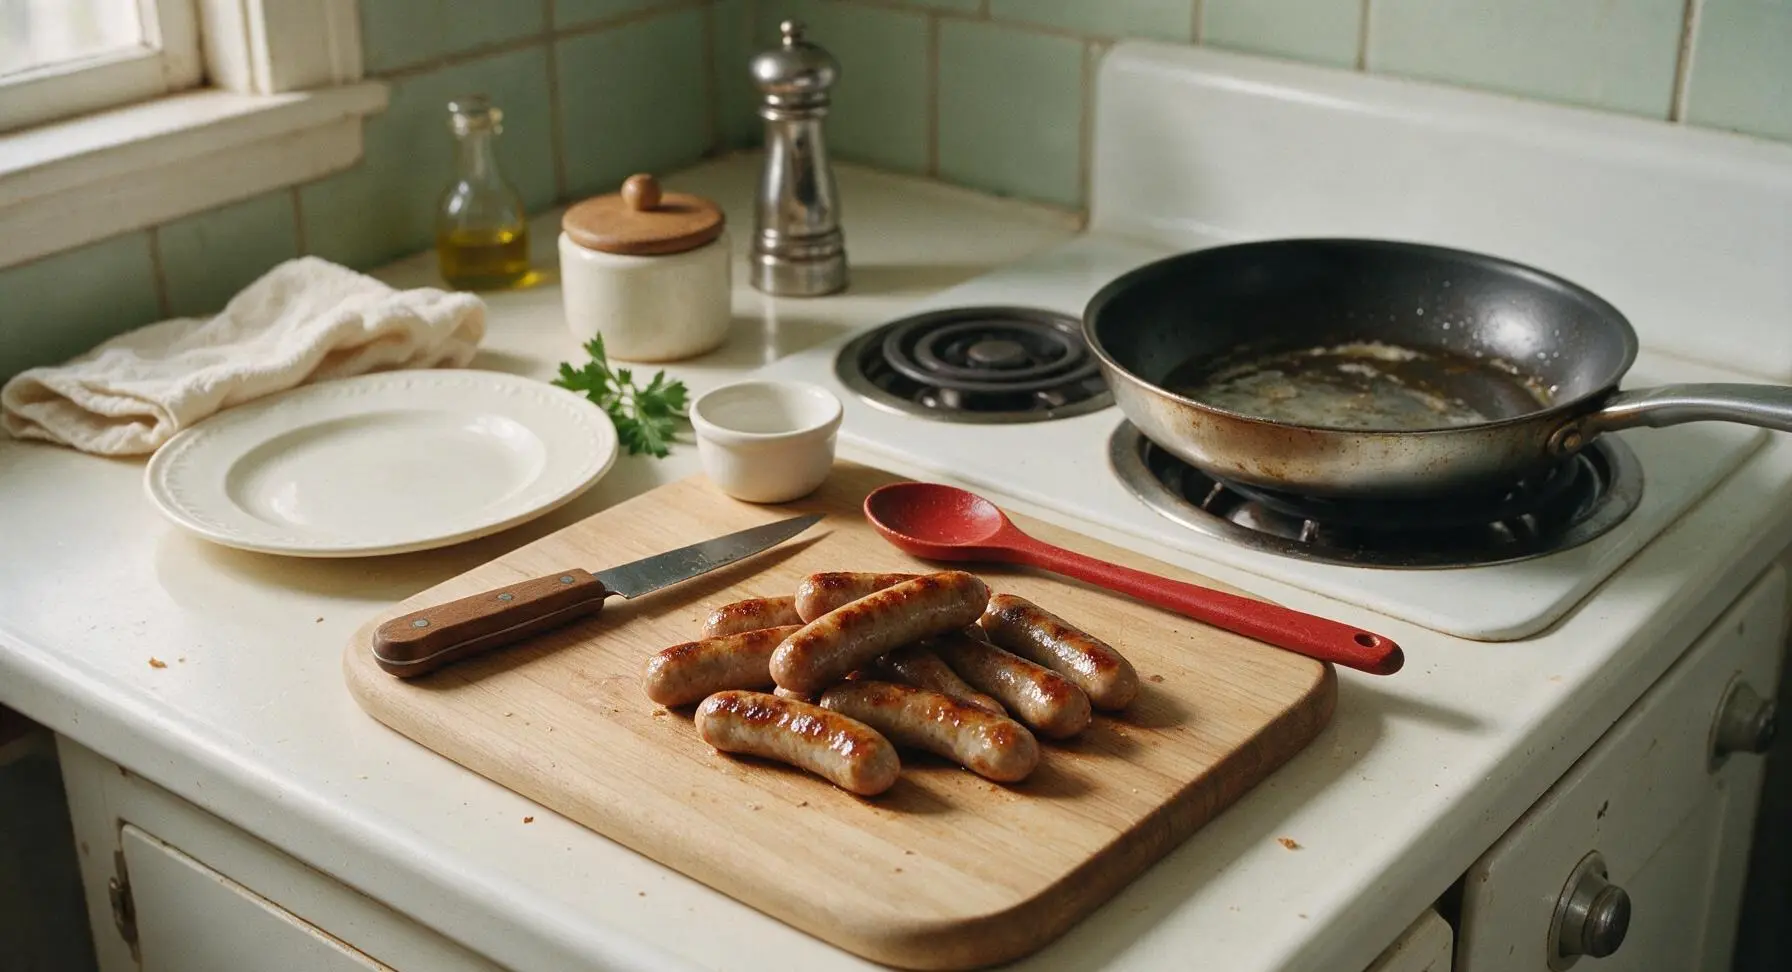
Once fully seared, use the silicone-tipped tongs to transfer all hot dogs from the skillet to the clean front edge of the birch cutting board to rest for 2 minutes. This allows the juices to redistribute inside the casings for juicier bites. Do not wipe or wash the skillet; leave the thin layer of rendered hot dog fat in the pan to toast the buns for extra savoriness.
Butter and Toast Buns
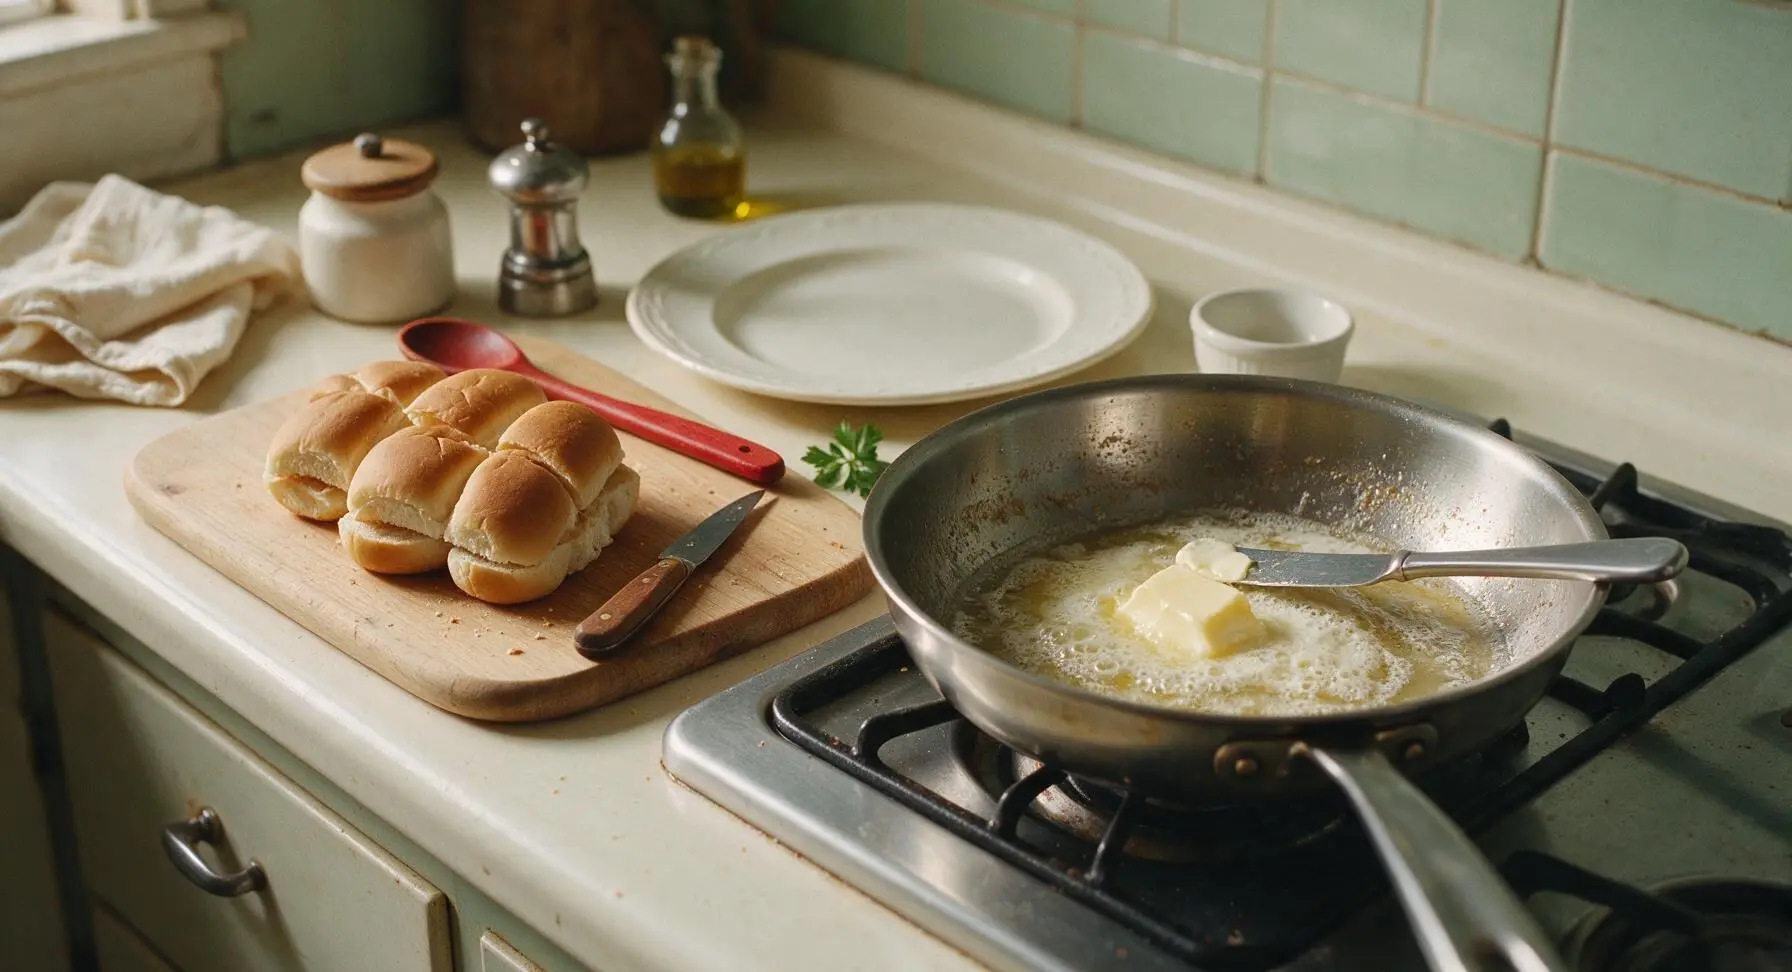
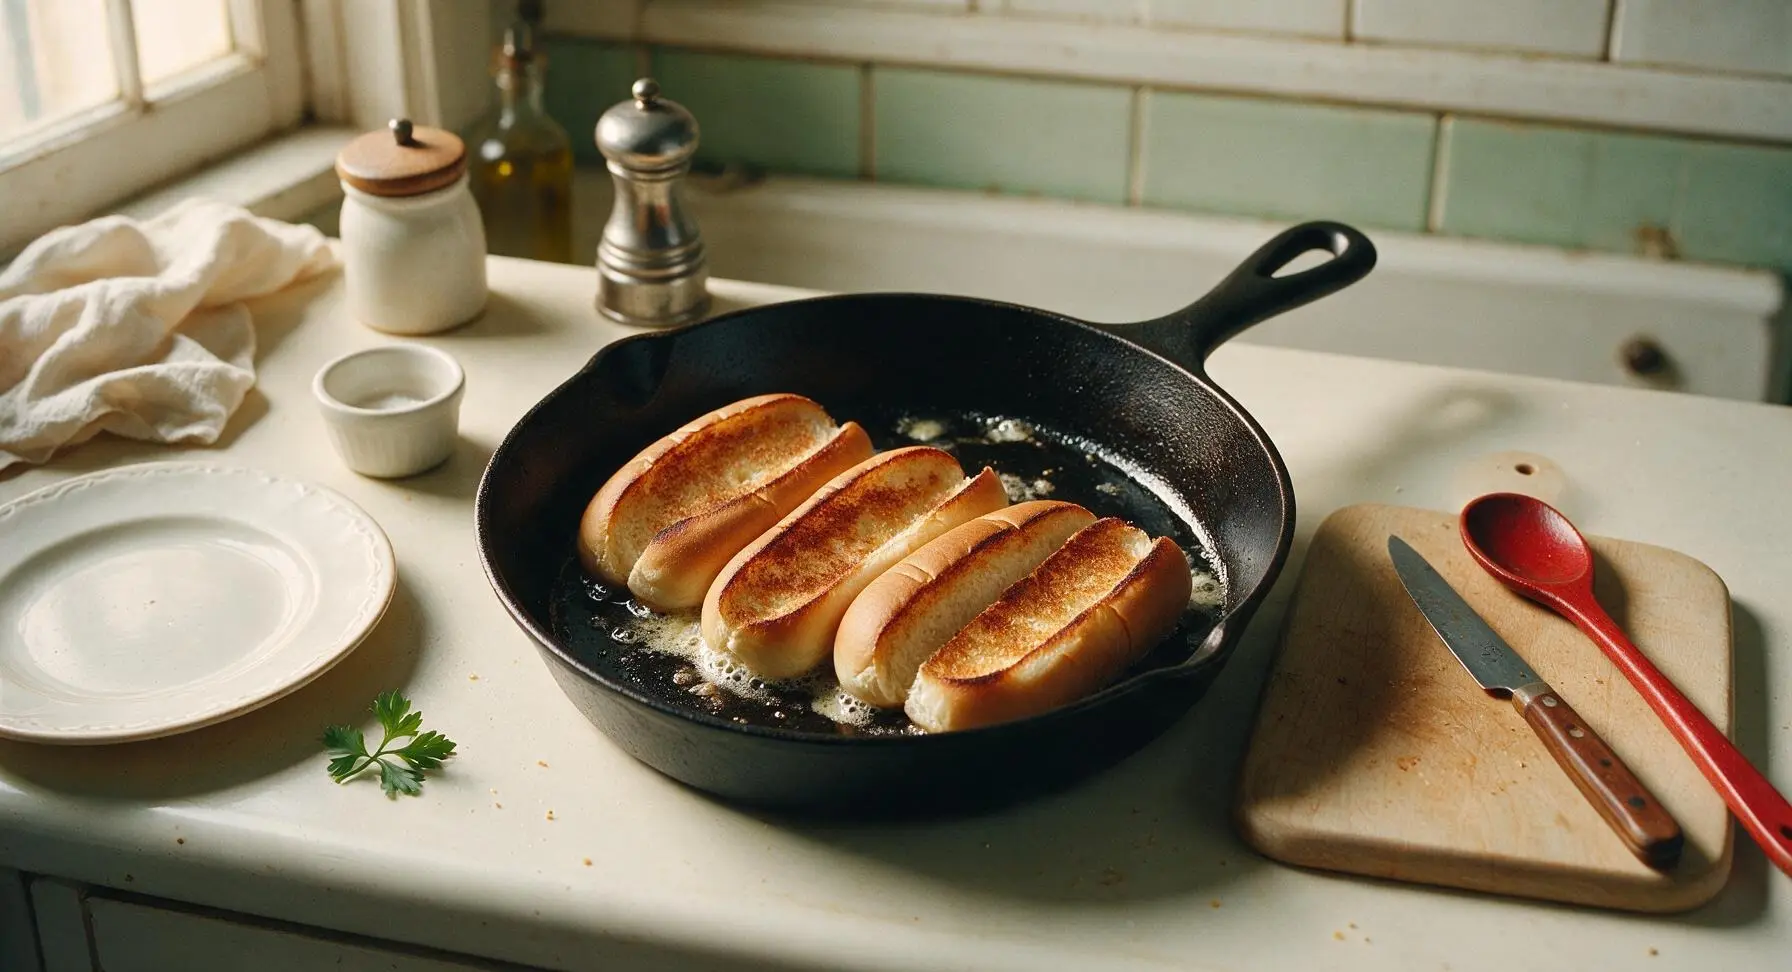
Add the 2 tablespoons of unsalted butter to the hot, fat-coated skillet, swirling the pan gently as the butter melts and foams to spread it evenly across the surface. Place the split hot dog buns cut-side down in the melted butter and fat mixture. Toast for 45-60 seconds, until the cut surface is light golden brown and slightly crisp, watching closely to avoid burning the delicate bread.
Assemble Hot Dog Buns
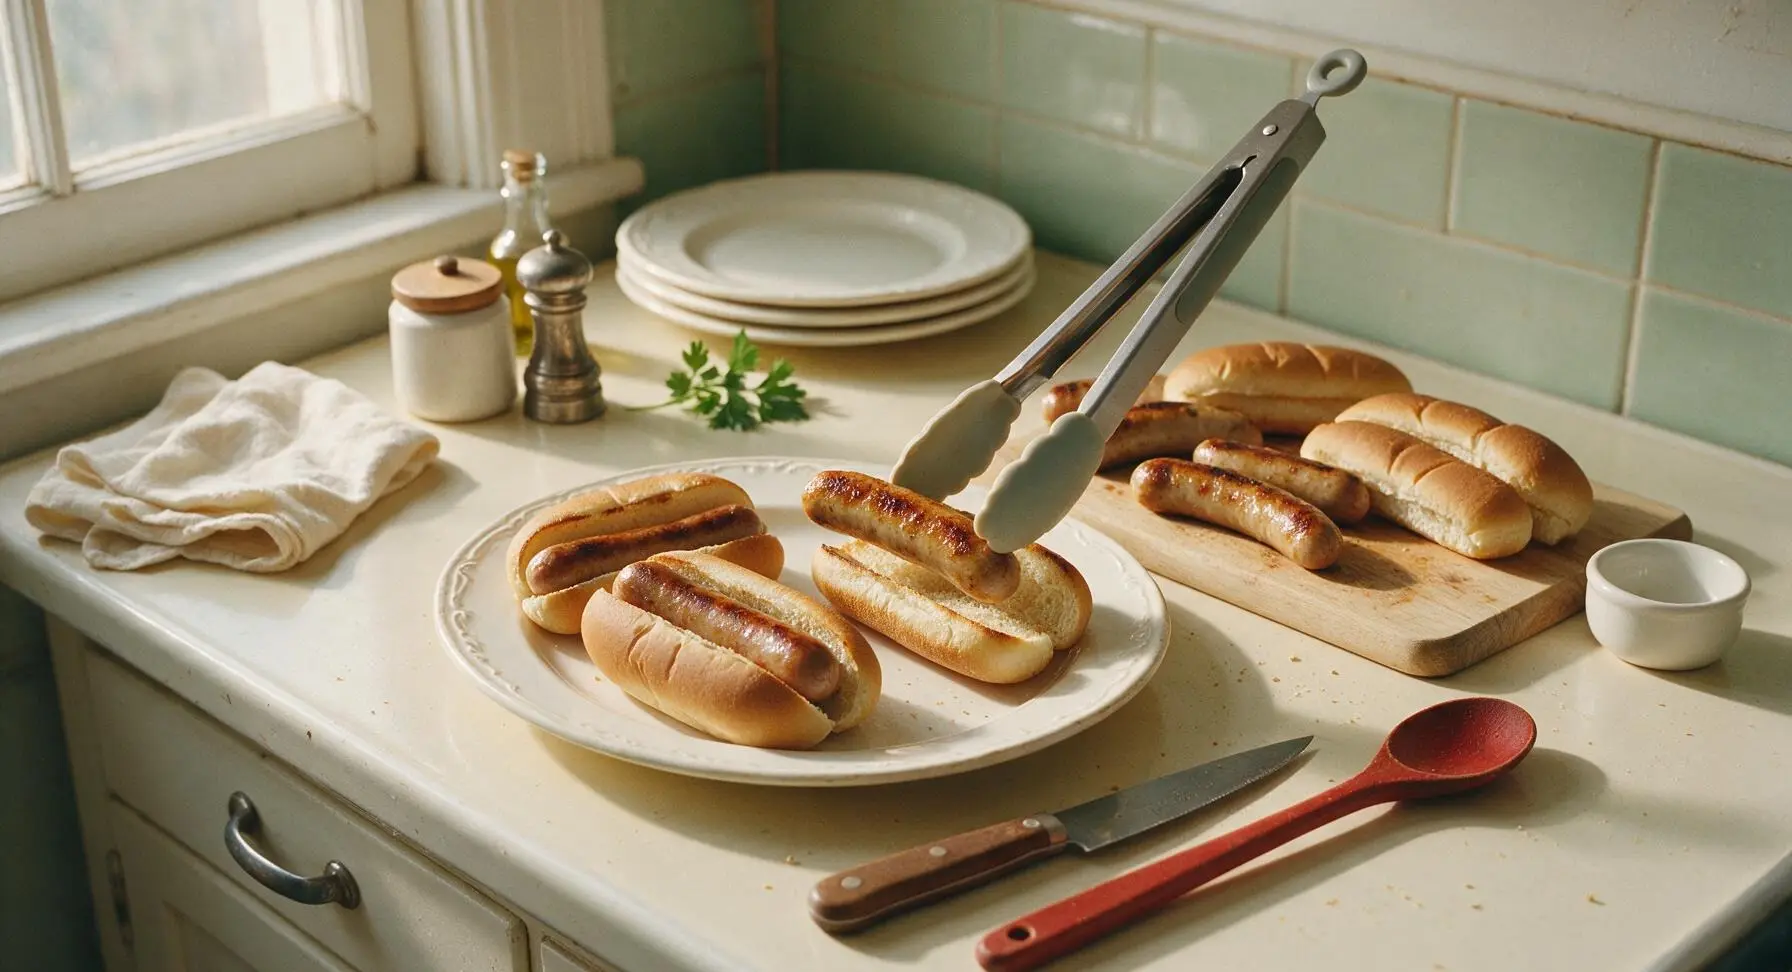
Use the silicone-tipped tongs to lift the toasted buns from the skillet, placing them on the top matte cream ceramic dinner plate pulled from the rear left stack. Tuck one seared, rested hot dog into each toasted bun, nestling it firmly into the soft, warm bread so it sits securely.
Add Condiments and Serve
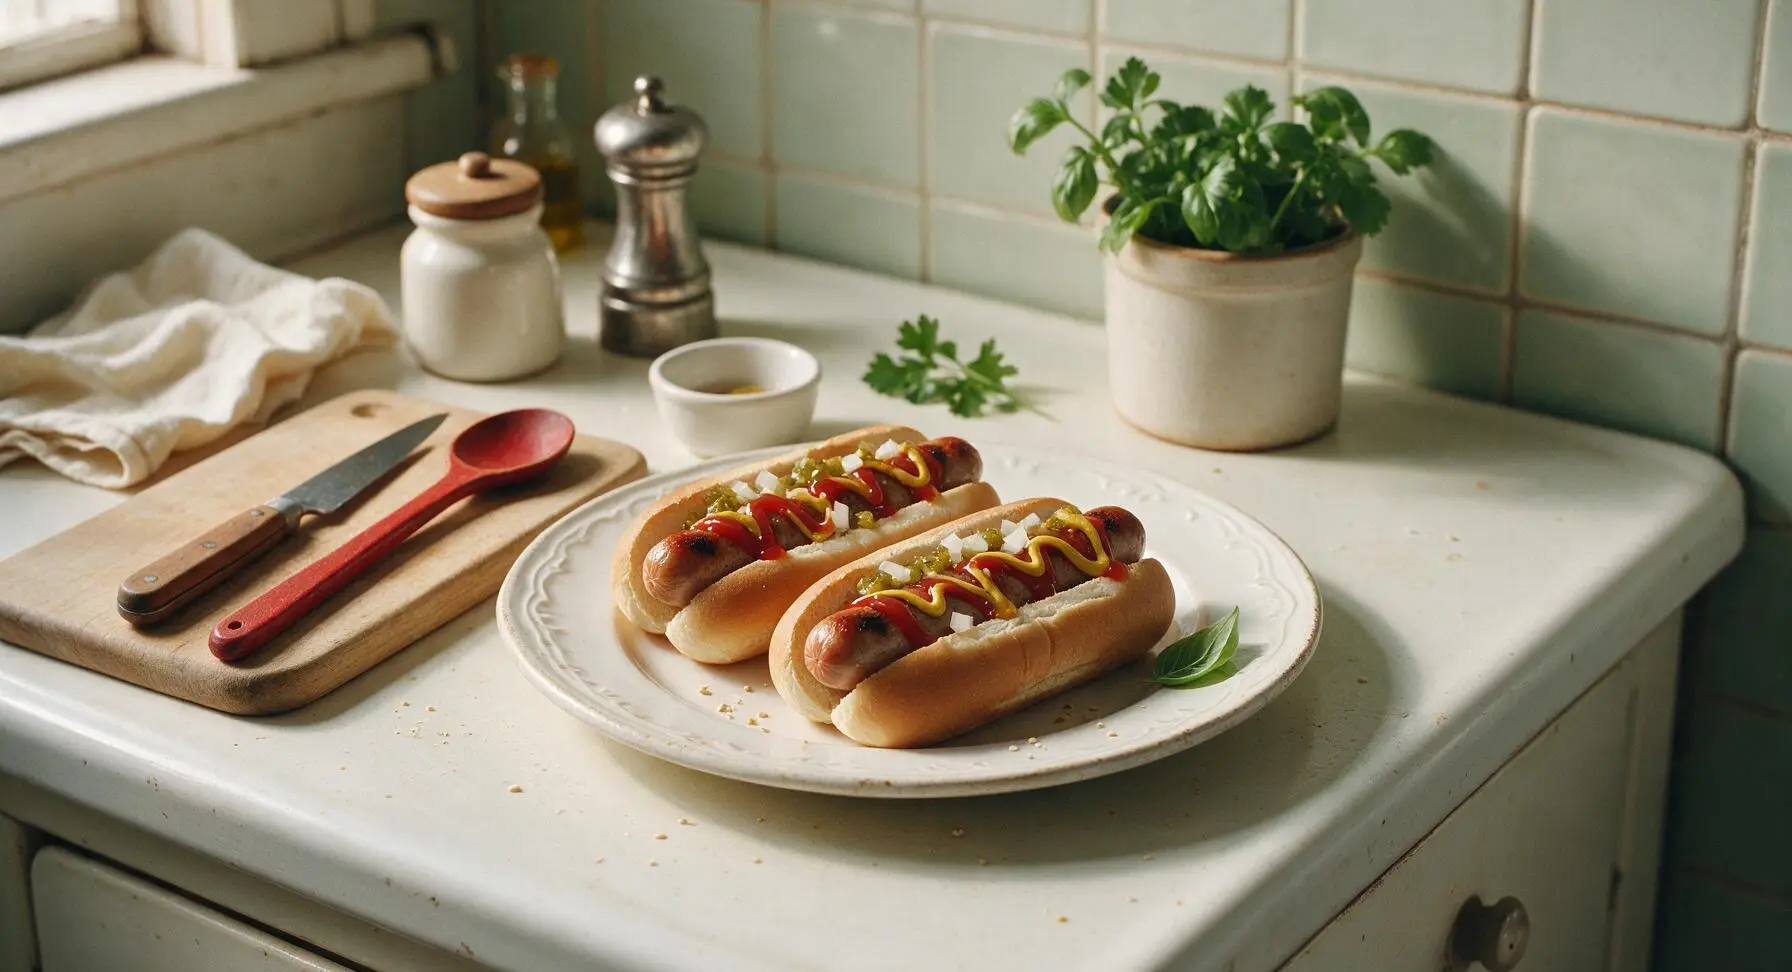
Drizzle 1 tablespoon of ketchup and 1/2 tablespoon of yellow mustard in a thin zig-zag pattern across the top of each assembled hot dog. Top with 1 tablespoon of diced white onion and 1 tablespoon of sweet pickle relish per serving if desired. Serve immediately while the buns are crisp and the hot dogs are juicy and hot.
Tips
2.Don’t press down on the hot dogs with the tongs while they cook: squeezing the casings pushes out all the juicy rendered fat and flavorful juices, leaving you with dry, bland hot dogs instead of juicy, snappy ones.
3.For extra flavor, add a pinch of garlic powder or a sprinkle of smoked paprika to the melted butter before toasting the buns: the warm spices will stick to the buttered bread and add a subtle smoky depth that pairs perfectly with the beef hot dogs.






Wait, I always boil my hot dogs because I thought pan searing would make them too crispy? Tried this last night for our quick weeknight dinner and OMG, the char on the outside is *chef’s kiss*. My 7 year old asked for seconds before he even finished his first! Game changer for busy school nights.
Perfect for my tiny dorm kitchen! No grill, no fancy equipment, just a pan and 7 minutes exactly like the recipe says. Made a big batch on Sunday to eat throughout the week between classes, and they hold up way better than I thought they would. 10/10 for easy, cheap meals.
Brought these to our neighborhood block party last weekend and people were asking me for the recipe left and right! I set out a little topping bar with chili, cheese, sauerkraut, and relish, and the crispy seared outside held up to every topping way better than grilled or boiled dogs ever do. Will absolutely be making these again for our next cookout.
This is so easy but why did I never think to do this?? I added a little dash of garlic powder and cayenne to the pan while they cooked and it was *chefs kiss*. Only thing is I cooked mine on too high heat first and the outside burnt before the inside was warm, oops. Turned it down to medium and they came out perfect the second batch.
Told my kids we were having ‘gourmet pan-seared franks’ for dinner instead of regular hot dogs and they thought I was a fancy chef. Little do they know it took me 7 minutes total and zero skill. They ate every last bite, even the picky one who usually complains about hot dog casings. Win for dad dinner night!
So happy this recipe is naturally gluten free as long as you pick the right dogs! I used my go-to beef franks, seared them up, and served them on GF buns with caramelized onions. It’s such a quick, safe meal for my celiac kiddo and the whole family devoured them. No weird cross-contamination risks from a public grill either, which is a huge plus.
7 minutes? Sign me up. I don’t have the patience for fancy weeknight meals, and these came out crispy, juicy, way better than the microwaved hot dogs I’ve been eating since college. I didn’t even add any extra seasonings and they were still SO good. 10/10 for minimal effort, maximum flavor.
Made these for my husband’s lunch today and he said they’re better than the ones we get at the local ballpark! I served them with baked beans and coleslaw on the side, classic summer lunch even when it’s too rainy to grill outside. Will be adding this to our regular rotation for sure.
Great base recipe! I tried this with turkey hot dogs to cut down on red meat, and they seared up just as nicely as the beef ones. My only note is that turkey dogs needed about an extra minute on the pan to get that same char, otherwise they were a little pale. Still super tasty though!
I’m literally the worst cook ever, I burn toast 50% of the time, and I didn’t mess these up! They were juicy, crispy, not burnt at all, and my roommate thought I ordered takeout. If I can make these, literally anyone can. No notes, 10/10.
Grew up on Chicago style dogs, and this pan sear method gets that perfect snap you want from a dog without having to track down a Vienna Beef stand. Loaded mine up with sport peppers, neon relish, mustard, and celery salt, tasted just like home. Would recommend to anyone who loves a good snappy dog.
These are good for a quick treat, but way too salty for my taste. I used low-sodium hot dogs but the high heat searing seemed to concentrate the salt more than boiling does. Probably won’t make them super often, but they were fine for a quick dinner when I didn’t have anything else in the fridge.