
instant pot chicken stir fry

title 1
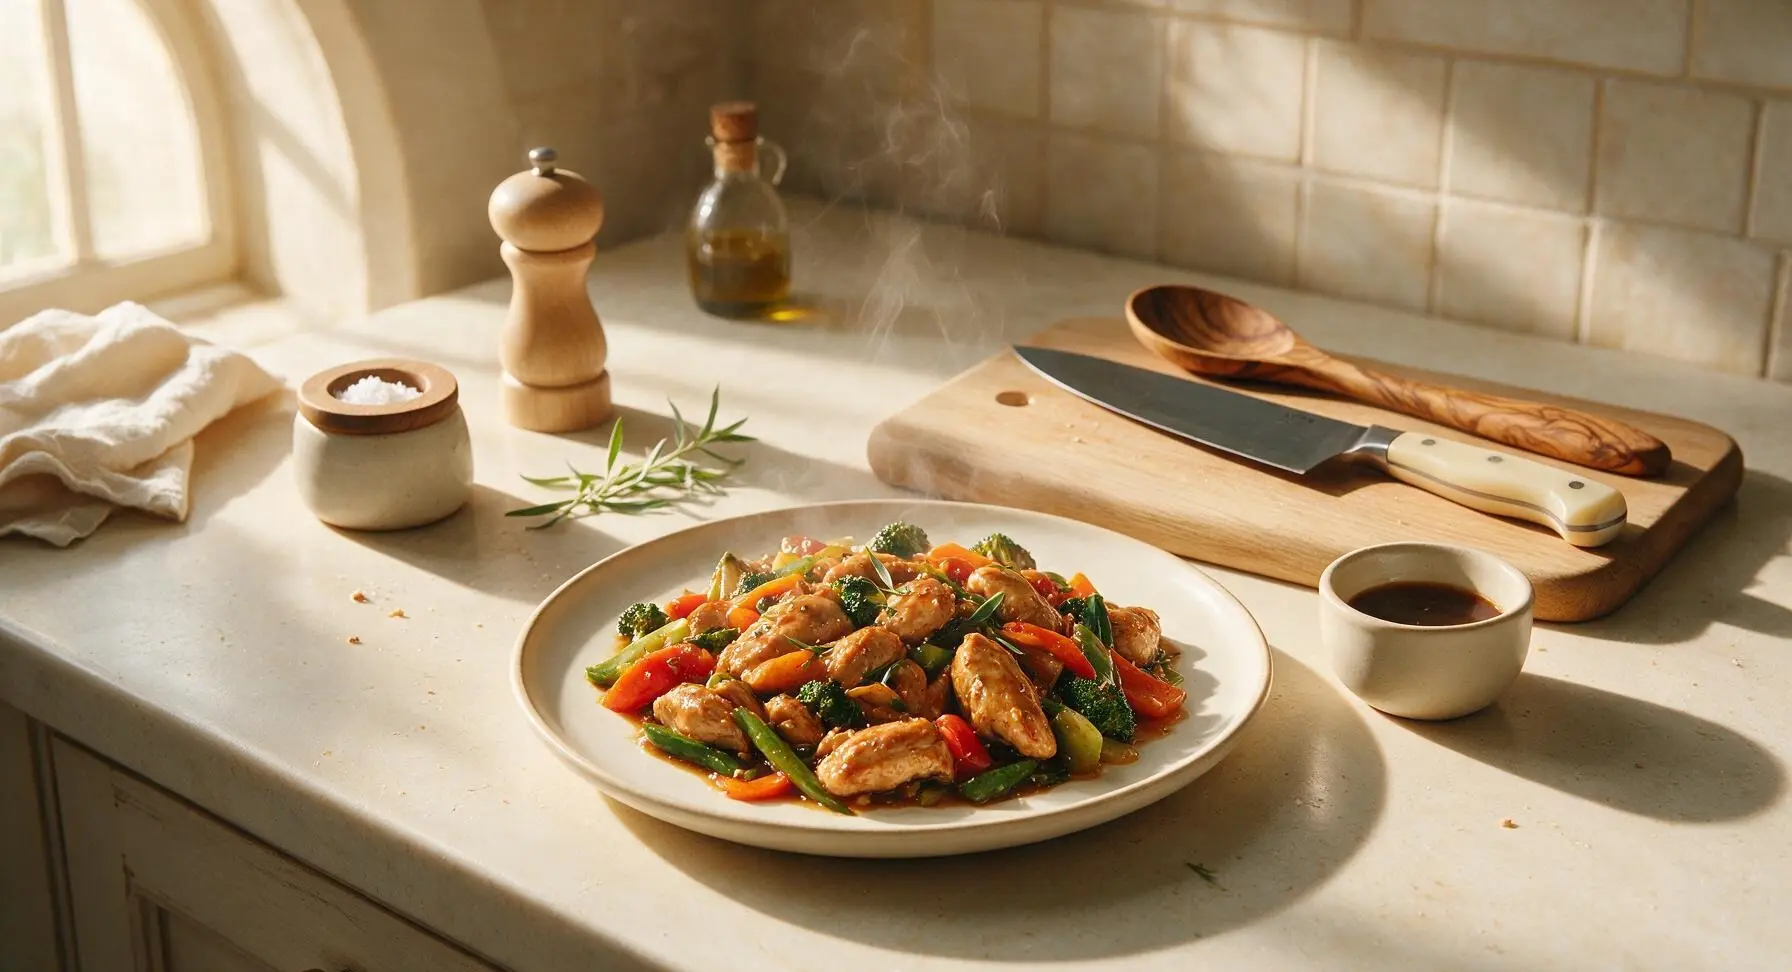
instant pot chicken stir fry
⏱️ cook time 15 minutes
🍽️ servings 4
⚡ Difficulty easy

intro

Tender juicy chicken and crisp-tender veggies coated in glossy umami stir fry sauce, made fast in the Instant Pot for a no-fuss, flavorful weeknight meal with no wok required.

Ingredients
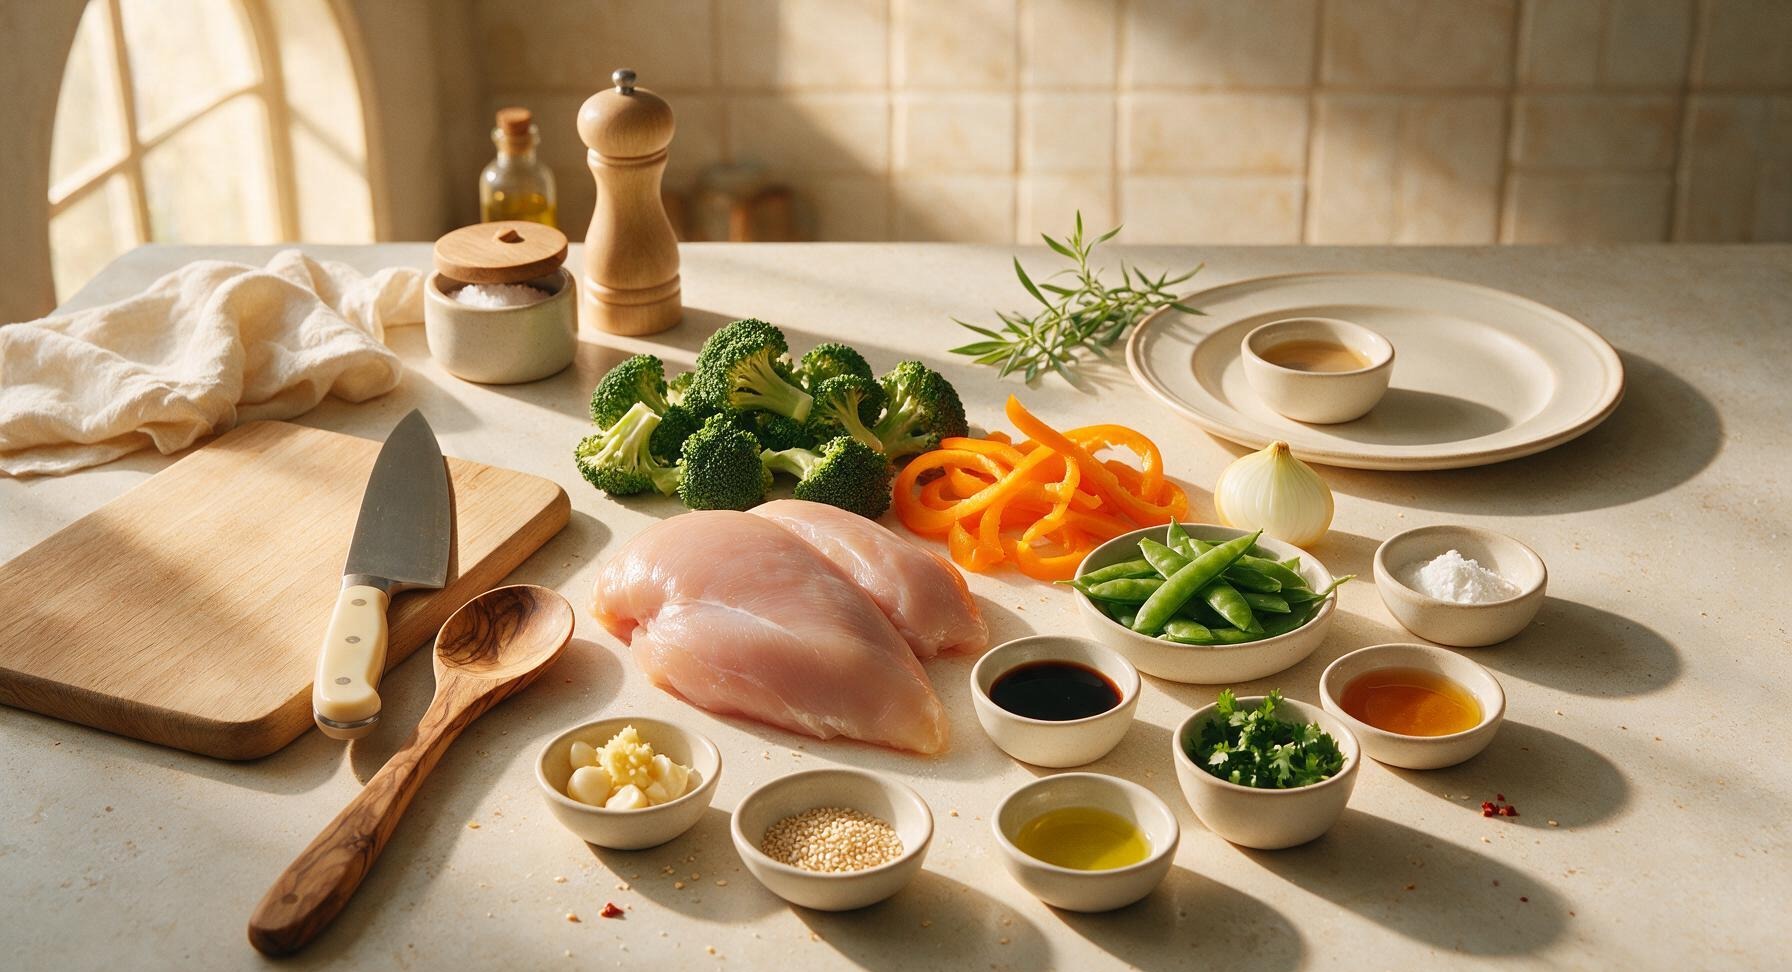
Boneless skinless chicken breast 1.5 lbs (680g)
Broccoli florets 2 cups
Orange bell pepper, sliced 1 medium
Sugar snap peas, trimmed 1 cup
Yellow onion, sliced 1 small
Garlic, minced 3 cloves
Fresh ginger, grated 1 tsp
Low-sodium soy sauce 3 tbsp
Honey 1 tbsp
Toasted sesame oil 1 tsp
Cornstarch 1 tbsp
Rice vinegar 1 tbsp
Red pepper flakes 1/4 tsp
Toasted sesame seeds 1 tbsp
Avocado oil 1 tbsp
Fresh cilantro, chopped (garnish) 2 tbsp

Steps

1

Cut Chicken and Veggies

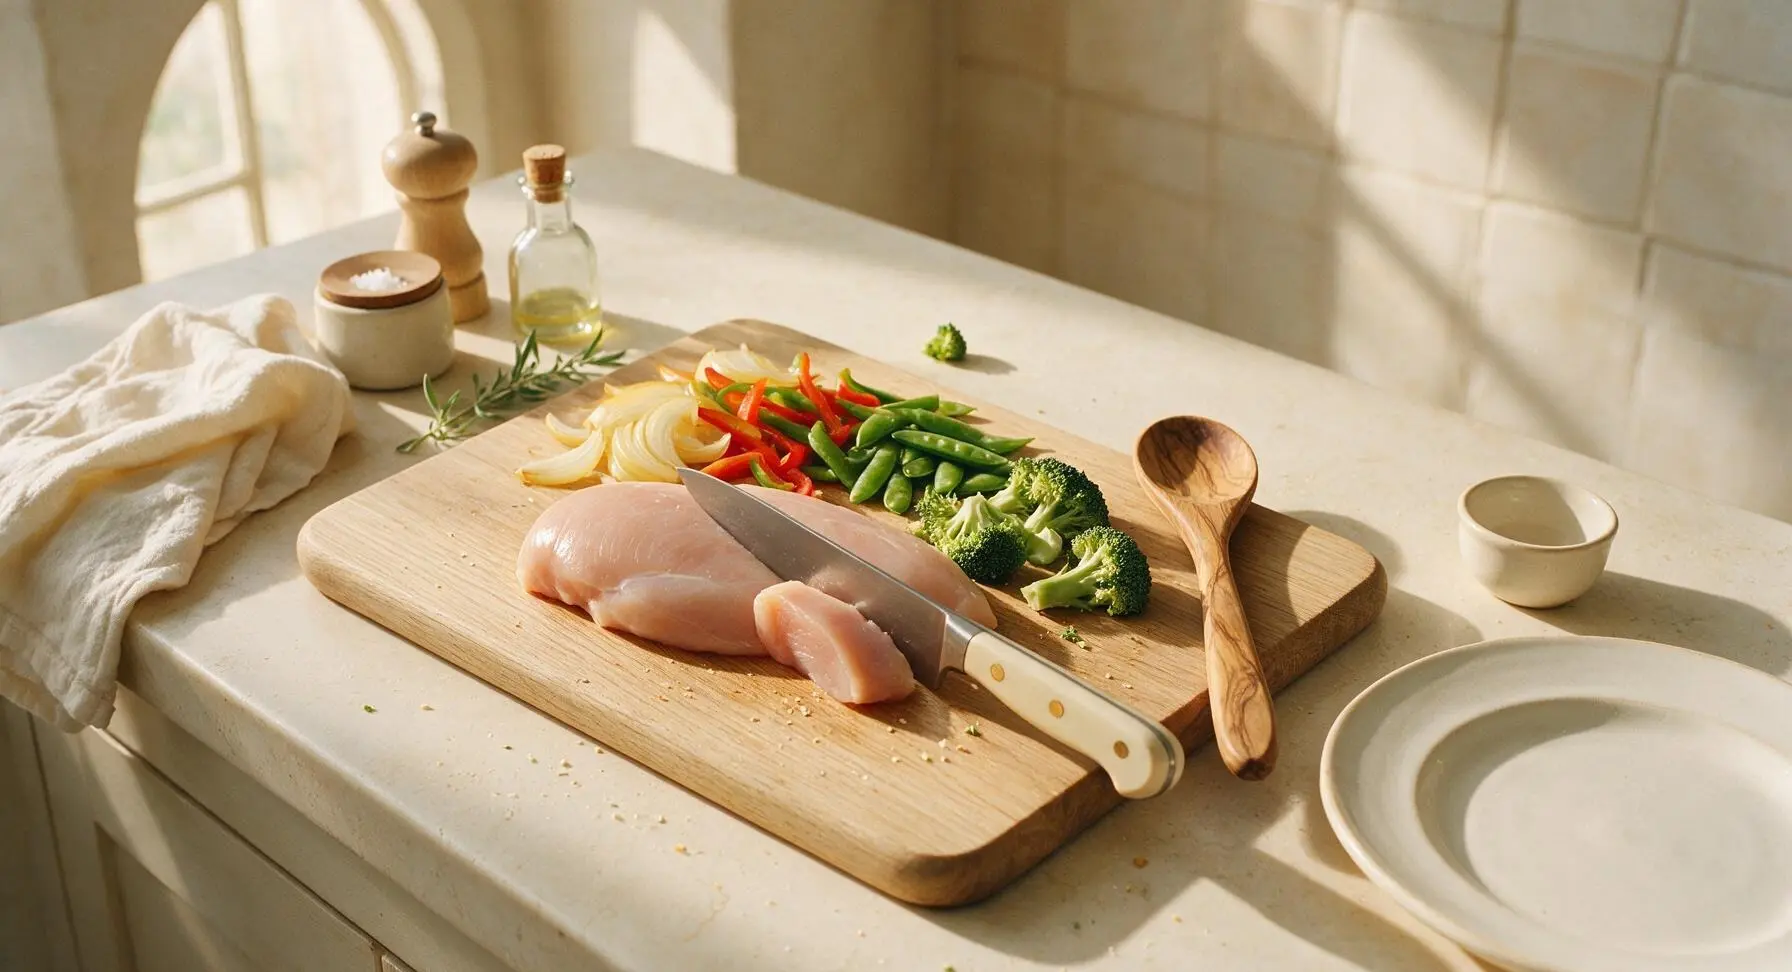
Place the raw chicken breast on the acacia wood cutting board. Using the chef knife, cut chicken into uniform 1-inch bite-sized pieces, discarding any excess fat or silver skin. Next, cut the broccoli into 1-inch florets, slice the bell pepper into 1-inch strips, trim the ends off the sugar snap peas, and slice the yellow onion into 1/2-inch half-moons. Keep all prepped items separate on the cutting board, ensuring pieces are evenly sized for consistent cooking.
Step 1
step1:Cut Chicken and Veggies
2

Mix Stir Fry Sauce

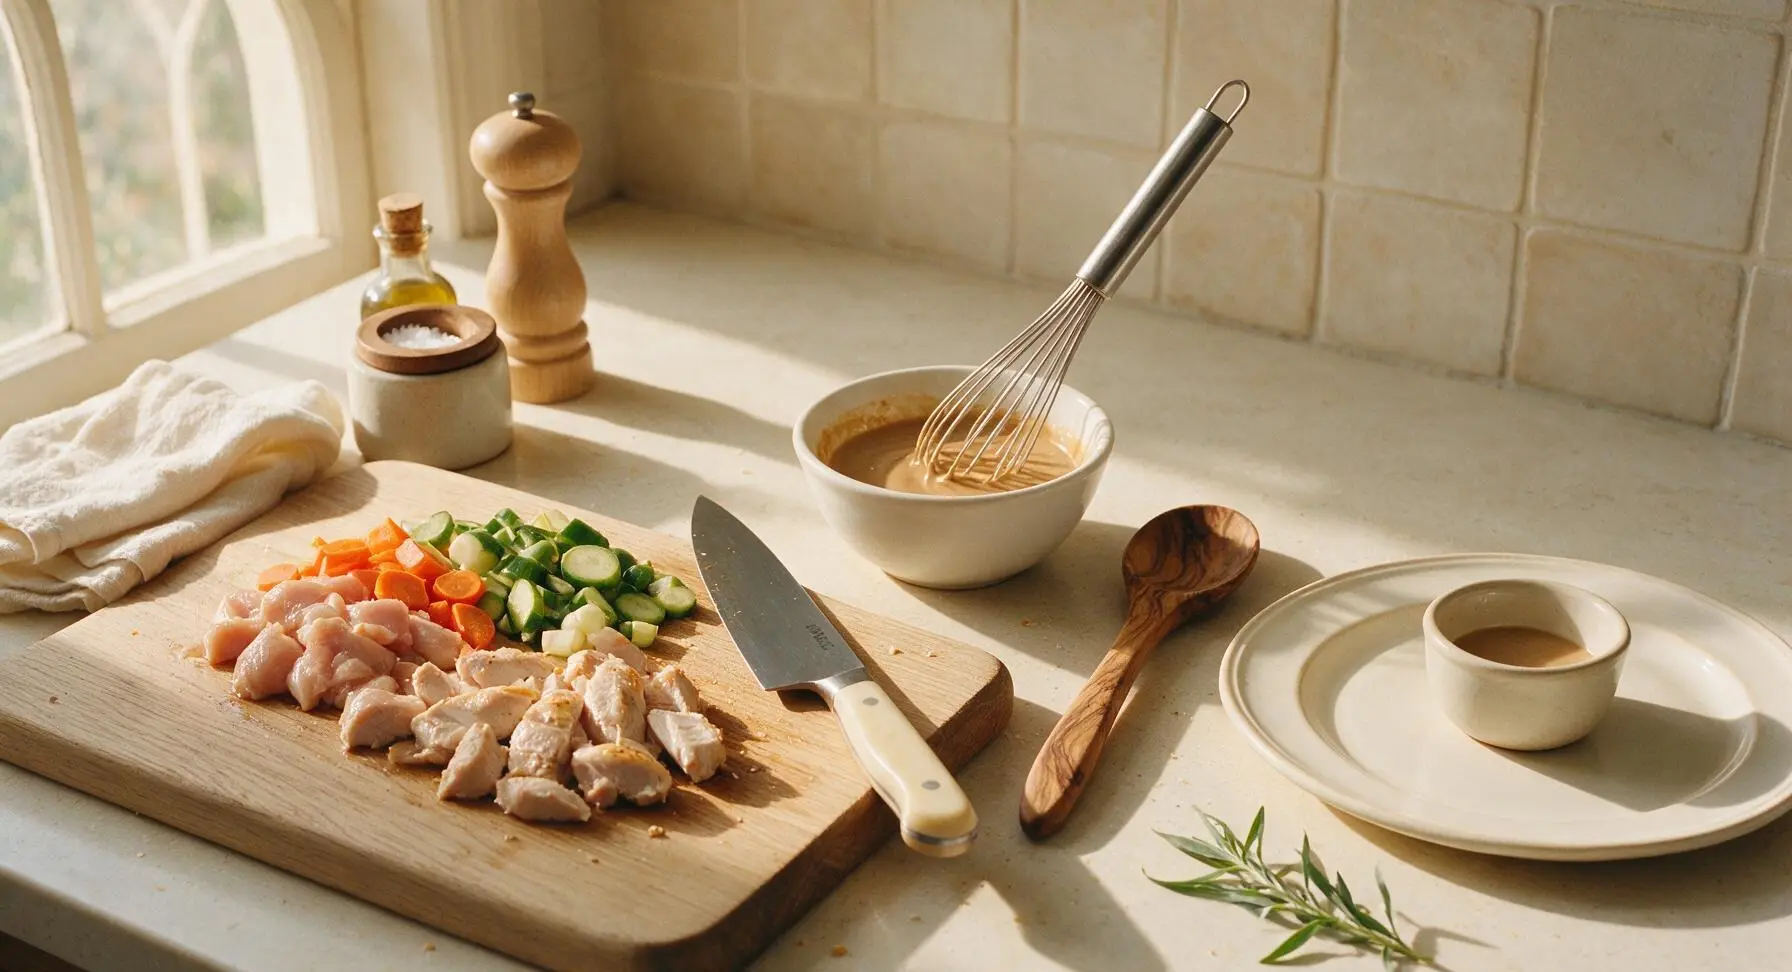
In one of the small matte white prep bowls, combine 3 tbsp low-sodium soy sauce, 1 tbsp honey, 1 tsp toasted sesame oil, 1 tbsp rice vinegar, 1/4 tsp red pepper flakes, 1 tbsp cornstarch, minced garlic, and grated ginger. Whisk thoroughly with the stainless steel wire whisk until the cornstarch is fully dissolved and no lumps remain, creating a smooth, light brown sauce. Set the bowl aside until needed.
Step 2
step2:Mix Stir Fry Sauce
3

Sauté Chicken Pieces

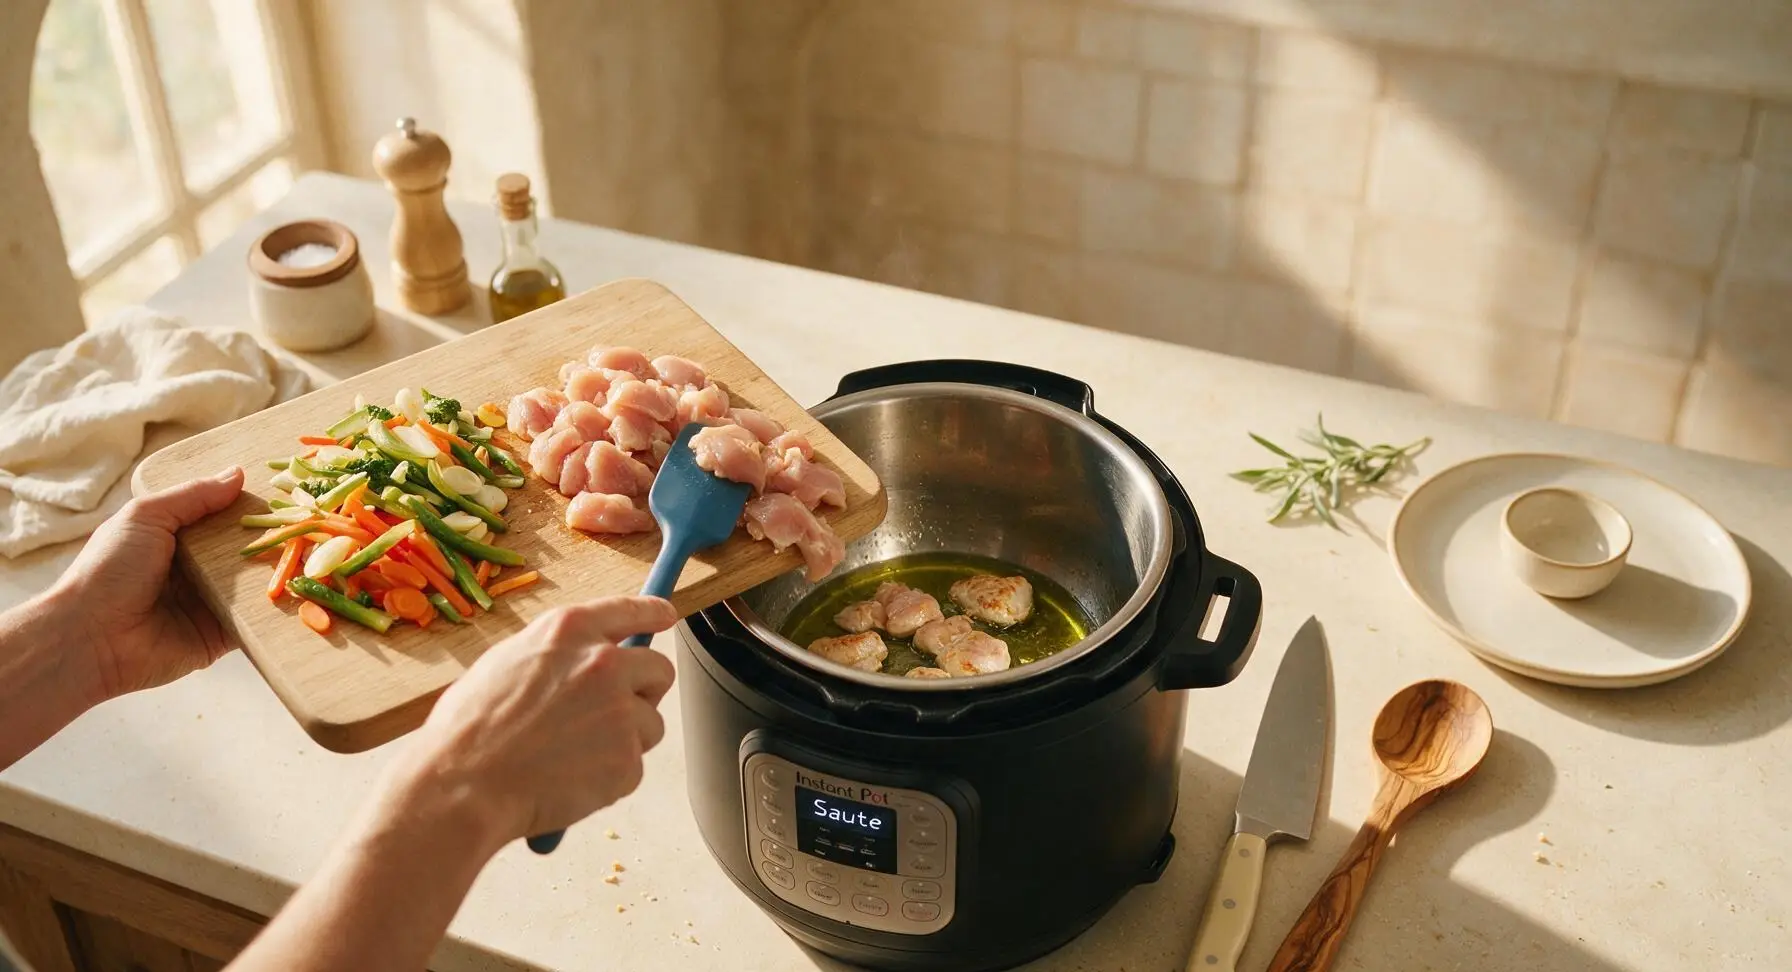
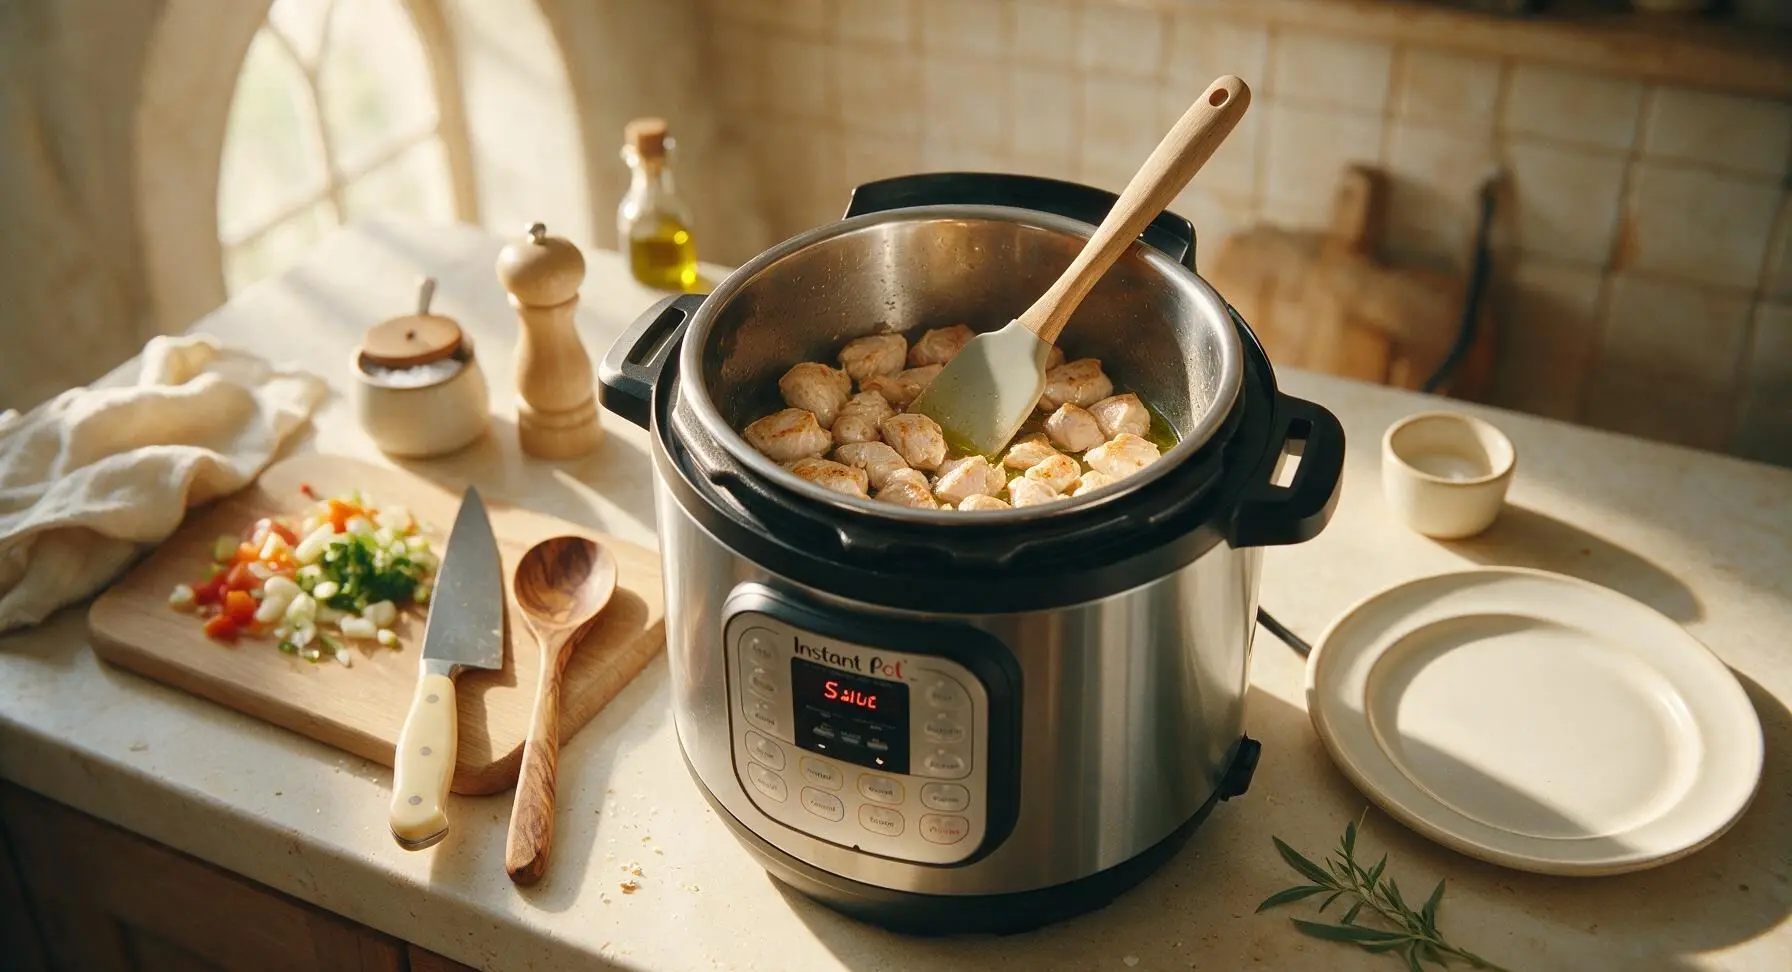
Position the Instant Pot in the center of the counter, plug it in, place the stainless steel inner pot into the housing, and select the 'Sauté' function on normal heat. Add 1 tbsp avocado oil to the inner pot, and wait 1 minute for the oil to shimmer. Add the cut chicken pieces in a single layer, season lightly with a pinch of kosher salt and fresh black pepper, and cook for 3 minutes, stirring occasionally with the silicone spatula, until the chicken is lightly golden on all sides but not fully cooked through (internal temperature ~145°F at this stage).
Step 3
step3:Sauté Chicken Pieces
Step 3
step3:Sauté Chicken Pieces
4

Add Veggies and Sauce

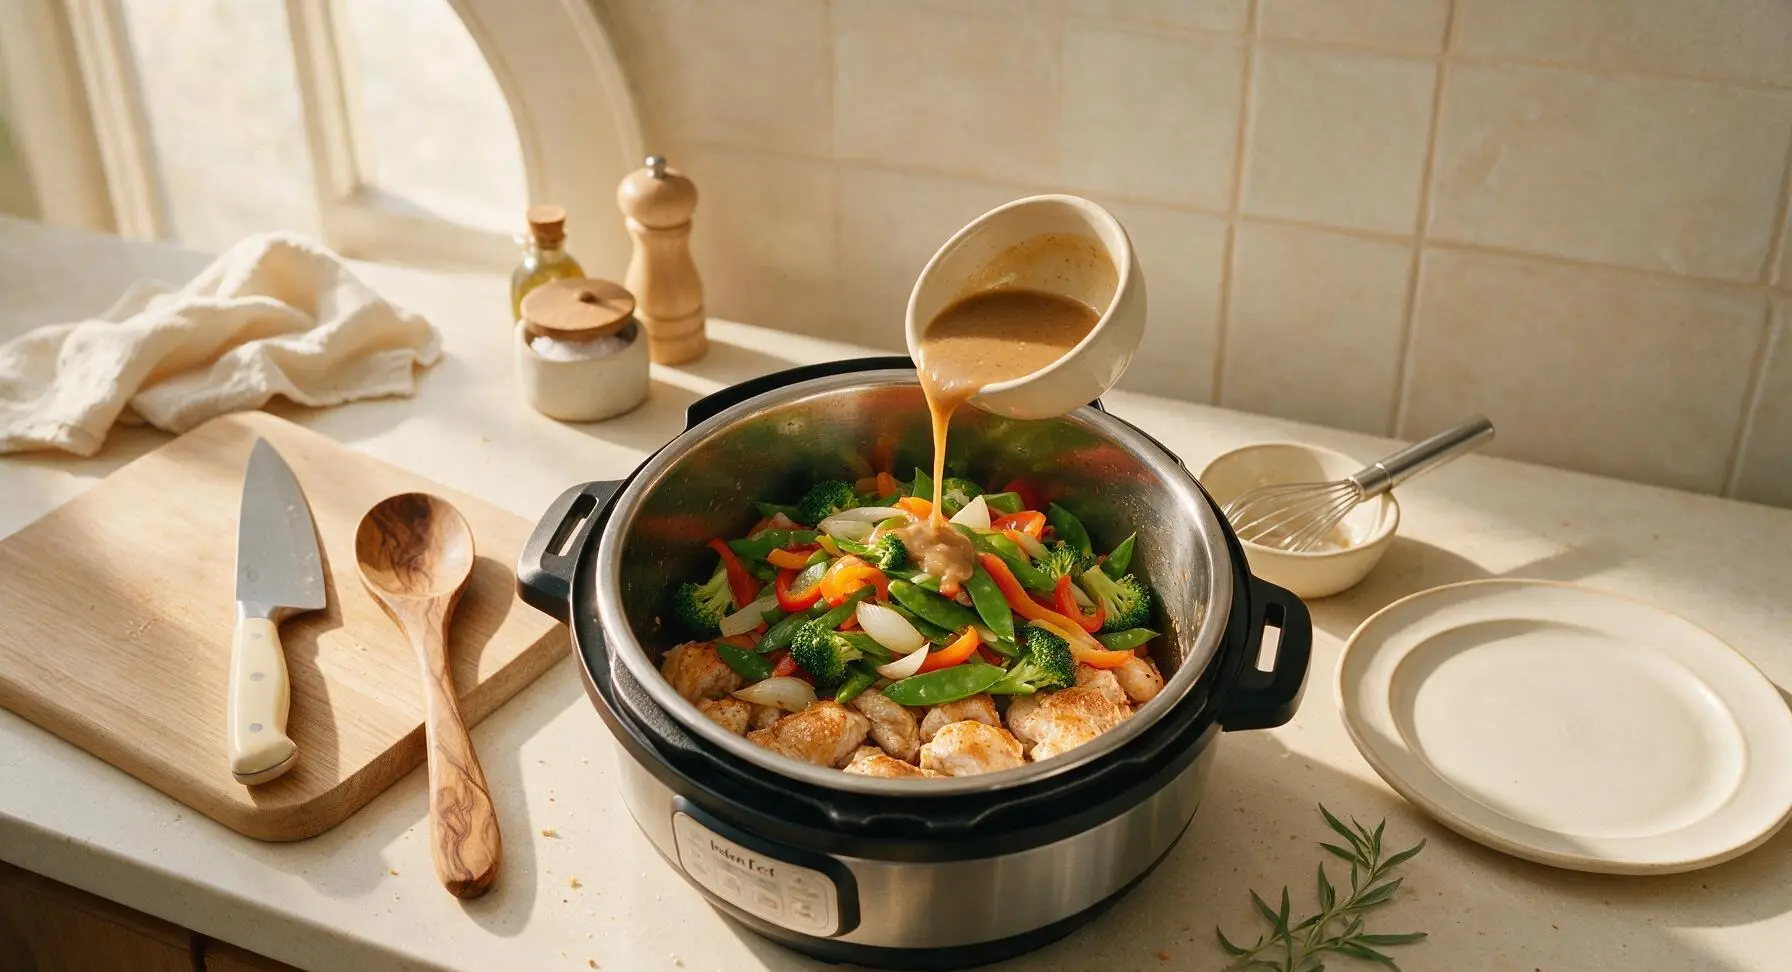
Turn the Sauté function off. Pile all prepped vegetables (broccoli, bell pepper, sugar snap peas, onion) on top of the partially cooked chicken in the Instant Pot. Pour the pre-mixed stir fry sauce evenly over the top of the veggies and chicken—do not stir at this stage to prevent cornstarch from settling and burning on the pot bottom.
Step 4
step4:Add Veggies and Sauce
5

Pressure Cook Quickly

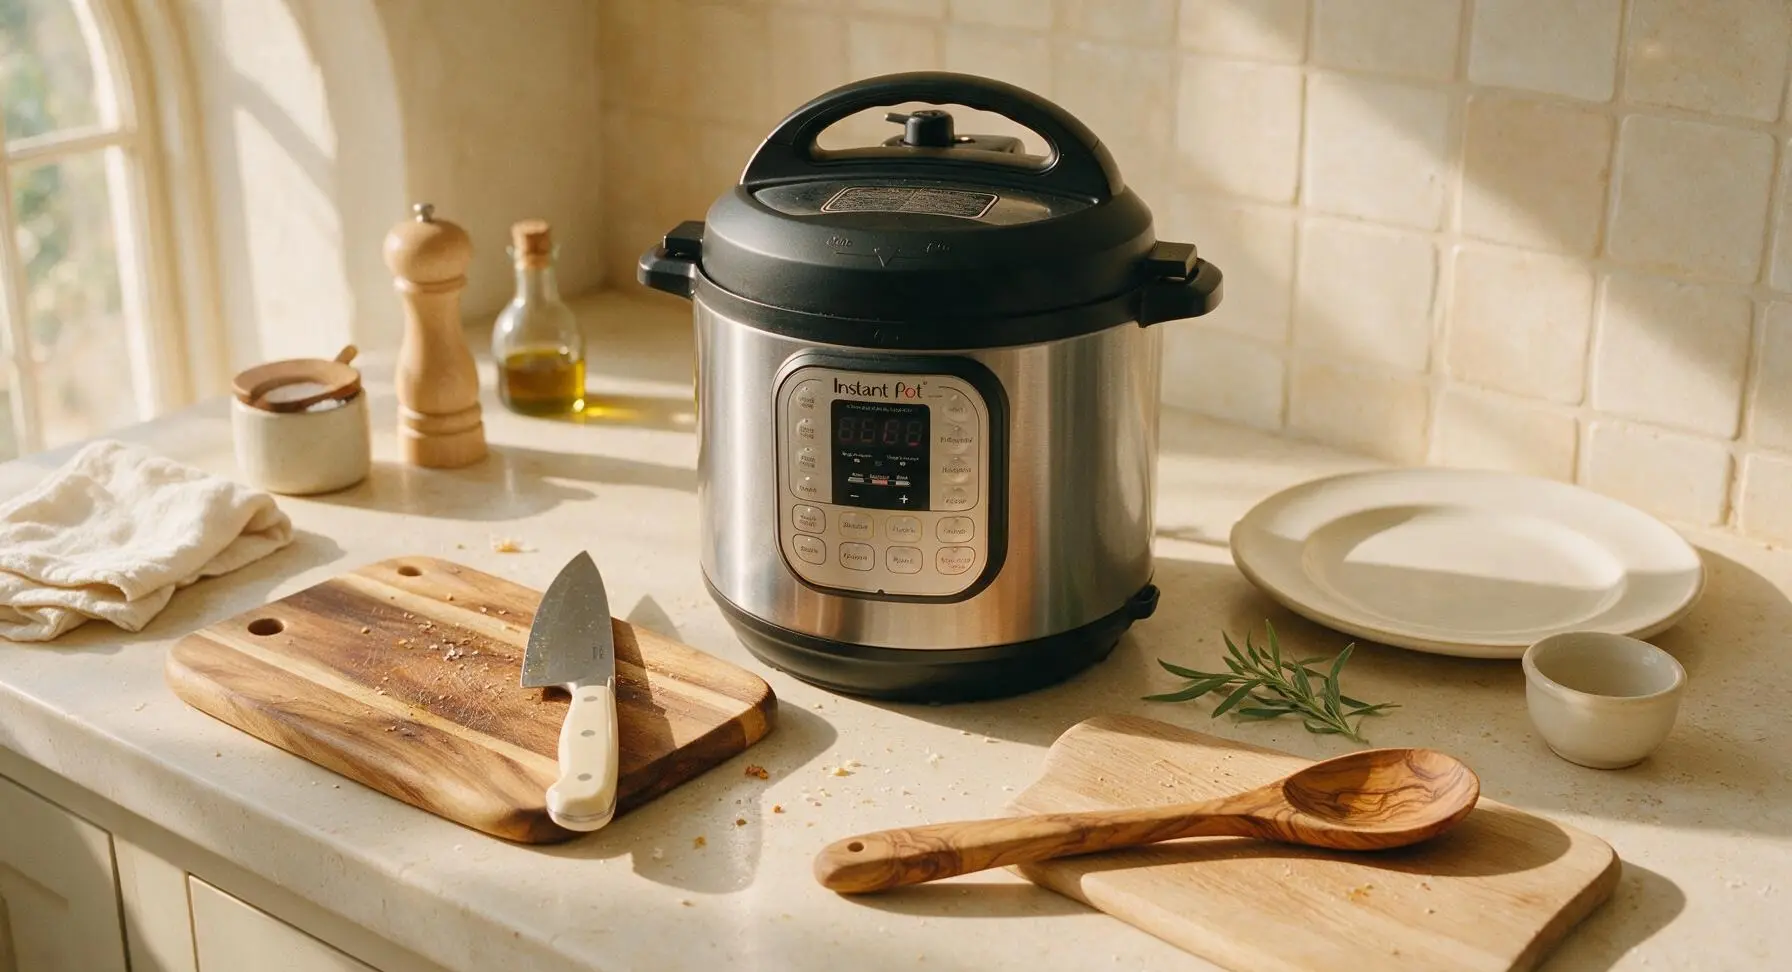
Secure the Instant Pot lid, ensure the pressure release valve is set to the 'Sealing' position. Select the 'Pressure Cook' function on high pressure, and set the timer for 0 (zero) minutes. The pot will take approximately 5 minutes to come to pressure, which cooks veggies to perfect crisp-tender without turning them mushy, while residual heat finishes cooking the chicken through to a safe 165°F internal temperature.
Step 5
step5:Pressure Cook Quickly
6

Quick Release Pressure

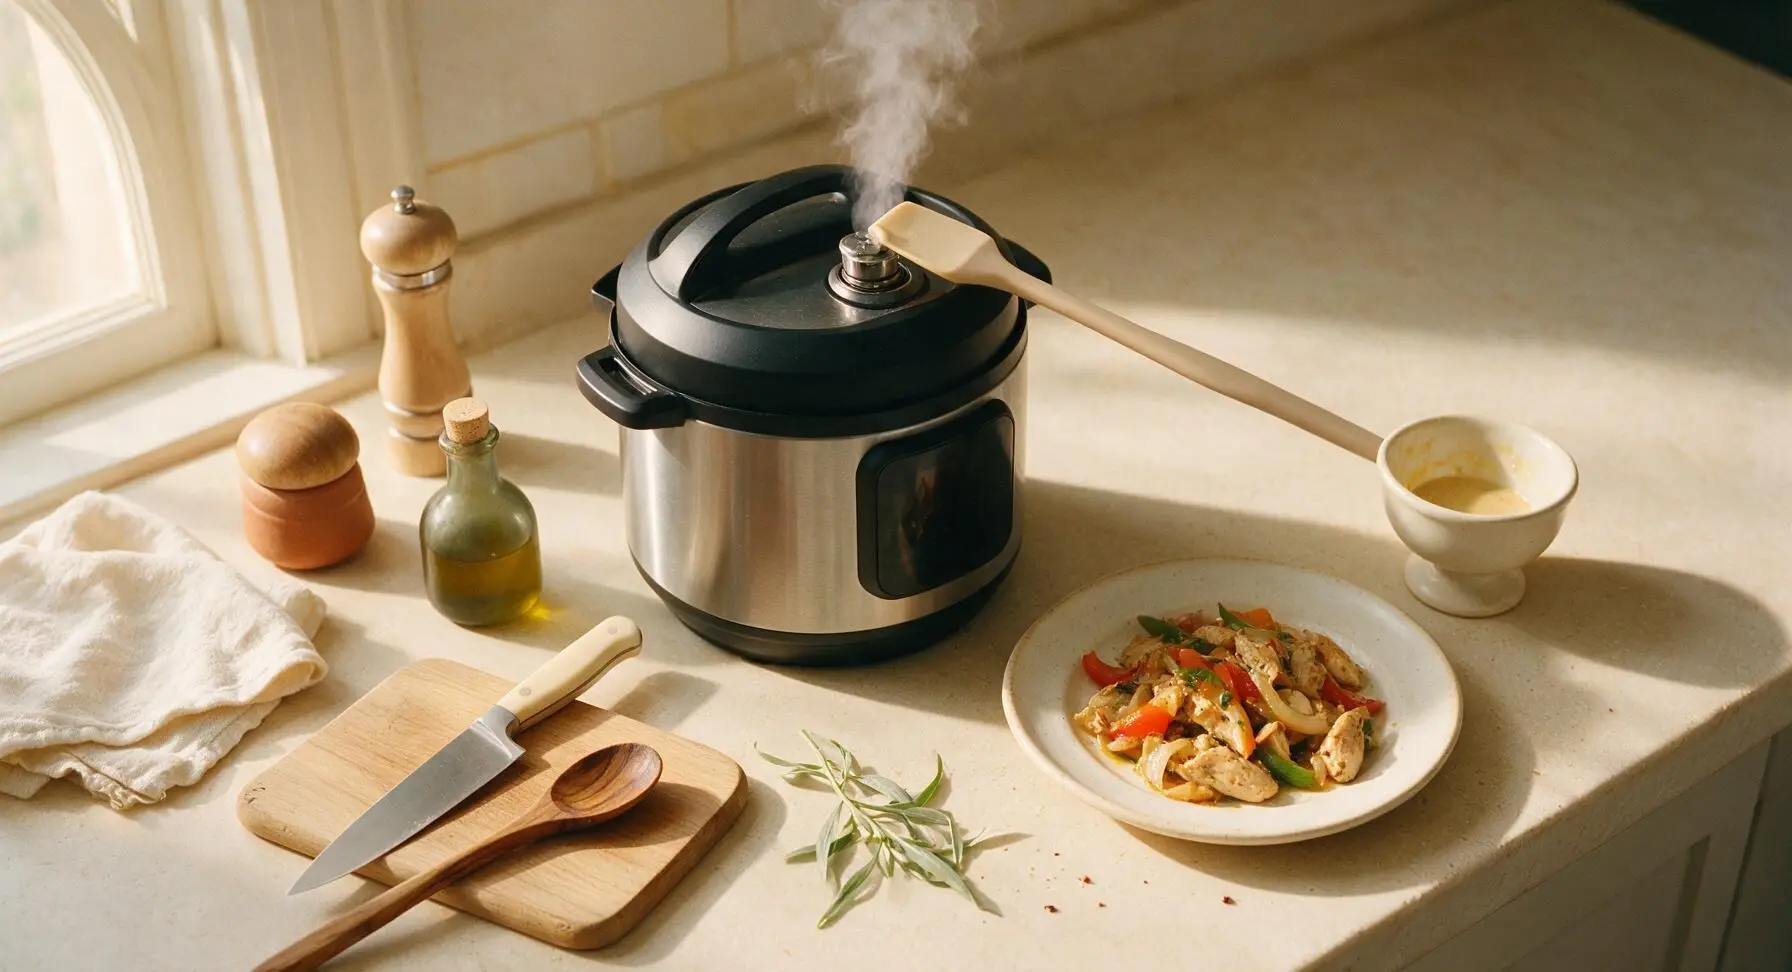
Once the Instant Pot beeps to signal the pressure cook cycle is complete, immediately perform a quick pressure release by carefully turning the pressure valve to 'Venting' (use the end of the silicone spatula to avoid hot steam burns). Wait until all pressure is released (the float valve will drop, about 2 minutes) before carefully removing the lid, tilting it away from your face to avoid escaping steam.
Step 6
step6:Quick Release Pressure
7

Thicken the Sauce

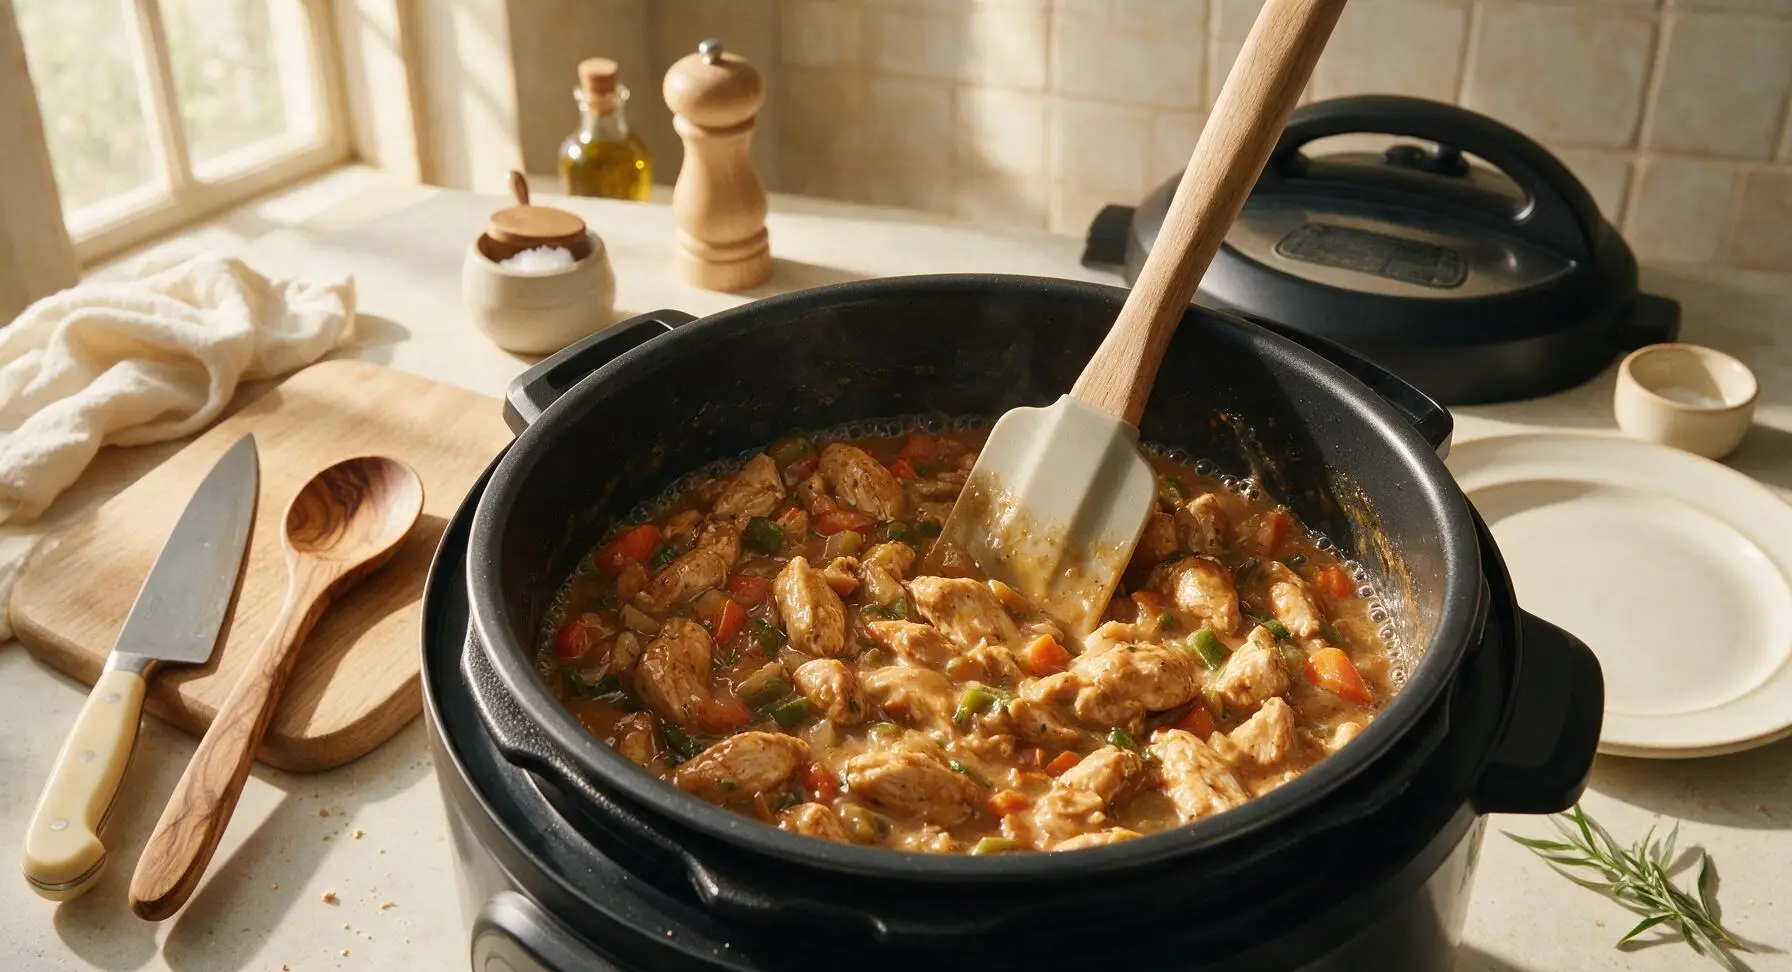
Select the 'Sauté' function again on low heat. Stir the chicken and veggies thoroughly with the silicone spatula to coat everything evenly in the sauce. Simmer for 1-2 minutes, stirring constantly, until the sauce bubbles and thickens to a glossy, light coating that clings to chicken and veggies, with no watery liquid pooling at the pot bottom. Turn the Instant Pot off.
Step 7
step7:Thicken the Sauce
8

Plate and Garnish

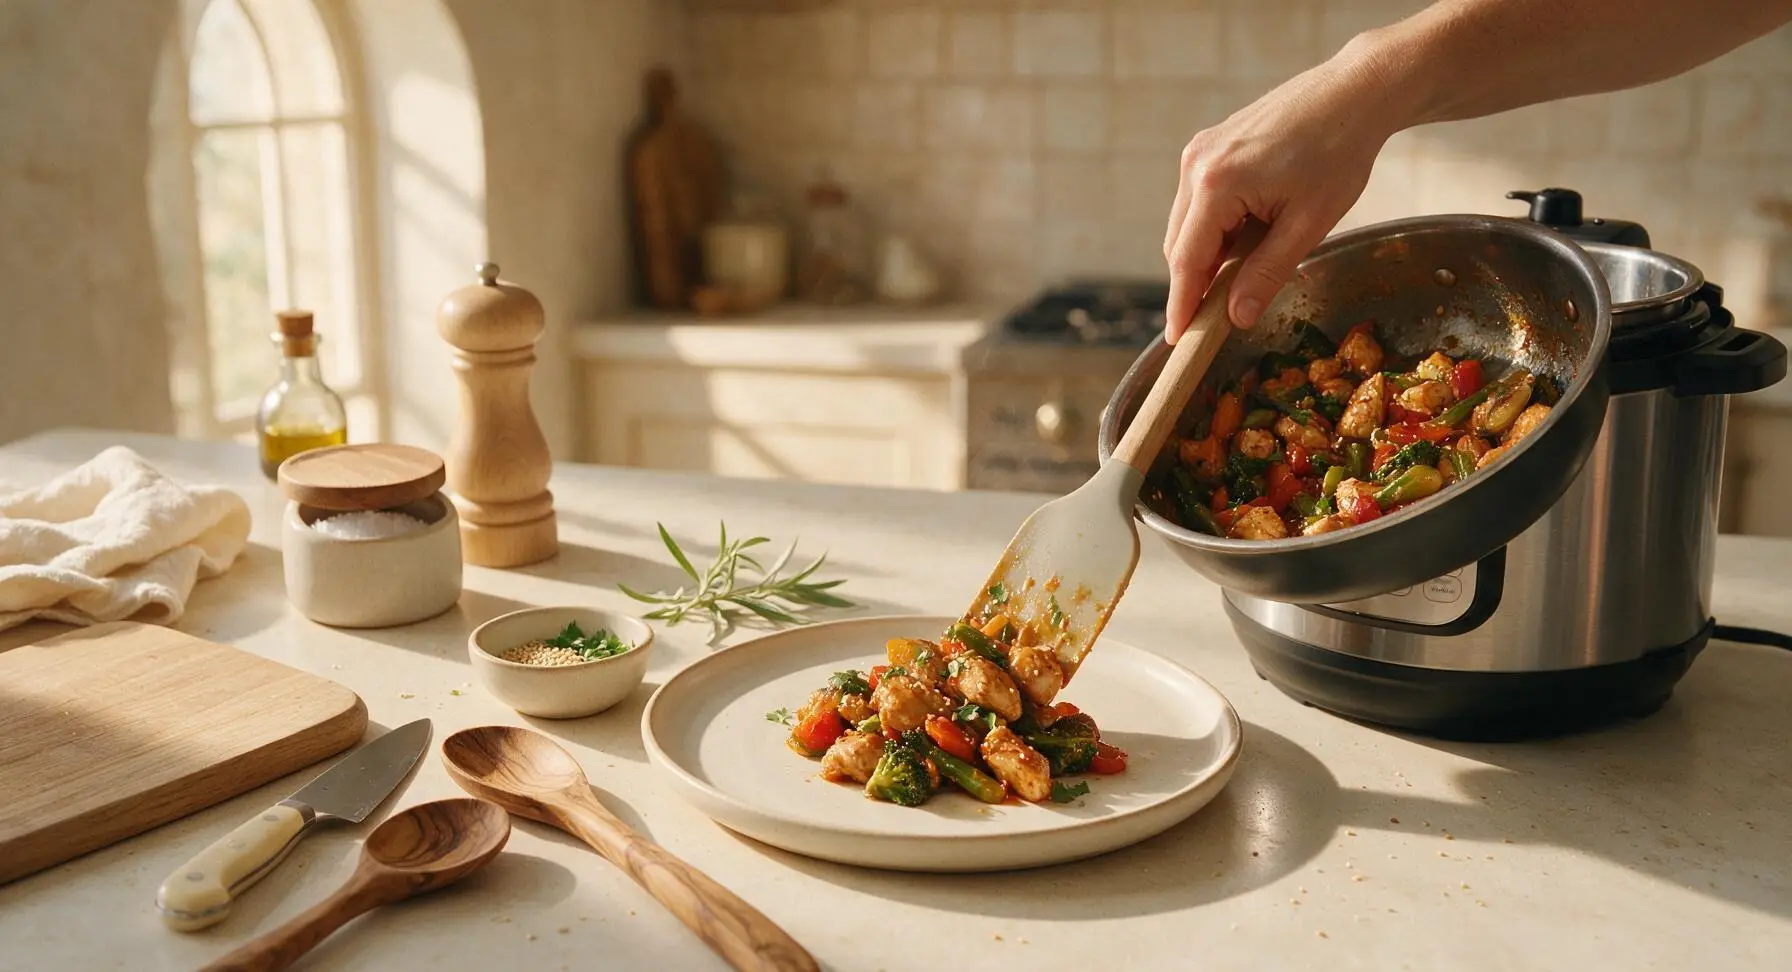
Scoop the finished stir fry onto the matte off-white ceramic dinner plate, piling it gently in the center. Sprinkle 1 tbsp toasted sesame seeds and 2 tbsp chopped fresh cilantro evenly over the top as garnish. Serve immediately while hot for best texture.
Step 8
step8:Plate and Garnish

Tips

1.Cut chicken and veggies into uniform 1-inch pieces: this ensures every component cooks at the same rate, so you won’t end up with undercooked chicken chunks or mushy, overcooked broccoli florets.
2.Perform an immediate quick pressure release right after the zero-minute cook cycle: letting the pot natural release even for 5 minutes will trap excess heat and turn crisp-tender veggies soft and soggy, which ruins classic stir fry texture.
3.Avoid stirring the sauce before pressure cooking: letting the cornstarch-thickened sauce rest on top of the ingredients prevents it from settling directly on the hot inner pot bottom, which can trigger the Instant Pot’s common 'burn' error mid-cycle.


✨ You May Also Like

Main Course
🍜 United Kingdom

A showstopping classic of tender seared beef, savory mushroom duxelles, and crisp prosciutto wrapped in flaky golden puff pastry, baked to juicy perfection.

⏱️ 2 hours 1Main Course ★ 4.7
Main Course
🍜 India

Tender charred marinated chicken simmered in a rich, spiced creamy tomato sauce, this iconic Anglo-Indian curry pairs perfectly with basmati rice or warm naan.

⏱️ 50 minuteMain Course ★ 4.6
Main Course
🍜 Thailand

Classic tangy, sweet, and savory Thai stir-fried rice noodles with shrimp, tofu, and crunchy garnishes, balancing all five core Thai flavor profiles.

⏱️ 30 minuteMain Course ★ 4.5
Main Course
🍜 United Kingdom

Crispy golden beer-battered cod and fluffy double-fried chips, served with tangy tartar sauce and malt vinegar: the timeless, beloved British pub comfort classic.

⏱️ 45 minuteMain Course ★ 4.7
Main Course
🍜 Mexico

Smoky, chile-marinated pork tacos with caramelized pineapple, fresh cilantro, and lime: a beloved classic Mexican street food perfect for casual summer gatherings.

⏱️ 1 hour 45Main Course ★ 4.8
Main Course
🍜 United States

Crunchy Fritos corn chips layered with savory beef chili and melted cheddar, topped with cool, zesty fixings for a beloved, cozy Tex-Mex comfort food.

⏱️ 35 minuteMain Course ★ 4.8

instant pot chicken stir fry:Frequently Asked Questions

1.Won’t the vegetables get mushy if I cook the whole stir fry in the Instant Pot? ▾
Great question! Mushy veggies are totally avoidable with the right timing. Cook the chicken on high pressure first, do an immediate quick release, then toss in your broccoli, bell pepper, snap peas, and other veggies to sauté for just 2 to 3 minutes. That leaves them perfectly crisp-tender, never soggy or overcooked.
2.Can I use boneless skinless chicken thighs instead of chicken breast for this recipe? ▾
Absolutely! Boneless, skinless chicken thighs work beautifully here and actually stay even juicier than breast if you prefer a richer, more forgiving cut. Keep the pieces cut into uniform 1-inch cubes, and add just 1 minute to the high-pressure cook time to make sure they cook through evenly.
3.How do I keep the chicken from turning tough and rubbery in the Instant Pot? ▾
The biggest tricks for tender chicken are cutting it into even 1-inch cubes so it cooks uniformly, sticking to the short 3-minute high-pressure cook time, and doing an immediate quick release once the timer goes off. Never let it sit on the Keep Warm setting, as that will overcook chicken fast.
4.How do I get that glossy, umami sauce coating instead of a watery mess? ▾
For that perfect restaurant-style glossy, umami-rich coating, whisk 1 teaspoon of cornstarch into your stir fry sauce before adding it to the pot. After pressure cooking the chicken, simmer the sauce on Sauté for 1 minute to let it thicken, so it clings to the chicken and veggies instead of pooling at the bottom.
5.Can I swap in other veggies I have at home for the ones listed in the recipe? ▾
Definitely! This recipe is super flexible for leftover or favorite produce. Stick to firm, quick-cooking picks like sliced carrots, baby corn, water chestnuts, mushrooms, or zucchini. Skip extra-soft veggies like spinach or fresh tomatoes unless you add them in the last 30 seconds of cook time so they don’t break down.
6.Do I really need to use the Sauté function before pressure cooking? ▾
I highly recommend it! Taking just 2 to 3 minutes to sauté the sliced yellow onion and sear the chicken cubes on the Sauté setting before pressure cooking adds deep, caramelized flavor you won’t get from pressure cooking alone. It also cuts down on excess moisture that can make your final dish watery.
7.Why did my finished stir fry come out watery? ▾
Watery stir fry almost always traces back to two common missteps: not patting your chicken dry before searing, or skipping the cornstarch in your sauce. If you end up with extra liquid, just simmer it uncovered on the Sauté setting for 1 to 2 minutes to cook off excess trapped moisture and thicken the sauce.
8.How long will this stir fry last for weekly meal prep? ▾
This dish stores perfectly in airtight containers in the fridge for up to 4 days, making it ideal for busy weeknight meal prep. Let it cool completely before sealing the containers, and reheat portions in the microwave or a small skillet over medium heat for 2 to 3 minutes, taking care not to overheat the veggies.
9.Can I make this recipe gluten-free for family members with dietary restrictions? ▾
Absolutely! To make this fully gluten-free, swap regular soy sauce for tamari or a certified gluten-free low-sodium soy sauce, and double check that any store-bought stir fry sauce you use is labeled gluten-free. All the core chicken and veggie ingredients are naturally gluten-free, so that quick swap is all you need.
10.What pressure setting should I use, and how long does the whole recipe take? ▾
Use the high-pressure setting for exactly 3 minutes when cooking cubed chicken breast. Keep in mind your Instant Pot will take 5 to 7 minutes to come up to pressure before the cook timer starts, so total time from start to finish is still under 20 minutes with no wok required.
11.Can I freeze this stir fry to eat later? ▾
You can freeze this dish for up to 3 months in airtight, freezer-safe containers. If you plan to freeze it, I recommend undercooking the veggies by 1 minute during the final sauté step so they don’t turn mushy when reheated. Thaw overnight in the fridge before warming in a skillet over medium heat.
12.What should I serve with this stir fry to make a complete meal? ▾
This stir fry pairs perfectly with fluffy white rice, brown rice, quinoa, or low-carb options like cauliflower rice or zucchini noodles for a lighter meal. Top each serving with a sprinkle of toasted sesame seeds, sliced green onions, or a pinch of red pepper flakes for extra flavor and texture right before serving.

Comments (3)

1 week ago

Took this Instant Pot chicken stir fry to my weekend potluck and people were literally begging for the recipe! I swapped chicken breast for boneless skinless thighs because I love that extra juicy bite, tossed on some toasted sesame seeds right before serving, and the whole pan was gone in 10 minutes flat. It was so easy to throw together — total cook time was only 15 minutes like the recipe says, even when I was running 20 minutes late to the get-together, zero stress, zero mess. SO good, already planning to make it for my roommate’s birthday dinner next week.

30 minutes ago

Y’all, I need a quick sanity check before I make this for family dinner tonight — do I use quick pressure release or natural release? I tried a different Instant Pot stir fry a couple months ago and did natural release for 10 minutes, and all my veggies turned to total mush. I’ve got all the ingredients prepped on my counter right now, and my kids are already hyped for “chicken and veggie night” so I don’t want to mess this up! Looks incredible, just don’t want a mushy flop.

5 minutes ago

Great question, Liz! You’ll want to do an immediate quick pressure release as soon as the cook time ends — that stops the cooking process fast so your veggies stay crisp-tender instead of turning mushy. Just be sure to keep your hand and face clear of the steam vent when you toggle the release! Hope you and the kids love it tonight.

yesterday

OMG this recipe is an absolute game changer for my weekly meal prep! I made it yesterday afternoon to pack for work lunches all week, paired with microwaved jasmine rice, and it held up perfectly in the fridge. The chicken stayed super tender, none of the broccoli or bell peppers got soggy, and the sauce is so flavorful I didn’t even need to add extra soy sauce. I did toss in a little extra sriracha because I love that spicy kick, 10/10 will be making this every other week for sure.

2 hours ago

Yesss the extra sriracha move is chef’s kiss! I did the same thing when I made this last week, plus a handful of crushed red pepper flakes for extra heat. It’s even good cold straight out of the meal prep container if you’re running late out the door in the morning, trust me.

1 hour ago

So happy to hear this made your meal prep routine easier, Mia! Love that you cranked up the heat with extra sriracha — that’s one of our favorite customizations too. It really does hold up beautifully in the fridge for quick lunches all week!



