
instant pot italian beef sandwiches

title 1
instant pot italian beef sandwiches
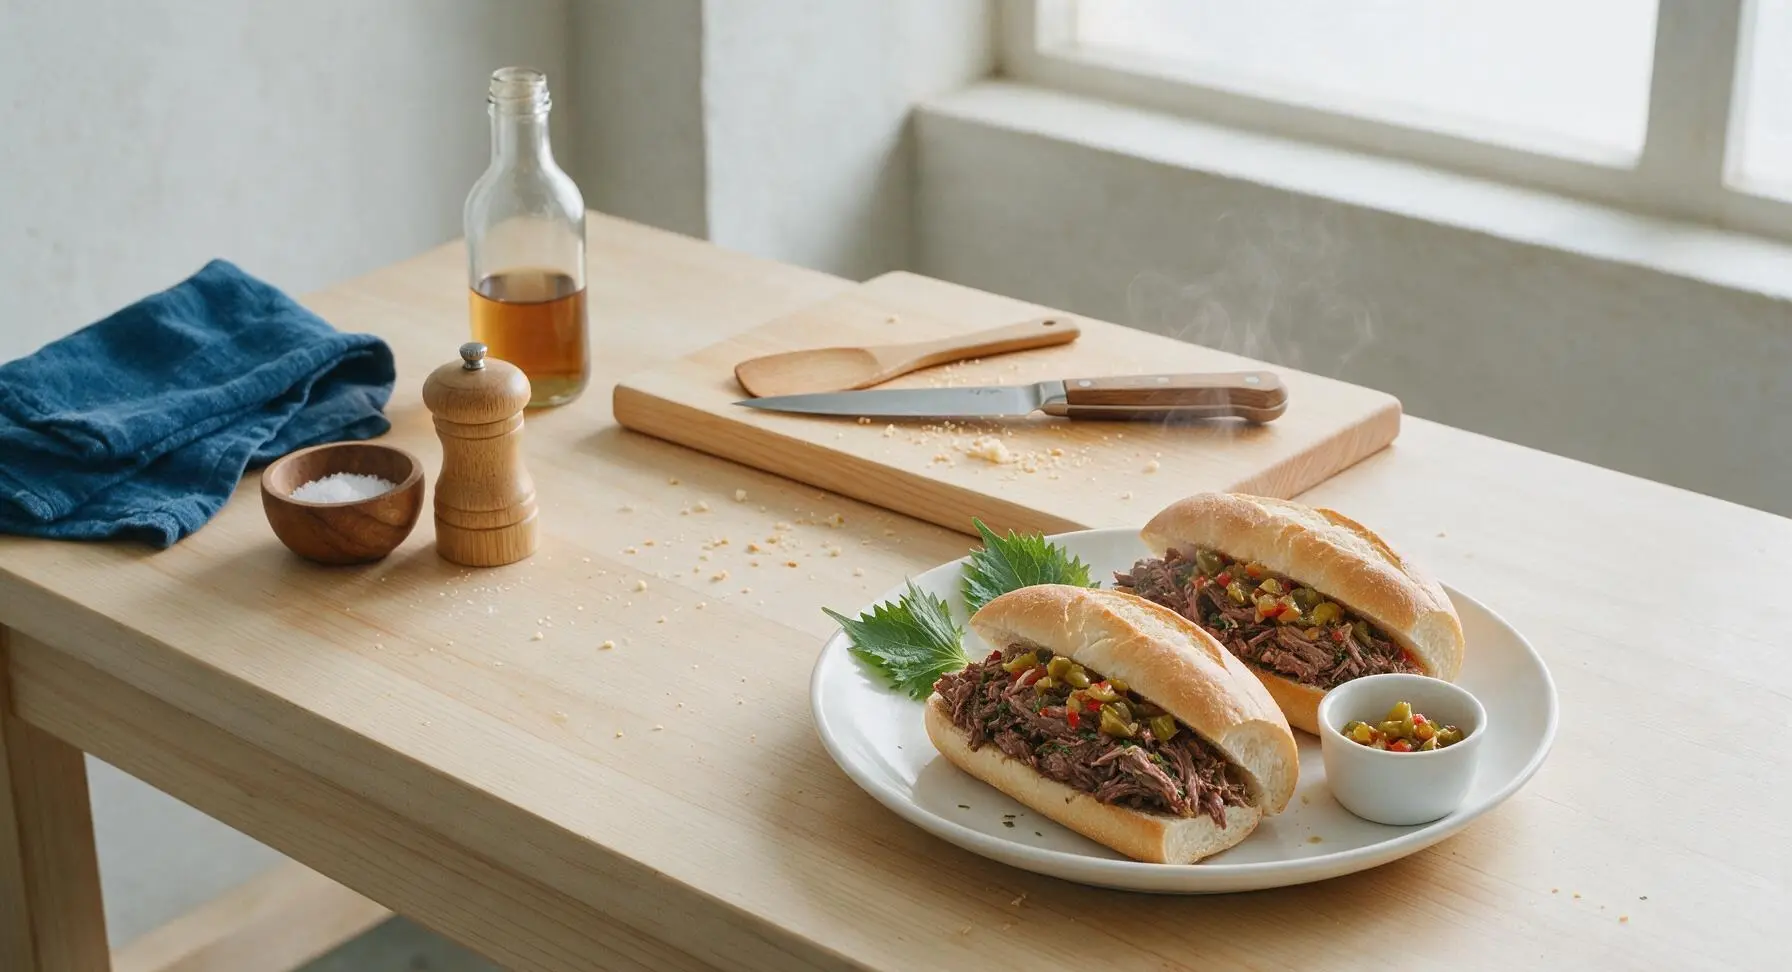
⏱️ cook time 1 hour 10 minutes
🍽️ servings 6
⚡ Difficulty easy

intro

Tender, herb-packed shredded beef piled on crusty hoagie rolls with tangy giardiniera, made quick in the Instant Pot for hearty, crowd-pleasing sandwiches.

Ingredients
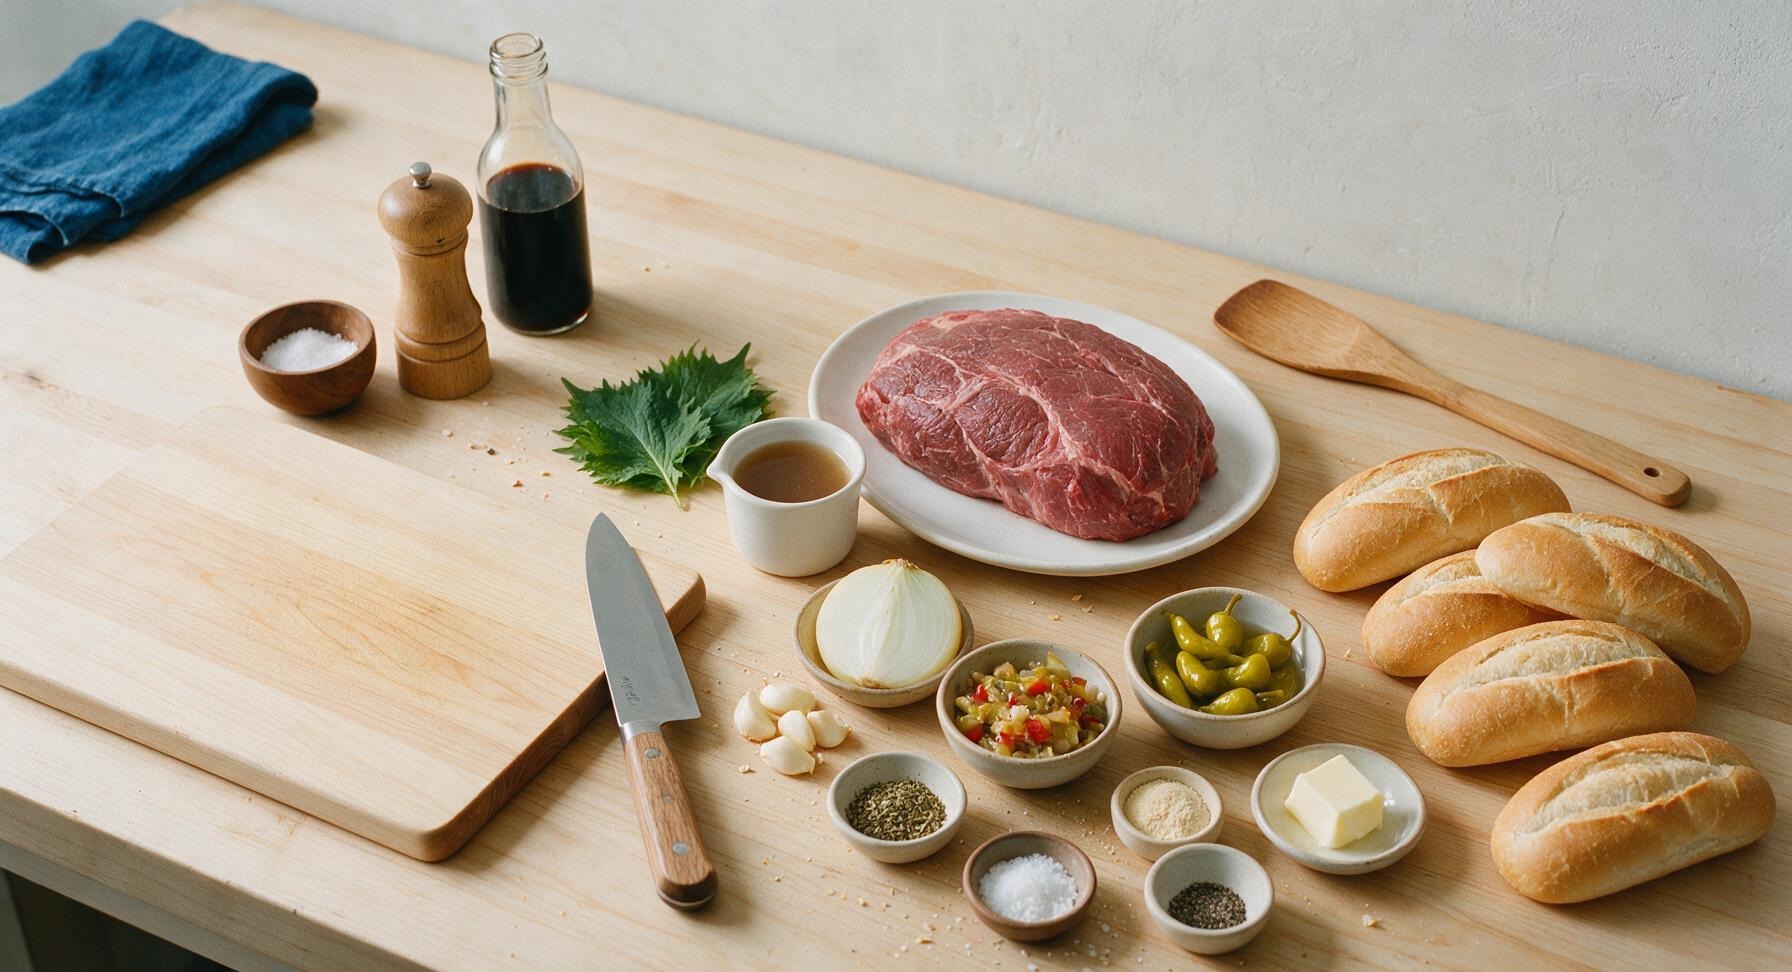
Boneless beef chuck roast 1.5kg (3.3 lbs)
Crusty 6-inch hoagie rolls 6 count
Low-sodium beef broth 1 cup (240ml)
Large yellow onion 1 (sliced)
Garlic cloves 4 (crushed)
Mild pepperoncini peppers 8 (plus 2 tbsp brine)
Dried oregano 1 tbsp
Garlic powder 1 tsp
Onion powder 1 tsp
Coarse kosher salt 1.5 tsp
Freshly ground black pepper 1 tsp
Chopped tangy giardiniera 1 cup
Unsalted butter 2 tbsp

Steps

1

Season the Beef Roast

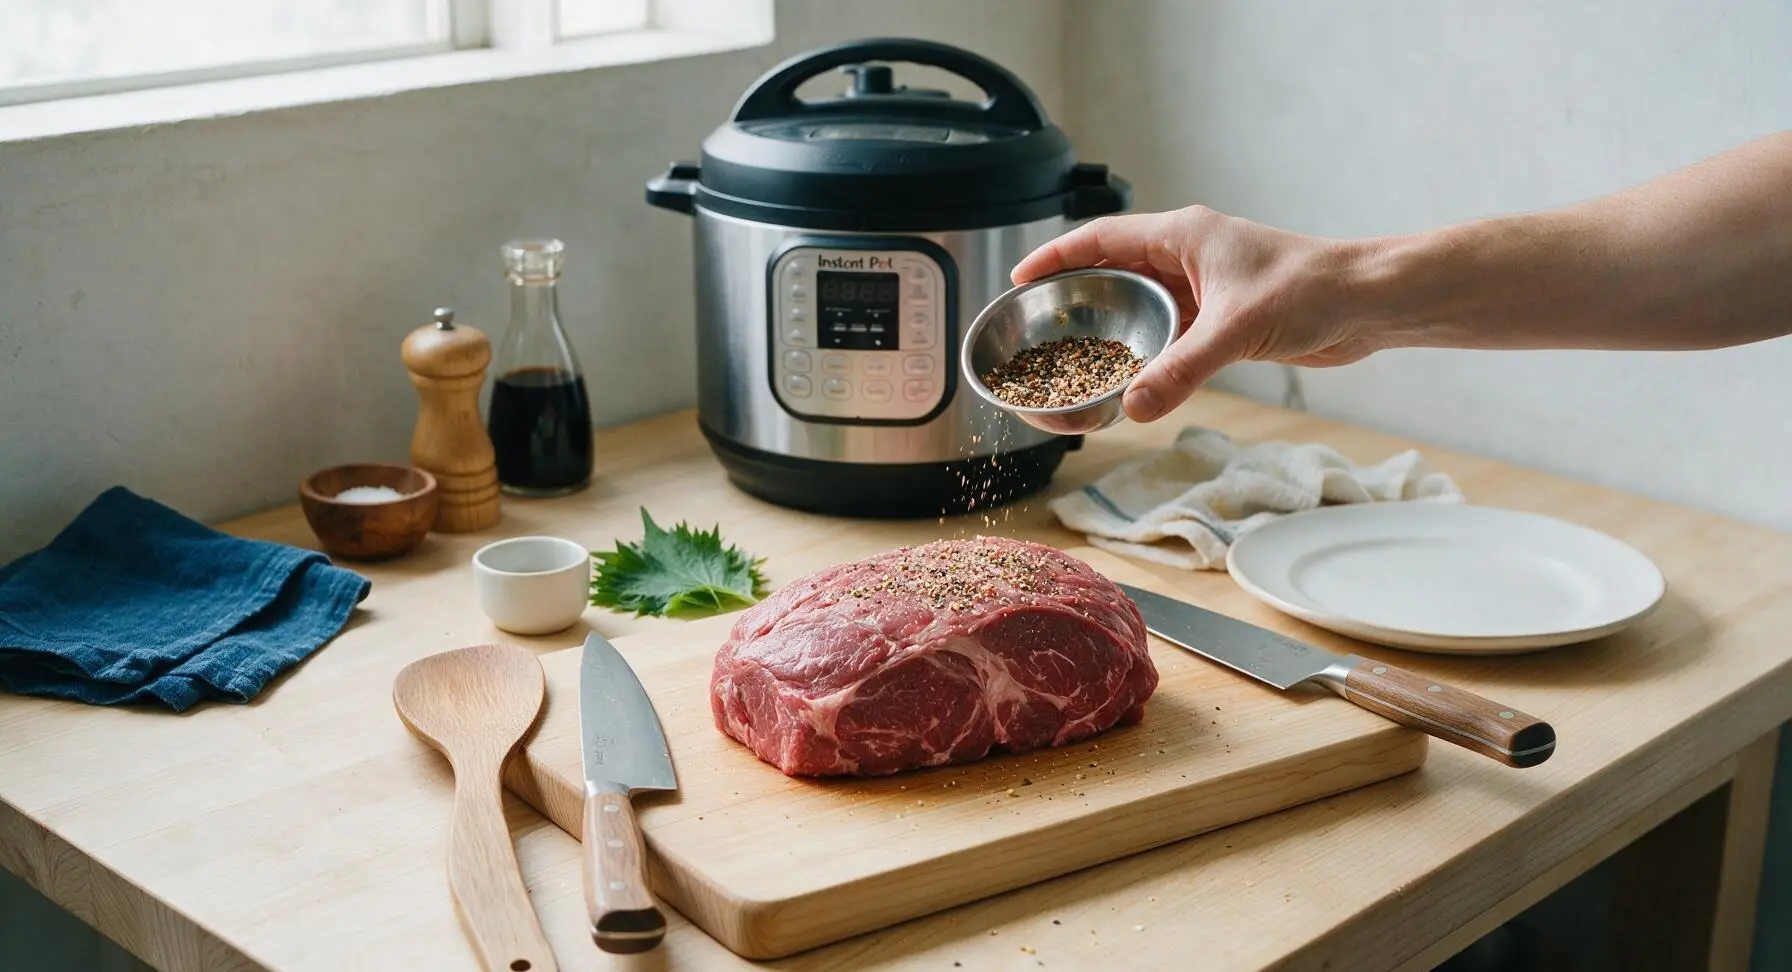
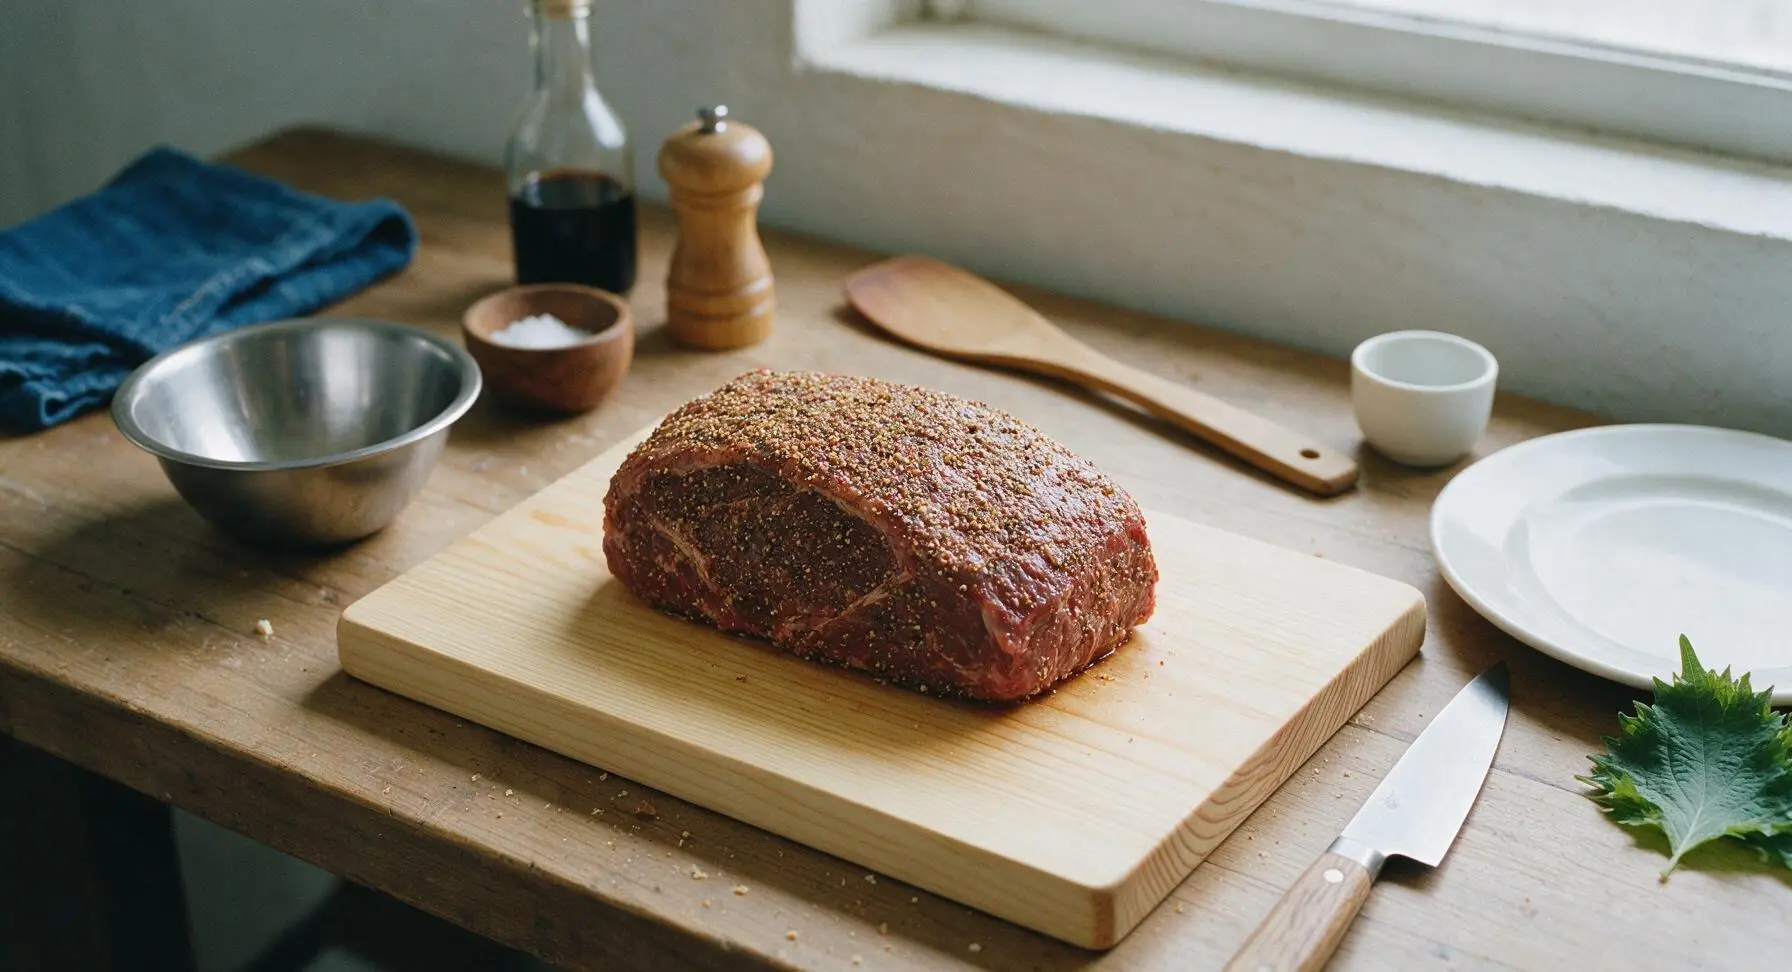
Pat the 1.5kg beef chuck roast completely dry with paper towels. Combine 1.5 tsp kosher salt, 1 tsp black pepper, 1 tbsp dried oregano, 1 tsp garlic powder, and 1 tsp onion powder in the small stainless steel mixing bowl. Rub the entire surface of the roast evenly with the spice blend, pressing gently so the spices adhere to the meat. Let the roast rest for 5 minutes at room temperature while you prep the aromatics; the spice coating should look evenly distributed with no bare patches of meat visible.
Step 1
step1:Season the Beef Roast
Step 1
step1:Season the Beef Roast
2

Sear Roast in Pot

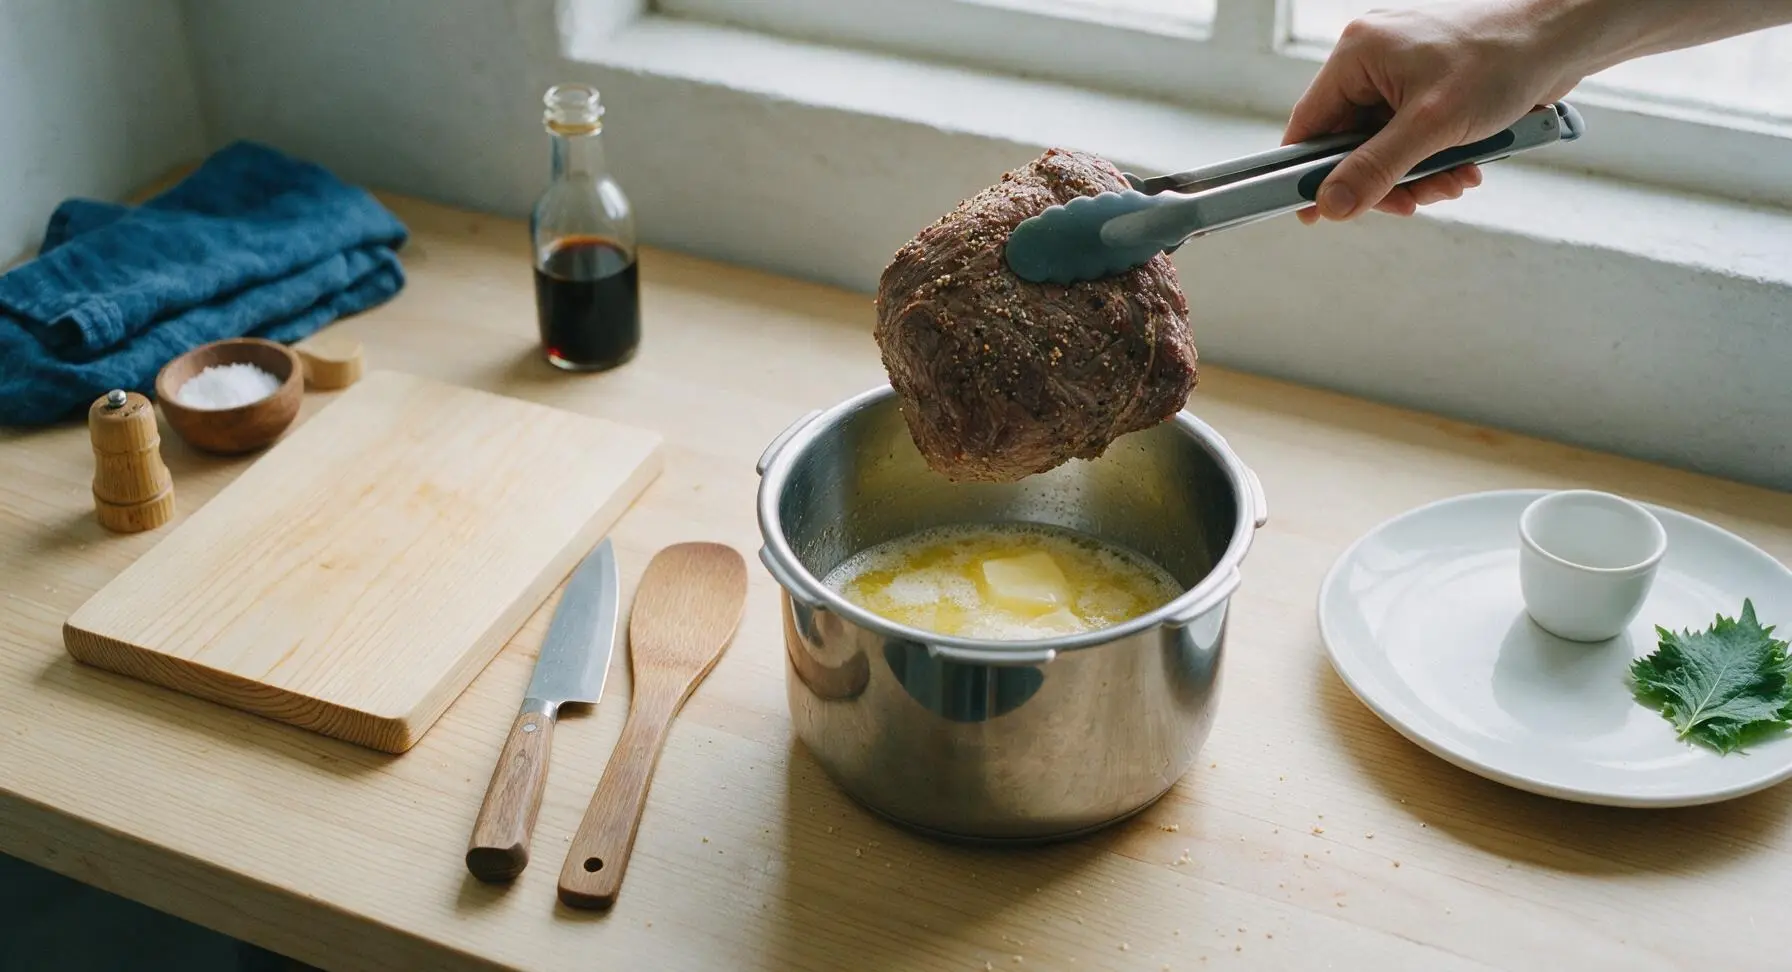
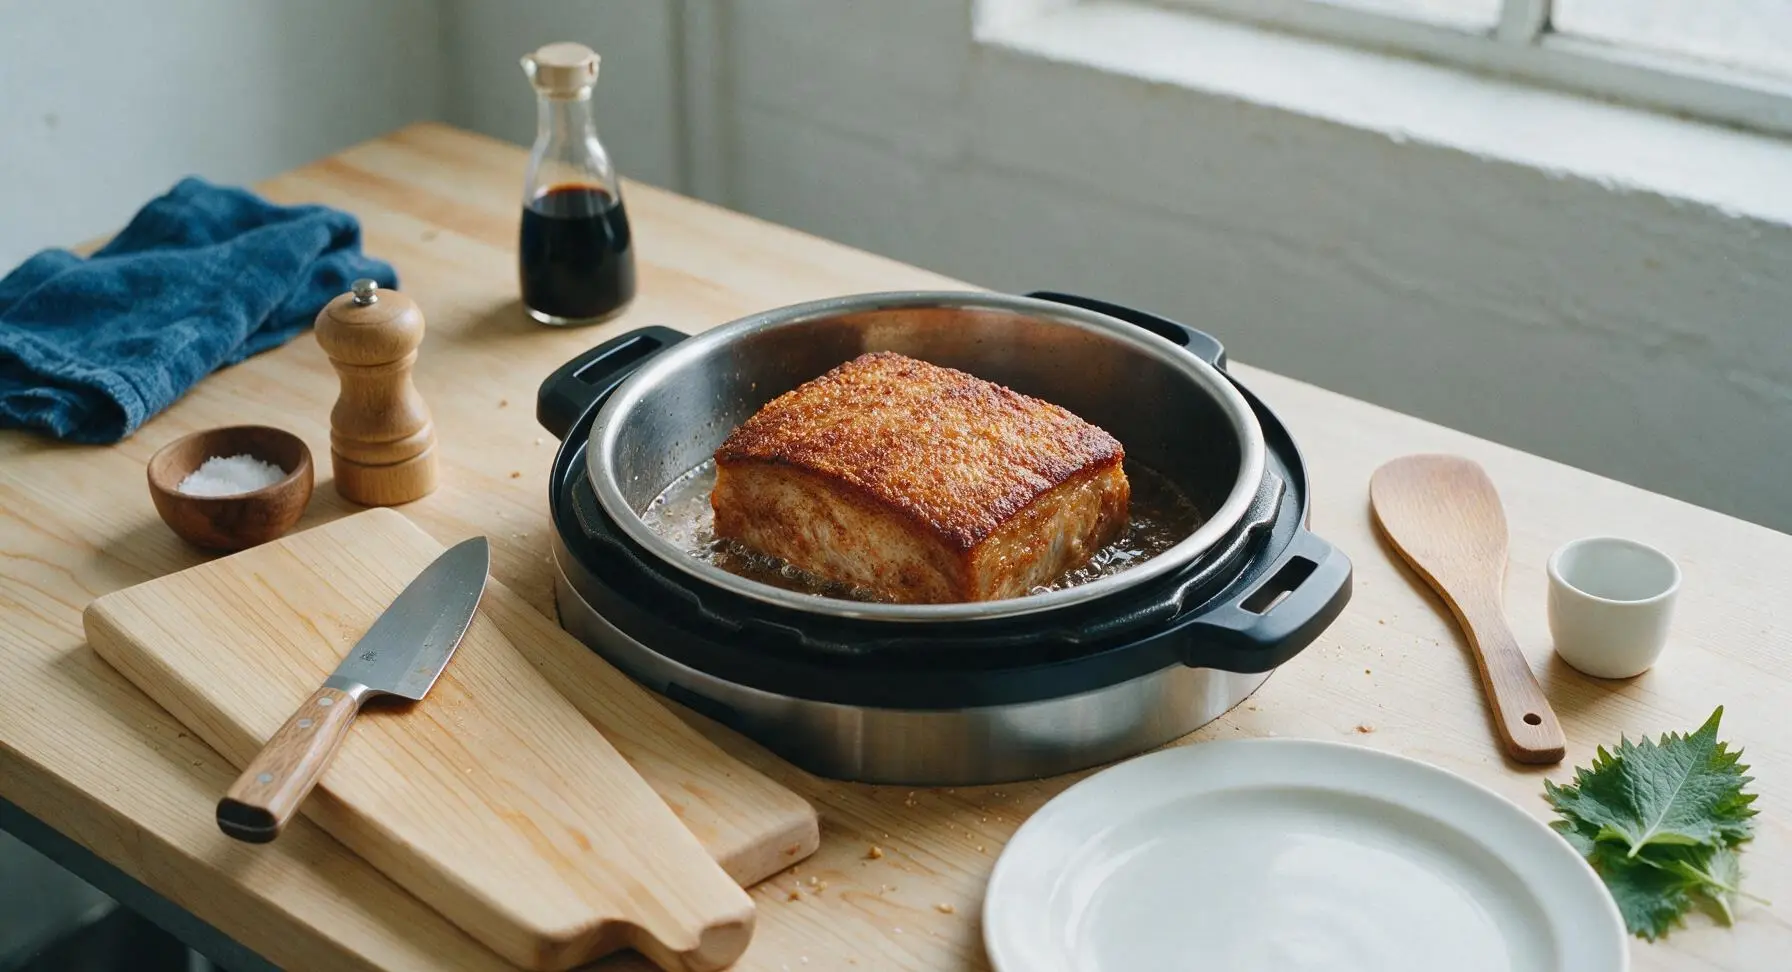
Select the 'Sauté' function on the Instant Pot, add 2 tbsp unsalted butter, and wait until the butter is melted and foaming slightly (about 2 minutes, no browned butter smell). Use the stainless steel silicone-tipped tongs to lower the seasoned roast into the pot. Sear for 3 minutes per side, until a deep golden-brown crust forms on all 4 sides of the roast. Do not move the roast while searing to build a crisp, flavorful crust; you will hear a steady sizzle when the roast is properly searing.
Step 2
step2:Sear Roast in Pot
Step 2
step2:Sear Roast in Pot
3

Add Aromatics and Broth

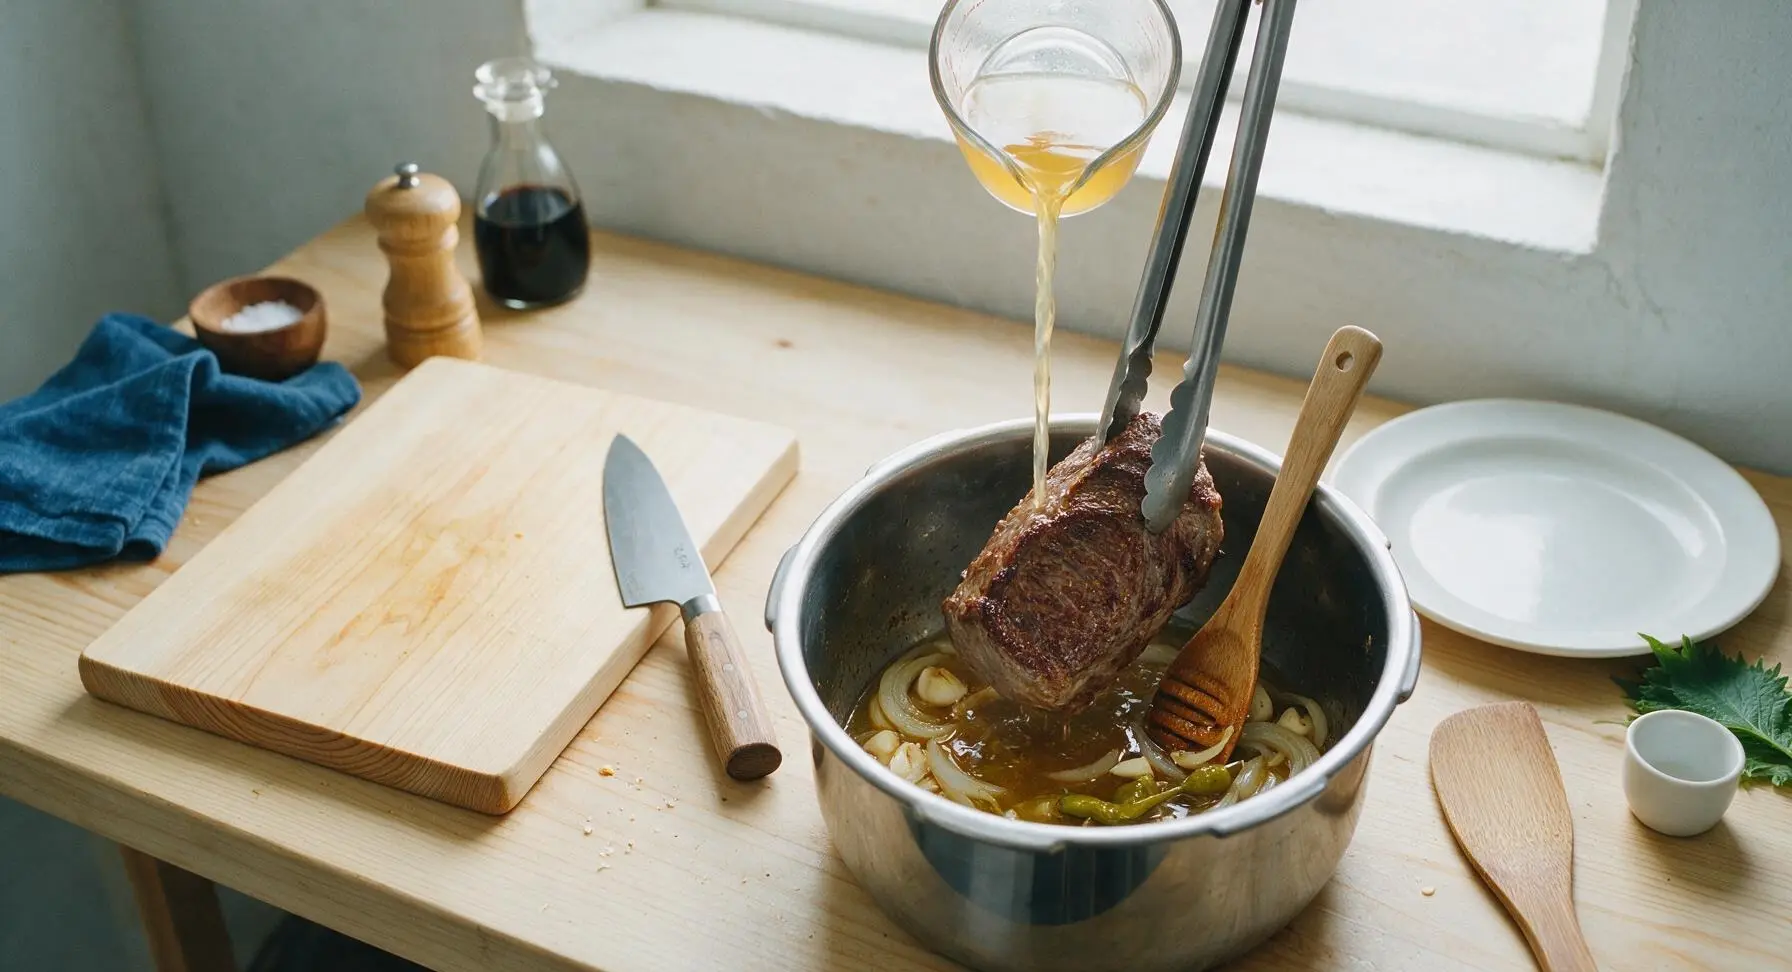
Once the roast is seared on all sides, use tongs to lift it slightly out of the pot. Add the sliced yellow onion, crushed garlic cloves, and whole pepperoncini peppers to the bottom of the pot under the roast. Pour in 1 cup low-sodium beef broth and 2 tbsp pepperoncini brine, scraping the bottom of the pot gently with the honey maple wooden spoon to lift all browned flavorful bits (fond) from the insert. The liquid should come about halfway up the sides of the meat; do not submerge the roast completely, as this will boil rather than pressure-steam the beef.
Step 3
step3:Add Aromatics and Broth
4

Pressure Cook Beef

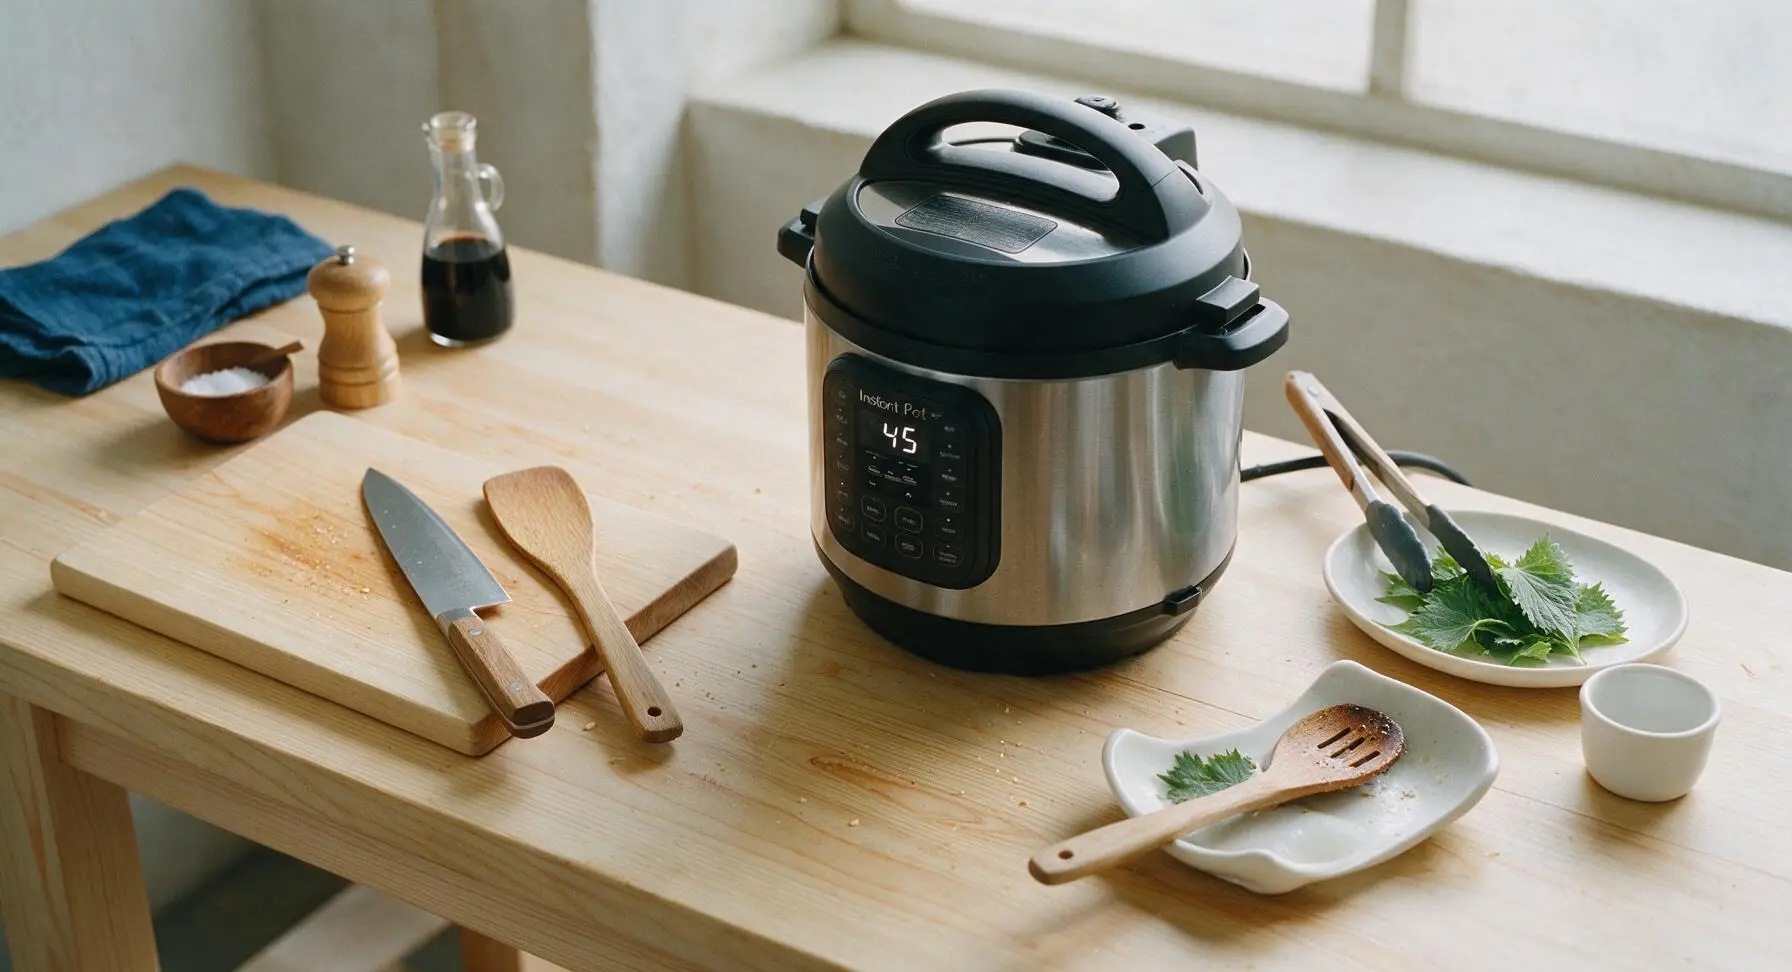
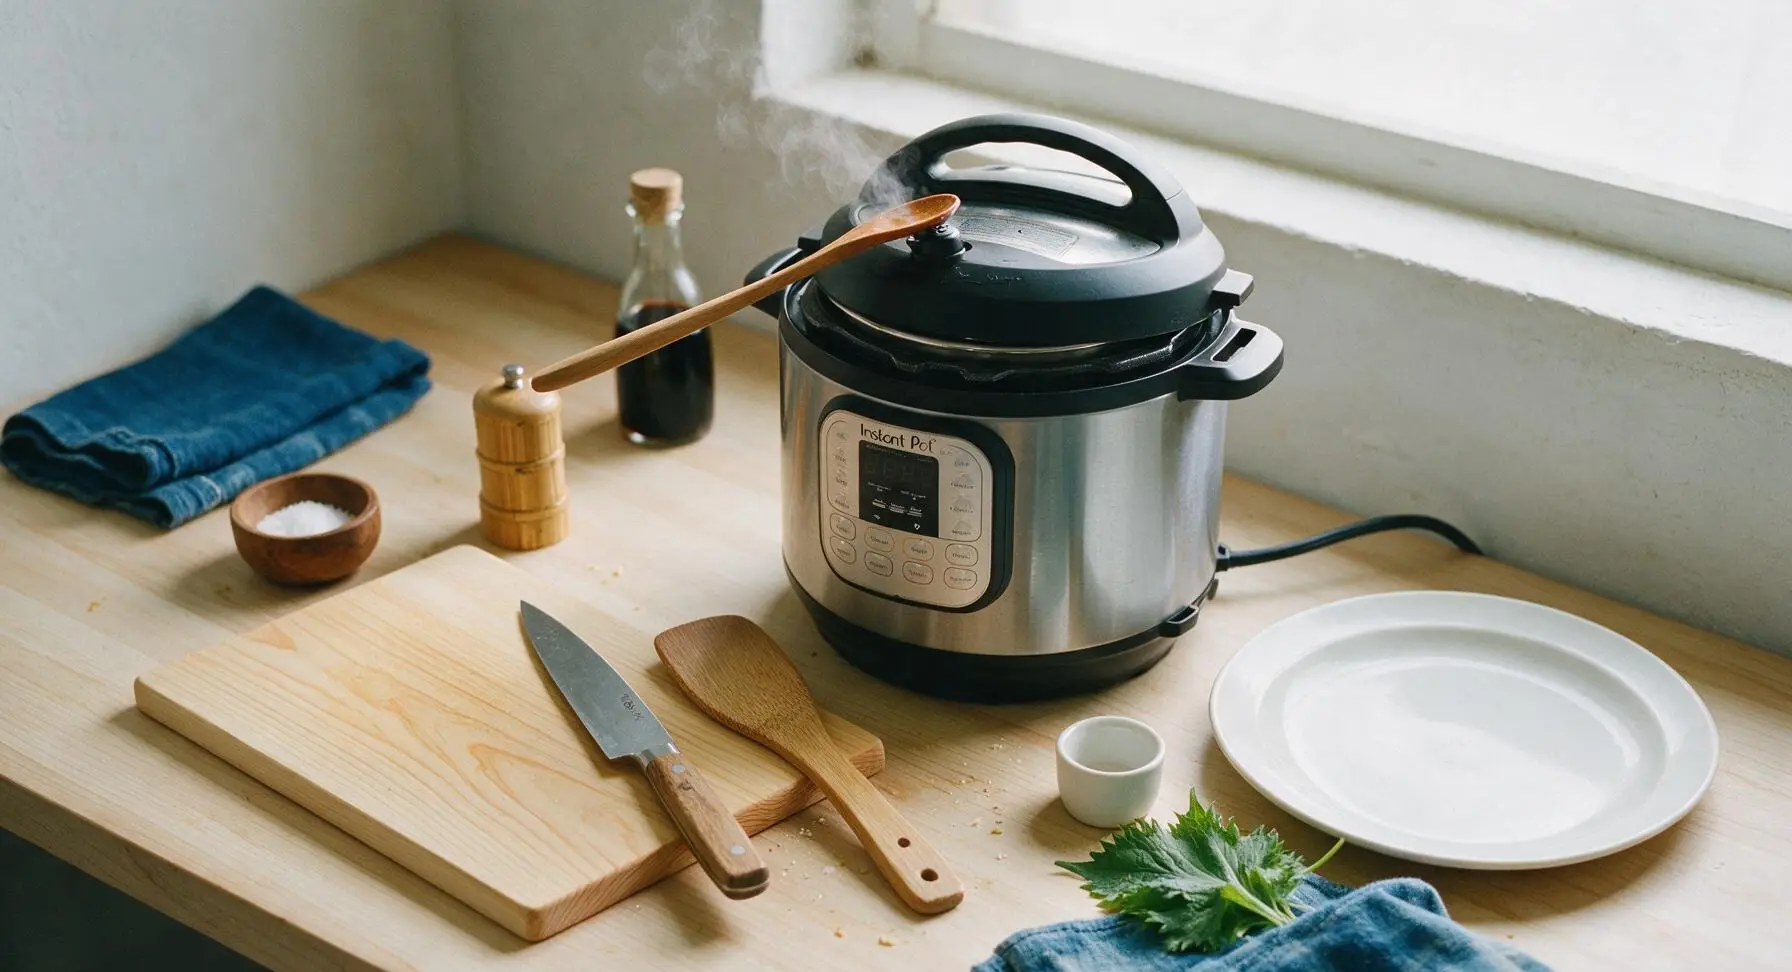
Secure the Instant Pot lid, turn the pressure release valve to the 'Sealing' position. Select the 'Manual/High Pressure' setting, and set the cook time to 45 minutes. The pot will take 10-12 minutes to come up to pressure before the cook time countdown begins; you will see a small amount of steam escape from the float valve as it seals. Do not attempt to open the lid while the pot is pressurized.
Step 4
step4:Pressure Cook Beef
5

Release Pressure Naturally

When the 45 minute cook time completes, allow the pressure to release naturally for 15 minutes (do not touch the pressure valve during this time). After 15 minutes, carefully turn the pressure release valve to 'Venting' using the end of the wooden spoon to release any remaining pressure, keeping your hands and face 30cm away from the hot steam to avoid burns. Once the float valve drops completely (indicating no pressure remains), open the lid slowly, tilting it away from your face to direct steam upward.
Step 5
step5:Release Pressure Naturally
6

Shred Cooked Beef

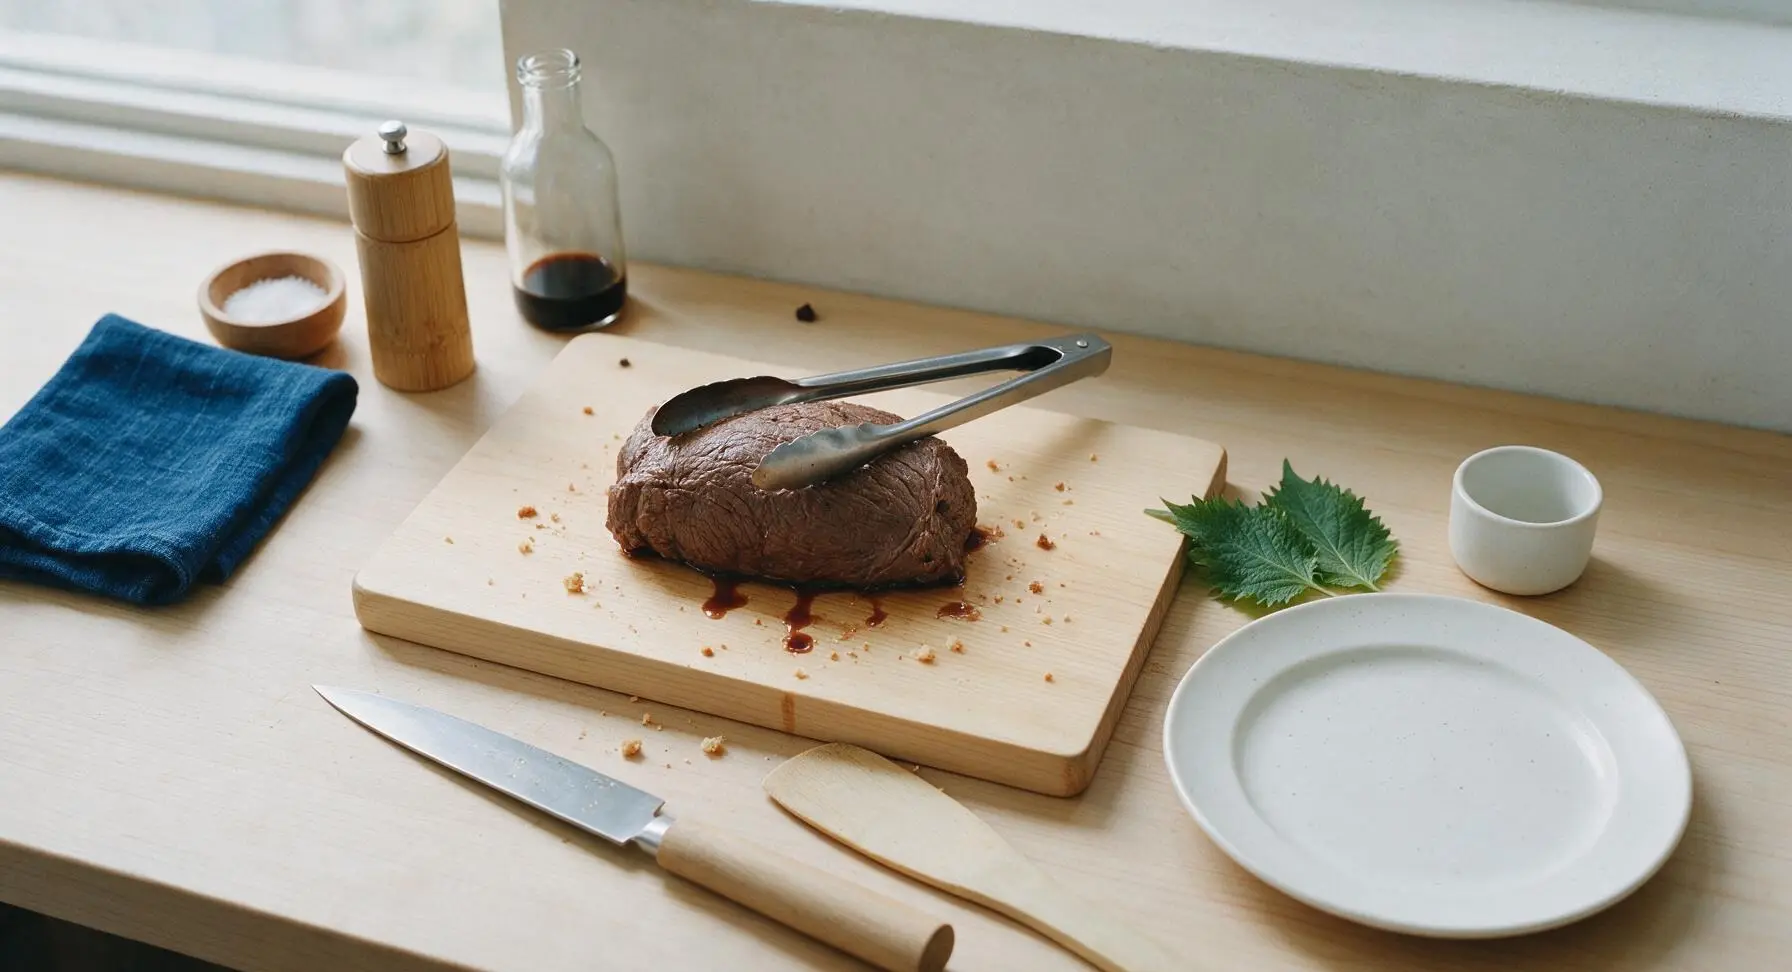
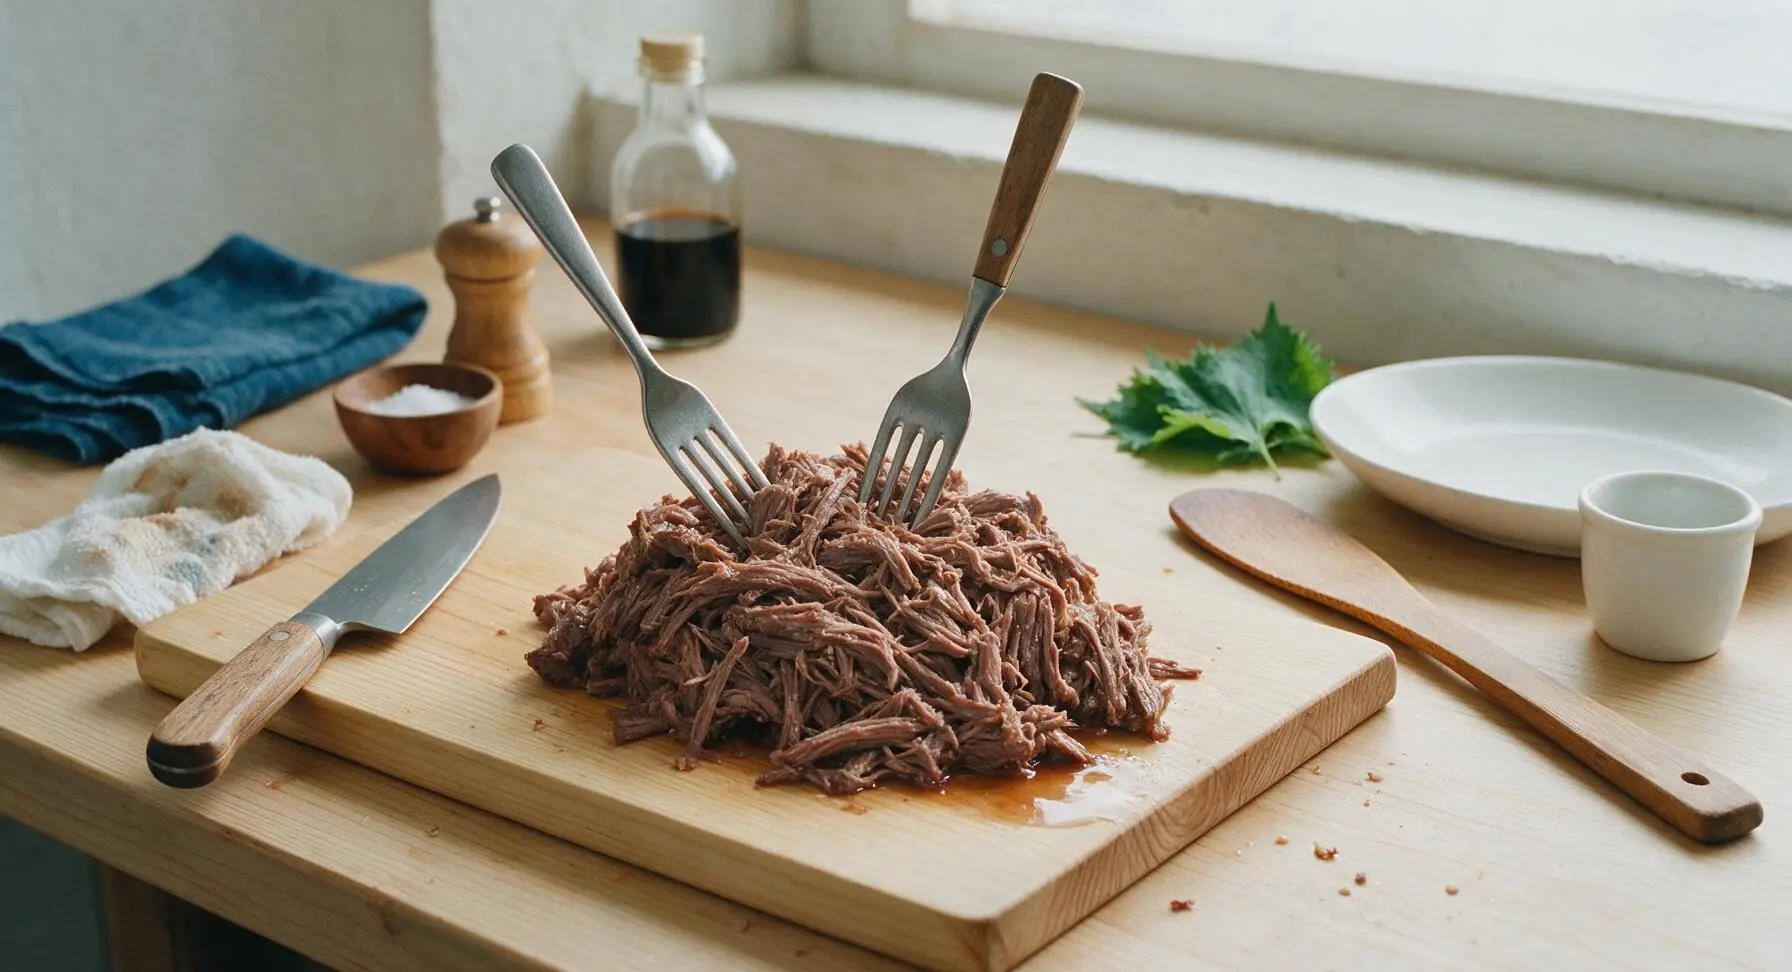
Use the tongs to transfer the fully cooked roast from the Instant Pot insert to the honey maple cutting board. Let the beef rest for 5 minutes to allow juices to redistribute, then use two forks to shred it into thick, 2-3 inch bite-sized pieces, discarding any large pieces of unrendered hard fat. Do not shred the beef too finely, as smaller pieces will become mushy when tossed in au jus.
Step 6
step6:Shred Cooked Beef
Step 6
step6:Shred Cooked Beef
7

Toss Beef in Au Jus

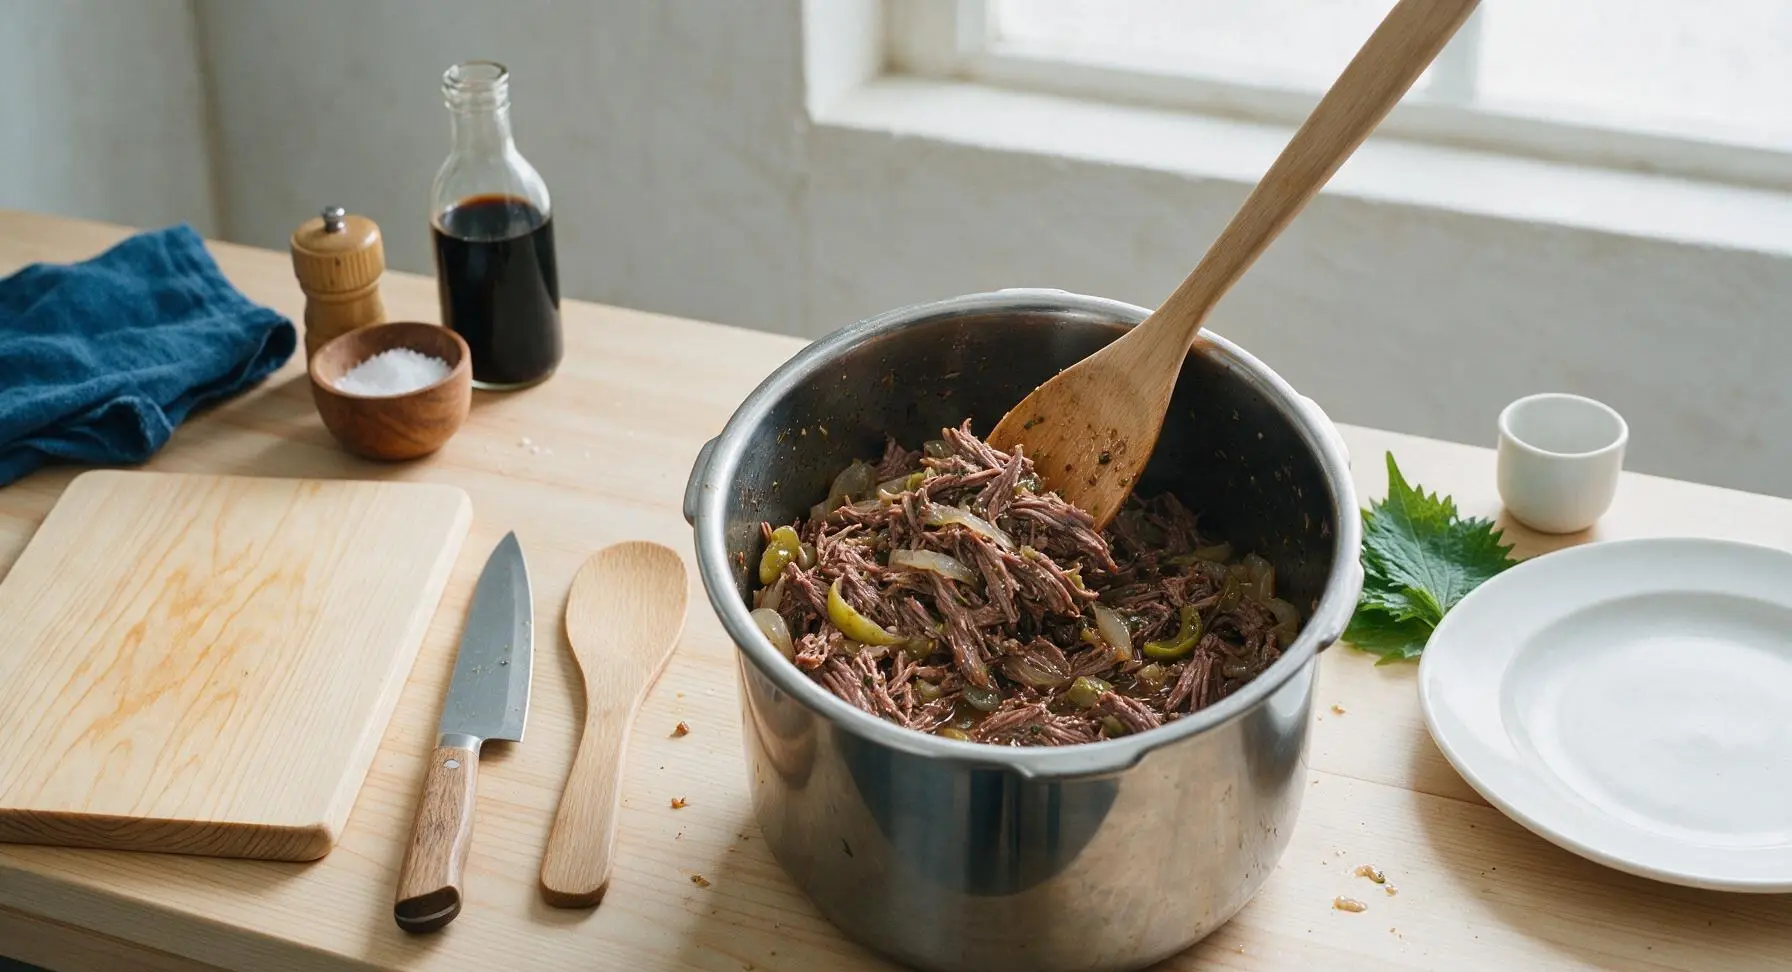
Return the shredded beef to the Instant Pot insert, tossing gently with the honey maple wooden spoon to coat the shreds in the savory cooking liquid (au jus), soft cooked onions, and pepperoncini. Let the beef sit in the warm liquid for 3 minutes to absorb flavor before assembling sandwiches. Taste a small piece and add extra salt only if needed, as the pepperoncini brine adds significant salinity.
Step 7
step7:Toss Beef in Au Jus
8

Assemble the Sandwiches

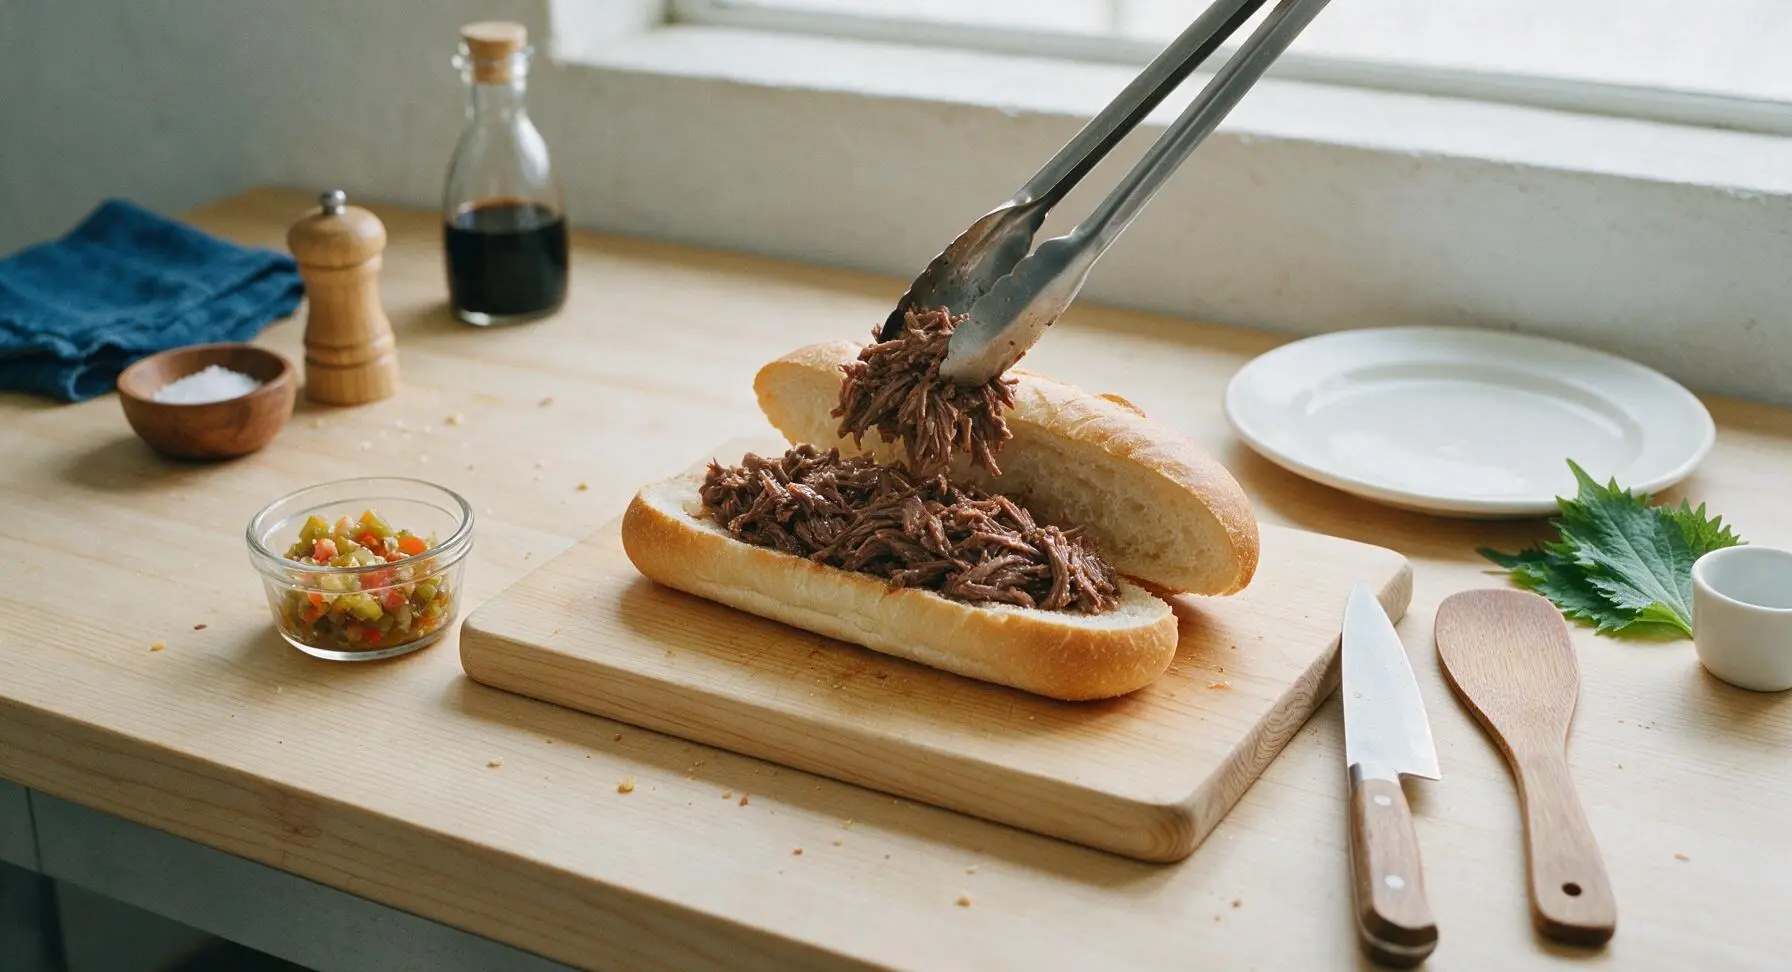
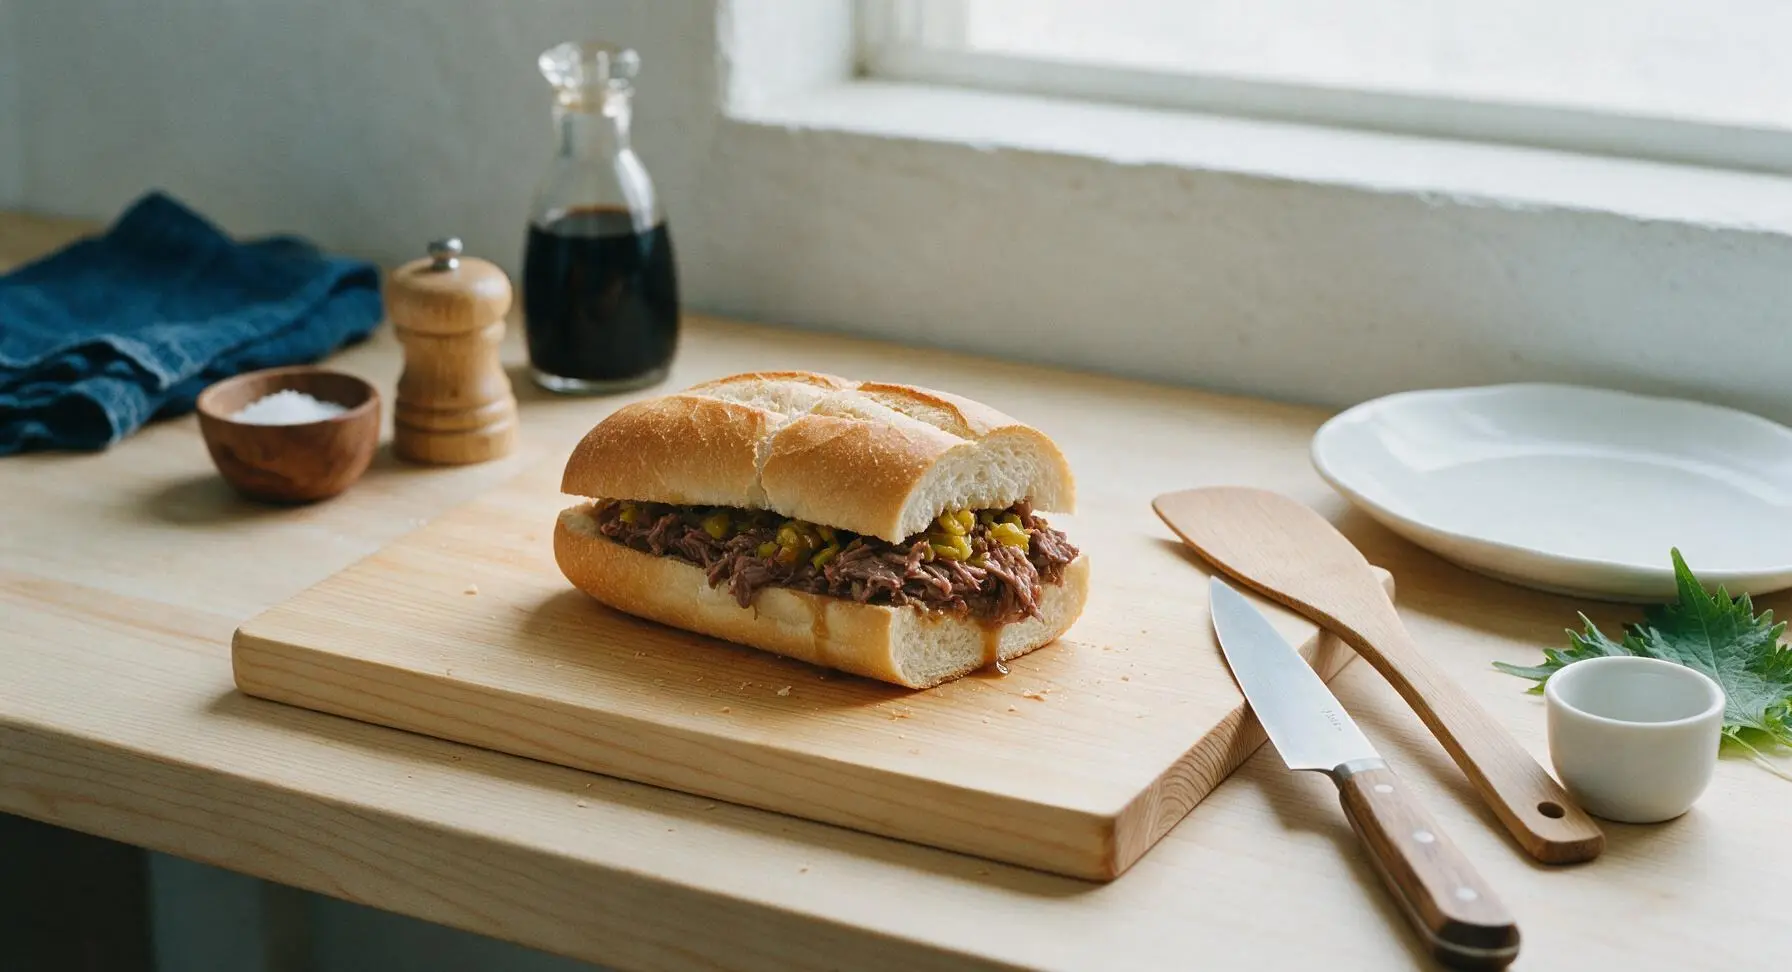
Split the crusty hoagie rolls lengthwise, leaving one edge attached to create a hinge that holds filling in place. Pile a generous 1/2 cup of the juice-coated shredded beef onto each roll, top with 2-3 tbsp of chopped tangy giardiniera, and spoon 1 tsp of extra au jus over the top of the beef for extra moisture. Serve with a small clear glass ramekin of extra au jus on the side for dipping, if desired.
Step 8
step8:Assemble the Sandwiches
Step 8
step8:Assemble the Sandwiches

Tips

1.Always pat the roast dry before seasoning and searing: Surface moisture on the beef will prevent a deep, golden crust from forming during searing, leading to less flavorful au jus and less textured beef, as dry meat sears while wet meat steams.
2.Avoid using lean beef cuts like sirloin or round: Chuck roast’s abundant marbling and connective tissue breaks down completely during pressure cooking to create juicy, melt-in-your-mouth shreds, while lean cuts will turn dry and stringy even with the same cook time.
3.Don’t skip the 15-minute natural pressure release: A full quick release causes rapid boiling inside the pot that can push liquid out of the pressure valve, and the sudden temperature drop makes beef fibers seize up and turn tough. The slow natural release lets the meat rest gently for the best texture.


✨ You May Also Like

Main Course
🍜 United Kingdom

A showstopping classic of tender seared beef, savory mushroom duxelles, and crisp prosciutto wrapped in flaky golden puff pastry, baked to juicy perfection.

⏱️ 2 hours 1Main Course ★ 4.7
Main Course
🍜 India

Tender charred marinated chicken simmered in a rich, spiced creamy tomato sauce, this iconic Anglo-Indian curry pairs perfectly with basmati rice or warm naan.

⏱️ 50 minuteMain Course ★ 4.6
Main Course
🍜 Thailand

Classic tangy, sweet, and savory Thai stir-fried rice noodles with shrimp, tofu, and crunchy garnishes, balancing all five core Thai flavor profiles.

⏱️ 30 minuteMain Course ★ 4.5
Main Course
🍜 United Kingdom

Crispy golden beer-battered cod and fluffy double-fried chips, served with tangy tartar sauce and malt vinegar: the timeless, beloved British pub comfort classic.

⏱️ 45 minuteMain Course ★ 4.7
Main Course
🍜 Mexico

Smoky, chile-marinated pork tacos with caramelized pineapple, fresh cilantro, and lime: a beloved classic Mexican street food perfect for casual summer gatherings.

⏱️ 1 hour 45Main Course ★ 4.8
Main Course
🍜 United States

Crunchy Fritos corn chips layered with savory beef chili and melted cheddar, topped with cool, zesty fixings for a beloved, cozy Tex-Mex comfort food.

⏱️ 35 minuteMain Course ★ 4.8

instant pot italian beef sandwiches:Frequently Asked Questions

1.What cut of beef works best for this recipe, and can I use a substitute for chuck roast? ▾
Boneless beef chuck roast is absolutely the best pick here—its rich marbling melts during pressure cooking to keep shredded beef tender and juicy, rather than turning tough or stringy. If you need a substitute, go for boneless bottom round roast, but skip extra-lean cuts like top sirloin; they’ll dry out quickly even under pressure.
2.How long do I pressure cook the beef to get that perfect shreddable texture? ▾
For a 3 to 3.5 pound chuck roast, set your Instant Pot to high pressure for 60 minutes, then let pressure release naturally for 20 minutes before quick-releasing any remaining steam. This timing breaks down tough connective tissue without turning beef mushy, so it pulls apart easily with two forks.
3.Do I really need to sear the beef before pressure cooking, or can I skip that step? ▾
I highly recommend searing first! Use the Instant Pot’s sauté function to brown all sides of the roast in a little oil before adding liquid and aromatics. That deep, caramelized crust adds huge layers of savory, beefy flavor you can’t get from skipping the step, and it only takes 8 to 10 minutes total.
4.What kind of hoagie rolls work best, and should I toast them first? ▾
Stick with crusty 6-inch hoagie rolls, as noted in the ingredient list—they hold up to juicy shredded beef and toppings without turning soggy halfway through eating. I always toast them cut-side down under the broiler for 1 to 2 minutes before piling on beef, which adds crunch and creates a slight barrier against sogginess.
5.Can I use regular beef broth instead of low-sodium, and will that throw off the seasoning? ▾
You absolutely can use regular beef broth, just hold off on adding extra salt to the beef until after it’s done cooking and you’ve tasted it. Regular broth has much higher sodium content, so salting early can lead to over-salty filling that’s impossible to fix once the beef is shredded and mixed with juices.
6.How should I prep the onion and garlic for the best, most balanced flavor? ▾
Slice your large yellow onion into thick half-moons so they soften into sweet, tender bits during pressure cooking, rather than dissolving completely into the broth. Crush garlic cloves lightly with the flat of a knife instead of mincing them super fine, to release mellow savor without turning bitter during cooking.
7.What’s the best way to shred the beef once it’s done cooking? ▾
Transfer the cooked roast to a large cutting board once it’s safe to handle, and use two forks to pull it apart against the grain of the meat. Don’t shred it too fine—leave slightly chunky, bite-sized pieces for good texture, then toss it back into the flavorful cooking liquid to soak up extra juice before building sandwiches.
8.Is giardiniera required, and what kind should I use for authentic flavor? ▾
Tangy giardiniera is the classic, signature topping for these sandwiches, and I don’t recommend skipping it! Pick up a jar of either mild or hot Italian-style giardiniera (the pickled veggie mix with cauliflower, carrots, and peppers) from the grocery store, and drain it slightly before piling it on to avoid extra sogginess.
9.Can I make this beef ahead of time for meal prep or a party? ▾
Absolutely! This beef actually tastes even better after it sits in its cooking liquid in the fridge for 1 to 3 days, as the herb and beef flavors meld deeper. Store shredded beef fully submerged in its broth in an airtight container, then reheat gently right before building sandwiches for a crowd.
10.My beef came out tough after pressure cooking—what went wrong, and can I fix it? ▾
Most of the time, tough beef means you either didn’t cook it long enough, or released pressure too quickly. Tough connective tissue needs time to break down at high pressure, and a natural release lets meat fibers relax and reabsorb juice instead of seizing up. Pop it back in for 10 more minutes of high pressure to fix it.
11.Can I freeze leftover cooked Italian beef for later quick meals? ▾
Yes, this shredded beef freezes beautifully for up to 3 months. Let it cool completely to room temperature first, then store it in freezer-safe bags or containers with enough of its cooking liquid to keep it moist, squeezing out excess air before sealing. Thaw in the fridge overnight, then reheat slowly before piling onto hoagie rolls.
12.Do I need a pre-made Italian seasoning blend to get that classic herby flavor? ▾
You don’t need a fancy pre-made Italian seasoning blend! Mix dried oregano, dried basil, a pinch of dried thyme, a light sprinkle of crushed red pepper flake for subtle heat, and fresh cracked black pepper for that classic herby profile. Add seasonings when you pour in the broth so they infuse the whole pot as it cooks.
13.How do I keep my hoagie rolls from getting soggy once I build the sandwiches? ▾
A few easy tricks prevent sogginess: first, toast the cut sides of your hoagie rolls to create a crisp moisture barrier. Second, don’t drench the beef in too much excess broth when you pull it from the pot—let it drain slightly before piling it on. Finally, add toppings like giardiniera right before serving.
14.Can I add cheese to these sandwiches, and what kind pairs best? ▾
Cheese is a totally delicious optional add-on! Provolone is the classic pick for Italian beef sandwiches—its mild, melty profile doesn’t overpower the savory beef and tangy giardiniera. Lay a slice or two on the bottom half of the toasted hoagie before adding hot beef, so the meat’s heat melts the cheese perfectly.
15.How much beef do I need per sandwich when serving this for a crowd? ▾
Plan for about 1/3 to 1/2 pound of raw chuck roast per sandwich, since the beef will shrink a bit as it cooks and renders excess fat. A standard 3-pound roast will make about 6 to 8 hearty sandwiches, which is perfect for game day gatherings, potlucks, or quick family dinners with a few leftovers.
16.Can I adapt this recipe if I don’t have an Instant Pot, like for a slow cooker? ▾
You can absolutely adapt this for a slow cooker if you don’t have an Instant Pot! Sear the beef first on the stovetop, then add it to the slow cooker with the broth, onion, garlic, and seasonings. Cook on low for 8 to 10 hours until fall-apart tender, then shred and assemble sandwiches as directed.

Comments (15)

2 days ago

OMG, this recipe is a total game changer! I was skeptical about Italian beef in the Instant Pot because I usually slow cook it for 8+ hours, but 70 minutes total? Are you kidding? It came out fall-apart tender, the seasoning was spot on, my husband and three kids devoured every last bite last night for family dinner. I even made extra to portion for meal prep this week! Only tweak: I added a handful of pepperoncini slices on top of each sandwich because that’s how my grandma used to make it. 10/10 will make again.

yesterday

Wait, adding extra pepperoncini is such a good call! I did that too last time I made it, and the little tang cuts through the richness of the beef so perfectly. My roommates begged me to make this again for our football watch party this weekend.

yesterday

So glad your family loved it! Extra pepperoncini is a fantastic hack — the bright tang really elevates the whole sandwich. If you’re making it for a crowd, you can easily double the recipe and keep the beef warm in the Instant Pot on the “keep warm” setting for a couple hours without it getting mushy.

3 days ago

As a dad who works 9-5 and coaches my son’s t-ball team, weeknight dinners are always a scramble. This was SO easy to throw together after practice, no fancy ingredients, minimal prep, and the whole house smelled incredible by the time we were done with homework. The only reason I’m not giving it 5 stars is that I wish I’d bought hoagie rolls that were a little sturdier — mine got soggy super fast when I piled the beef on. Any tips for that?

2 days ago

Great question! To avoid soggy rolls, try toasting them lightly under the broiler for 1-2 minutes before piling on the beef, and you can also spread a thin layer of melted provolone on the inside of the roll to act as a barrier against the au jus. So glad this worked for your busy weeknight schedule!

1 week ago

Made a double batch of this on Sunday for my weekly meal prep, and it held up perfectly all week! I portioned the beef and au jus into separate containers, toasted a fresh roll each day at work, and it tasted just as good as the first night. Way cheaper than buying Italian beef from the local sandwich shop by my office too. Already sent the recipe to my whole work group chat!

5 days ago

I brought this to our neighborhood block party potluck last weekend and people were lined up for seconds! I set out a little topping bar with giardiniera, melted provolone, sautéed peppers and onions, and extra au jus for dipping, and it was such a hit. Three different neighbors asked me for the recipe before I even left. So glad I found this — it’s going into my regular potluck rotation for sure.

3 days ago

The topping bar idea is genius! I’m hosting a fantasy football draft next month and was trying to figure out an easy main dish that doesn’t require me manning the grill the whole time, this is perfect.

3 days ago

Love the topping bar idea! That’s such a fun way to let people customize their sandwiches to their taste. This recipe works so well for crowds because the beef stays tender and flavorful even when held warm for a few hours, which makes potlucks and watch parties so much less stressful.

yesterday

So happy I found this! I swapped the regular hoagie rolls for gluten-free ones and didn’t change a single other thing, and it came out amazing. I’ve been missing a good Italian beef sandwich since I went gluten free two years ago, and this totally hit the spot. The cook time is so much shorter than other recipes I’ve tried too, which is a huge win for weeknights.

2 hours ago

Thanks for the GF tip! I have celiac and have been nervous to try Italian beef recipes because so many use seasoning packets with hidden gluten, but since this uses homemade seasonings I can actually make it! Can’t wait to try it with my GF rolls this weekend.

30 minutes ago

As a college senior with a tiny apartment and barely any cooking skills, this was foolproof! I grabbed a cheap chuck roast from the grocery store, tossed everything in the Instant Pot I got for my birthday, and it turned out way better than I thought it would. My roommates thought I ordered takeout from the fancy sandwich place downtown lmao. Definitely making this again when my parents come to visit next month.

5 minutes ago

Wait, total newb question here — do I need to sear the beef first before pressure cooking it? I’ve seen some Instant Pot recipes say you have to, others say you don’t, and I don’t want to mess this up because I’m making it for my partner’s birthday dinner tomorrow! Also, can I use a rump roast instead of chuck if that’s what I already have in the freezer?

just now

Great questions! Searing the beef first does add a nice depth of flavor, but if you’re short on time you can absolutely skip it and the recipe will still turn out delicious. Rump roast works great too — just make sure to slice it against the grain when it’s done to keep it tender. Hope your partner loves the birthday dinner!

2 weeks ago

My kids are SO picky, they turn their nose up at almost everything I make for dinner lately, but they ate TWO full sandwiches each when I made this last night! My 8 year old even asked if we could have it for his birthday dinner next month. I added a little extra Italian seasoning because we love bold flavors, and it was perfect. 10/10, new family favorite.

1 week ago

Omg I feel this! My 7 year old lives off chicken nuggets and mac and cheese, I’ve been looking for something new he might actually eat. I’m picking up a roast on my grocery run tomorrow to test this out, fingers crossed!

1 week ago

That makes us so happy to hear! There’s no better compliment than a kid asking for a recipe for their birthday dinner. The extra Italian seasoning is a perfect tweak for folks who love that herby, bold flavor.

2 hours ago

This was so good, but I kicked it up a notch by adding a few sliced jalapeños in with the beef while it cooked, plus a big scoop of hot giardiniera on my sandwich. The heat paired so well with the savory beef and soft rolls. My friend who hates spicy food ate the regular version and also raved about it, so it’s super customizable!

30 minutes ago

Dude, adding jalapeños while it cooks? That’s genius, I never thought to infuse the au jus with that extra heat. I’m making this on Sunday for game day and I’m absolutely stealing that trick.

3 days ago

Talk about a budget-friendly win! I got a 3lb chuck roast on sale for $12, had all the seasonings in my pantry already, and that made enough for 6 huge sandwiches plus leftover beef for hash the next morning. Way better value than getting takeout for the family, which would’ve cost me $50+ easy. Flavor was unreal too, no weird artificial seasoning packet taste.

1 week ago

I just got my Instant Pot for Christmas and this was the first real recipe I tried in it! I was so nervous I was going to mess up the pressure release or burn something, but the instructions were super clear and easy to follow, and the beef came out perfect on the first try. My whole family was impressed, I felt like a real chef lol.

5 days ago

Way to go on your first Instant Pot recipe! So glad the instructions were easy to follow — that’s always our goal, especially for folks who are new to pressure cooking. Nothing beats that win of nailing a new recipe and impressing the family, right?

yesterday

Wait, the au jus that this makes??? I could drink it straight from the pot it’s so good. I dipped every single bite of my sandwich in it, and even saved the leftover au jus to make French dip sliders later in the week. I’ve had Italian beef from famous spots in Chicago before, and honestly? This is right up there with them for a fraction of the price and way less effort.

yesterday

Right?! I grew up going to Italian beef stands in the city and I was so skeptical an Instant Pot version could compare, but this is legit. My Chicago-born dad even said it tasted like home, which is the highest possible compliment.

yesterday

High praise coming from someone who’s had the real Chicago-style stuff! That leftover au jus is liquid gold, great call using it for French dip sliders — we’ve done that too and it’s chef’s kiss.

2 days ago

I prepped all the ingredients (seared the beef, mixed the seasonings, dumped everything except the rolls) into a freezer bag a month ago, pulled it out last night to thaw, and dumped it straight into the Instant Pot tonight for dinner. It turned out exactly the same as when I make it fresh! This is going to be a staple for my freezer meal stash for busy weeks when I don’t have time to prep from scratch.

yesterday

Freezer meal prep is exactly what I need right now with a 3 month old at home! Do you just freeze it raw with all the seasonings and broth, no pre-cooking needed besides the quick sear? I want to stock my freezer before I go back to work next month.

5 days ago

Leftovers were even better the next day! I tossed the leftover beef with a little of the au jus in a pan to warm it up, melted some provolone on top, and piled it on a toasted roll for lunch. The flavors had melded even more overnight, it was insane. I’m intentionally making a double batch from now on just so I have leftovers for days.

yesterday

Made this for our Sunday football watch party yesterday and it was a total home run. I set the Instant Pot up in the garage where we were watching the game, kept it on warm, and let people build their own sandwiches all afternoon. No mess, no running back and forth to the kitchen, and everyone raved about how tender the beef was. Already planning to make it for our Super Bowl party in a few months!

yesterday

Setting it up right by the TV is such a smart move! I’m usually stuck in the kitchen missing all the good plays when I host watch parties, this would solve that entirely. Can you prep the beef the night before and just keep it warm the next day?

yesterday

Love the game day setup! If you’re prepping ahead, you can cook the beef fully the day before, store it in the fridge with the au jus, then reheat it right in the Instant Pot on the sauté setting for 10-15 minutes before switching to keep warm for serving. It works like a charm!



