
instant pot mexican casserole

title 1
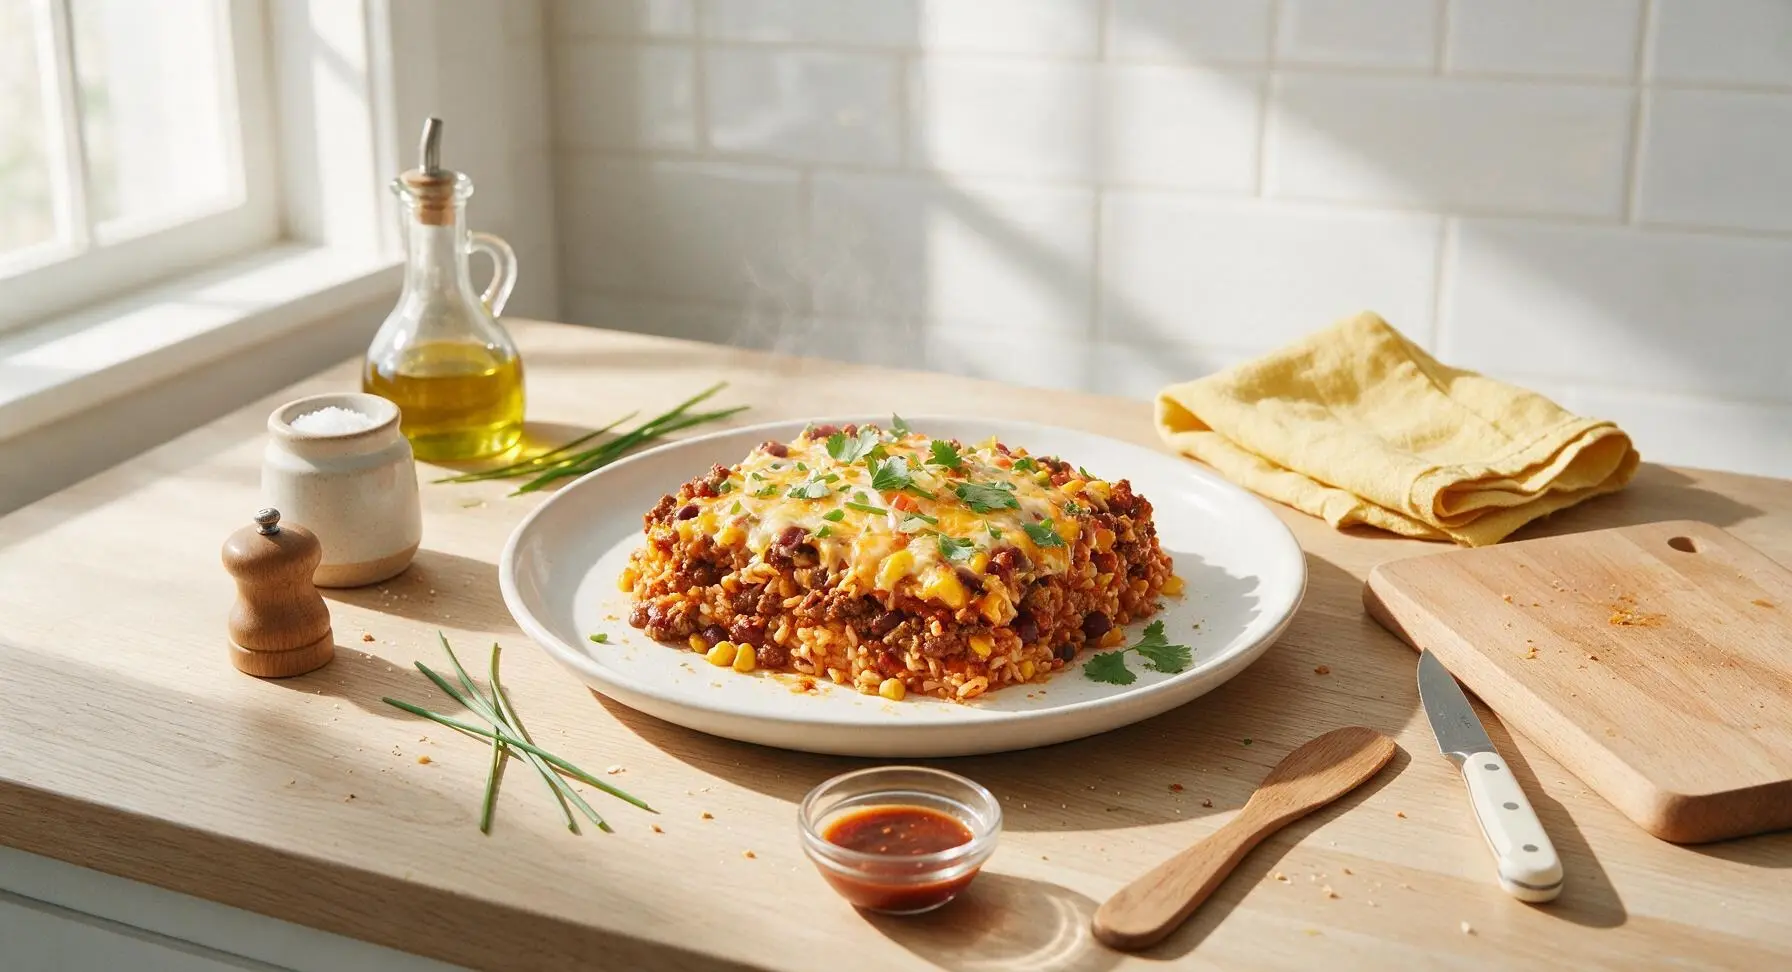
instant pot mexican casserole
⏱️ cook time 25 minutes (includes pot pressure build-up, sauté, high pressure cook, and 5-minute natural release)
🍽️ servings 6
⚡ Difficulty easy

intro

Hearty, cheesy Tex-Mex casserole made fast in the Instant Pot, layered with seasoned beef, tender rice, beans, corn, and zesty spices for a low-fuss, satisfying weeknight meal.

Ingredients
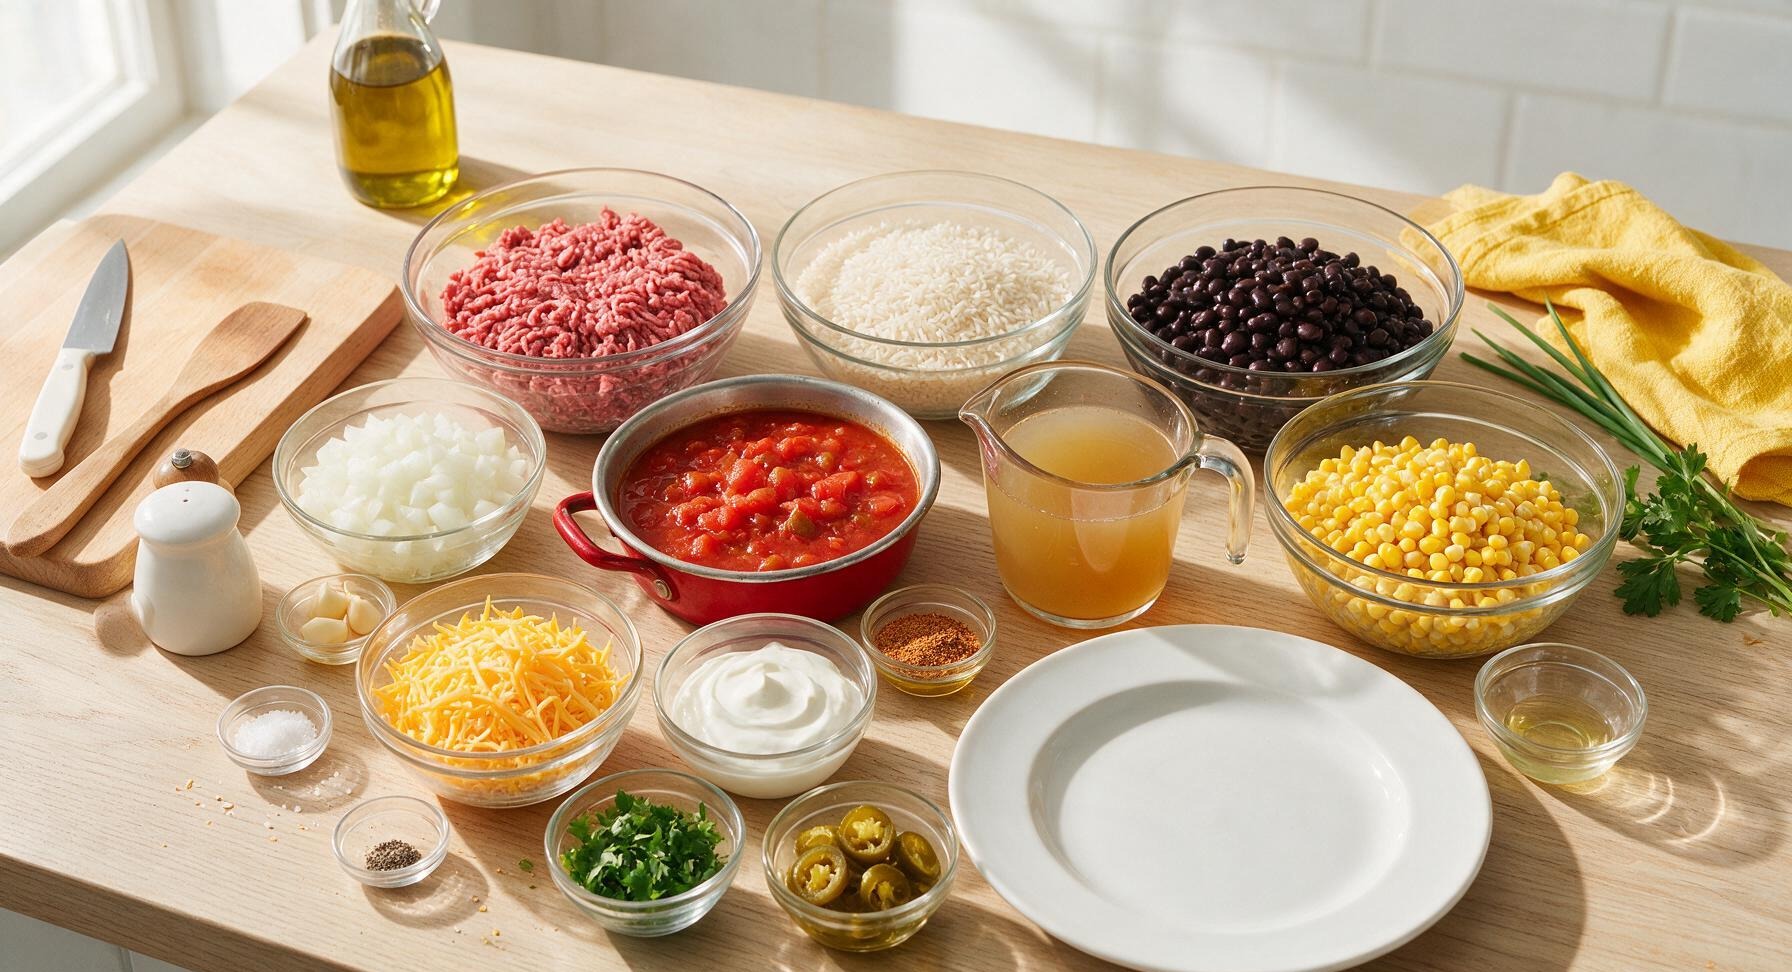
90/10 lean ground beef 450g
Long-grain white rice, uncooked 185g (1 cup)
Canned black beans, rinsed and drained 425g (1 can, drained weight)
Canned sweet corn, drained 340g (1 can, drained weight)
Medium yellow onion, diced 150g (1 whole)
Garlic cloves, minced 9g (3 cloves)
Canned diced tomatoes with green chiles, undrained 410g (1 can)
Low-sodium chicken broth 240ml (1 cup)
Olive oil 15ml (1 tablespoon)
Taco seasoning 18g (2 tablespoons)
Kosher salt 3g (1/2 teaspoon)
Ground black pepper 1g (1/4 teaspoon)
Shredded sharp cheddar cheese 113g (1 cup)
Sour cream, for serving 90g (1/3 cup)
Fresh cilantro, chopped for garnish 4g (1/4 cup)
Pickled jalapeño slices, for serving 35g (1/4 cup)

Steps

1

Sauté Beef and Aromatics

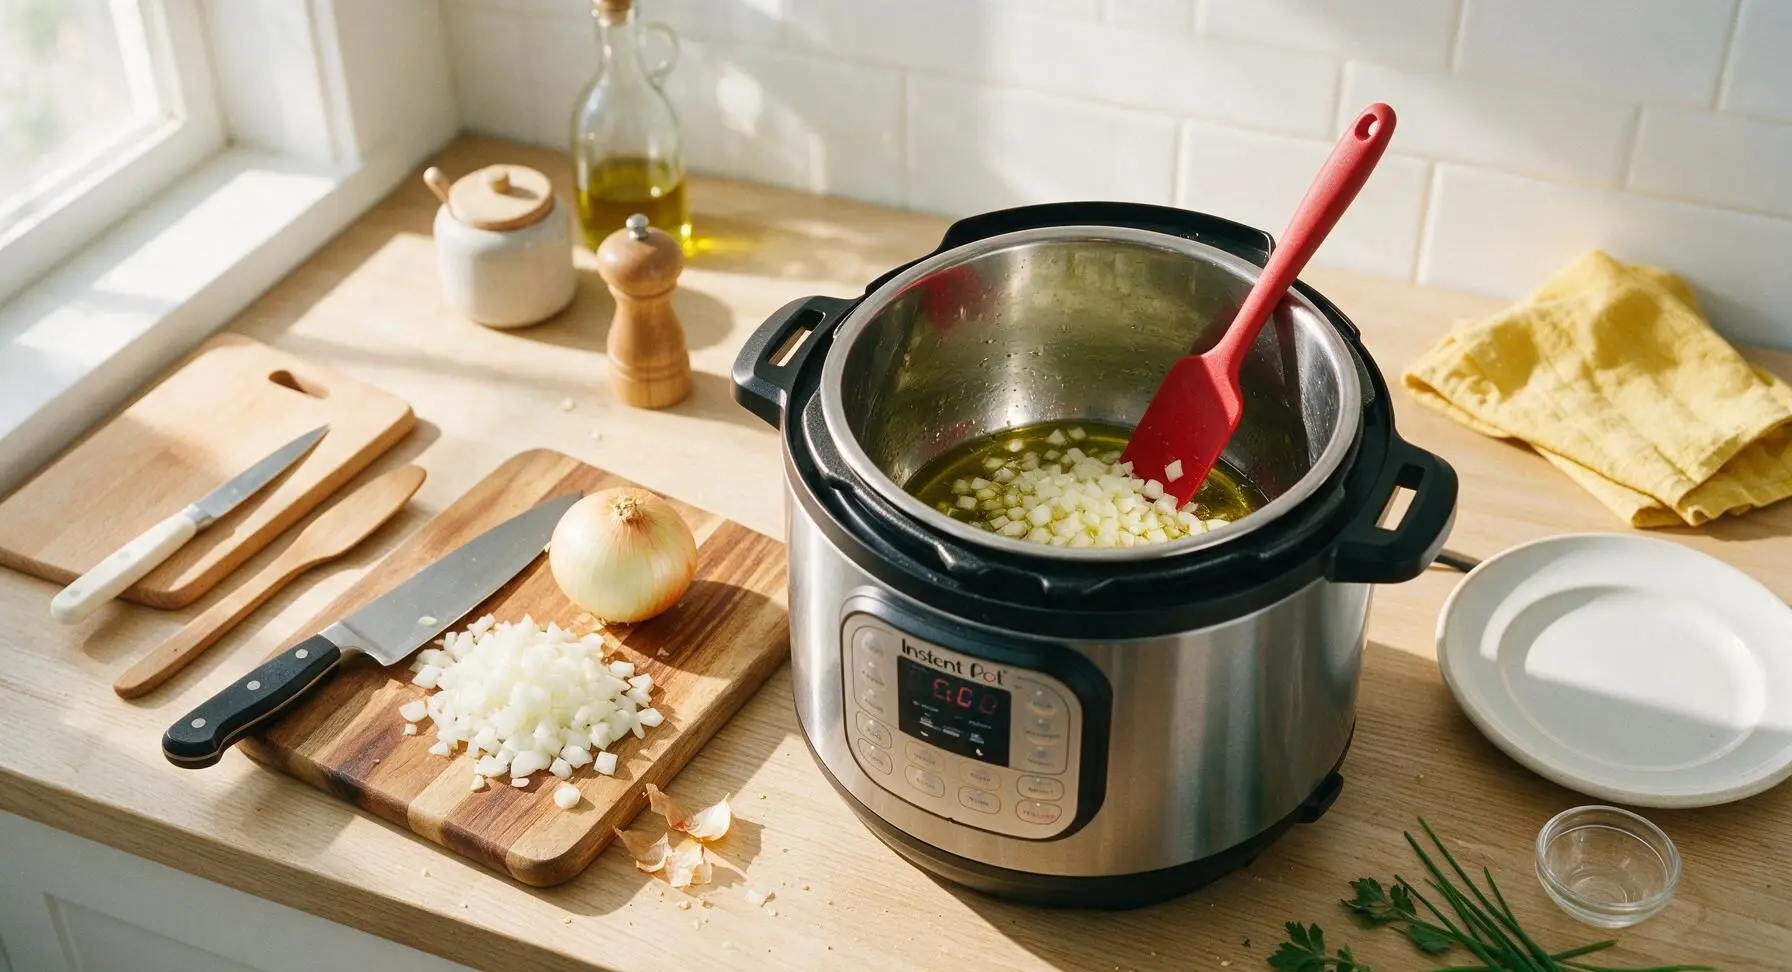
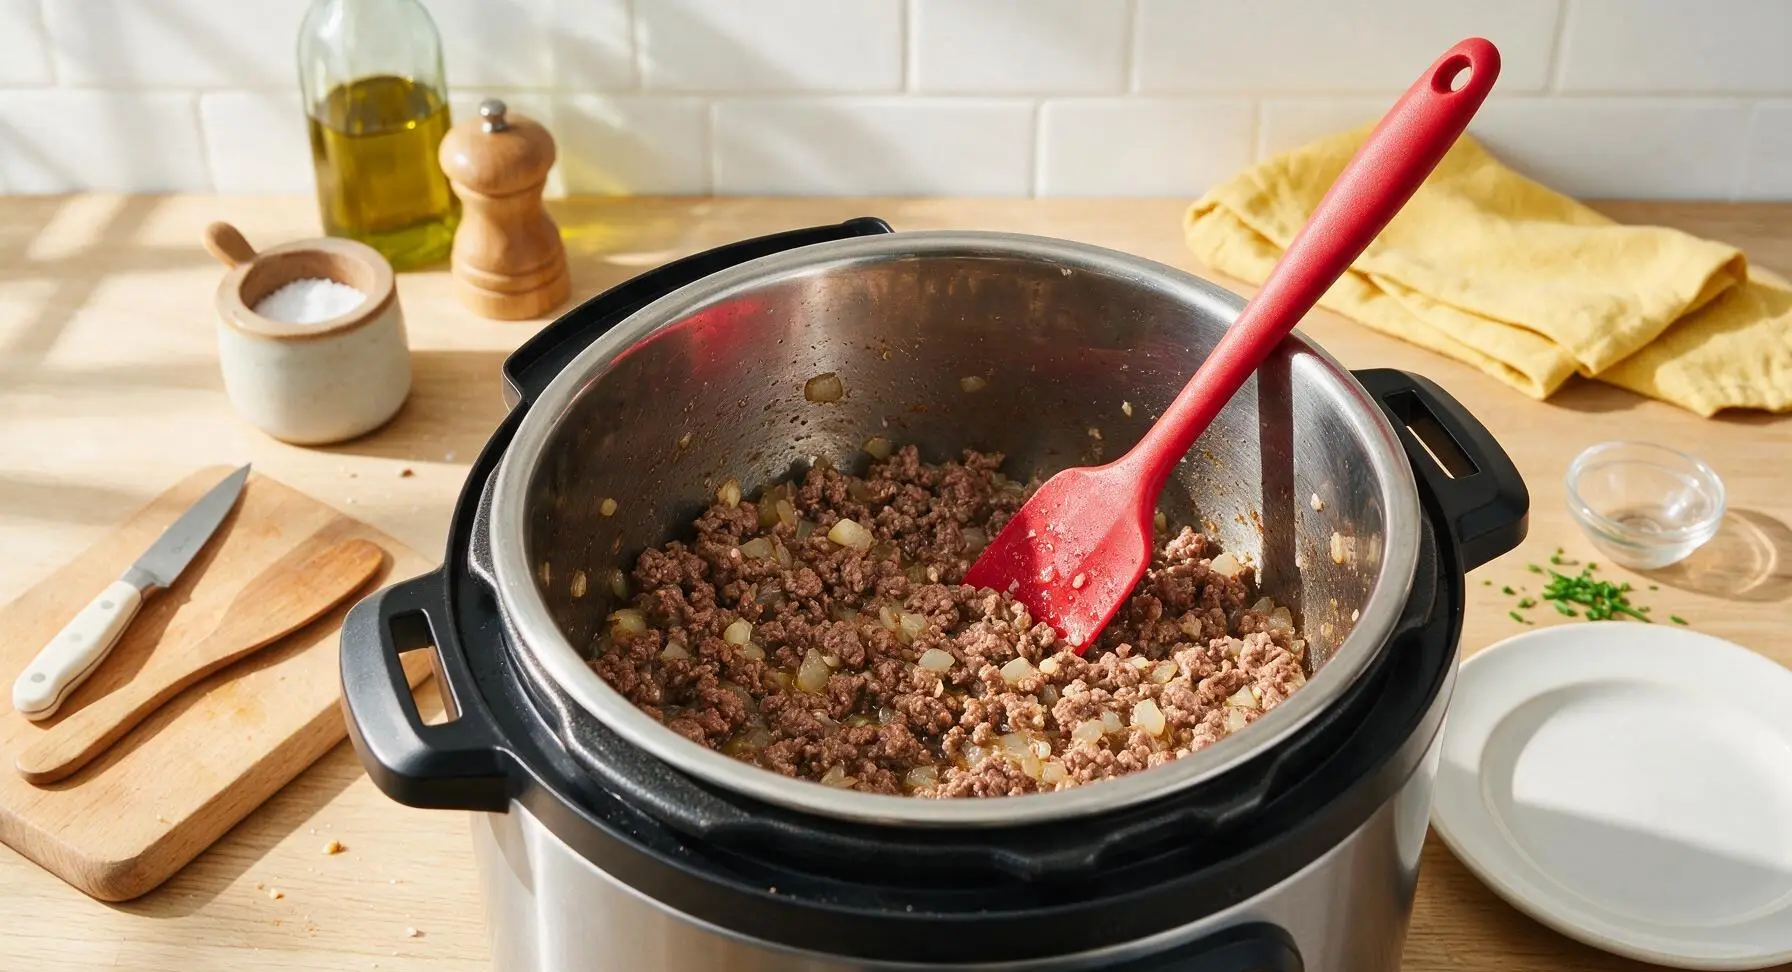
Turn the Instant Pot to the 'Sauté' function on high heat. Add 1 tablespoon olive oil to the stainless steel inner pot. Once oil shimmers (about 1 minute), add diced onion and cook for 2 minutes until soft and translucent, stirring occasionally with the red silicone spatula. Add minced garlic and cook for 30 seconds until fragrant, then add 90/10 lean ground beef, breaking it apart with the spatula as it browns for 4-5 minutes until no pink remains. Drain any excess rendered grease from the pot, then season with 1/2 teaspoon kosher salt and 1/4 teaspoon black pepper.
Step 1
step1:Sauté Beef and Aromatics
Step 1
step1:Sauté Beef and Aromatics
2

Add Rice and Seasonings

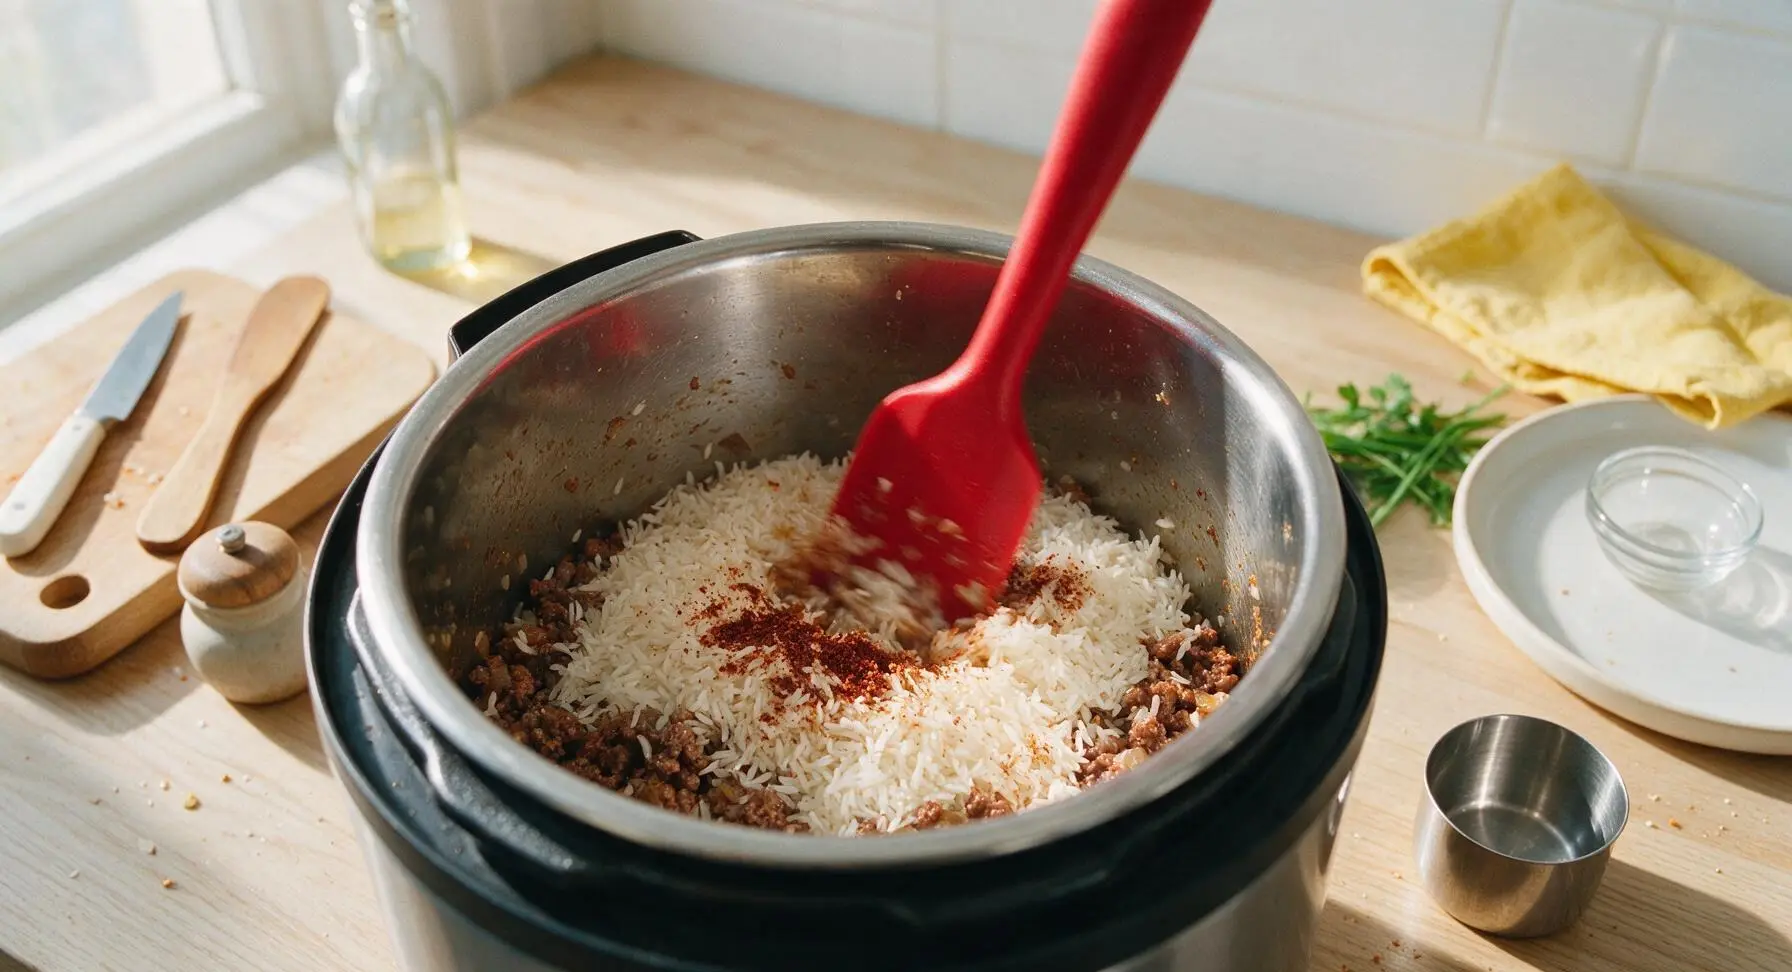
Pour the uncooked long-grain white rice into the pot with the browned beef, stirring constantly with the silicone spatula for 1 minute to toast the rice lightly until the edges turn slightly translucent. Add the 2 tablespoons of taco seasoning, stirring to coat the rice and beef evenly for 30 seconds until the warm, earthy spice fragrance is noticeable.
Step 2
step2:Add Rice and Seasonings
3

Layer Beans and Broth

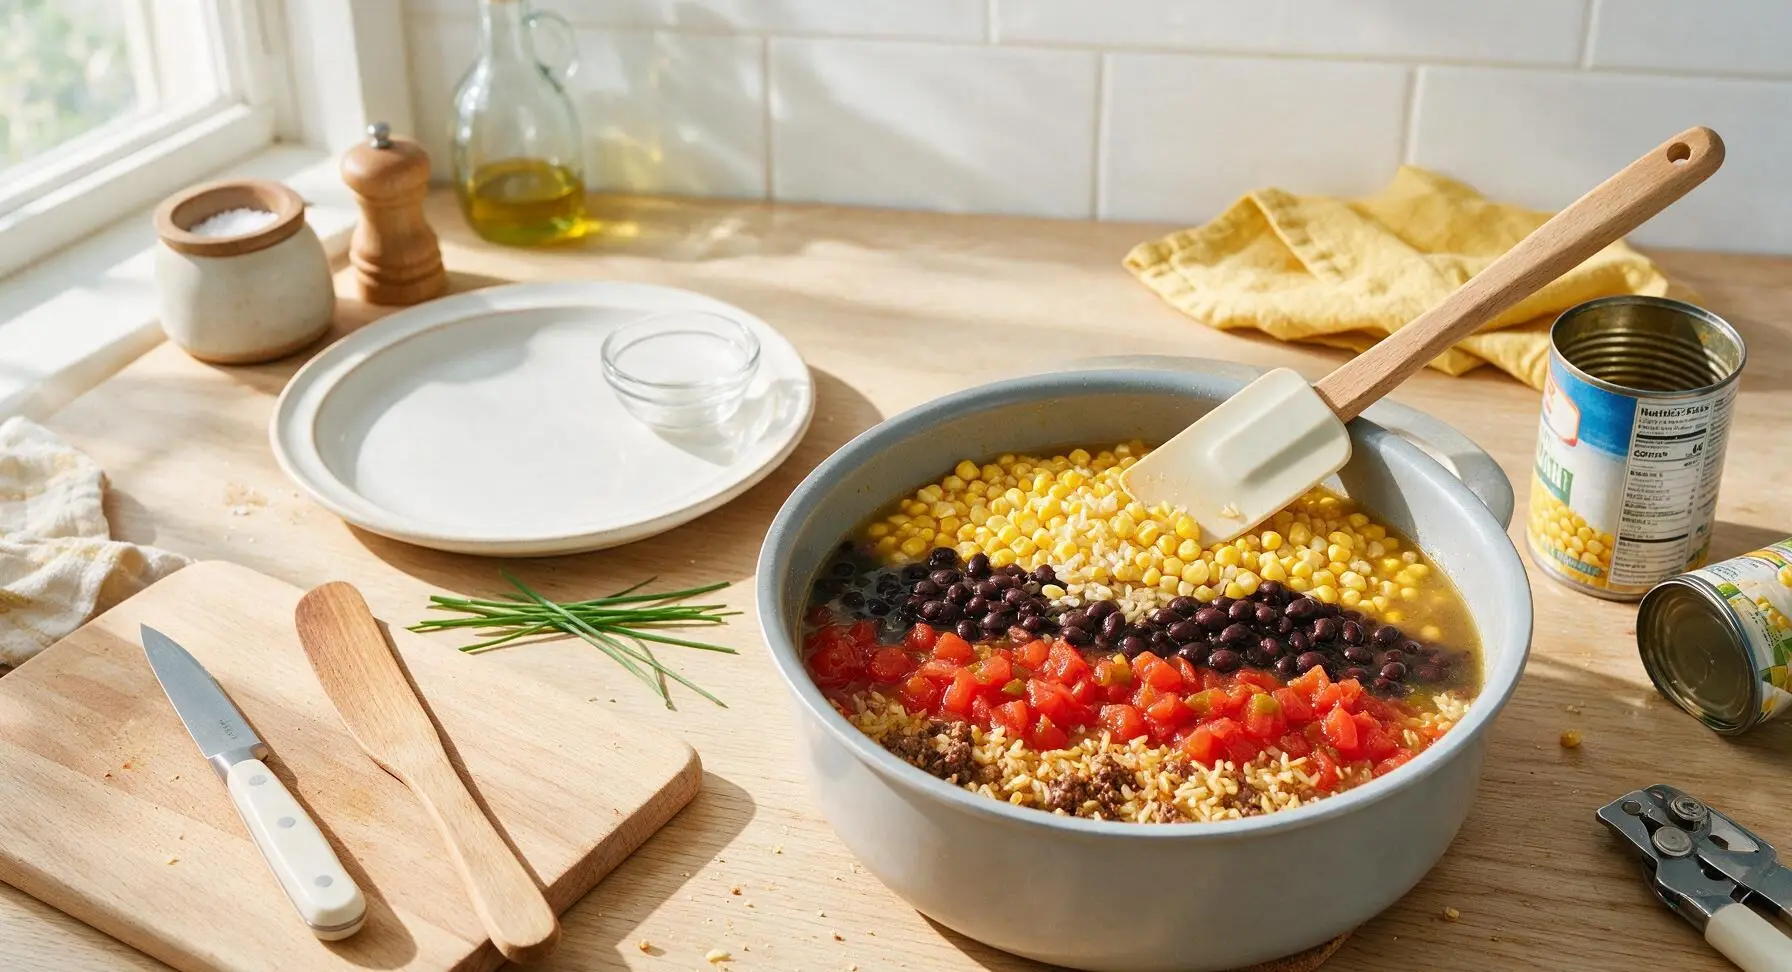
Do NOT stir after this point to prevent rice from burning on the pot bottom: pour the undrained diced tomatoes with green chiles evenly over the rice and beef mixture, followed by the rinsed black beans and drained sweet corn. Pour the 1 cup of low-sodium chicken broth over the top, pressing down gently with the spatula to ensure all rice is submerged in liquid – avoid stirring the layers, as this can cause starchy rice to stick to the hot pot base and trigger a burn notice.
Step 3
step3:Layer Beans and Broth
4

Pressure Cook Casserole

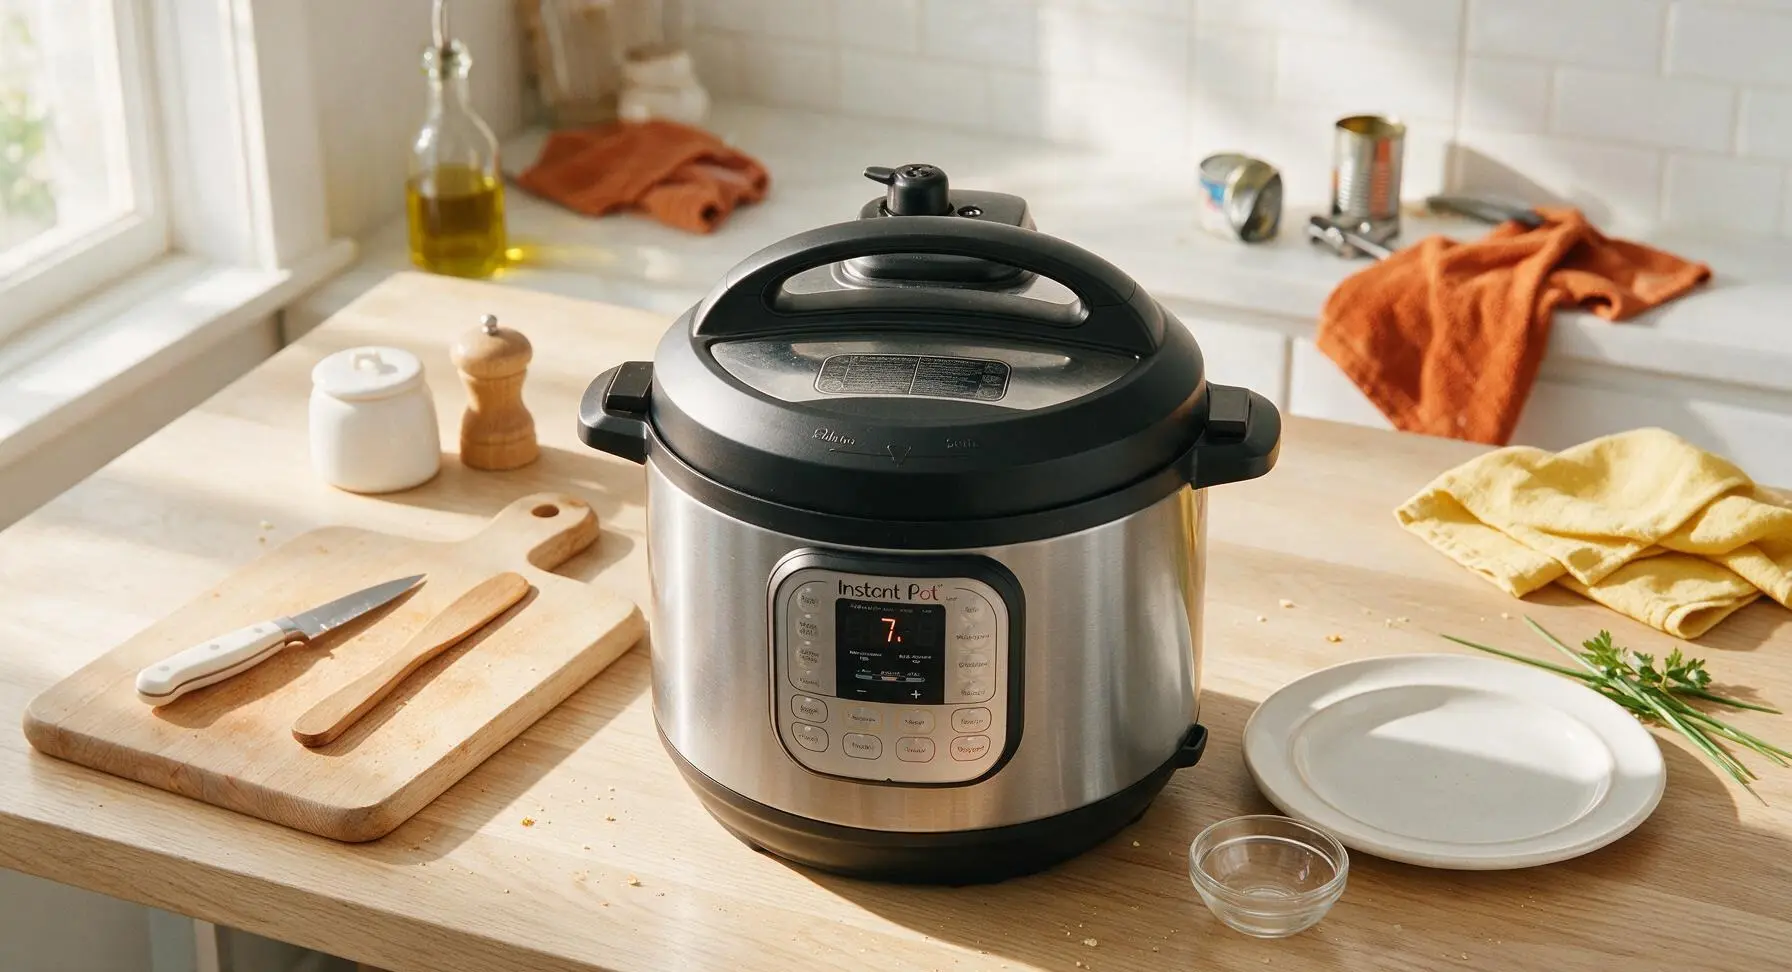
Seal the Instant Pot lid, turn the pressure release valve to the 'Sealing' position. Cook on high pressure for 7 minutes. Once the cook time ends, allow a 5-minute natural pressure release, then carefully turn the valve to 'Venting' to release any remaining pressure (keep your hand and face away from the steam vent, and use a folded towel to cover the valve to avoid steam burns). Wait until the silver float valve drops fully before attempting to open the lid, to ensure all pressure is released safely.
Step 4
step4:Pressure Cook Casserole
5

Fluff and Top with Cheese

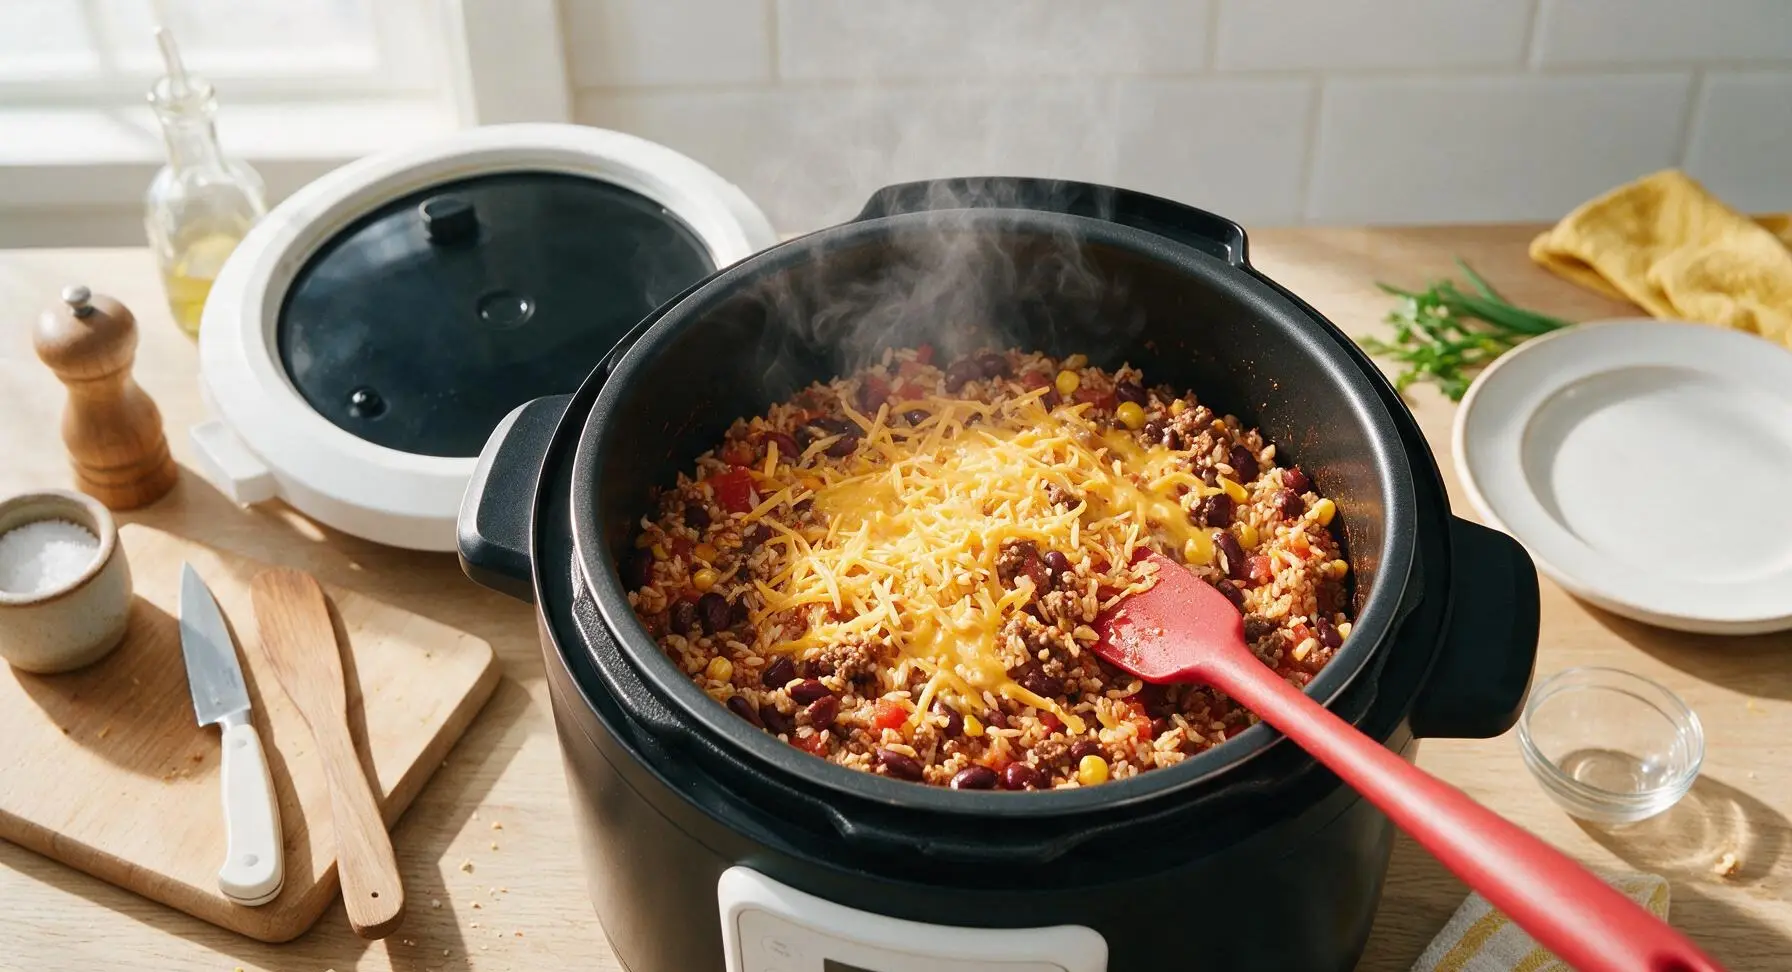
Once the lid is safely removed, fluff the entire casserole mixture gently with the silicone spatula, combining all the layers evenly until the rice is fully tender (no hard, crunchy bits) and no excess liquid pools at the bottom of the pot. Sprinkle the 1 cup (113g) of shredded sharp cheddar cheese evenly over the top of the hot casserole, then place the glass Instant Pot lid back on loosely for 2 minutes to let the cheese melt completely into a smooth, golden layer.
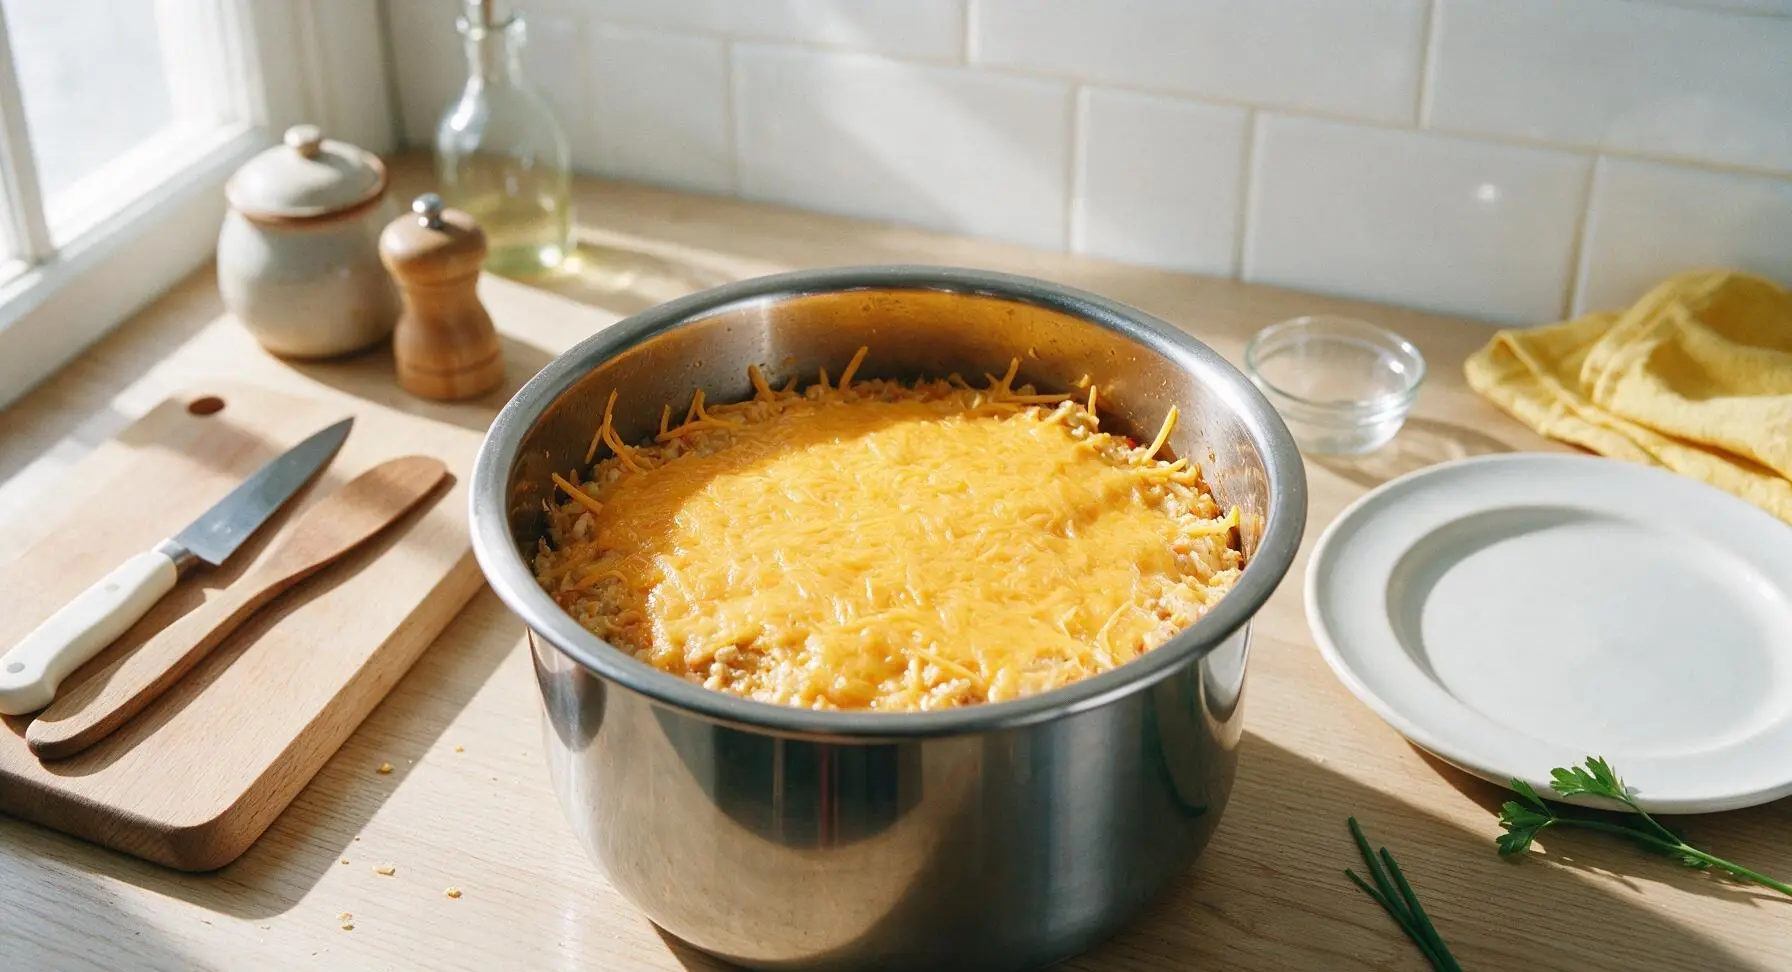
Step 5
step5:Fluff and Top with Cheese
Step 5
step5:Fluff and Top with Cheese
6

Plate and Garnish

Scoop a generous 250ml (1 cup) portion of the hot, cheesy casserole onto a matte terracotta dinner plate. Top each serving with a 1-tablespoon dollop of sour cream, a light sprinkle of chopped fresh cilantro, and 2-3 thin pickled jalapeño slices for a bright, tangy kick. Serve immediately while the cheese is stretchy and the casserole is piping hot.
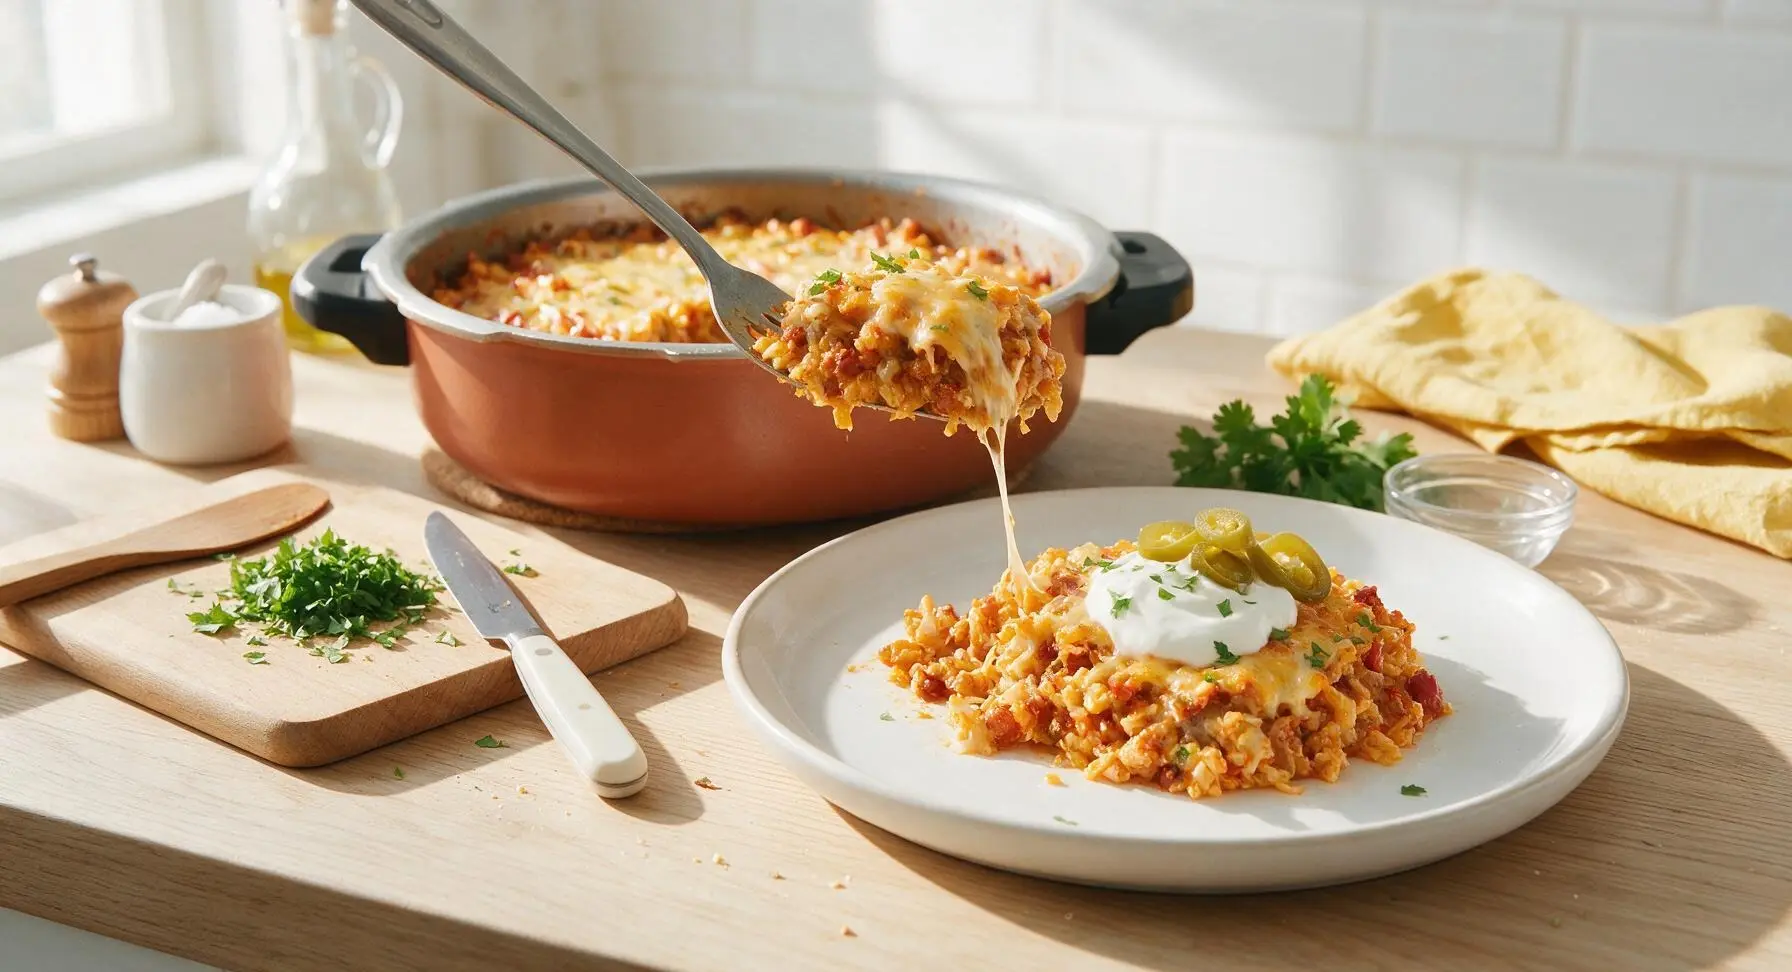
Step 6
step6:Plate and Garnish

Tips

1.Do not stir the ingredients after adding the rice and broth: starch from the rice can sink to the pot bottom and cause a burn notice if mixed directly against the hot inner pot base during pressure cooking. Layering acidic tomatoes and beans on top creates a protective barrier between the rice and the hot pot surface.
2.Use long-grain white rice instead of short-grain, instant, or brown rice for this recipe: long-grain rice holds its shape well and won’t turn mushy under 7 minutes of high pressure, while brown rice requires almost double the cook time that will overcook the ground beef and beans.
3.Let the cheese melt with the lid on loosely after fluffing instead of stirring it directly into the hot casserole: this creates a gooey, uniform cheesy top layer without breaking down the rice grains or making the dish gluey and starchy.


✨ You May Also Like

Main Course
🍜 United Kingdom

A showstopping classic of tender seared beef, savory mushroom duxelles, and crisp prosciutto wrapped in flaky golden puff pastry, baked to juicy perfection.

⏱️ 2 hours 1Main Course ★ 4.7
Main Course
🍜 India

Tender charred marinated chicken simmered in a rich, spiced creamy tomato sauce, this iconic Anglo-Indian curry pairs perfectly with basmati rice or warm naan.

⏱️ 50 minuteMain Course ★ 4.6
Main Course
🍜 Thailand

Classic tangy, sweet, and savory Thai stir-fried rice noodles with shrimp, tofu, and crunchy garnishes, balancing all five core Thai flavor profiles.

⏱️ 30 minuteMain Course ★ 4.5
Main Course
🍜 United Kingdom

Crispy golden beer-battered cod and fluffy double-fried chips, served with tangy tartar sauce and malt vinegar: the timeless, beloved British pub comfort classic.

⏱️ 45 minuteMain Course ★ 4.7
Main Course
🍜 Mexico

Smoky, chile-marinated pork tacos with caramelized pineapple, fresh cilantro, and lime: a beloved classic Mexican street food perfect for casual summer gatherings.

⏱️ 1 hour 45Main Course ★ 4.8
Main Course
🍜 United States

Crunchy Fritos corn chips layered with savory beef chili and melted cheddar, topped with cool, zesty fixings for a beloved, cozy Tex-Mex comfort food.

⏱️ 35 minuteMain Course ★ 4.8

instant pot mexican casserole:Frequently Asked Questions

1.Do I have to pre-cook the rice before making this Instant Pot Mexican Casserole? ▾
Nope, no pre-cooking required! Use the specified uncooked long-grain white rice, and it will tenderize perfectly during the pressure cooking cycle. Just make sure all rice grains are fully submerged under cooking liquid and other ingredients to avoid crunchy, unevenly cooked spots in your final casserole.
2.Why does the recipe call for 90/10 lean ground beef instead of a fattier blend? ▾
90/10 lean ground beef strikes the perfect balance for this Instant Pot recipe: it has enough fat to carry bold Tex-Mex flavor without leaving excess, greasy pooled liquid that would make rice mushy and dilute zesty spices. You won’t even need to drain off grease after browning, which cuts down on prep time.
3.Can I swap the long-grain white rice for brown rice in this recipe? ▾
You can, but you’ll need to adjust cook time to account for brown rice’s denser texture. Add 5 extra minutes of high-pressure cook time, and increase cooking liquid by ¼ cup, since brown rice absorbs more moisture as it cooks. Keep the same layering order to prevent rice from burning on the pot bottom.
4.Do I really need to rinse and drain the canned black beans before adding them? ▾
Yes, definitely! The thick, starchy liquid in canned black beans has a flat, metallic canned flavor and murky texture that will make your casserole taste off and turn rice gummy. A quick 30-second rinse under cool running water washes away that residue, leaving clean, tender beans that hold their shape well.
5.How do I keep rice from burning to the bottom of my Instant Pot when making this? ▾
First, make sure you scrape up every browned bit from the pot bottom after sautéing ground beef and onion—those stuck bits are the #1 cause of burn errors. Layer uncooked rice on top of the beef, pour liquid over evenly, and don’t stir rice down to the pot bottom before pressure cooking.
6.Can I make this casserole vegetarian? ▾
Absolutely! Swap the 90/10 lean ground beef for an equal amount of plant-based crumbled beef substitute, or add extra black beans and a drained can of diced fire-roasted tomatoes for extra heft. You won’t need to adjust total pressure cook time, since rice cooks at the same rate regardless of your protein swap.
7.Why do I have to drain the canned sweet corn before adding it? ▾
Canned sweet corn is packed in lightly salted, starchy brine that adds unnecessary extra moisture and a flat, canned aftertaste if poured straight into the casserole. Draining it well ensures you get sweet, crisp-tender corn kernels in every bite, without watering down spices or making the final casserole soggy.
8.How long does this casserole take to make from start to finish? ▾
Total time clocks in right around 35 minutes, which makes it perfect for busy weeknights. That includes 10 minutes of prep to dice onion, brown beef, and layer ingredients, 12 minutes of high-pressure cook time, 10 minutes of natural pressure release, and a couple minutes to melt cheese on top.
9.What kind of cheese works best for topping this Mexican casserole? ▾
A pre-shredded Mexican blend of Monterey Jack, mild cheddar, and asadero is ideal for that classic gooey, melty Tex-Mex topping. Add it right after you release remaining pressure from the pot, close the lid for 2-3 minutes, and residual heat will melt it into a stretchy, cheesy top layer.
10.Can I add extra veggies to this casserole without messing up cook time? ▾
Yes, as long as you stick to quick-cooking add-ins like diced bell pepper, sliced pickled jalapeños, or a can of drained diced green chiles. Toss them in with the corn and beans so they sit above the rice layer, and you won’t need to adjust pressure time at all—they’ll tenderize perfectly alongside other ingredients.
11.What’s the right pressure release method for this recipe? ▾
Stick to a 10-minute natural pressure release once cook time ends, then manually release any remaining pressure. A full natural release will overcook rice into a mushy mess, while an immediate quick release can cause starchy liquid to sputter out of the valve and lead to unevenly cooked grains.
12.Can I use ground turkey instead of ground beef in this recipe? ▾
You absolutely can! Swap the 90/10 ground beef for an equal amount of 93/7 lean ground turkey for a lighter take. Add a teaspoon of olive oil when sautéing, since turkey is slightly leaner, and bump up your spice blend by ½ teaspoon to make up for turkey’s milder flavor profile.
13.How do I store leftover Instant Pot Mexican Casserole? ▾
Let leftovers cool completely to room temperature within 2 hours of cooking, then transfer to an airtight container and refrigerate for up to 4 days. You can also freeze portioned servings for up to 3 months; reheat in the microwave or on the stovetop with a tiny splash of water to loosen texture as it warms.
14.Do I need to sauté the diced yellow onion before pressure cooking? ▾
Yes, sautéing the diced yellow onion for 3-4 minutes with the browning ground beef softens its sharp, raw bite and brings out its natural sweet, savory flavor that forms the base for the whole casserole. Skipping this step will leave you with crunchy, harsh-tasting onion bits scattered through the final dish.
15.Why is my rice coming out mushy every time I make this? ▾
Mushy rice almost always comes from adding too much cooking liquid, stirring rice down to the pot bottom before cooking, or letting pressure release for too long. Double check your liquid measurements, keep rice layered above the beef, and stick to the 10-minute natural release to get fluffy, separate grains every time.
16.Can I add salsa to this casserole for extra flavor? ▾
Definitely! Swap ½ cup of your regular cooking liquid (water or low-sodium broth) for ½ cup of your favorite smooth or chunky salsa to add extra zesty, tomatoey flavor. Just make sure you don’t add extra total liquid, or you’ll end up with soggy rice and a runny final casserole texture.
17.What size Instant Pot do I need for this recipe? ▾
A 6-quart Instant Pot is the perfect size for this full casserole recipe, which feeds 4 to 6 people. If you’re using an 8-quart model, add an extra ¼ cup of cooking liquid, since larger pots lose a tiny bit more moisture during the pressure build phase to reach high pressure.
18.Can I prep ingredients for this casserole ahead for meal prep? ▾
Absolutely! You can prep all components 2 days ahead: dice the onion, rinse the beans, drain the corn, and measure out your rice and spices, storing each separately in the fridge. When you’re ready to cook, just brown the beef and onion, layer everything in the pot, and set the cook time for a low-fuss, fast weeknight meal.

Comments (19)

2 days ago

OMG this was such a game changer for our busy weeknight family dinner! I only had 30 minutes total to get food on the table between soccer practice and homework, and this came together perfectly. My 7 and 9 year old both asked for seconds, which never happens with veggie-loaded meals. 10/10 will be making this biweekly for meal prep!

30 minutes ago

Wait, the 25 minute cook time includes the pressure build up? That seems way faster than every other instant pot casserole I’ve tried. Does it actually come out fully cooked, no crunchy rice in the middle?

5 minutes ago

Great question! That 25 minute total does include pressure build up, sauté step, high pressure cook, and 5 minute natural release. The rice cooks perfectly during the high pressure cycle as long as you don’t quick release early—no crunchy bits promise!

3 days ago

Made this for my office potluck yesterday and people were begging for the recipe! I added a can of black olives and a little extra cheese on top before serving, it was chef’s kiss. SO good, even the folks who don’t like ‘spicy food’ went back for thirds.

2 days ago

Oh adding black olives is such a good call! Did you make it ahead and reheat it for the potluck, or cook it right before? I need something for my church potluck next weekend!

yesterday

Love the black olive add-in! This casserole reheats beautifully—you can make it 1-2 days ahead, store it in the fridge, and reheat either in the instant pot on warm or in the oven at 350 for 15 minutes before serving. Perfect for potlucks!

1 week ago

This is now my go-to Sunday meal prep staple. I portion it out into 5 containers for work lunches, and it holds up all week in the fridge without getting soggy. Super easy, minimal cleanup thanks to the instant pot, and the flavor is way better than the takeout burrito bowls I used to buy every day. Saved me so much money already!

2 hours ago

I was a little worried this would be bland since it’s so quick to make, so I added a diced jalapeño and an extra teaspoon of cumin while sautéing the onions. Absolute fire, tastes just like the casserole my abuela used to make but takes a quarter of the time.

5 minutes ago

Do you think this would work with vegan ground beef and dairy free cheese? I’ve been hunting for a quick Mexican casserole my whole family can eat, including my dairy allergic kiddo.

yesterday

Uh oh, I got a burn notice when I tried to make this last night! Did I do something wrong? I followed the ingredients exactly but I think I might have messed up the sauté step?

2 hours ago

I had that happen the first time too! Make sure you scrape up all the brown bits from the bottom of the pot after sautéing the meat and onions before you add the rest of the ingredients. Those stuck bits trigger the burn sensor every time.

30 minutes ago

So sorry you got the burn notice! @InstantPotVet is exactly right—after sautéing, pour in a splash of broth and scrape all the browned fond off the bottom of the pot before adding rice and other ingredients. That will prevent the sensor from going off, and those brown bits add tons of flavor too!

2 weeks ago

As someone who barely knows how to boil water, this was so easy even I couldn’t mess it up! I used pre-diced onions from the grocery store and a pre-shredded Mexican cheese blend to cut down even more on prep, and it still tasted like I spent hours cooking. Perfect for my tiny dorm apartment since I only have my instant pot and a mini fridge.

yesterday

I doubled the recipe to feed my crew of 4 kids plus two neighbor kids who were over after school, and it worked perfectly in my 8 quart instant pot! I served it with a side of tortilla chips and sour cream, and every single plate was cleaned completely. No leftovers for once, which is a miracle in this house.

2 hours ago

Love that it worked for your big crew! The recipe doubles really well in 6 quart or larger instant pots, just make sure you don’t fill the pot past the max fill line to avoid pressure issues. Tortilla chips on the side are *chef’s kiss*.

5 days ago

Wait, is this recipe gluten free? I can’t have wheat and I’ve been craving Mexican casserole so bad but most recipes use cream of chicken soup that has gluten in it.

3 days ago

I made it last week and it’s totally gluten free as written! No cream of anything soup, just broth, spices, rice, beans, meat, and cheese. I double checked all my ingredient labels and didn’t have any reaction, which is rare for me!

2 days ago

Great question! This recipe is naturally gluten free as written, no canned soups needed. Just double check that your taco seasoning and broth don’t have hidden gluten if you’re highly sensitive, and you’re good to go!

1 week ago

Made this for our Sunday football watch party and it was the first dish gone! I set up a little topping bar with sour cream, guac, diced tomatoes, jalapeños, and crushed tortilla strips so people could customize their bowls. So much easier than making individual tacos, and way less mess. 10/10 will be a regular on our game day menu from now on.

2 days ago

I’m usually the person who throws out leftovers after 2 days because I get bored of eating the same thing, but this? I ate it for lunch 3 days in a row and didn’t get sick of it. The flavors meld even better after a day in the fridge, it’s insane. Who knew a 25 minute instant pot meal could taste this layered?

yesterday

Right?! I do this every week for meal prep and I look forward to my lunch every day. I switch up the toppings each day to keep it interesting—one day sour cream, one day hot sauce, one day avocado. Never gets old!

1 week ago

Has anyone tried making this without meat? My husband is vegetarian and I’m trying to find easy meals we can both enjoy without making two separate dinners.

5 days ago

I swapped the ground beef for a can of rinsed lentils and it was amazing! Added a little extra smoked paprika to give it that meaty depth, and my meat-eating roommate didn’t even notice it was vegetarian.

3 days ago

Lentils are a perfect swap! You can also use plant-based ground crumbles if you prefer, just sauté it the same way you would ground beef before adding the rest of the ingredients. No extra cook time needed!

5 days ago

I just got my instant pot for my birthday last week and this was the first recipe I tried! I was so nervous I’d blow up the kitchen or something, but the steps were super straightforward and it came out perfect on the first try. My roommate thought I ordered takeout, I’m so proud of myself lol. Already sent the recipe to all my friends who are also new IP owners.

5 minutes ago

Okay, be honest: how much extra cheese is too much extra cheese? I want to dump a whole extra bag of shredded pepper jack on top, but I don’t want to mess up the texture.

just now

There’s no such thing as too much cheese! If you’re adding extra, sprinkle it on right after the 5 minute natural release, pop the lid back on for 2-3 minutes to let it melt, and it’ll be perfectly gooey without messing up the rice or bean texture. Pepper jack is an *excellent* choice, by the way.

2 weeks ago

Has anyone tried freezing this after cooking? I’m stocking my freezer before the new baby comes and I need easy, reheat-able meals that don’t taste like freezer burn.

1 week ago

I froze four portions of this when I was prepping for my twins last year and it was a lifesaver! Let it cool completely, put it in freezer safe bags, squeeze out all the air, and it stays good for 3 months. Reheat in the microwave for 3 minutes, stir halfway, and it tastes just as fresh as the day you made it.

5 days ago

Great tip @MomOfTwins12! This casserole freezes incredibly well. Just skip adding any fresh toppings like cilantro or avocado before freezing—add those after you reheat for the best texture. Congrats on the new baby!

3 days ago

I doused my serving in habanero hot sauce and it hit so different. The base flavor is so well seasoned that it pairs perfectly with whatever hot sauce you have on hand, no extra taco seasoning needed. Made it for my partner who hates spicy food and he ate his plain with a little sour cream and loved it too, so it’s totally customizable for different heat preferences.

30 minutes ago

Wait, 5 minute natural release? I always do full natural release for rice dishes, does quick releasing the rest after 5 minutes make the rice mushy or spew liquid out the valve?

5 minutes ago

Great question! A 5 minute natural release is enough to keep the rice from getting overcooked and mushy, and since there’s not a ton of excess liquid in this recipe, you won’t get spewing when you do a quick release of the remaining pressure. Just make sure you use a towel over the valve to catch any small splatters!

yesterday

Served this with a side of honey cornbread last night and it was the best comfort food meal I’ve had all month. The savory, slightly spicy casserole paired with the sweet cornbread was *chef’s kiss*. My husband said it’s better than the Mexican restaurant down the street, which is the highest possible compliment from him.

2 hours ago

Oh my god cornbread on the side is such a good call! I’m making this for the next game day and I’m absolutely adding cornbread muffins to the spread, that sounds incredible.

1 week ago

This is such a budget friendly meal! I already had rice, beans, and spices in my pantry, I only had to pick up ground beef, cheese, and a can of diced tomatoes for like $8 total. Fed me and my roommate for two nights, that’s way cheaper than getting takeout. 10/10 for anyone trying to cut down on grocery costs.

5 days ago

Fr! I made this last week on my tiny college budget and it cost me less than $10 total for 4 servings. Way better than eating ramen every night like I was doing before lol.



