
instant pot mongolian beef

title 1
instant pot mongolian beef
⏱️ cook time 20 minutes
🍽️ servings 4
⚡ Difficulty easy

intro

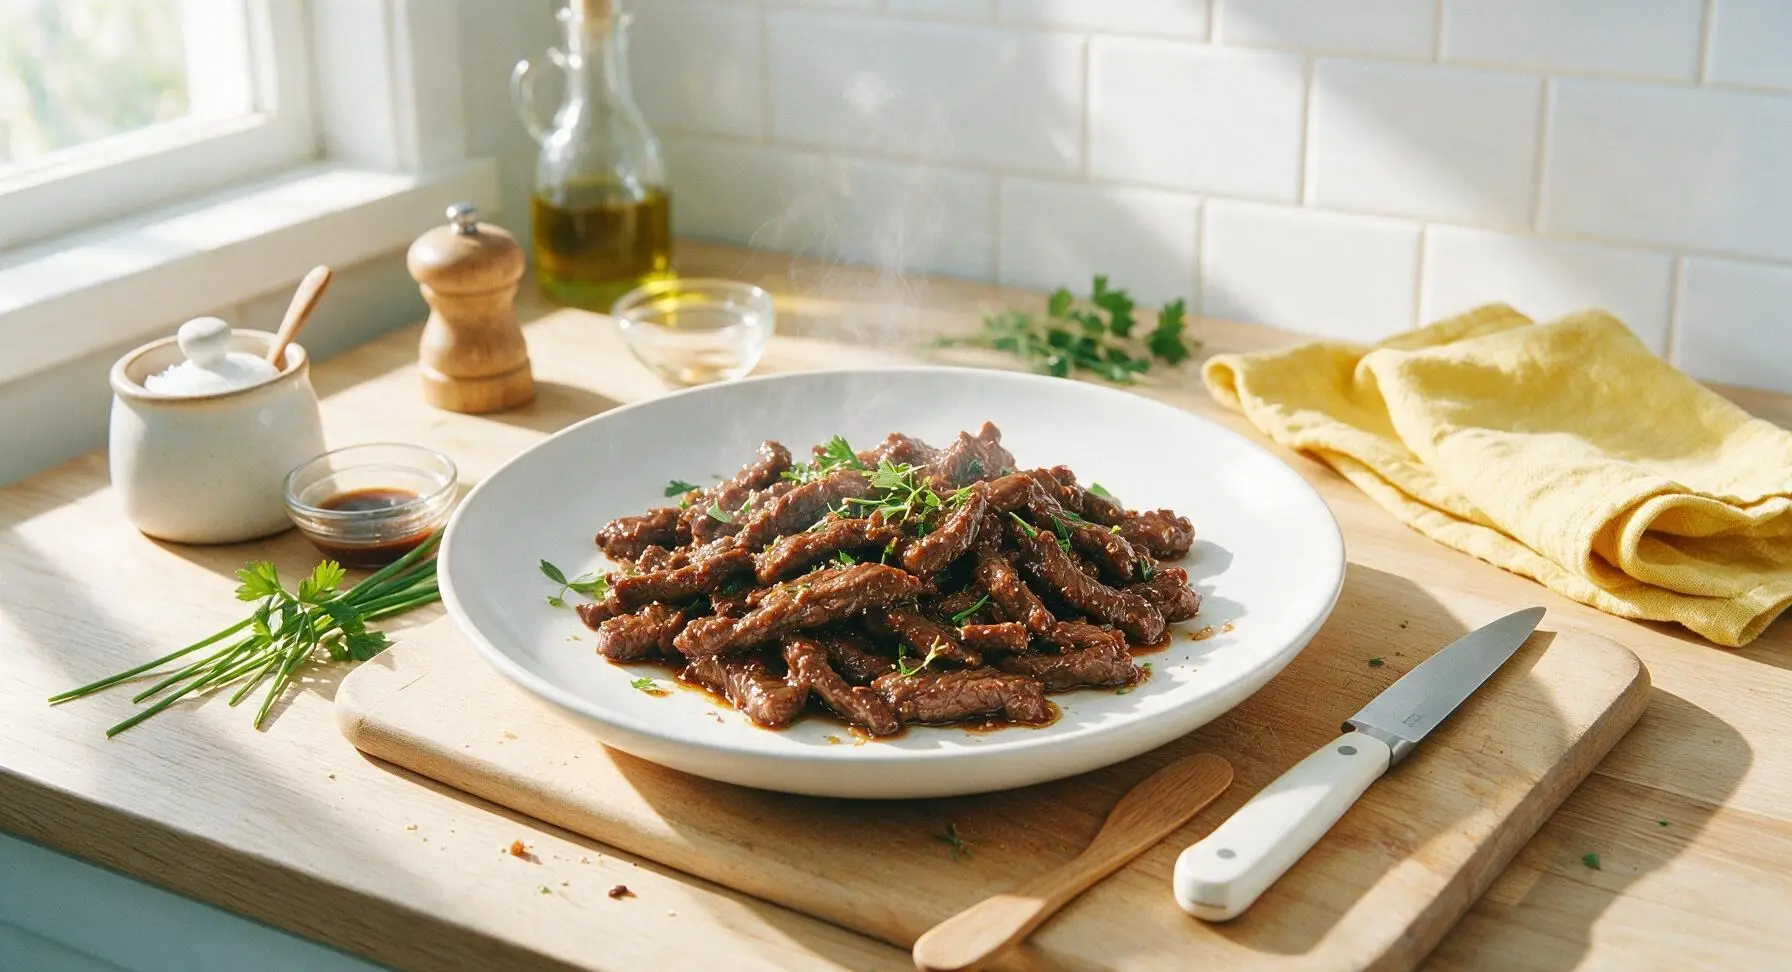
Tender, umami-rich flank steak coated in a sticky sweet-savory soy-ginger glaze, made fast in the Instant Pot for a restaurant-style takeout favorite ready in under 30 minutes.

Ingredients
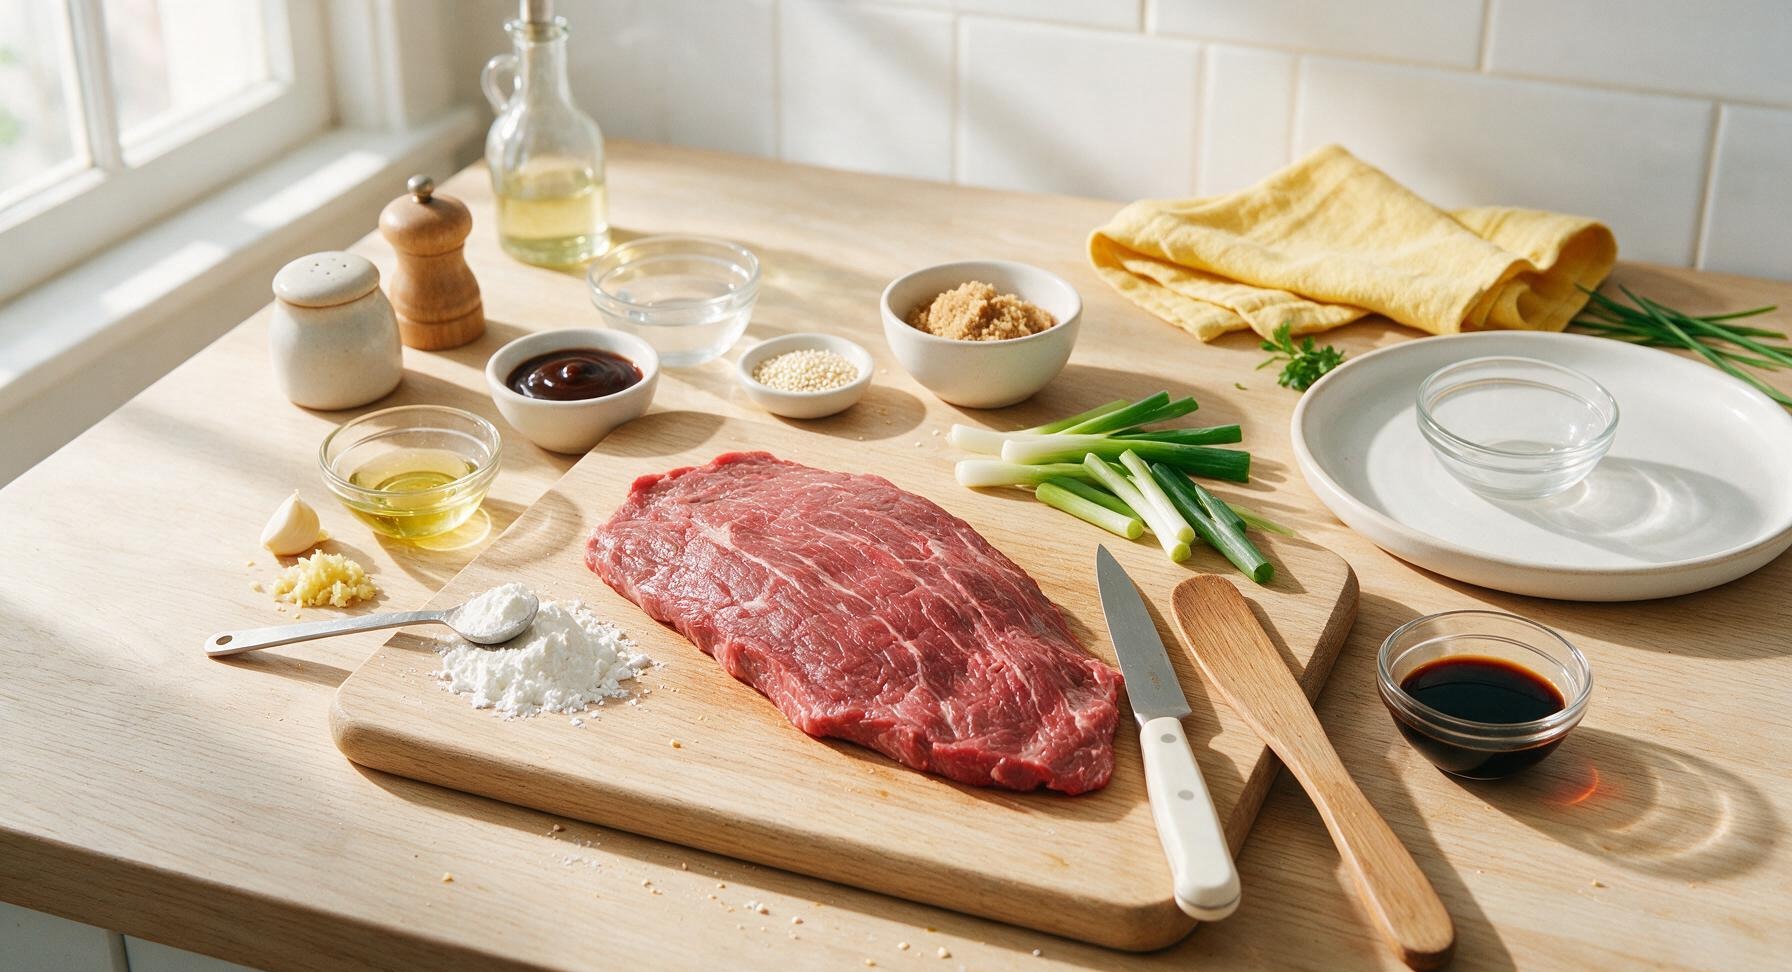
Flank steak, trimmed 500g (1 lb)
Cornstarch 2 tablespoons
Vegetable oil 1 tablespoon
Garlic, minced 4 cloves
Fresh ginger, grated 1 tablespoon
Low-sodium soy sauce 1/2 cup
Packed light brown sugar 1/3 cup
Water 1/4 cup
Hoisin sauce 2 tablespoons
Green onions, cut into 2-inch pieces, dark green tops reserved 6 stalks
Toasted white sesame seeds 1 teaspoon

Steps

1

Slice and Coat Beef

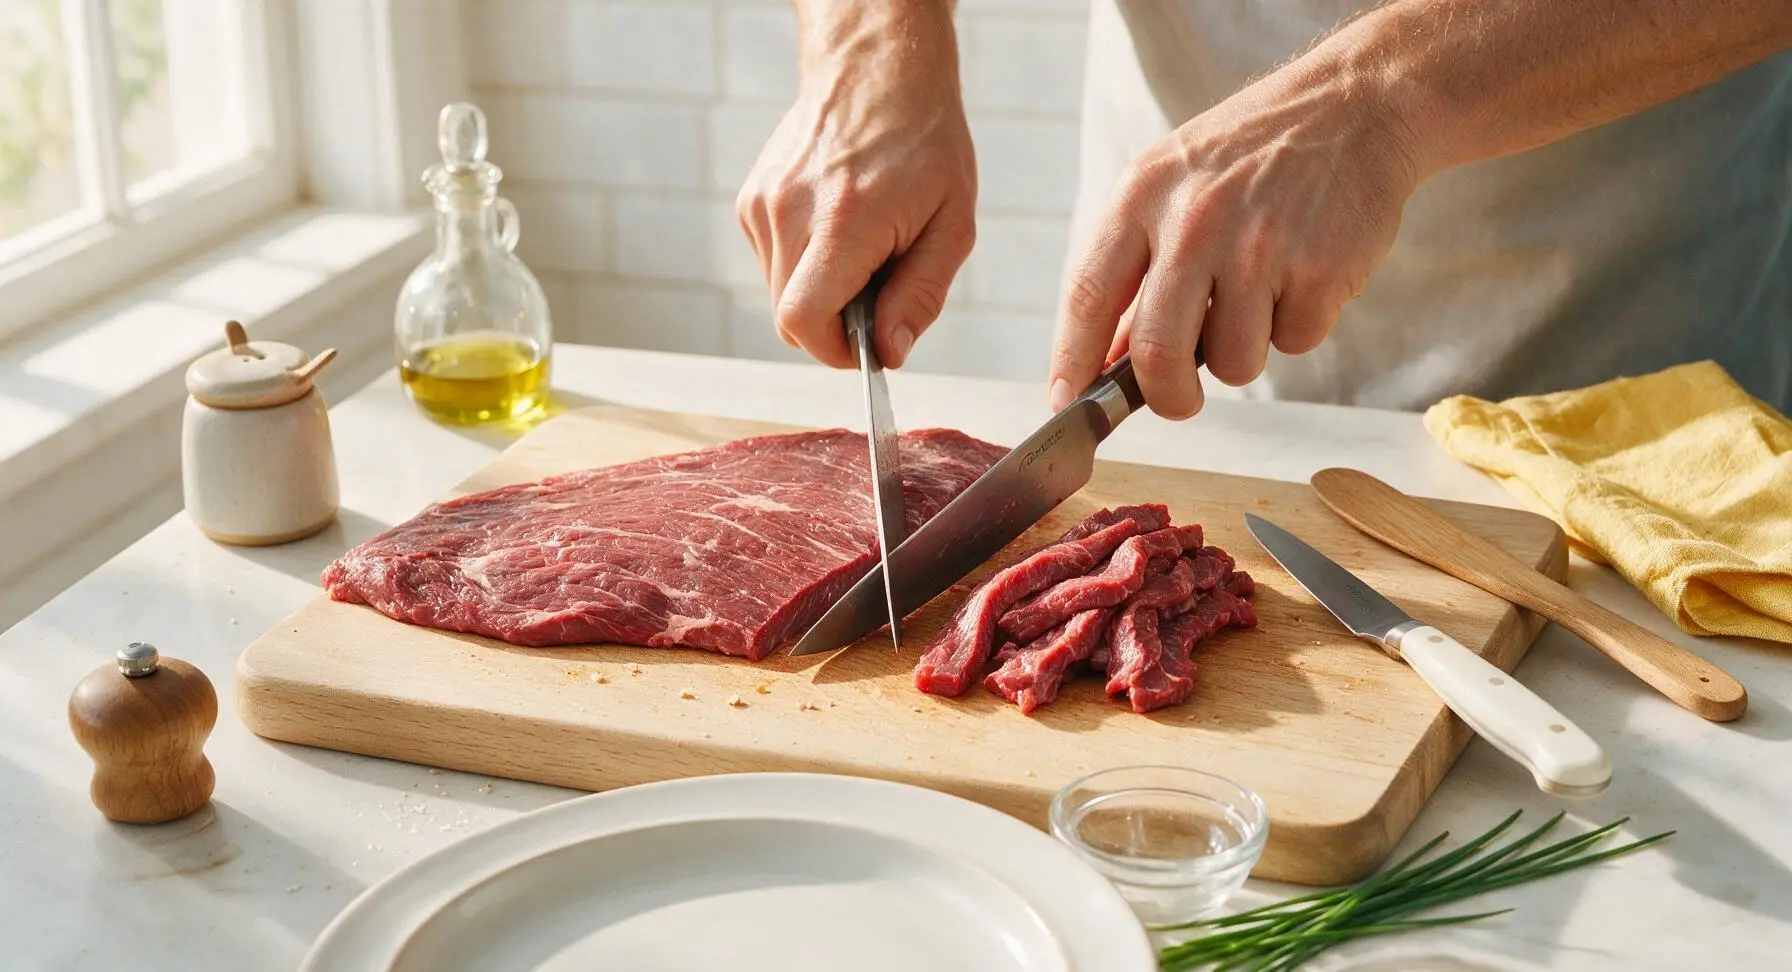
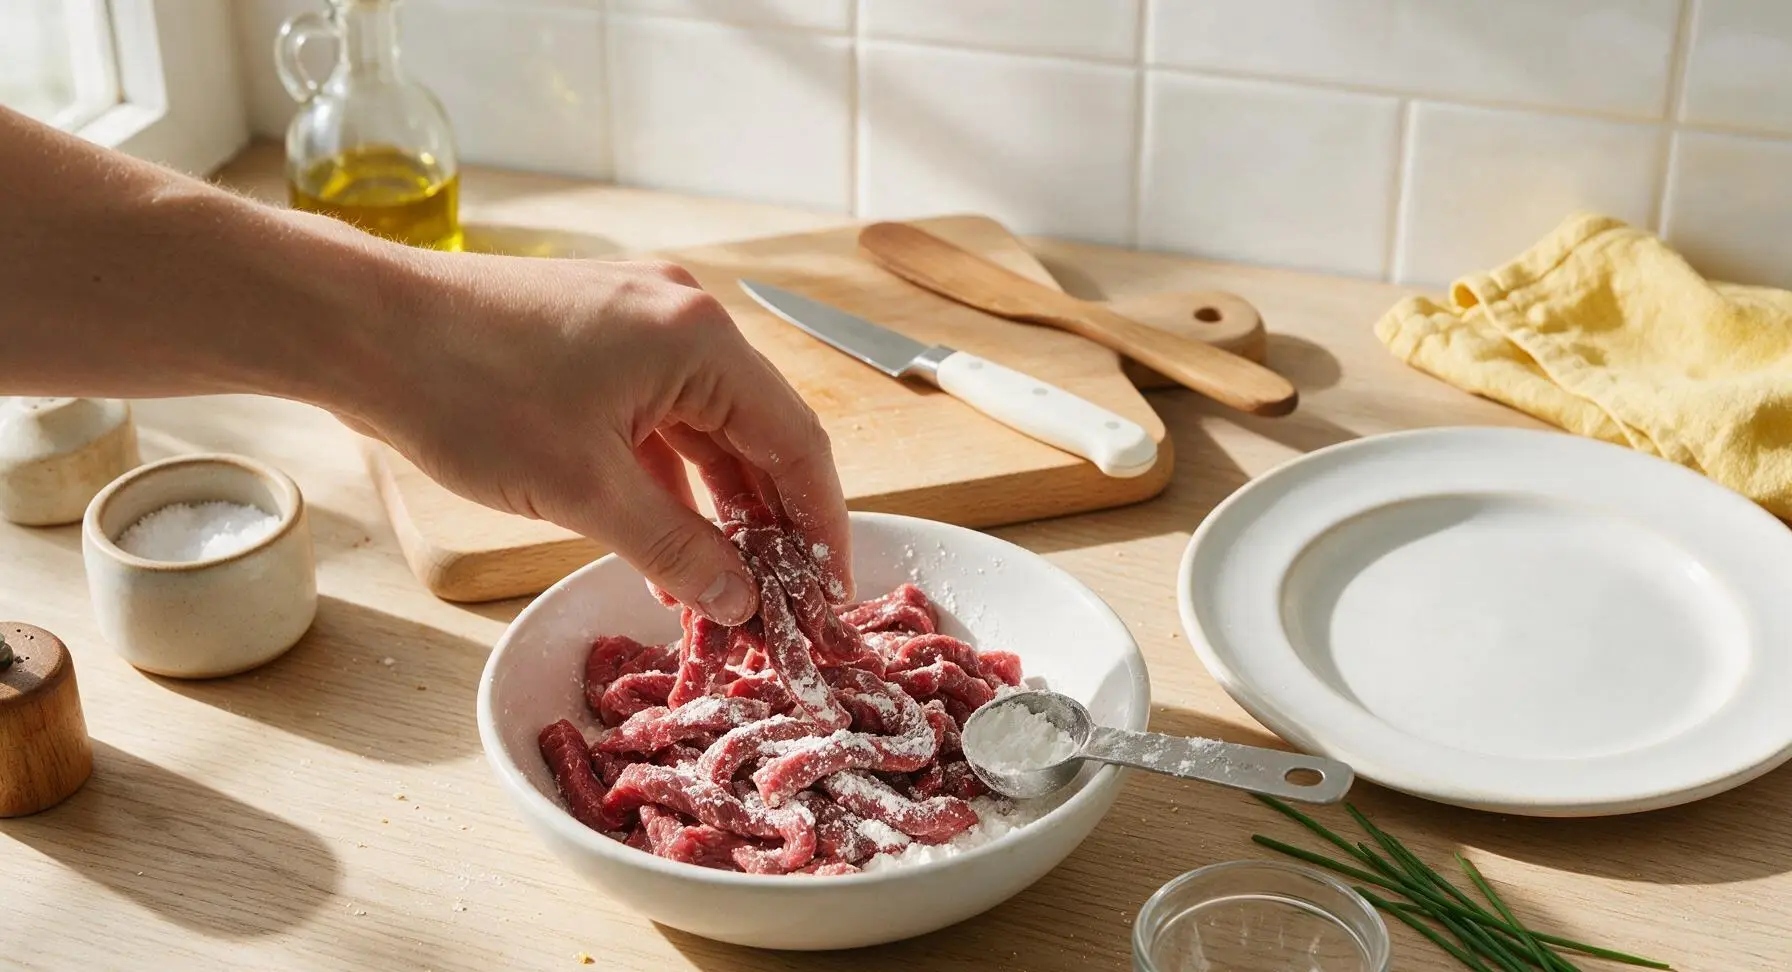
Place the 500g flank steak on the acacia wood cutting board. Using the chef knife, slice the steak against the grain into uniform 1/4-inch thick strips—this cut breaks up long muscle fibers to guarantee tender, non-chewy beef. Add the sliced beef to one of the small white prep bowls, toss with 2 tablespoons cornstarch until every strip is lightly, evenly coated with a thin powdery layer, then set aside for 5 minutes to allow the cornstarch to adhere.
Step 1
step1:Slice and Coat Beef
Step 1
step1:Slice and Coat Beef
2

Sauté Aromatic Base

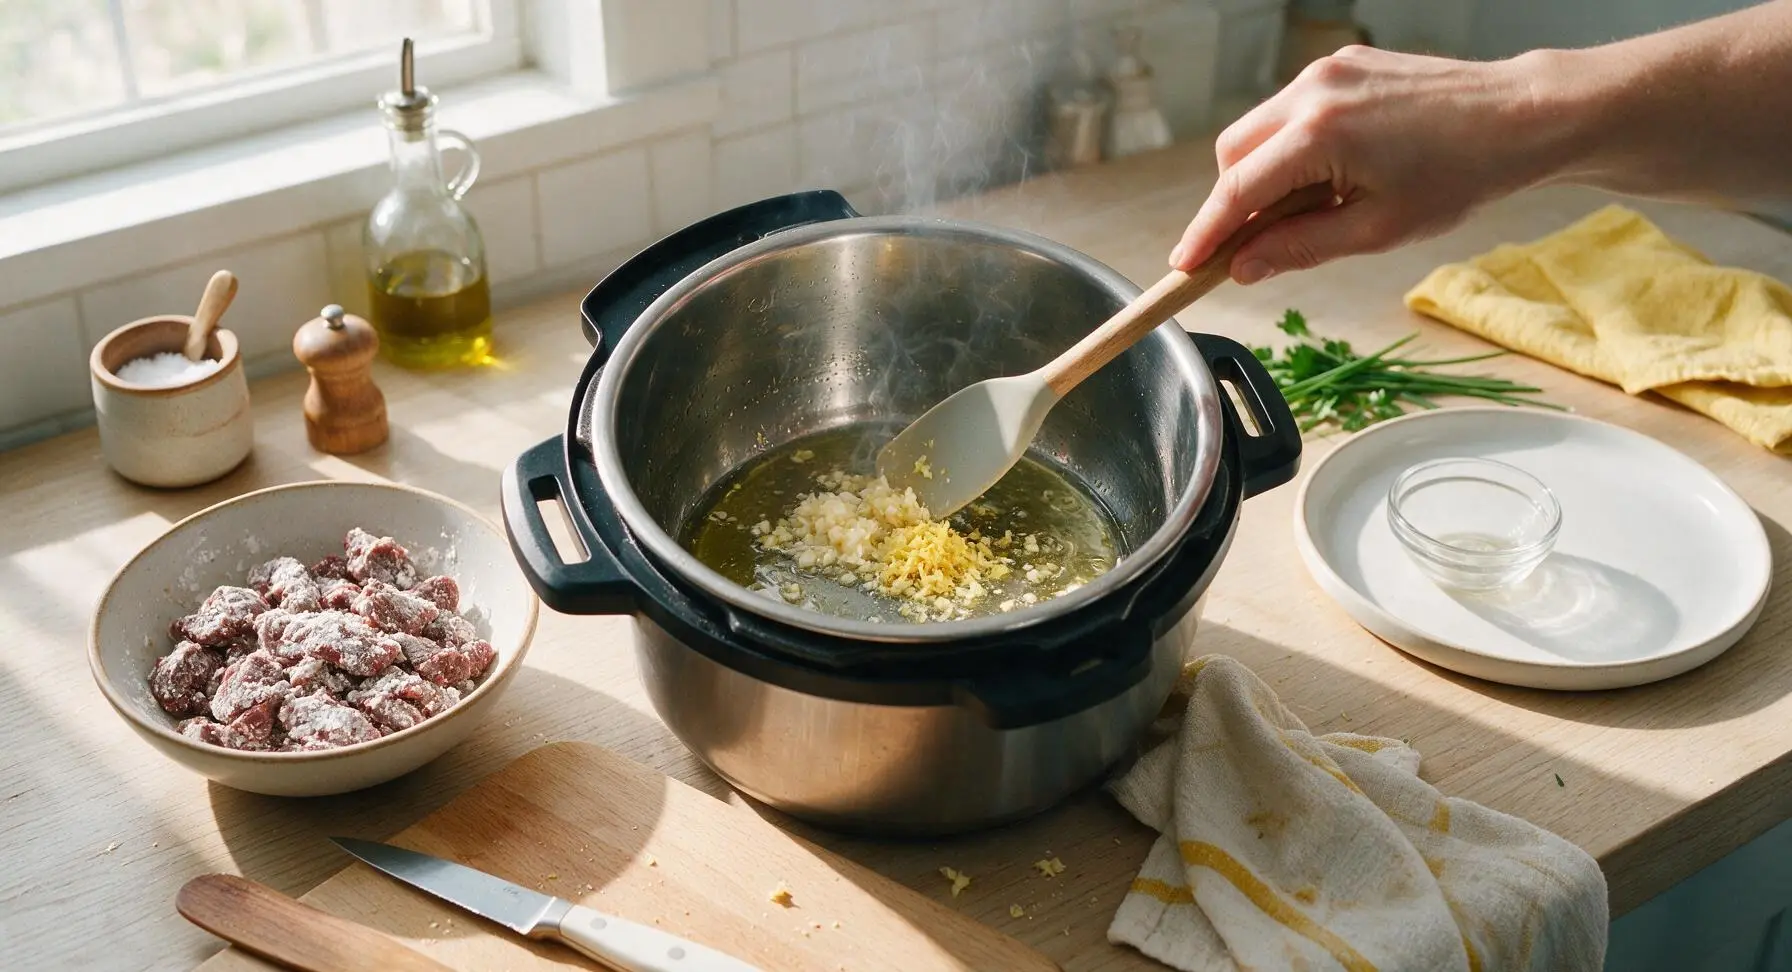
Turn the Instant Pot to the high 'Sauté' setting. Add 1 tablespoon vegetable oil to the stainless steel inner pot. Wait 1 minute until the oil is shimmering (not smoking), then add 4 minced garlic cloves and 1 tablespoon grated ginger. Stir constantly with the charcoal silicone spoon for 30 seconds until the mixture is fragrant, taking care not to burn the garlic, which will turn bitter.
Step 2
step2:Sauté Aromatic Base
3

Sear Coated Beef

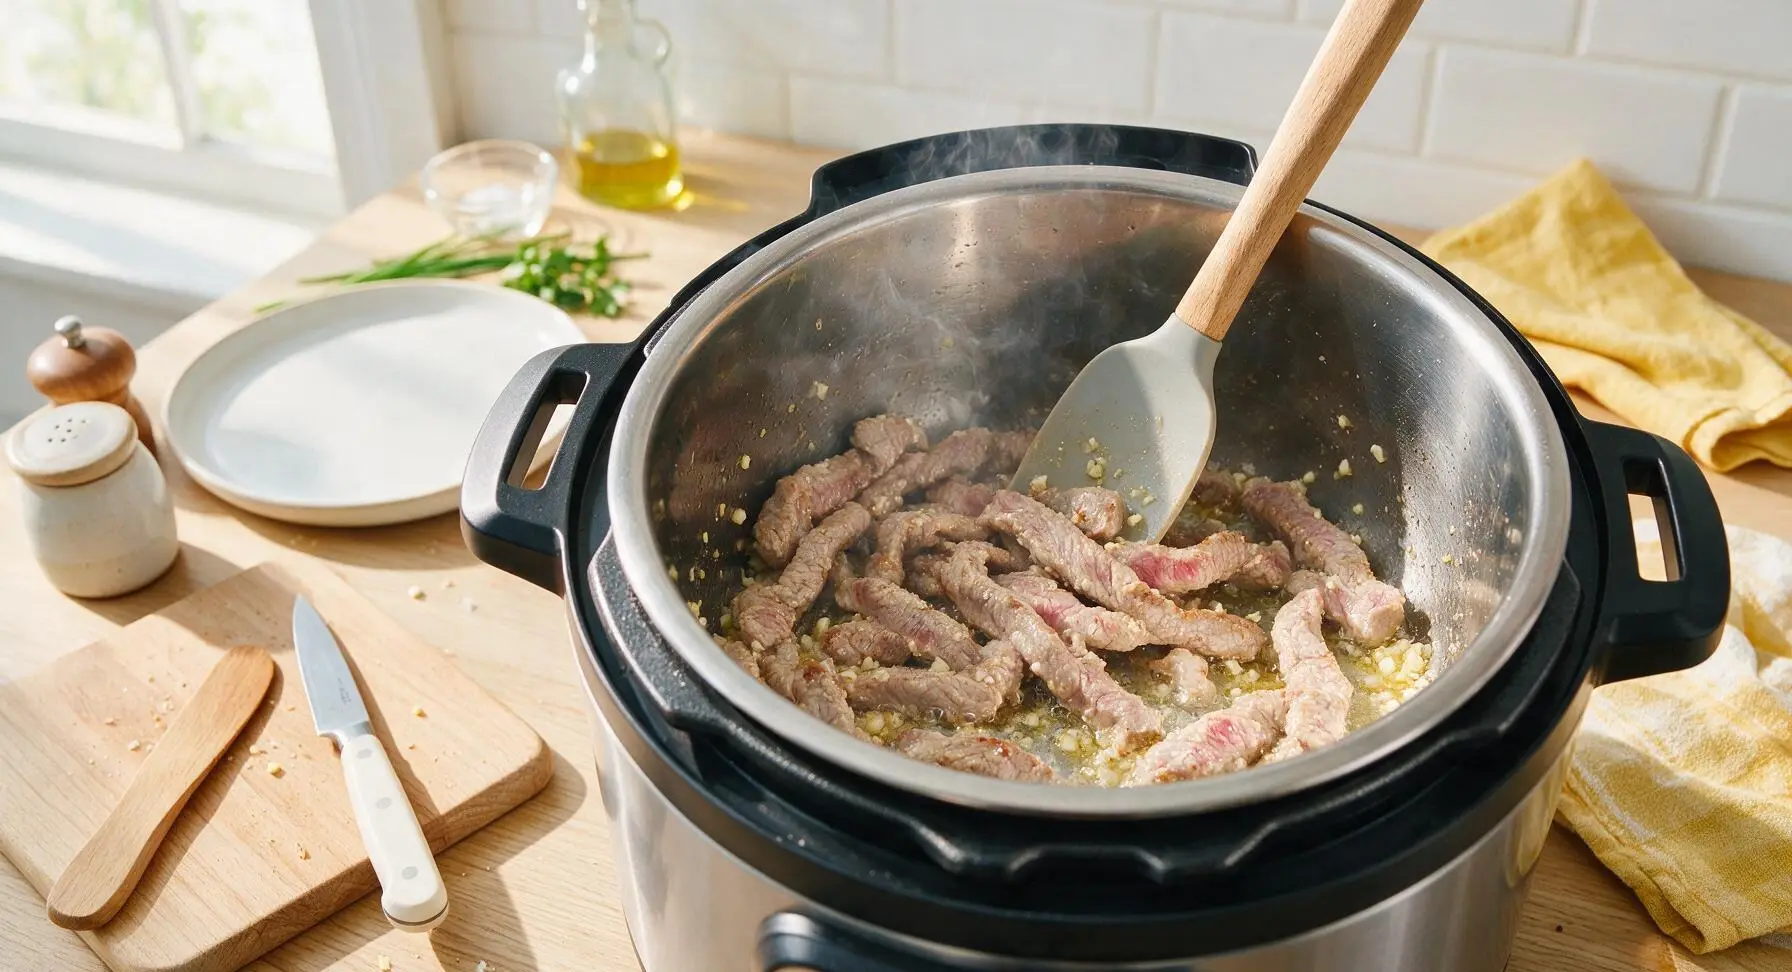
Add the cornstarch-coated beef strips to the Instant Pot, spreading them in as close to a single layer as possible. Sear for 1 minute total, stirring gently with the silicone spoon, until the edges of the beef are lightly pale golden but the centers remain pink and rare. Do not fully cook the beef at this stage, as it will continue to tenderize under pressure; over-searing will lead to tough, dry results.
Step 3
step3:Sear Coated Beef
4

Pour in Sauce Mixture

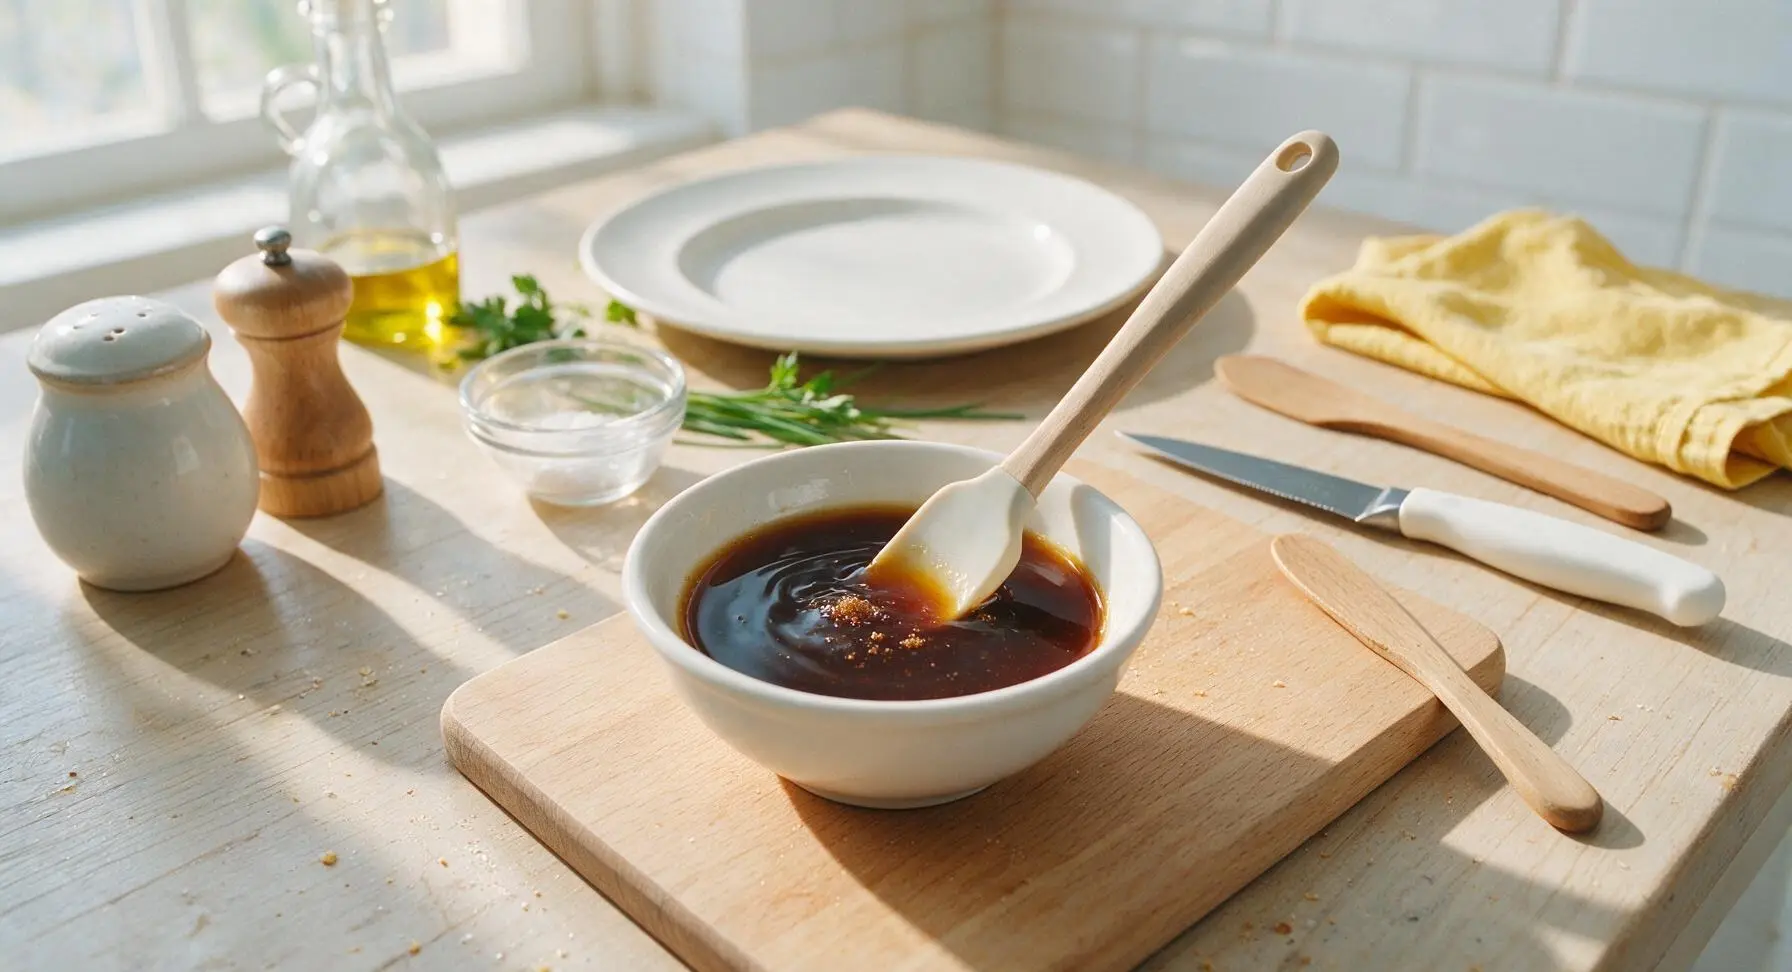
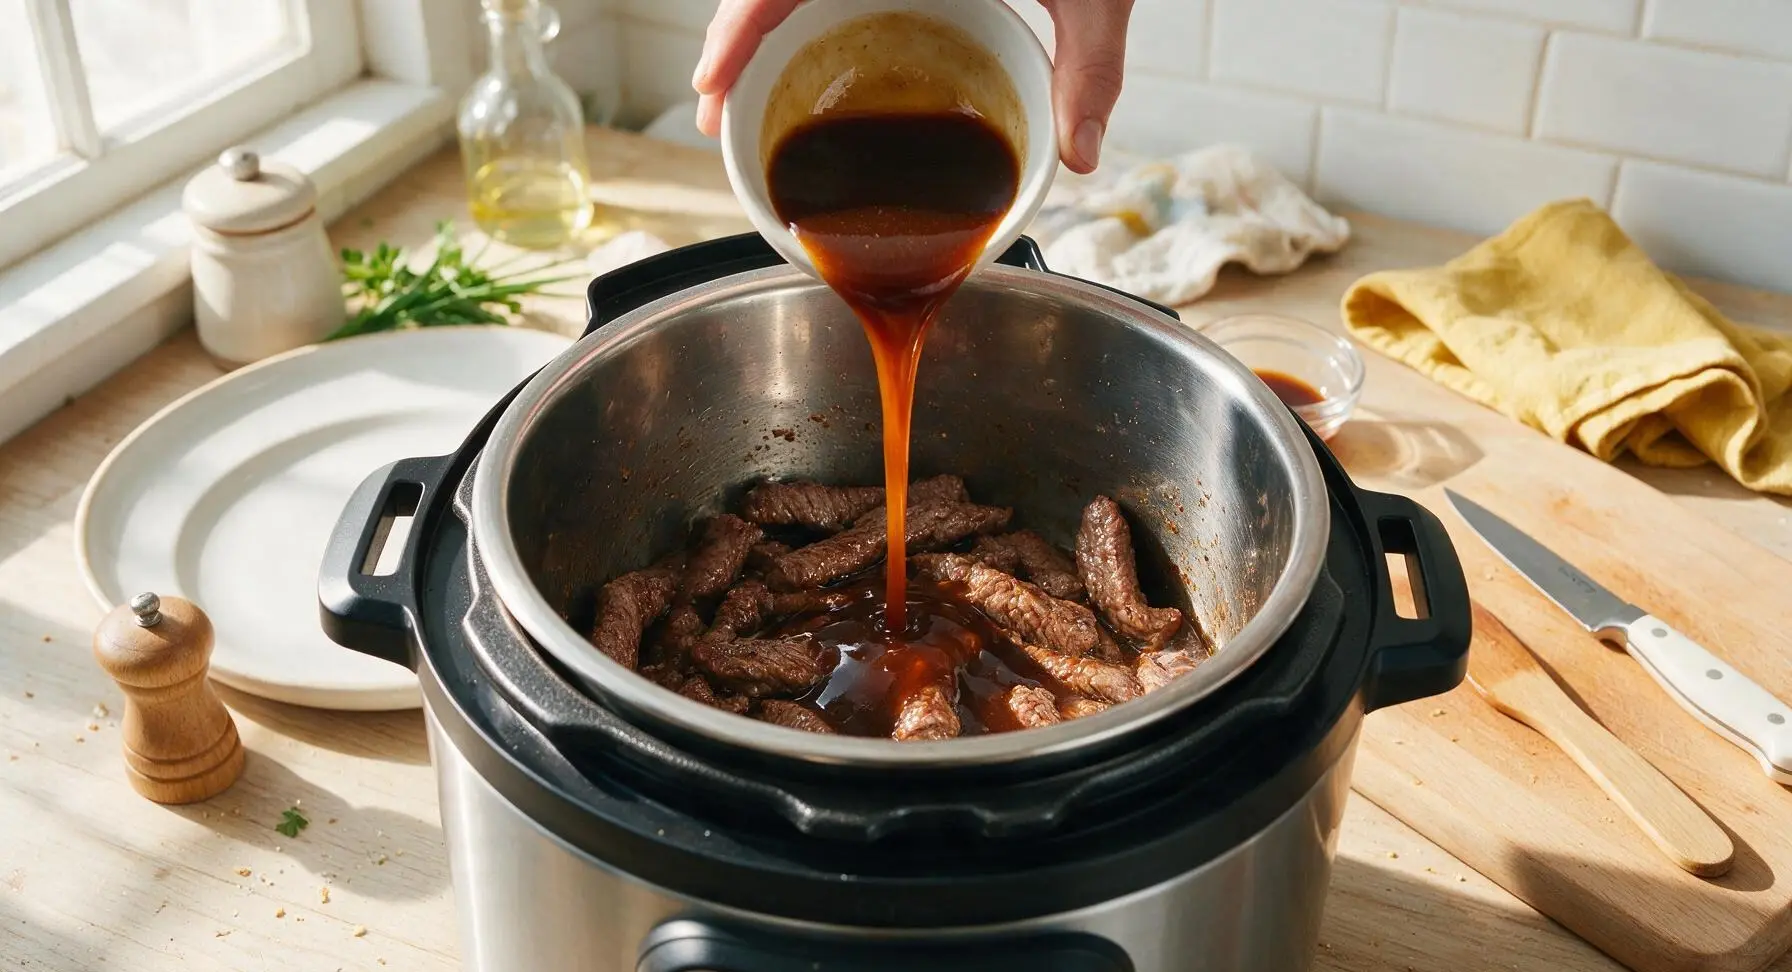
In a second small white prep bowl, combine 1/2 cup low-sodium soy sauce, 1/3 cup packed light brown sugar, 1/4 cup water, and 2 tablespoons hoisin sauce. Stir with the silicone spoon until the brown sugar is fully dissolved into a smooth, dark amber sauce. Pour the sauce mixture evenly over the seared beef in the Instant Pot, stirring once to coat all strips. Gently scrape the bottom of the inner pot with the spoon to lift any browned stuck bits, which prevents the Instant Pot's 'burn' error during pressure cooking.
Step 4
step4:Pour in Sauce Mixture
Step 4
step4:Pour in Sauce Mixture
5

Pressure Cook Beef

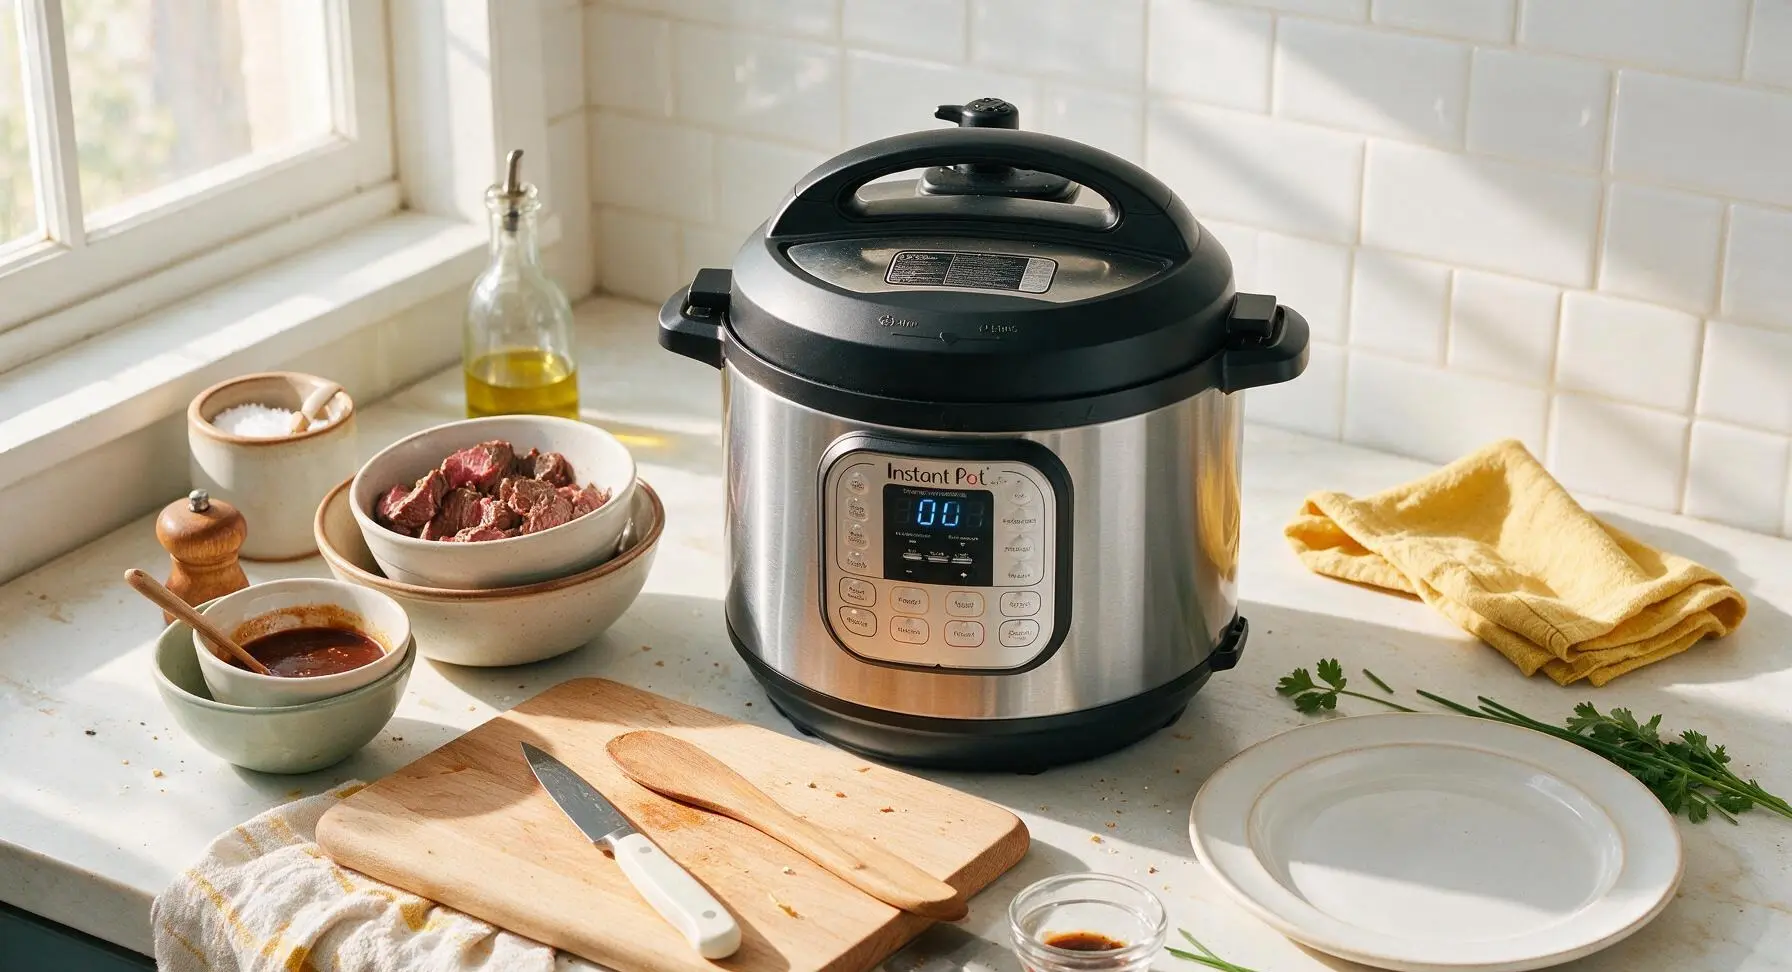
Secure the Instant Pot lid tightly, and turn the pressure release valve to the 'Sealing' position. Set the pot to cook on High Pressure for 10 minutes. Once the cook time completes, perform a quick pressure release by carefully turning the valve to 'Venting' (use the long handle of the silicone spoon to keep your hand away from hot steam), waiting until the floating valve drops before unlocking the lid.
Step 5
step5:Pressure Cook Beef
6

Thicken Sticky Glaze

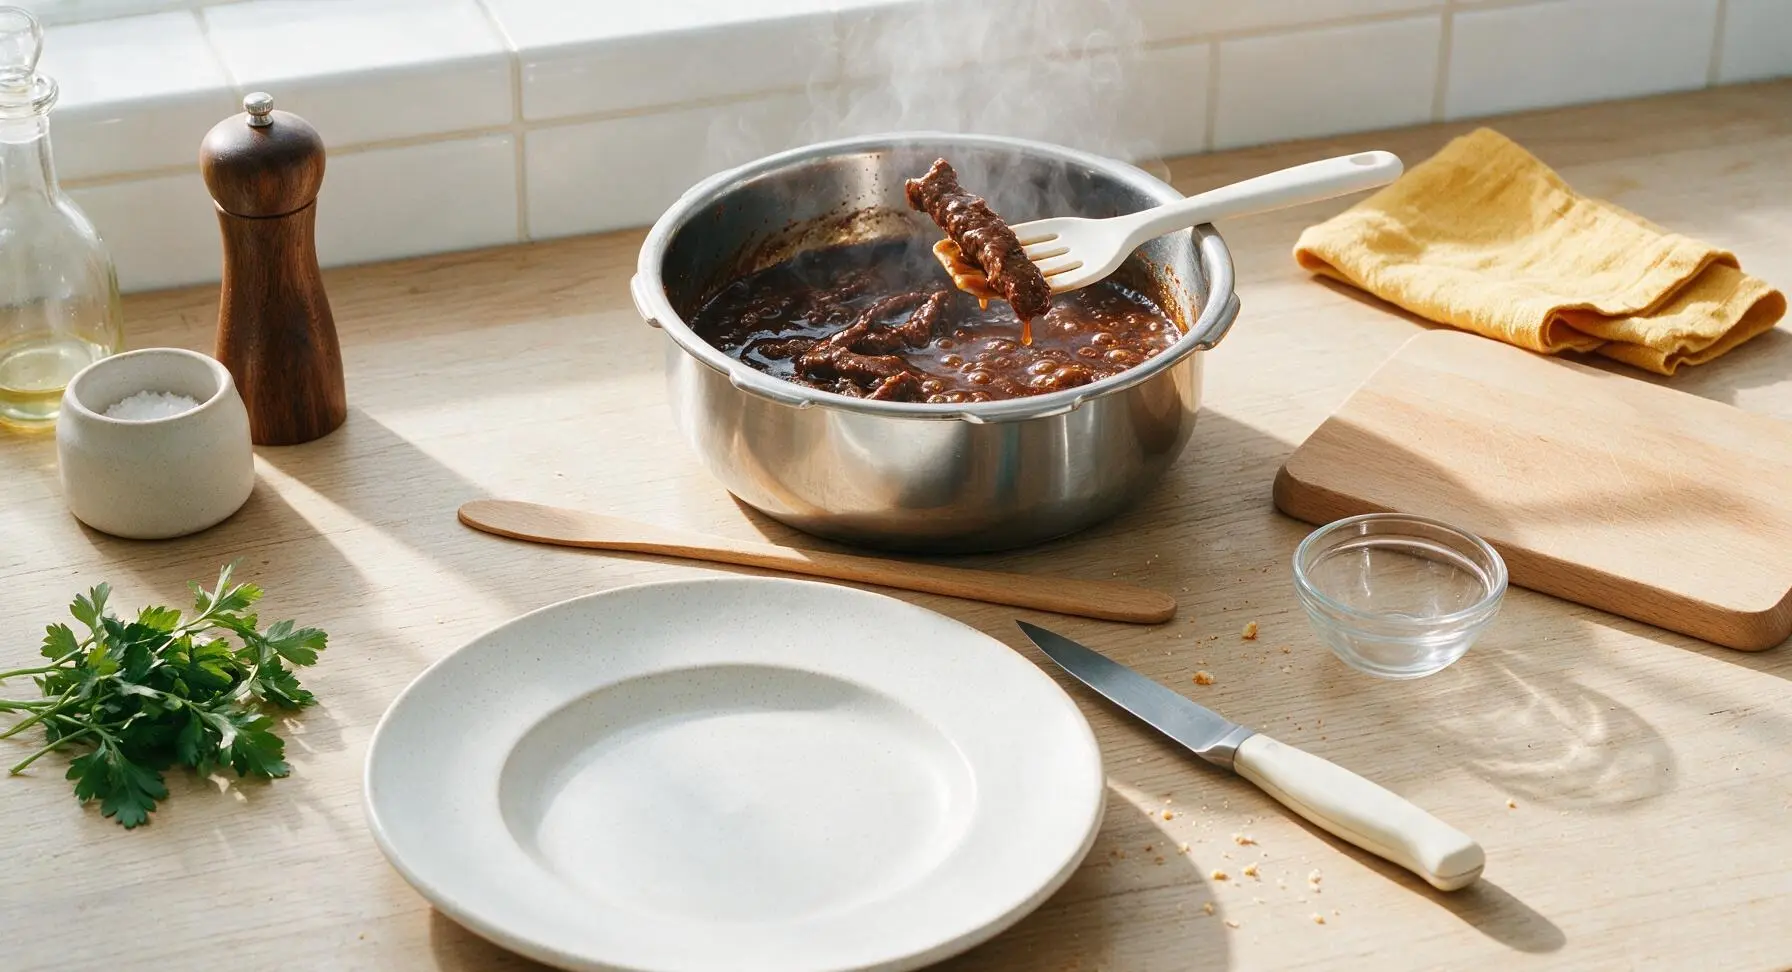
Turn the Instant Pot back to the high 'Sauté' setting. Bring the sauce to a gentle, rolling simmer, stirring frequently with the silicone spoon for 2-3 minutes, until the sauce reduces and thickens to a glossy, syrupy consistency that coats the back of the spoon. The cornstarch from the beef coating will naturally thicken the sauce, so no extra cornstarch slurry is required.
Step 6
step6:Thicken Sticky Glaze
7

Fold in Green Onions

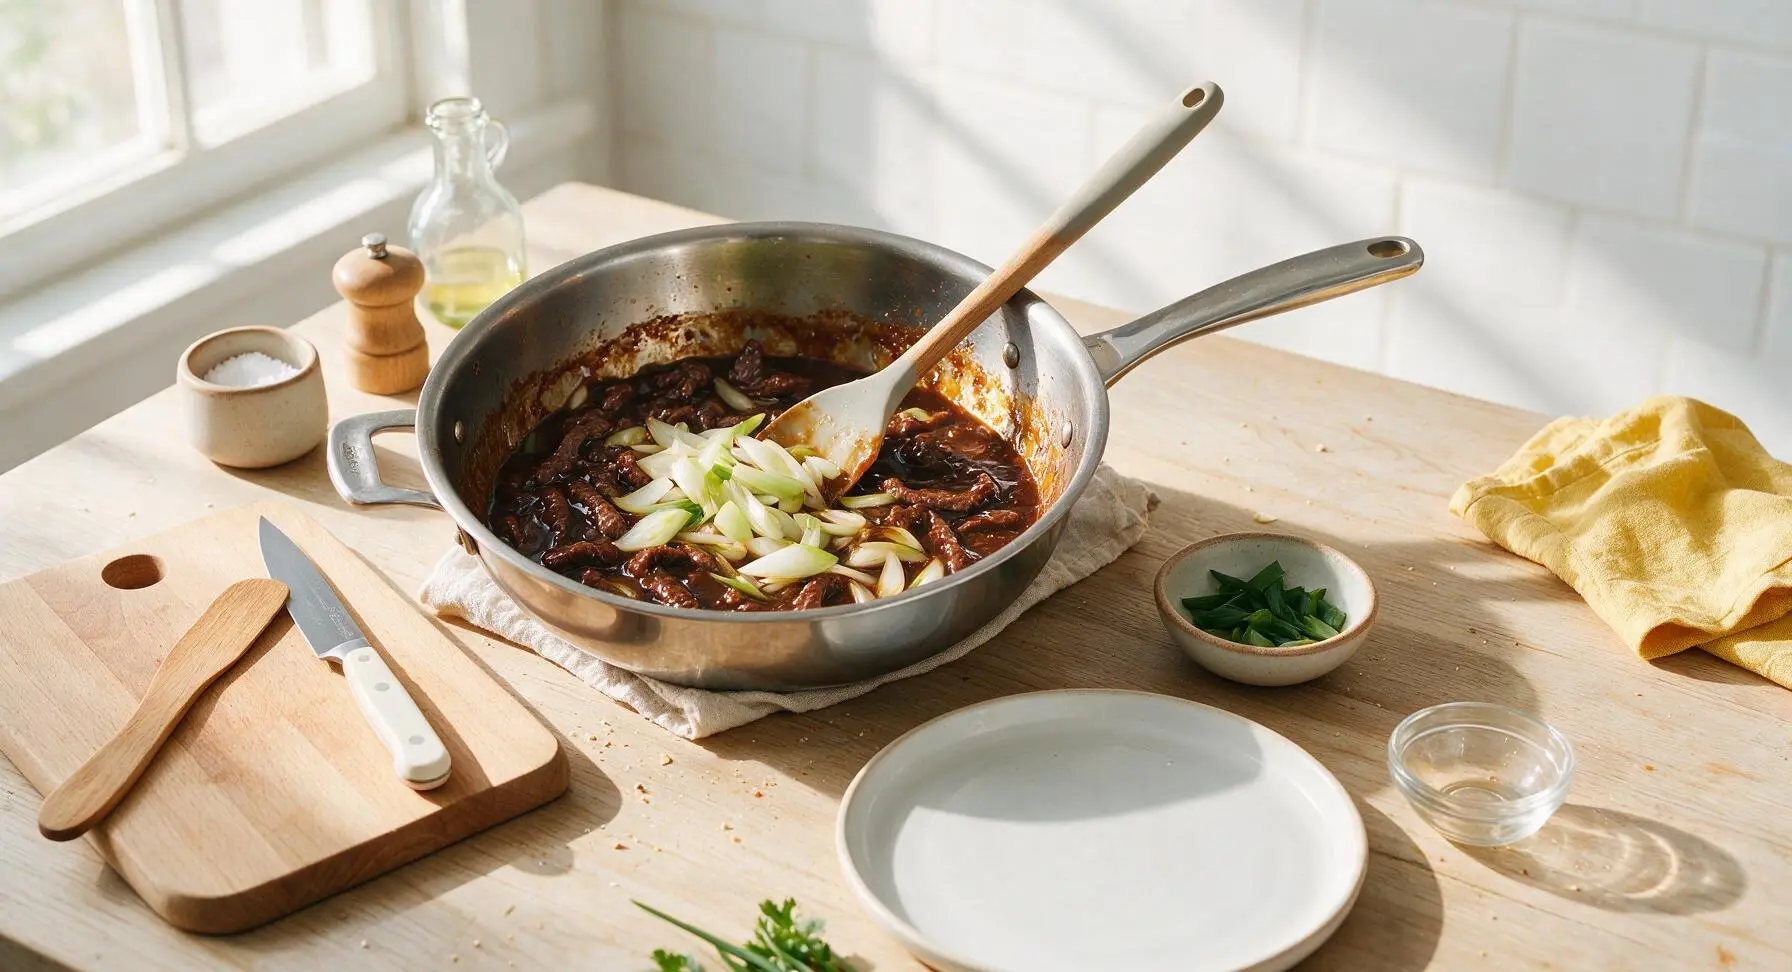
Add the white and pale green parts of the cut green onions to the pot, stirring to combine with the beef and sauce. Cook for 1 minute on Sauté mode until the onions are slightly wilted but still crisp-tender. Turn off the Instant Pot, and let the beef rest for 2 minutes to allow the sauce to set and cling to the beef strips.
Step 7
step7:Fold in Green Onions
8

Plate and Garnish Dish

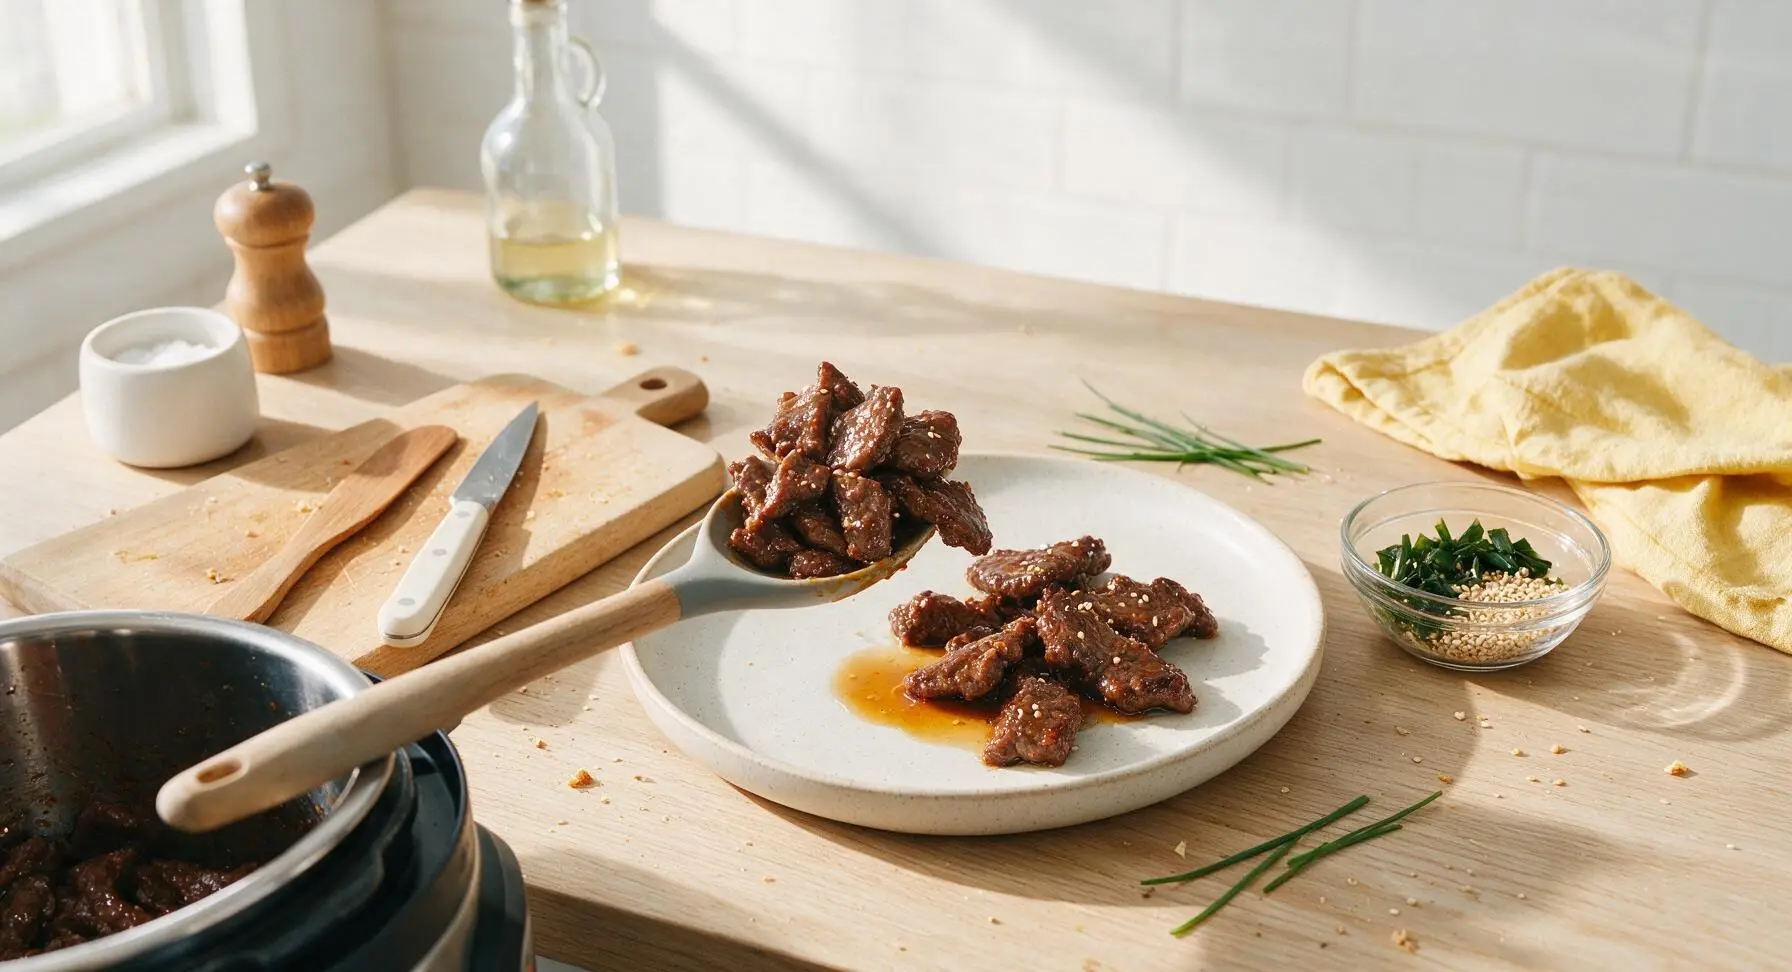
Use the silicone spoon to transfer the glazed beef and a light coating of sauce to the matte warm white speckled stoneware dinner plate. Top the beef with the reserved dark green onion strips and 1 teaspoon of toasted white sesame seeds for garnish. Serve immediately, alongside steamed white rice if desired.
Step 8
step8:Plate and Garnish Dish

Tips

1.Always slice flank steak against the grain into uniform 1/4-inch strips. Cutting parallel to the grain leaves long, tough muscle fibers intact that remain chewy even after pressure cooking, while thin against-the-grain cuts shorten fibers for melt-in-your-mouth tender bites.
2.Take 10 seconds to scrape the bottom of the Instant Pot inner pot thoroughly after adding the sauce. Even small bits of seared beef or aromatics stuck to the pot base can trigger the Instant Pot's overheat 'burn' error, which stops pressure buildup and leads to unevenly cooked beef.
3.Reserve the dark green tops of the green onions for final garnish only. Adding these delicate tops early in the cooking process will turn them mushy and dull army green, while adding them right before serving preserves their bright color and fresh, mild onion crunch.


✨ You May Also Like

Main Course
🍜 United Kingdom

A showstopping classic of tender seared beef, savory mushroom duxelles, and crisp prosciutto wrapped in flaky golden puff pastry, baked to juicy perfection.

⏱️ 2 hours 1Main Course ★ 4.7
Main Course
🍜 India

Tender charred marinated chicken simmered in a rich, spiced creamy tomato sauce, this iconic Anglo-Indian curry pairs perfectly with basmati rice or warm naan.

⏱️ 50 minuteMain Course ★ 4.6
Main Course
🍜 Thailand

Classic tangy, sweet, and savory Thai stir-fried rice noodles with shrimp, tofu, and crunchy garnishes, balancing all five core Thai flavor profiles.

⏱️ 30 minuteMain Course ★ 4.5
Main Course
🍜 United Kingdom

Crispy golden beer-battered cod and fluffy double-fried chips, served with tangy tartar sauce and malt vinegar: the timeless, beloved British pub comfort classic.

⏱️ 45 minuteMain Course ★ 4.7
Main Course
🍜 Mexico

Smoky, chile-marinated pork tacos with caramelized pineapple, fresh cilantro, and lime: a beloved classic Mexican street food perfect for casual summer gatherings.

⏱️ 1 hour 45Main Course ★ 4.8
Main Course
🍜 United States

Crunchy Fritos corn chips layered with savory beef chili and melted cheddar, topped with cool, zesty fixings for a beloved, cozy Tex-Mex comfort food.

⏱️ 35 minuteMain Course ★ 4.8

instant pot mongolian beef:Frequently Asked Questions

1.What cut of beef can I use if I don’t have flank steak on hand? ▾
Great question! Skirt steak, hanger steak, or thinly sliced top sirloin all work beautifully as swaps—they’re lean, take well to the sticky glaze, and stay tender under quick pressure. Skip tough, marbled cuts like chuck roast, since they need much longer cook times to break down. Always slice beef ¼-inch thick against the grain to avoid chewy bites.
2.Why do I need to coat the beef in cornstarch before cooking? ▾
That light cornstarch coating does two key jobs! First, it creates a thin protective barrier so the beef doesn’t seize up and get tough during the quick pressure cook. Second, it mixes with the sauce as it cooks to create that glossy, sticky, takeout-style glaze that clings perfectly to every bite, no extra thickening step needed later.
3.How do I keep the beef from getting tough in the Instant Pot? ▾
The #1 trick is to avoid overcooking it! This recipe only needs 10 minutes of high pressure, followed by an immediate quick pressure release—letting it sit on natural release will make the beef overcook fast. Also, remember to slice against the grain, and don’t skip that light cornstarch coating to lock in juiciness while it cooks.
4.Can I make this recipe gluten-free? ▾
Absolutely! The only core swap you need is to replace regular soy sauce with certified gluten-free tamari, which delivers the same deep umami punch without wheat. Double check that your cornstarch is labeled gluten-free (most are, but some carry cross-contamination risks); the beef, garlic, ginger, and vegetable oil are all naturally gluten-free, so the dish will taste identical.
5.Do I need to sear the beef before pressure cooking it? ▾
You don’t have to, but I highly recommend a quick 2-minute sear on all sides after coating the beef in cornstarch! That light browning builds extra deep, savory, caramelized flavor you can’t get from pressure cooking alone, and it helps the cornstarch set so it doesn’t slough off into the sauce while it cooks.
6.Why is my sauce runny instead of thick and sticky? ▾
Runny sauce usually comes down to one of two easy fixes. If you skipped the cornstarch coating on the beef, stir in a quick slurry of 1 tablespoon cornstarch mixed with 1 tablespoon cold water on the Sauté setting for 1-2 minutes after pressure cooking to thicken it. Also, avoid adding extra liquid that dilutes the glaze ratio.
7.Can I add vegetables to this Instant Pot Mongolian Beef? ▾
Of course! Toss quick-cooking veggies like sliced bell peppers, snap peas, or broccoli florets in right after you release pressure, then stir them with the beef and sauce on the Sauté setting for 2-3 minutes until crisp-tender. Don’t add veggies before pressure cooking, as they’ll turn mushy and overcooked in seconds under high pressure.
8.How long does this recipe actually take from start to finish? ▾
Total time clocks in right around 28 minutes, which fits the under-30 minute promise! That includes 5 minutes of prep to slice beef, mince garlic, and grate ginger, 10 minutes for the Instant Pot to come up to pressure, 10 minutes of high pressure cook time, and 3 minutes for quick release and final sauce toss.
9.Can I use bottled minced garlic or ginger instead of fresh? ▾
You can in a pinch, but fresh will give you that bright, zingy, restaurant-style flavor that makes this dish pop. Bottled garlic and ginger have a softer, more muted, sometimes slightly briny taste that makes the glaze feel flat. If you use bottled, add 1 teaspoon of each for every teaspoon of fresh called for to amp up flavor.
10.How should I store leftovers, and how long do they keep? ▾
Let leftover Mongolian Beef cool completely, then transfer it to an airtight container and stash it in the fridge for up to 4 days. Reheat gently in the microwave or in a skillet over medium-low heat, stirring occasionally, until warmed through. The sauce thickens as it chills, so add a tiny splash of water or soy sauce if it gets too thick.
11.Is there a way to make this less sweet if I don’t love super sugary takeout sauces? ▾
Definitely! The classic glaze balances sweet and savory, so you can cut the brown sugar (the standard sweet component in Mongolian beef) by 1/3 to 1/2 without ruining the sauce texture. Add a tiny pinch of red pepper flakes or splash of rice vinegar at the end to amp up savoriness and balance the remaining sweetness to your taste.

Comments (3)

3 days ago

OMG this Instant Pot Mongolian Beef is a total game changer for our chaotic weeknight family dinners! I was so worried the beef would come out tough, but it was fall-apart tender in exactly 20 minutes with barely any prep. My two super picky kids devoured their servings and asked for seconds, even my husband who swears takeout is the only good Mongolian beef said this version is better. I served it over jasmine rice with steamed broccoli on the side, and it’s 100% going into our regular meal prep rotation.

2 days ago

Wait did you use flank steak like the recipe calls for or a different cut? I only have sirloin in the freezer right now and am wondering if it’ll turn out okay!

yesterday

So happy your whole family loved the recipe! Sirloin works fantastic here — just make sure to cut it against the grain and you’ll get that same tender, melt-in-your-mouth texture with no extra cook time needed :)

yesterday

SO good, I can’t believe how easy this was! I’m usually terrible at making Asian-inspired takeout copycats because I always mess up the sauce balance, but this recipe was totally foolproof. The sauce is the perfect mix of sweet and savory, not overly salty like some other Mongolian beef recipes I’ve tried before. I made a batch for my apartment potluck last night and literally everyone asked me for the link, total win.

2 hours ago

Thrilled this was a hit at your potluck! If you want a fun little twist next time you make it, toss in a pinch of red pepper flakes when you add the sauce for a tiny kick of heat — lots of our readers love that variation!

1 week ago

Solid weeknight recipe, perfect for Sunday meal prep! I doubled the batch last Sunday and it held up great all week for work lunches, no weird mushy texture like some other Instant Pot beef recipes get after a few days in the fridge. My only small tweak: I cut the brown sugar by a tablespoon because I prefer less sweet sauces, and it still tasted incredible. Will definitely be making this again when I get sick of my usual go-to chicken meal prep bowls.



