
instant pot taco meat

title 1
instant pot taco meat
⏱️ cook time 25 minutes
🍽️ servings 6
⚡ Difficulty easy

intro

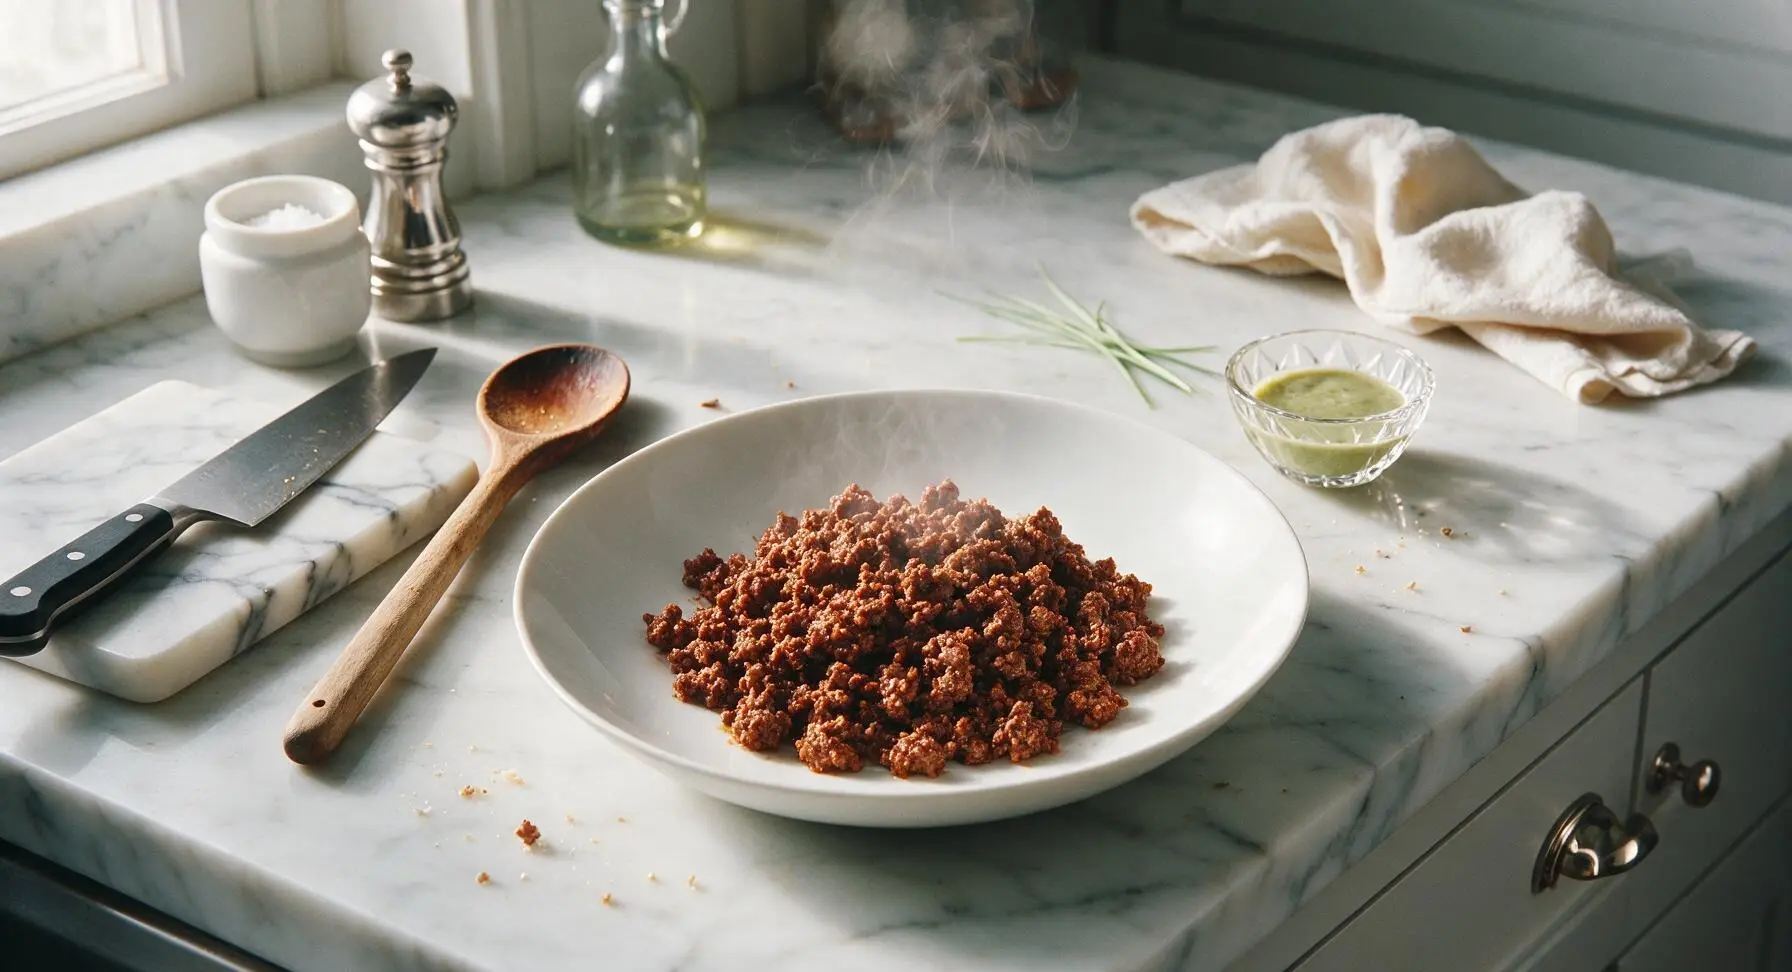
Juicy, deeply seasoned ground beef taco meat made fast in the Instant Pot—perfect for loading into shells, topping bowls, or piling on nachos for no-fuss weeknight meals.

Ingredients

Lean ground beef (90/10) 900g (2 lbs)
Yellow onion 1 medium (150g, diced)
Garlic cloves 3 (15g, minced)
Tomato paste 2 tbsp (30g)
Low-sodium beef broth 1/2 cup (120ml)
Chili powder 2 tbsp
Ground cumin 1 tsp
Smoked paprika 1 tsp
Garlic powder 1/2 tsp
Onion powder 1/2 tsp
Dried oregano 1/2 tsp
Fine sea salt 1 tsp
Freshly ground black pepper 1/4 tsp
Extra-virgin olive oil 1 tsp
Fresh cilantro 1/4 cup (chopped, for garnish)
Lime 1 (cut into wedges, for serving)

Steps

1

Prep Aromatics & Spices

Dice the yellow onion into 1cm pieces, mince the 3 garlic cloves finely, and measure all spices (chili powder, cumin, smoked paprika, garlic powder, onion powder, oregano, salt, pepper) into the matte cream pinch bowls, grouping similar spices together for easy pouring. This prep takes approximately 8 minutes, with no advance cooking of the beef required.

Step 1
step1:Prep Aromatics & Spices
2

Sauté Aromatics in Pot

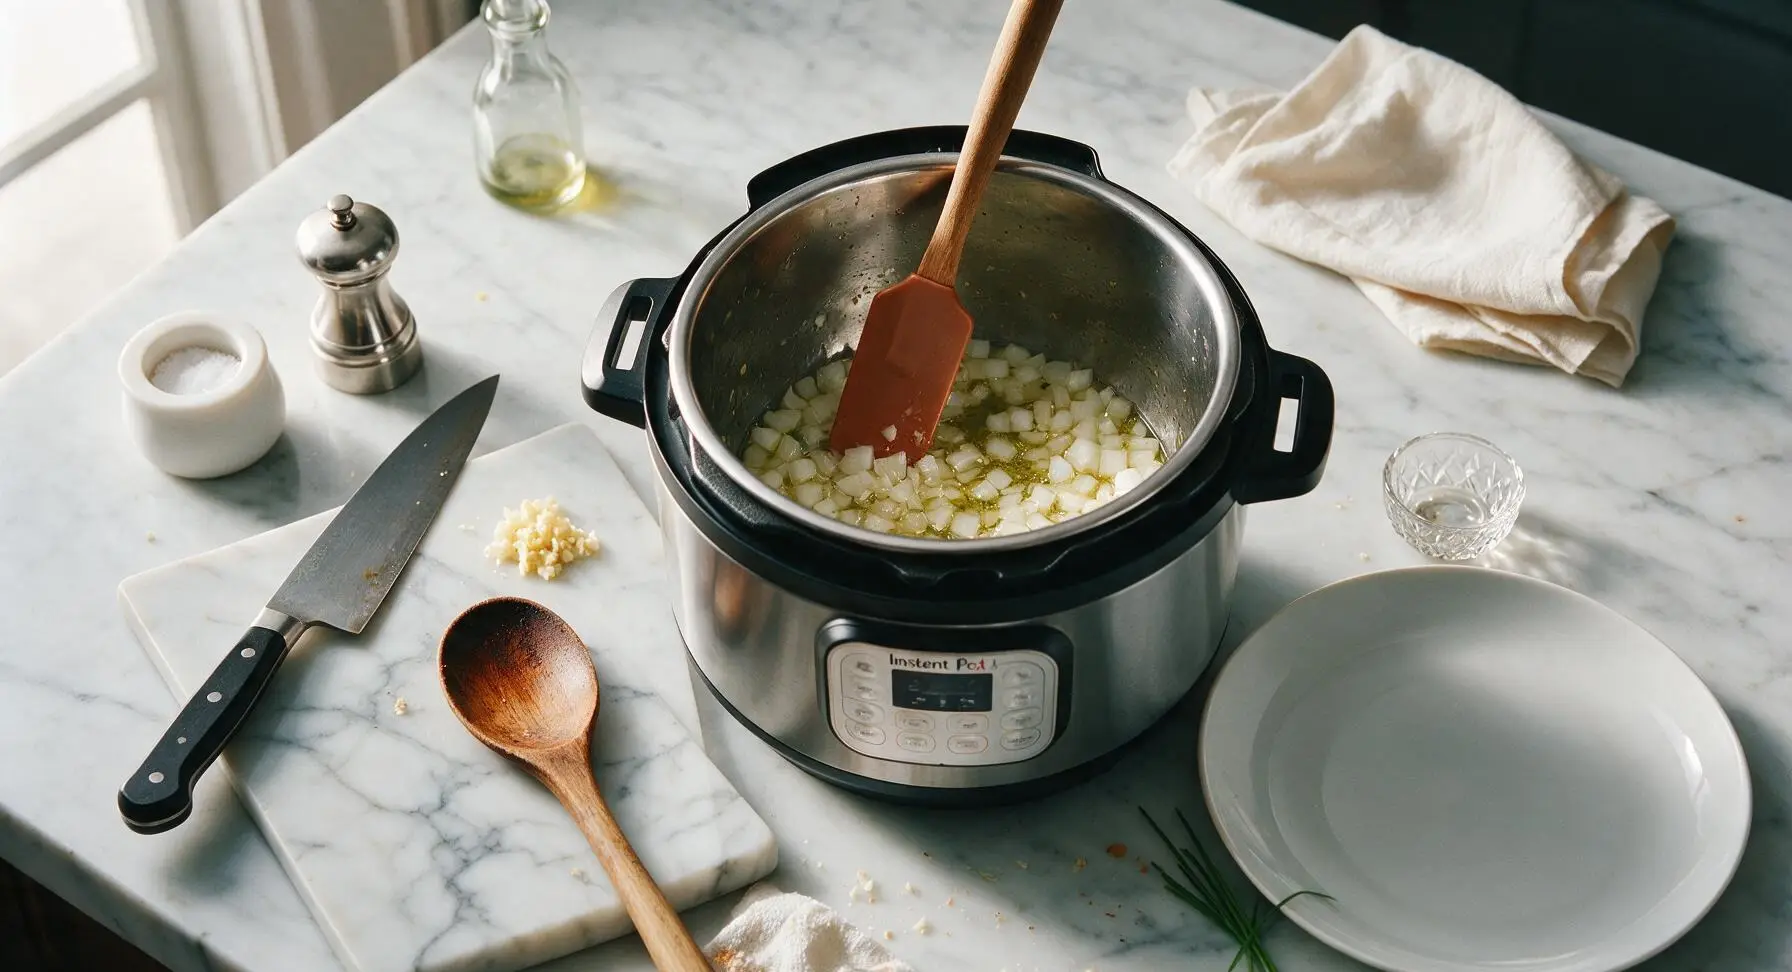
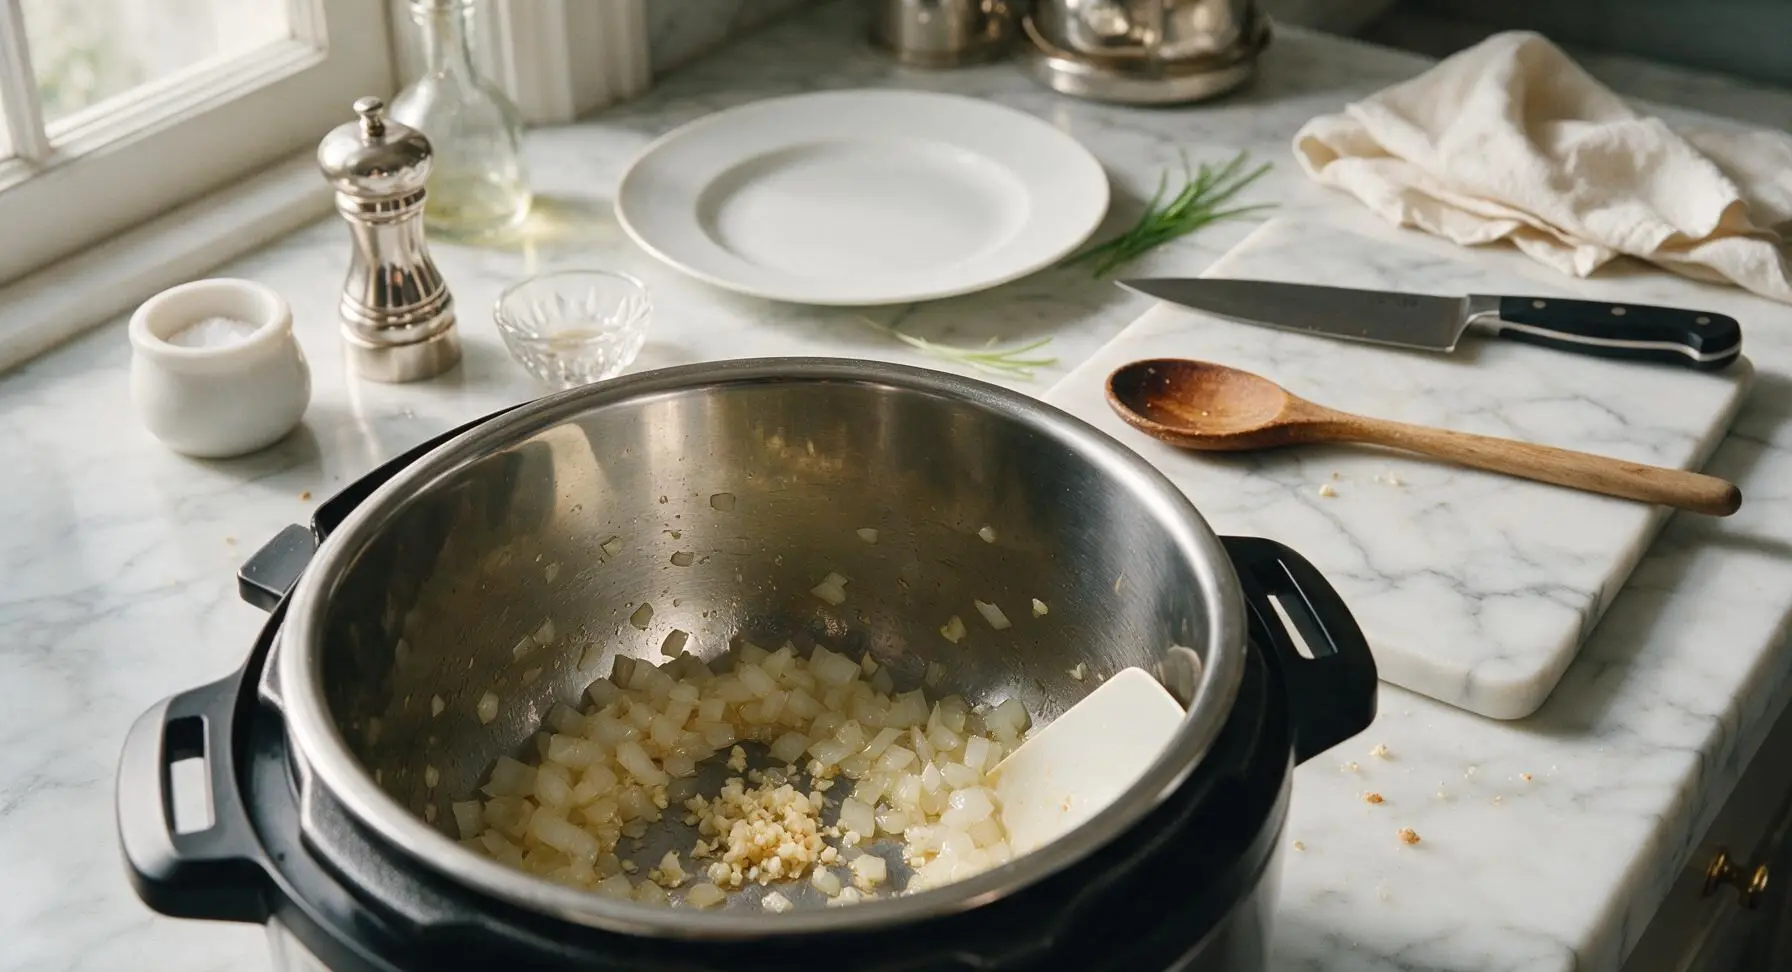
Plug in the Instant Pot, select the 'Sauté' function on normal heat. Add 1 tsp olive oil to the stainless steel inner pot. Once the oil shimmers (about 1 minute), add the diced onion, sauté for 3 minutes until soft and translucent, then add the minced garlic and cook for 30 seconds more until fragrant. Watch garlic closely to avoid burning, as burnt garlic will add a bitter flavor to the finished meat.
Step 2
step2:Sauté Aromatics in Pot
Step 2
step2:Sauté Aromatics in Pot
3

Toast Spices & Paste

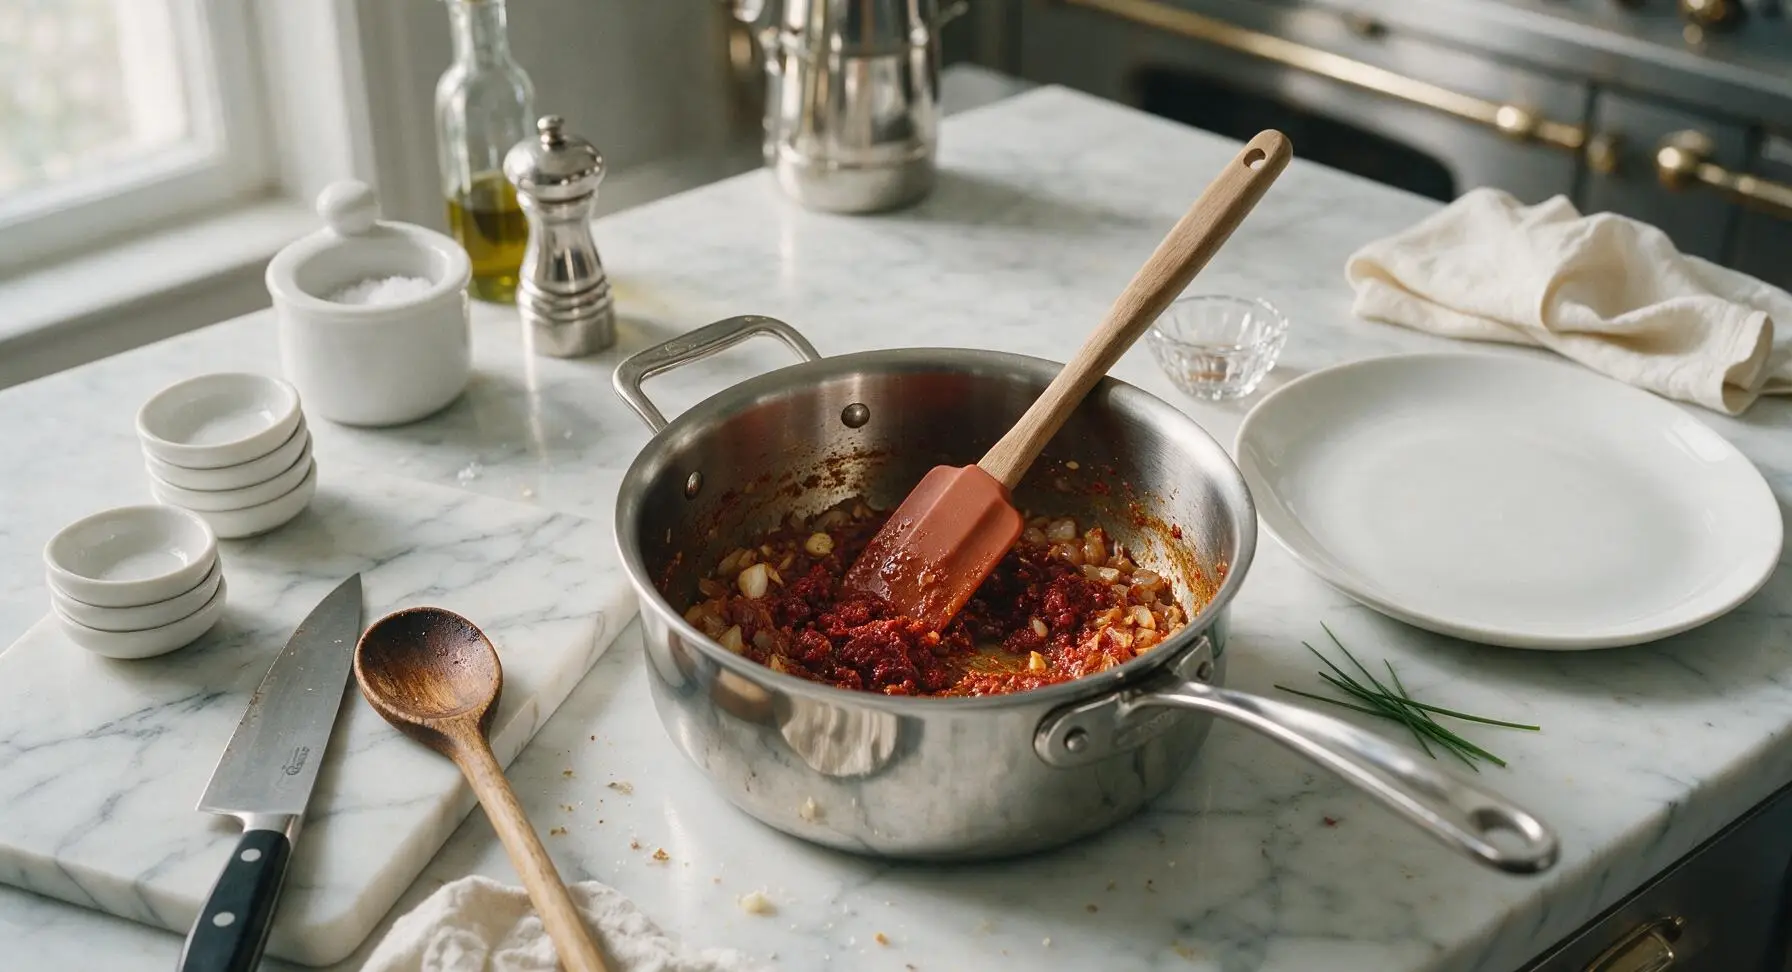
Add the 2 tbsp tomato paste and all measured spices to the pot with the aromatics. Stir constantly with the terracotta silicone spatula for 1 minute, until the tomato paste darkens to a deep rust color and the spices release a rich, warm aroma. This short toasting step deepens spice flavor significantly, so do not skip it.
Step 3
step3:Toast Spices & Paste
4

Deglaze and Add Beef

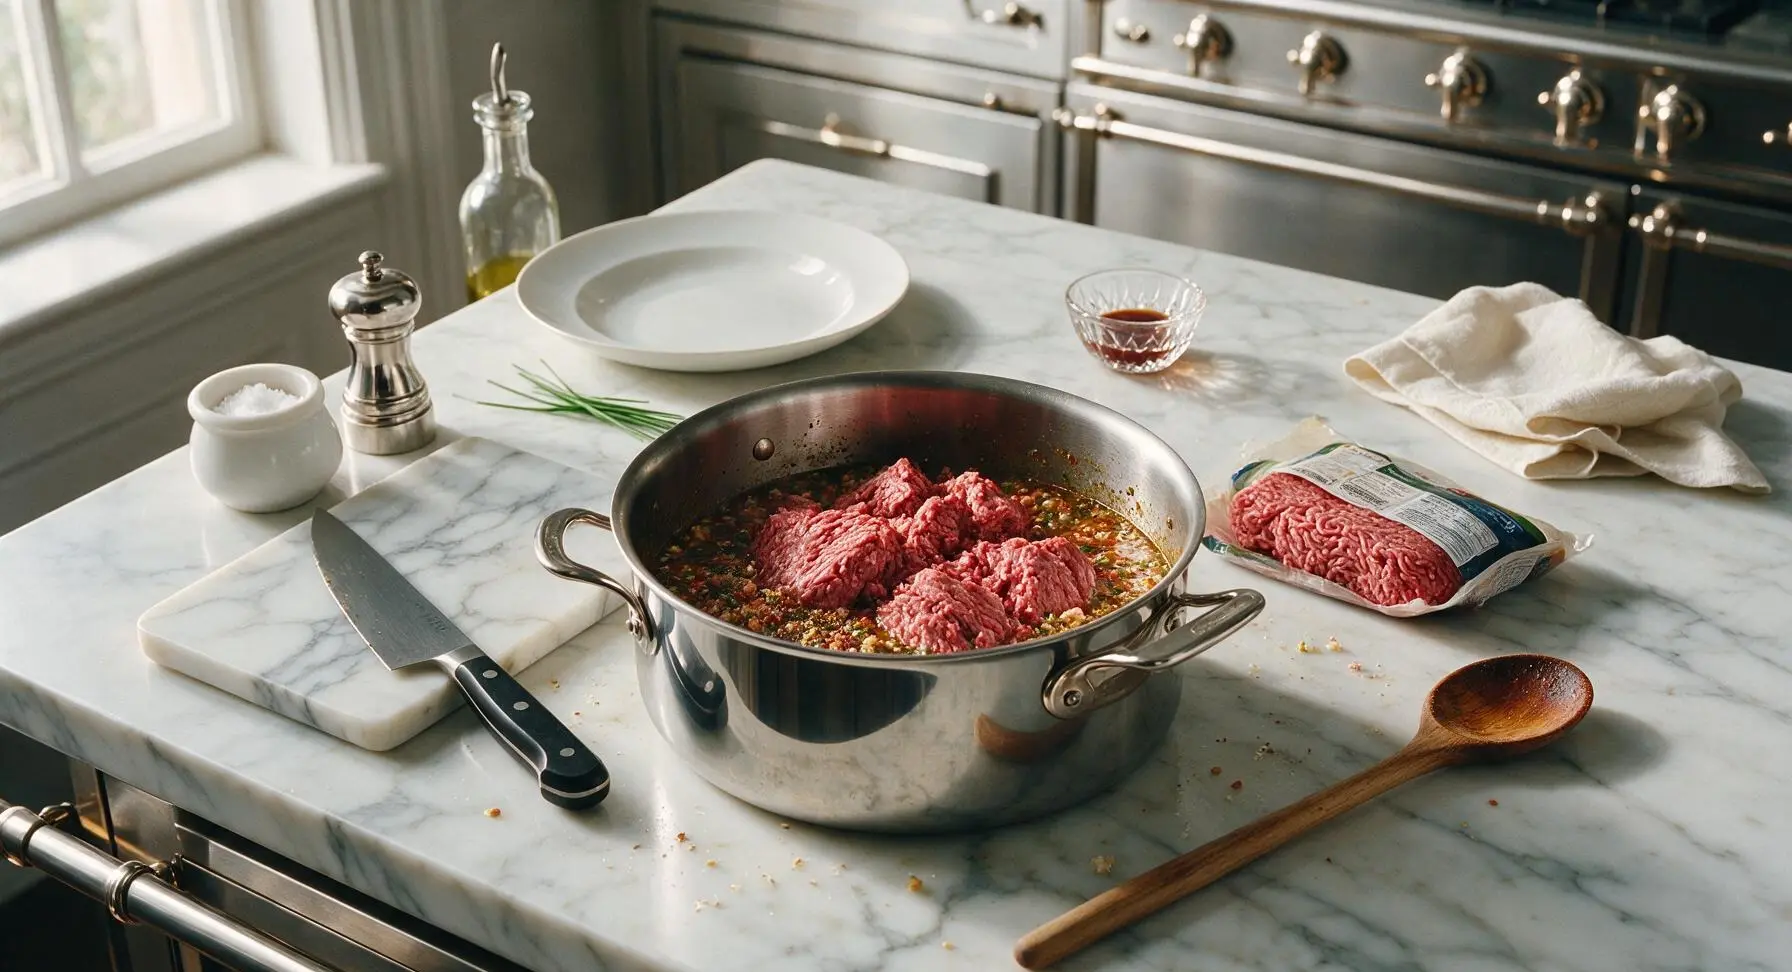
Pour the 1/2 cup low-sodium beef broth into the pot, scraping the bottom thoroughly with the silicone spatula to lift all browned bits (called fond) from the pot base—this prevents burn errors during pressure cooking and adds deep, savory flavor. Break the 2 lbs ground beef into large 5cm chunks and add it directly to the pot; do not stir it fully into the liquid, as over-stirring at this stage will create mushy meat.
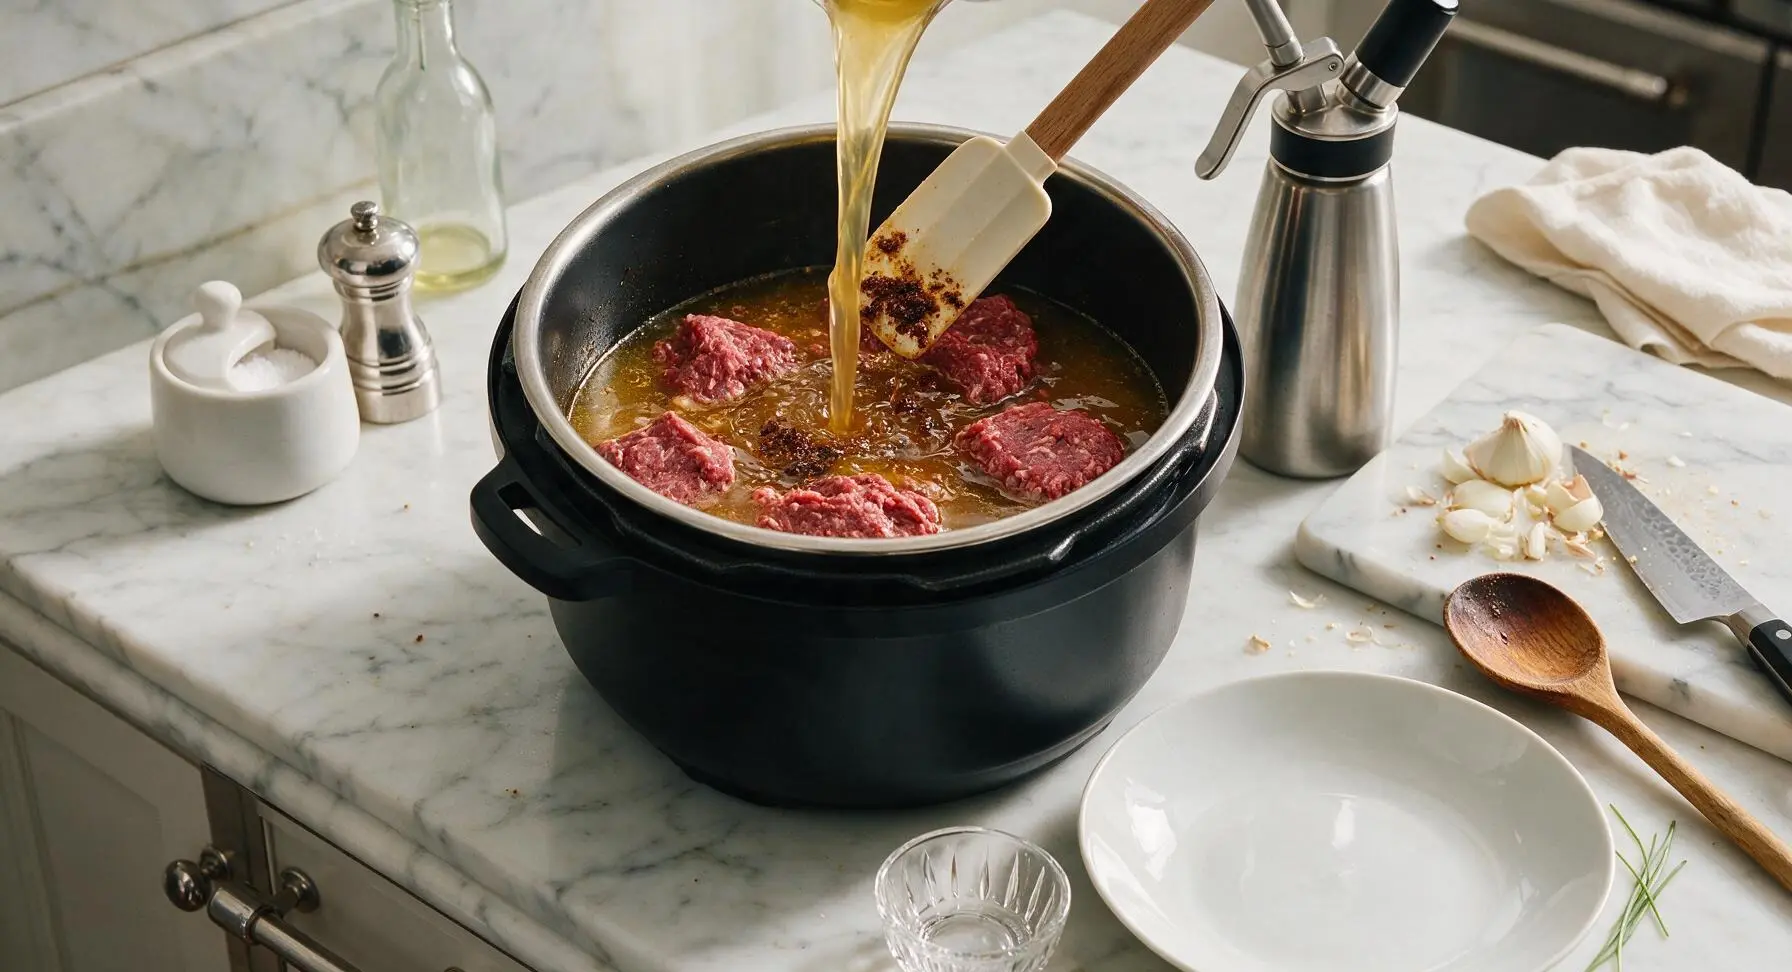
Step 4
step4:Deglaze and Add Beef
Step 4
step4:Deglaze and Add Beef
5

Pressure Cook Meat

Secure the Instant Pot lid, turn the pressure release valve to the 'Sealing' position. Select the 'Pressure Cook' (High) setting, set the timer for 5 minutes. The pot will take roughly 8 minutes to come to pressure before the countdown starts. Once the 5-minute cook time ends, allow a 10-minute natural pressure release, then carefully turn the valve to 'Venting' to release remaining pressure, using a kitchen towel to shield your hand from hot steam.
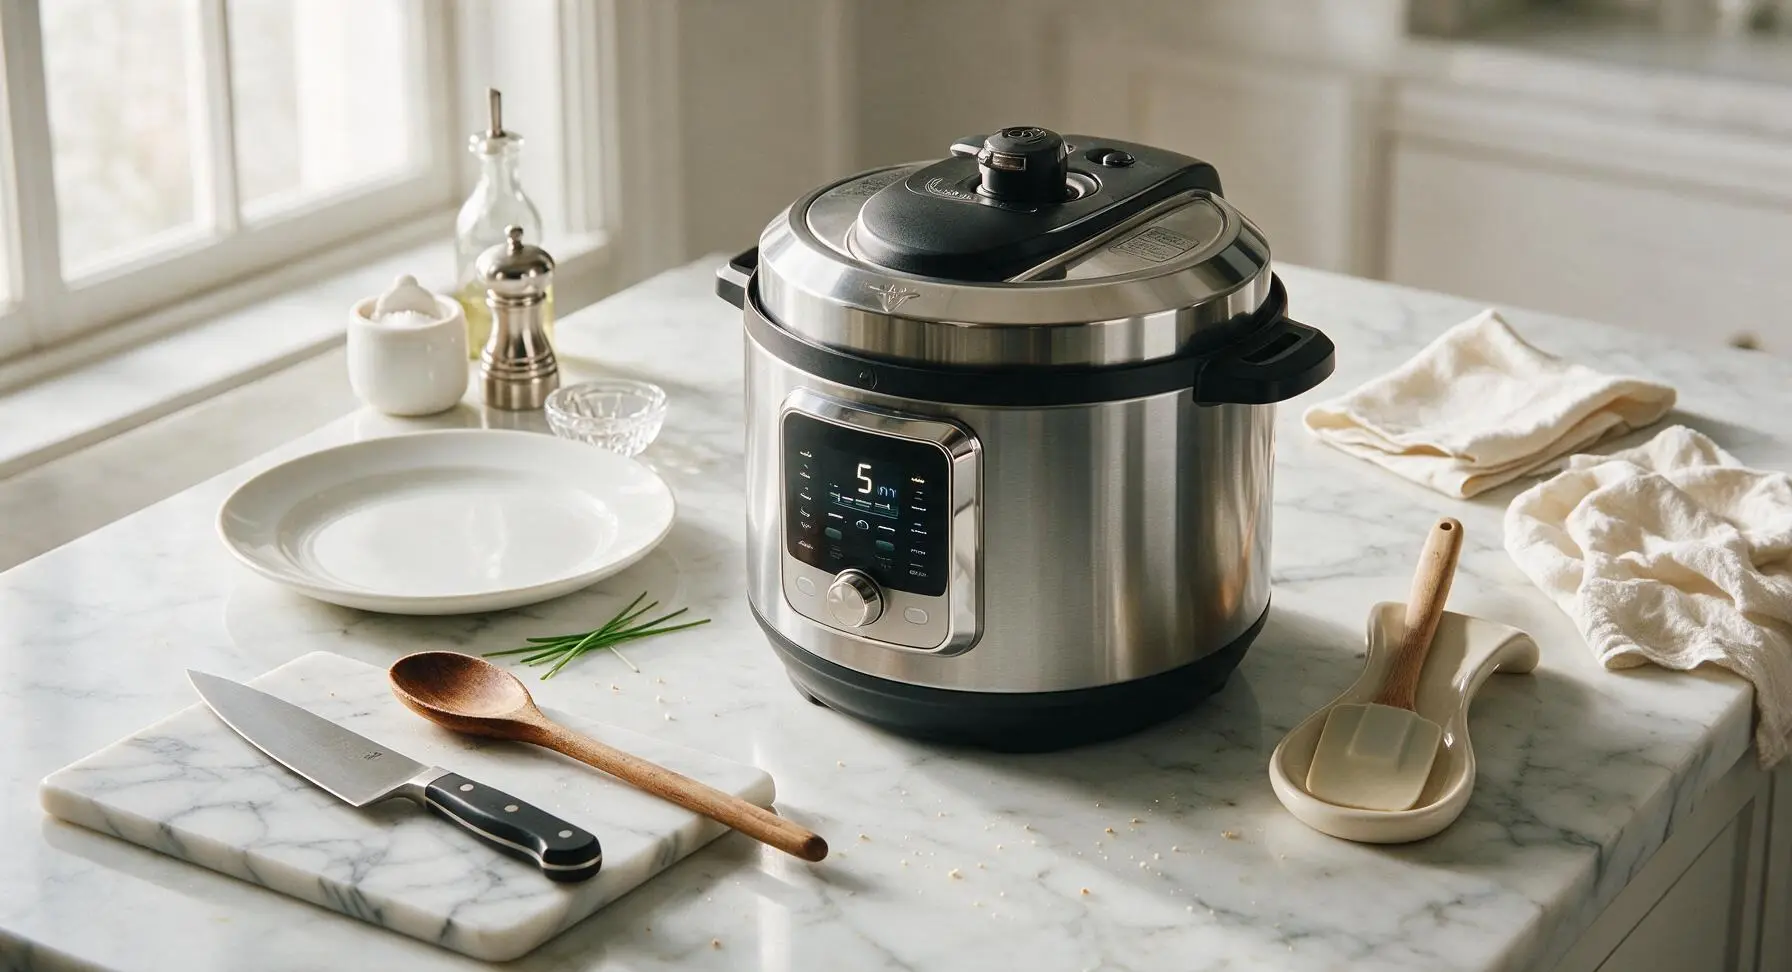
Step 5
step5:Pressure Cook Meat
6

Shred and Brown Meat

Once all pressure is released, carefully remove the lid, tilting it away from your face to avoid rising steam. Use the silicone spatula to break the ground beef into fine, even crumbles. Select the 'Sauté' function again, and cook the meat for 3-4 minutes, stirring occasionally, until most excess liquid evaporates and the meat is evenly coated in thick spiced sauce, with no soupy liquid pooling at the pot bottom.
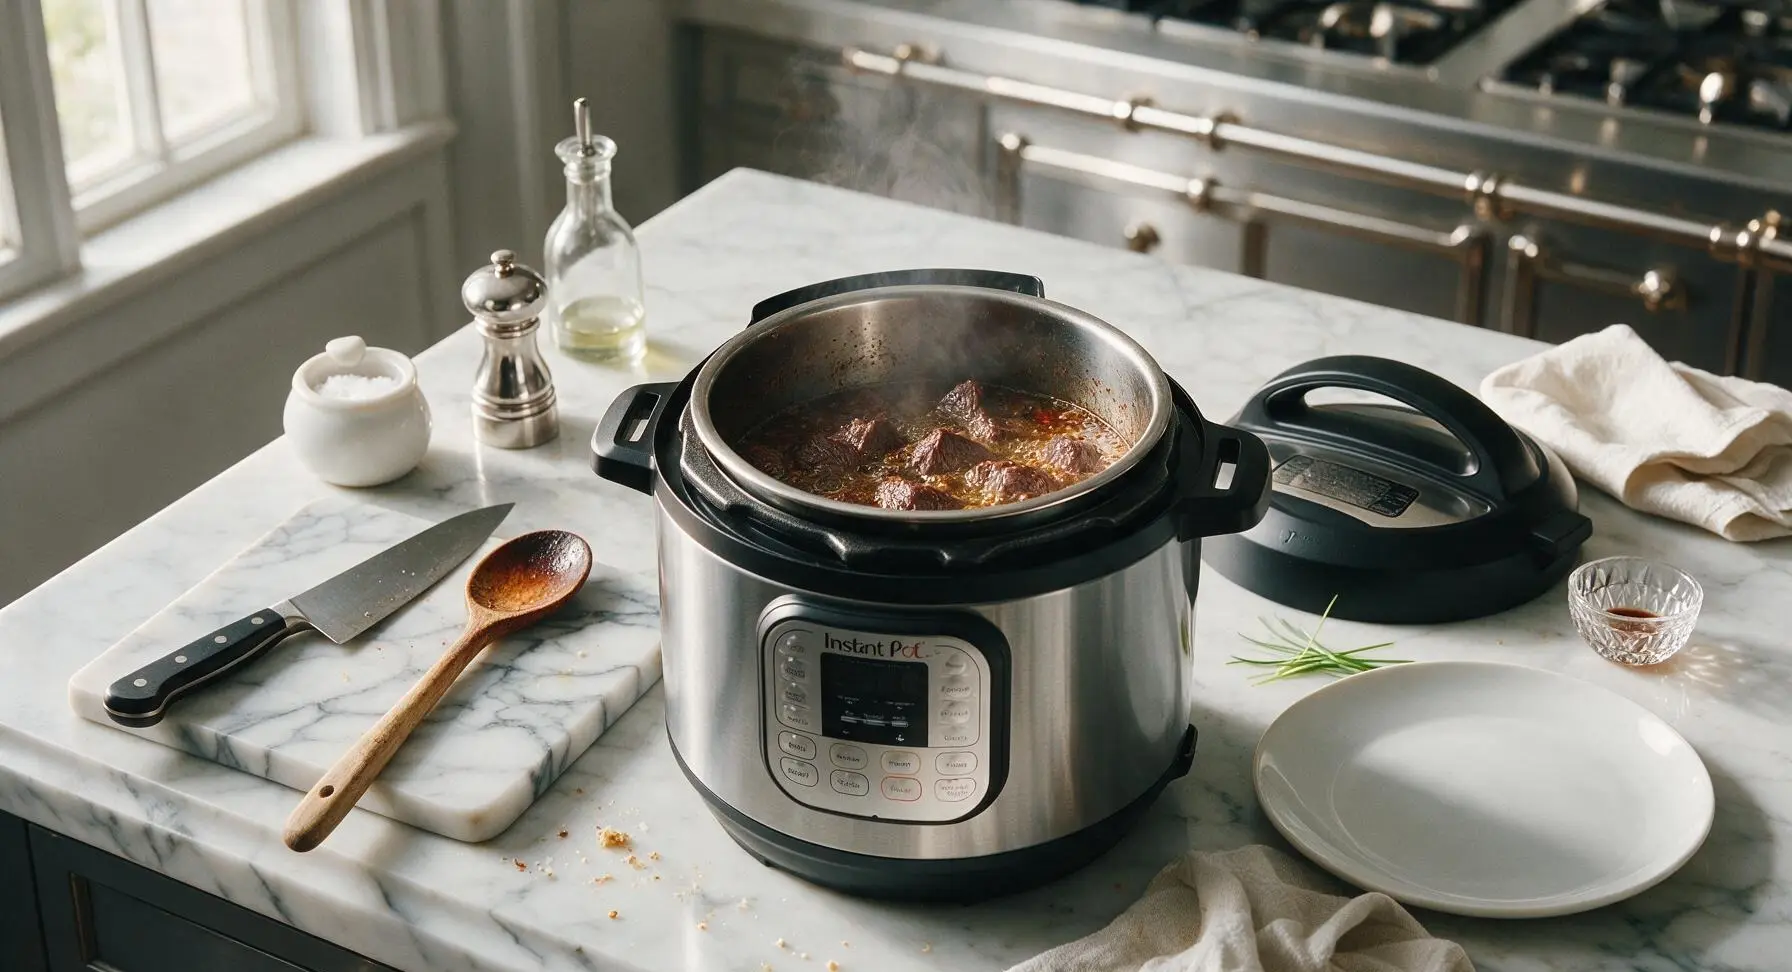
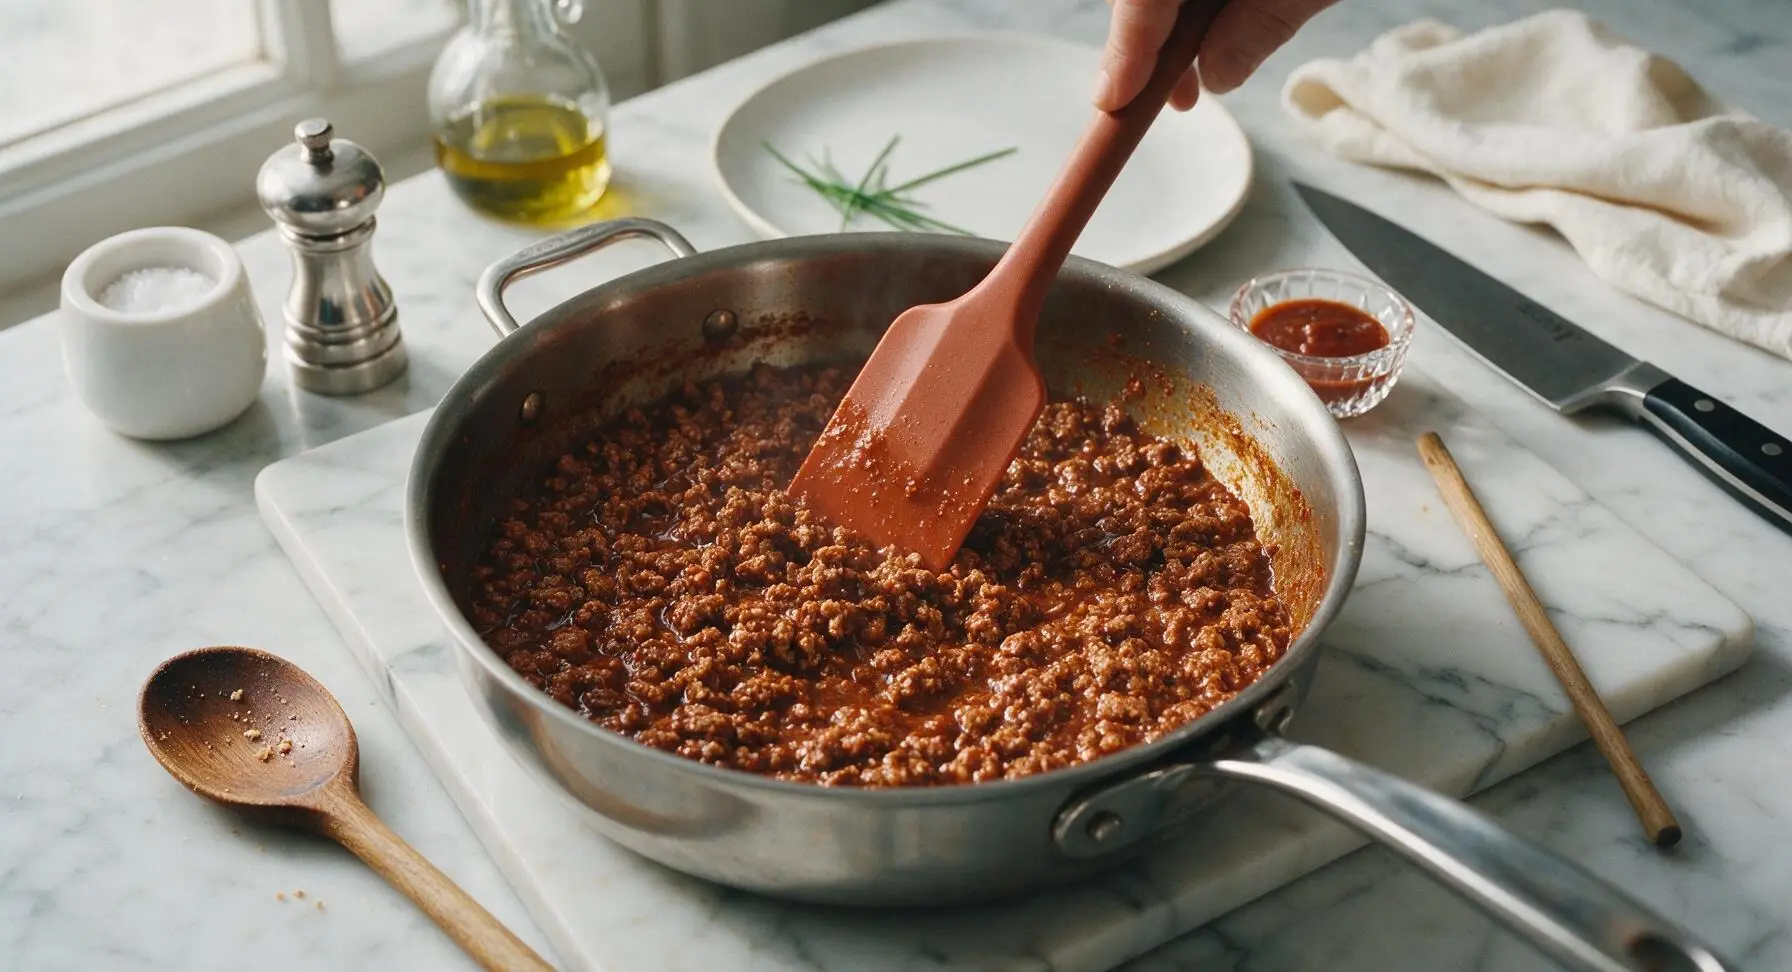
Step 6
step6:Shred and Brown Meat
Step 6
step6:Shred and Brown Meat
7

Adjust Seasoning to Taste

Taste a small spoonful of the taco meat, adjusting salt or pepper if needed. For a brighter, fresher flavor, squeeze 1 tsp fresh lime juice into the meat if desired, stirring to combine. Turn off the Instant Pot, let the meat rest for 2 minutes before serving to allow the sauce to set.
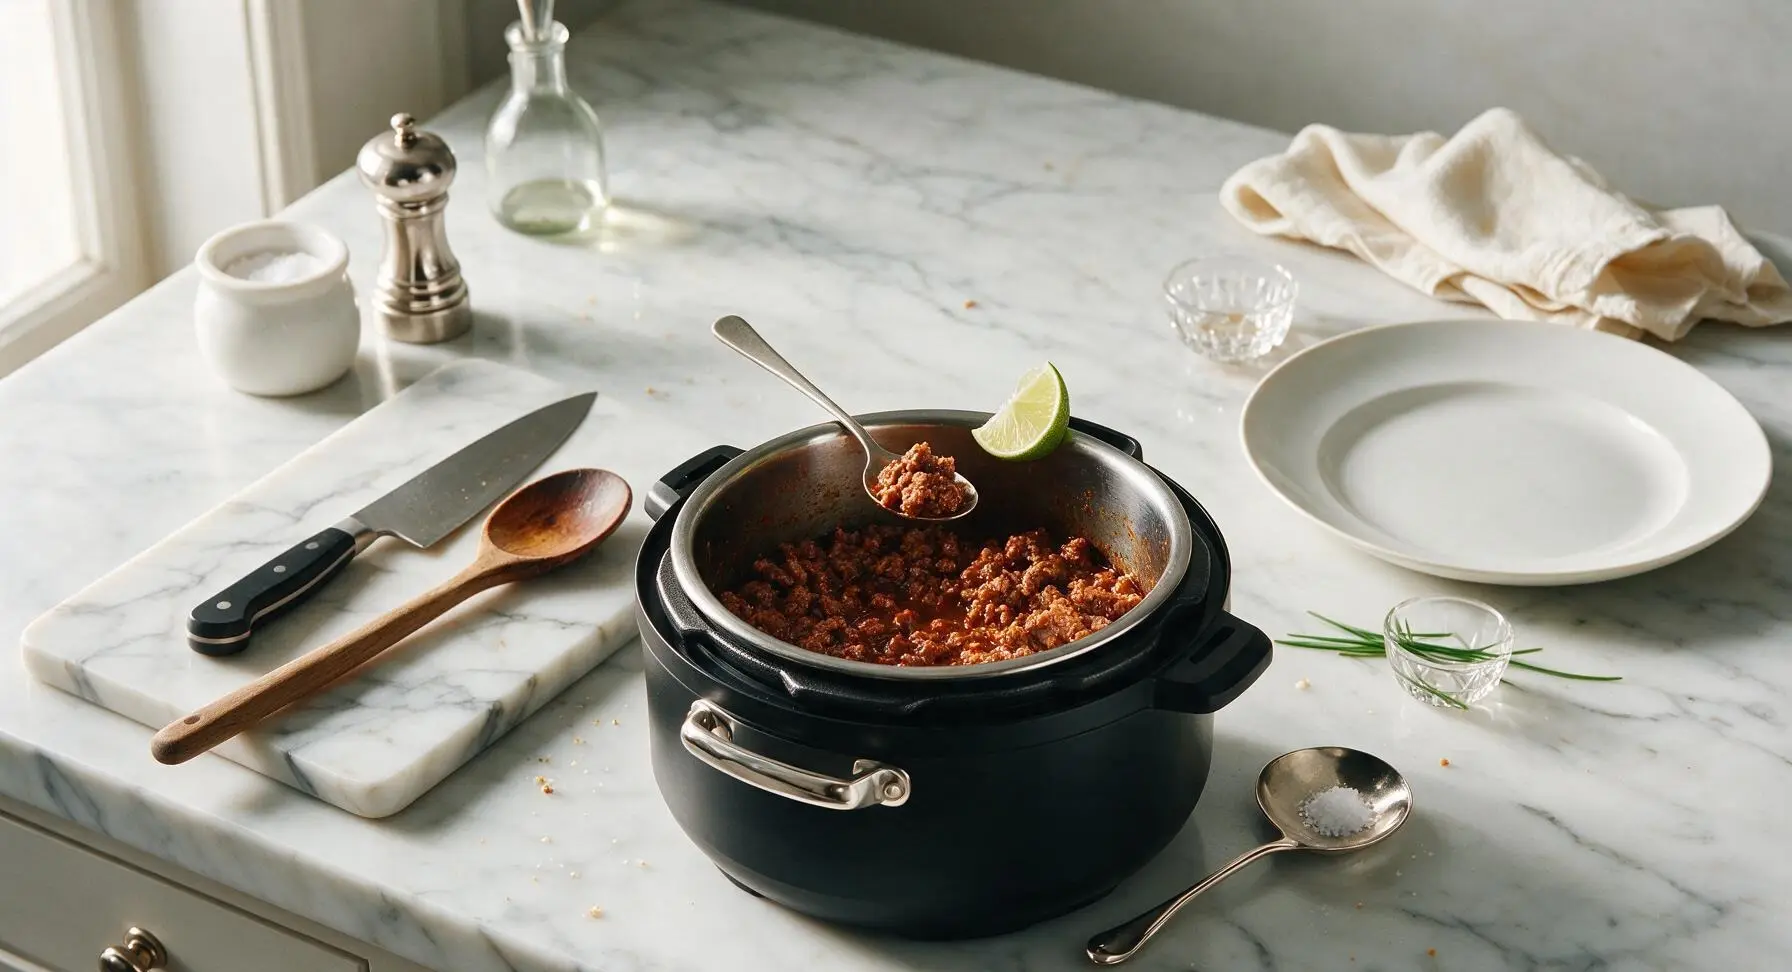
Step 7
step7:Adjust Seasoning to Taste

Tips

1.Always deglaze the pot completely after sautéing aromatics and spices: any stuck browned bits (called fond) on the inner pot base will trigger the Instant Pot’s 'burn' error during pressure cooking, and those bits add rich, deep savoriness when scraped into the cooking liquid.
2.Avoid stirring the ground beef fully into the liquid before pressure cooking: leaving it in large chunks on top of the liquid prevents the meat from turning into mushy, grainy crumbles, and yields a perfect tender crumble texture when mashed after cooking.
3.Use the full 10-minute natural pressure release instead of quick-releasing immediately: this gradual pressure drop keeps the beef juicy and tender (rather than seizing up from rapid temperature change) and prevents hot, spattered liquid from shooting out of the pressure valve.


✨ You May Also Like

Main Course
🍜 United Kingdom

A showstopping classic of tender seared beef, savory mushroom duxelles, and crisp prosciutto wrapped in flaky golden puff pastry, baked to juicy perfection.

⏱️ 2 hours 1Main Course ★ 4.7
Main Course
🍜 India

Tender charred marinated chicken simmered in a rich, spiced creamy tomato sauce, this iconic Anglo-Indian curry pairs perfectly with basmati rice or warm naan.

⏱️ 50 minuteMain Course ★ 4.6
Main Course
🍜 Thailand

Classic tangy, sweet, and savory Thai stir-fried rice noodles with shrimp, tofu, and crunchy garnishes, balancing all five core Thai flavor profiles.

⏱️ 30 minuteMain Course ★ 4.5
Main Course
🍜 United Kingdom

Crispy golden beer-battered cod and fluffy double-fried chips, served with tangy tartar sauce and malt vinegar: the timeless, beloved British pub comfort classic.

⏱️ 45 minuteMain Course ★ 4.7
Main Course
🍜 Mexico

Smoky, chile-marinated pork tacos with caramelized pineapple, fresh cilantro, and lime: a beloved classic Mexican street food perfect for casual summer gatherings.

⏱️ 1 hour 45Main Course ★ 4.8
Main Course
🍜 United States

Crunchy Fritos corn chips layered with savory beef chili and melted cheddar, topped with cool, zesty fixings for a beloved, cozy Tex-Mex comfort food.

⏱️ 35 minuteMain Course ★ 4.8

instant pot taco meat:Frequently Asked Questions

1.Can I use a fattier ground beef blend instead of the recommended 90/10 lean for this recipe? ▾
Absolutely! 80/20 or 85/15 ground beef works great, but after you sauté it to break up clumps, take 30 seconds to spoon out and discard any excess pooled grease before sealing the Instant Pot. This keeps your taco meat from feeling overly oily, which is extra important if you’re piling it on crispy shells or nachos that get soggy fast.
2.Do I need to sauté the yellow onion and garlic before pressure cooking the taco meat? ▾
Yes, that quick 2–3 minute sauté step is non-negotiable for deep, rounded flavor. Cooking the diced onion first softens its sharp, raw bite, and toasting garlic for 30 seconds right before adding tomato paste cuts its harsh edge so it blends seamlessly instead of leaving a sharp, bitter aftertaste in the final meat.
3.Why do you call for low-sodium beef broth instead of regular? ▾
Low-sodium broth gives you full control over the final salt level of your taco meat, since tomato paste, taco seasonings, and common toppings like cheese, salsa, or sour cream already carry quite a bit of salt. If you only have regular broth on hand, skip adding extra salt until after pressure release, when you can taste and adjust.
4.How long does it take to cook this taco meat in the Instant Pot? ▾
Total active prep time is only about 10 minutes, with a 5-minute high-pressure cook time once you seal the lid. You’ll need roughly 5 minutes for the pot to come up to pressure, plus a quick pressure release once cook time ends, so you’ll have fully finished taco meat ready to serve in right around 20 minutes flat.
5.Can I stir the tomato paste directly in with other ingredients without cooking it first? ▾
I don’t recommend it! Cooking tomato paste for 1 to 2 minutes during the sauté step caramelizes its natural sugars, mutes its sharp, tinny canned taste, and deepens its rich umami punch. If you skip this step, your taco meat will have a flat, raw tomato paste aftertaste even after full pressure cooking.
6.What if I don’t have beef broth on hand—can I use water instead? ▾
You can, but you’ll want to bump up the seasoning a little to compensate for the missing savoriness. Add an extra half teaspoon of chili powder, a pinch of smoked paprika, and a tiny splash of Worcestershire sauce (if you keep it on hand) to the water, and be sure to taste and adjust salt levels right before serving.
7.Do I need to drain the ground beef after it finishes pressure cooking? ▾
If you use the recommended 90/10 lean ground beef, you won’t need to drain much at all—just give it a quick stir to break up remaining clumps, and spoon off a tiny bit of grease if you notice excess pooling. Fattier blends will leave more grease, so plan to drain those briefly to avoid soggy tacos.
8.Can I make this taco meat ahead of time for weekly meal prep? ▾
Absolutely! Let the cooked meat cool completely, then store it in an airtight container in the fridge for up to 4 days, or freeze it for up to 3 months. It reheats perfectly in the microwave, on the stovetop, or right in the Instant Pot on sauté with a tiny splash of broth to keep it from drying out.
9.Why is my taco meat watery after pressure cooking finishes? ▾
A little extra liquid is totally normal, since the pressure cooker traps steam and the beef releases moisture as it cooks. Just turn the Instant Pot to the sauté setting after you release pressure, and let the meat simmer for 2 to 3 minutes, stirring occasionally, to cook off excess liquid to your ideal consistency.
10.Can I add store-bought dried taco seasoning to this recipe? ▾
Of course! Add 2 to 3 tablespoons of your favorite store-bought or homemade taco seasoning when you stir in the tomato paste, right before you pour in the beef broth. If you’re using a pre-mixed packet with added salt, hold off on extra salt until after cooking so you don’t overseason the final dish.
11.Do I have to use a quick pressure release for this recipe? ▾
Yes, a quick release is best here to keep your ground beef from overcooking and turning tough or dry. If you let the pot release pressure naturally for too long, the meat will sit in trapped hot steam for an extra 10 to 15 minutes, leading to a dry, crumbly texture that doesn’t hold up well in tacos or on nachos.
12.Can I use ground turkey or chicken instead of ground beef? ▾
Definitely! Swap the 90/10 ground beef for the same ratio of lean ground turkey or ground chicken, and keep all other steps identical. You may want to add an extra tablespoon of tomato paste or tiny drizzle of olive oil during sauté, since poultry is milder and can dry out faster than beef if you aren’t careful.
13.How finely should I dice the yellow onion for this recipe? ▾
Aim for a ¼-inch dice, so the onion pieces cook down fully during the sauté and pressure cook steps and blend evenly into the meat. If you dice the onion too large, you’ll end up with big, crunchy onion chunks in your taco meat, which can throw off the smooth, evenly mixed texture most people want for taco fillings.
14.Can I double this recipe to feed a larger crowd? ▾
You can, as long as you don’t fill your Instant Pot past its marked ⅔ capacity line (ground beef can foam a little as it cooks, so overfilling is a safety risk). Keep the cook time the same at 5 minutes on high pressure, but add 2 to 3 minutes for the pot to come up to pressure with the extra volume.
15.What’s the best way to break up ground beef so I don’t end up with big clumps? ▾
Break the raw beef into small chunks as you add it to the pot during the sauté step, then use a stiff wooden spoon or potato masher to crumble it into fine pieces as it browns. After pressure cooking, give it another quick stir and mash to break up any remaining small clumps for that perfect restaurant-style fine texture.

Comments (4)

3 days ago

OMG this Instant Pot taco meat is a total game changer for our weekly Taco Tuesday! I used to stand over the stove browning beef for what felt like forever, and 25 minutes total? Are you kidding? My 3 kids devoured two servings each, even my picky 7 year old who usually picks all the meat out of his tacos. I meal prepped a double batch on Sunday and used it for taco salads, burrito bowls, and even loaded nachos for our football watch party last night. SO good, will be making this on repeat from now on!

2 days ago

Wait quick double batch question—does this freeze well? I want to make a ton to stash for busy work nights when I don’t feel like cooking at all!

yesterday

Great question! This taco meat freezes perfectly for up to 3 months—just let it cool completely, portion into freezer bags, and squeeze out all the extra air before sealing. It thaws super quick in the fridge or microwave for fast weeknight meals!

2 hours ago

Super easy recipe, thank you! I was a little nervous using my Instant Pot for the first time for something other than rice, but this was totally foolproof. My only note—mine came out a tiny bit watery? Did I do something wrong? Flavor was 10/10 regardless, just wanted to fix that for next time!

30 minutes ago

So glad you gave it a try, even as a new Instant Pot user! The excess liquid is usually just from not letting the pressure release naturally for the full 5 minutes before quick releasing, or adding a touch too much broth. Next time, if it’s still a little watery when you open the pot, just simmer it on the saute function for 2-3 minutes while stirring, and it’ll thicken right up!

1 week ago

Brought this taco meat to our neighborhood block party potluck last weekend and people would NOT stop asking me for the recipe! I set up a little taco bar with all the toppings and the meat was gone in 20 minutes flat. Love that it’s so low effort but tastes like I simmered it for hours. No dry, bland taco meat here—all the seasoning is perfectly balanced, not too spicy so the kids could eat it too. 10/10, adding to my permanent potluck rotation!

2 weeks ago

As someone who eats gluten free, I’m always paranoid about taco seasoning packets having hidden wheat, so I loved that this recipe let me use my own GF taco seasoning blend and it turned out amazing! I used ground turkey instead of beef because that’s what I had in the fridge, and it was still so juicy and flavorful, no dry turkey at all. Perfect for my weekly meal prep, I’ve been eating it for lunch all week on top of rice and roasted veggies.

1 week ago

Oh thank you for sharing that the ground turkey swap works! I never have ground beef on hand but always have turkey, I was worried it would be too dry so I’ve been putting off trying this. Can’t wait to make it this weekend!



