
italian beef instant pot

title 1
italian beef instant pot
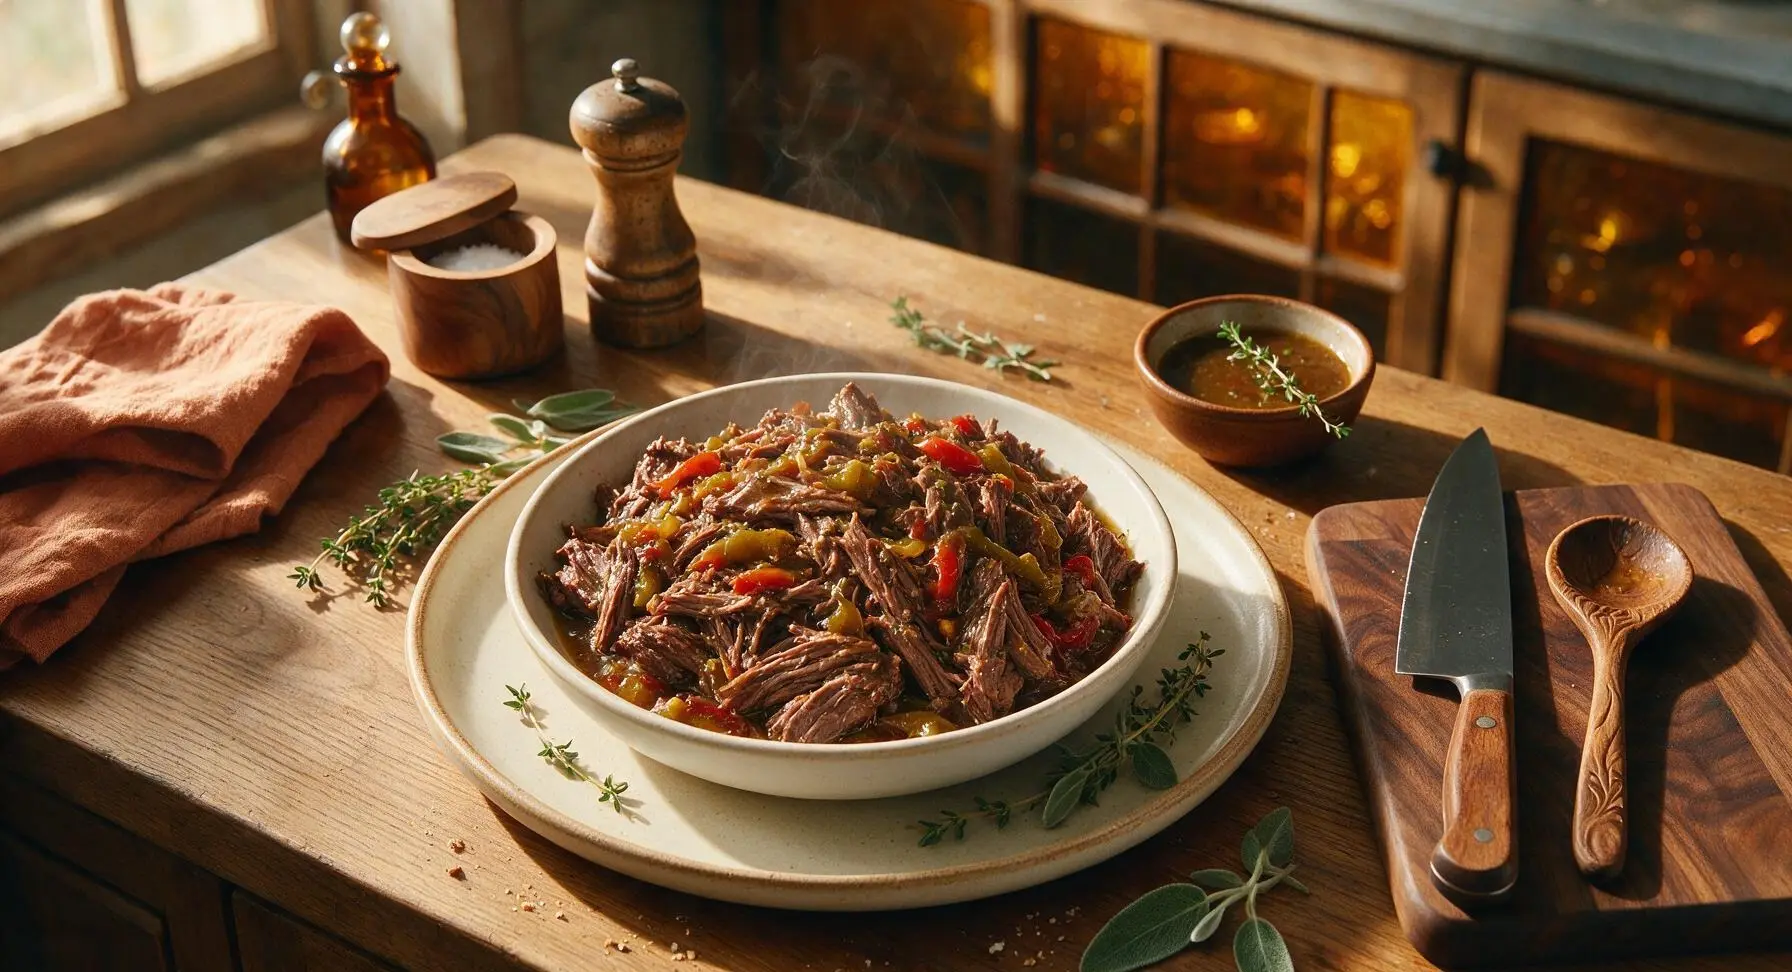
⏱️ cook time 1 hour 25 minutes
🍽️ servings 6
⚡ Difficulty easy

intro

Fall-apart tender, herb-infused beef with tangy pickled peppers, made fast in the Instant Pot for iconic Chicago-style Italian beef sandwiches, perfect for a crowd.

Ingredients
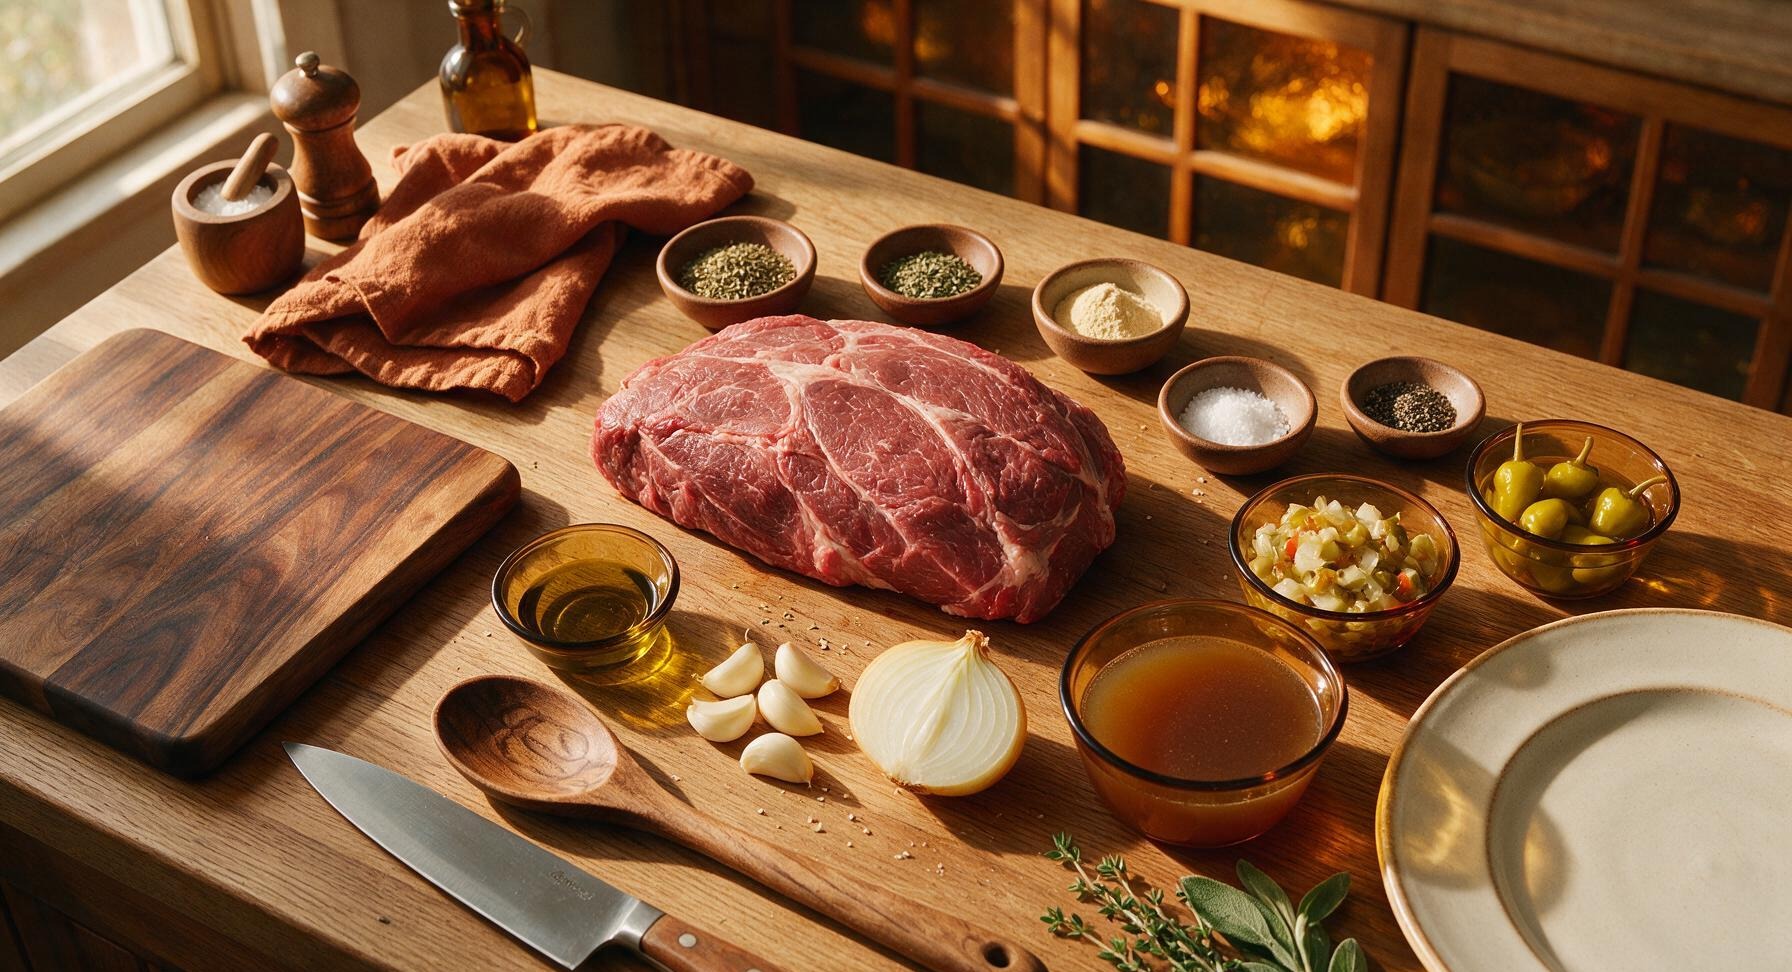
Boneless beef chuck roast 1.5kg (3.3 lbs)
Low-sodium beef broth 2 cups (480ml)
Mild giardiniera, drained 1 cup (150g)
Whole pepperoncini peppers (with 1/4 cup brine) 8 peppers
Yellow onion, sliced 1 medium (150g)
Garlic cloves, peeled 6 cloves
Dried oregano 1 tbsp
Dried basil 1 tsp
Garlic powder 1 tsp
Kosher salt 1.5 tsp
Freshly ground black pepper 1 tsp
Extra virgin olive oil 2 tbsp

Steps

1

Season the Chuck Roast

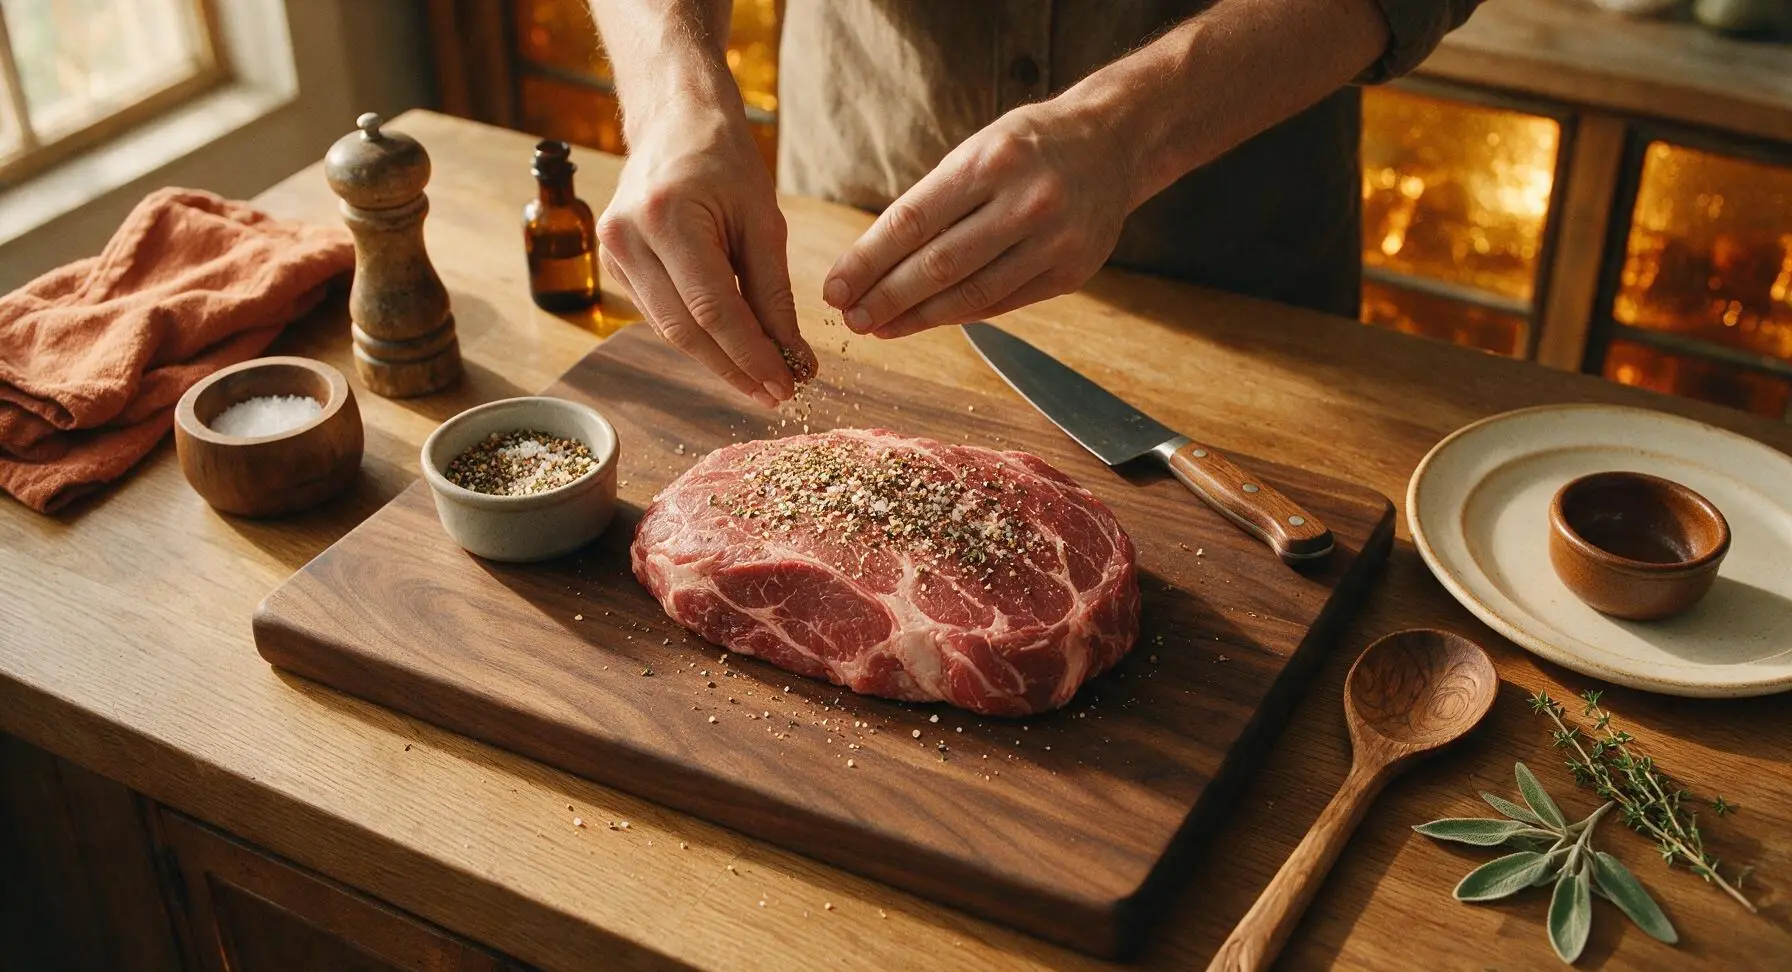
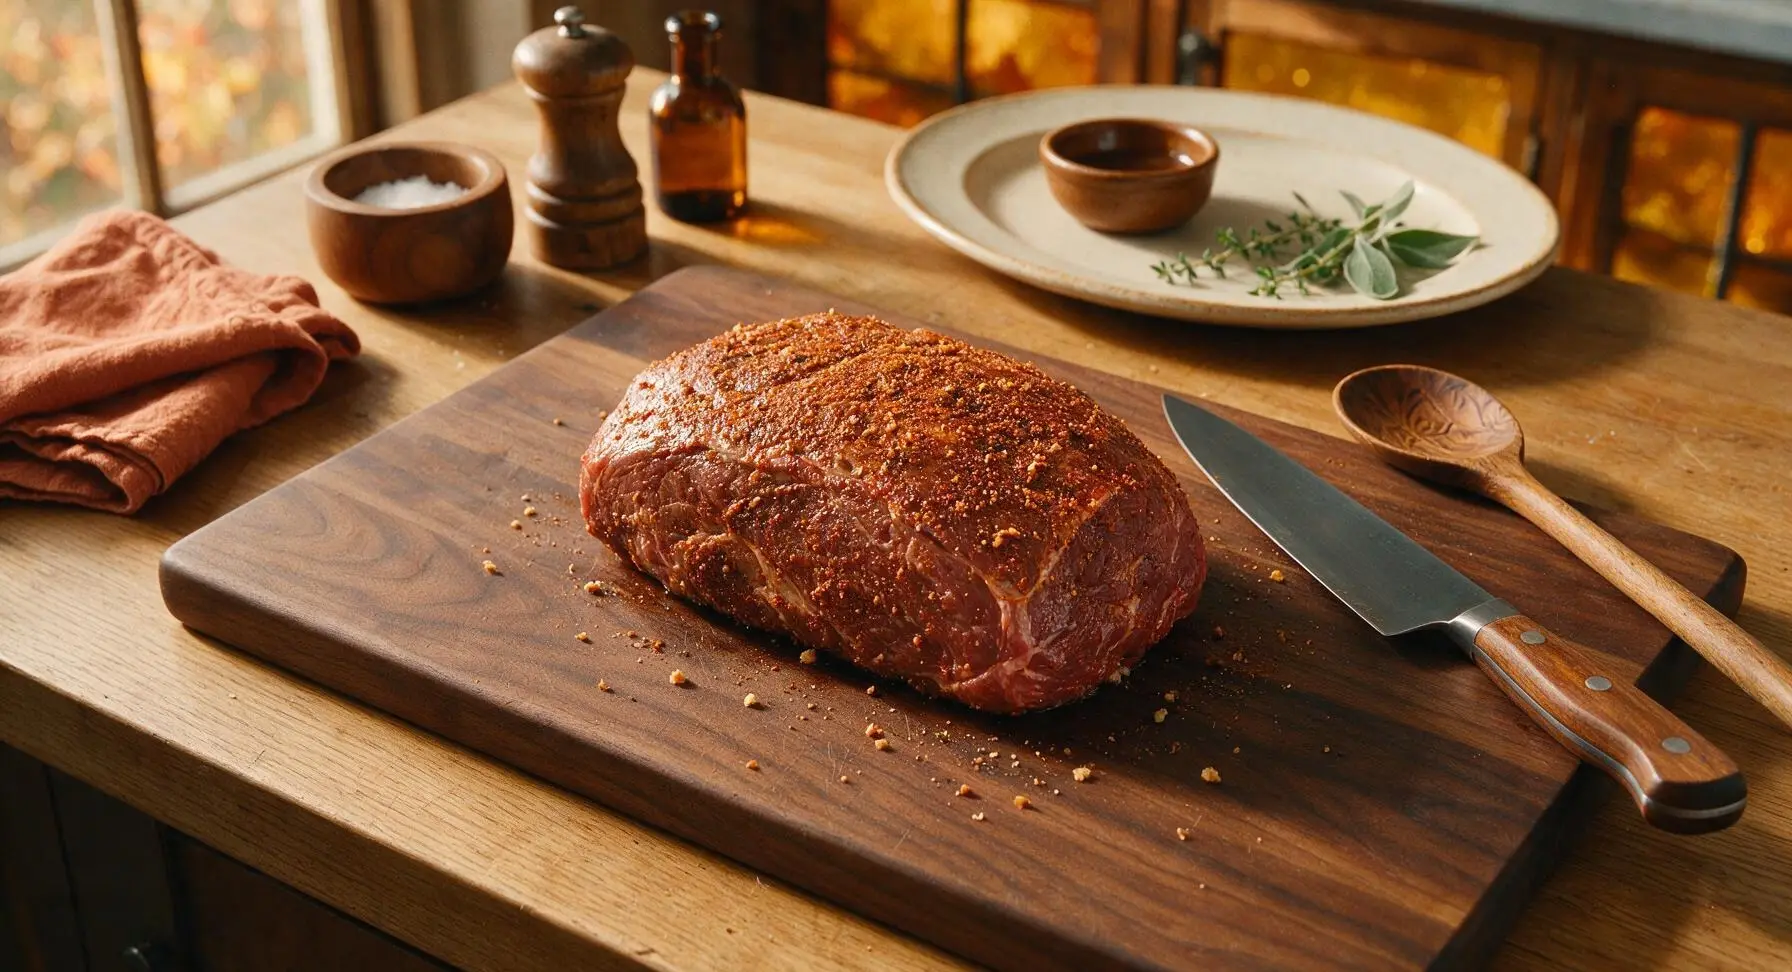
Pat the 1.5kg boneless beef chuck roast completely dry with paper towels from the fixed roll. Combine 1.5 tsp kosher salt, 1 tsp freshly ground black pepper, 1 tsp garlic powder, 1 tsp dried basil, and 1 tbsp dried oregano in the 7cm light grey ceramic ramekin, stirring to mix evenly. Rub the entire spice blend over all surfaces of the roast, pressing gently with your fingers to help the spices adhere to the meat. Let the seasoned roast rest for 10 minutes at room temperature to allow the salt to penetrate the surface.
Step 1
step1:Season the Chuck Roast
Step 1
step1:Season the Chuck Roast
2

Sear the Roast

Select the 'Sauté' function on the 6-quart Instant Pot, adjusted to high heat. Add 2 tbsp extra virgin olive oil to the stainless steel inner pot, and heat for 2 minutes until the oil is shimmering and moves easily across the pot bottom. Use the 12-inch stainless steel tongs to carefully lower the seasoned roast into the hot oil. Sear for 3-4 minutes per side (4 sides total) until a deep, crisp golden-brown crust forms on every surface. Avoid moving the roast during each searing interval to build a thick, flavorful crust.
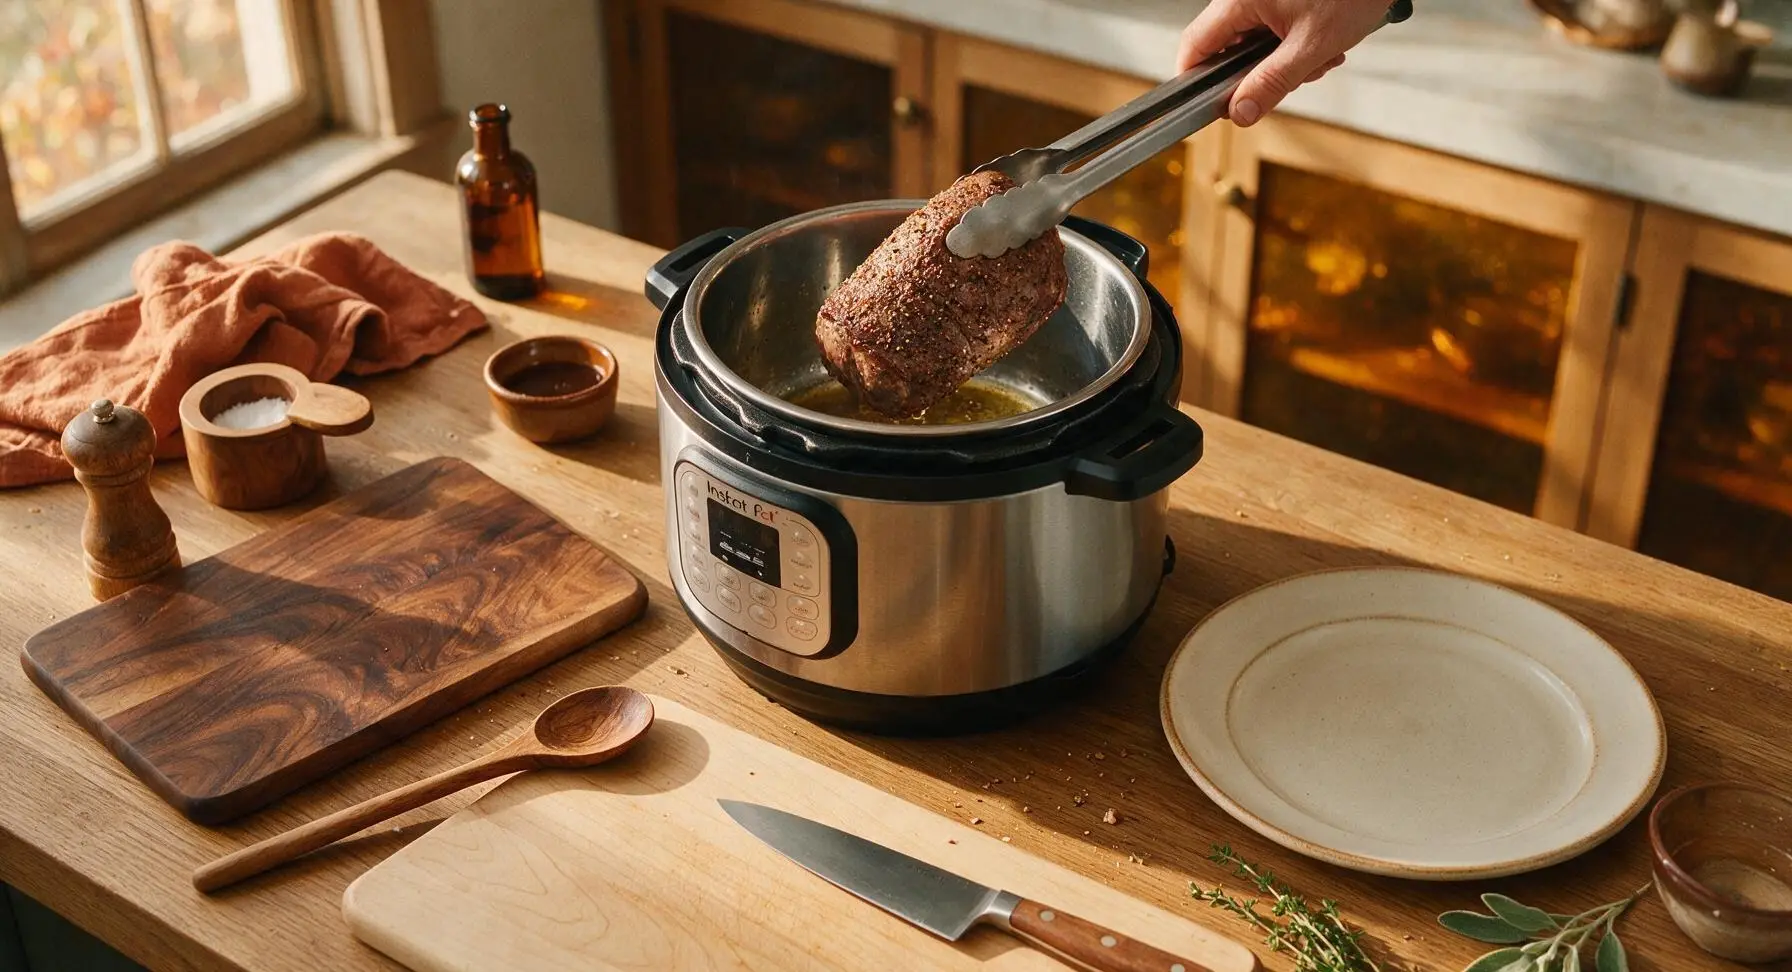
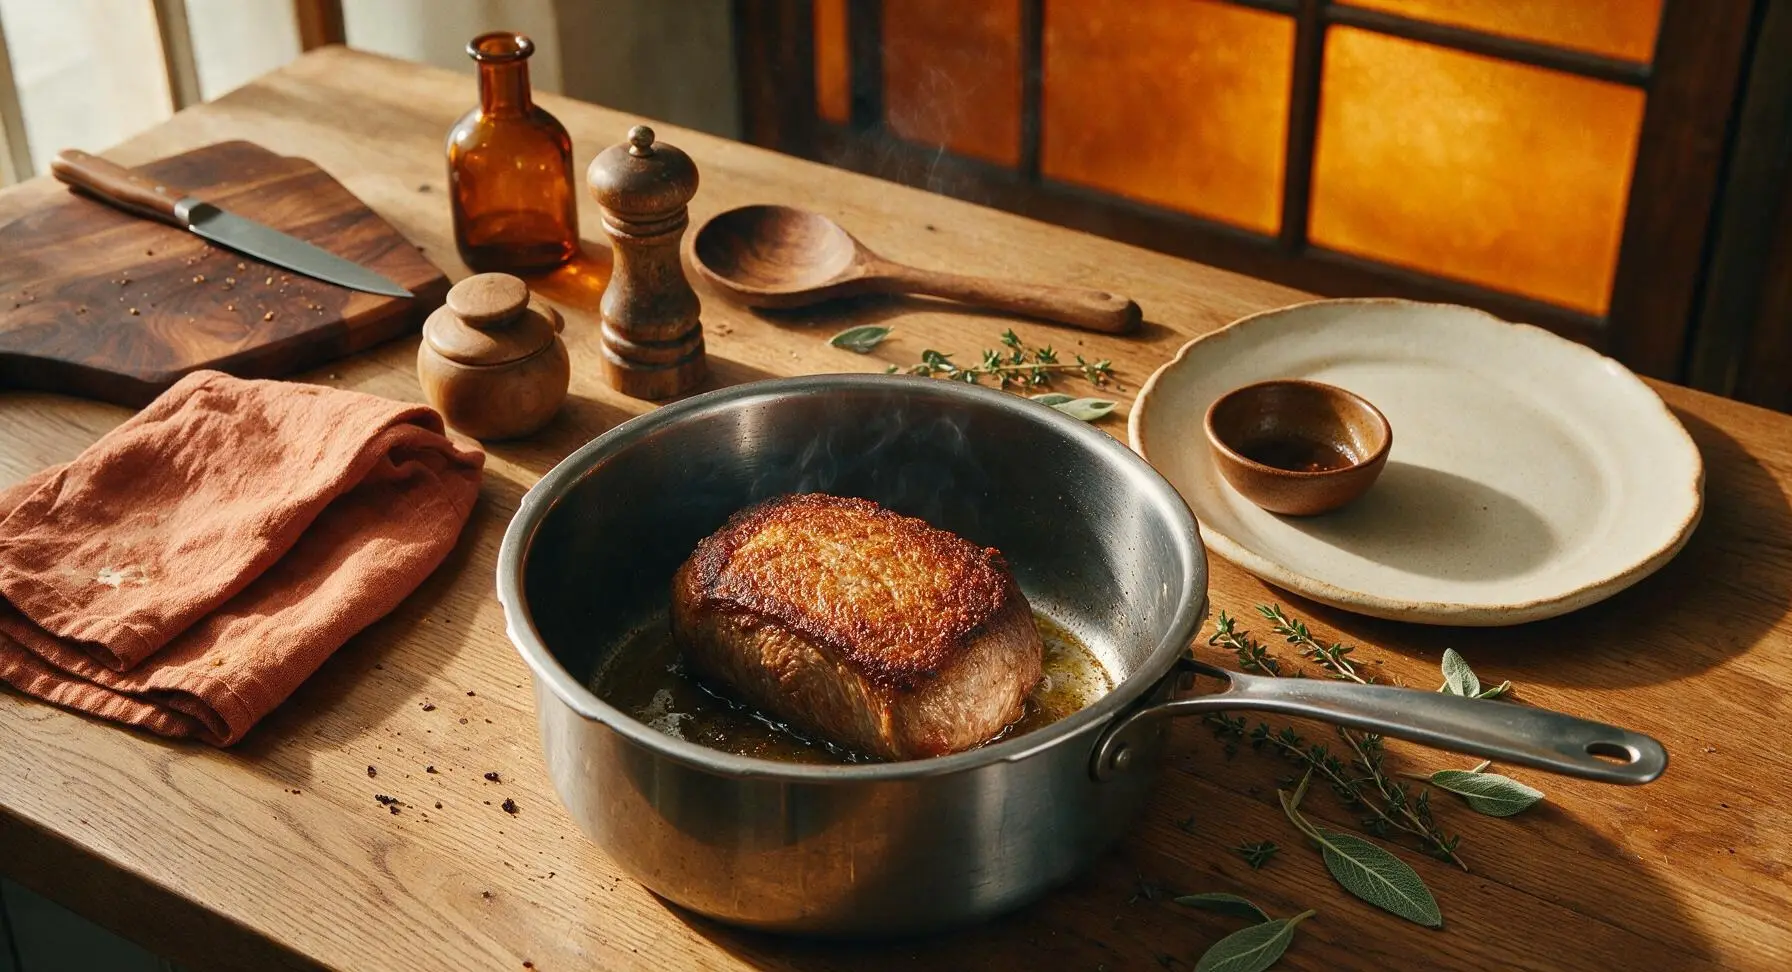
Step 2
step2:Sear the Roast
Step 2
step2:Sear the Roast
3

Add Aromatics and Broth

Once all sides of the roast are seared, use the tongs to lift the roast temporarily back onto the birch cutting board. Add the sliced medium yellow onion and 6 peeled whole garlic cloves to the hot pot drippings, sautéing for 2 minutes until the onions are soft, translucent, and fragrant. Use the off-white silicone spatula to scrape up all browned fond bits from the bottom of the pot as the onions cook, then pour in 2 cups low-sodium beef broth and 1/4 cup reserved pepperoncini brine from the glass measuring cup, stirring to combine fully.
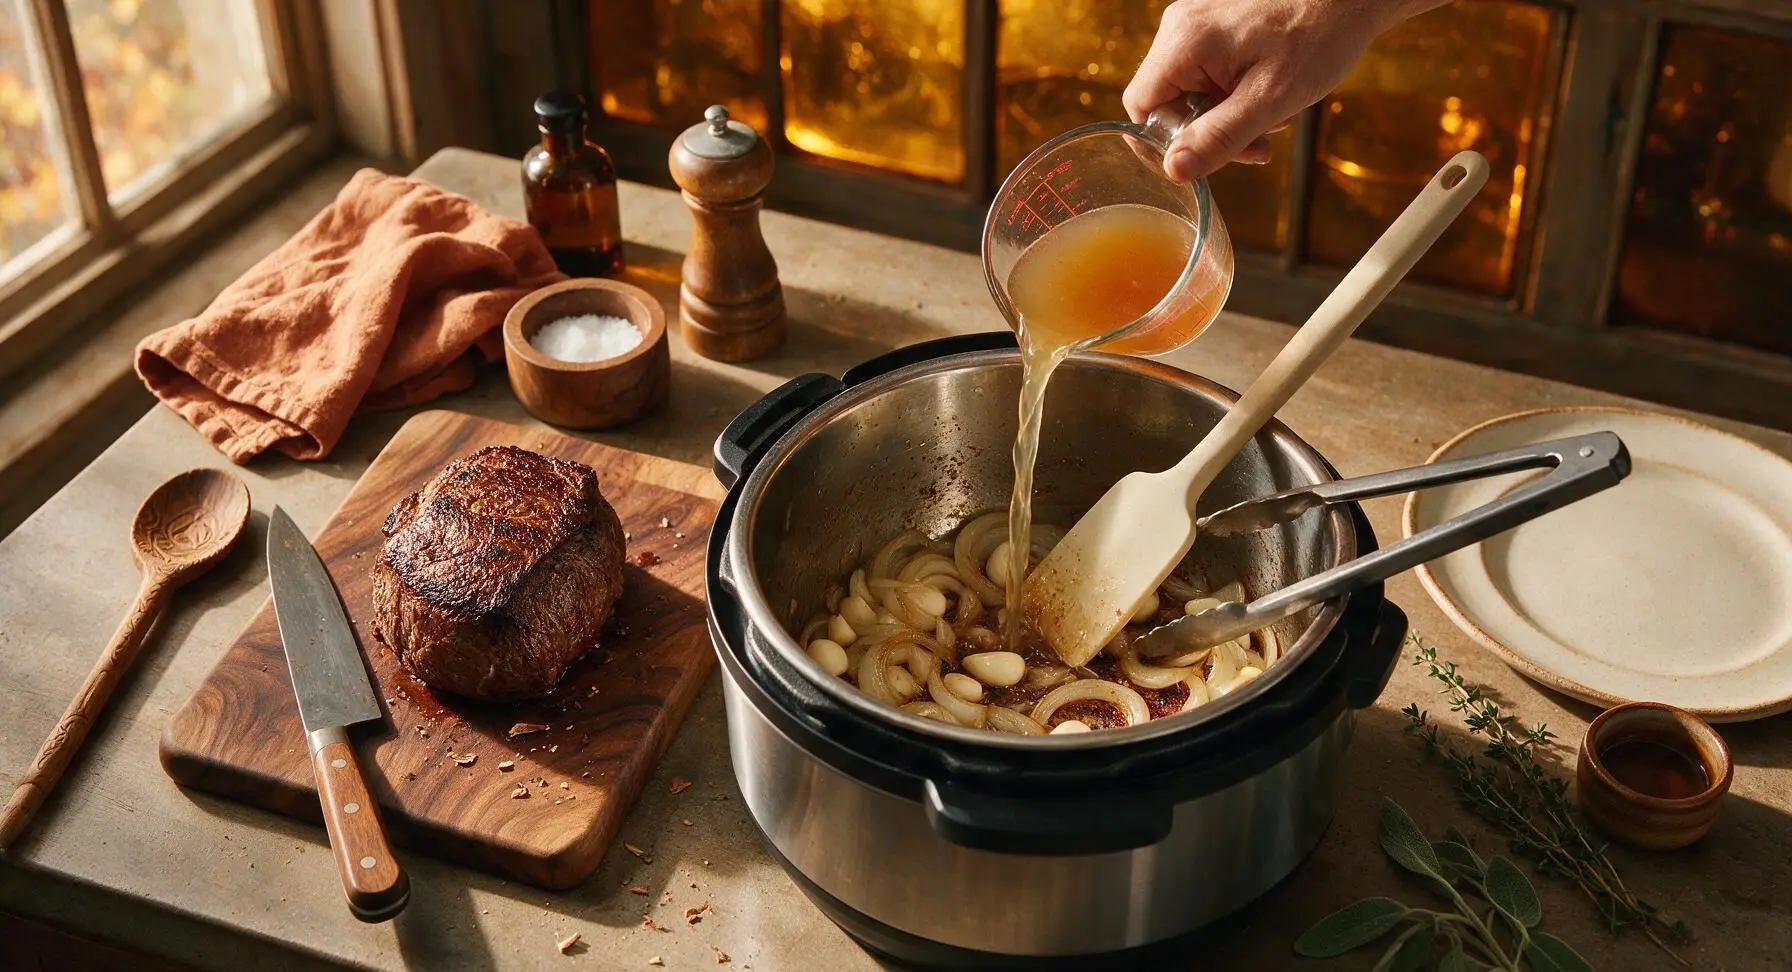
Step 3
step3:Add Aromatics and Broth
4

Pressure Cook Beef

Nestle the seared roast back into the Instant Pot, submerging it about halfway in the broth and onion mixture. Arrange the 8 whole pepperoncini peppers on top of the roast. Secure the Instant Pot lid, check that the silicone sealing ring is properly seated, and set the pressure release valve to the 'Sealing' position. Cook on High Pressure for 50 minutes. When the cook time completes, allow a full 15-minute natural pressure release (do not touch the valve during this time) before carefully switching the valve to 'Venting' to release any remaining trapped pressure.
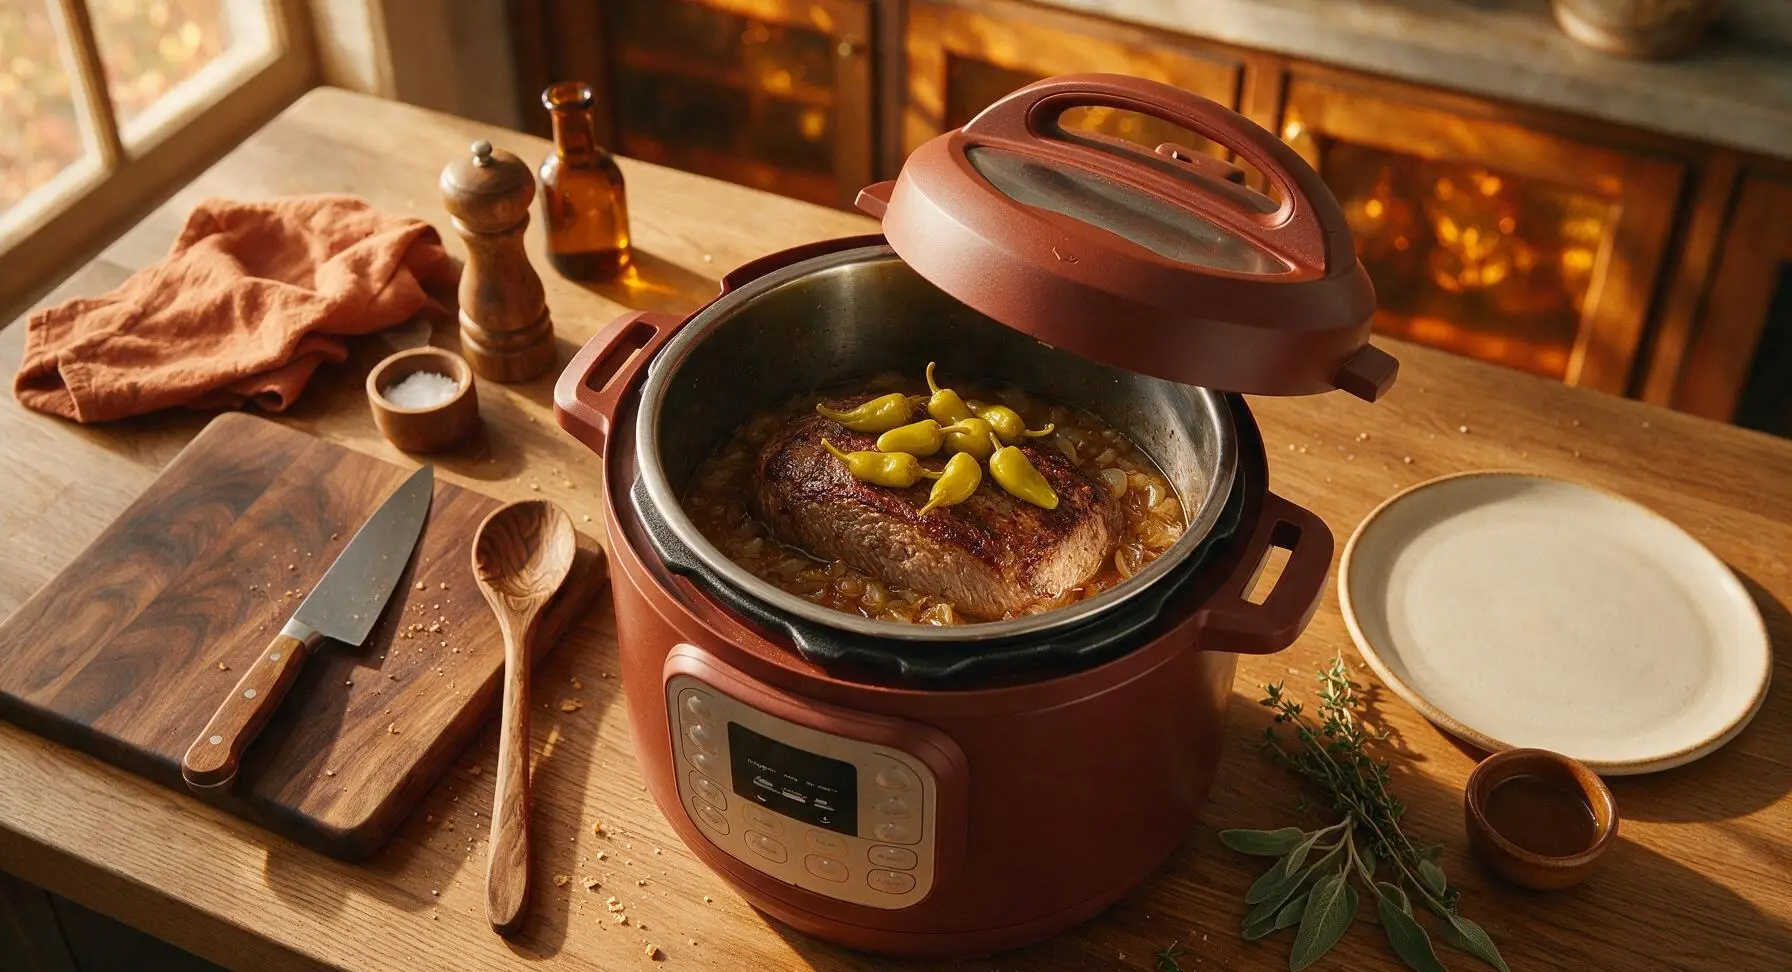
Step 4
step4:Pressure Cook Beef
5

Shred Cooked Beef

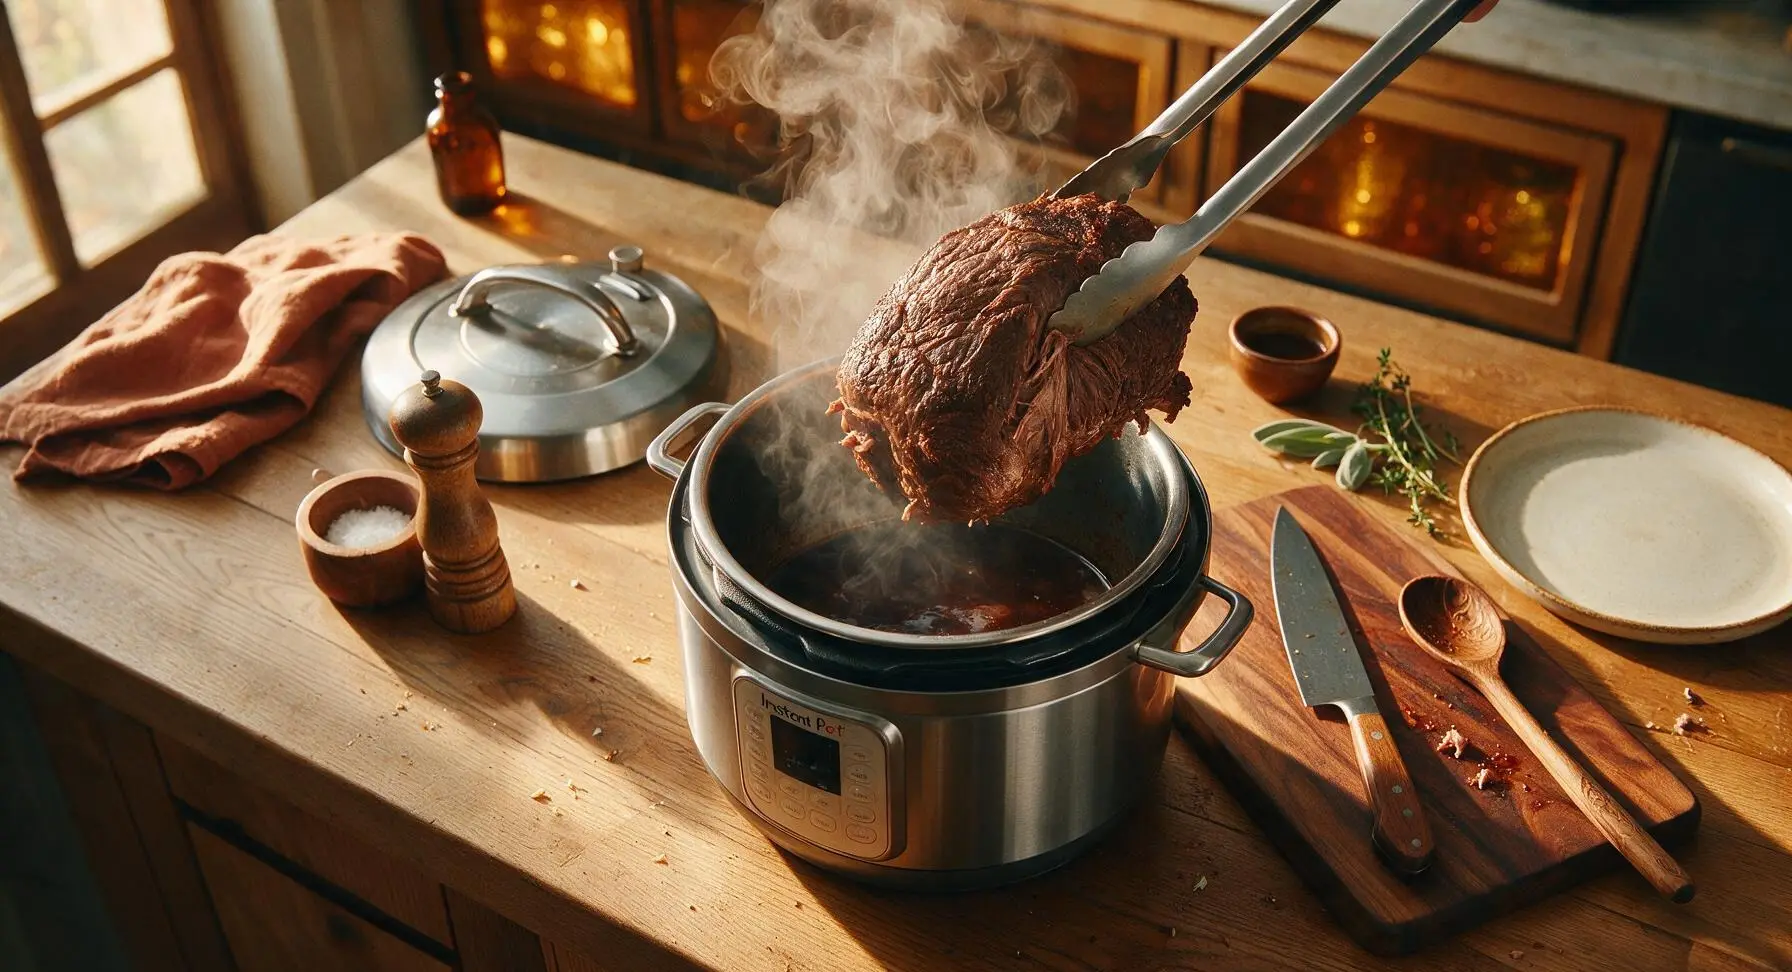
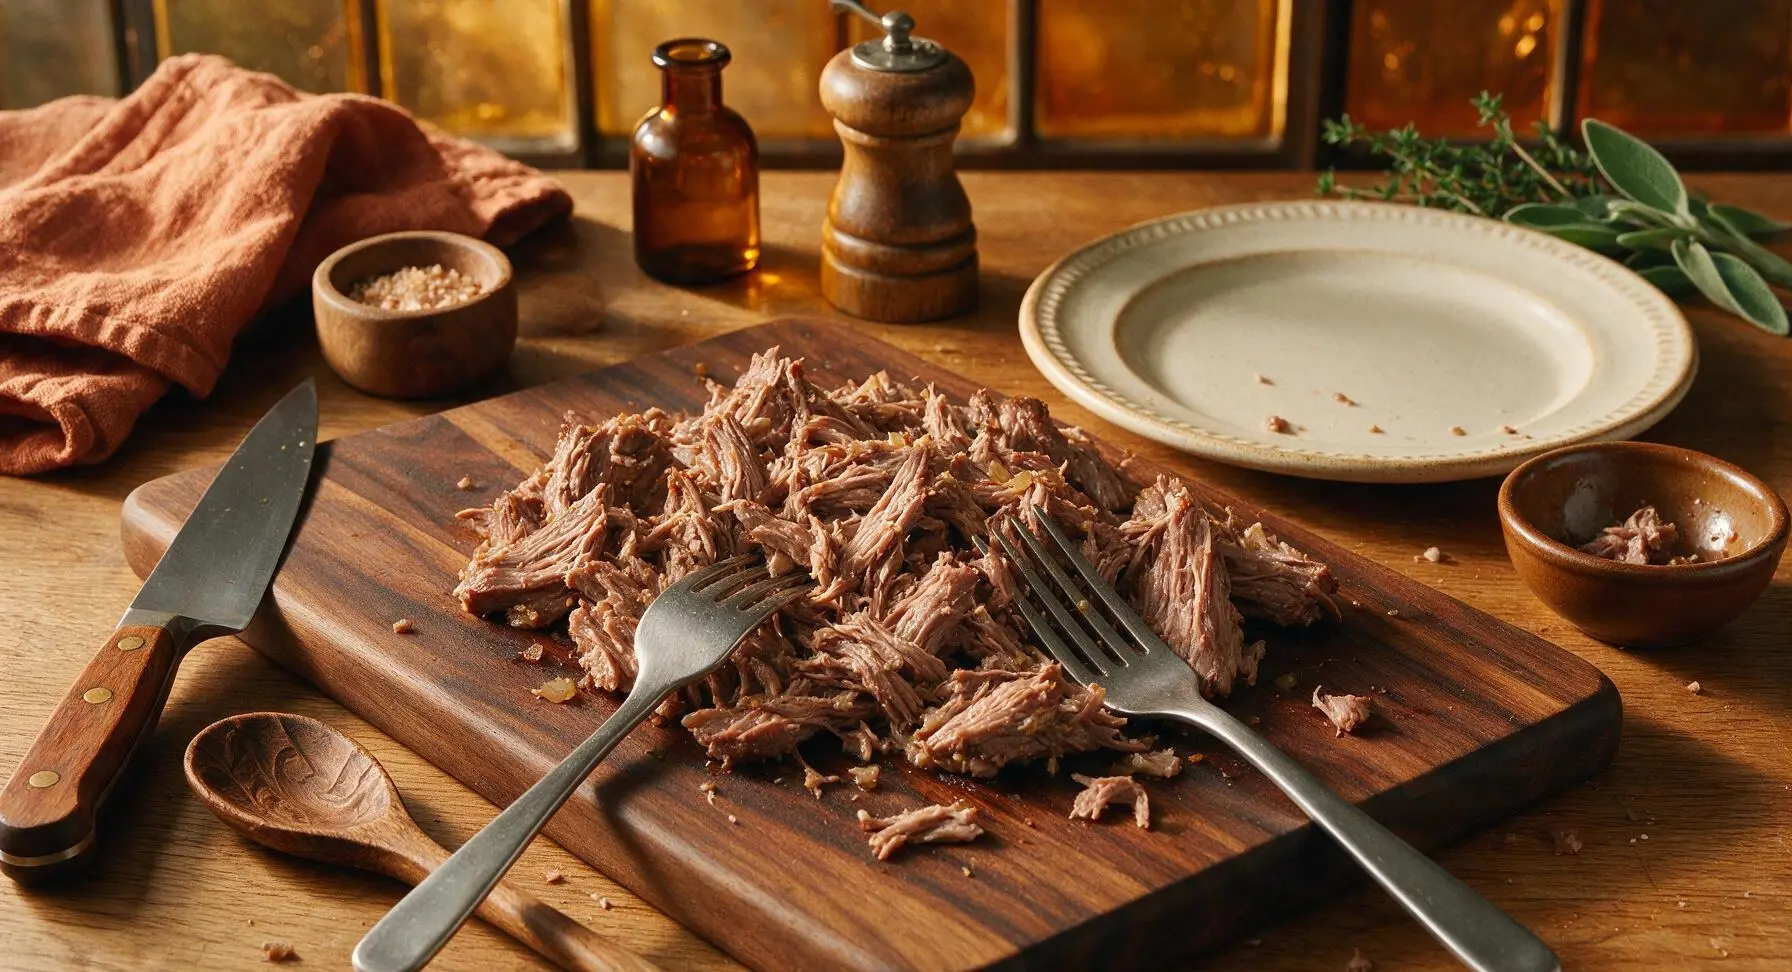
Once all pressure is released and the float valve drops, carefully open the Instant Pot lid, tilting it away from your face to avoid escaping steam. Use the stainless steel tongs to lift the fully cooked roast from the hot jus onto the birch cutting board; the meat will be fork-tender and pull apart easily with light pressure. Use two forks to shred the beef into rough 1-2 inch chunks, discarding any large, hard pieces of unrendered fat as you work.
Step 5
step5:Shred Cooked Beef
Step 5
step5:Shred Cooked Beef
6

Fold in Giardiniera

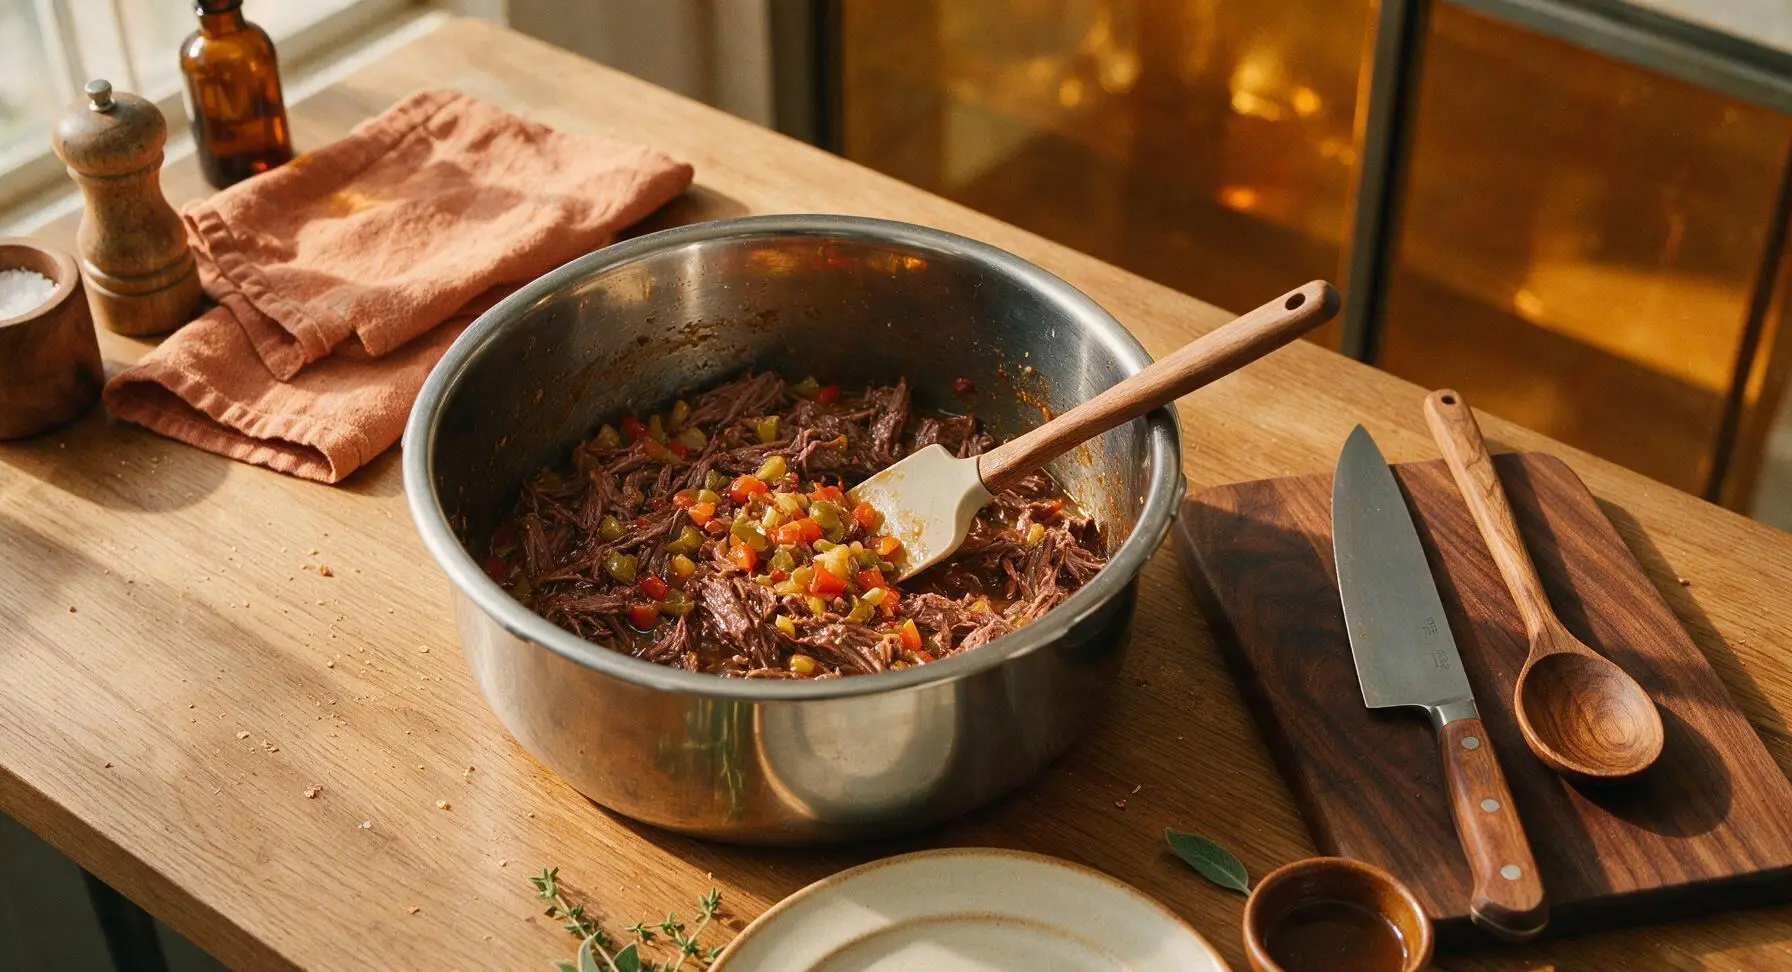
Return all of the shredded beef back to the Instant Pot inner pot, stirring gently with the silicone spatula to coat every shred in the savory, herb-infused jus. Fold in 1 cup of drained mild giardiniera from the small glass prep bowl, mixing lightly to distribute the pickled vegetable chunks evenly throughout the beef. Let the beef rest in the hot jus for 5 minutes to absorb the tangy, briny flavors before serving.
Step 6
step6:Fold in Giardiniera

Tips

1.Do not skip the 15-minute natural pressure release: this allows the beef fibers to relax and reabsorb moisture, resulting in juicy, tender shreds instead of the dry, stringy meat that occurs when pressure is released too quickly.
2.Reserve leftover cooking jus: store it in a sealed container in the fridge for up to 1 week, and use it for classic Chicago-style 'dipped' sandwiches, or to reheat leftover beef without drying it out.
3.For extra umami depth, tuck a 1-inch parmesan rind into the broth before pressure cooking: it melts into the jus to add rich, savory depth without making the beef taste cheesy, and can be removed before shredding the meat.


✨ You May Also Like

Main Course
🍜 United Kingdom

A showstopping classic of tender seared beef, savory mushroom duxelles, and crisp prosciutto wrapped in flaky golden puff pastry, baked to juicy perfection.

⏱️ 2 hours 1Main Course ★ 4.7
Main Course
🍜 India

Tender charred marinated chicken simmered in a rich, spiced creamy tomato sauce, this iconic Anglo-Indian curry pairs perfectly with basmati rice or warm naan.

⏱️ 50 minuteMain Course ★ 4.6
Main Course
🍜 Thailand

Classic tangy, sweet, and savory Thai stir-fried rice noodles with shrimp, tofu, and crunchy garnishes, balancing all five core Thai flavor profiles.

⏱️ 30 minuteMain Course ★ 4.5
Main Course
🍜 United Kingdom

Crispy golden beer-battered cod and fluffy double-fried chips, served with tangy tartar sauce and malt vinegar: the timeless, beloved British pub comfort classic.

⏱️ 45 minuteMain Course ★ 4.7
Main Course
🍜 Mexico

Smoky, chile-marinated pork tacos with caramelized pineapple, fresh cilantro, and lime: a beloved classic Mexican street food perfect for casual summer gatherings.

⏱️ 1 hour 45Main Course ★ 4.8
Main Course
🍜 United States

Crunchy Fritos corn chips layered with savory beef chili and melted cheddar, topped with cool, zesty fixings for a beloved, cozy Tex-Mex comfort food.

⏱️ 35 minuteMain Course ★ 4.8

italian beef instant pot:Frequently Asked Questions

1.What’s the best cut of beef to use for Instant Pot Italian Beef? ▾
Boneless beef chuck roast is ideal for that signature fall-apart texture, thanks to its even marbling that melts into the meat during pressure cooking. Skip extra-lean cuts like sirloin or eye of round, which turn tough and dry. If you need a last-minute swap, trimmed brisket flat works, but it won’t have quite the same rich, juicy bite.
2.Do I need to sear the roast before pressure cooking it? ▾
Searing is totally optional, but I highly recommend taking 5-7 minutes to brown all sides of the chuck roast on the Instant Pot’s sauté setting first. That deep, caramelized crust adds layers of rich, savory depth you can’t get from pressure cooking alone, and it makes the final au jus taste far more complex.
3.Why does this recipe call for low-sodium beef broth instead of regular? ▾
Both the pepperoncini brine and giardiniera pack a good amount of salty, tangy flavor on their own, so regular full-sodium broth can easily make the final beef and au jus too salty to enjoy. Low-sodium broth lets you control salt levels at the end—you can always add a pinch more if needed, but you can’t take excess salt out.
4.What’s the difference between giardiniera and pepperoncini in this recipe? ▾
Pepperoncini are mild, tangy, slightly sweet pickled whole peppers that add bright, zingy flavor, and their brine is key for that classic tang. Giardiniera is a mixed pickled vegetable blend (usually peppers, celery, carrots, cauliflower) that adds crunch and layered briny bite—you need both for authentic Chicago-style flavor, not just one.
5.How long do I pressure cook the beef to get that perfect fall-apart texture? ▾
For a 3 to 4 pound boneless chuck roast, set your Instant Pot to high pressure for 60 minutes, then let pressure release naturally for 20 minutes before quick-releasing any remaining steam. This cook time breaks down the chuck’s tough connective tissue without turning the meat mushy or overly stringy.
6.Can I use hot giardiniera instead of mild for this recipe? ▾
Absolutely! Mild giardiniera is the family-friendly pick, but swapping in hot giardiniera adds a pleasant, slow-building heat that pairs amazingly well with the rich beef and tangy peppers. Just note that the heat will infuse into the au jus too, so skip this swap if you’re serving guests who don’t tolerate spicy food well.
7.Do I really need to reserve 1/4 cup of pepperoncini brine, or can I skip it? ▾
Don’t skip that brine! That tangy, slightly salty pickled liquid is the secret to that iconic bright, zesty Italian beef flavor that cuts through the richness of the chuck roast. Without it, your beef will taste flat, like generic pot roast, instead of the classic Chicago-style sandwich filling you’re aiming for.
8.How should I prep the yellow onion for this recipe? ▾
Slice the yellow onion into thick, half-inch half-moons instead of dicing it small. Thin slices will turn completely mushy during pressure cooking, while thicker slices soften into sweet, tender bites that hold up in the au jus and add great texture to sandwiches. You don’t even need to sauté the onion first—toss it right in the pot.
9.Can I make this recipe ahead of time for a crowd? ▾
This recipe is ideal for making ahead! Cook the beef fully, let it cool slightly, then shred it and store it submerged in its au jus in an airtight container in the fridge for up to 4 days. The flavors actually get better as it rests, and you can reheat it gently on low sauté right before serving.
10.How do I shred the beef without it turning into mushy bits? ▾
Once pressure is fully released, pull the roast out with tongs and transfer it to a cutting board. Let it rest 10 minutes so juices redistribute, then use two forks to pull it apart against the grain into thick, bite-sized shreds. Don’t shred it too fine—thicker shreds hold up better when dipped in au jus on sandwiches.
11.My beef came out tough after pressure cooking—what went wrong? ▾
Tough beef almost always stems from one of two issues: either you used too lean a cut with no marbling, or you didn’t cook it long enough to break down tough connective tissue. If it’s chewy, pop it back in the Instant Pot for another 10-15 minutes on high pressure, and it will soften as collagen melts into juicy flavor.
12.Do I need to add extra Italian seasoning or spices to this recipe? ▾
You don’t need any extra dried spices! The tangy pepperoncini brine, herb-infused giardiniera, sweet onion, and beef broth create that classic herby Italian beef flavor all on their own. If you want extra depth, toss in a couple crushed garlic cloves or pinch of dried oregano, but it’s totally not required.
13.What’s the best way to serve this Instant Pot Italian beef? ▾
Pile the shredded beef onto crusty Italian sub rolls, top with cooked onion, extra giardiniera, and pepperoncini, and serve extra warm au jus on the side for dipping, just like classic Chicago-style stands. For a lower-carb option, you can also serve it over creamy polenta or roasted veggies instead of sandwiches.
14.Can I freeze leftover cooked Italian beef? ▾
Definitely! Let the shredded beef cool completely, then pack it into freezer-safe bags or containers, making sure to cover it completely with au jus to prevent freezer burn. It will keep well for up to 3 months in the freezer. Thaw it in the fridge overnight, then reheat gently on the stovetop before serving.
15.Should I drain the giardiniera before adding it to the Instant Pot? ▾
Yes, drain the giardiniera well before adding it to the pot. Unlike the pepperoncini, whose brine we intentionally reserve for bright tang, giardiniera brine is often extra-sour and heavily seasoned with oregano and garlic that can make the au jus taste bitter or overpowering if poured in. Draining it gives you great vegetable texture without throwing off flavor balance.

Comments (7)

2 days ago

OMG this Instant Pot Italian beef was a total game changer for our Sunday family dinner! I was worried it wouldn’t taste as good as the slow cooker version I’ve made for years, but 1 hour 25 mins total? Are you kidding? It was fall-apart tender, super juicy, and my picky 8 year old asked for seconds! I served it on crusty hoagie rolls with melted provolone and a side of giardiniera, 10/10 will make every other week for meal prep too.

yesterday

Wait did you use the exact chuck roast the recipe calls for? I grabbed a round roast by mistake last time I tried making Italian beef and it came out so tough, I don’t want to waste good meat again!

2 hours ago

We’re so happy your family enjoyed it, Mia! To answer Jake’s question too, we always recommend a well-marbled 3-4 lb boneless chuck roast for this recipe. Leaner cuts like round roast don’t break down the same way under pressure, which leads to that tough, chewy texture you noticed last time. Chuck is totally worth it!

3 days ago

SO good! I made a big batch on Sunday for meal prep and ate it all week for lunches – tossed some on salads, stuffed it in wraps, even had a little over eggs for breakfast one day lmao. The seasoning blend is chef’s kiss, no weird store-bought packet taste at all. Super easy too, I didn’t even have to thaw the roast all the way before tossing it in, still turned out perfect.

2 days ago

Love how you repurposed the leftovers all week, Luna! You’re totally right that this beef is super versatile – it works for everything from sandwiches to breakfast hash. Quick tip if you cook from partially frozen again: just add 10 minutes to the high pressure cook time and it’ll turn out perfectly every time.

1 week ago

Brought this to my neighborhood block party potluck last weekend and people were begging me for the recipe before I even finished setting up my table! I was nervous making something new for a crowd, but since it was marked easy difficulty I figured I’d give it a shot. Zero regrets, the whole pan of sandwiches was gone in 20 minutes. Will absolutely be making this for tailgates this fall too.

2 hours ago

Wait, has anyone tried making this with lower sodium broth? My husband has to watch his salt intake so I’m trying to adjust without killing the flavor. It looks so good I don’t want to skip making it for our Friday family dinner!

30 minutes ago

I swapped in low-sodium beef broth when I made this last week! I added an extra teaspoon of Italian seasoning, a clove more garlic, and a tiny pinch of red pepper flakes to bump up the flavor without extra salt, and my whole family loved it. You honestly couldn’t tell the difference!

5 minutes ago

Great question! Low-sodium broth works beautifully here, and Hannah’s tweak is genius. You can also add a quick splash of balsamic vinegar right before shredding to add extra depth without piling on salt, if you want to amp it up even more!

yesterday

Total beginner here, I’ve had my Instant Pot for 3 months and have been scared to make anything more complicated than rice. This recipe was so easy to follow! The steps were super clear, no fancy ingredients, and it turned out looking exactly like the photos. My roommate thought I ordered takeout from our local Italian deli lmao.

2 hours ago

That makes our day, Jesse! This recipe is perfect for new Instant Pot owners because it’s so forgiving, even if you fumble a step or two. So stoked your roommate loved it – sounds like you’ve got a great go-to recipe for busy nights now!

2 weeks ago

Added a handful of pickled jalapeños to the pot while it cooked and oh my GOD it elevated this so much. If you love a little heat, do not sleep on that addition. I also shredded the beef right in the pot with the juices so every bite was soaked with flavor, no dry bites at all. 10/10, already added this to my regular rotation.

5 minutes ago

My kids loved it!!! I was sick of making the same 5 dinners on rotation and this was such a hit. Even my teen who turns his nose up at everything ate two full sandwiches and asked if we could have it again next weekend. I paired it with roasted broccoli and parmesan fries, and the whole family cleaned their plates. No leftovers, which is basically a miracle in my house.

just now

That’s the exact same reaction my family had! I made it two weeks ago and didn’t get a single leftover bite either, which never happens at my house. I did garlic bread on the side last time, but I’m absolutely stealing your parmesan fry and roasted broccoli combo for my next batch.



