
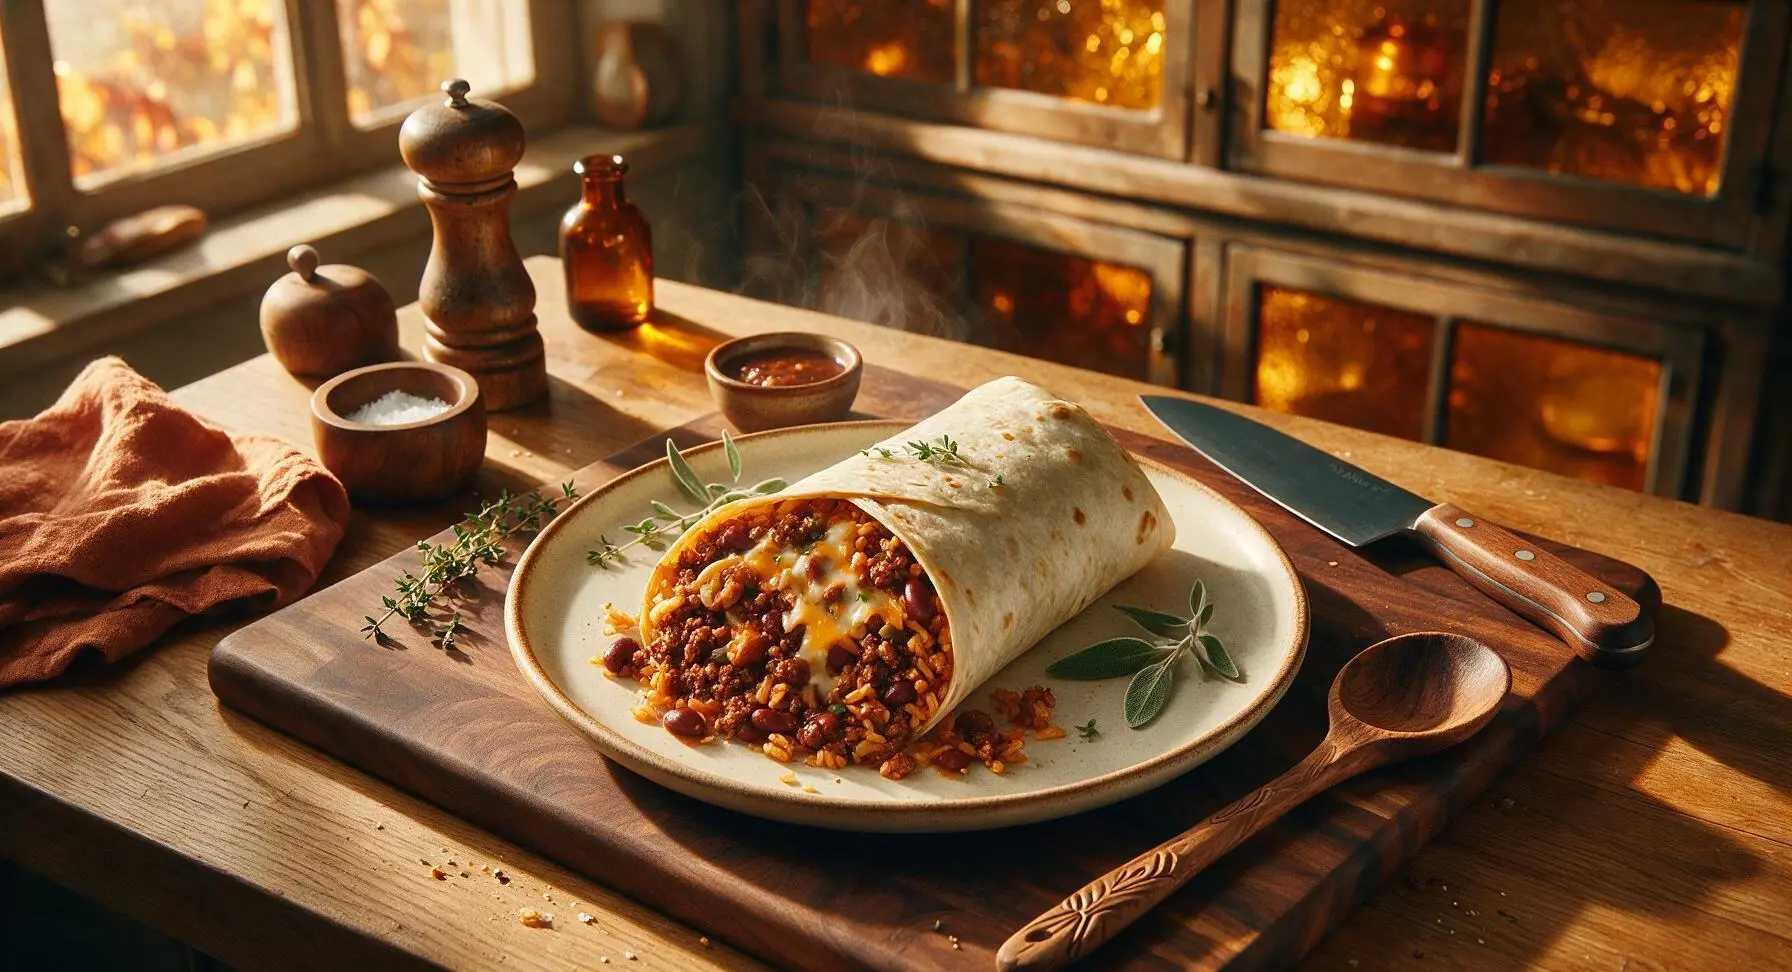
joe burrito

title 1
joe burrito
⏱️ cook time 20 minutes
🍽️ servings 4
⚡ Difficulty easy

intro

The classic no-fuss Joe Burrito: a warm, overstuffed flour tortilla packed with seasoned ground beef, rice, beans, and melty cheese, built for quick, satisfying weeknight meals.

Ingredients
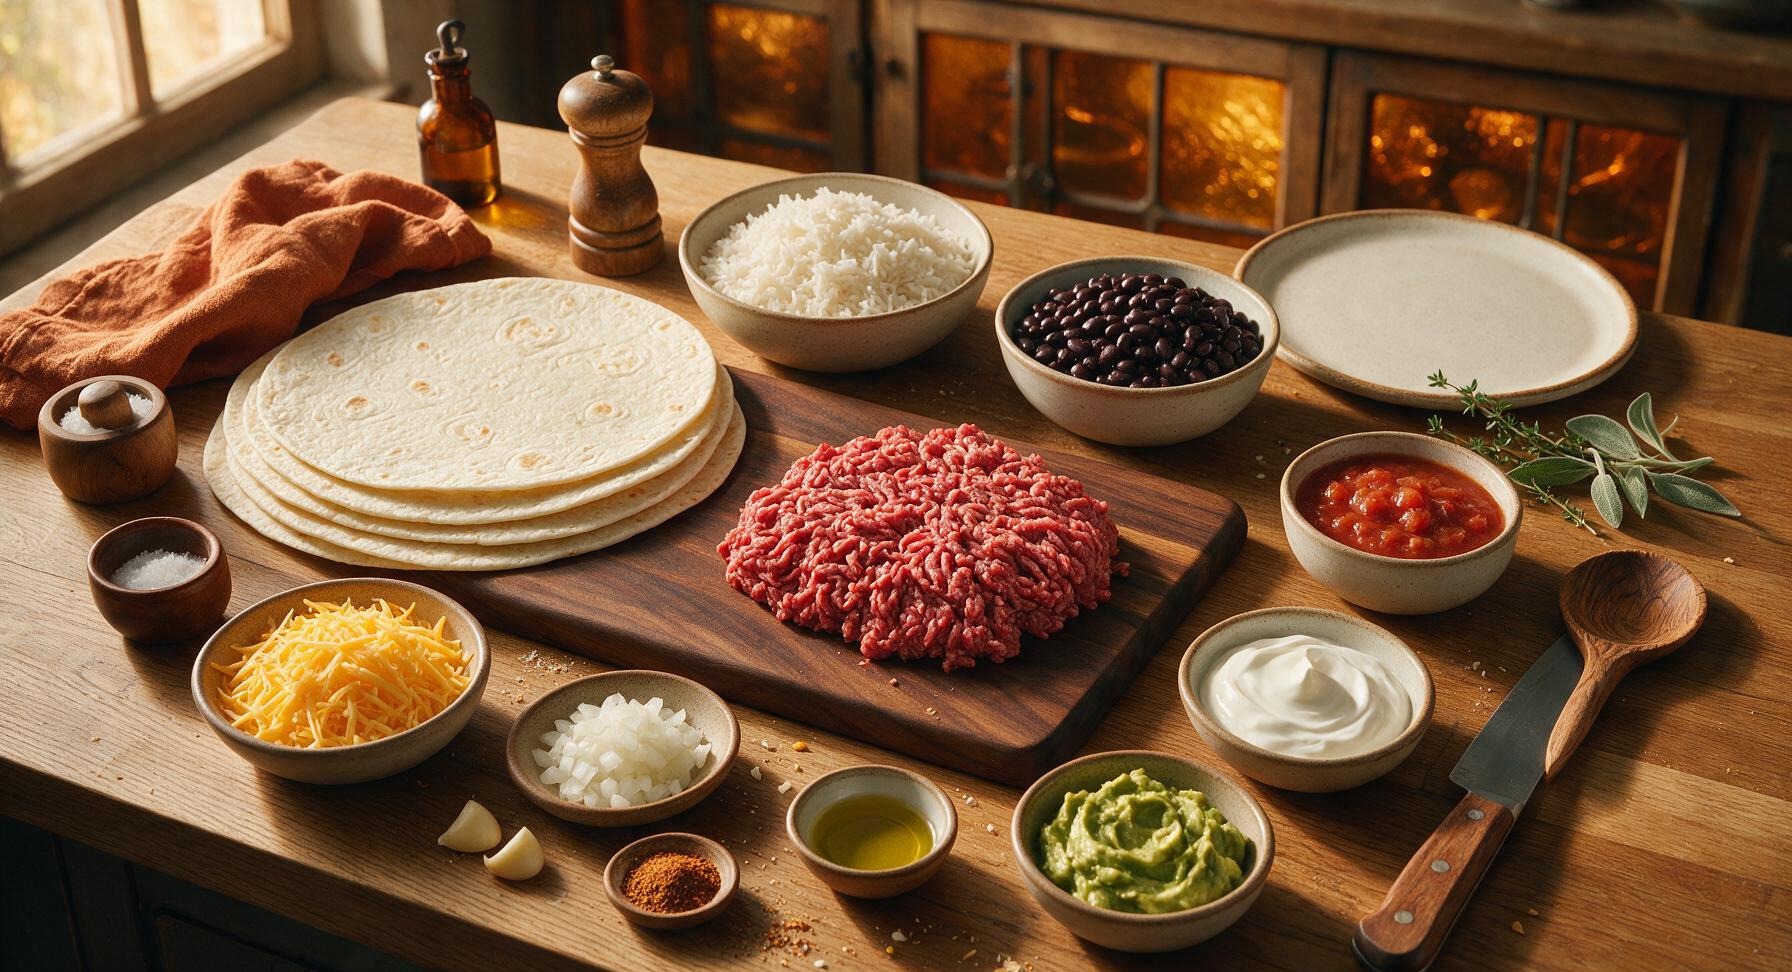
12-inch extra-large flour tortillas 4 each
Lean ground beef (90/10) 450g
Cooked long-grain white rice 2 cups
Canned black beans, drained and rinsed 425g (1 can)
Shredded sharp cheddar cheese 1 cup
Small yellow onion, finely diced 120g (1 small)
Garlic cloves, minced 2 cloves
Taco seasoning blend 2 tbsp
Extra-virgin olive oil 1 tsp
Water 1/3 cup
Mild tomato salsa (for serving) 1/2 cup
Full-fat sour cream (for serving) 1/2 cup
Mashed ripe avocado (for serving) 1/2 cup

Steps

1

Sauté Onion and Garlic

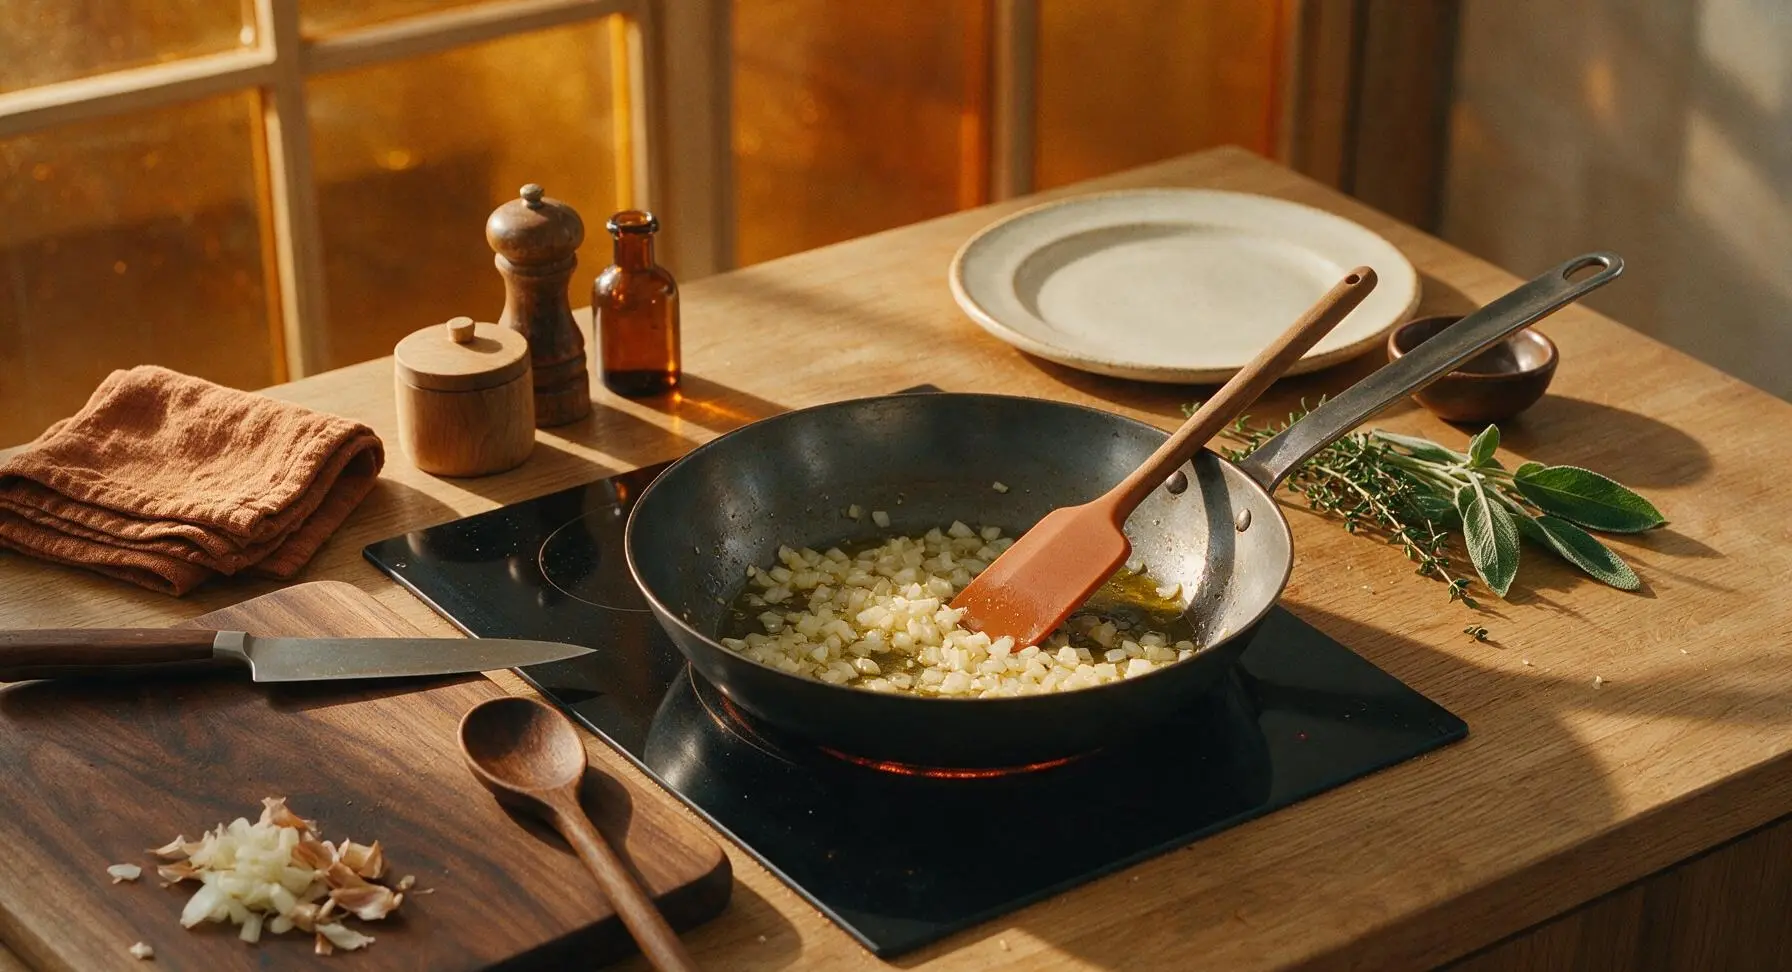
Place the 10-inch carbon steel skillet on the induction burner, heat 1 teaspoon olive oil over medium heat (175°C/350°F). Add the finely diced yellow onion, cook for 3 minutes, stirring occasionally with the silicone spatula, until soft and translucent. Add minced garlic and cook for 30 seconds more, until fragrant—do not let garlic turn brown, as it will turn bitter.
Step 1
step1:Sauté Onion and Garlic
2

Brown Ground Beef

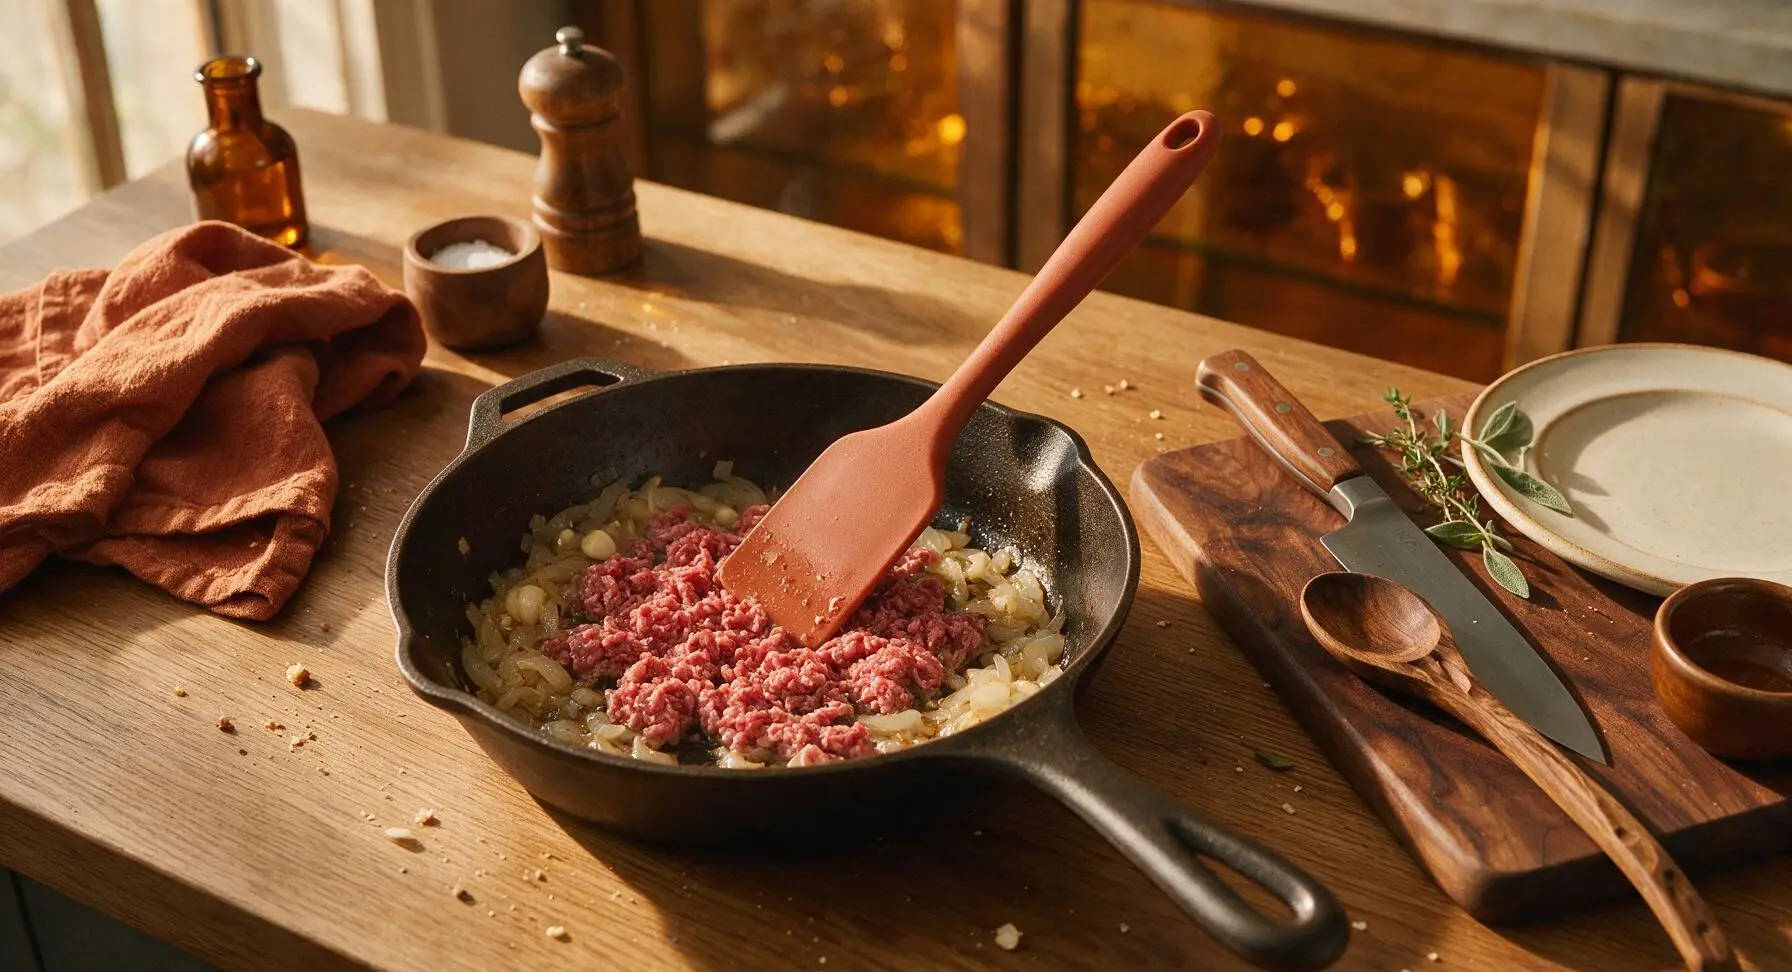
Add the 450g ground beef to the skillet with the sautéed aromatics. Break the beef apart into small crumbles with the silicone spatula as it cooks, for 5-6 minutes, until no pink remains and the beef is evenly browned. Drain any excess rendered fat from the pan if needed to avoid a greasy filling.
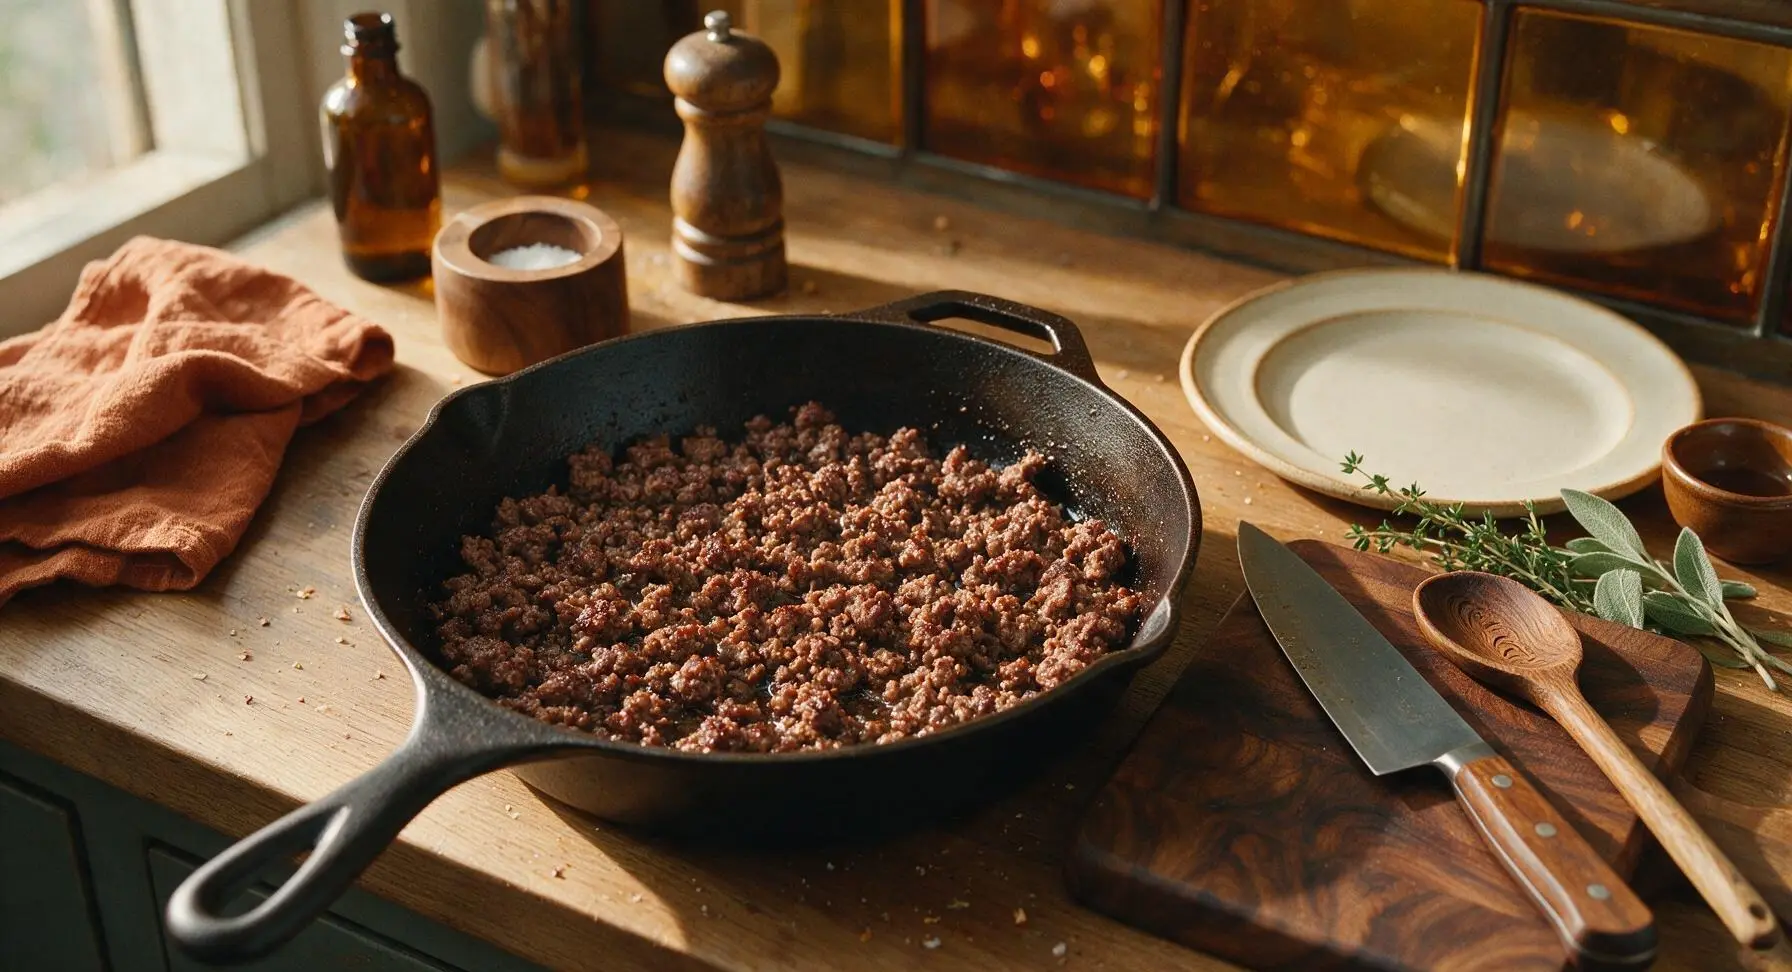
Step 2
step2:Brown Ground Beef
Step 2
step2:Brown Ground Beef
3

Season and Simmer Filling

Sprinkle the 2 tablespoons of taco seasoning evenly over the browned beef, then pour in 1/3 cup of water. Stir to fully coat the beef in seasoning, then bring to a gentle simmer. Cook for 3-4 minutes, stirring occasionally with the silicone spatula, until the liquid reduces to a thick, glossy coating on the beef crumbles with no watery pooling left in the pan.
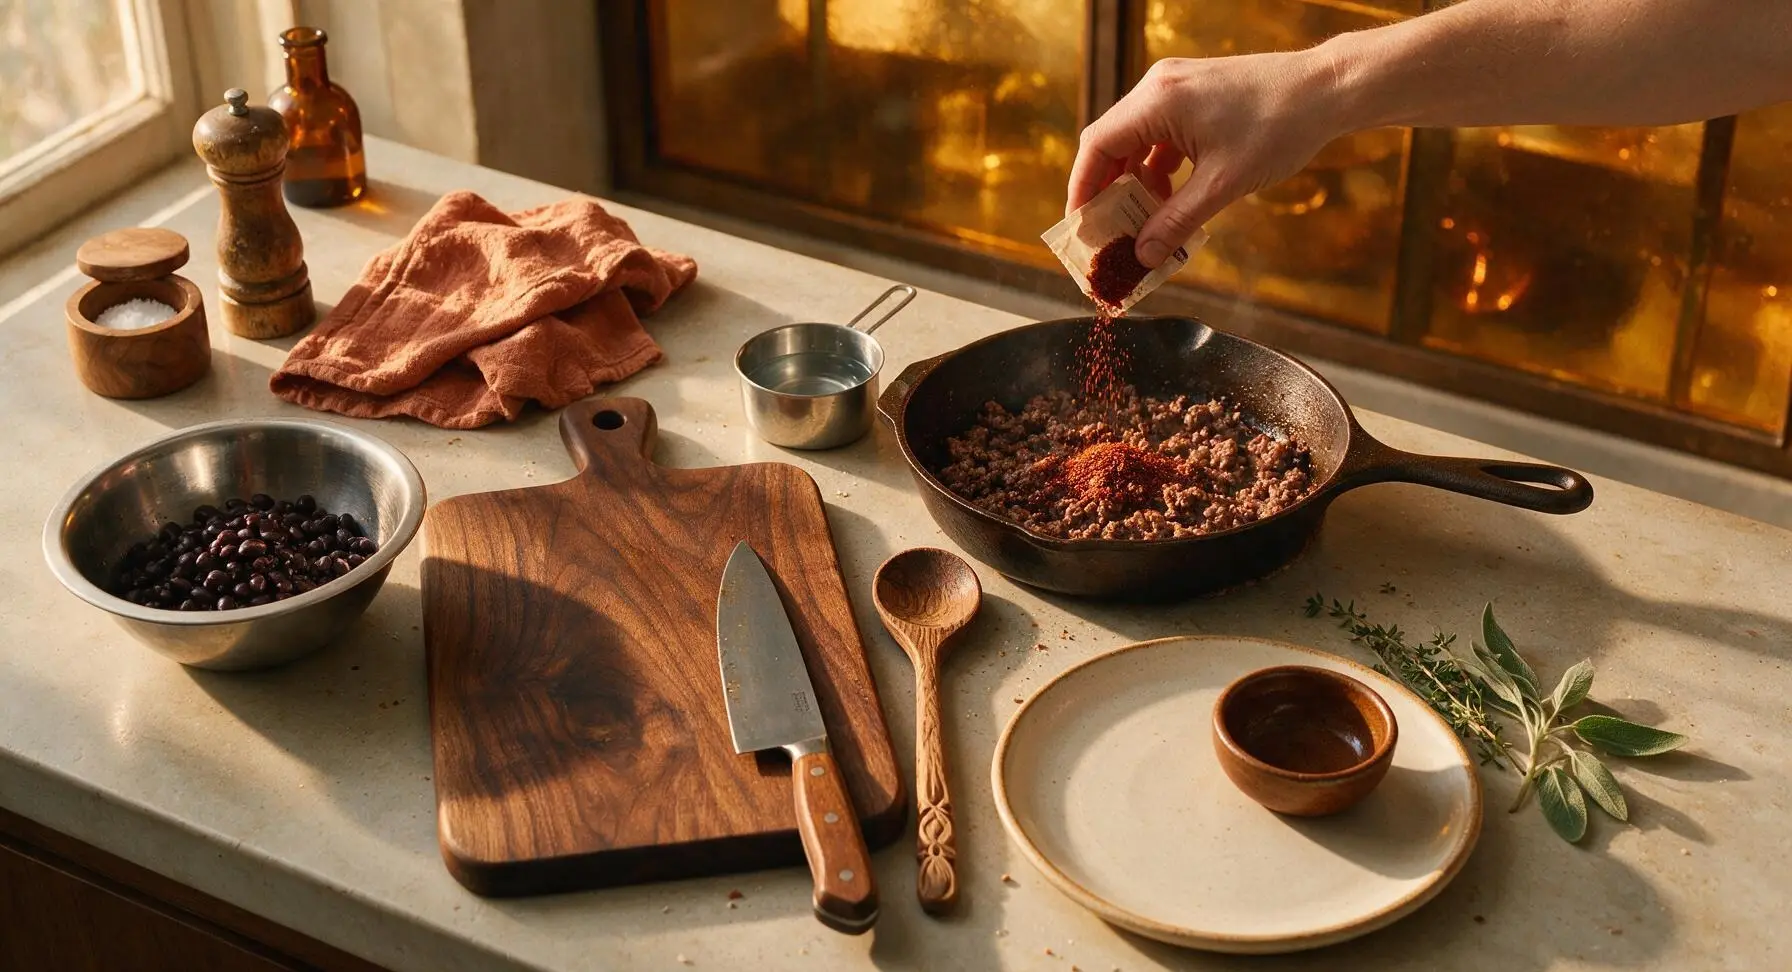
Step 3
step3:Season and Simmer Filling
4

Mix Rice and Beans

Add the drained, rinsed black beans and 2 cups of cooked white rice to the skillet with the seasoned beef. Stir gently with the silicone spatula until all ingredients are evenly combined, then cook for 2 minutes just to warm the rice and beans through. Turn off the induction burner, then stir in ½ cup of the shredded cheddar cheese so it melts slightly into the warm filling.
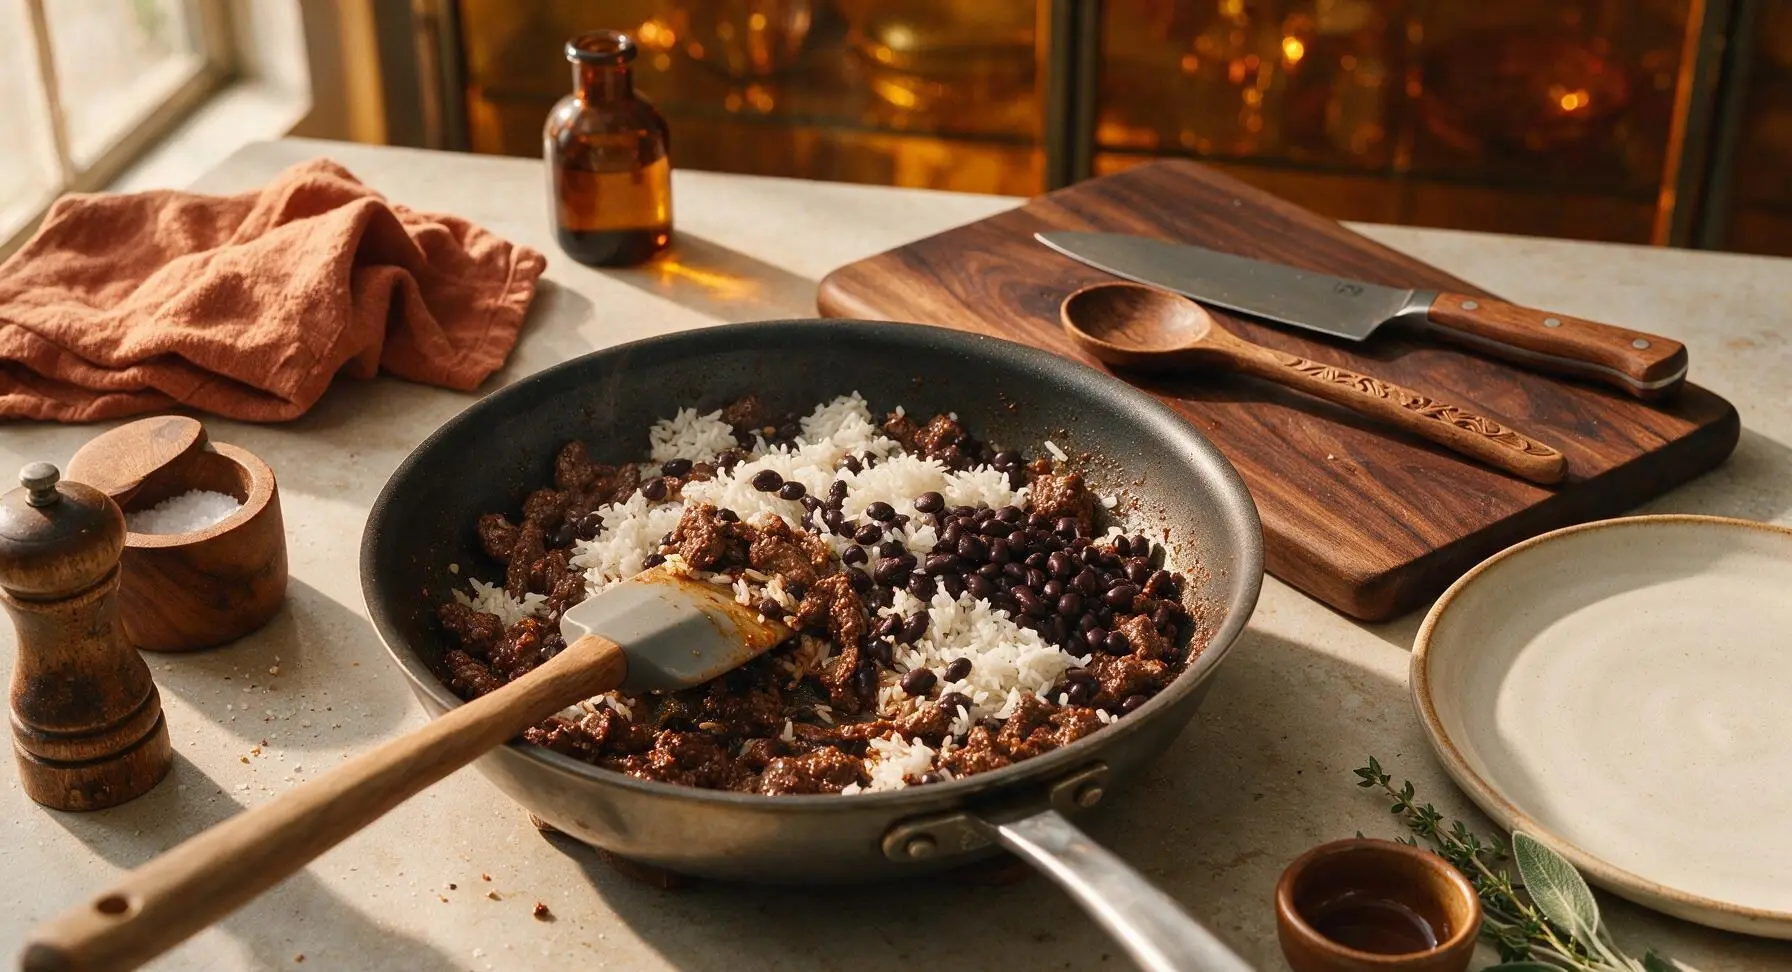
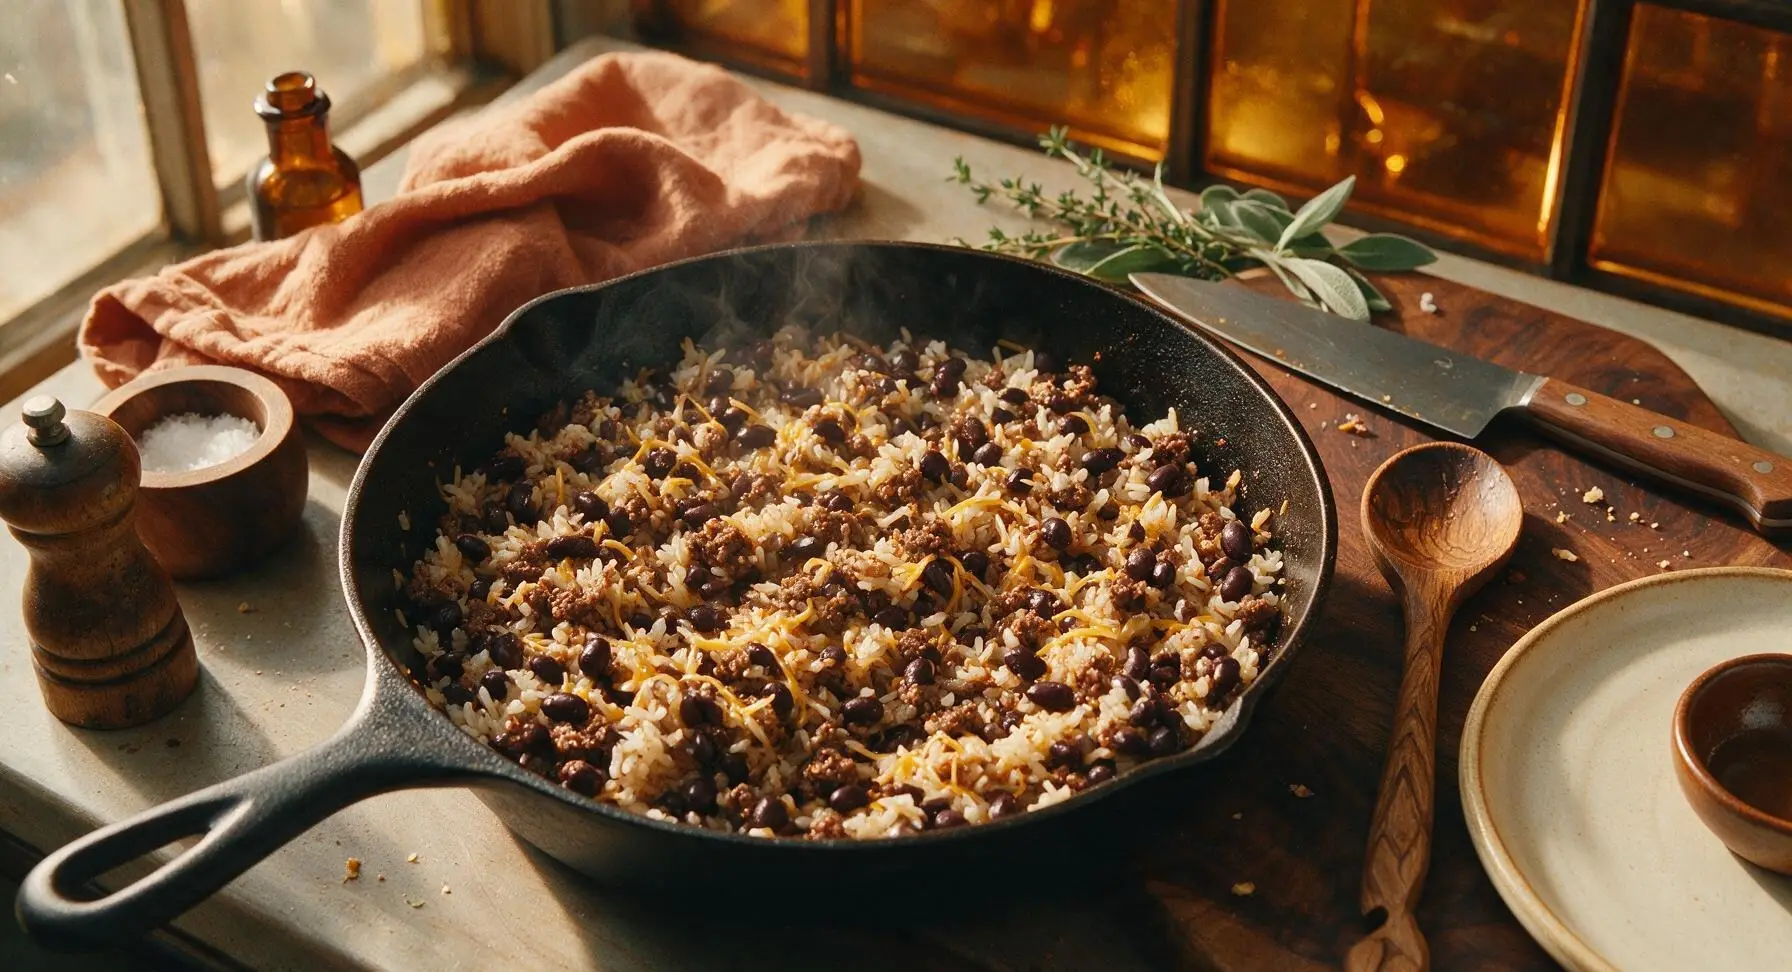
Step 4
step4:Mix Rice and Beans
Step 4
step4:Mix Rice and Beans
5

Warm Flour Tortillas

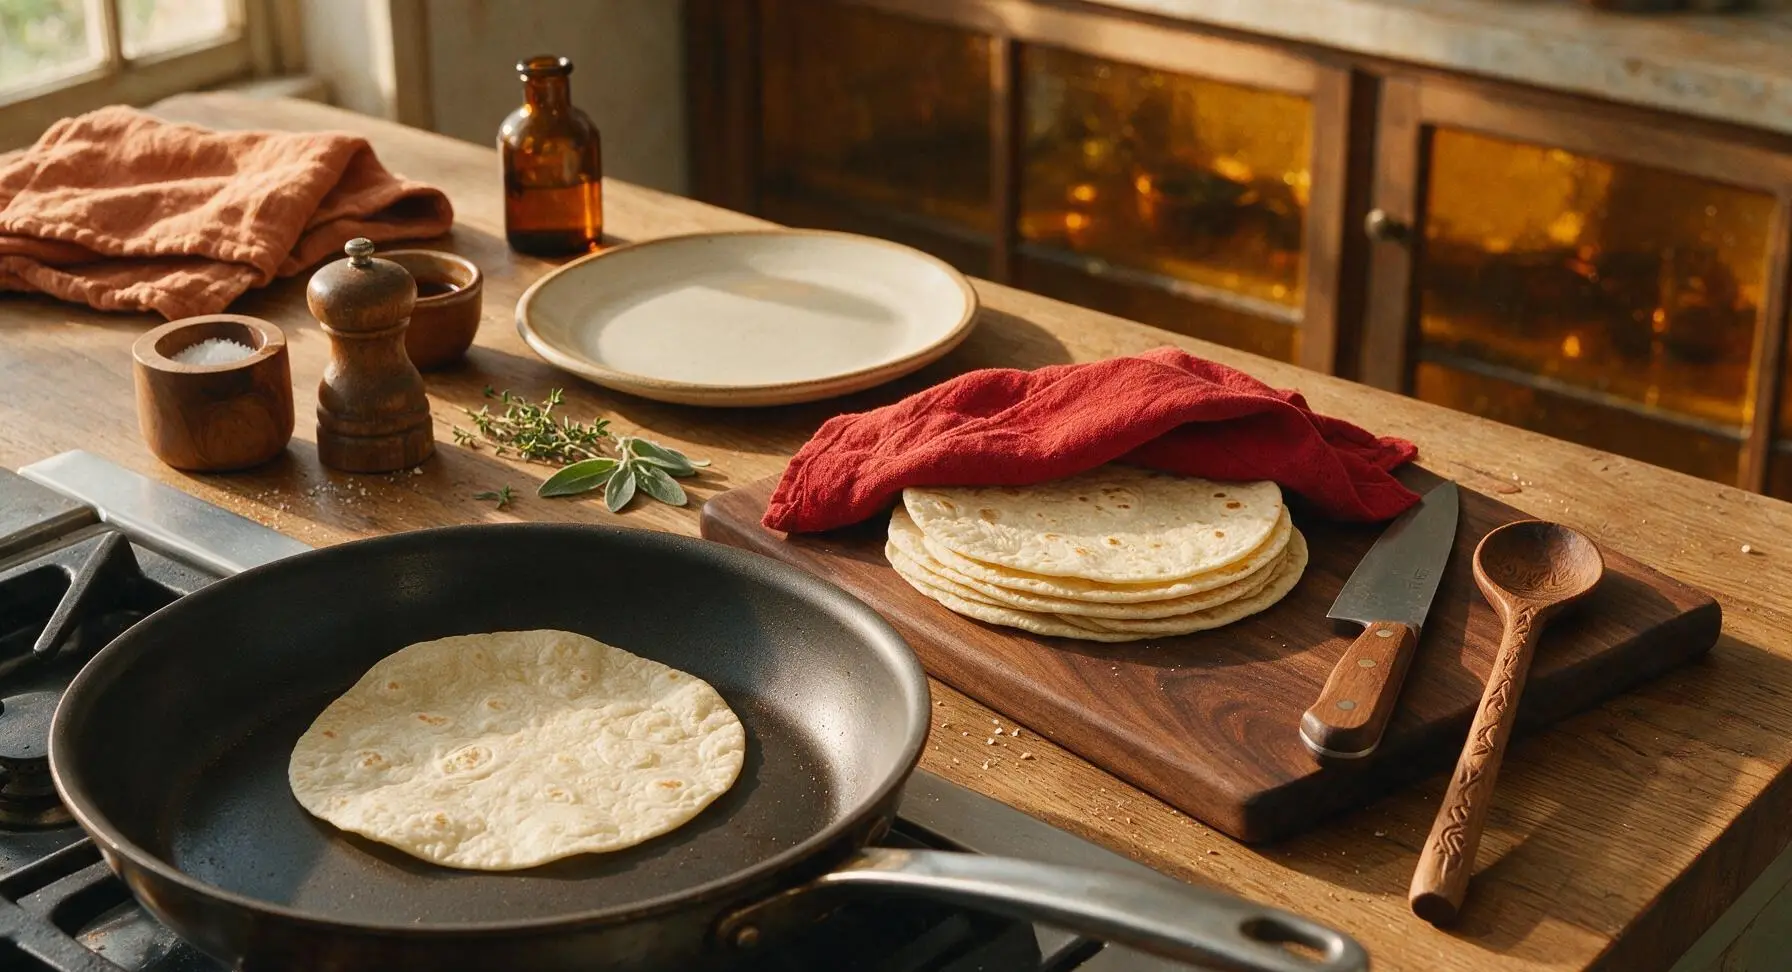
Remove one tortilla at a time from the wicker basket, warming each for 10 seconds per side on the cool side of the dry skillet until soft and pliable. Stack warmed tortillas on the center of the cutting board, draping the corner of the red cotton kitchen towel over the stack to keep them soft and prevent drying as you work. Properly warmed tortillas will not crack when folded.
Step 5
step5:Warm Flour Tortillas
6

Layer Burrito Fillings

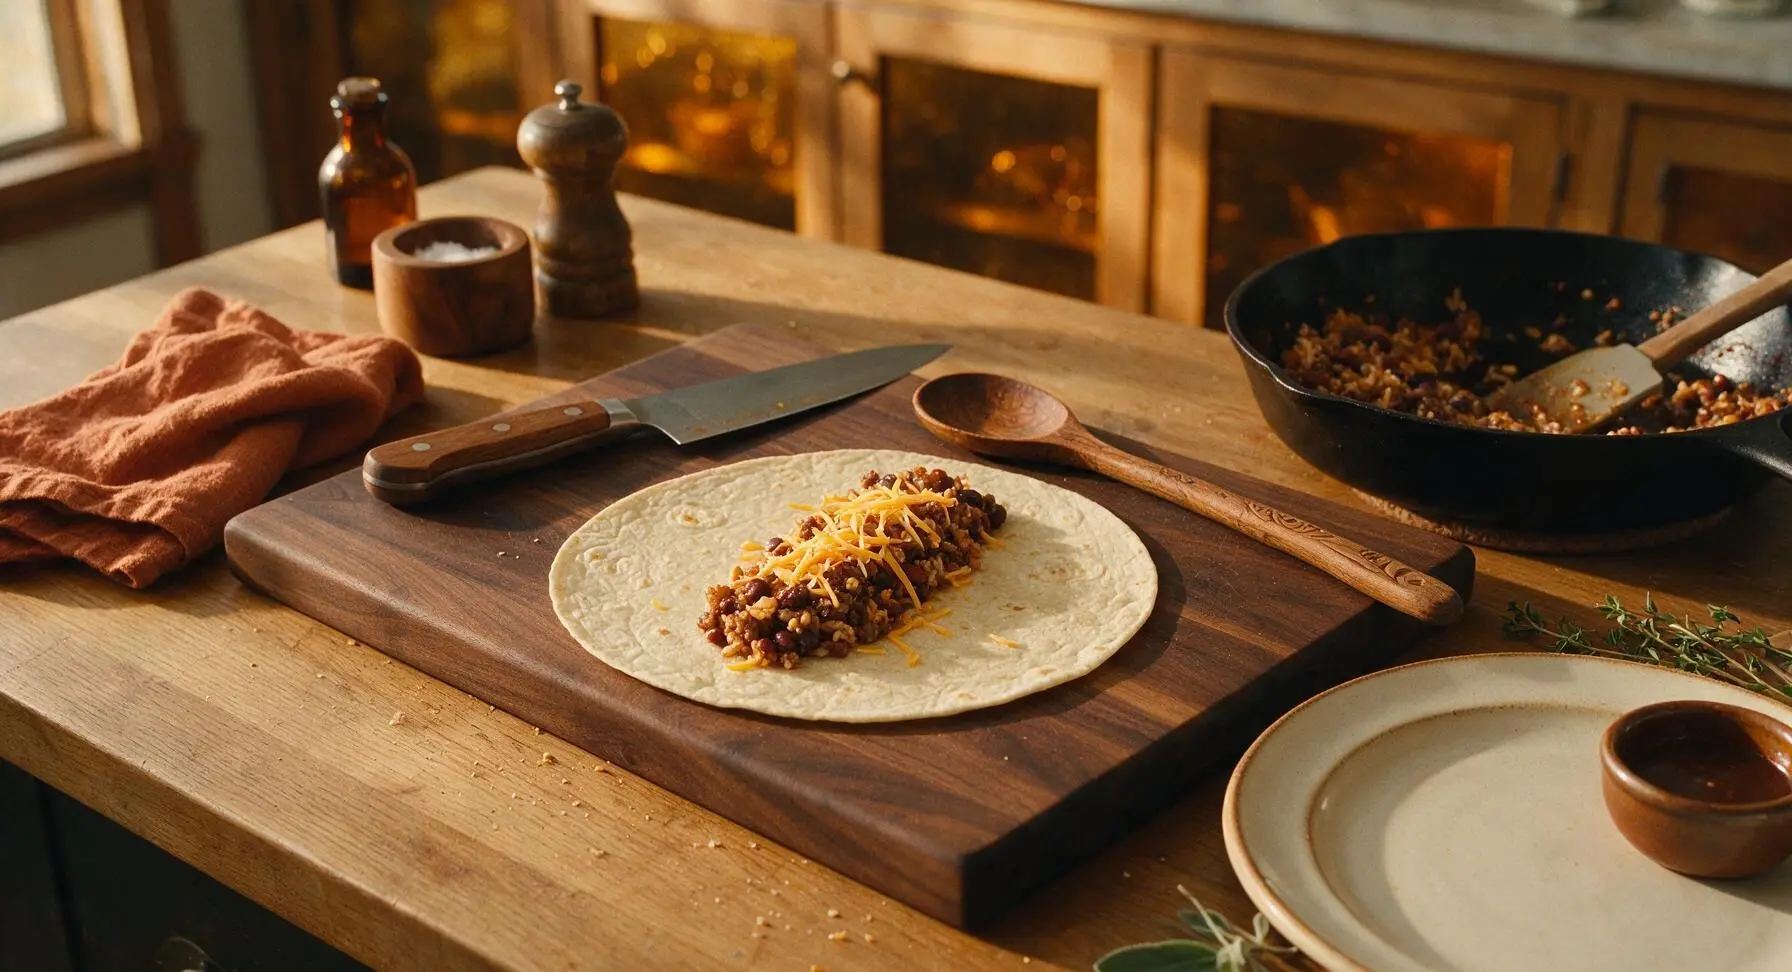
Lay one warm tortilla flat on the cutting board. Spoon ¼ of the beef, rice, and bean filling in a straight 4-inch line down the center of the tortilla, leaving a 2-inch clear border at the top and bottom edges to make folding easy. Sprinkle ¼ of the remaining shredded cheddar cheese directly over the warm filling so it melts from the residual heat.
Step 6
step6:Layer Burrito Fillings
7

Fold Tight Burritos

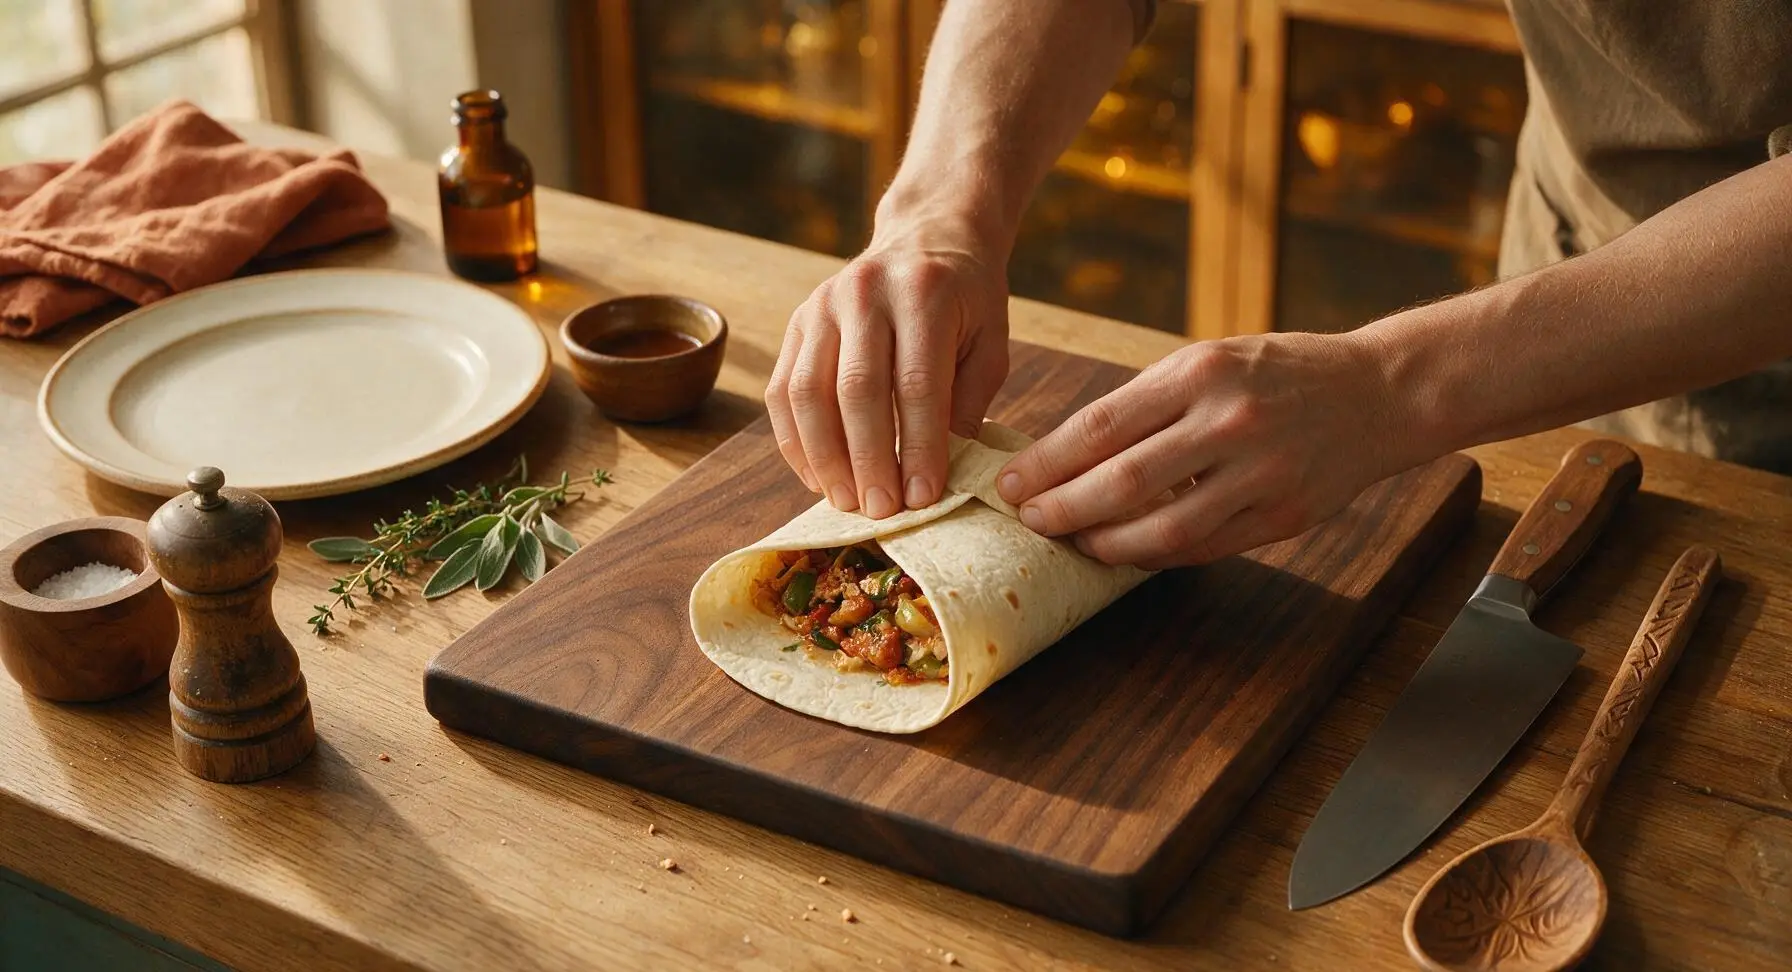
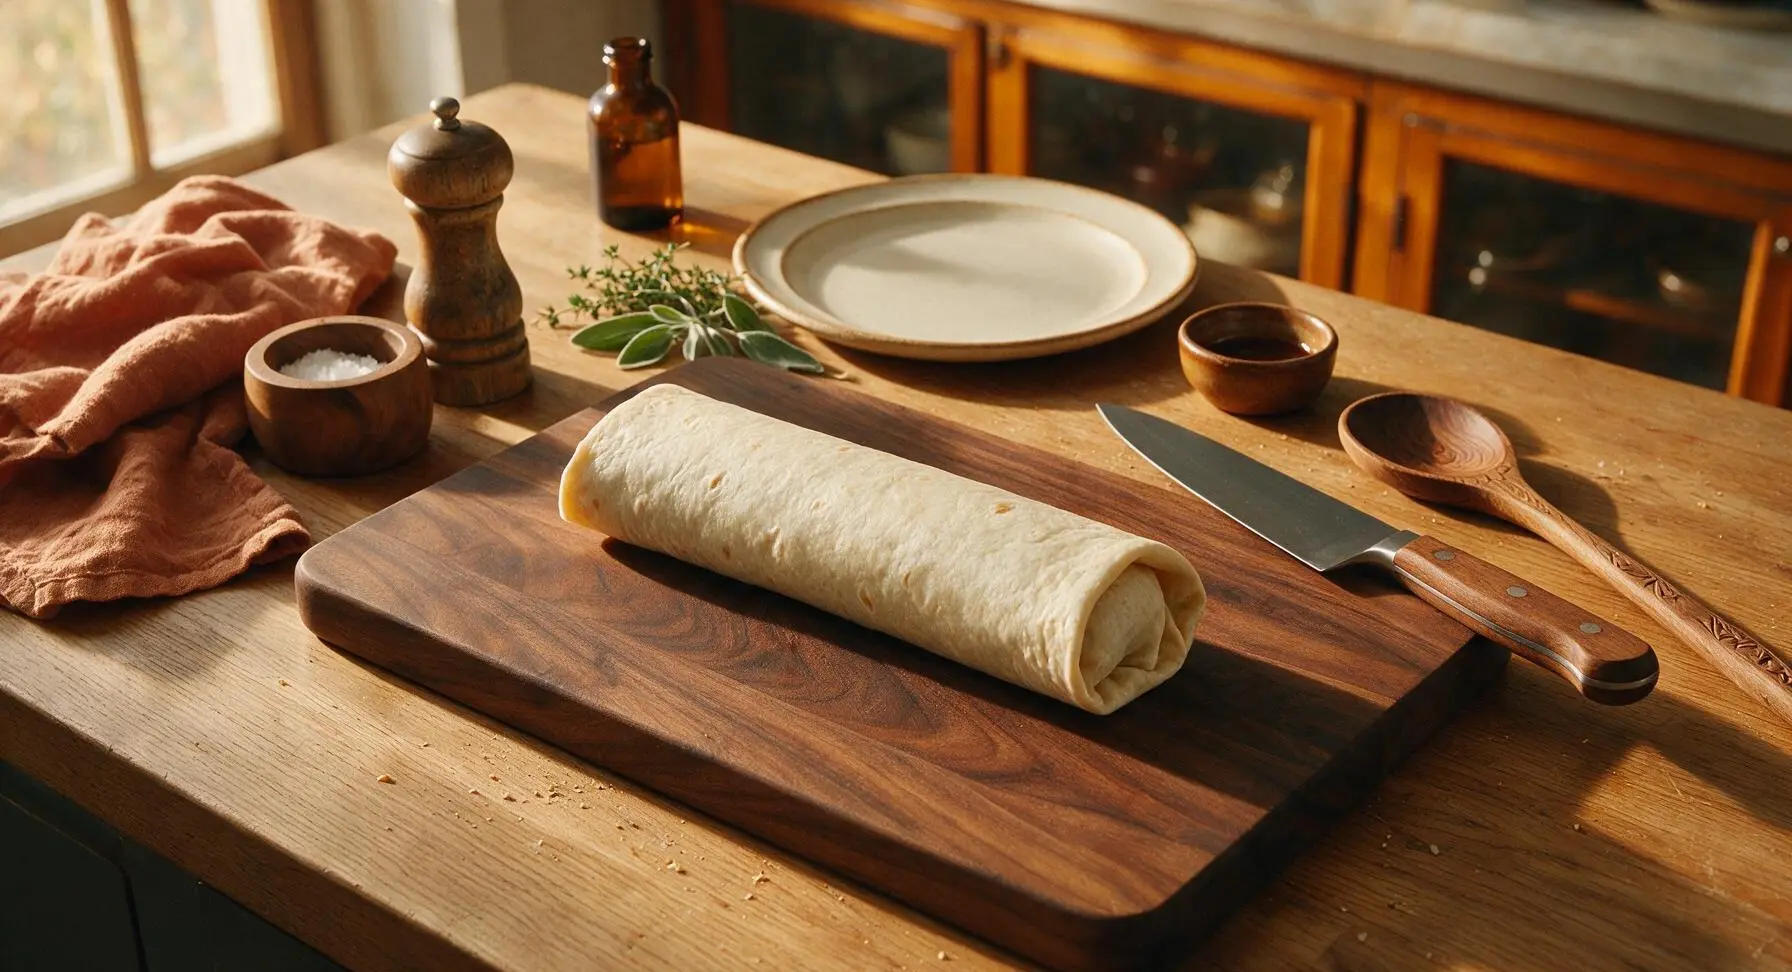
Fold the 2-inch top and bottom edges of the tortilla in over the ends of the filling line. Next, fold one long side of the tortilla tightly over the filling, tucking it under the ingredients to eliminate trapped air gaps, then roll firmly away from you to create a tight, sealed cylinder. Repeat with the remaining 3 tortillas and filling.
Step 7
step7:Fold Tight Burritos
Step 7
step7:Fold Tight Burritos
8

Toast Seam Side Down

Return the skillet to medium-low heat (150°C/300°F). Place each rolled burrito seam-side down in the dry, ungreased skillet, toasting for 1 minute per side until the tortilla is lightly golden with crisp, browned spots, and the seam is sealed shut so the burrito does not unroll when picked up.
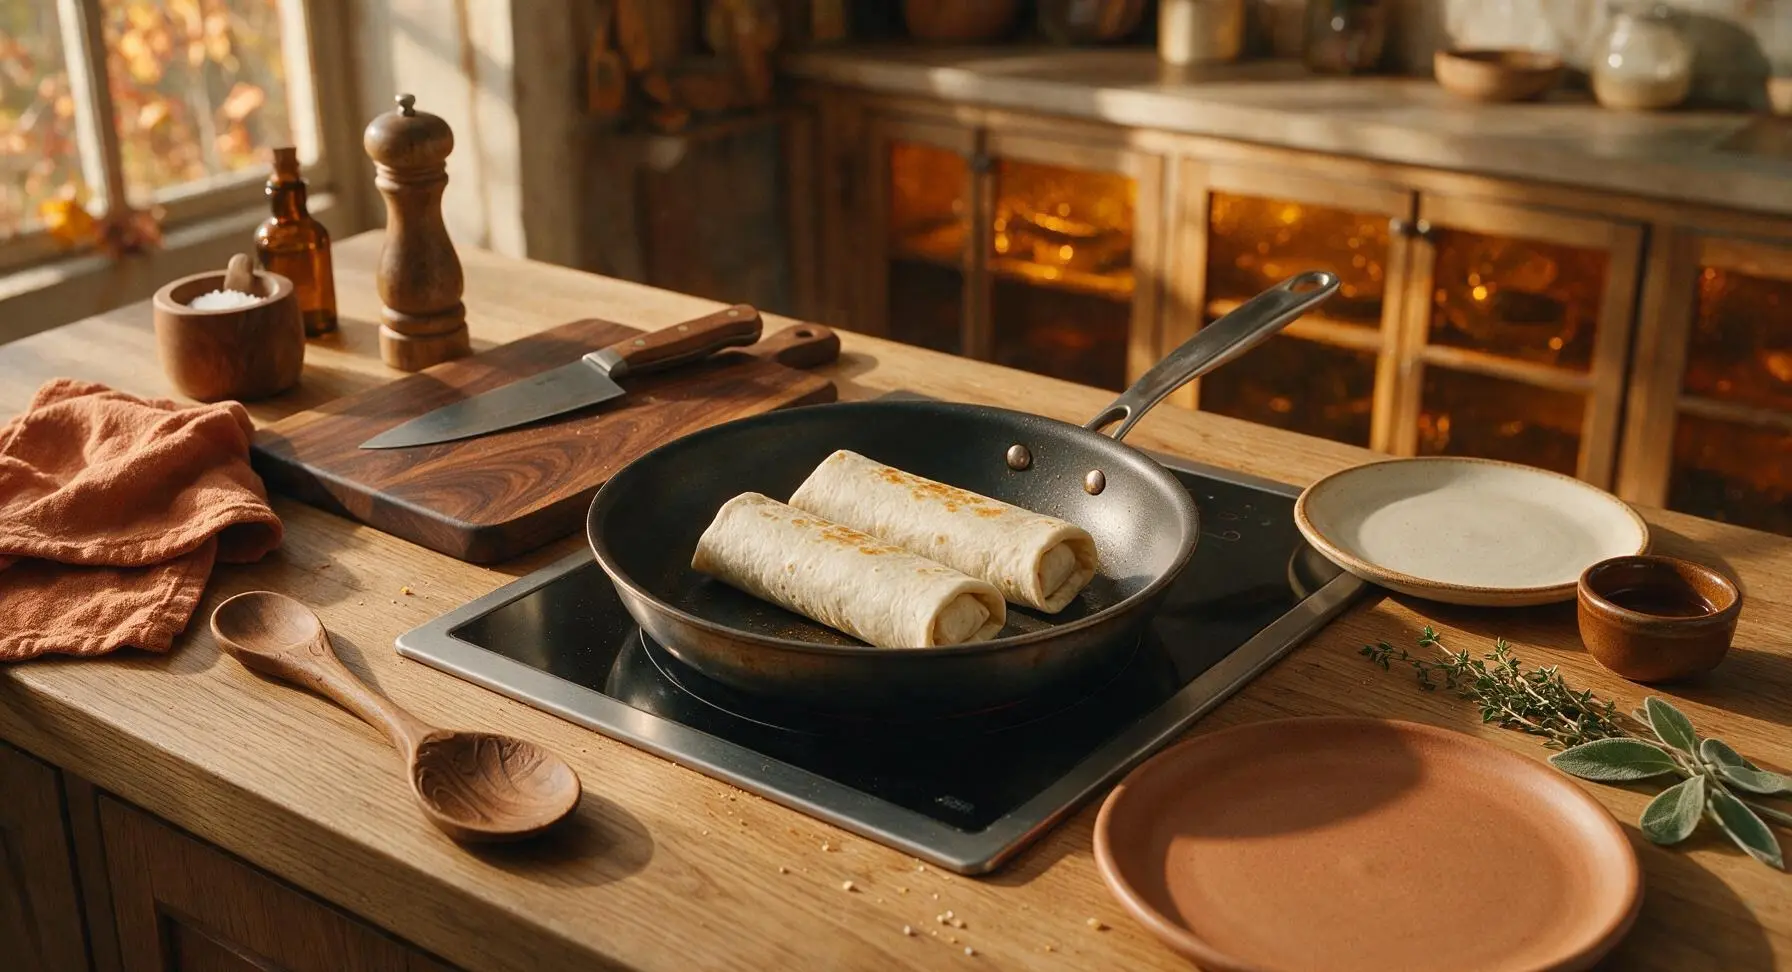
Step 8
step8:Toast Seam Side Down

Tips

1.Warm tortillas fully before assembling: Cold or room-temperature tortillas crack and split when rolled, so taking 10 seconds per side to warm them until pliable makes folding easy and prevents filling from leaking out as you eat.
2.Avoid overfilling tortillas: It can be tempting to pack in extra filling, but sticking to ¼ of the mixture per tortilla leaves enough clear border to fold a tight seal without ingredients squeezing out the sides during rolling or toasting.
3.Toast burritos seam-side first: Placing the burrito seam-side down in the hot pan first melts the tortilla slightly to lock the roll closed, so your burrito won’t unroll when picked up, and adds a pleasant nutty crisp texture to the outer layer.


✨ You May Also Like

Main Course
🍜 United Kingdom

A showstopping classic of tender seared beef, savory mushroom duxelles, and crisp prosciutto wrapped in flaky golden puff pastry, baked to juicy perfection.

⏱️ 2 hours 1Main Course ★ 4.7
Main Course
🍜 India

Tender charred marinated chicken simmered in a rich, spiced creamy tomato sauce, this iconic Anglo-Indian curry pairs perfectly with basmati rice or warm naan.

⏱️ 50 minuteMain Course ★ 4.6
Main Course
🍜 Thailand

Classic tangy, sweet, and savory Thai stir-fried rice noodles with shrimp, tofu, and crunchy garnishes, balancing all five core Thai flavor profiles.

⏱️ 30 minuteMain Course ★ 4.5
Main Course
🍜 United Kingdom

Crispy golden beer-battered cod and fluffy double-fried chips, served with tangy tartar sauce and malt vinegar: the timeless, beloved British pub comfort classic.

⏱️ 45 minuteMain Course ★ 4.7
Main Course
🍜 Mexico

Smoky, chile-marinated pork tacos with caramelized pineapple, fresh cilantro, and lime: a beloved classic Mexican street food perfect for casual summer gatherings.

⏱️ 1 hour 45Main Course ★ 4.8
Main Course
🍜 United States

Crunchy Fritos corn chips layered with savory beef chili and melted cheddar, topped with cool, zesty fixings for a beloved, cozy Tex-Mex comfort food.

⏱️ 35 minuteMain Course ★ 4.8

joe burrito:Frequently Asked Questions

1.Why does this recipe call for 90/10 lean ground beef instead of a fattier blend? ▾
Fattier blends like 80/20 release excess grease that soaks through tortillas, makes fillings slide, and leaves an overly heavy mouthfeel. The 90/10 blend delivers rich, beefy flavor with just enough fat to stay moist, so you won’t have to drain off piles of grease mid-cook, which cuts down on busy weeknight prep time too.
2.My burritos always split open when I roll them—what am I doing wrong? ▾
First, skip overstuffing: stick to roughly 1 ½ cups of total filling per 12-inch tortilla. Warm tortillas for 10 seconds in the microwave or on a dry skillet first to make them pliable, tuck the side edges in tight before rolling away from you, and set burritos seam-side down after rolling to help them hold their shape.
3.Can I prep the fillings for Hearty Joe Burritos ahead for faster weeknight meals? ▾
Absolutely! Cook and season the ground beef, make the long-grain white rice, and rinse your black beans up to 3 days in advance, storing each component in separate airtight containers in the fridge. When you’re ready to eat, reheat fillings gently, warm tortillas, assemble, and you’ll have dinner on the table in under 10 minutes.
4.Do I really need to rinse canned black beans before adding them to the filling? ▾
Definitely take that 30 seconds to rinse them! The thick, starchy canning liquid has a flat, metallic off-flavor and extra salt that will make the burrito filling watery and overly salty. Rinsed beans have a clean, earthy flavor and firm texture that mixes perfectly with beef, rice, and cheese without turning mushy.
5.Why use sharp cheddar instead of a milder cheese for these burritos? ▾
Sharp cheddar has a concentrated, tangy, nutty flavor that cuts through the rich, savory beef and starchy rice and beans, so you get bold cheese flavor in every bite even with a smaller serving. It also melts smoothly without turning greasy or overly stringy, which helps hold the overstuffed filling together as you eat.
6.Can I use a different size flour tortilla if I don’t have 12-inch extra-large ones? ▾
You can, just adjust your filling amount accordingly! 10-inch tortillas hold about 1 cup of filling before splitting, so they work perfectly for smaller, kid-sized portions. Skip 8-inch taco-sized tortillas entirely, though—they’re too small to hold the classic hearty, overstuffed fillings without making a huge mess.
7.How do I get perfectly melty cheese without making the tortilla soggy? ▾
Add your shredded sharp cheddar directly on top of warm, freshly heated filling right before rolling—the residual heat from the beef, rice, and beans will melt the cheese evenly without extra cooking. For an extra-gooey finish, toast assembled, seam-side down burritos on a dry skillet for 1 minute per side to crisp the tortilla slightly.
8.What’s the best simple seasoning for the ground beef to get that classic Joe Burrito flavor? ▾
Stick to no-fuss, balanced seasonings: 1 teaspoon each of chili powder, ground cumin, garlic powder, and onion powder, plus ½ teaspoon of kosher salt and a pinch of black pepper per pound of beef. Skip sugary, thick store-bought taco sauce packets, as they make the filling too wet and overpower the other simple, hearty flavors.
9.Can I freeze assembled Hearty Joe Burritos for quick grab-and-go meals? ▾
Absolutely! Let cooked fillings cool completely before assembling to avoid soggy tortillas, then wrap each burrito tightly in plastic wrap and a layer of aluminum foil before freezing for up to 3 months. To reheat, remove the plastic, wrap in a damp paper towel, and microwave for 2–3 minutes, flipping halfway, until heated through.
10.My rice always turns out clumpy or mushy in burritos—what’s the fix? ▾
Use properly cooked, slightly cooled long-grain white rice for the best texture. Freshly cooked, steaming hot rice releases extra starch that makes fillings gummy, so let rice rest 10 minutes after cooking and fluff it with a fork before adding it to burritos. Skip short-grain sticky rice, as it’s too glutinous for a light, non-clumpy filling.
11.How can I add extra veggies to these burritos without making them less hearty or soggy? ▾
Stir ½ cup of drained fire-roasted corn or finely diced sautéed bell peppers into the beef and rice filling for a pop of color and subtle sweetness, or add a thin layer of shredded iceberg lettuce right before rolling for fresh crunch. Always drain extra moisture from added veggies first to avoid soggy tortillas mid-meal.

Comments (4)

2 days ago

OMG this Hearty Joe Burrito was a total game changer for our weeknight dinner rotation! It was so easy to throw together after soccer practice, cook time was literally 20 minutes like the recipe said, no fancy ingredients required. My three kids devoured theirs and asked for seconds, even my picky 7 year old who turns his nose up at almost everything. I added a little extra shredded cheddar and a dollop of sour cream on top, and it was SO good. Total chef's kiss.

yesterday

Wait adding extra cheddar is such a good call! I made these for my weekly meal prep last Sunday and they held up perfectly in the fridge all week, zero sogginess. So much better than the sad frozen burritos I used to grab for work lunches every day. 10/10.

2 hours ago

So glad the whole family loved it! Extra cheddar is never a bad call in our book, and great tip about meal prepping these—they freeze really well too if you want to stash a batch for extra busy weeks. No more sad work lunches!

3 days ago

Made a triple batch of these for our weekend tailgate before the UGA game and they were a HIT. People kept coming back for thirds, I didn't even have any leftovers to bring home! Super straightforward to make, didn't require a ton of prep work even for a big crowd. Only swap I made was using spicy taco seasoning instead of the regular to give it a little kick, will 100% be making these for our next office potluck too.

2 days ago

Love the spicy seasoning swap! These are absolutely perfect for tailgates and potlucks, so happy they were a crowd favorite for your group. Pro tip: set out a little topping bar with salsa, guac, and pickled jalapeños next time for people to customize their own burritos!

5 minutes ago

As a broke college student with barely any cooking skills (I once burned toast, no joke), this recipe was perfect for me. I had almost all the ingredients already in my pantry and mini fridge, it only took 20 minutes so I didn't burn it (major win), and it's SO good. Way cheaper and tastier than getting burritos from the Taco Bell down the street. Already texted the recipe to all my roommates so we can make a batch together this weekend.

1 week ago

I was skeptical at first because a lot of "easy" burrito recipes end up being super bland or completely fall apart when you roll them, but this one was perfect! The filling was hearty and flavorful, and the little rolling tip in the instructions actually worked so none of mine split open while I was searing them. I served it with a side of cilantro lime rice and it made for such a cozy weeknight dinner. My husband said it's better than the burritos we get at our favorite local Mexican spot, which is the highest praise possible.

5 days ago

So glad these turned out for you! Did you try any veggie swaps by chance? I want to make this for my vegetarian sister when she visits next week, thinking of swapping the ground beef for seasoned lentils, wondering if anyone has tried that yet!



