
juicy baked chicken breast
intro
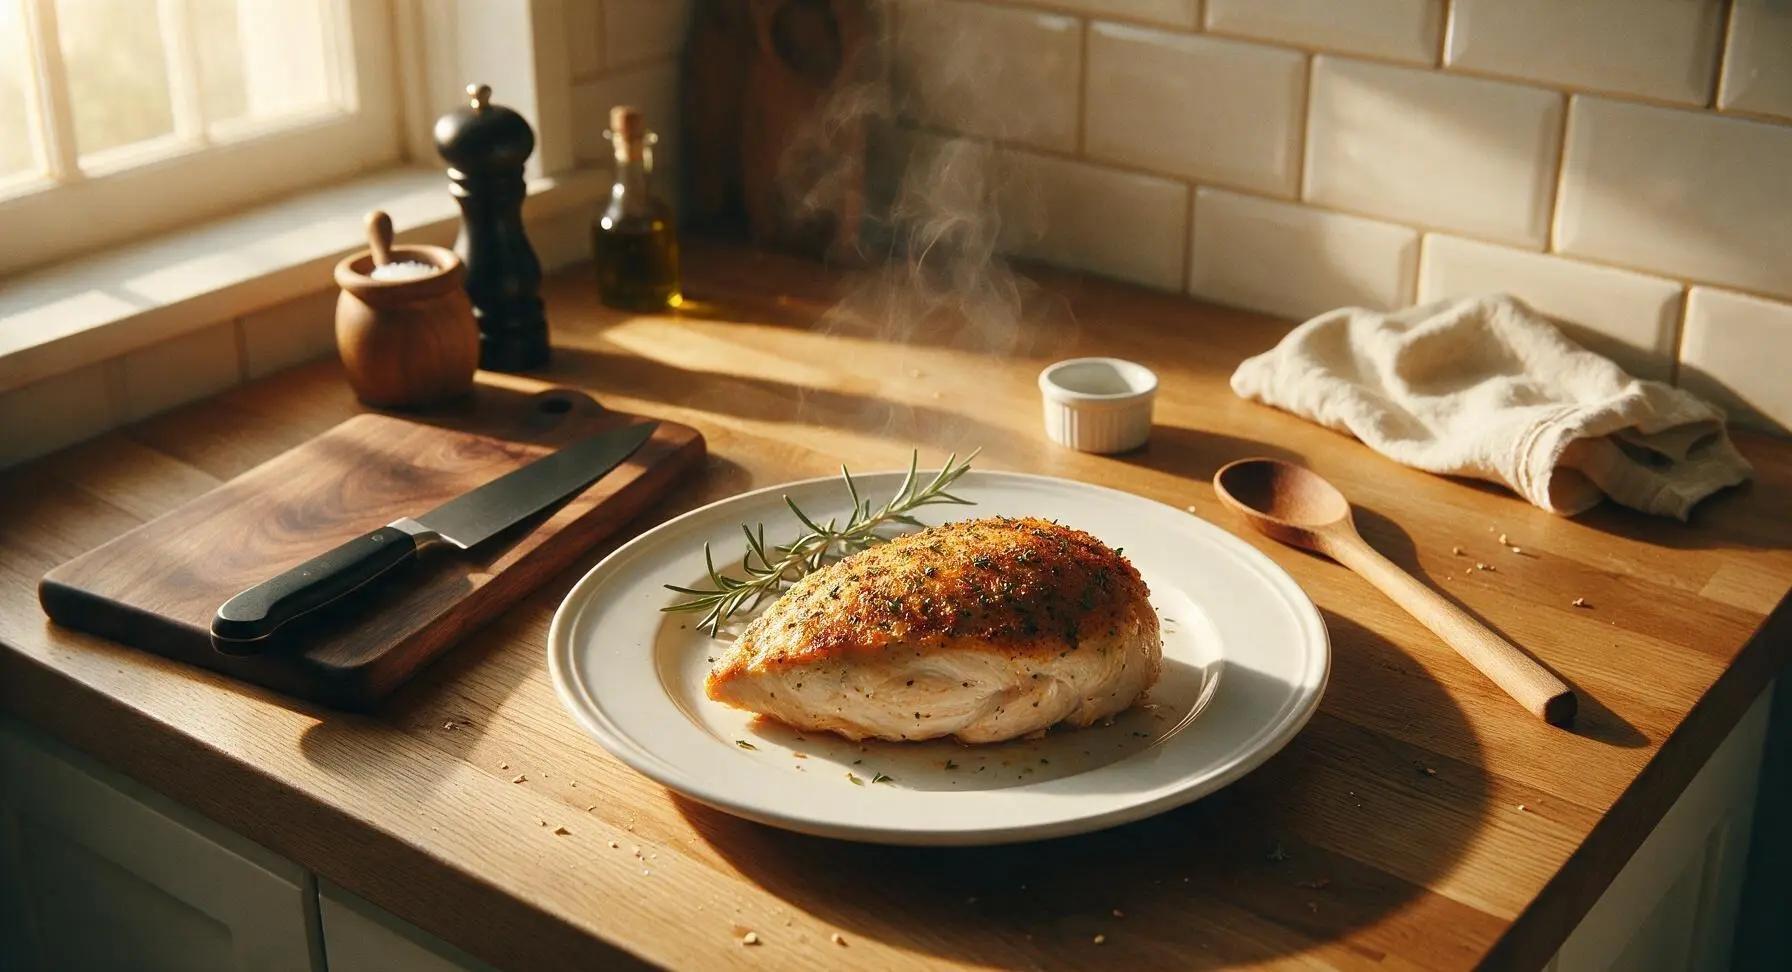
Tender, juice-dripping baked chicken breast with a crisp herby golden crust, free of dry chalky texture, perfect to pair with veggies, grains, or salads for a fast, satisfying meal.
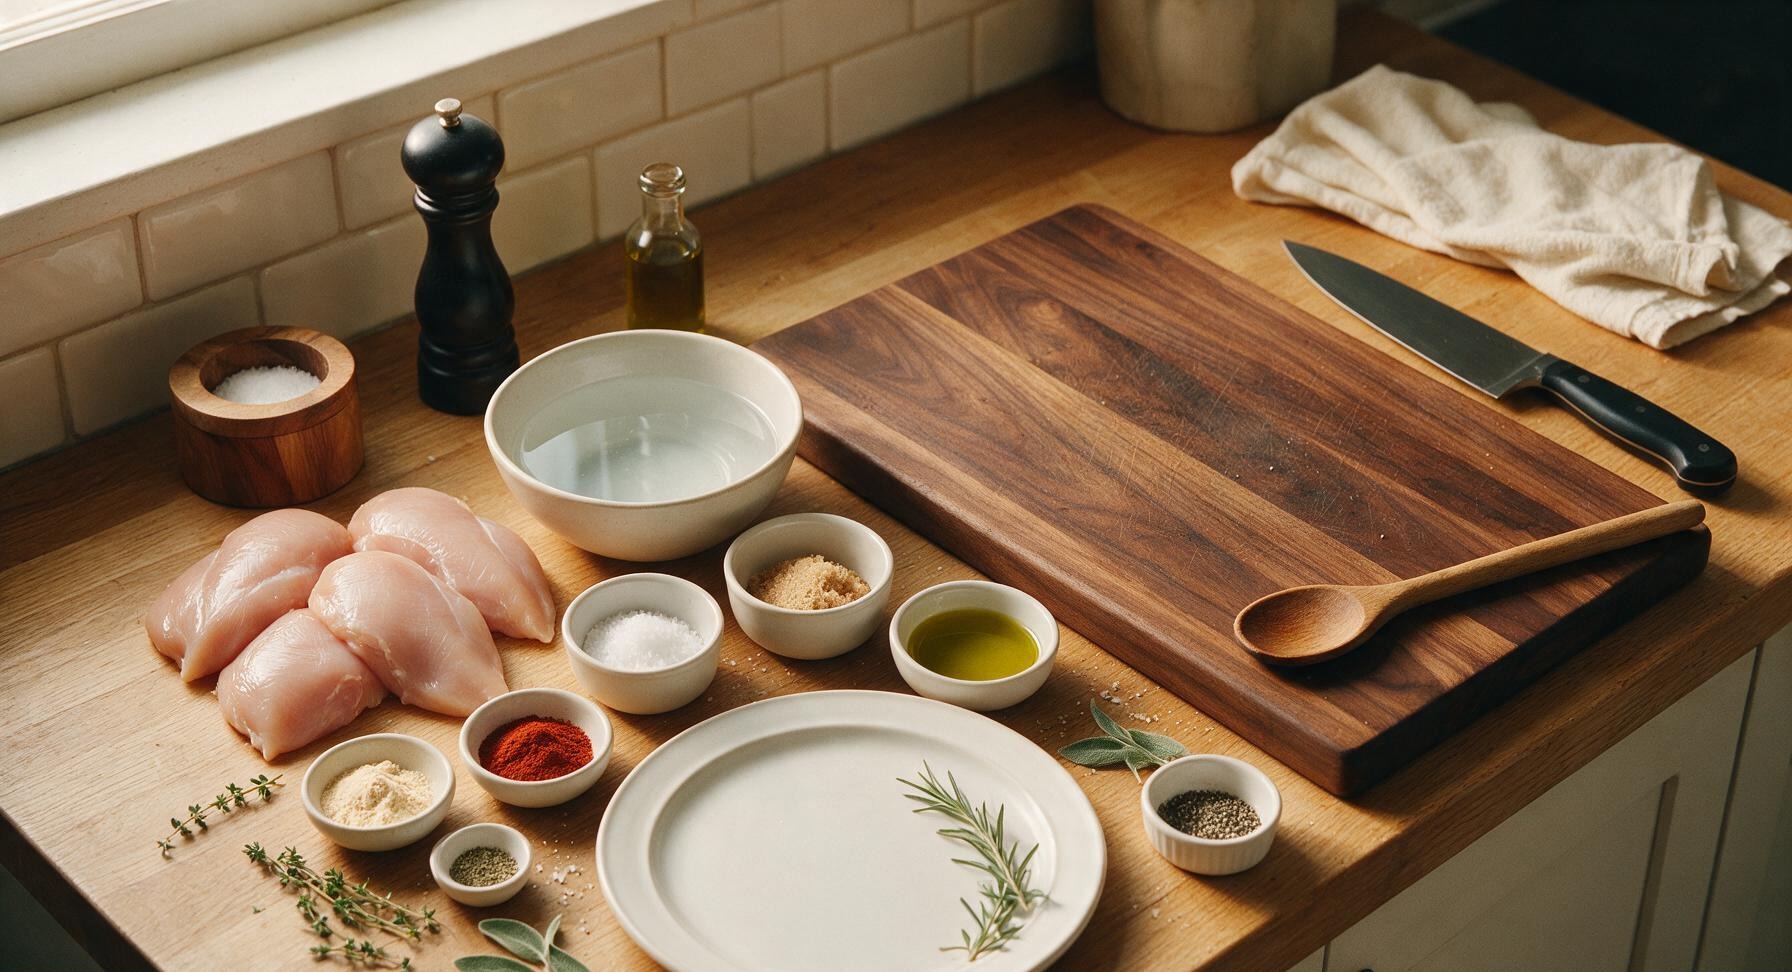
Ingredients
Steps
Brine the Chicken
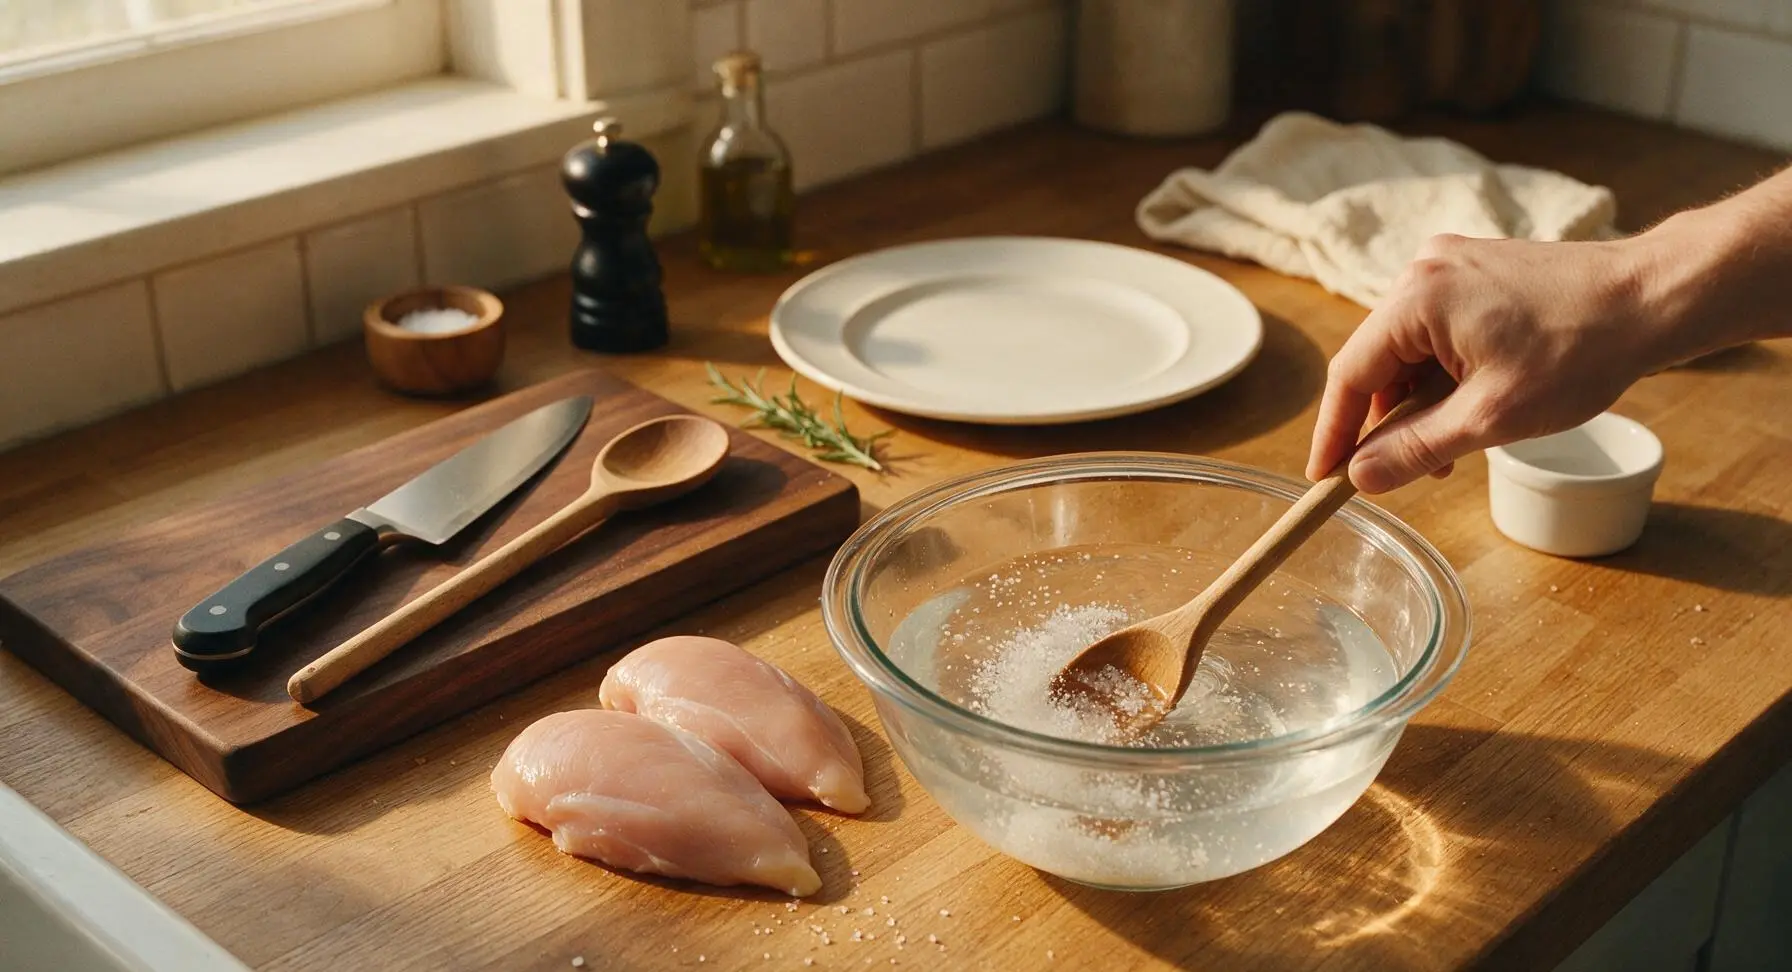
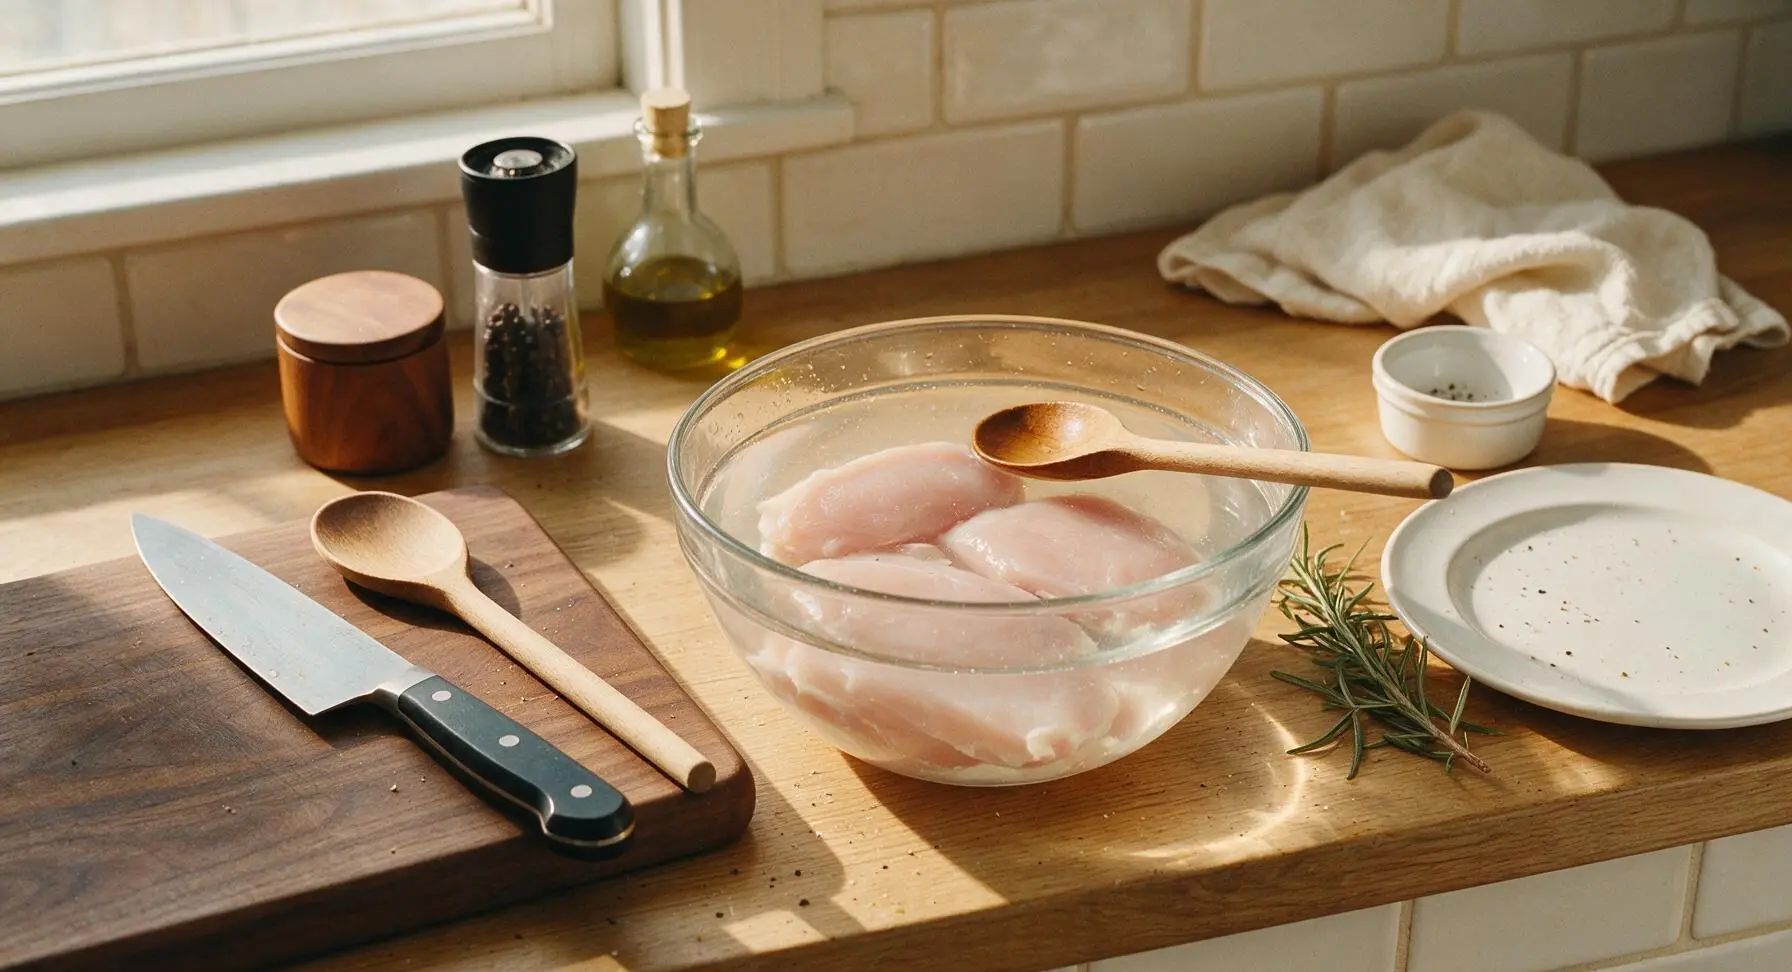
Place the clear glass mixing bowl in its fixed position to the right of the central counter spot. Pour 4 cups cold water into the bowl, add 3 tablespoons kosher salt and 1 tablespoon light brown sugar, stir with the maple stirring spoon until salt and sugar are fully dissolved, with no granules left at the bowl bottom. Submerge all 4 chicken breasts completely in the brine, ensuring no parts of the meat stick above the water line. Let rest at room temperature for exactly 15 minutes; do not brine longer than 20 minutes, as this will make the chicken overly salty.
Pat Chicken Dry
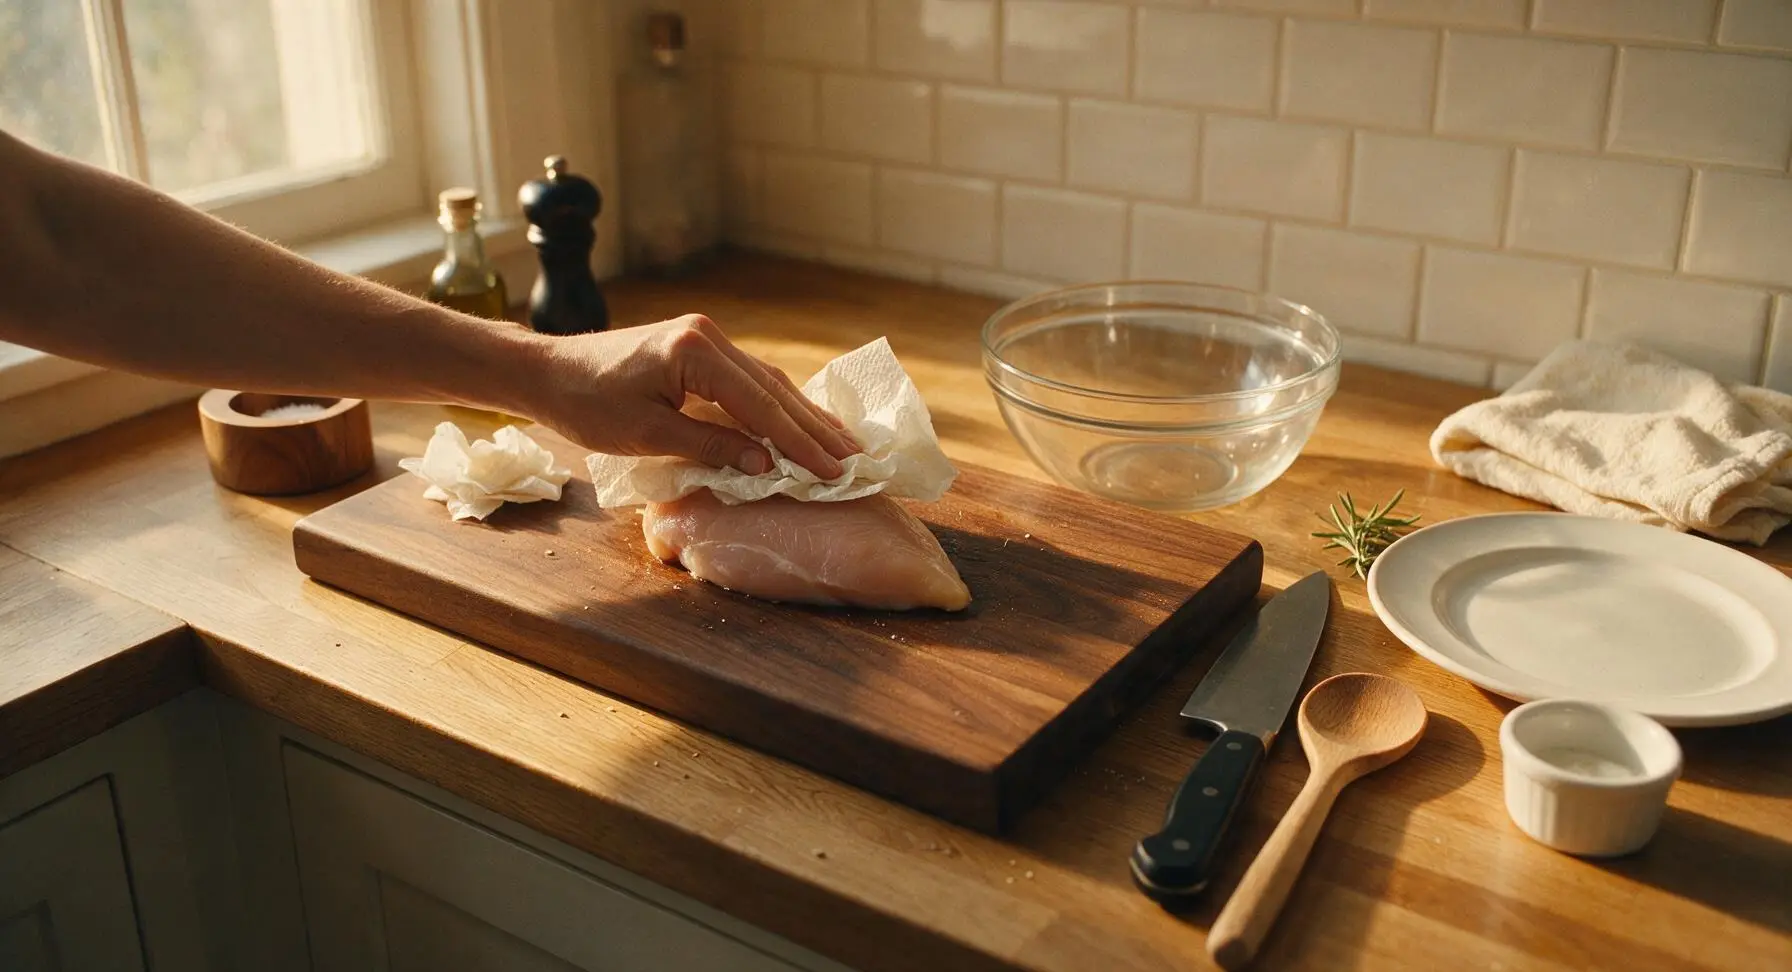
After 15 minutes of brining, lift chicken from the brine and discard all brine liquid from the glass mixing bowl. Arrange chicken breasts in a single layer on the acacia wood cutting board. Pat every surface (top, bottom, and thin side edges) of each breast completely dry with paper towels, until no damp, shiny spots remain. A fully dry surface is critical to achieve a crisp, golden crust rather than steamed, rubbery chicken.
Season Chicken Evenly
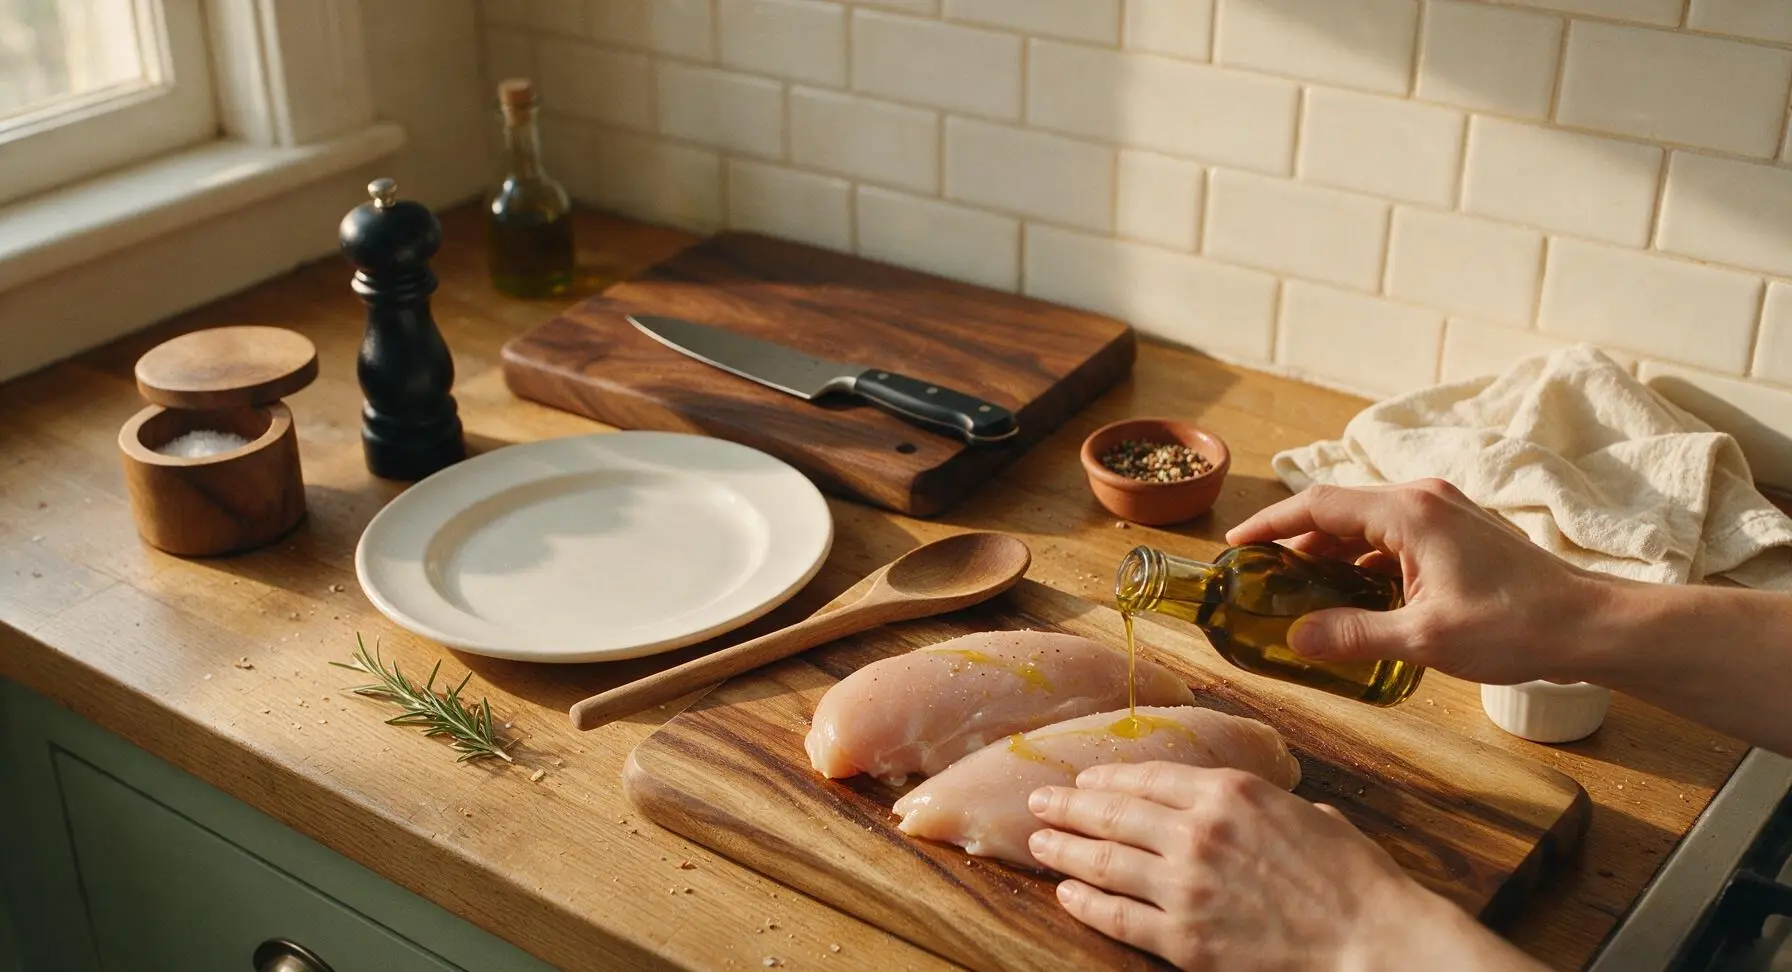
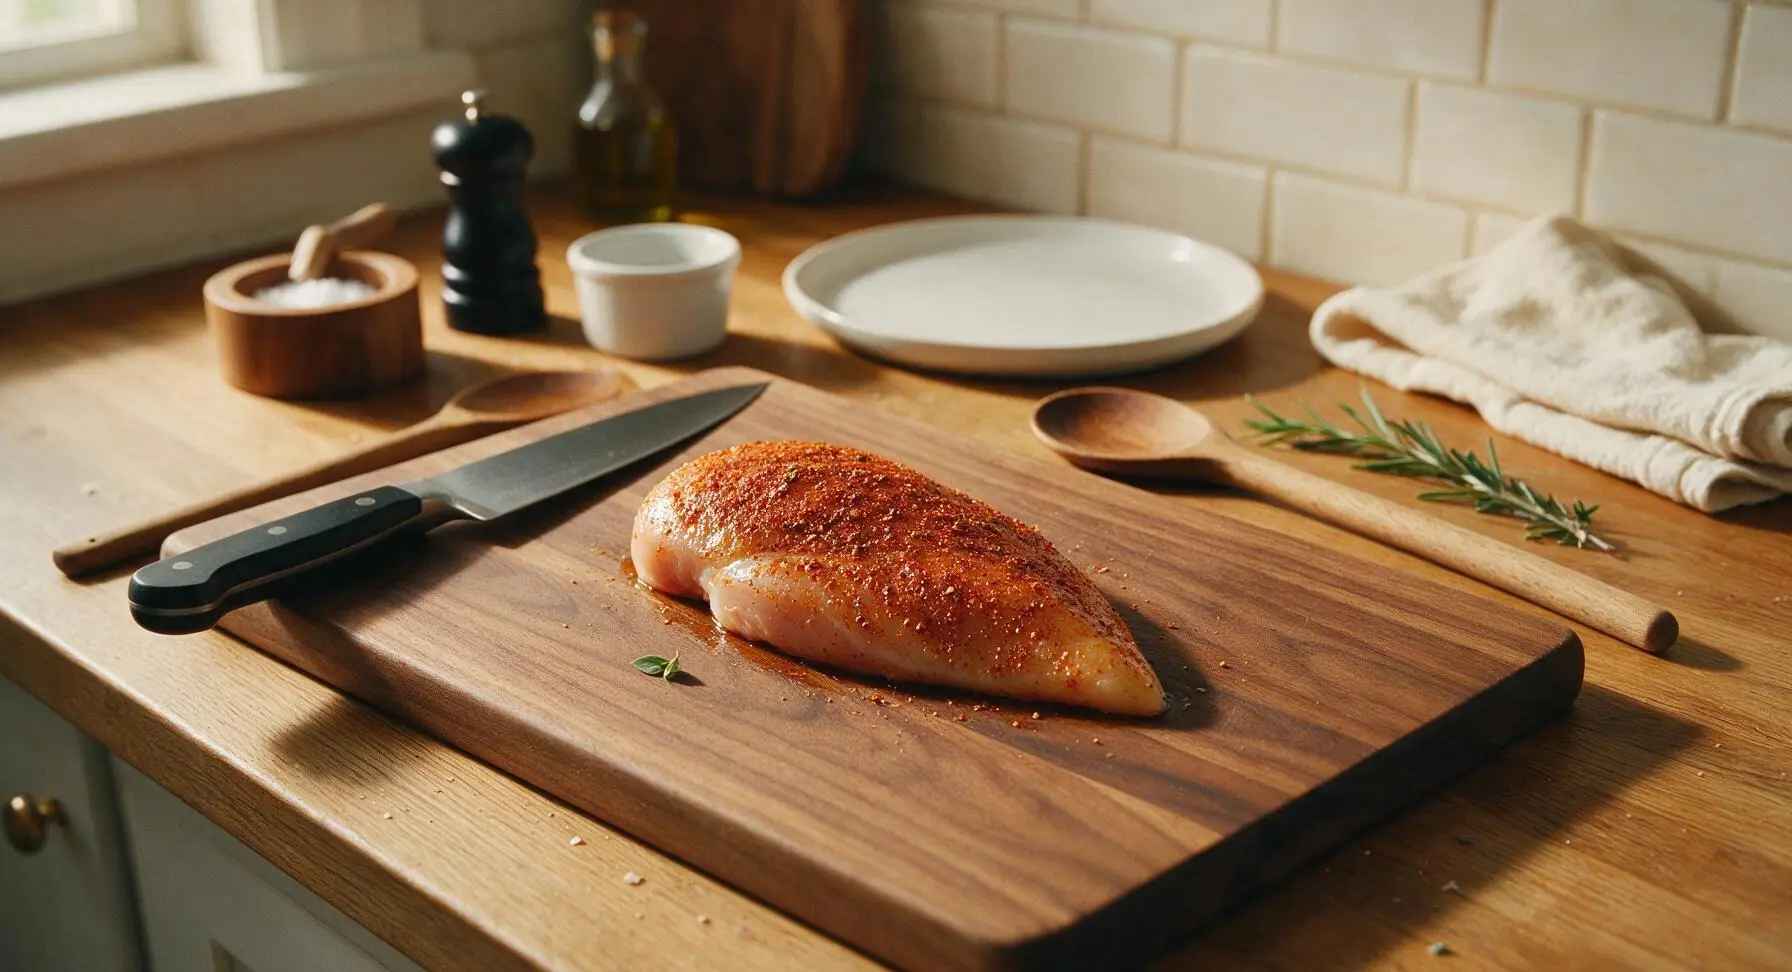
Drizzle 2 tablespoons extra-virgin olive oil over the dried chicken breasts, rubbing with clean hands to coat every surface evenly. In the small terracotta ramekin, mix 1 teaspoon garlic powder, 1 teaspoon smoked paprika, ½ teaspoon dried oregano, and ½ teaspoon freshly ground black pepper until evenly blended. Sprinkle the spice mix evenly over all sides of the chicken, pressing gently so the spices adhere to the oiled surface. No additional salt is needed, as the brine has already fully seasoned the meat.
Prep Baking Sheet
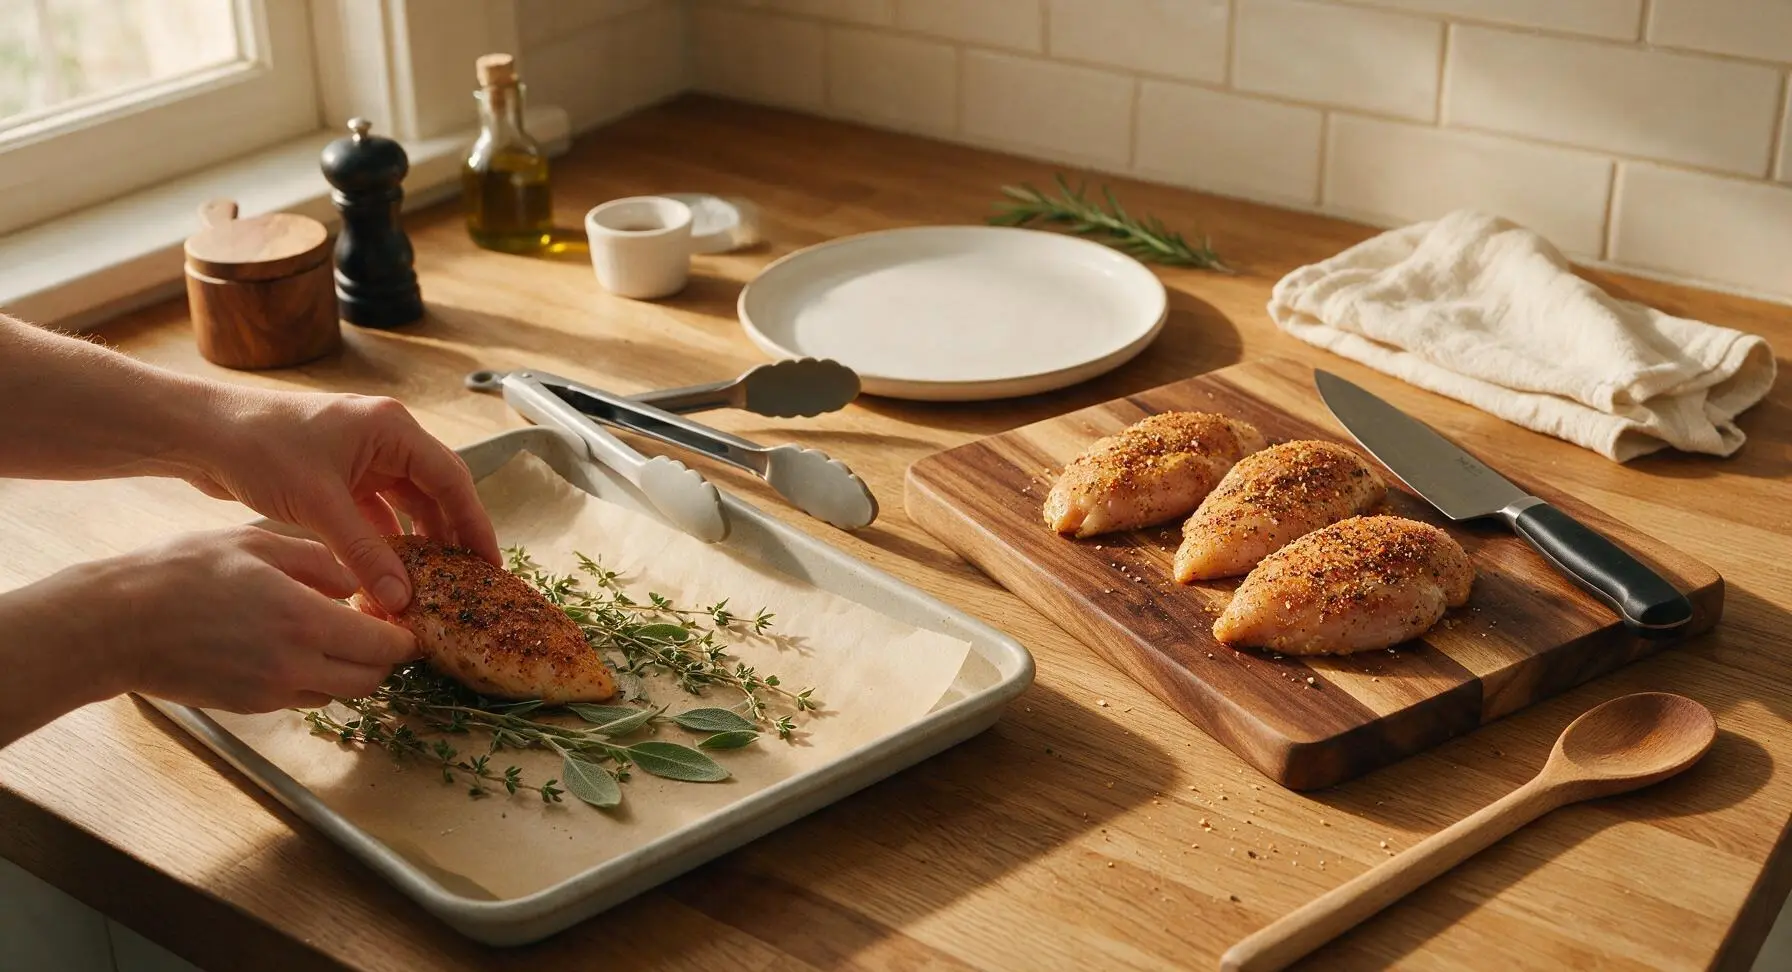
Place the matte light gray ceramic baking sheet (lined with unbleached parchment paper) in its fixed position to the left of the cutting board. Tuck 1 fresh thyme sprig and half a sage sprig under the spot where each chicken breast will sit, to infuse warm herbal aroma as the chicken bakes. Arrange the seasoned chicken breasts in a single layer on the herb-lined parchment, leaving 2cm of space between each breast to allow hot oven air to circulate evenly.
Bake Chicken Perfectly
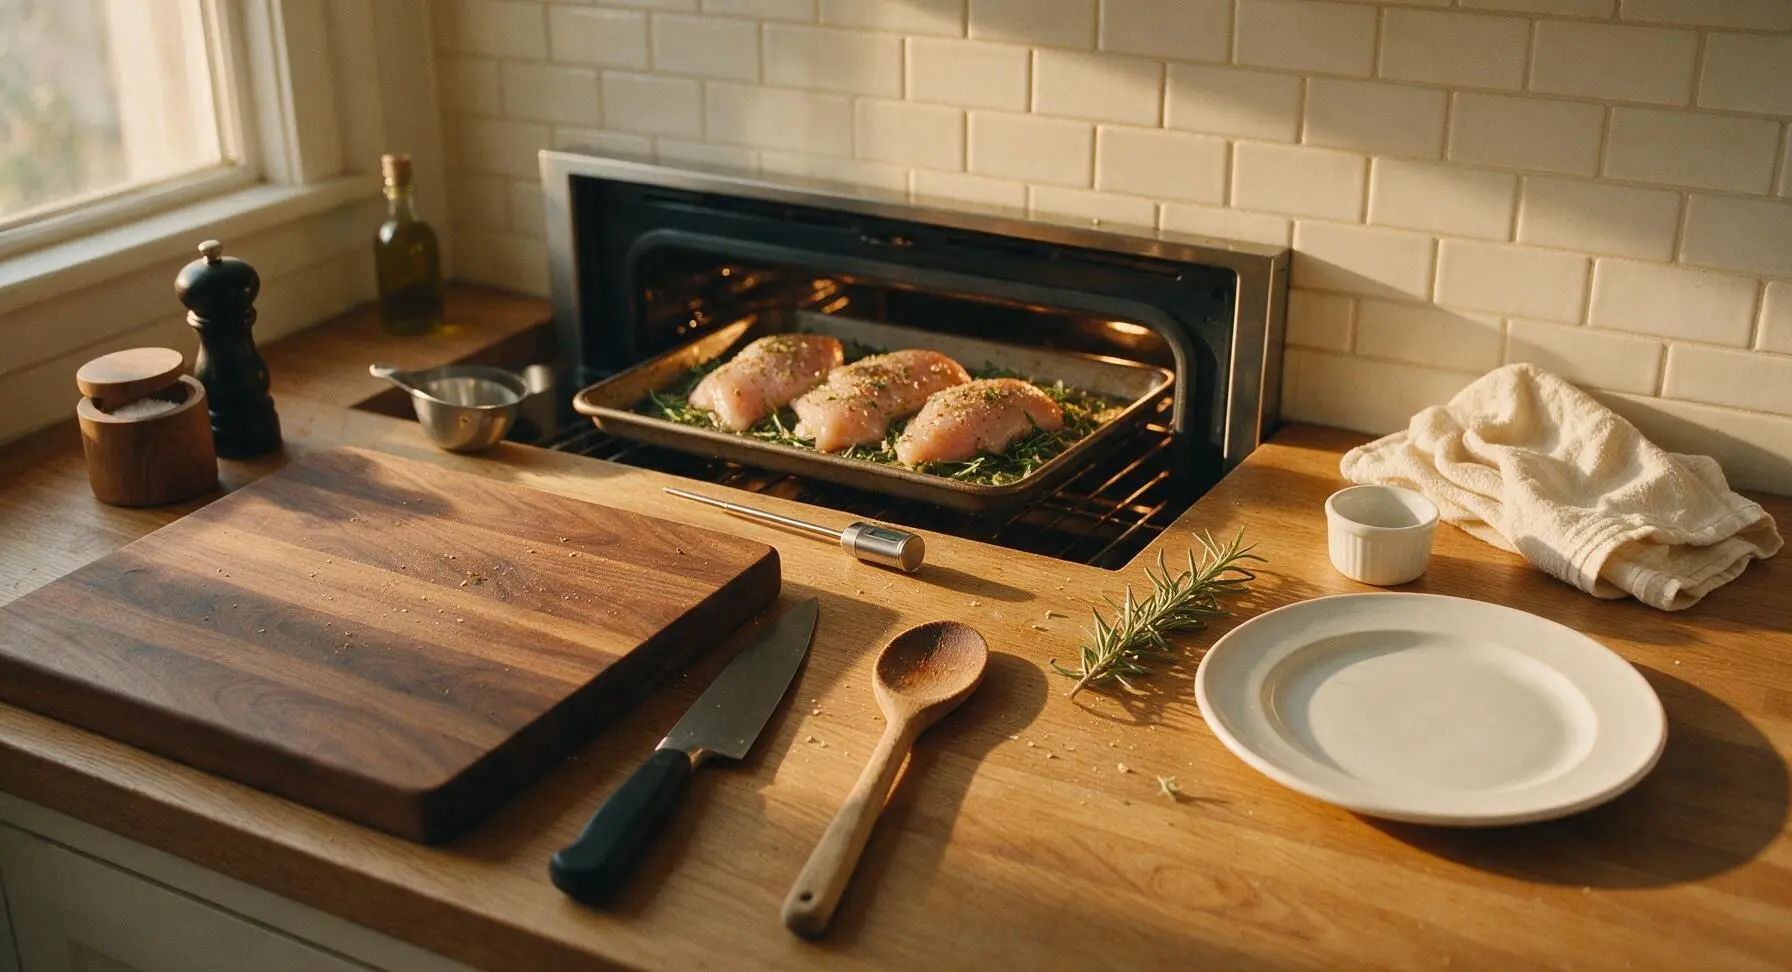
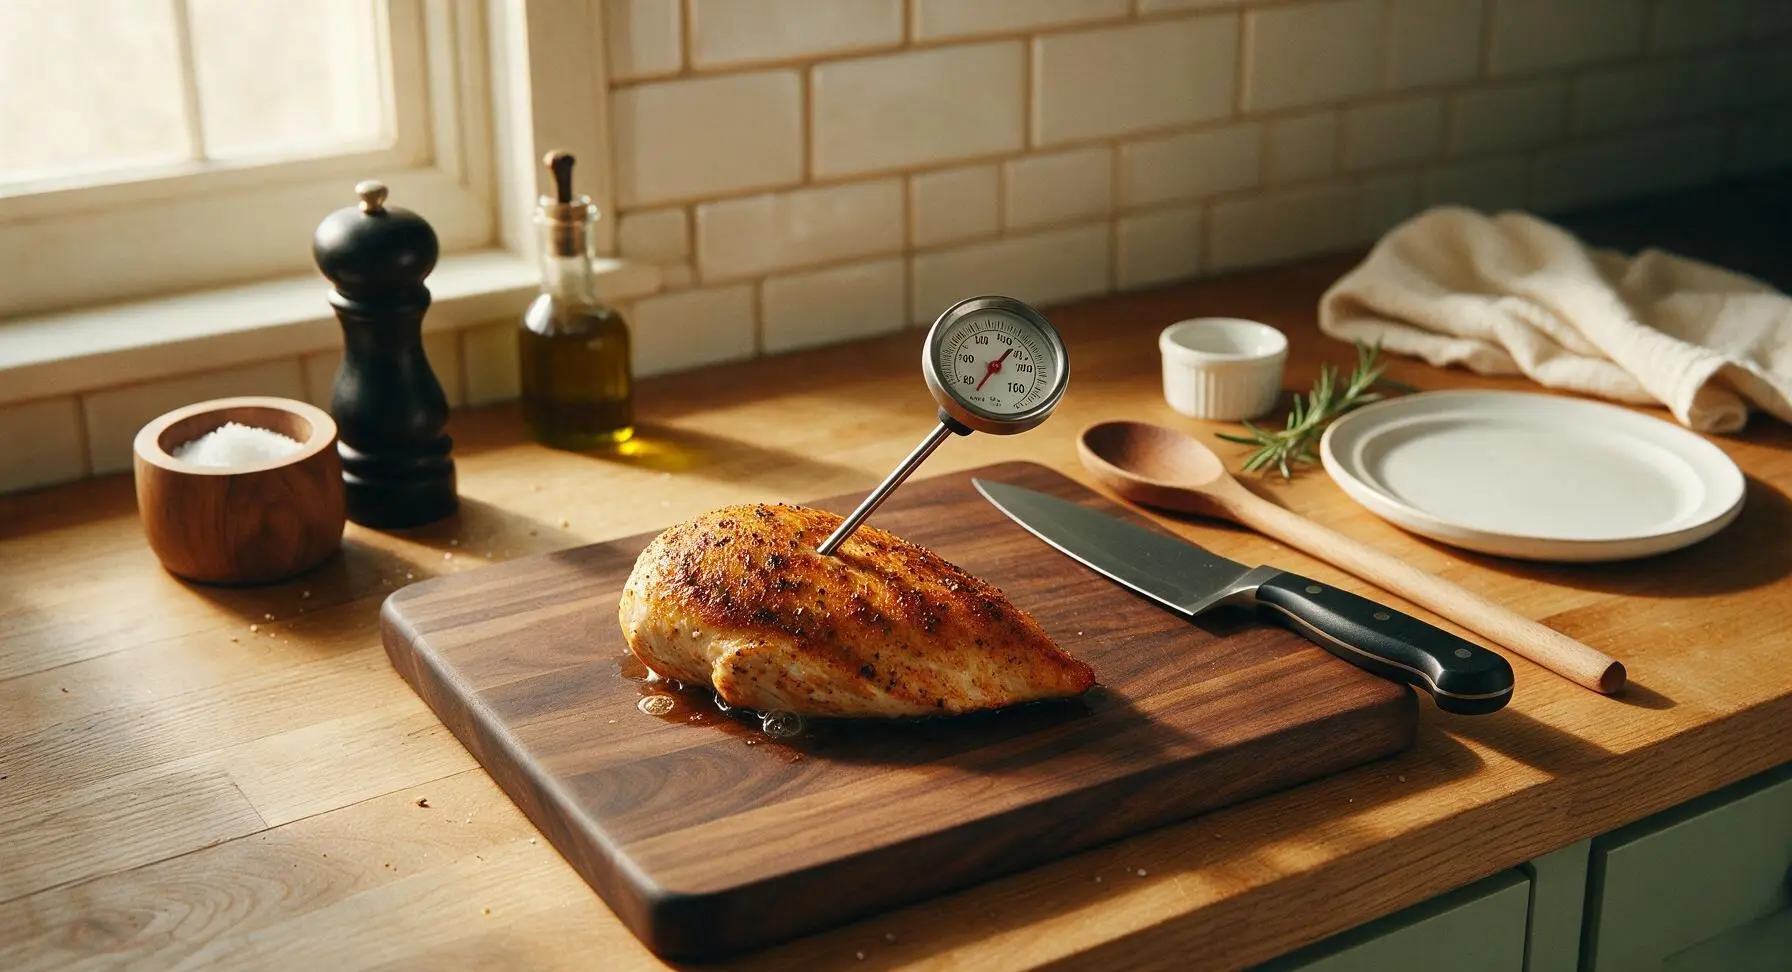
Place the baking sheet in an oven preheated to 425°F (220°C). Bake for 18-20 minutes, using the instant-read meat thermometer to check the thickest part of the largest breast once the 18-minute mark hits. Remove the chicken from the oven as soon as the internal temperature reads 160°F (71°C). Carryover cooking will raise the temperature to the food-safe 165°F (74°C) as the chicken rests, so waiting to reach 165°F in the oven will result in overcooked meat.
Rest Chicken Properly
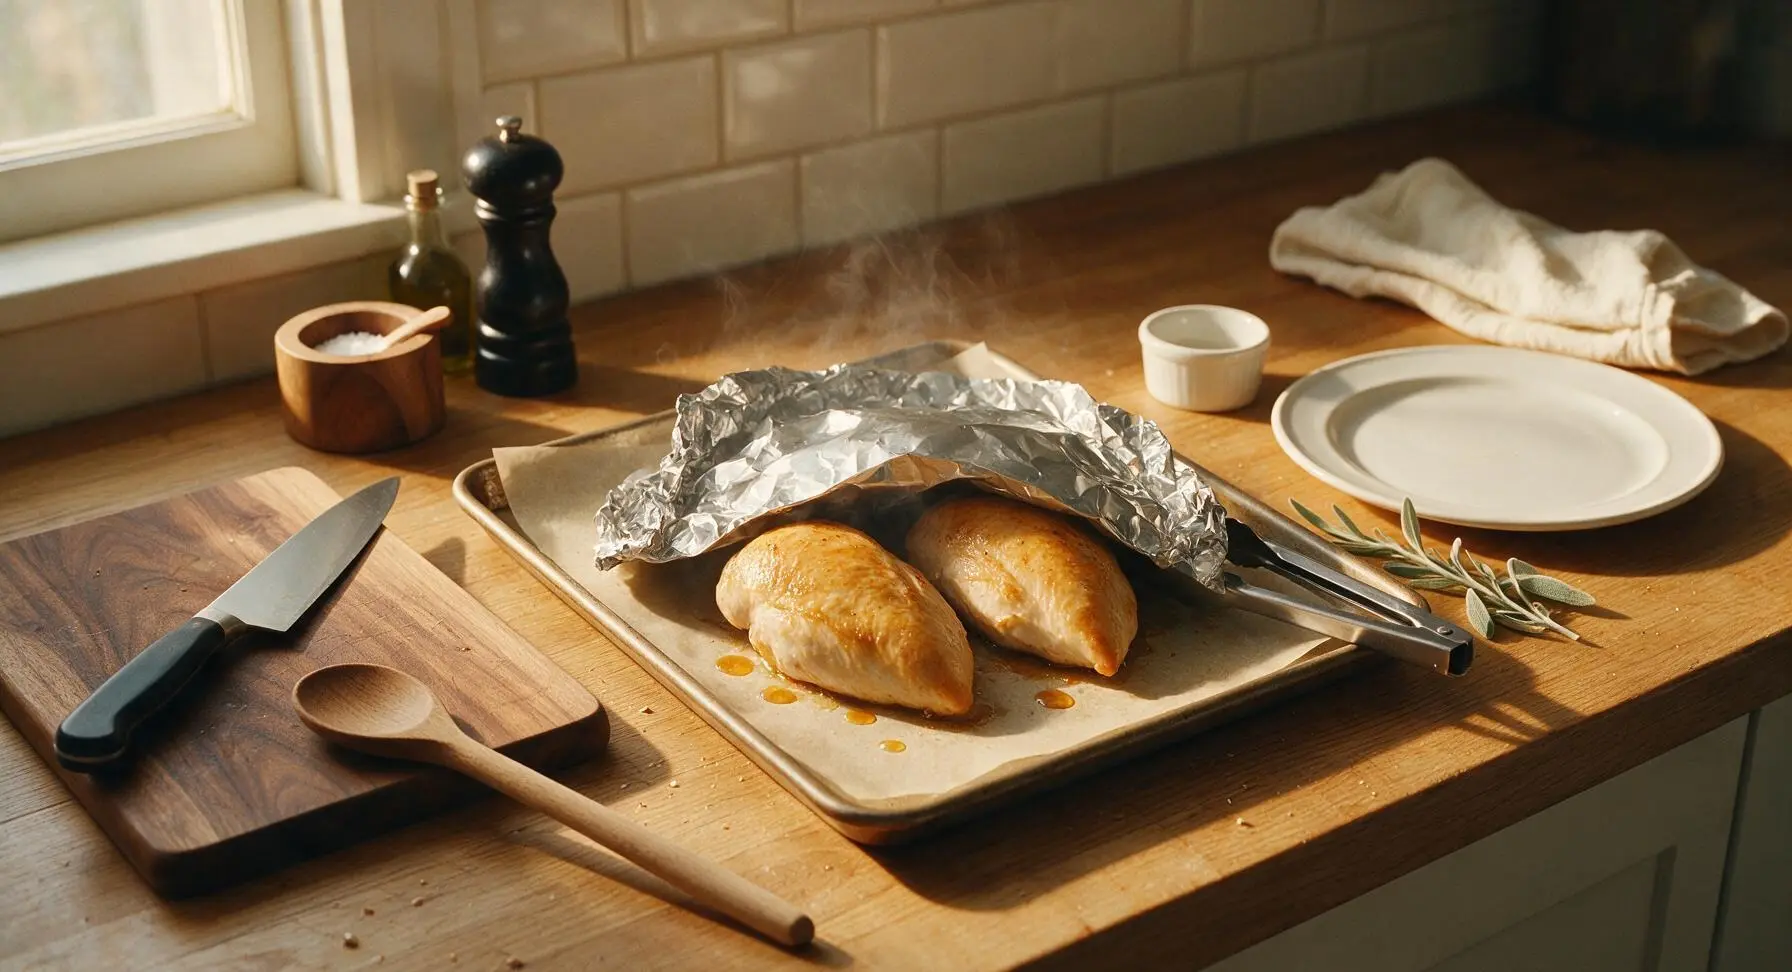
Once chicken is removed from the oven, use the silicone-tipped metal tongs to transfer the baking sheet back to its fixed counter position. Loosely tent a small sheet of aluminum foil over the chicken (do not wrap tightly, as this will make the crust soggy), and let rest for 5 full minutes. This rest period allows the tight muscle fibers to relax and reabsorb juices, so every bite is juicy instead of having all the liquid run out onto the plate when sliced.
Slice and Plate Chicken
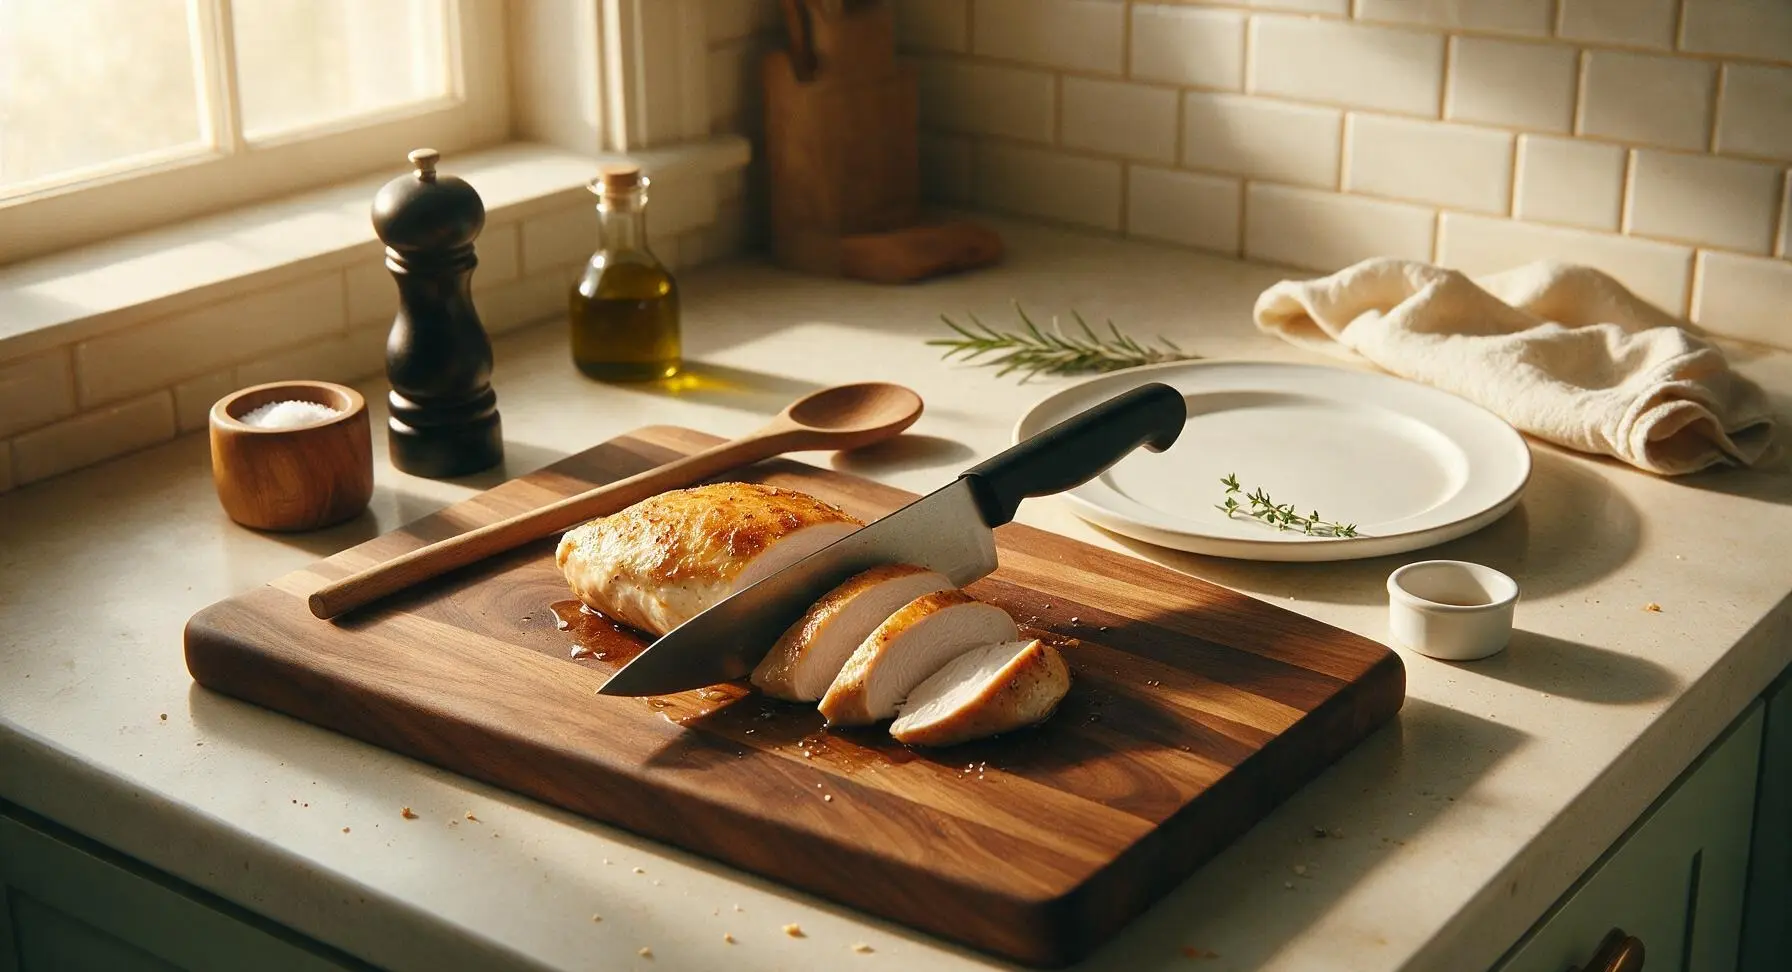
After 5 minutes of resting, transfer one chicken breast at a time to the acacia cutting board. Use the walnut-handled chef knife to slice each breast against the grain into 1cm thick slices. Arrange sliced chicken in a gentle fan across the matte off-white ceramic dinner plate, garnish with a small fresh sprig of thyme, and spoon any collected pan juices from the baking sheet over the top of the sliced chicken for extra moisture and flavor.
Tips
2.Always pull chicken from the oven at 160°F (71°C), not the full 165°F (74°C) food safety temperature: Residual heat (called carryover cooking) will raise the internal temperature by 5°F as the chicken rests, so pulling it early prevents overcooked, stringy meat. Use an instant-read thermometer for accuracy—cutting into chicken early to check doneness will let precious juices escape.
3.Pat brined chicken completely dry before adding oil and seasonings: Any remaining surface moisture will create steam in the hot oven, leading to a pale, rubbery exterior instead of the crisp, golden, herb-flecked crust that makes this dish feel restaurant-worthy.






OMG this is a total game changer! I’ve always struggled with dry, rubbery baked chicken breast no matter what I tried, and this came out perfectly juicy in exactly 20 minutes? My kids devoured two pieces each at dinner last night, even my super picky 7 year old asked for seconds! Already added this to my weekly meal prep rotation for work lunches. So easy too, I didn’t even have to pull out a ton of fancy ingredients.
Made this for a potluck this past weekend and everyone was asking me for the recipe! I was worried I’d overcook it since I was juggling three other dishes at the same time, but the temp guide was spot on. The only tweak I made was adding a little extra paprika and garlic powder because that’s just how my household likes it. SO good, will absolutely make again.
Super easy weeknight win! I don’t have a ton of time to cook after long shifts at the hospital, so a 20 minute cook time is exactly what I needed. The chicken came out juicy enough that I didn’t even douse it in hot sauce like I usually do with boring baked chicken. 10/10, no notes.
I’ve been using this recipe for meal prep for three weeks straight now and I’m still not sick of it! It’s so versatile— last night I sliced it up for Caesar salads, earlier this week I tossed it in pasta, and I even made chicken sliders with it for my buddy’s game night. Way better than paying for pre-cooked grilled chicken from the grocery store that’s always dry. Only reason it’s not a 5 is I wish there was a note about letting it rest! I cut into the first batch right out of the oven and lost a bunch of the juices, but the second time I let it sit 5 minutes it was perfect.