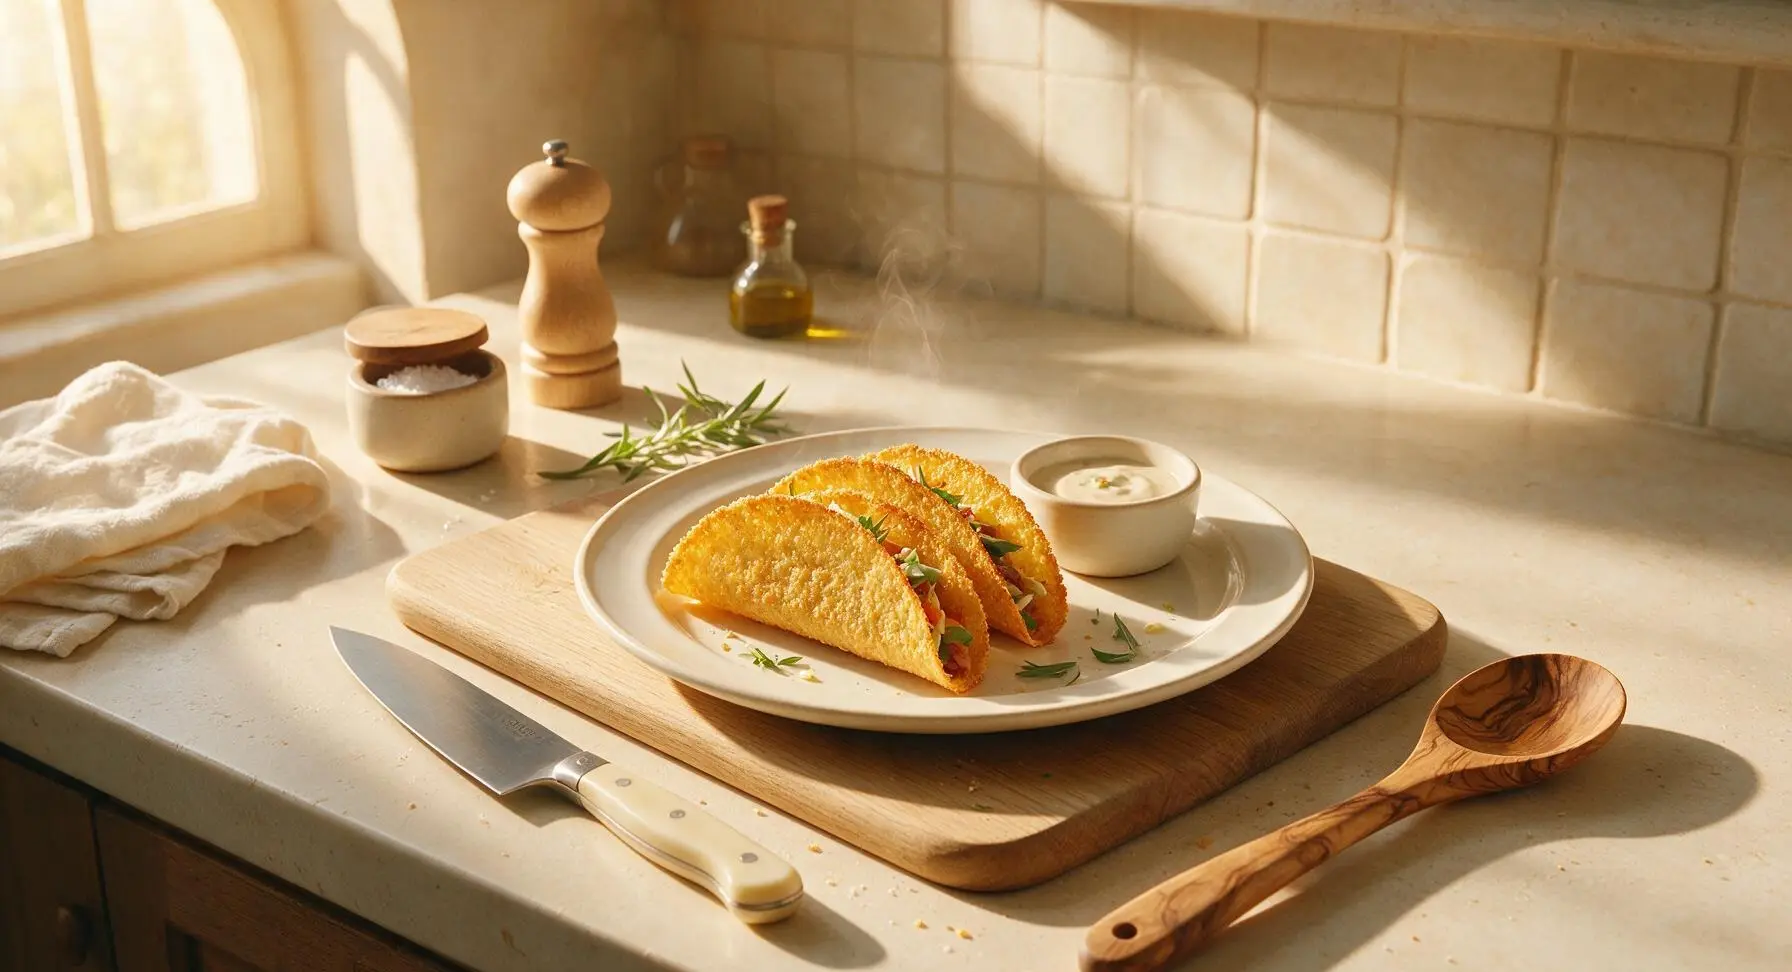
keto taco shells

title 1
keto taco shells
⏱️ cook time 10 minutes
🍽️ servings 4
⚡ Difficulty easy

intro

Crisp, golden, grain-free keto taco shells with classic Tex-Mex flavor, sturdy enough to hold all your favorite fillings with just 2g net carbs per serving. Ready in 20 minutes for quick weeknight taco nights.

Ingredients
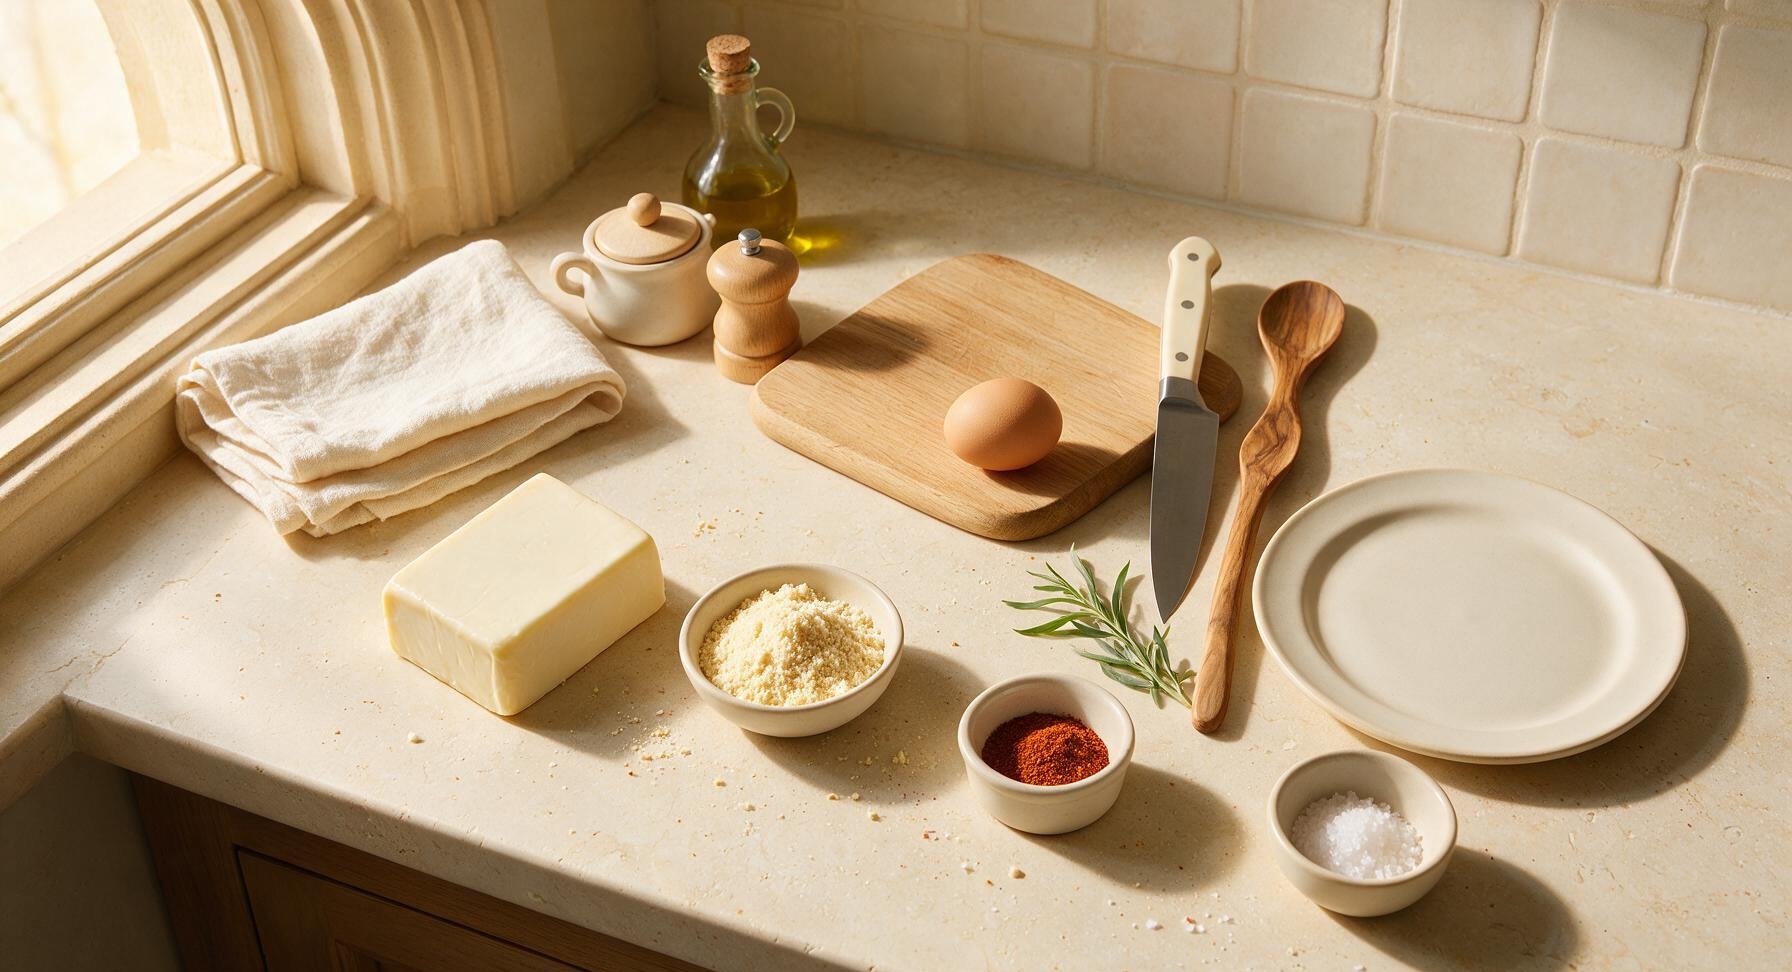
Low-moisture part-skim mozzarella cheese (block) 2 cups (226g)
Superfine blanched almond flour 2 tbsp (14g)
No-sugar-added taco seasoning 1 tbsp (7g)
Large egg 1 unit (50g)
Coarse kosher salt 1/4 tsp (1g)

Steps

1

Preheat Oven, Prep Pan

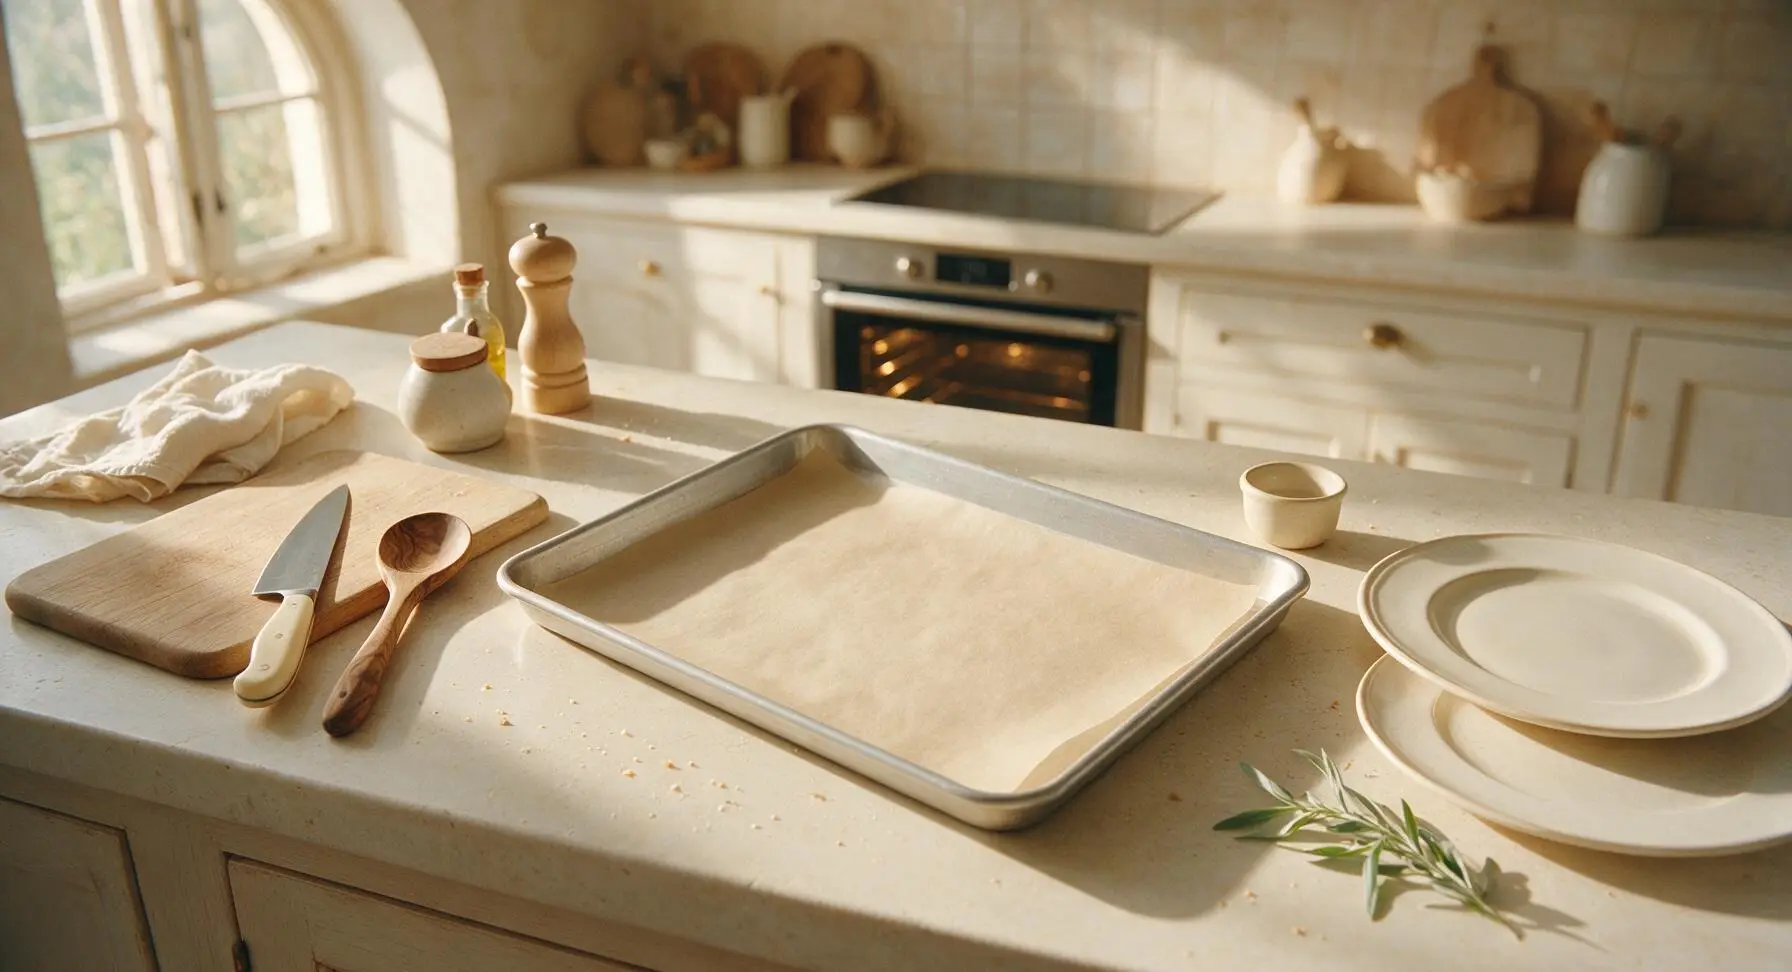
Adjust your oven rack to the middle position, then preheat the oven to 400°F (200°C). Line the 33x23cm rimmed aluminum baking sheet with a sheet of unbleached parchment paper, smoothing out any wrinkles to ensure a flat cooking surface. Set the prepared sheet in the center of the counter work zone.
Step 1
step1:Preheat Oven, Prep Pan
2

Grate Fresh Mozzarella

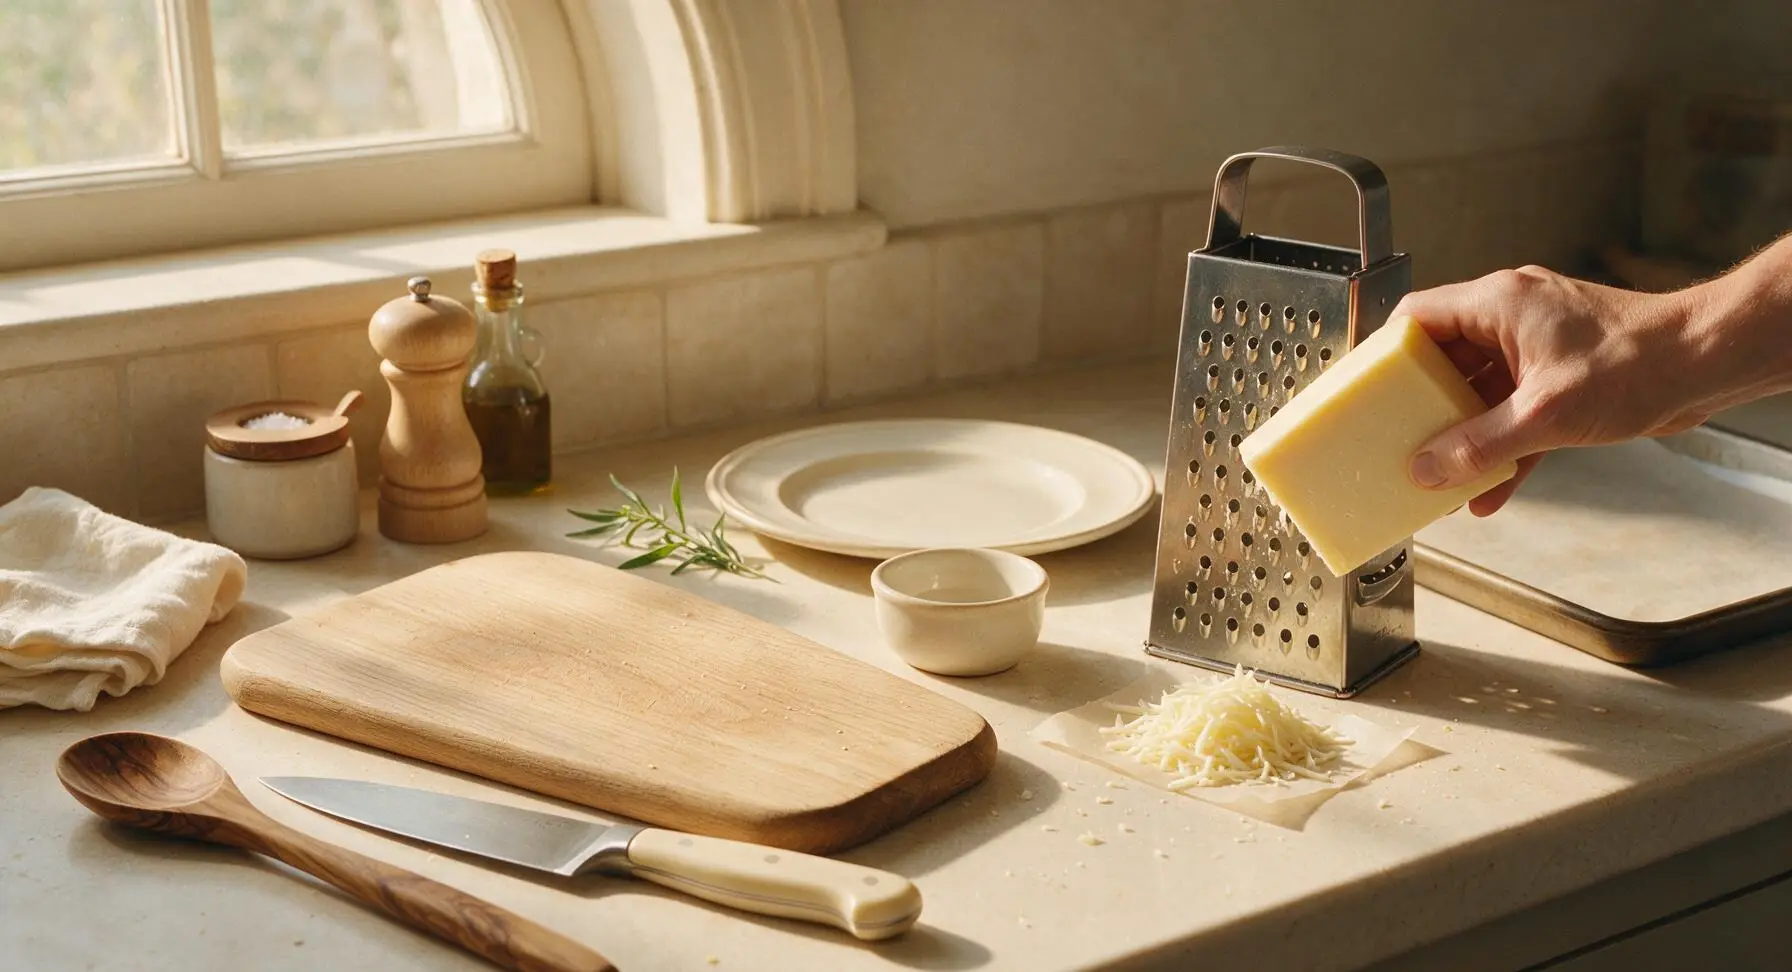
Retrieve the stainless steel box grater from the lower drawer, placing it to the right of the center counter position. Unwrap the block of low-moisture part-skim mozzarella, and grate it on the large holes of the box grater to create thin, uniform shreds that will melt evenly. Apply light, even pressure to avoid thick, uneven shreds that cook at different rates.
Step 2
step2:Grate Fresh Mozzarella
3

Mix Dry Ingredients

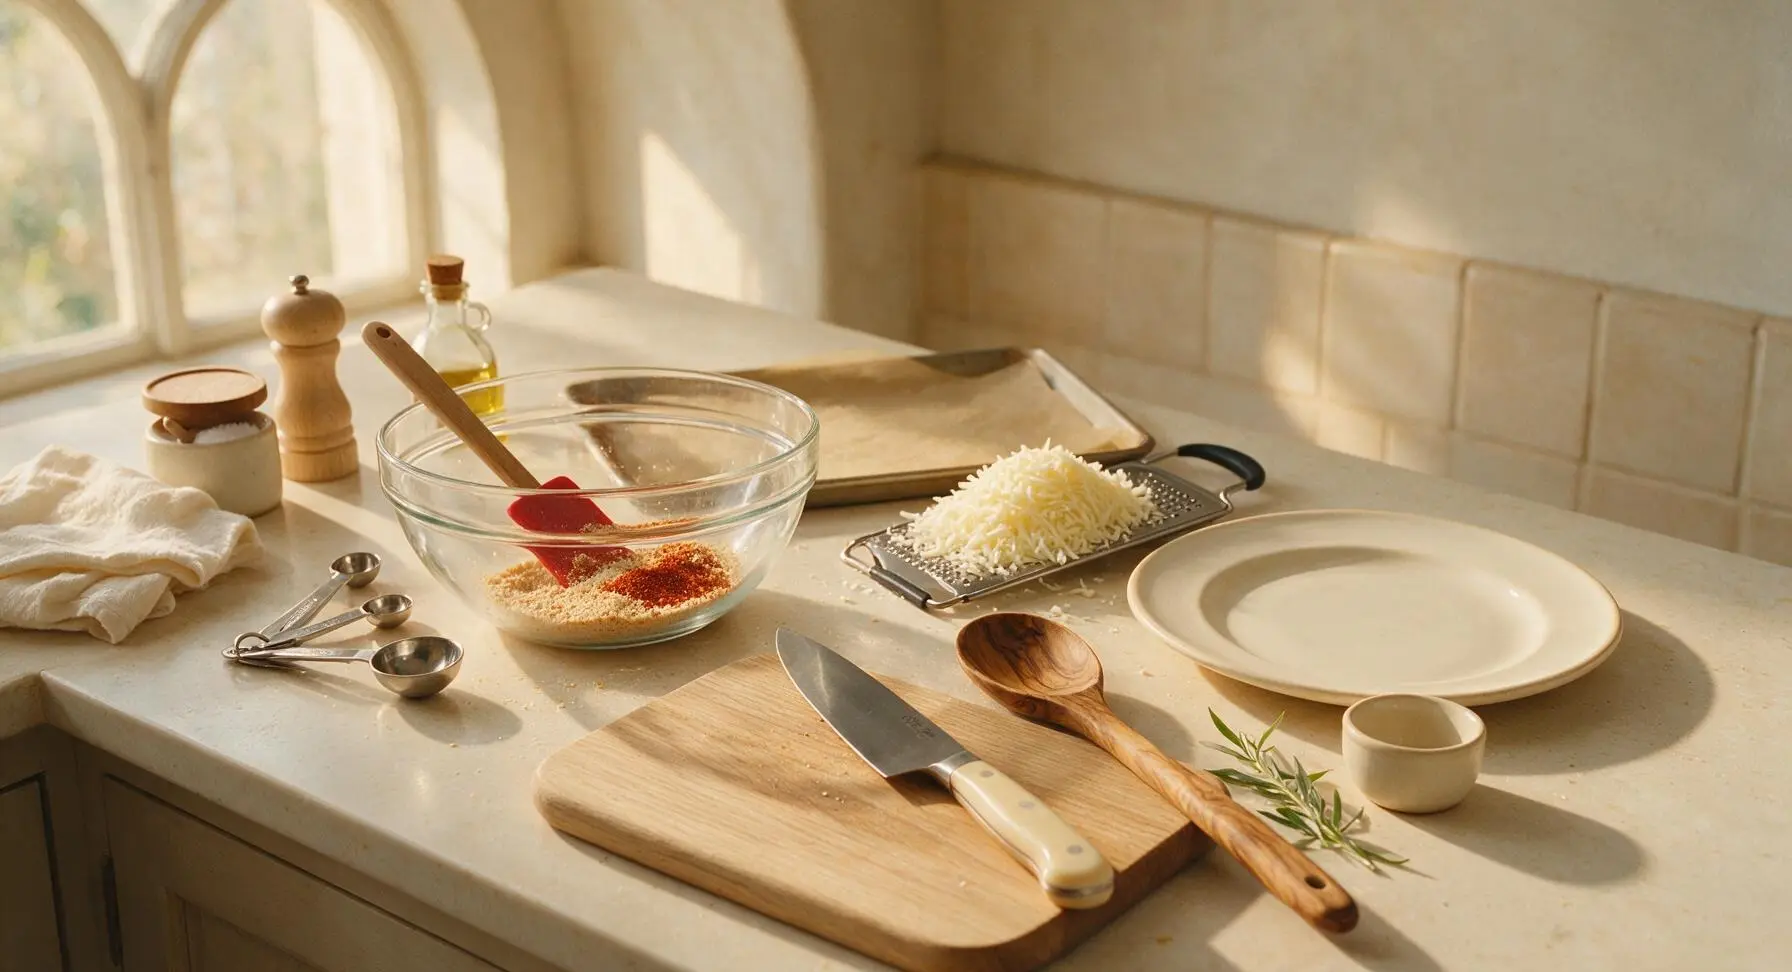
Retrieve the medium borosilicate glass mixing bowl and nested stainless steel measuring spoons from storage, placing the bowl center-left on the counter and the measuring spoons to the left of the bowl. Add 2 tablespoons superfine blanched almond flour, 1 tablespoon no-sugar taco seasoning, and 1/4 teaspoon coarse kosher salt to the bowl. Stir with the red silicone spatula until evenly combined, with no clumps of seasoning remaining.
Step 3
step3:Mix Dry Ingredients
4

Add Cheese and Egg

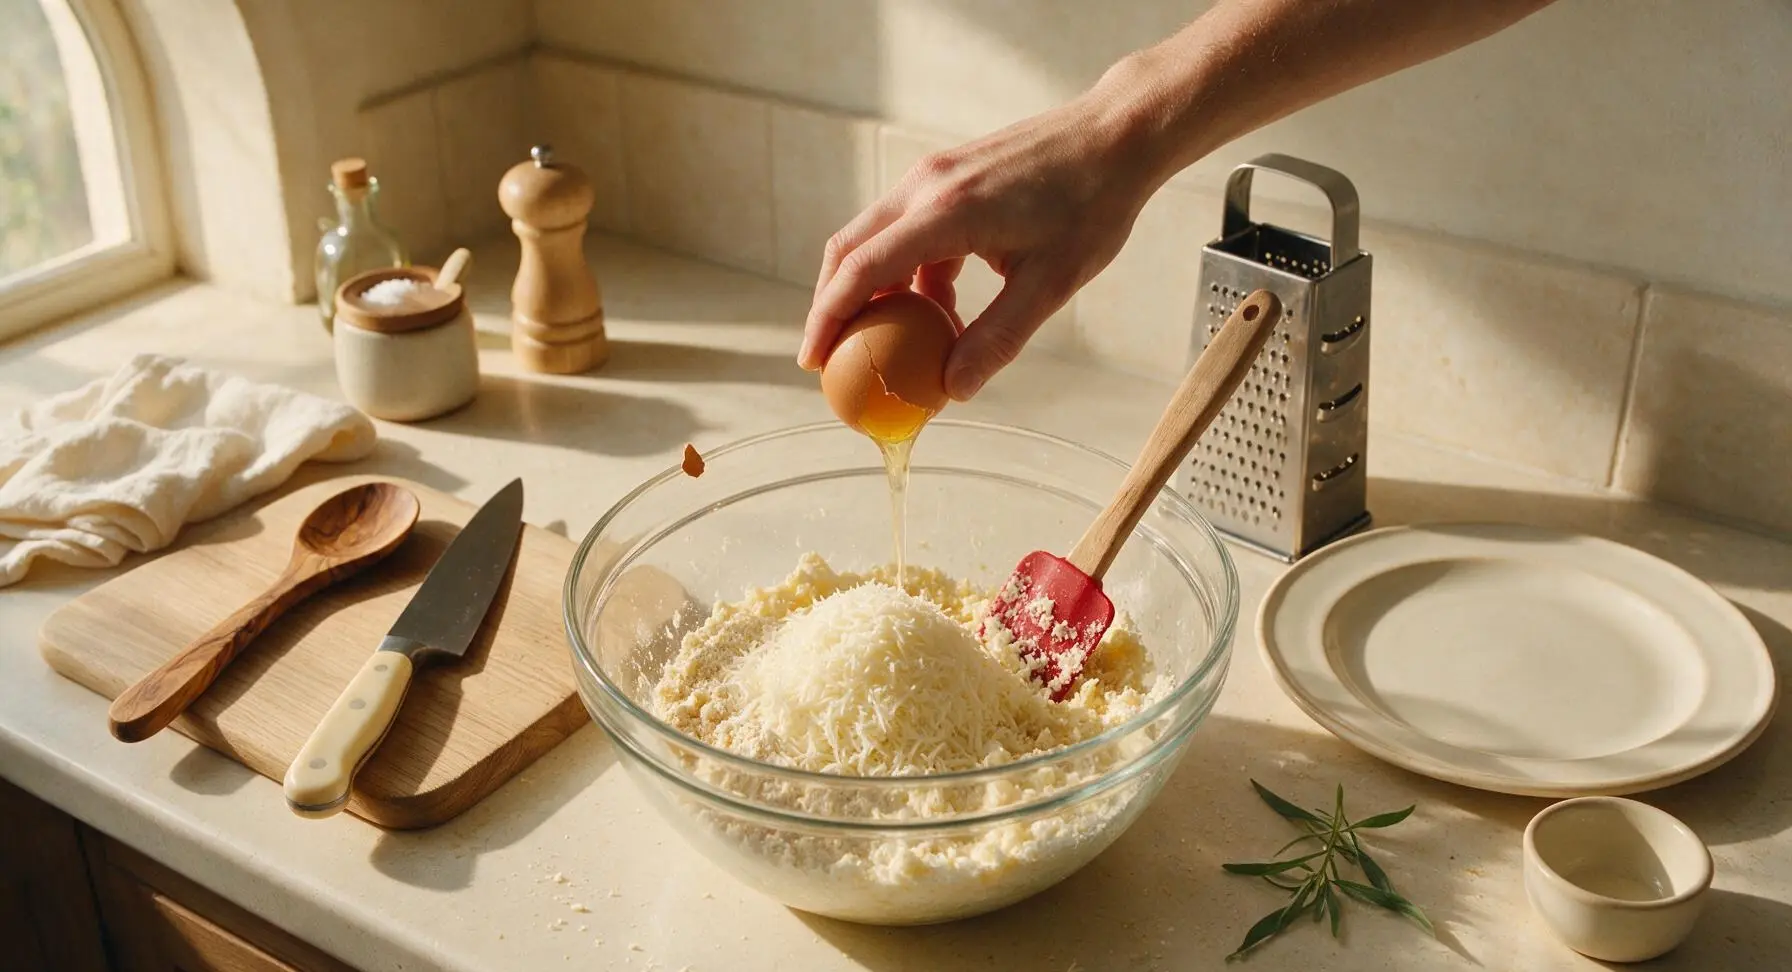
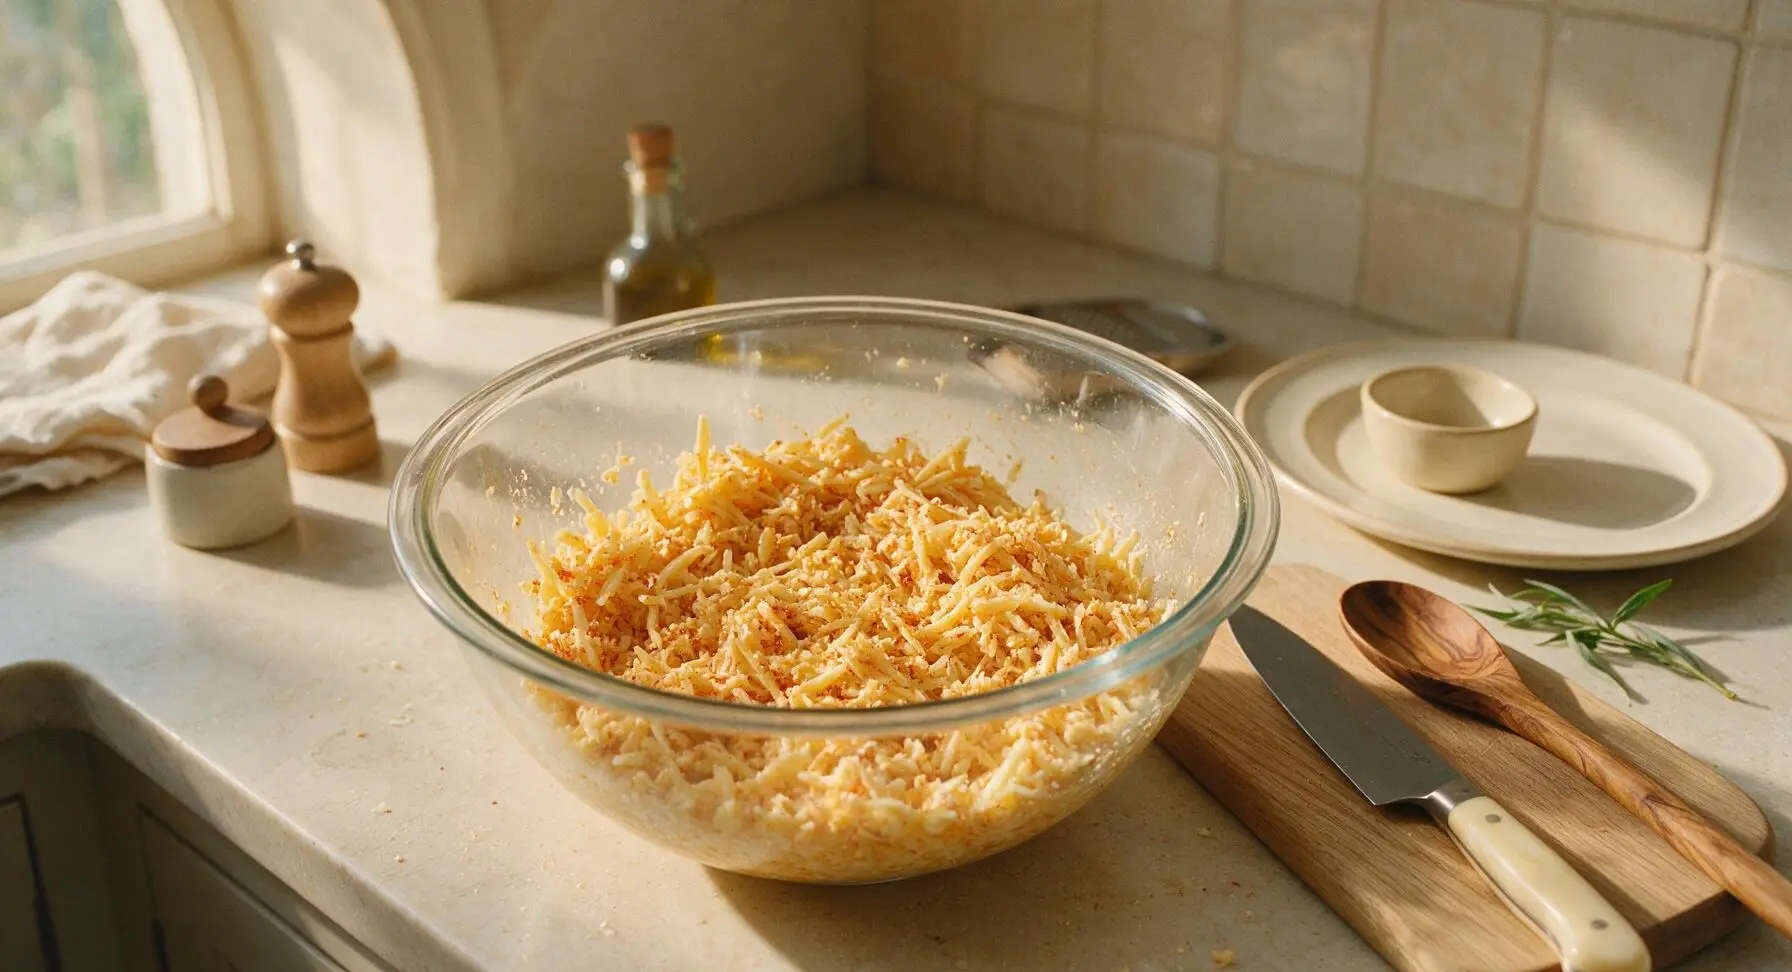
Add the full 2 cups of freshly grated mozzarella and 1 whole cracked large egg (inspect for and remove any small shell fragments) to the bowl with the combined dry ingredients. Stir thoroughly with the red silicone spatula until every shred of cheese is evenly coated in the flour and seasoning mixture, and the egg is fully incorporated to form a loose, crumbly, evenly colored mixture with no dry flour pockets at the bottom of the bowl.
Step 4
step4:Add Cheese and Egg
Step 4
step4:Add Cheese and Egg
5

Portion Dough Mounds

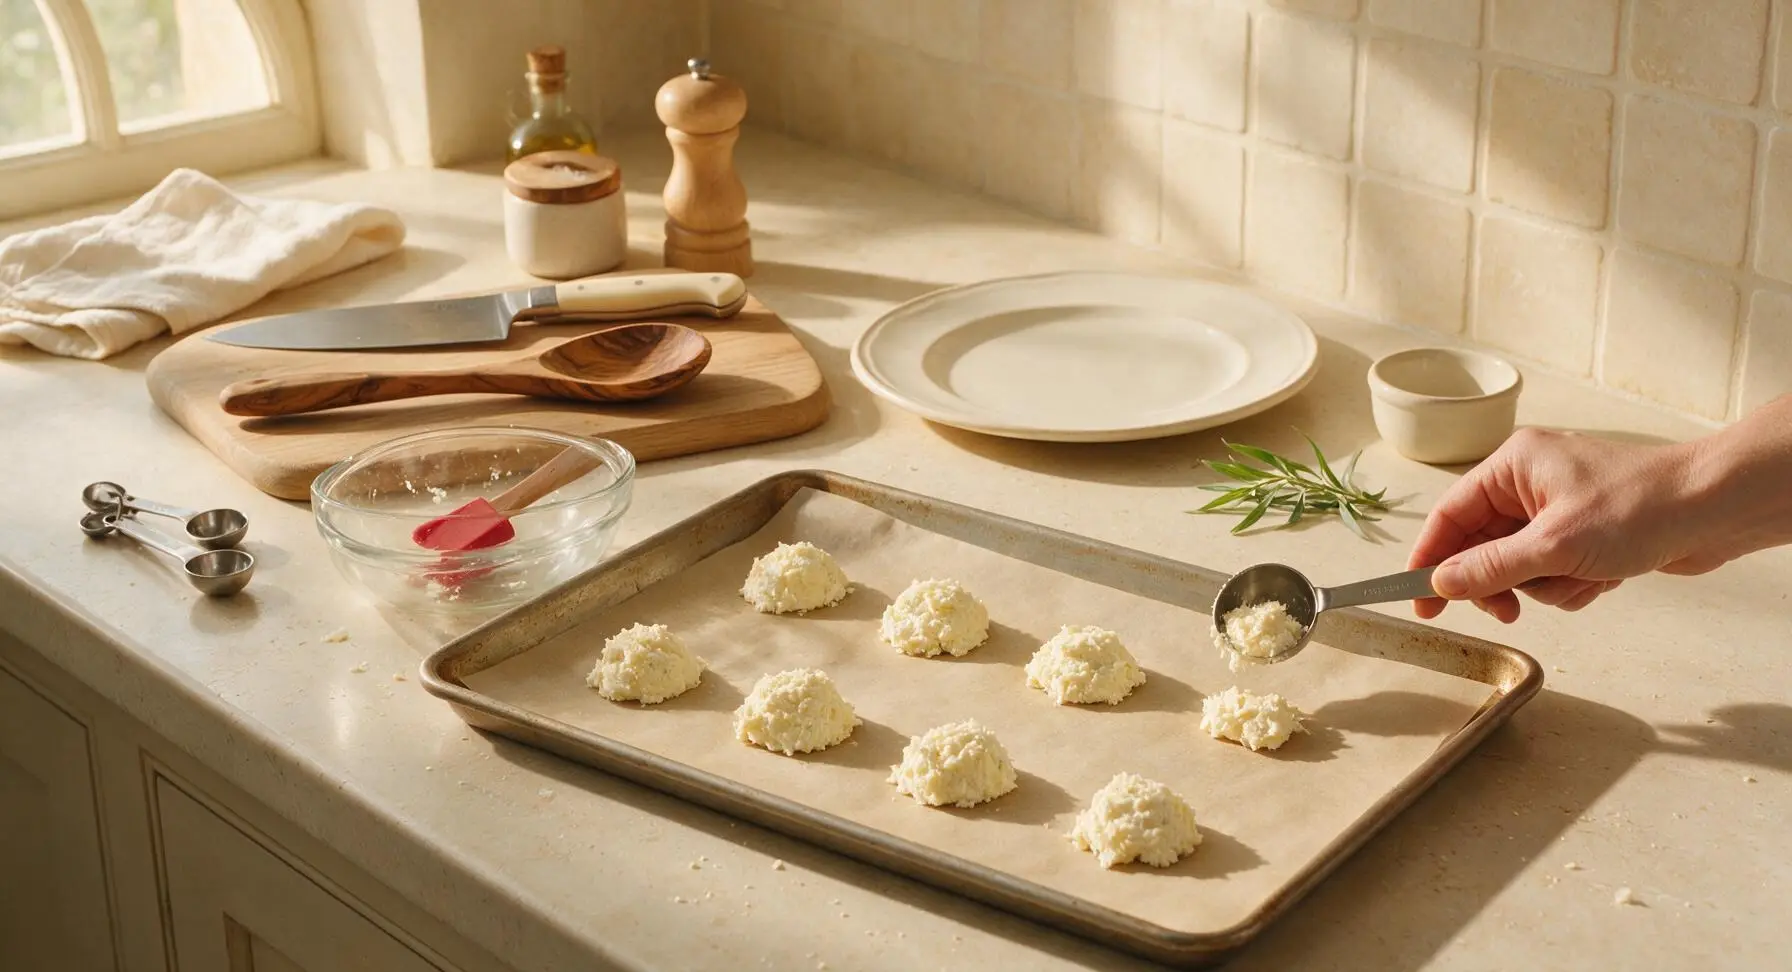
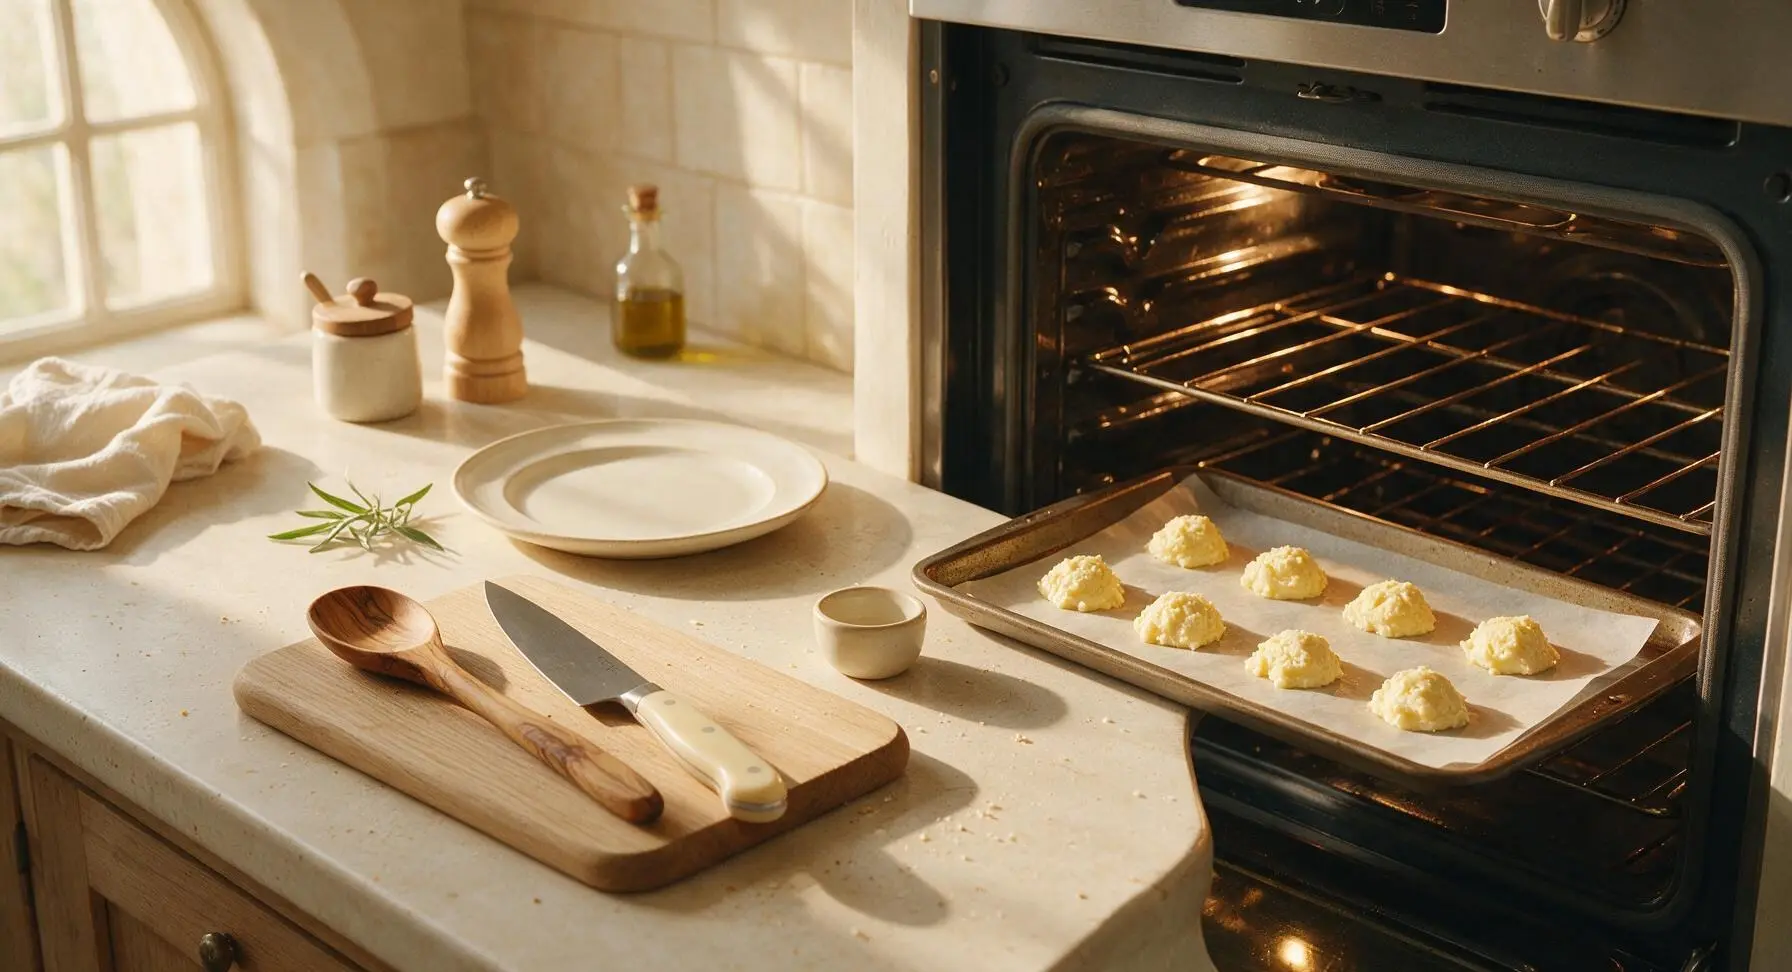
Use the 2-tablespoon measure from the stainless steel measuring spoon set to scoop the cheese mixture, dropping 8 equal, loosely packed mounds onto the parchment-lined baking sheet, leaving 3 inches of space between each mound to allow for spreading as the cheese melts. Do not press the mounds flat at this stage, as they will spread naturally into even circles as the cheese melts.
Step 5
step5:Portion Dough Mounds
6

Bake to Golden Crisp

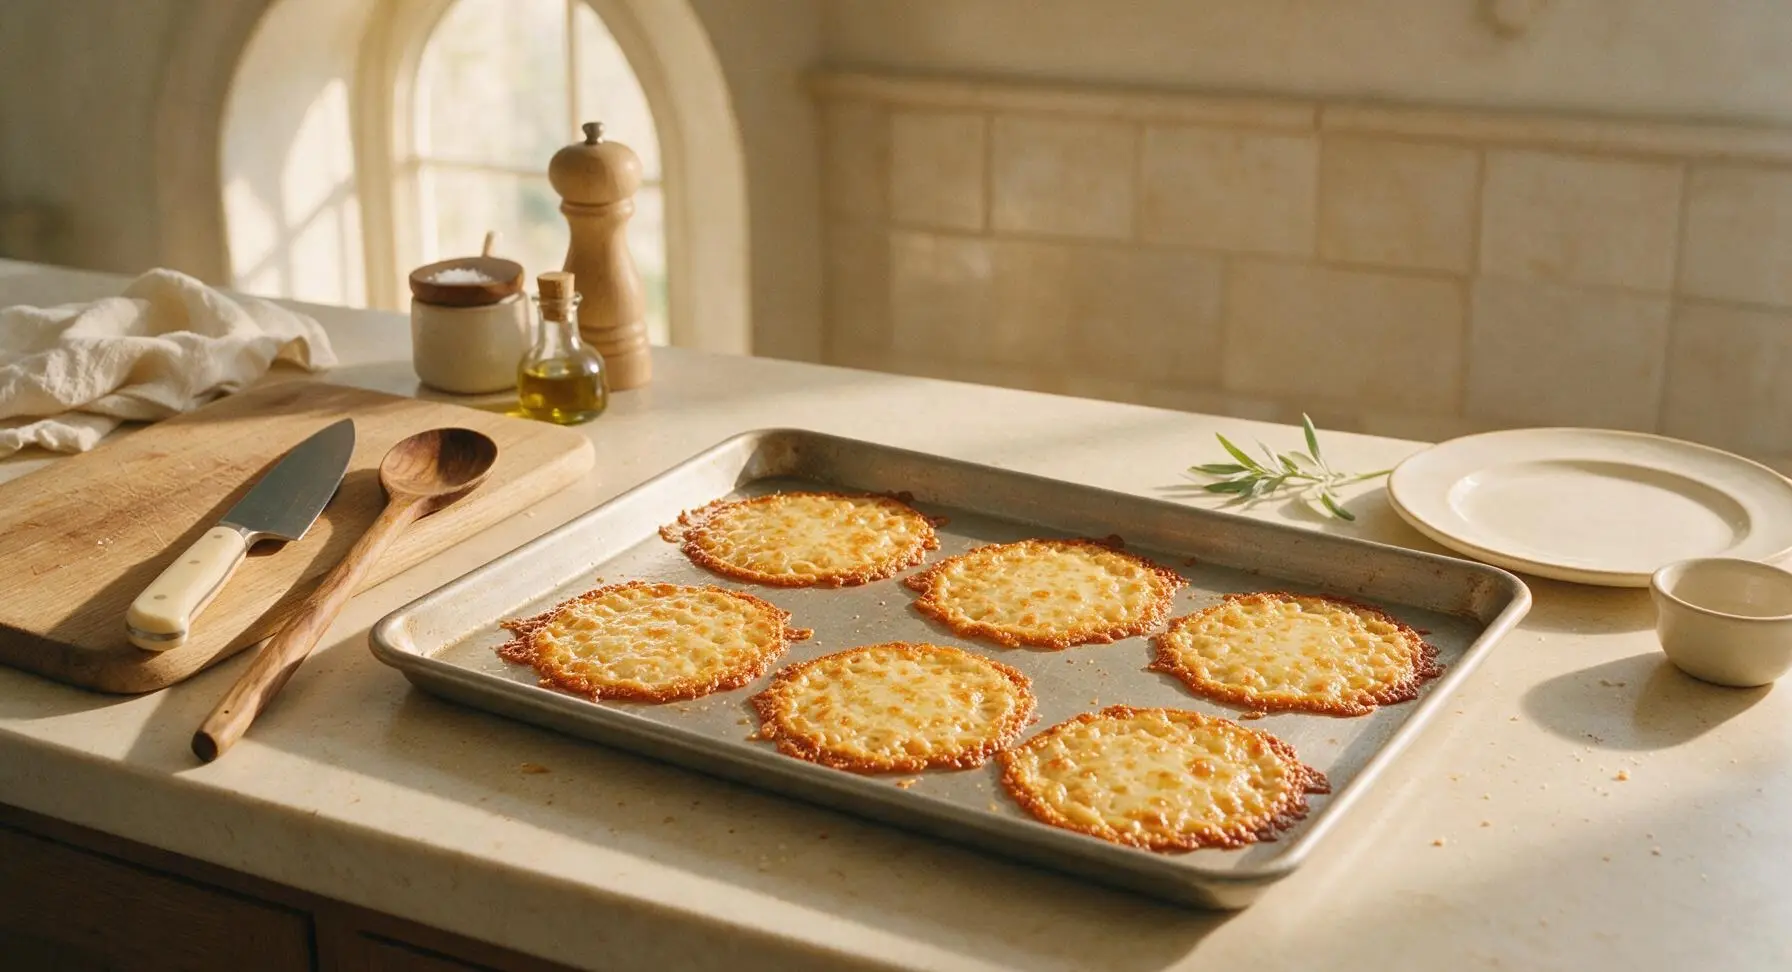
Carefully transfer the baking sheet to the preheated middle oven rack. Bake for 8-10 minutes at 400°F (200°C), until the cheese is fully melted, spread into thin 4-inch circles, and the edges are a deep golden brown with tiny lacy bubbles across the surface. Rotate the sheet halfway through baking if your oven has hot spots to ensure even browning. Do not overbake, as the cheese will turn dark and bitter if left in too long.
Step 6
step6:Bake to Golden Crisp
Step 6
step6:Bake to Golden Crisp
7

Shape Warm Shells

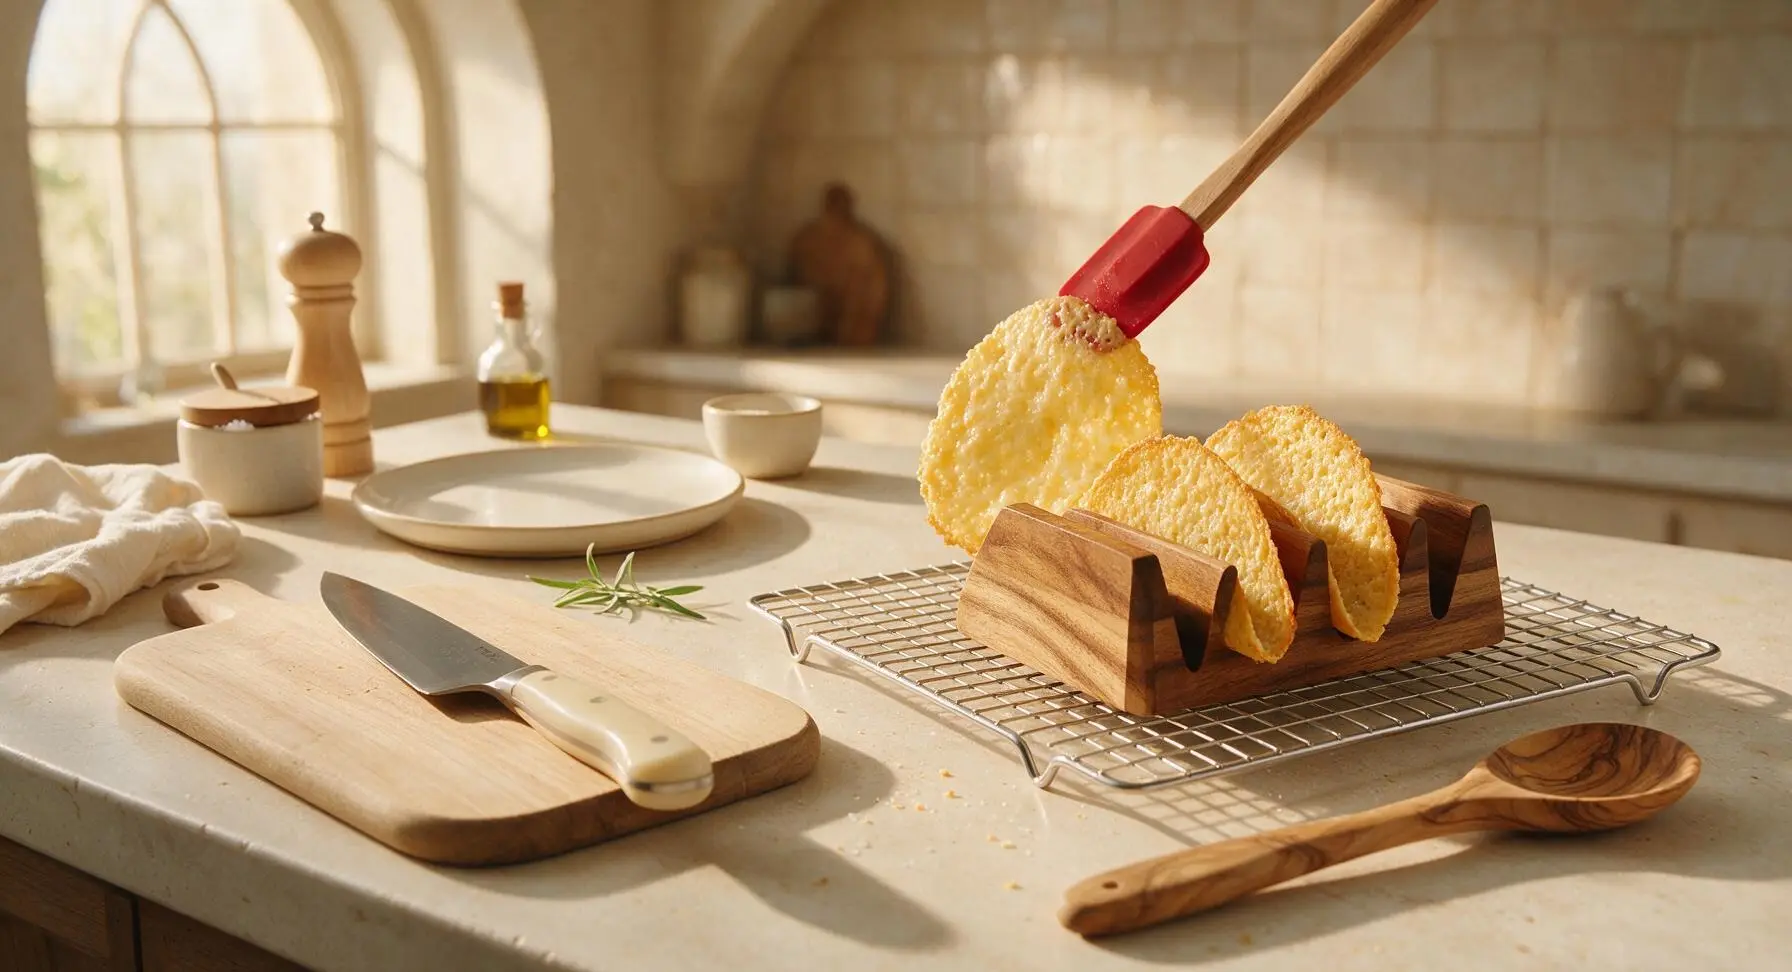
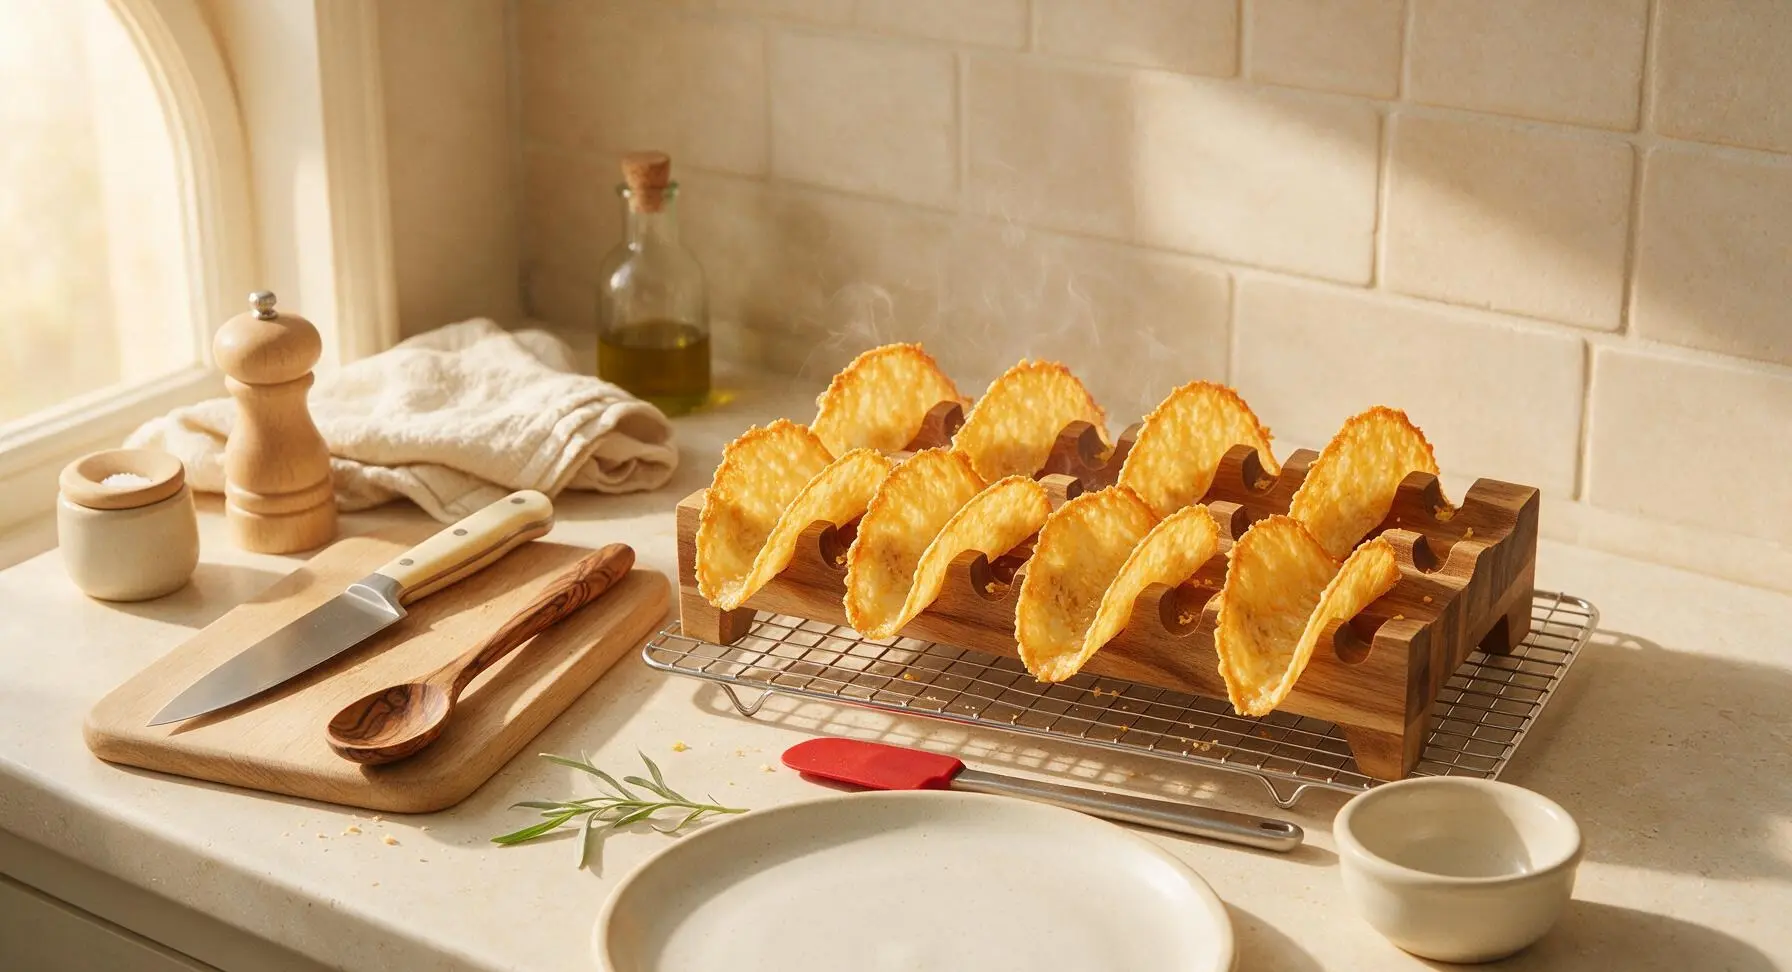
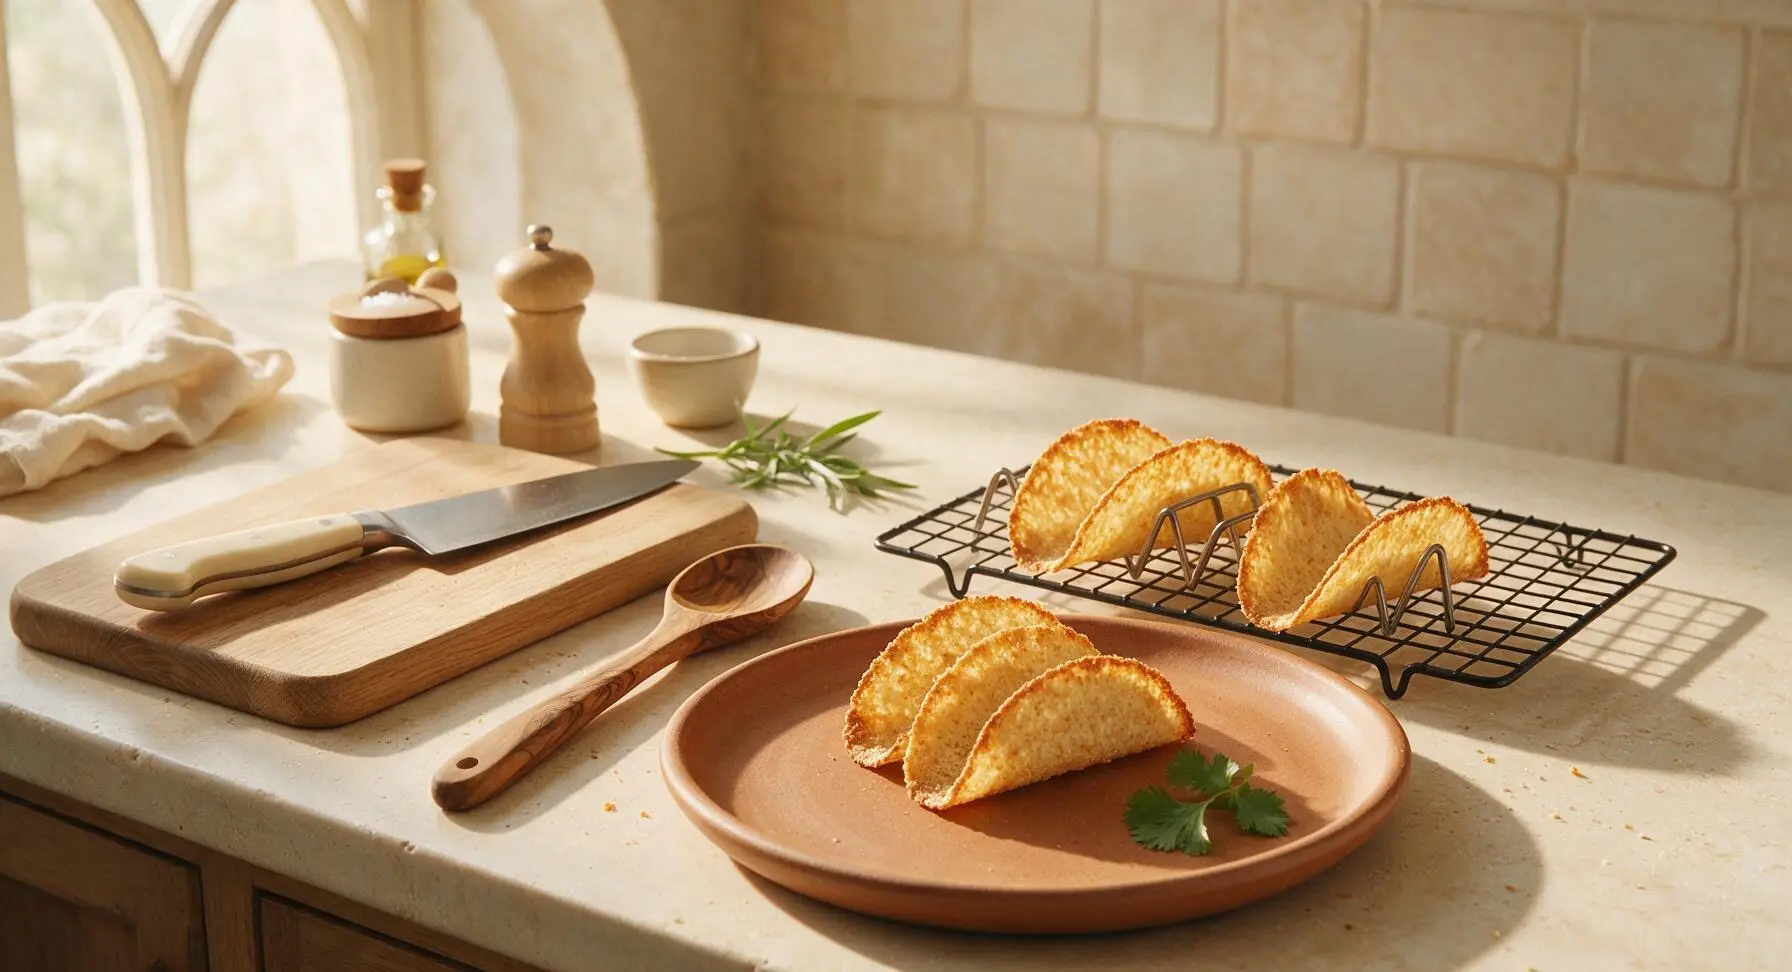
As soon as the baked cheese circles come out of the oven, let them rest on the baking sheet for 60 seconds until they are firm enough to lift without tearing (they will still be soft and pliable, not fully hard). Working quickly, use the thin edge of the red silicone spatula to lift each circle, draping it over the slots of the acacia wood taco shaping rack set on top of the chrome wire cooling rack (positioned center-right on the counter). The curved slots of the rack will hold the shells in the classic folded taco shape as they cool.
Step 7
step7:Shape Warm Shells
Step 7
step7:Shape Warm Shells
8

Cool Until Crisp

Let the shells rest undisturbed on the taco rack for a full 5 minutes, until they are completely firm to the touch, crisp, and hold their curved shape without flopping when lifted. Do not fill the shells while they are still warm, as they will be soft and bend, causing fillings to fall out. Once fully crisp, transfer shells to the serving plate, and serve immediately with your favorite keto taco fillings.
Step 8
step8:Cool Until Crisp

Tips

1.Use only low-moisture, part-skim mozzarella for this recipe, not fresh mozzarella. Fresh mozzarella has high excess water content that releases during baking, leading to soggy, floppy shells instead of the desired crisp, snappy texture.
2.Work quickly to shape the shells within 90 seconds of removing them from the oven. If you wait longer, the cheese will cool and harden flat on the baking sheet, and will crack or break when you attempt to bend it into the taco shape.
3.Grate your cheese fresh from a block instead of using pre-shredded mozzarella. Pre-shredded cheese is coated in powdered cellulose (an anti-caking agent) that prevents smooth, even melting, resulting in grainy, fragile shells that break easily when filled.
✨ You May Also Like

Dinner
🍜 United States

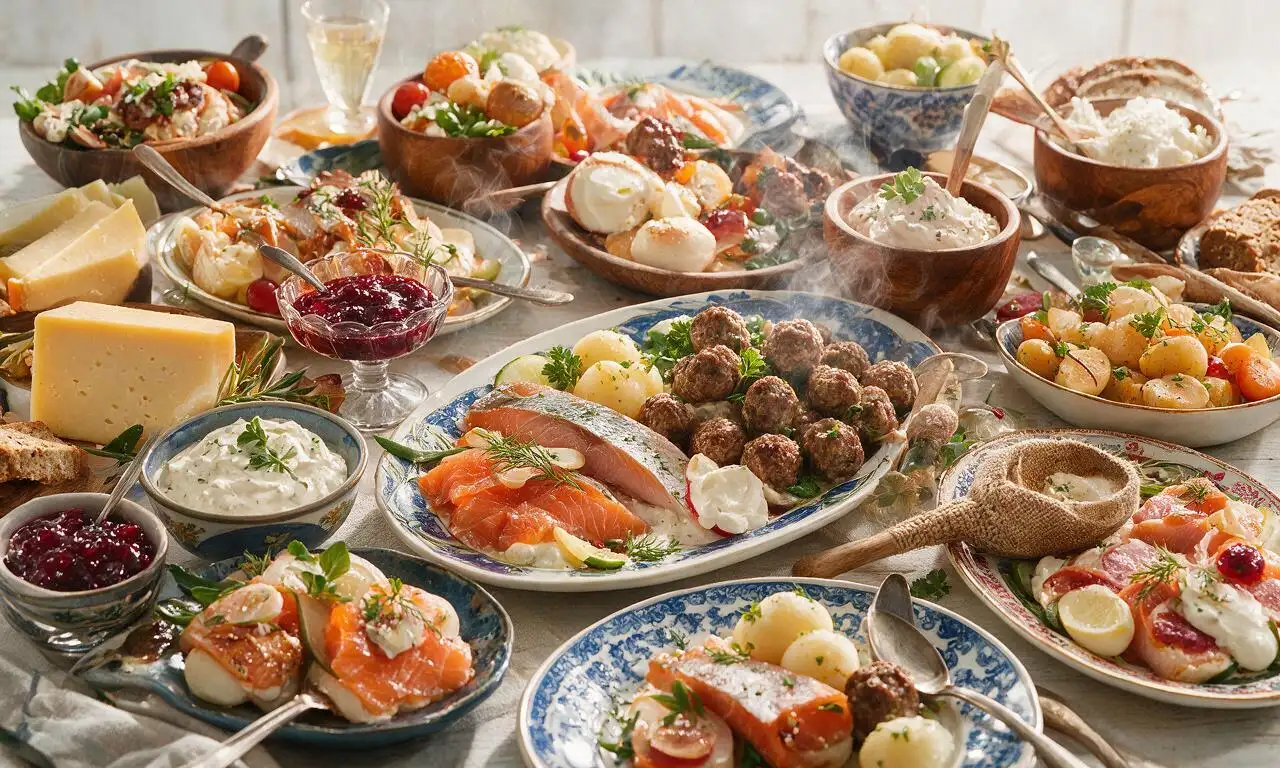
A festive, hearty spread of classic Swedish small plates, featuring cured fish, tender meatballs, cheese, and seasonal sides, perfect for holiday gatherings.

⏱️ 2 hoursDinner ★ 4.8
Dinner
🍜 United States

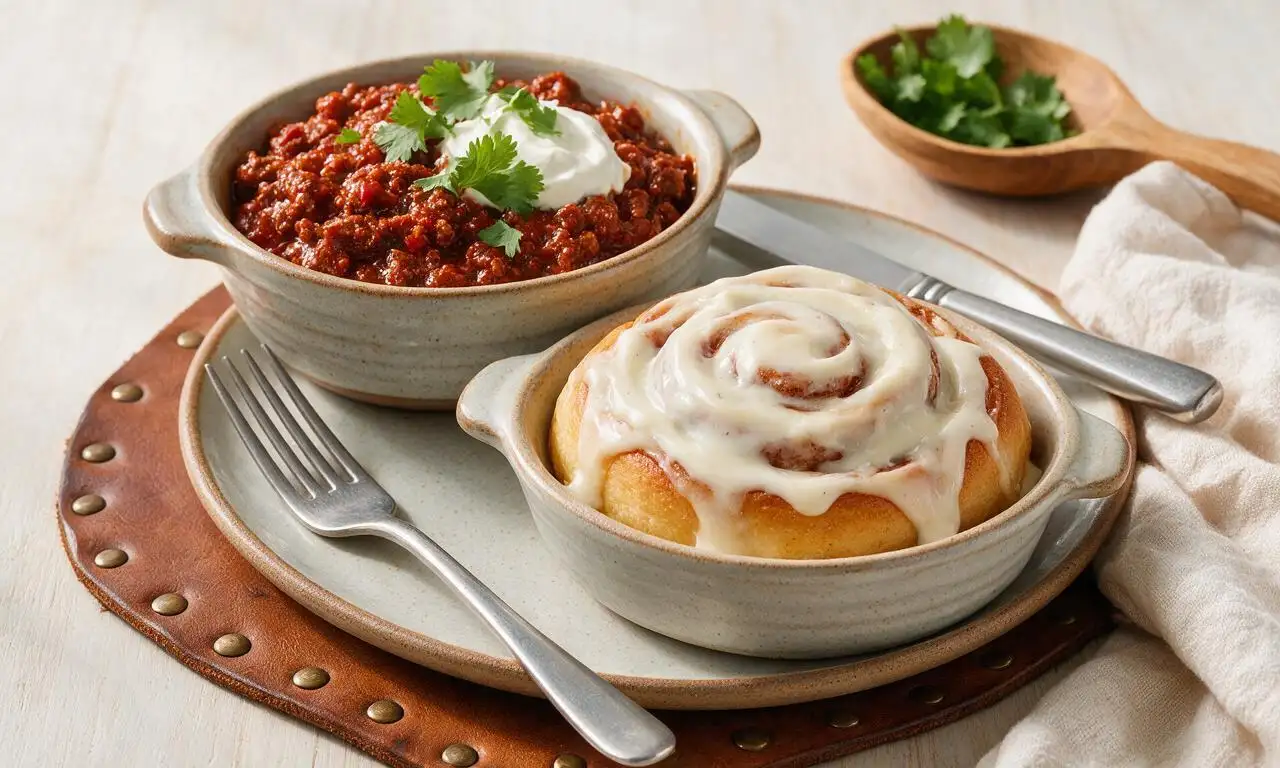
Iconic Midwestern comfort meal pairing rich, spiced beef chili with soft, frosted cinnamon rolls for the perfect sweet-savory cold-weather bite.

⏱️ 1 hour 45Dinner ★ 4.7
Dinner
🍜 Canada

A beloved sweet-savory pizza loaded with smoky ham, juicy pineapple, and gooey melted cheese on a crisp golden crust, perfect for casual shared meals.

⏱️ 25 minuteDinner ★ 4.9
Dinner
🍜 United States

Juicy herb-roasted turkey with savory sourdough stuffing and rich pan gravy, the iconic cozy holiday meal made for gathering loved ones around the table.

⏱️ 4 hours 3Dinner ★ 4.9
Dinner
🍜 Italy

Crispy chewy crust, tangy tomato sauce, gooey melted mozzarella, and spicy curled pepperoni: this takeout favorite is simple to make perfectly at home.

⏱️ 35 minuteDinner ★ 4.9
Dinner
🍜 Italy

Crispy, chewy crust loaded with colorful fresh veggies, melted mozzarella, and zesty tomato sauce: a satisfying, crowd-pleasing meatless meal.

⏱️ 35 minuteDinner ★ 4.8

keto taco shells:Frequently Asked Questions

1.How many net carbs are in each crispy keto taco shell? ▾
Each serving (one taco shell) clocks in at just 2g net carbs, making it perfect for strict keto eating. That low count comes from grain-free superfine blanched almond flour and no-sugar-added taco seasoning, with zero starchy grain fillers. Just double-check your taco seasoning label for hidden added sugars to keep that carb count exact.
2.Why do I need block low-moisture part-skim mozzarella instead of pre-shredded? ▾
Pre-shredded mozzarella is coated in anti-caking agents like potato starch or cornstarch that add hidden carbs, prevent smooth melting, and can make your shells tough. Freshly shredded block low-moisture part-skim mozzarella melts evenly, creates that ideal crisp texture, and won’t turn soggy once you add fillings.
3.How long does it take to make these taco shells from start to finish? ▾
These shells are totally ready in 20 minutes flat, making them ideal for busy weeknight taco nights. Active prep time is only about 5 minutes to mix the simple dough, then you’ll bake and shape the shells in roughly 15 minutes, with no fancy equipment or long dough resting time required.
4.Will these shells get soggy or break when I load them up with taco fillings? ▾
When made correctly, these shells are sturdy enough to hold all your favorite taco fillings without sogginess or snapping. The key is baking them until fully golden around the edges before shaping, then letting them cool 1-2 minutes in their taco curve to set fully before piling on meat, cheese, and veggies.
5.Can I use regular almond flour instead of superfine blanched almond flour? ▾
I don’t recommend that swap. Regular unblanched almond flour has a coarser texture and darker color from almond skins, which creates grainy, dense shells that don’t crisp evenly. Superfine blanched almond flour mixes smoothly into the cheese dough for a light, crisp, golden shell that mimics traditional corn taco shells.
6.How do I shape the shells to get that classic taco curve without cracking them? ▾
Once you pull the flat baked shell rounds out of the oven, let them rest 30 seconds so they’re cool enough to handle, then drape each over your oven rack rungs or a taco mold to hold the curved shape. They’ll set firm as they cool in 2-3 minutes, and won’t crack if you don’t wait too long to shape them.
7.Do I have to add taco seasoning to the dough, or can I make plain shells? ▾
You can absolutely leave out the no-sugar-added taco seasoning if you prefer a neutral, plain shell, but it adds that classic Tex-Mex flavor that makes these taste just like restaurant taco shells. If you skip it, add a pinch extra coarse kosher salt to the dough so the shells don’t taste bland next to savory fillings.
8.Can I make these taco shells ahead of time for weekly meal prep? ▾
Yes, these shells hold up great for meal prep! Once they’re fully cooled and crisp, store them in an airtight container layered between parchment paper pieces in the fridge for up to 5 days. Re-crisp them for 2-3 minutes in a 350°F oven right before serving to bring back that perfect crunchy texture.
9.What purpose does the egg serve, and can I make these shells egg-free? ▾
The large egg acts as a critical binder to hold the almond flour and melted mozzarella together, so your shells don’t crack or crumble when you shape them or add fillings. For an egg-free swap, use 3 tablespoons of prepared liquid egg replacer, though the final texture may be slightly less sturdy than the original.
10.How do I keep the shells from sticking to my baking sheet while they bake? ▾
Always line your baking sheet with unbleached parchment paper before portioning out your shell dough—no extra cooking spray is needed if you use good-quality parchment. Skip wax paper, which melts and sticks to hot cheese, and avoid greasing the pan directly, which makes edges fry unevenly instead of baking crisp.
11.Can I use table salt instead of coarse kosher salt for this recipe? ▾
Stick to coarse kosher salt for the most even, balanced seasoning, as it distributes easily through the dough without creating overly salty spots. If you only have table salt, cut the measured amount in half—table salt is much denser, so the full measurement will make your shells far too salty to enjoy with seasoned fillings.

Comments (6)

5 days ago

OMG these are a total game changer for our weekly taco Tuesday! I’ve been missing crispy taco shells so bad since going low carb, and these hold up perfectly even loaded with ground beef, cheese, and guac. My 8 year old didn’t even notice they weren’t the regular corn shells, he asked for seconds! 10 minute cook time is no joke, this is going into our regular meal prep rotation for sure. SO good.

3 days ago

Wait did yours get crispy all the way through? Mine were a little floppy in the middle when I tried them last night, wondering if I left them in the oven too short?

2 days ago

Great question! For extra crisp, make sure you’re spreading the cheese mixture super thin on the parchment, and let them cool for 1 full minute draped over your taco mold after baking — that helps them set perfectly crispy without flopping!

1 week ago

Made these for our neighborhood potluck last weekend and even the non-keto folks were raving about them! I added a little taco seasoning right into the shell mix and it bumped the flavor up so much. Way easier than I thought it would be, honestly I was intimidated to make homemade taco shells but this was dead simple. Will make again and again.

5 minutes ago

Perfect for my post-workout taco nights! I’ve tried so many keto taco shell recipes that either taste like straight cheese or fall apart when you pick them up, but these have the perfect crunch and don’t make a huge mess. 10 minute cook time is perfect for when I don’t want to spend forever in the kitchen after the gym. Only note is I sprayed my parchment paper a little and they came off way easier.

just now

So glad you loved them! Great tip about the parchment spray — that’s such an easy hack to make sure they don’t stick, thanks for sharing!

2 weeks ago

These are a meal prep dream! I made a big batch on Sunday, stored them in an airtight container between parchment paper sheets, and they stayed crispy all week for quick lunches. Stuffed them with shredded chicken, salsa, and a little sour cream and it felt like I was cheating on my diet. No weird aftertaste either, which is a big win for keto swaps. Easy enough for even a terrible cook like me to nail on the first try.

2 hours ago

Wait a second, these are just melted cheese formed into taco shells? Why didn’t I think of this sooner?? I made them last night for dinner and they were so crispy and crunchy, I didn’t even miss the old tortilla shells at all. My husband is super picky about keto substitutes and he said these are better than regular taco shells. Wild! Only thing is I burned the first batch a little because I got distracted scrolling TikTok, so don’t walk away from the oven the last couple minutes.

30 minutes ago

Oh thank you for the heads up about not walking away! I’m famous for getting distracted mid-cook and burning things, I’ll set a timer for sure when I make these this weekend.

yesterday

As someone who’s both gluten free and keto, I feel like I hit the jackpot with this recipe! These shells are sturdy enough to pile high with all my favorite toppings, no cracking, no sogginess. I used a mix of cheddar and mozzarella and it was chef’s kiss. So easy too, I don’t know why I ever bought those weird store-bought keto taco shells that taste like cardboard. 10/10.

2 hours ago

How did you get them to hold the taco shape? I tried draping them over a rolling pin like I saw on another recipe but they cracked when I folded them :(

30 minutes ago

Hi Pam! If they’re cracking when you fold them, that means they cooled just a little too long on the parchment before shaping. Let them sit for only 10-15 seconds after pulling them out of the oven before draping over your taco mold or rolling pin, and they’ll bend perfectly without cracking!