
kit burritos
intro
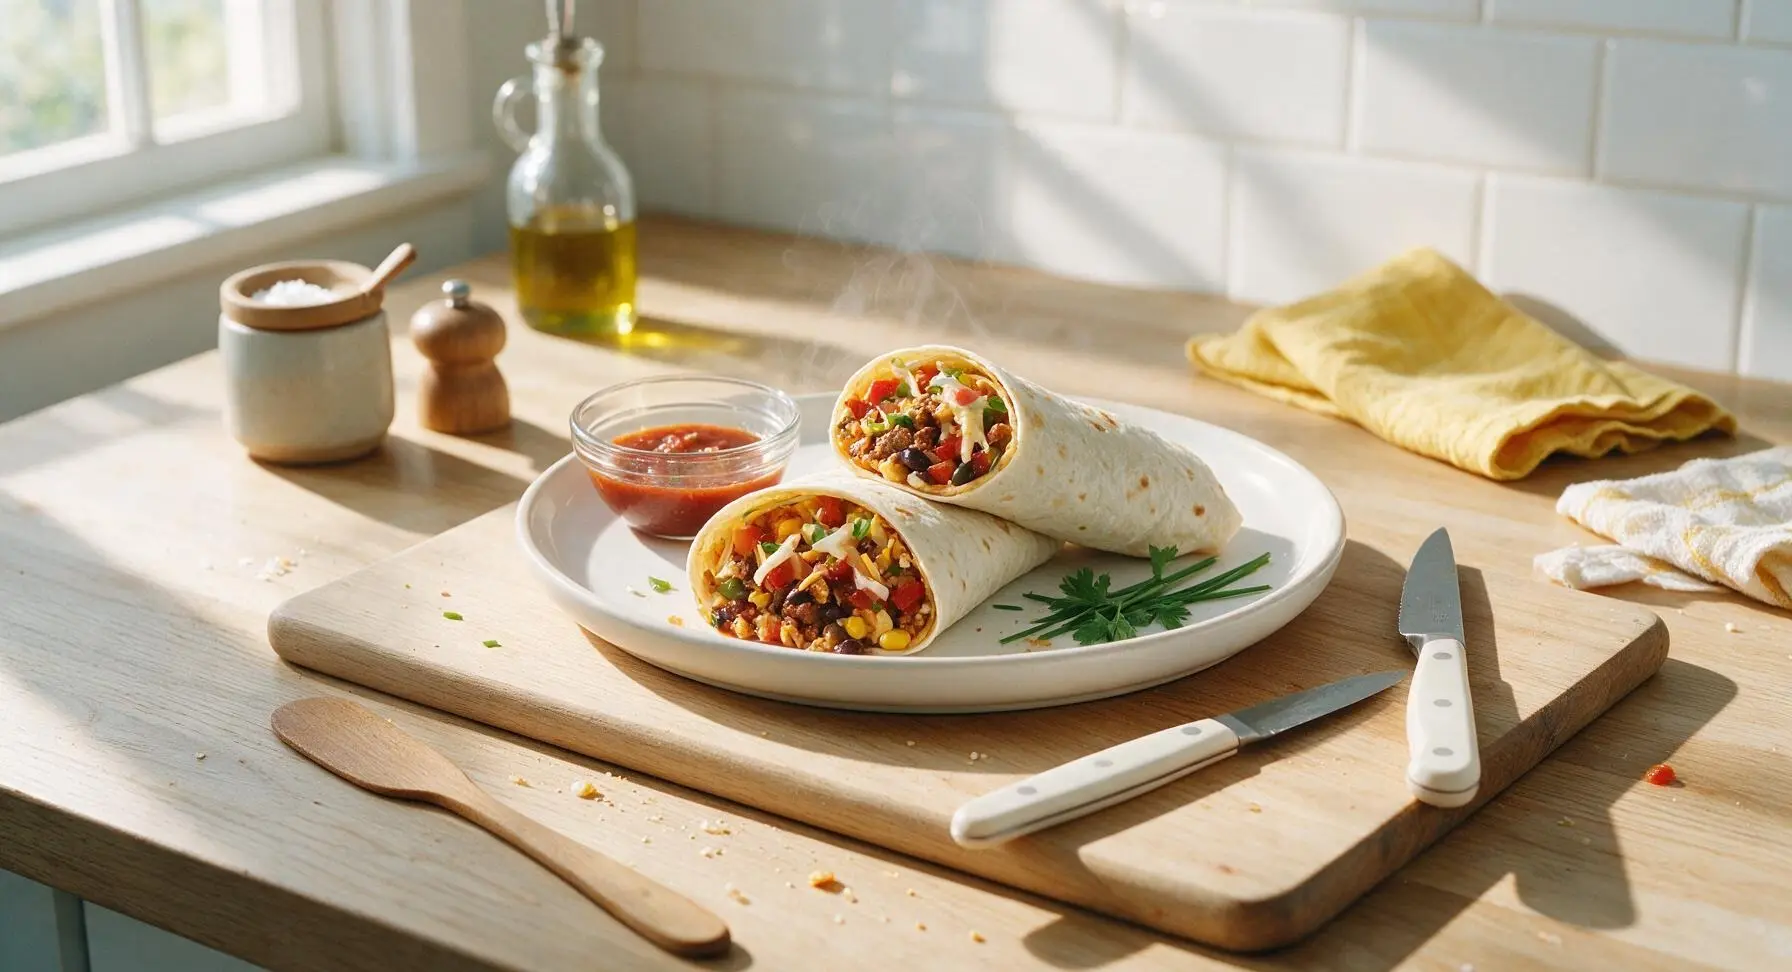
Warm, customizable kit-style burritos packed with classic Tex-Mex fixings, assembled in minutes for a satisfying, mess-free weeknight meal the whole family can tailor to their tastes.
Ingredients
Steps
Brown the Ground Beef
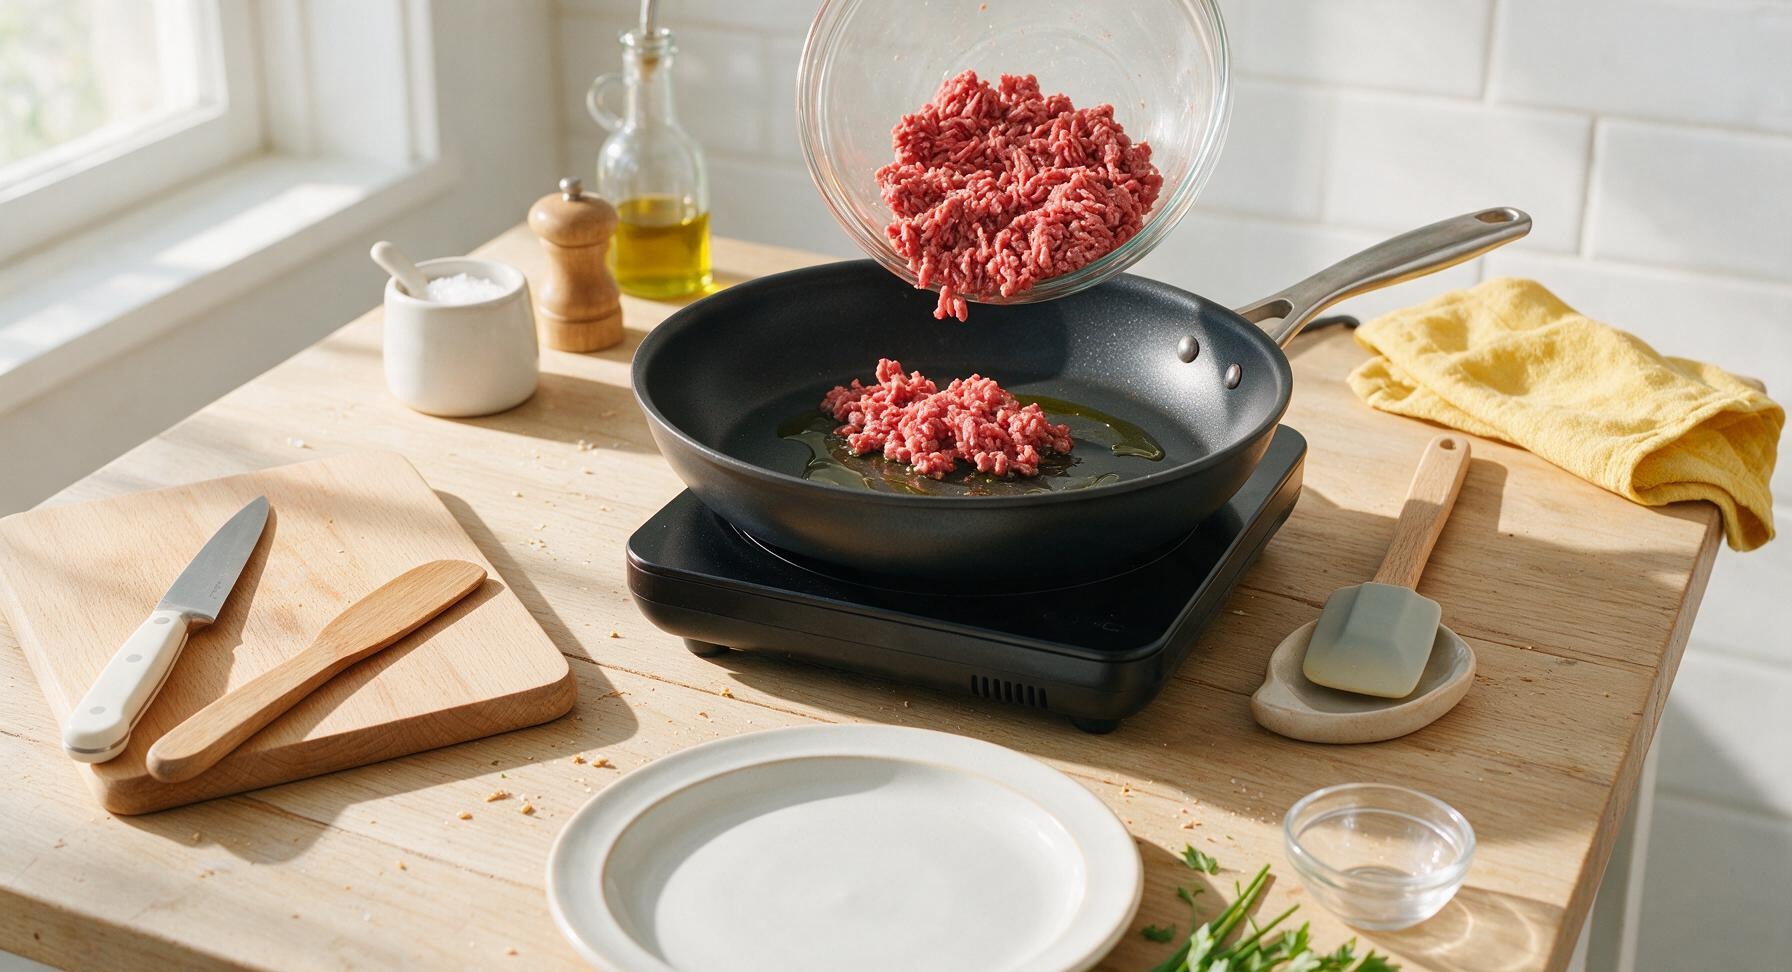
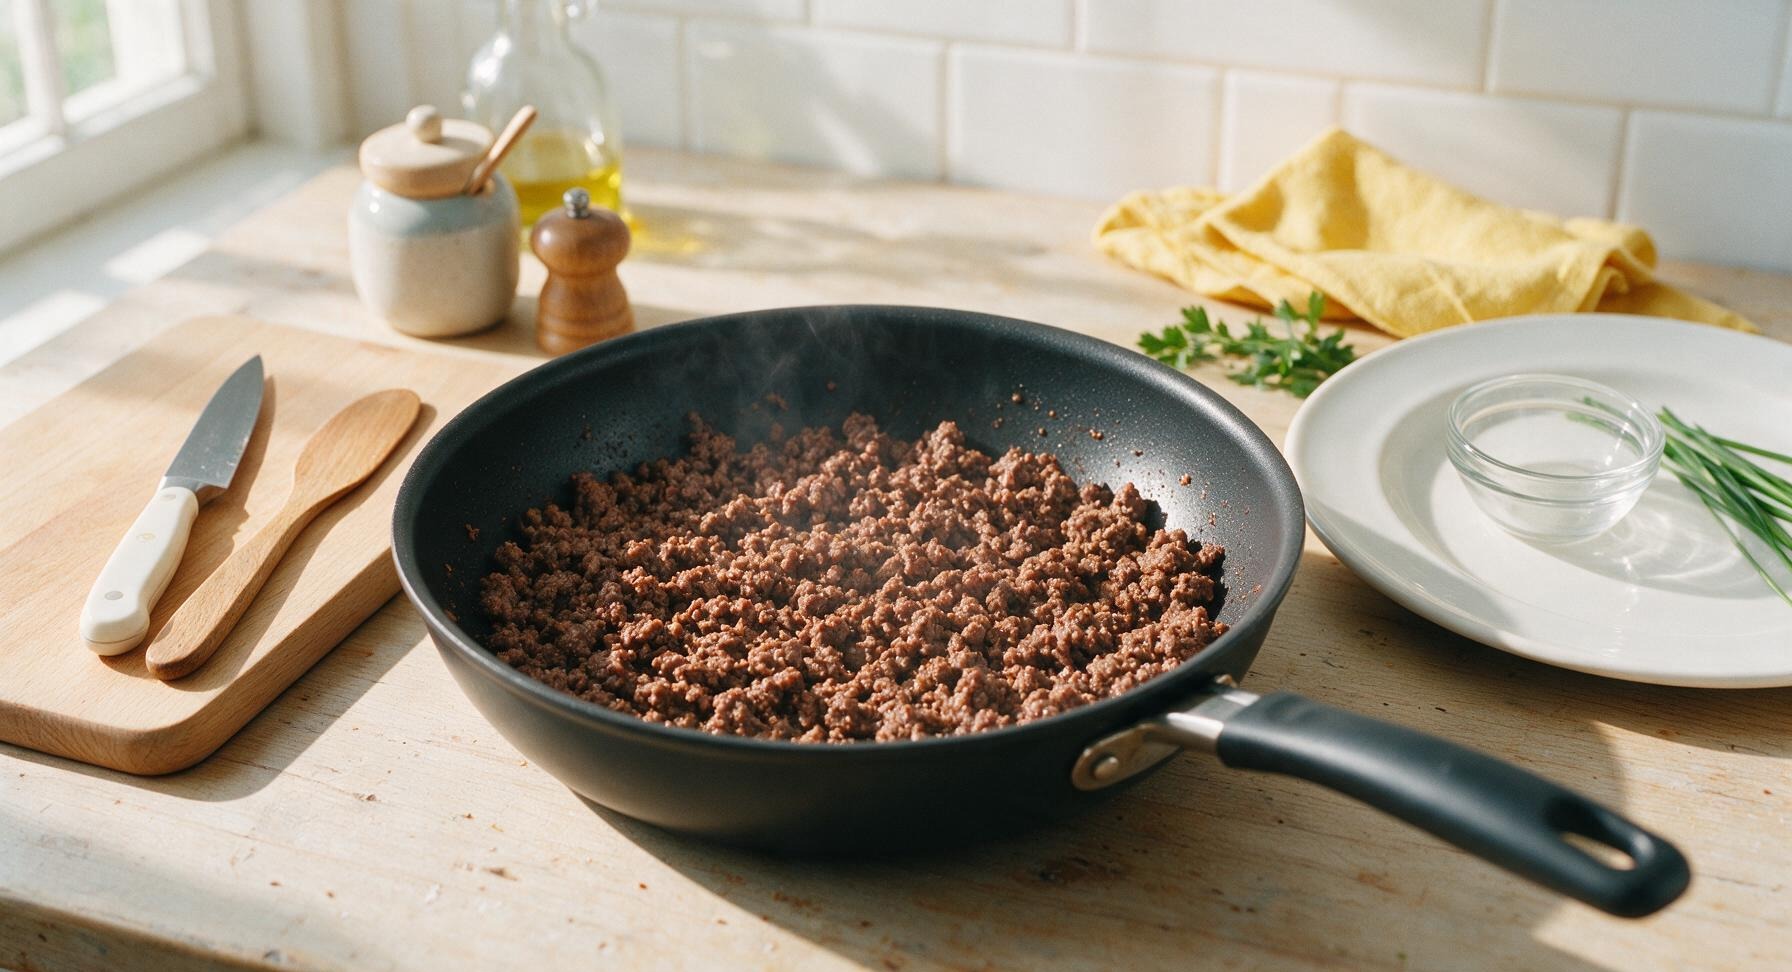
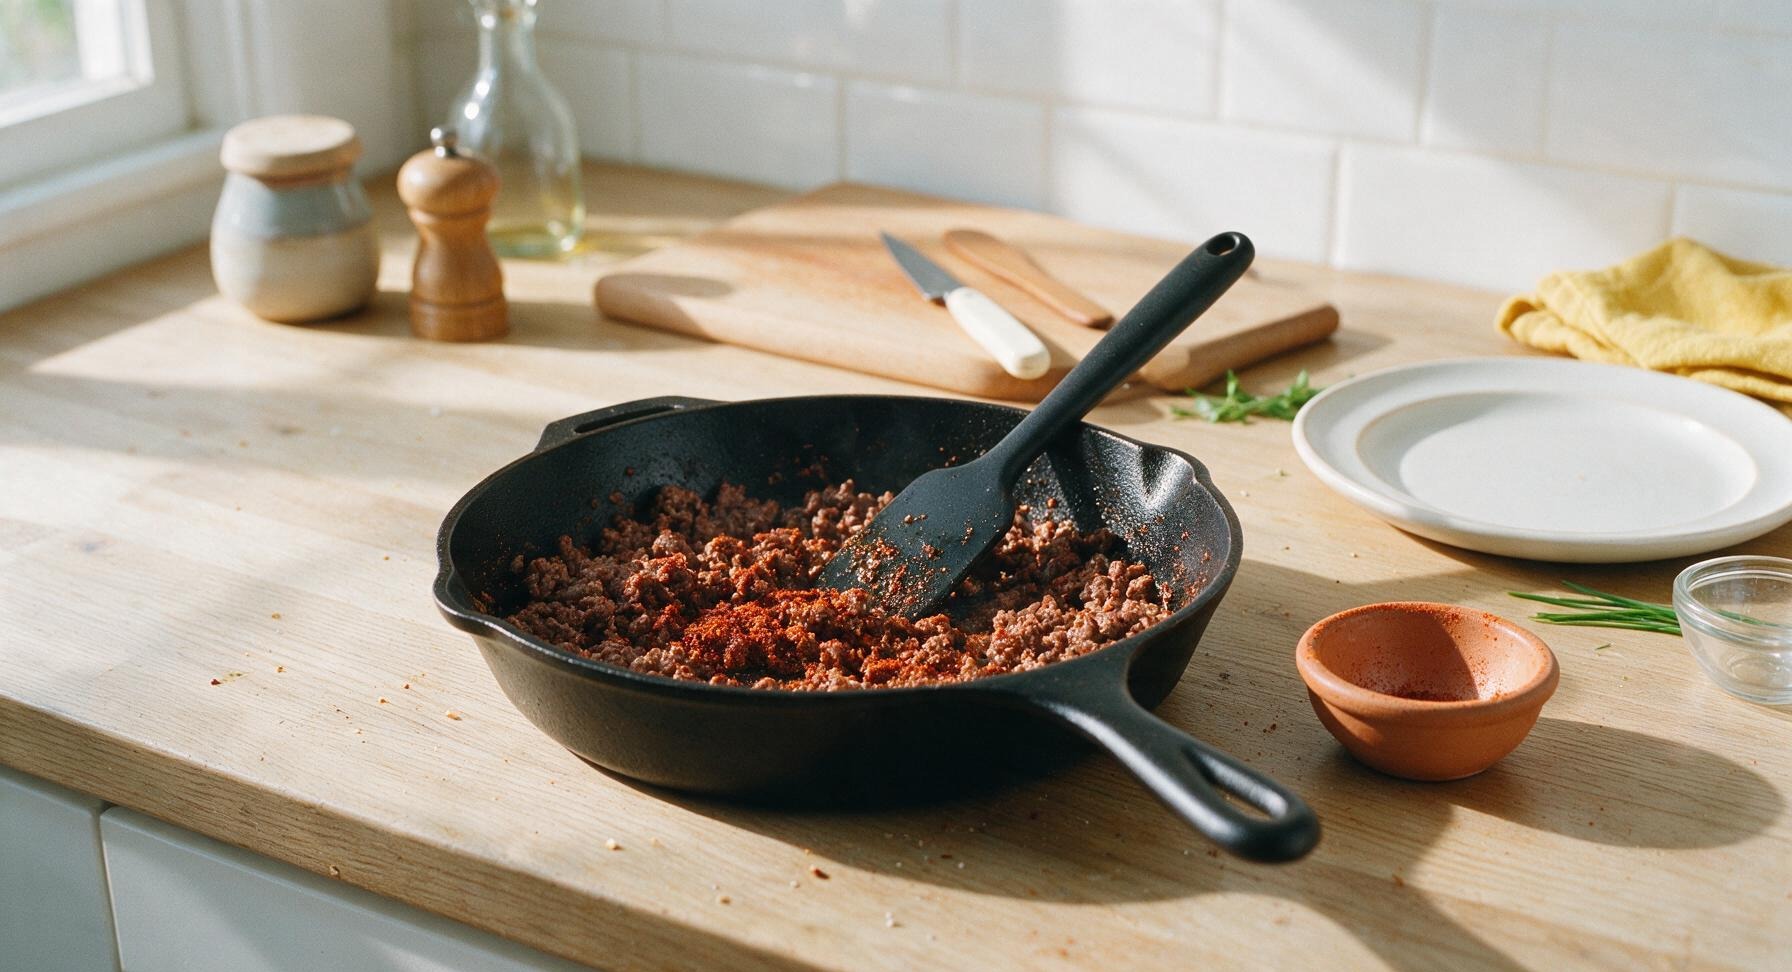
Heat 1 teaspoon olive oil in the 10-inch matte black non-stick skillet over medium heat (350°F/175°C on the induction burner). Add the 450g lean ground beef to the pan, breaking it apart into small crumbles with the silicone spatula as it cooks. Cook for 6-7 minutes, stirring occasionally, until the beef is fully browned with no remaining pink spots, and any rendered cooking liquid has mostly evaporated from the pan.
Season the Beef Filling
Sprinkle the 2 tablespoons of taco seasoning over the browned beef, stir with the silicone spatula to fully coat every crumble. Add 2 tablespoons of water to the pan, stir to combine, and simmer for 2-3 minutes until the spiced sauce thickens and clings tightly to the beef, with no watery pooling left in the bottom of the pan. Reduce heat to low to keep the filling warm while you prep remaining components.
Warm the Tortillas
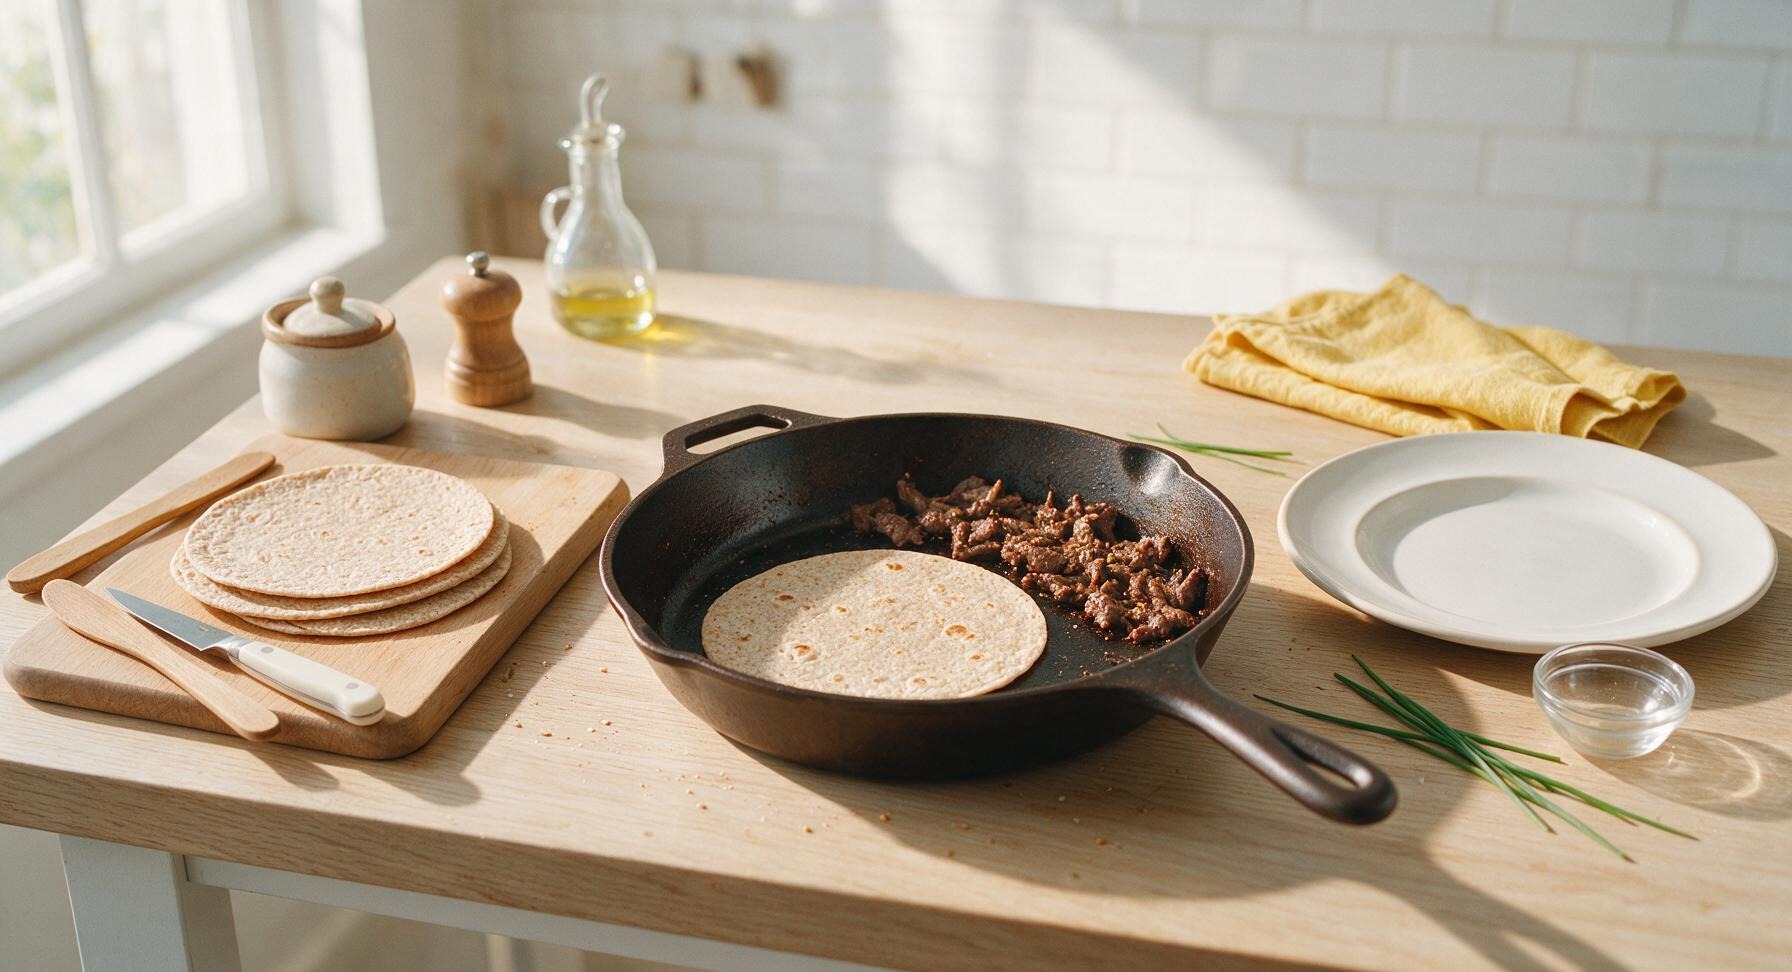
Push the seasoned beef to one side of the skillet to clear a 6-inch cooking space. One at a time, warm each 12-inch whole wheat tortilla on the empty side of the pan over low heat for 15 seconds per side, until soft and pliable with faint light golden toasting spots. Stack warmed tortillas directly on the empty front section of the bamboo cutting board, covering loosely with the corner of the indigo linen towel to retain heat and prevent cracking during rolling.
Prep Cilantro-Lime Rice
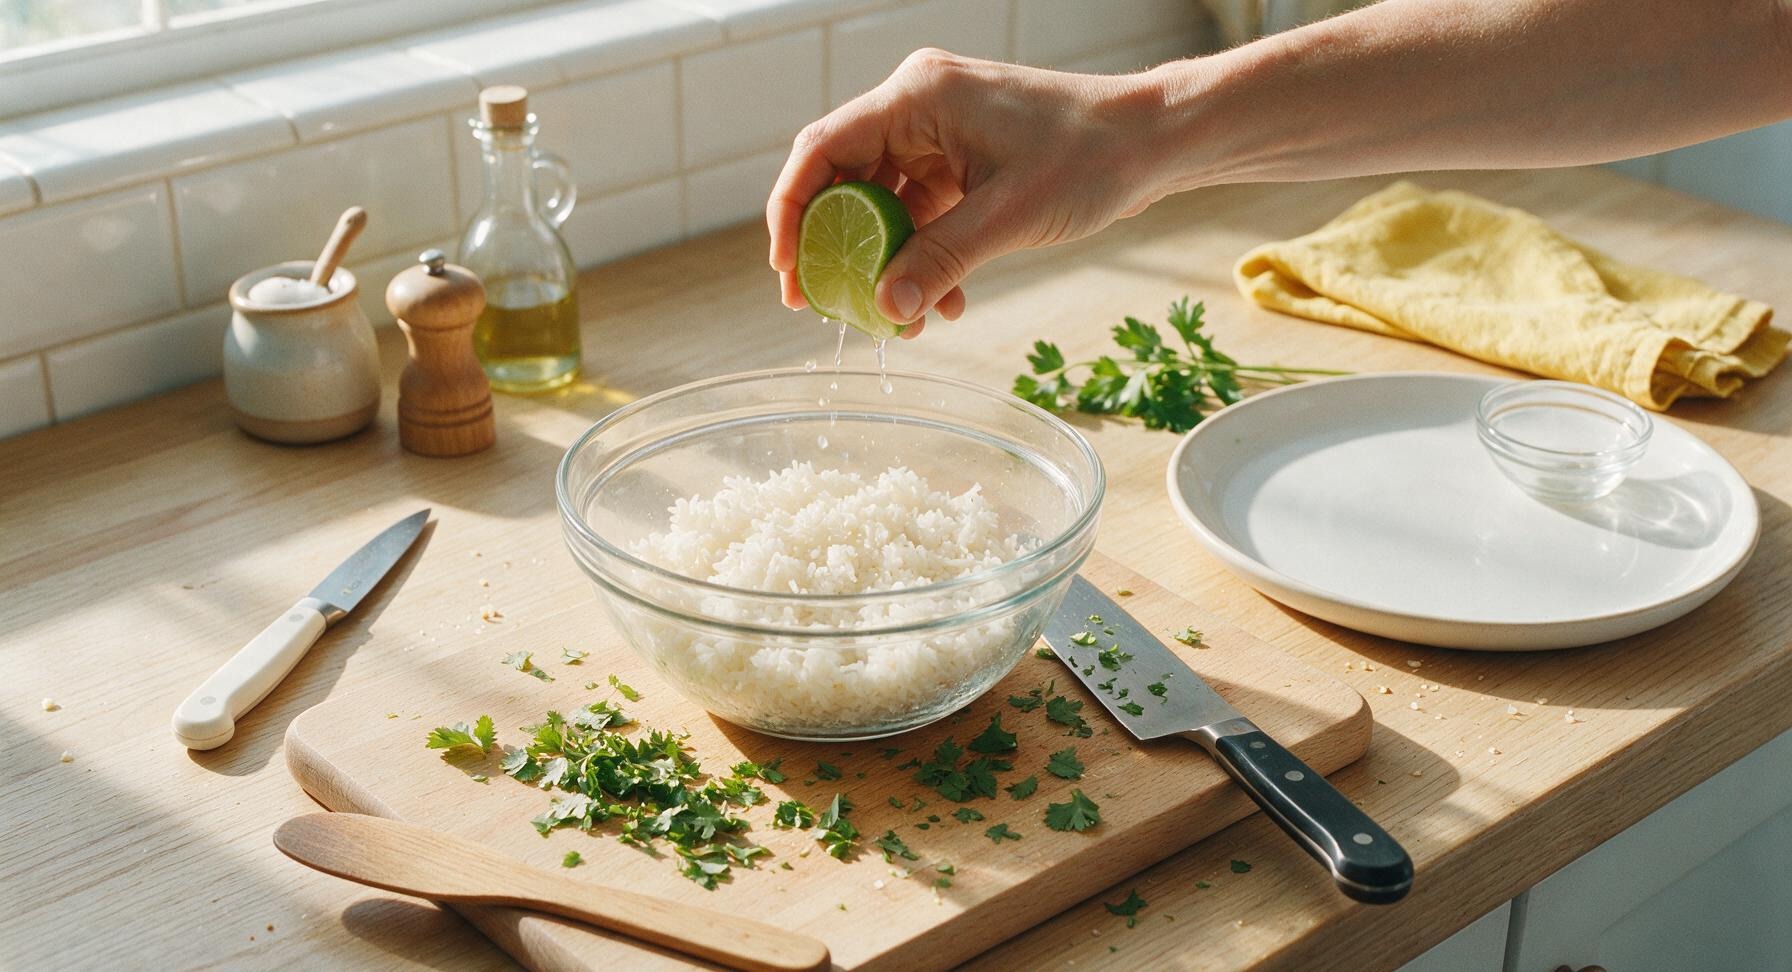
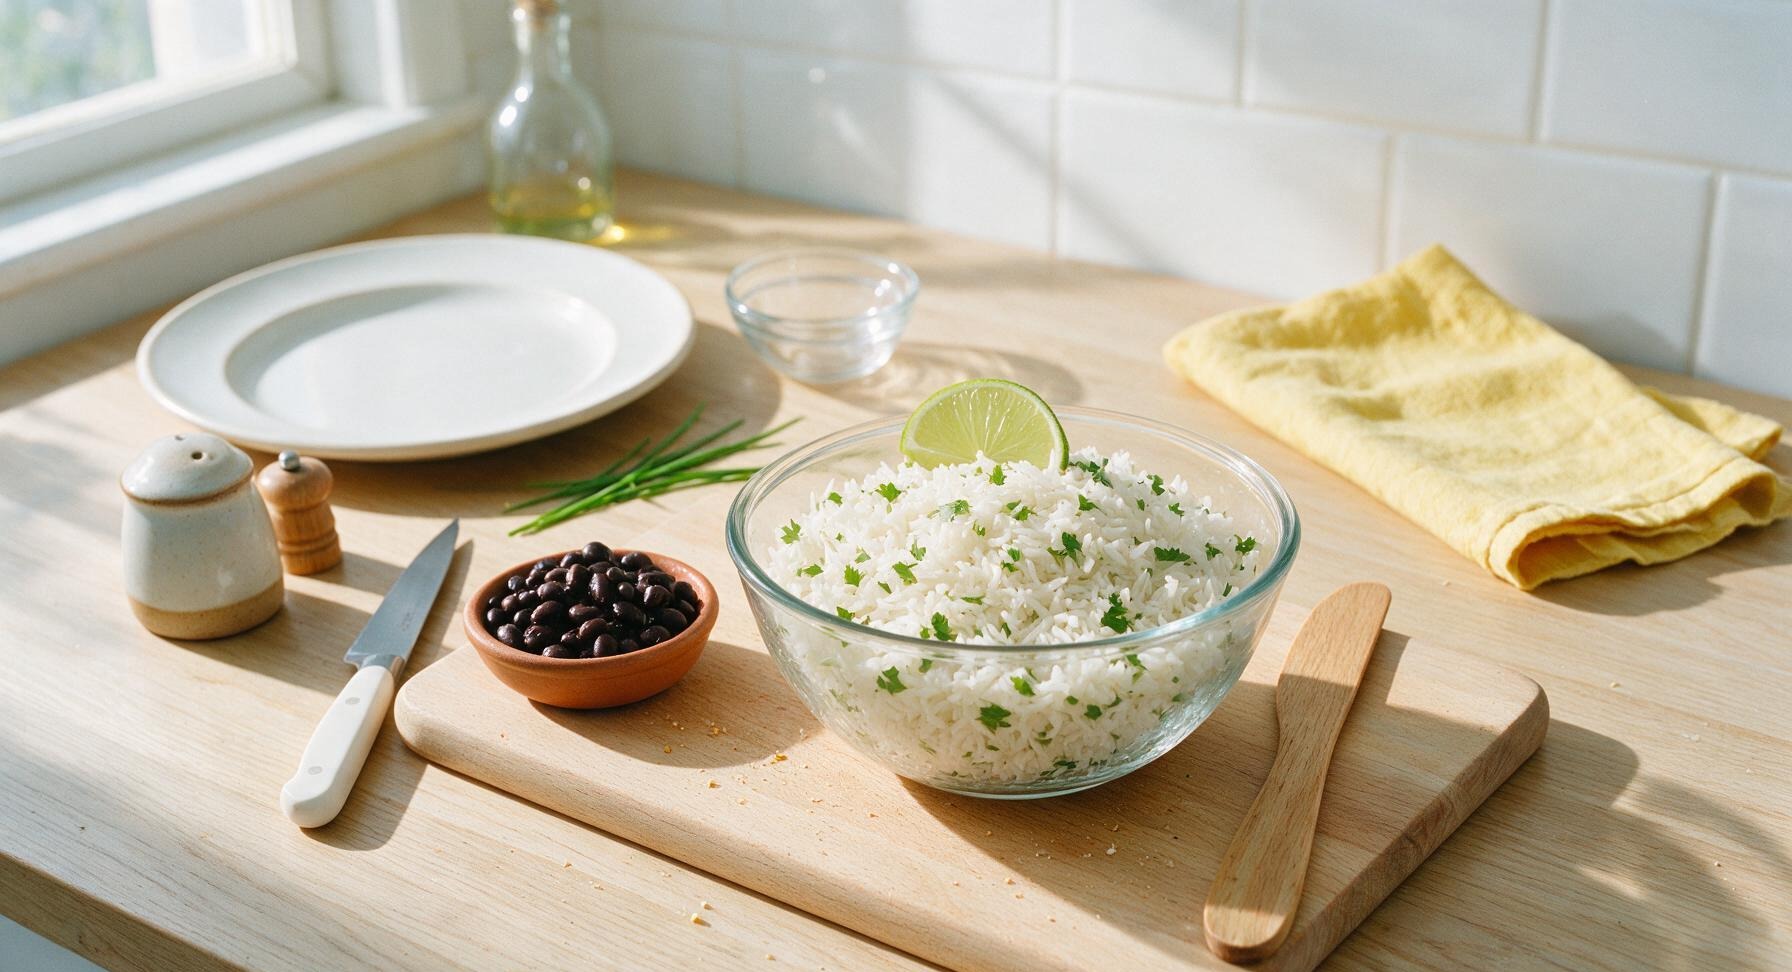
Place the 2 cups of cooked long-grain white rice in a clear glass bowl on the bamboo cutting board. Chop ¼ cup fresh cilantro with the chef knife, then add it to the rice along with a squeeze of juice from 1 lime wedge. Fluff the rice with a fork until the cilantro and lime are evenly distributed. After toasting all tortillas, warm the 1 cup of rinsed black beans in the cleared space of the skillet for 2 minutes over low heat, until heated through, then transfer to a terracotta pinch bowl.
Set Up Assembly Station
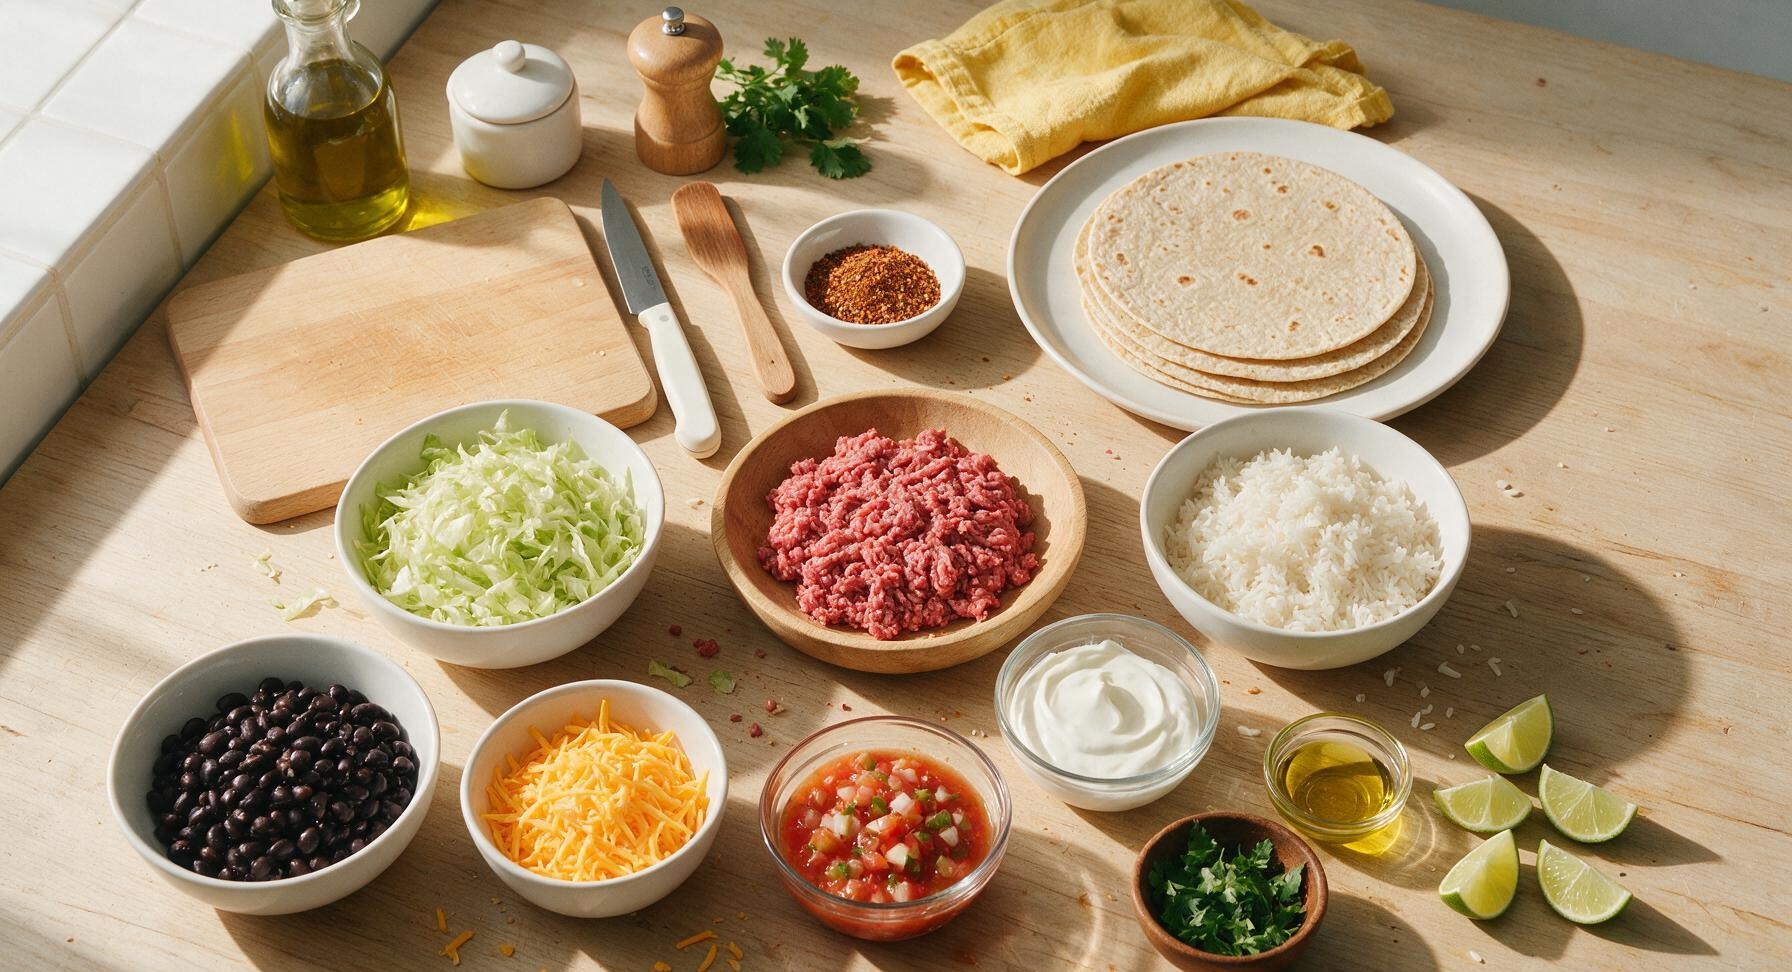
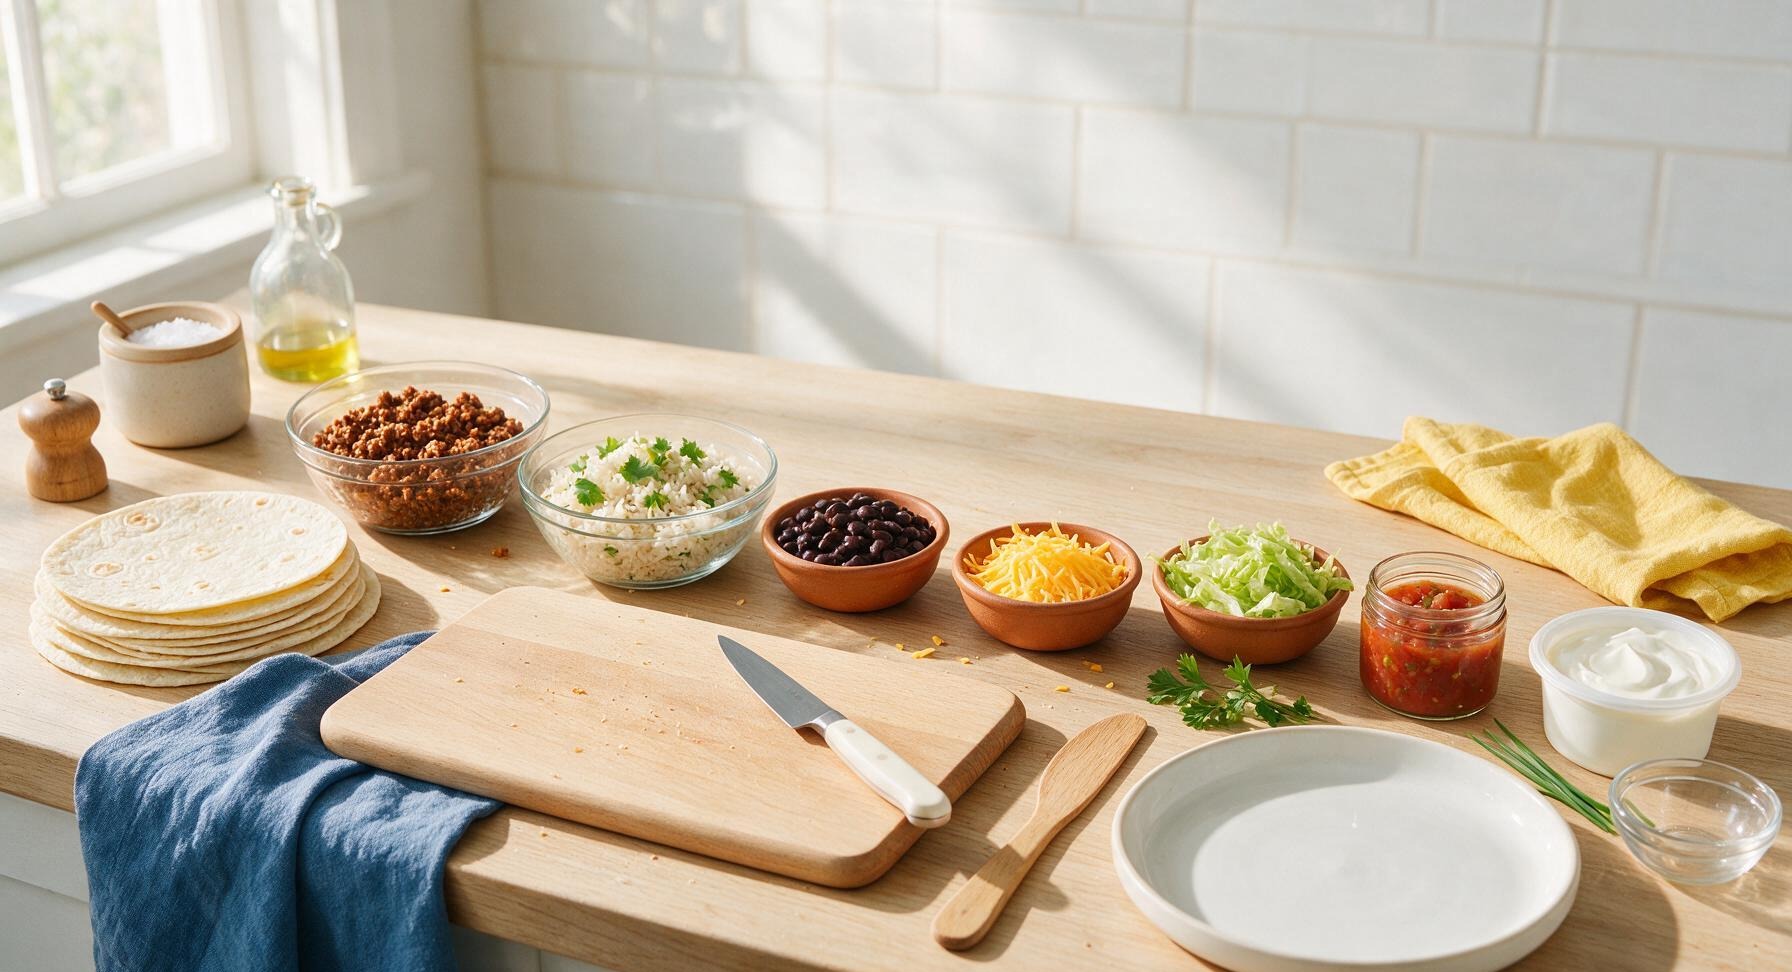
Arrange all prepped fillings in a kit-style assembly line along the center of the counter: stack of warm tortillas, seasoned ground beef, cilantro-lime rice, warmed black beans, shredded cheddar, shredded lettuce, salsa, and sour cream. This organized setup lets you roll burritos quickly without searching for ingredients mid-assembly.
Layer Fillings in Tortilla
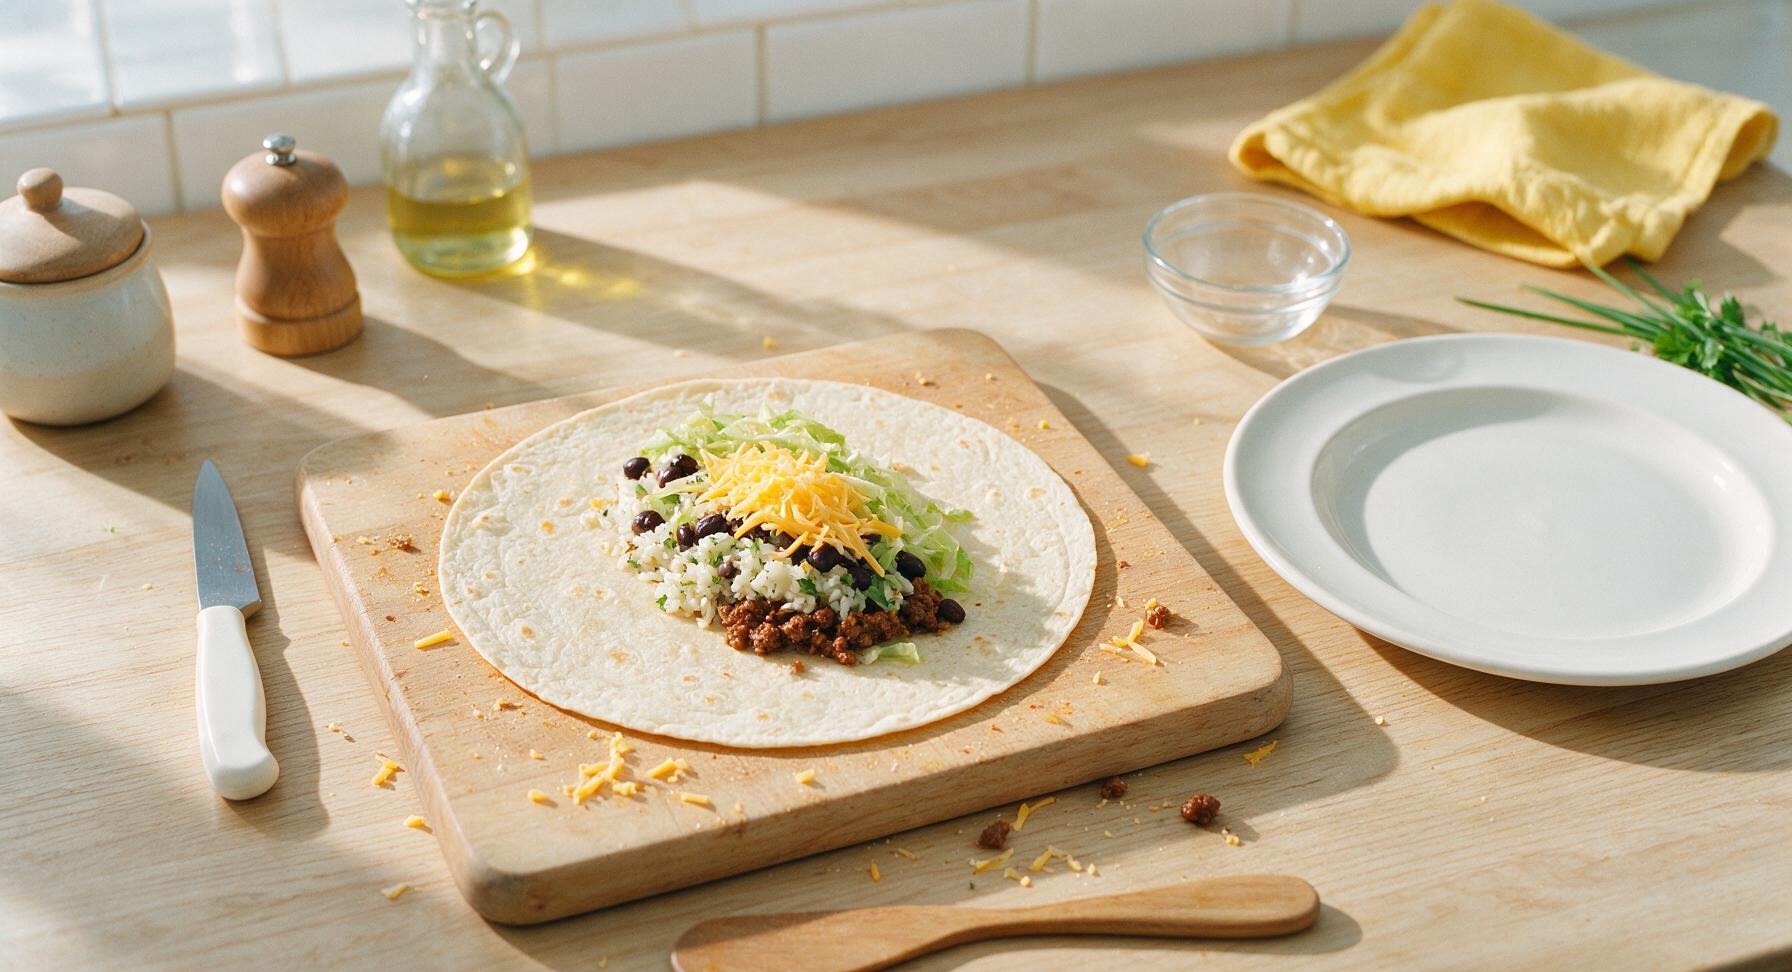
Lay one warm tortilla flat on the bamboo cutting board. Layer ¼ of the seasoned beef, ½ cup of cilantro-lime rice, ¼ cup of black beans, ¼ cup of shredded cheddar, and ¼ cup of shredded lettuce down the center third of the tortilla, leaving a 2-inch border at the top and bottom to prevent filling from leaking out during rolling. Avoid overstuffing, as this will tear the tortilla and make rolling impossible.
Roll Burritos Tightly
Fold the top and bottom 2-inch borders of the tortilla in over the filling, then fold the left side of the tortilla over the filling, tucking it tightly under the ingredients to create a sealed pocket. Roll firmly from left to right until the burrito is fully closed, then place it seam-side down to hold its shape while you assemble the remaining 3 burritos.
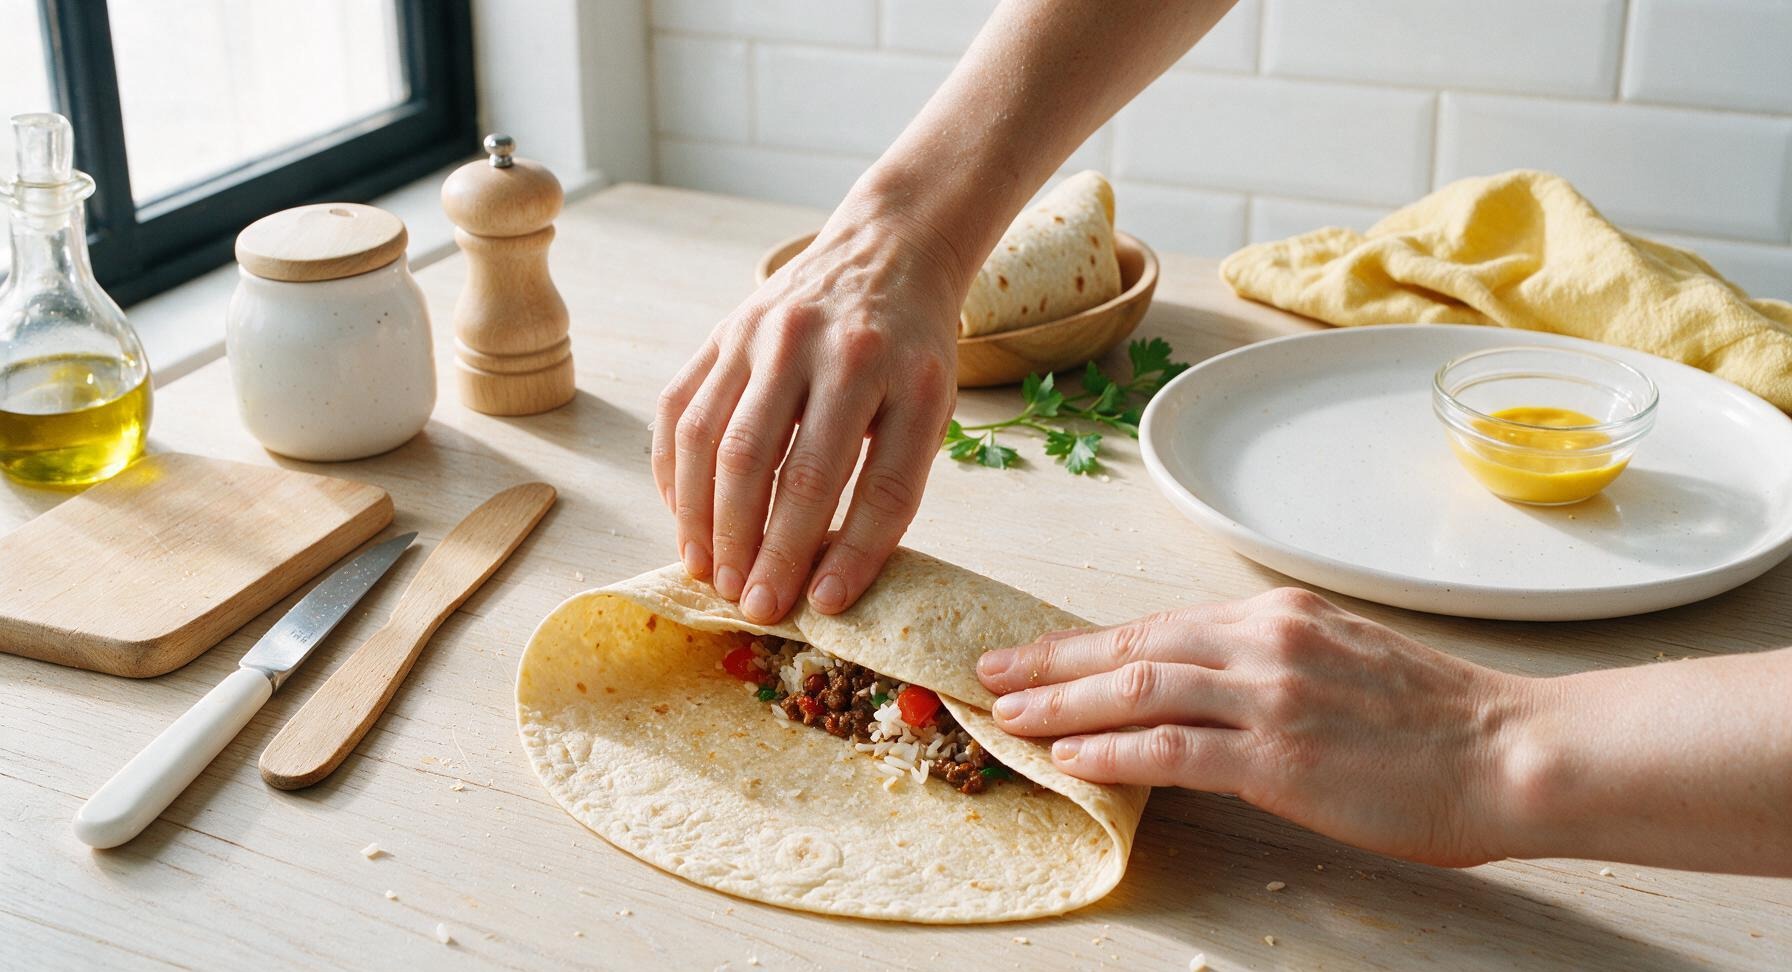
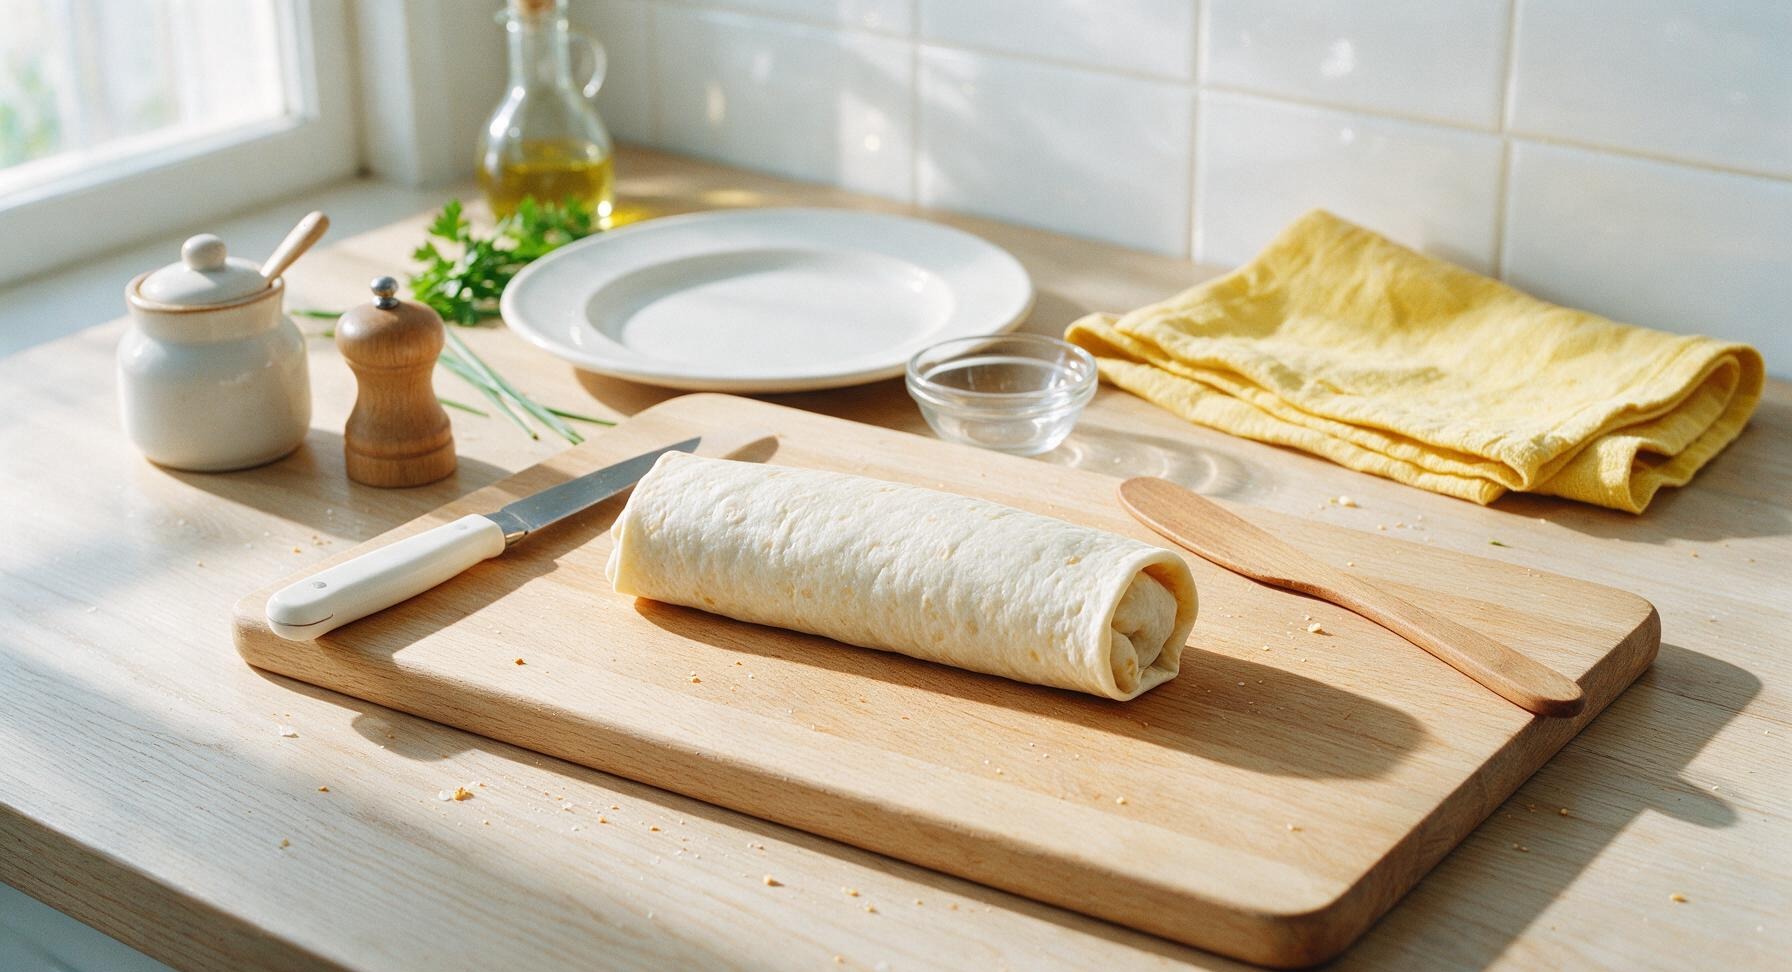
Plate and Serve
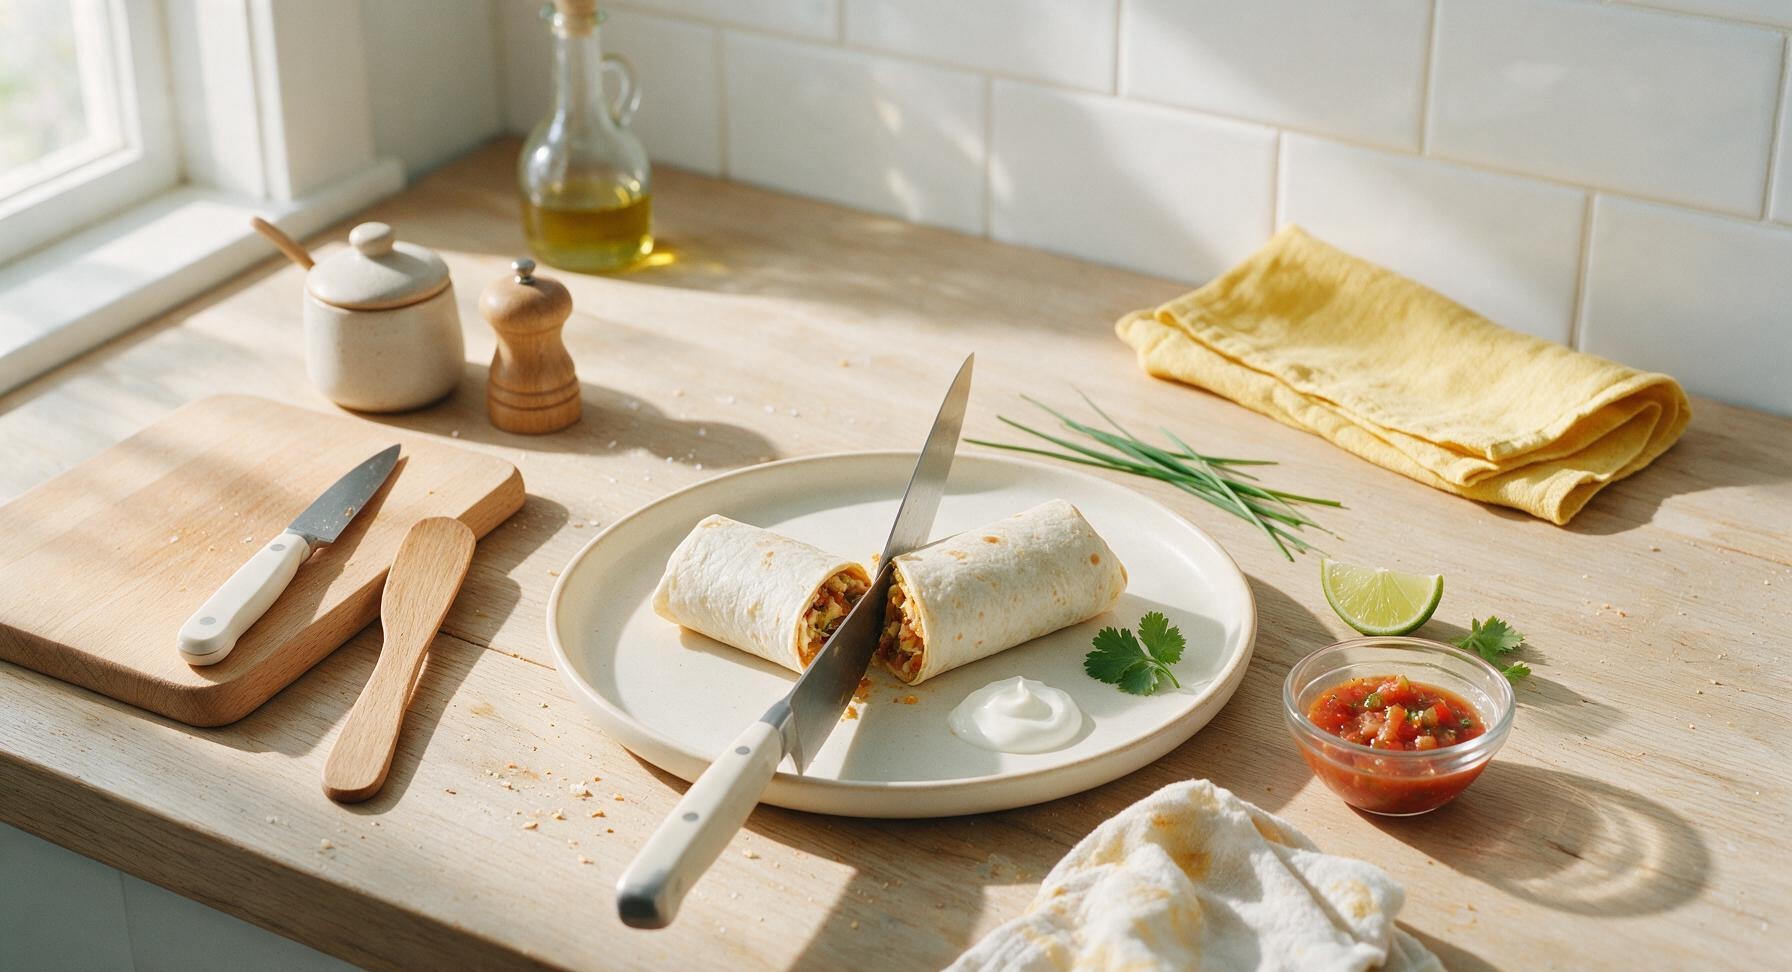
Transfer one rolled burrito to the matte cream white ceramic dinner plate. Slice it diagonally in half with the chef knife to expose the colorful layered filling. Serve with a 2-tablespoon scoop of salsa in the small terracotta ramekin, a 2-tablespoon dollop of sour cream, and a lime wedge on the side, garnished with a single sprig of fresh cilantro.
Tips
2.Don’t overstuff your burritos: It’s tempting to pack in extra beef, rice, and cheese, but leaving the 2-inch plain border on the top and bottom of the tortilla ensures you get a tight seal that won’t leak filling out the ends while you eat.
3.Prep components ahead for faster meals: Cook the seasoned beef, cilantro-lime rice, and black beans up to 3 days in advance and store in airtight containers in the fridge; warm them quickly when you’re ready to assemble for a 10-minute weeknight dinner on busy nights.






OMG these weeknight kit burritos are a total game changer for our chaotic soccer practice nights! I threw them together in 20 minutes flat, even with my 7 year old “helping” add cheese. My kids ate two each and asked if we can have them again tomorrow. 10/10 no notes.
I prepped a batch of these on Sunday for weekday lunches and they held up perfectly all week! I added a little extra lime rice and black beans to bulk them up, and even my coworker asked for the recipe when she smelled me heating one up in the break room. SO good.
Super easy to make in my tiny dorm kitchen with just a microwave and a tiny skillet! Used a store bought burrito kit I grabbed on sale at the campus grocery store and it came out way better than the sad takeout burritos I usually order. Will be making this on repeat.
Y’all, I added a spoonful of pickled jalapeños and a dash of hot sauce to my burritos and they slapped. 20 minutes from fridge to plate is exactly what I need after a long work day when I don’t feel like putting in a ton of effort. Only note is I wish there was a tip for getting the tortilla to crisp up a little more on the outside?
I brought a platter of these cut into mini slices to my neighborhood potluck last weekend and they were the first thing gone! People kept coming up to ask if I’d spent hours making them, little did they know it took me 20 minutes total. I did add a side of guac and salsa for dipping, obviously.
Swapped the ground beef for crumbled veggie burger and it worked perfectly! I was worried the kit seasonings wouldn’t pair well but it tasted just as good as the meat version, my meat-eating roommate even stole half a burrito off my plate. Easy, quick, customizable—love it.
As someone who burns toast 50% of the time, even I couldn’t mess this up. Cook time was actually 20 minutes like it said, no fancy ingredients needed. Tasted way better than I expected for something that uses a pre-made kit. Will make again.
Great high protein weeknight meal! I used whole wheat tortillas, added extra Greek yogurt instead of sour cream, and loaded up on fajita veggies. Hit my macro goals perfectly and didn’t leave me feeling sluggish like takeout burritos usually do.
We do Taco Tuesday every week but switched it up for burrito night last week with this recipe, and my family voted to make it a monthly rotation! I added a little taco sauce inside each burrito and served with chips and queso on the side. Total crowd pleaser.
First time ever making burritos at home and I didn’t mess them up! The only issue I had was I overstuffed the first one and filling spilled out everywhere when I folded it, but the second one came out perfect. Definitely learned my lesson about less is more with fillings lol.
Made these last night when I got home late from a work meeting, my wife and two teens all raved about them. I didn’t even have to run to the store because I had the burrito kit and a pound of ground beef in the fridge/pantry already. Perfect weeknight win.
I’ve been making burritos for my grandkids for years, but I tried this kit method last time they came over and they said it was the best ones I’d ever made! The store bought kit seasoning is just so much easier than mixing my own, and it has the perfect amount of flavor without being too spicy for the little ones.
Made these for date night last minute when my planned dinner recipe flopped, and my date thought I’d put so much work in! Little did she know it was 20 minutes and a grocery store kit. We paired it with frozen margaritas and it was the perfect low-key weeknight date.
I wrapped a couple of these up in foil to take on my day hike last weekend and they were perfect! No soggy tortilla, stayed warm for a couple hours in my insulated bag, and gave me enough energy to finish the 6 mile trail. Way better than packing granola bars again.
Grew up on my abuela’s homemade burritos so I was skeptical about a kit version, but this actually slaps for a quick weeknight fix. It’s not going to replace her recipe, but for nights I get home late from the bar and don’t want to spend an hour cooking? It’s perfect. I added a little extra cumin and garlic powder to bump up the flavor, chef’s kiss.
We made these on our last car camping trip with the kids using a cast iron skillet over the camp stove and they worked so well! We pre-chopped all the fillings at home, tossed the kit in our cooler, and had a hot, filling dinner after a day of hiking in 20 minutes. Way better than hot dogs over the fire for once.
So happy this recipe is easy to adapt for food allergies! I used a gluten free tortilla, dairy free cheese, and the kit seasonings didn’t have any weird hidden allergens, so my son with a wheat and dairy allergy could eat the same dinner as the rest of the family for once. No separate meals = mom win.