
korean baked chicken
intro
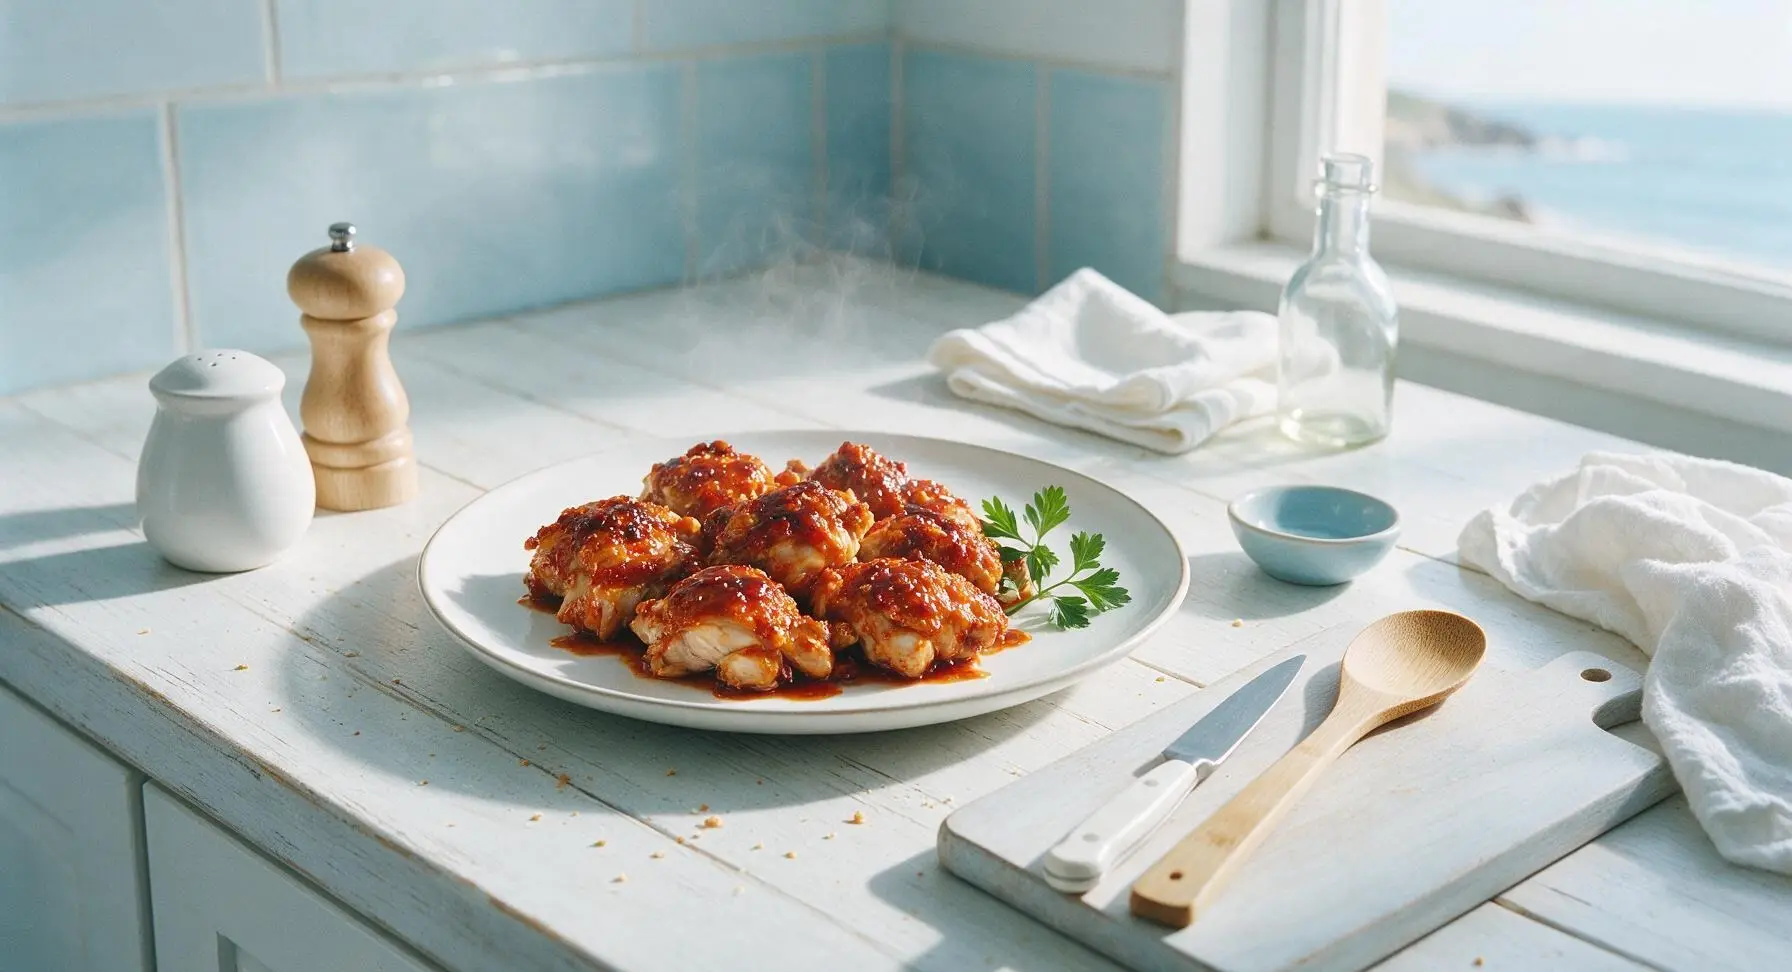
Crispy, juicy baked chicken coated in sticky sweet-spicy gochujang glaze, with zero deep-frying mess. Crunchy skin, tender meat, and iconic addictive Korean chicken flavor.
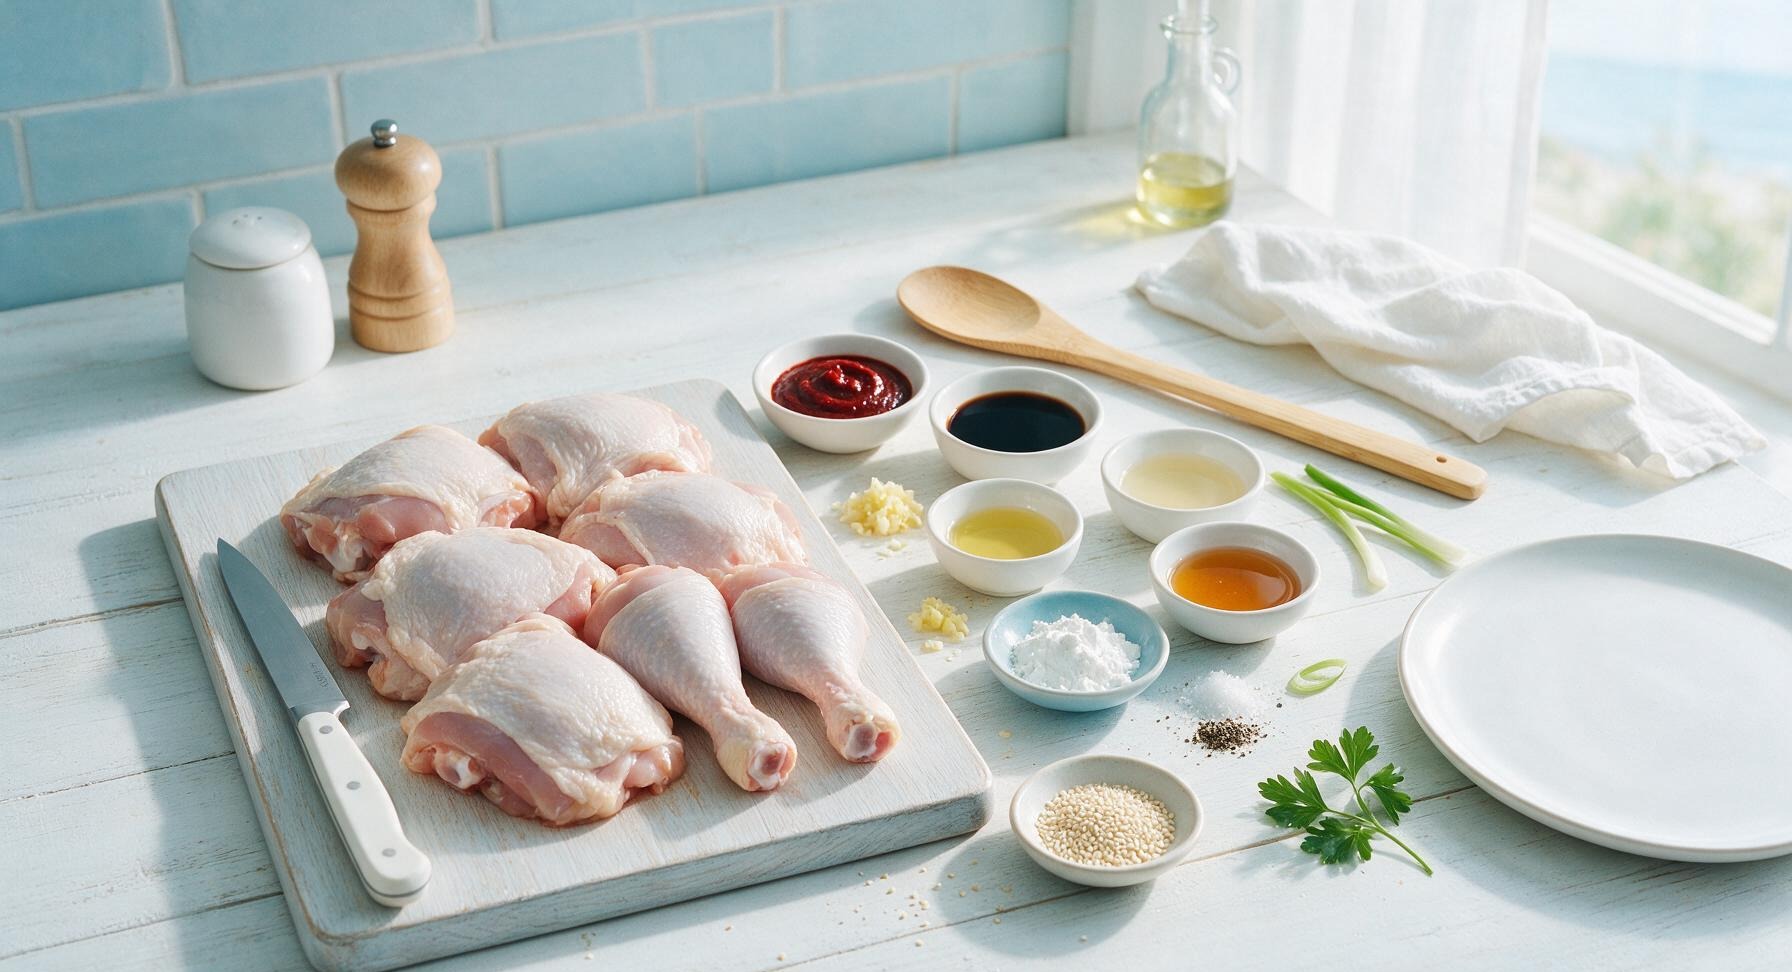
Ingredients
Steps
Pat Dry and Season Chicken
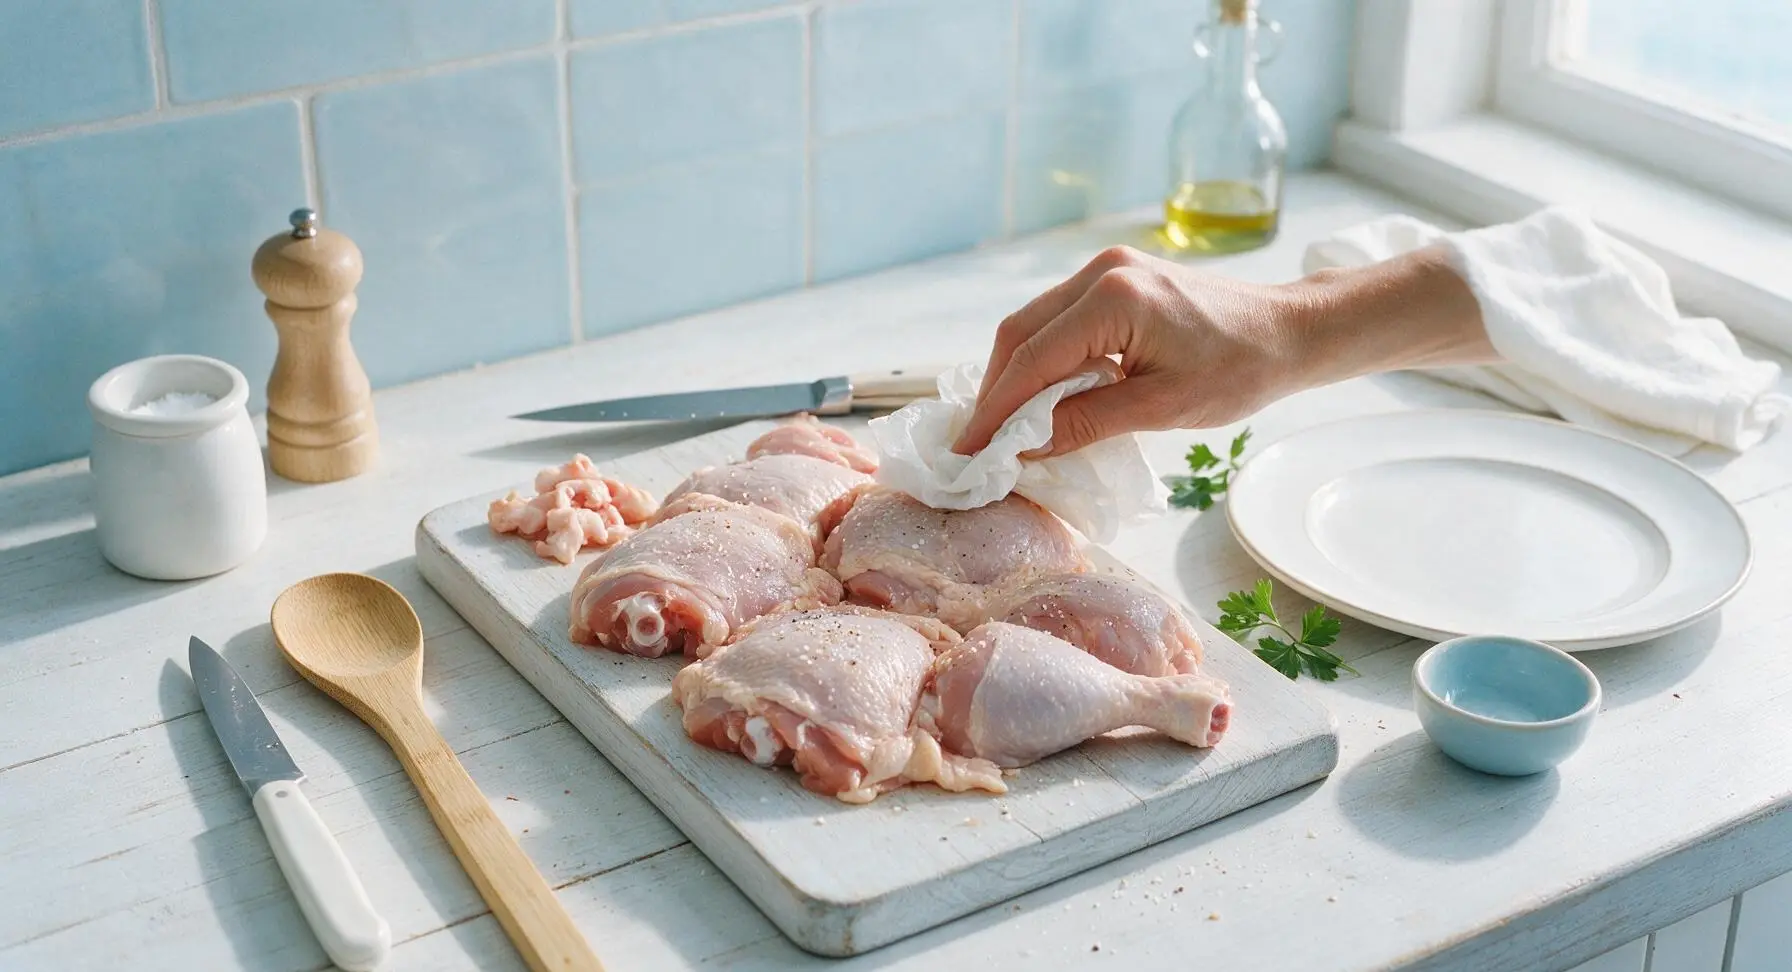
Remove chicken pieces from packaging, discard any absorbent pads from the packaging, then pat every surface of the chicken (especially the skin) completely dry with paper towels. Use the chef knife to trim any loose, hanging skin or thick hard fat deposits, leaving a thin even layer of fat under the skin. Season all sides of the chicken evenly with 1 teaspoon kosher salt and 1/2 teaspoon freshly ground black pepper, rubbing the seasoning gently into the skin. Let chicken rest at room temperature for 15 minutes to allow salt to penetrate and the skin to air-dry further; preheat your oven to 220°C (425°F) during this rest period.
Set Up Baking Rack
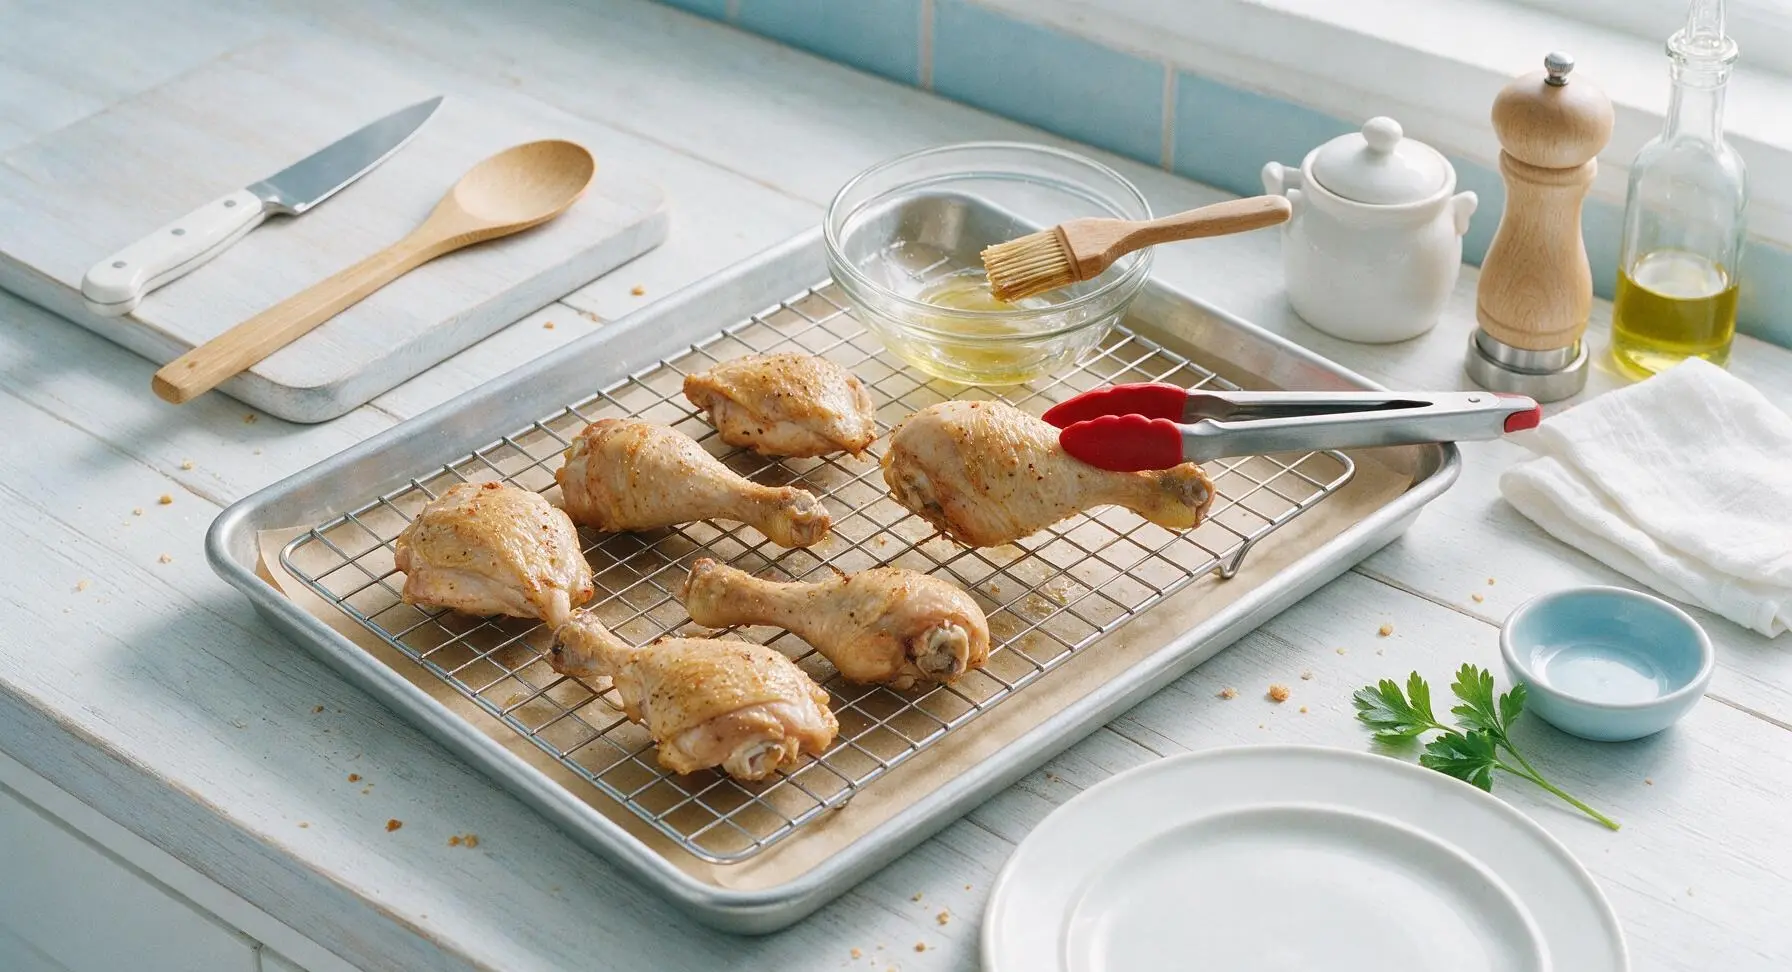
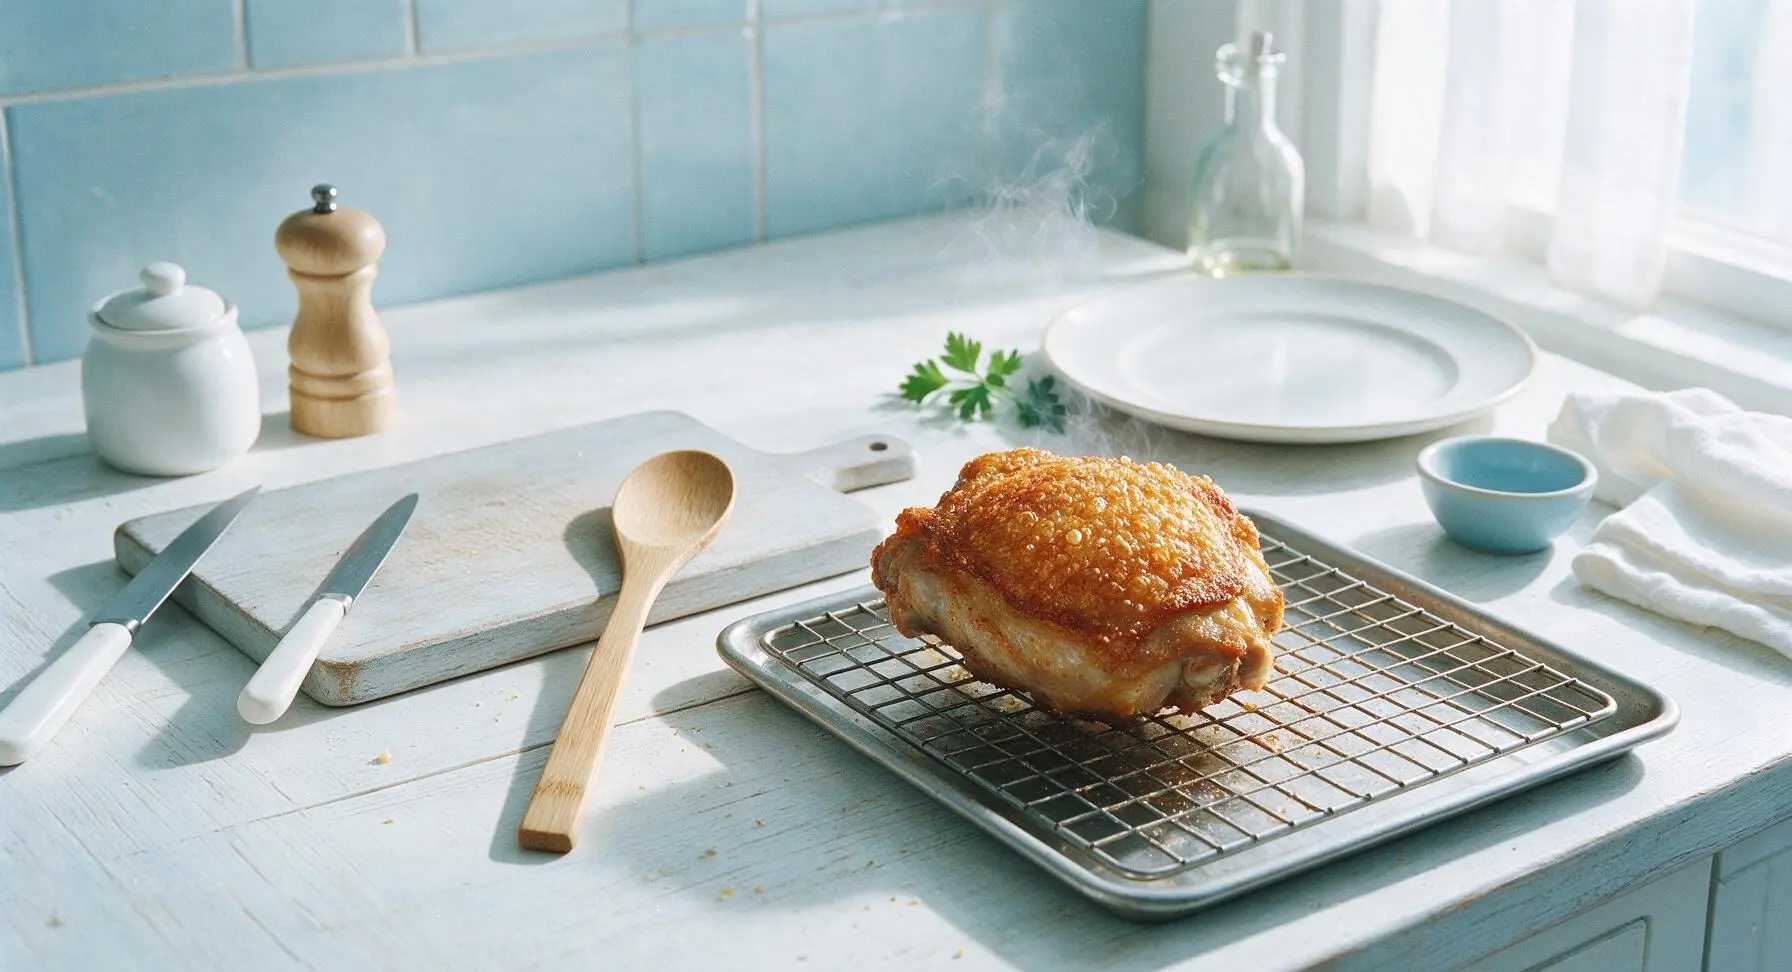
Tear a sheet of unbleached parchment paper to line the large aluminum baking sheet, then set the chrome wire cooling rack inside the lined sheet so it sits elevated 1cm above the sheet surface. Lightly brush the rack wires with 1 teaspoon of canola oil using the silicone basting brush to prevent chicken from sticking. Arrange the dried, seasoned chicken pieces skin-side up on the rack, leaving a full 2cm gap between each piece to allow hot air to circulate; crowding pieces will trap steam and prevent crispy skin.
Bake to Crisp Skin
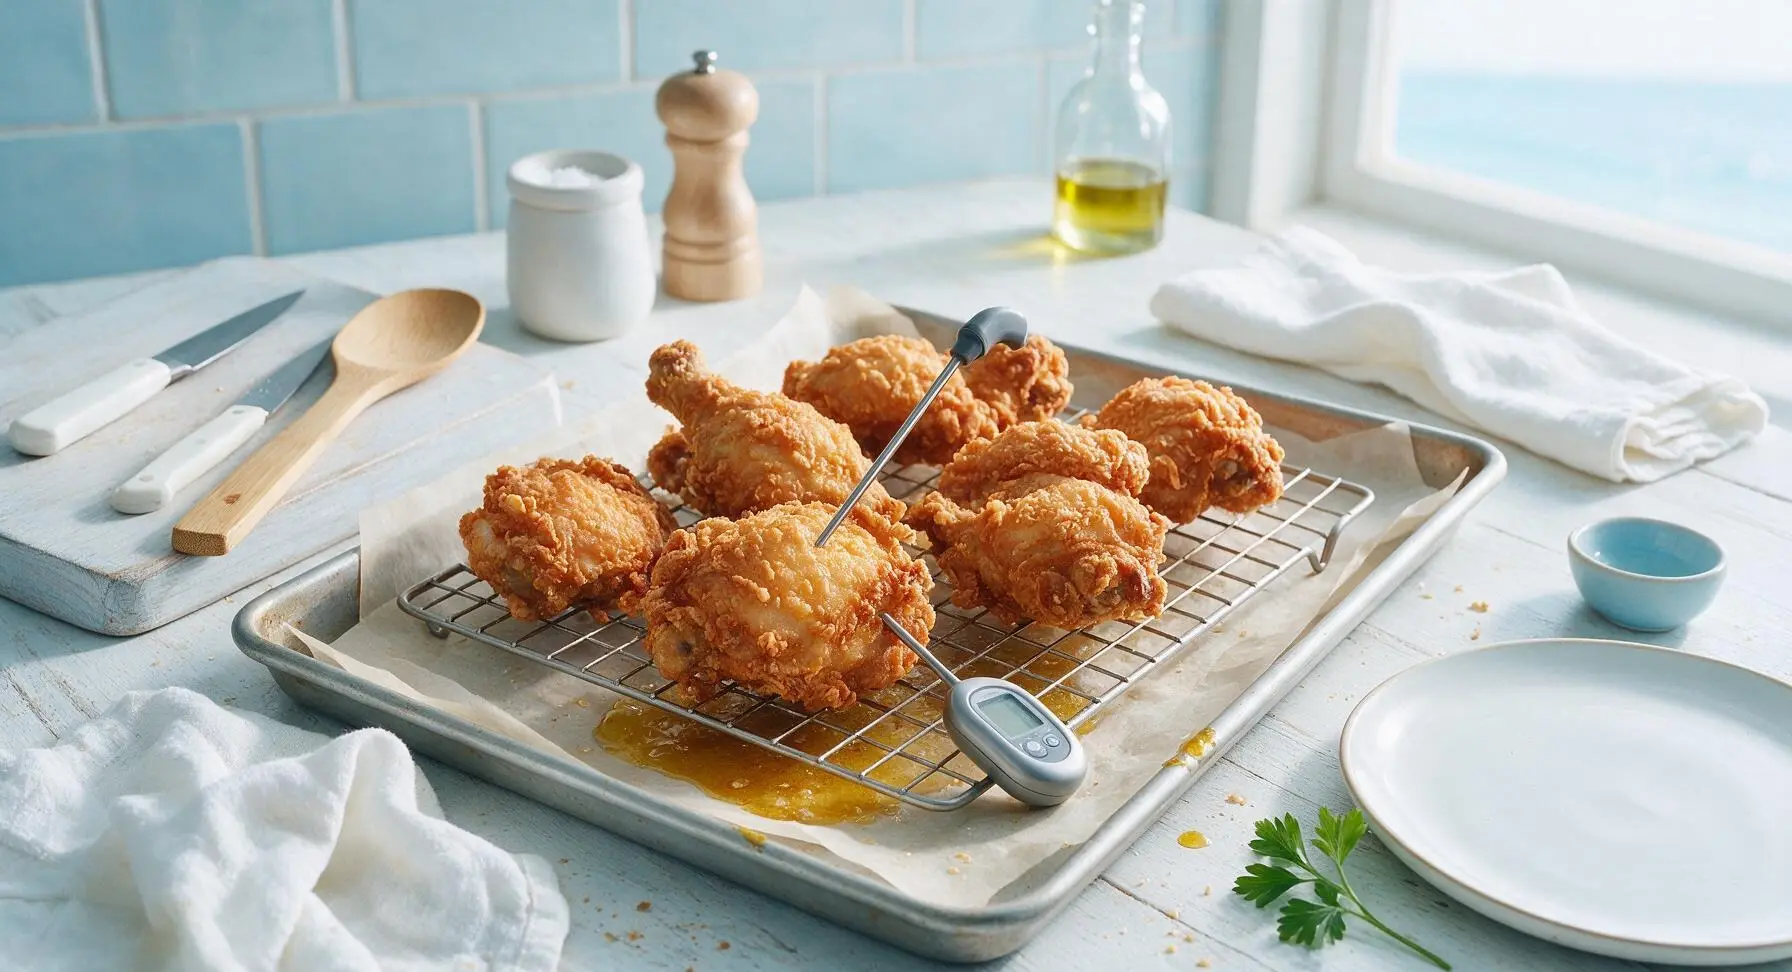
Carefully place the baking sheet on the middle rack of the preheated 220°C (425°F) oven. Bake for 35 minutes without opening the oven door or flipping the chicken, until the skin is deep golden, puffed, and audibly crisp when tapped, and the internal temperature at the thickest part of the thigh (not touching bone) reads 74°C (165°F) on the instant-read thermometer. If skin appears pale after 35 minutes, bake for an additional 3-5 minutes, watching closely to avoid burning the skin edges.
Cook Gochujang Glaze
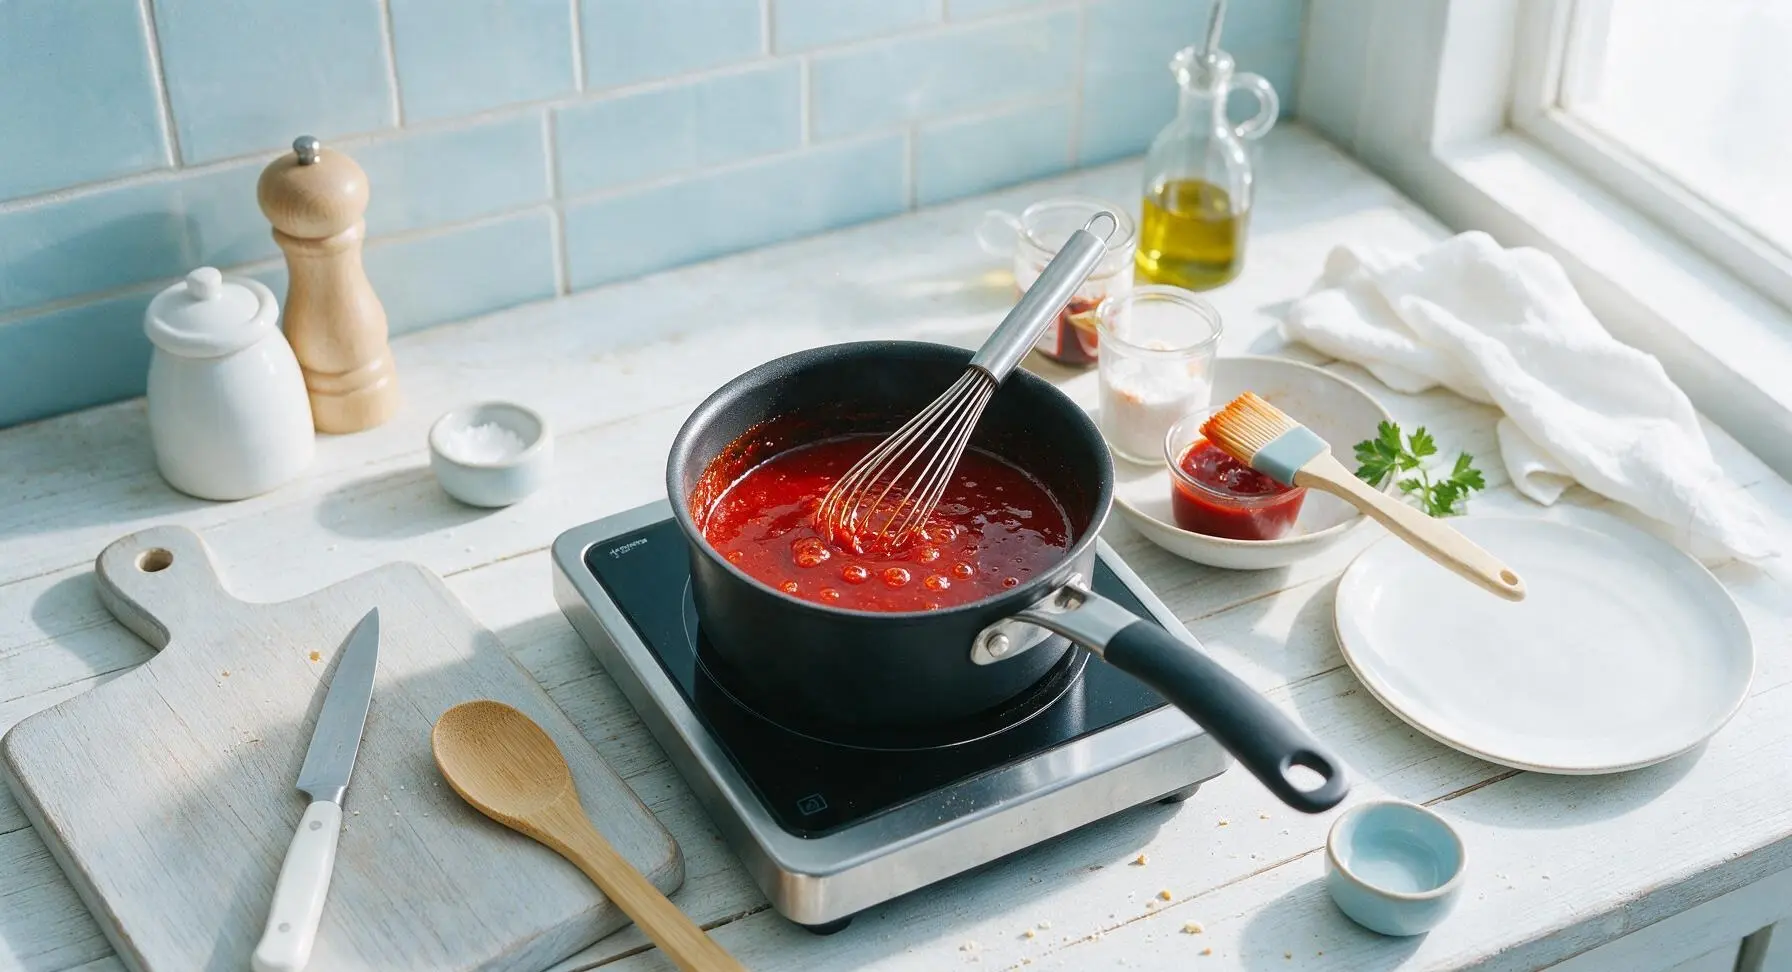
While the chicken bakes, combine 3 tablespoons gochujang, 2 tablespoons low-sodium soy sauce, 3 tablespoons raw honey, 1 tablespoon unseasoned rice vinegar, 4 cloves finely minced garlic, 1 teaspoon freshly grated ginger, 1 teaspoon toasted sesame oil, the remaining 2 teaspoons canola oil, and 1 tablespoon cornstarch in the small black saucepan. Whisk until completely smooth with no cornstarch lumps, then heat over medium-low on the induction cooktop, stirring constantly with the whisk, for 3-4 minutes. The glaze is ready when it thickens to a syrupy consistency that coats the back of a spoon, with small gentle bubbles breaking across the surface; do not boil rapidly, as this will turn the glaze gummy. Remove from heat and set aside.
Toss Chicken in Glaze
Once chicken is fully cooked and crispy, pull the baking sheet from the oven and set it on the heat-safe area of the counter. Use the silicone-tipped tongs to transfer chicken pieces one by one into the brushed stainless steel mixing bowl. Pour 3/4 of the warm gochujang glaze over the chicken, then toss very gently with tongs to coat every piece evenly, taking care not to scrub or tear the crispy skin as you toss. Reserve the remaining 1/4 of glaze for final drizzling.
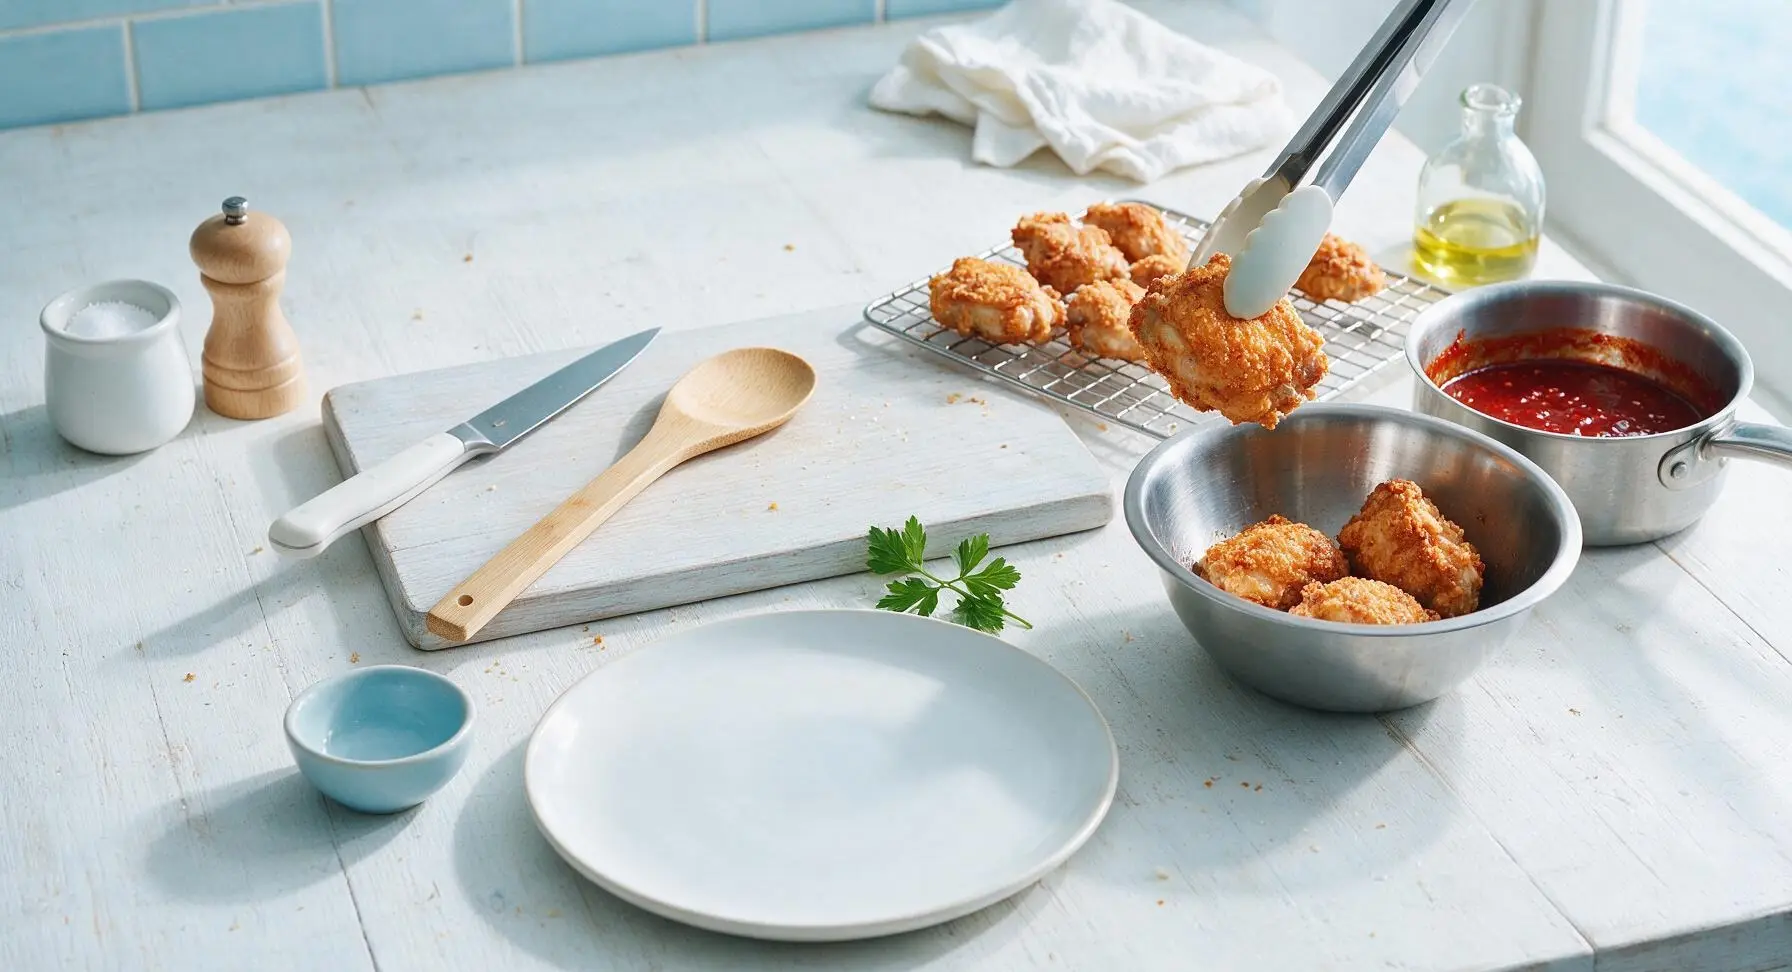
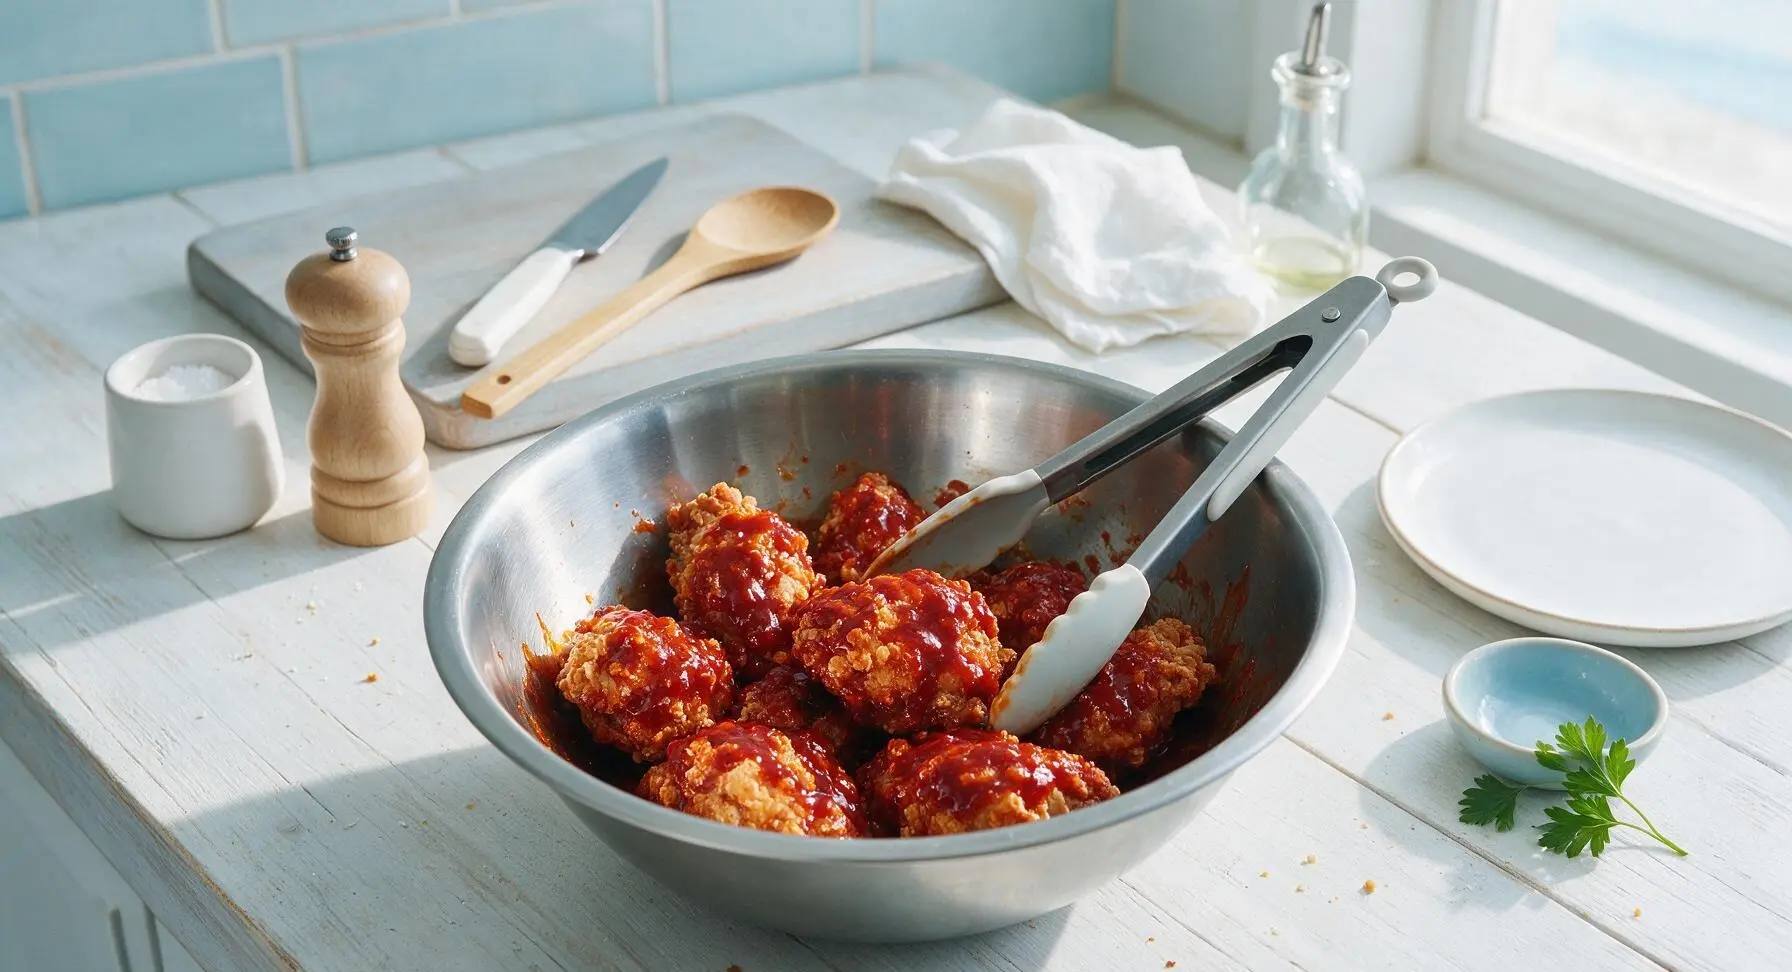
Plate and Garnish Chicken
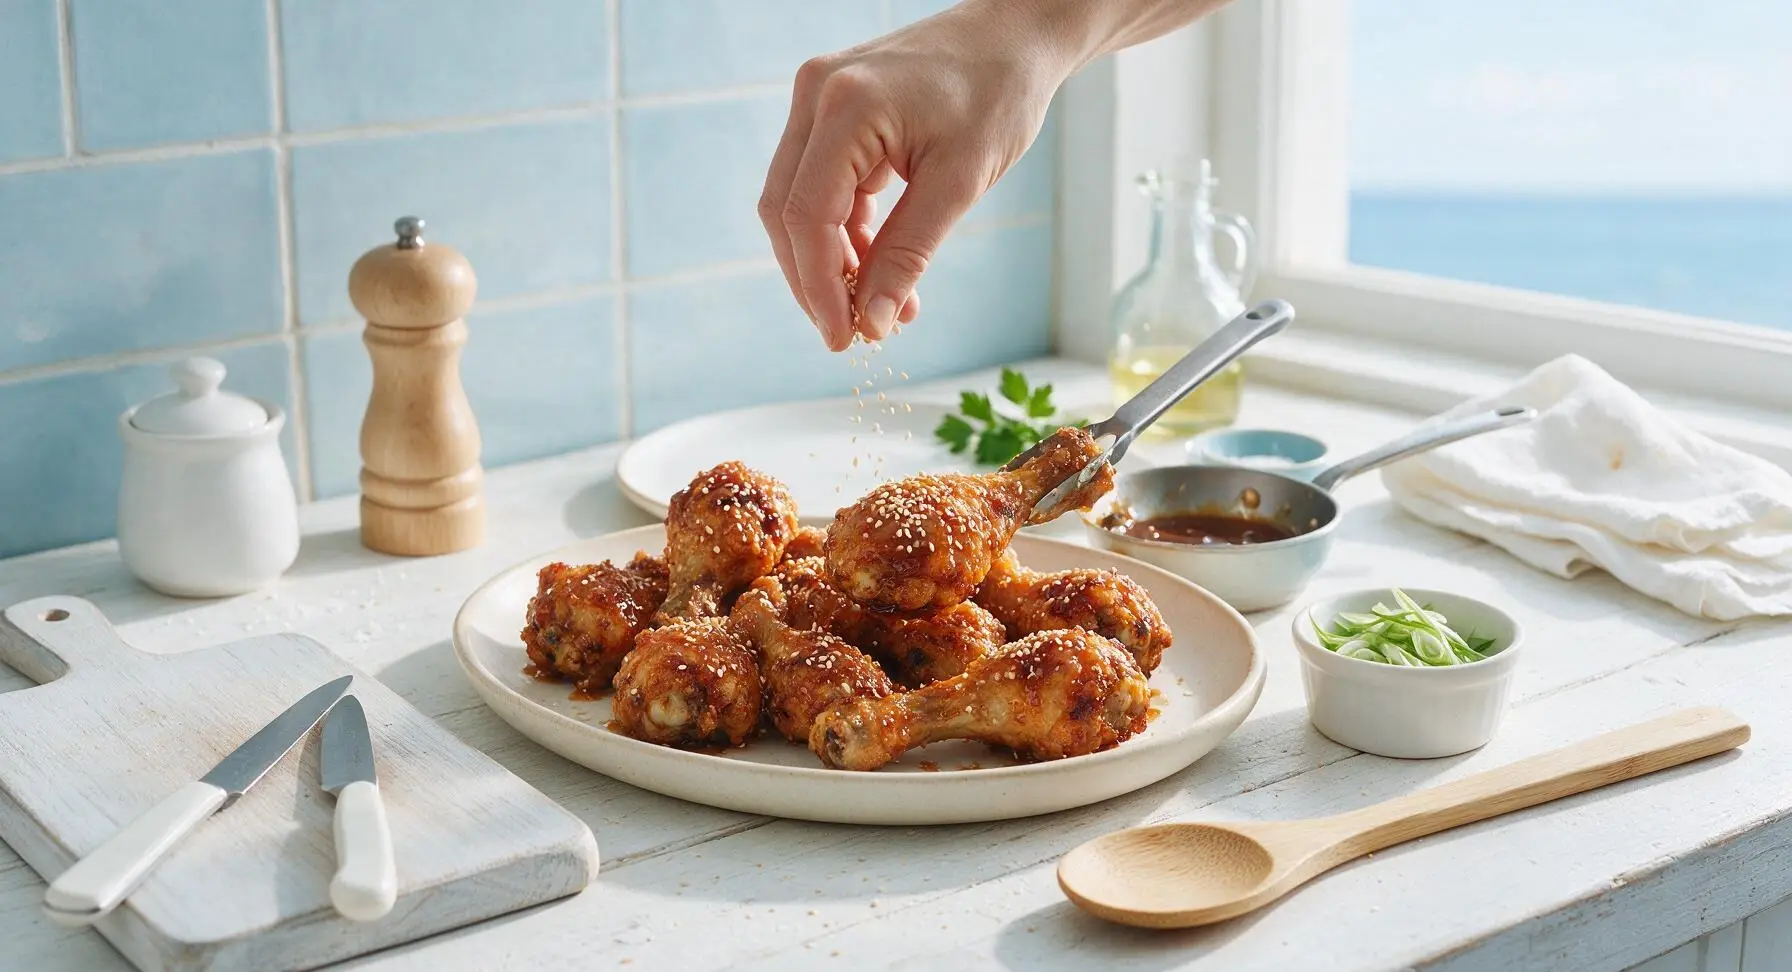
Arrange the glaze-coated chicken pieces loosely piled on the matte cream ceramic serving platter. Drizzle the reserved glaze over the top of the pile, then sprinkle evenly with 1 tablespoon toasted white sesame seeds and thinly sliced scallion greens. Serve immediately, while the chicken is hot, skin is crisp, and glaze is sticky and warm.
Tips
2.Toss chicken in warm glaze immediately after removing it from the oven: If chicken cools for more than 2-3 minutes before tossing, the glaze will thicken too quickly and fail to coat evenly, leaving clumpy, sticky patches instead of a thin, glossy coating on every piece.
3.Toast sesame seeds for 2 minutes in a dry small pan over medium heat before garnishing: Toasting unlocks a deep, nutty aroma and flavor that pairs perfectly with the sweet-spicy glaze, a noticeable upgrade from the flat, muted taste of raw untoasted sesame seeds.






OMG this baked Korean chicken is a total game changer for our weekly family dinners! I was so sick of frying chicken to get that crispy skin, and this method actually works? My kids devoured 3 pieces each before I even sat down at the table. The sauce is perfectly sticky and sweet with just the right kick—SO good, I’ll be making this for our next neighborhood potluck for sure.
I’ve tried so many Korean chicken recipes that come out soggy when baked, I was skeptical this would work. Followed the directions exactly and wow—crunch that held up even after tossing in the sauce? Unreal. Quick question though: can I prep the chicken and the dry coating the night before to save time after work?
This recipe is so easy it’s become part of my regular Sunday meal prep rotation! I make a big batch, leave the sauce on the side, and it stays crispy in the fridge for 3 days easy. 10/10, no notes—even my picky roommate asks for it every week.
Brought this to a work potluck last week and people were begging me for the recipe before I even set the platter down! I doubled the gochujang because my crew loves extra heat, and it was perfect. So much less messy than frying, I don’t think I’ll ever make Korean chicken the old way again.
Super easy recipe for a total beginner like me! Only thing is my chicken came out a little less crispy than the photos look—did I maybe crowd the pan too much? I used a regular baking sheet without a wire rack, oops.
Who knew baked chicken could get this crispy??? I added a little extra garlic and a pinch of sesame seeds to the sauce, and my whole family said it tastes better than the takeout we usually order on Friday nights. Total win, saved me so much money on delivery too!