
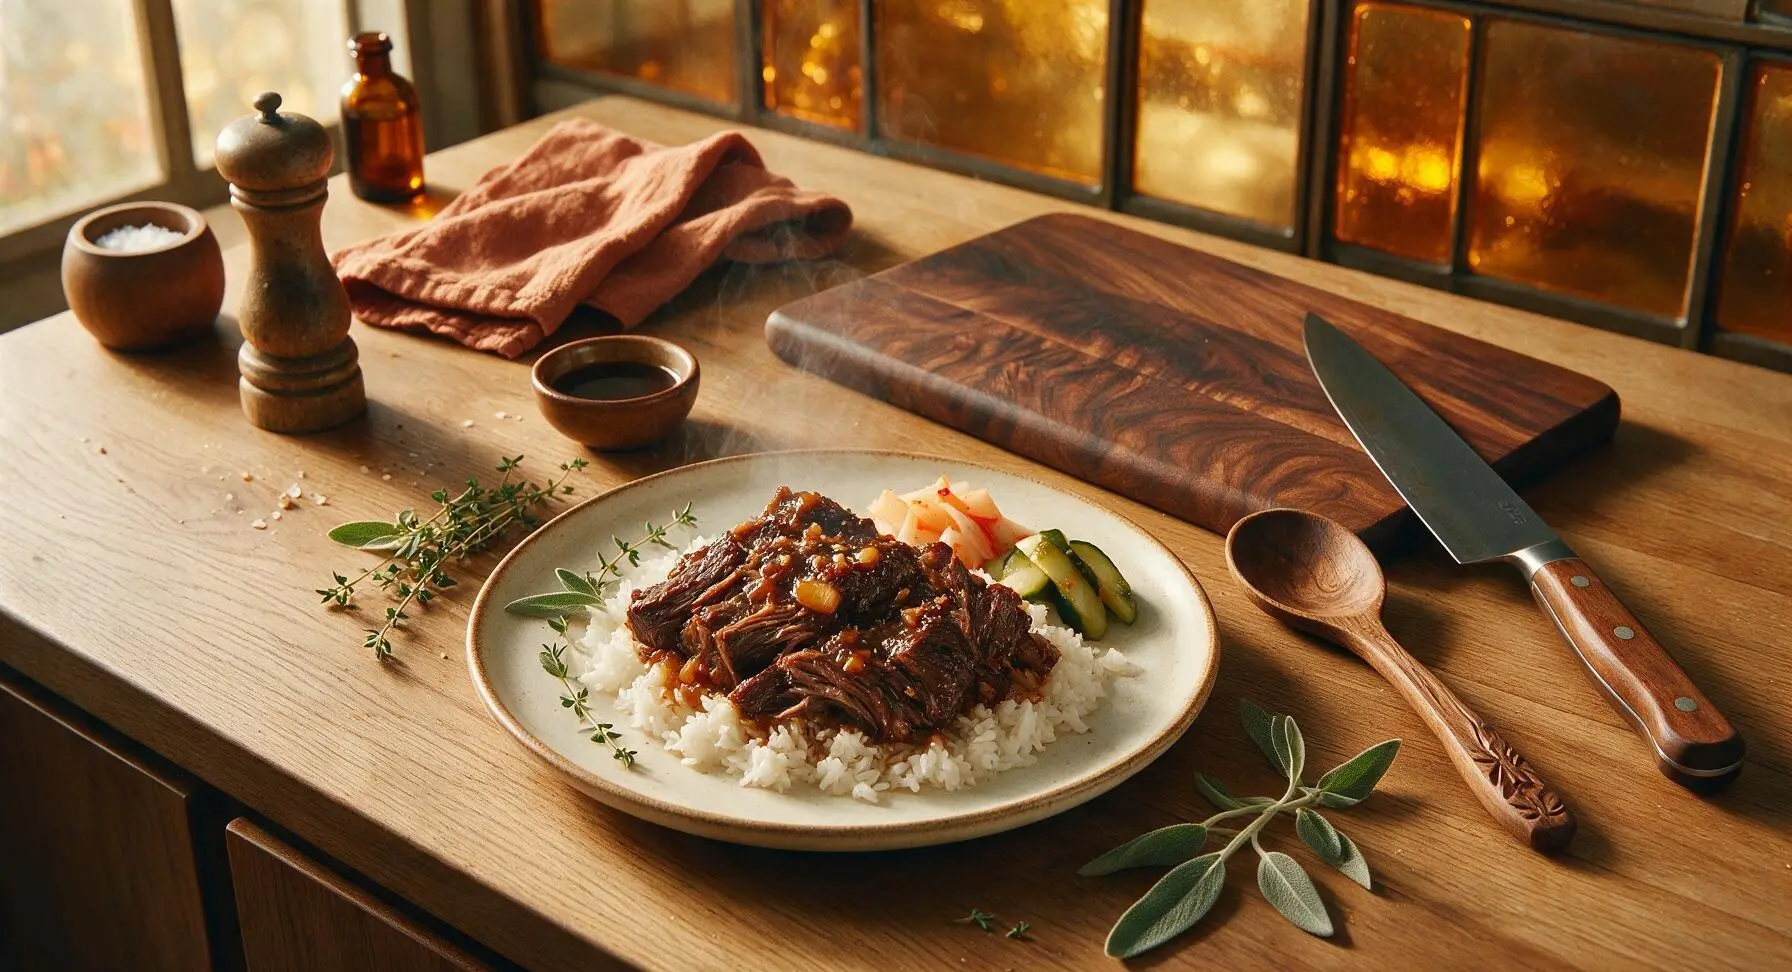
korean brisket

title 1
korean brisket
⏱️ cook time 2 hours 20 minutes
🍽️ servings 4
⚡ Difficulty medium

intro

Tender, umami-rich slow-braised Korean brisket glazed with soy, garlic, and pear: fall-apart juicy, deeply savory, perfect served over rice with pickled sides.

Ingredients
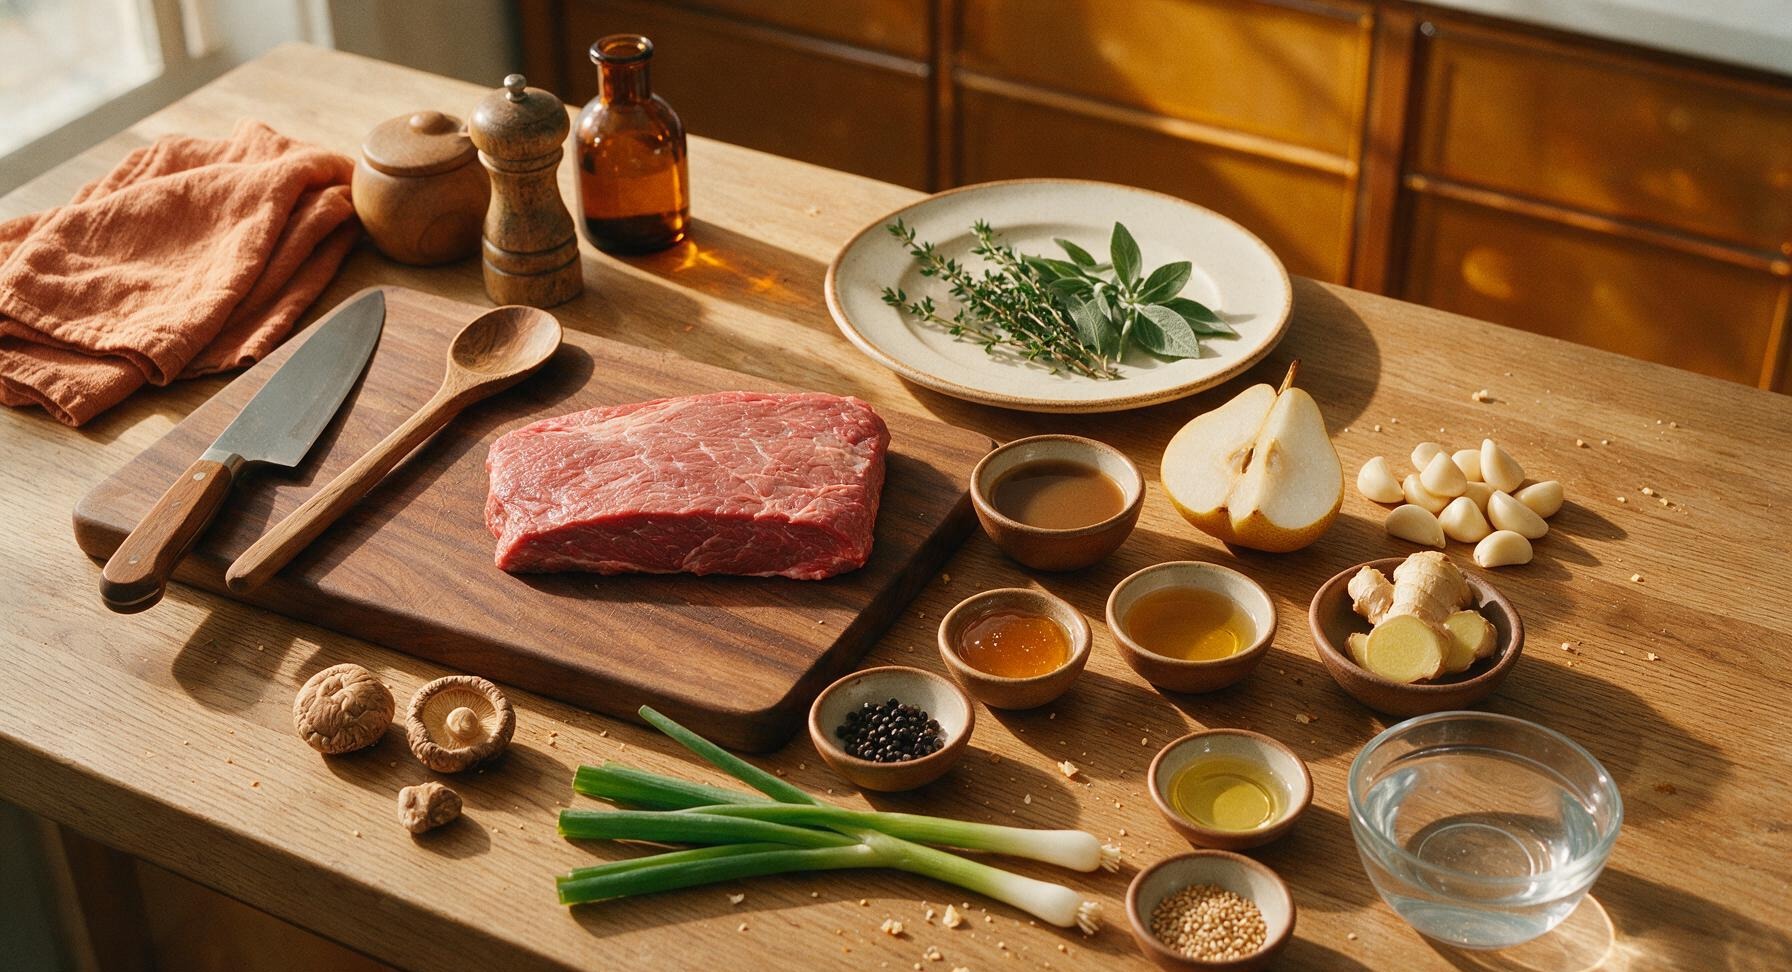
Beef brisket (flat cut, trimmed) 1kg
Low-sodium soy sauce 120ml
Korean pear 250g (1 medium, cored, quartered)
Garlic cloves 30g (8 whole cloves, peeled)
Fresh ginger 20g (peeled, 1cm thick slices)
Dry rice wine (cheongju or dry sherry) 60ml
Raw honey 30ml (2 tbsp)
Whole black pepper 1 tsp
Dried shiitake mushrooms 10g (3 whole pieces)
Green onions 60g (3 stalks)
Toasted sesame seeds 1 tsp
Toasted sesame oil 5ml (1 tsp)
Neutral cooking oil (canola/grapeseed) 5ml (1 tsp)
Cold water 500ml

Steps

1

Trim Brisket Fat Cap

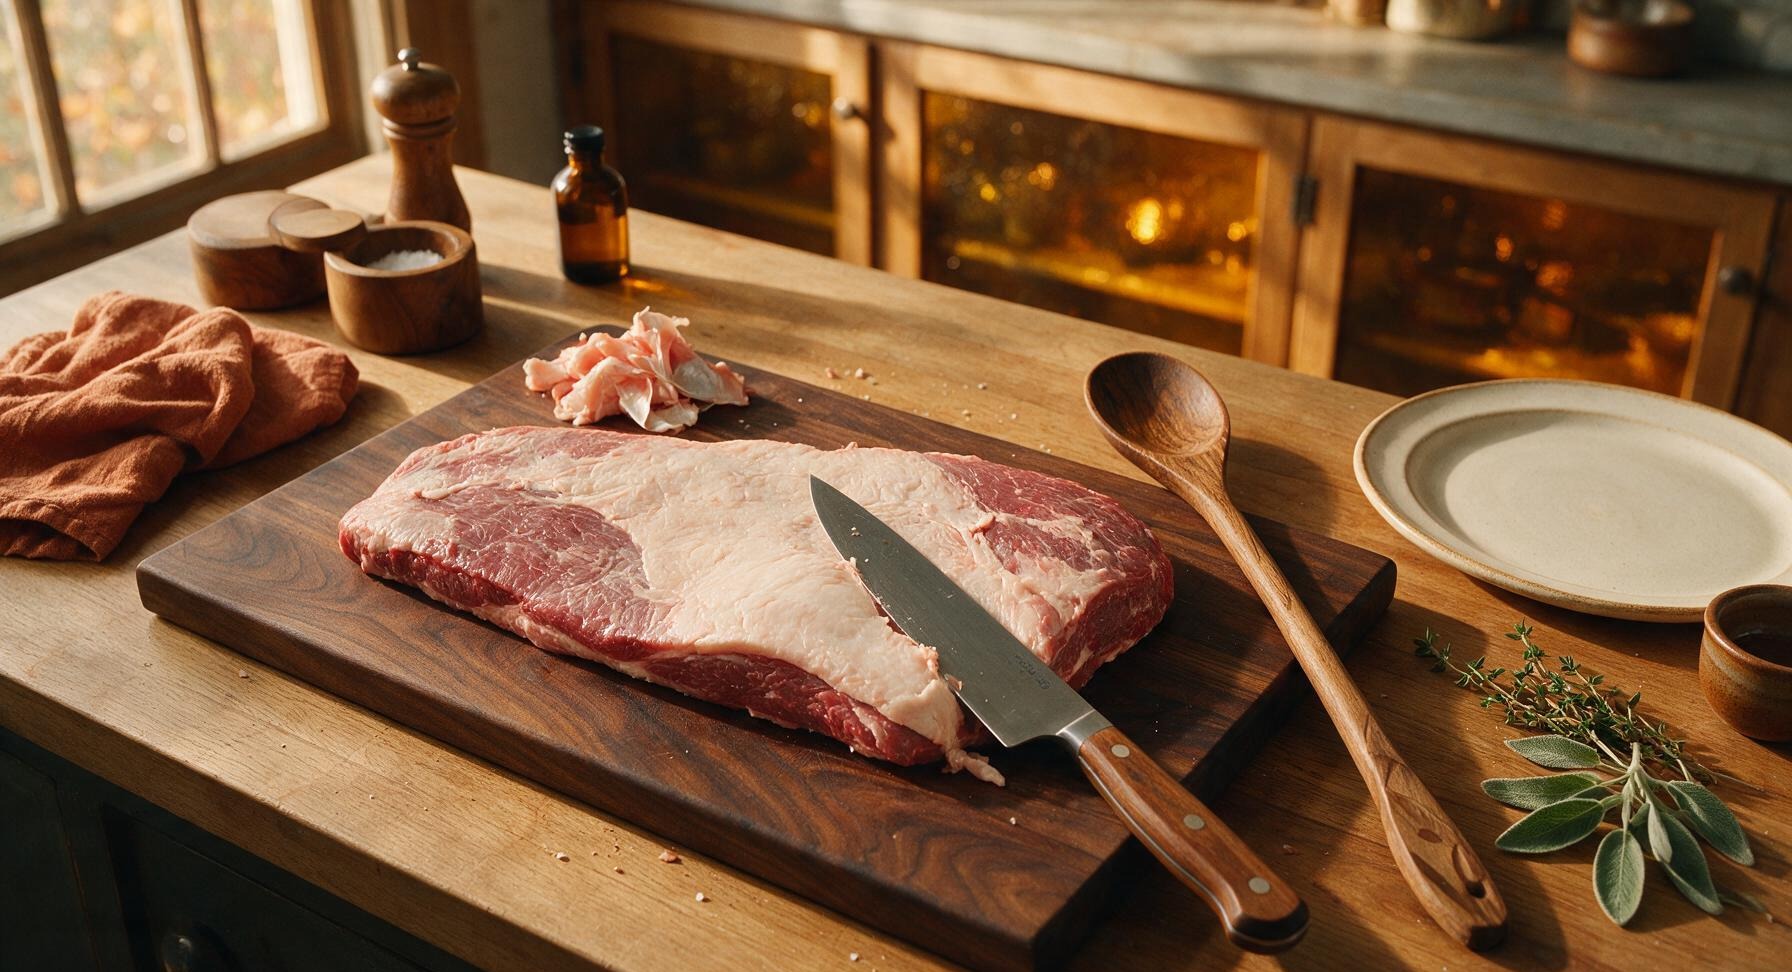
Place the raw brisket on the light maple cutting board. Use the 8-inch walnut-handled chef knife to trim the thick top fat cap down to a uniform 6mm (1/4 inch) thickness, removing all tough silver skin and hard, waxy fat deposits from the meat surface. Pat the entire brisket dry with paper towels to remove all surface moisture, which ensures even, crisp searing. The trimmed meat should sit evenly with no ragged, loose edges.
Step 1
step1:Trim Brisket Fat Cap
2

Sear Brisket Until Golden

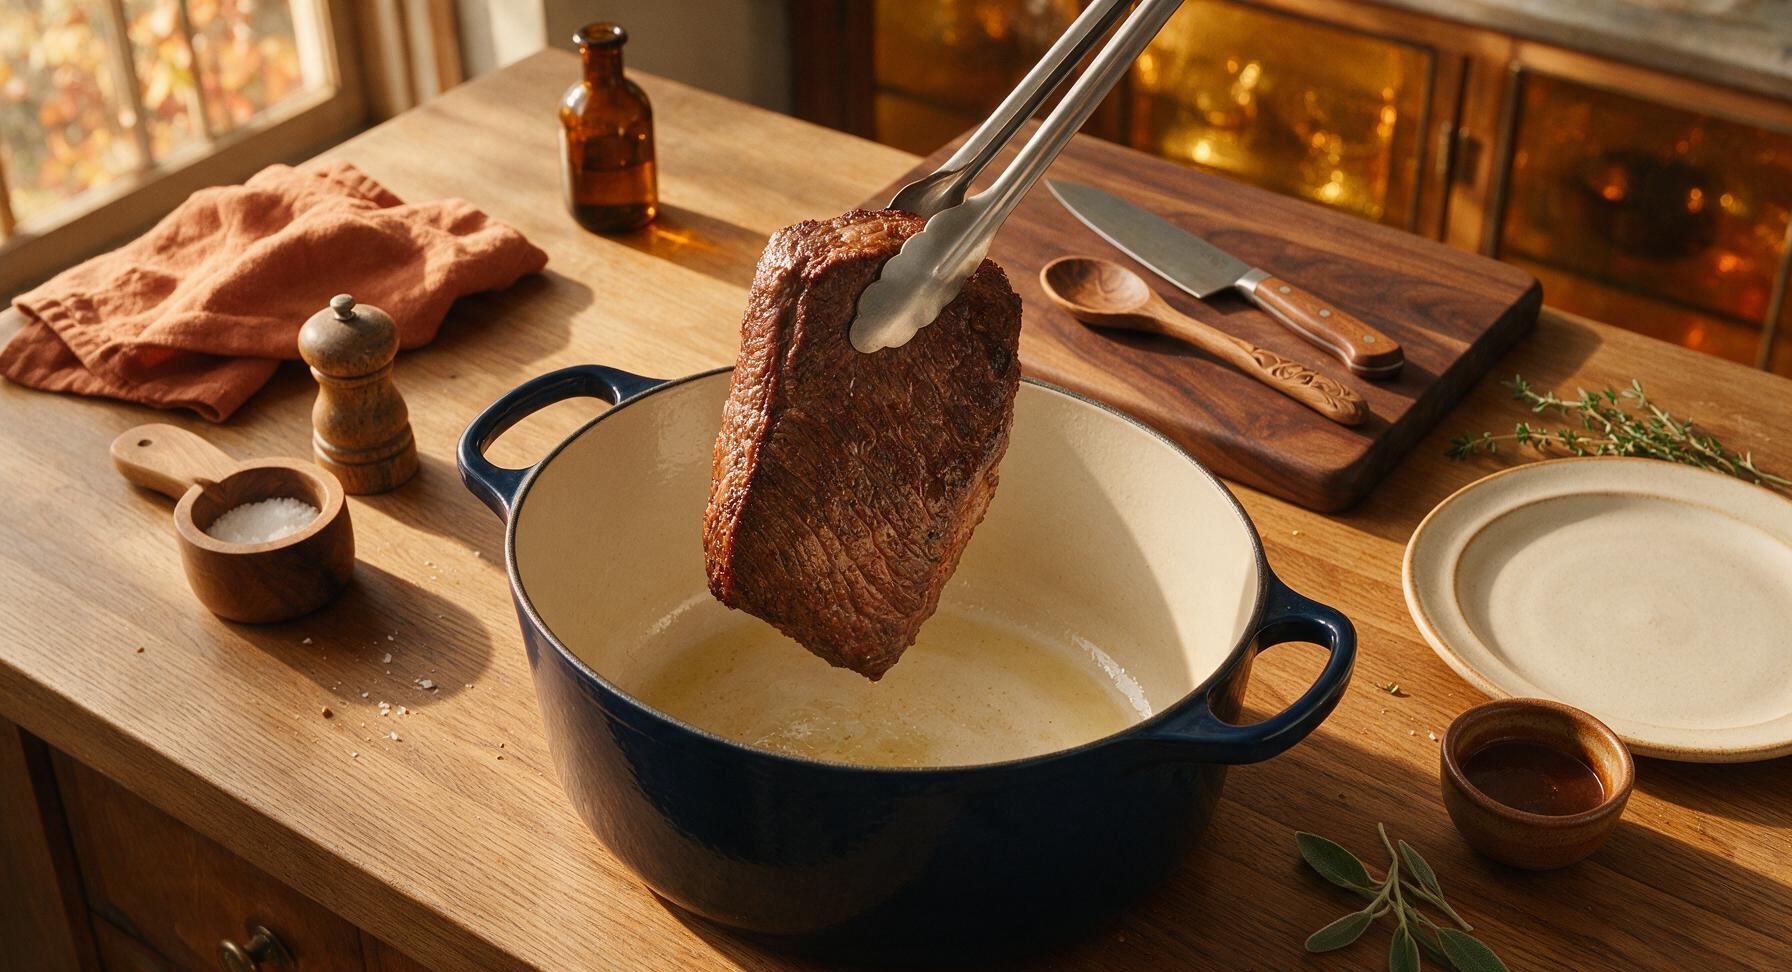
Place the deep navy enameled Dutch oven over medium-high heat (175C/350F pan surface), add 1 teaspoon neutral cooking oil. Once the oil shimmers (no smoking), lay the trimmed, dried brisket fat-side down in the pot. Sear for 4-5 minutes per side, using the stainless steel tongs to turn the meat, until a deep golden-brown crust forms on all four surfaces, with no pale raw spots visible. Take care not to pierce the meat with the tong tips to avoid losing juices.
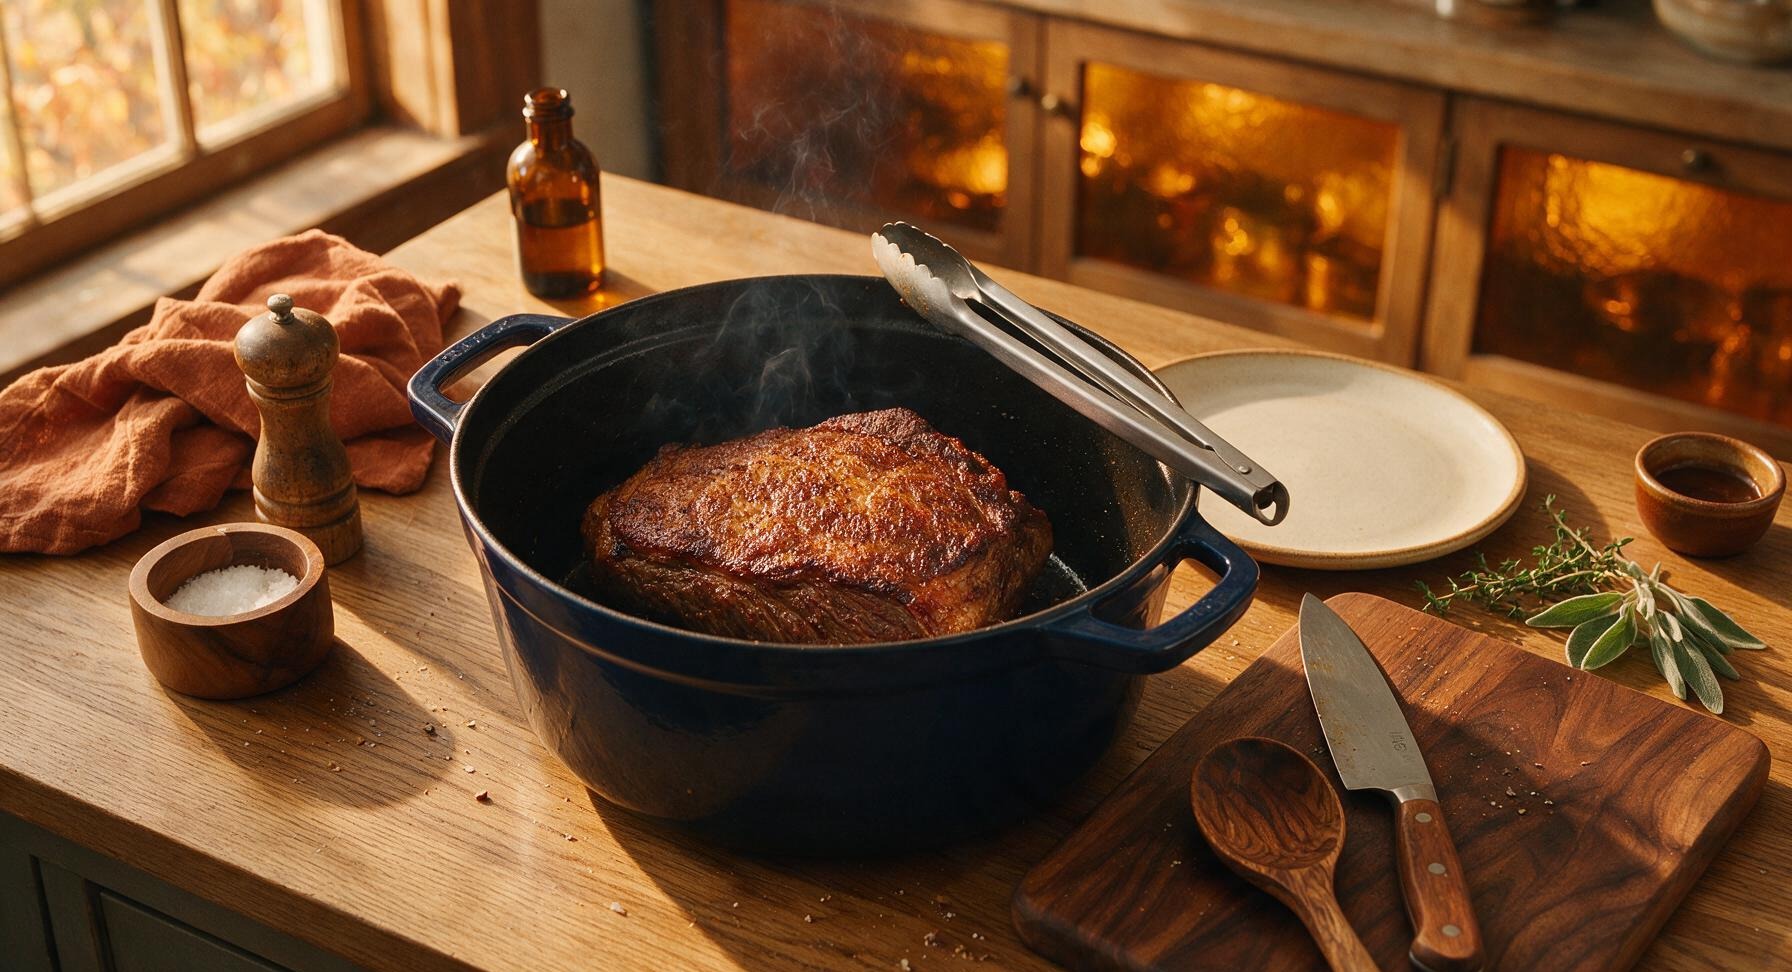
Step 2
step2:Sear Brisket Until Golden
Step 2
step2:Sear Brisket Until Golden
3

Add Braising Aromatics

Once the brisket is fully seared, reduce heat to medium-low. Tuck the quartered Korean pear, peeled garlic cloves, sliced ginger, and dried shiitake mushrooms around the brisket in the Dutch oven. Pour in the soy sauce, dry rice wine, honey, whole black pepper, and cold water, ensuring the liquid comes exactly 2/3 of the way up the brisket (do not fully submerge the meat). Bring the liquid to a gentle simmer, where small bubbles break slowly at the surface rather than rolling rapidly.
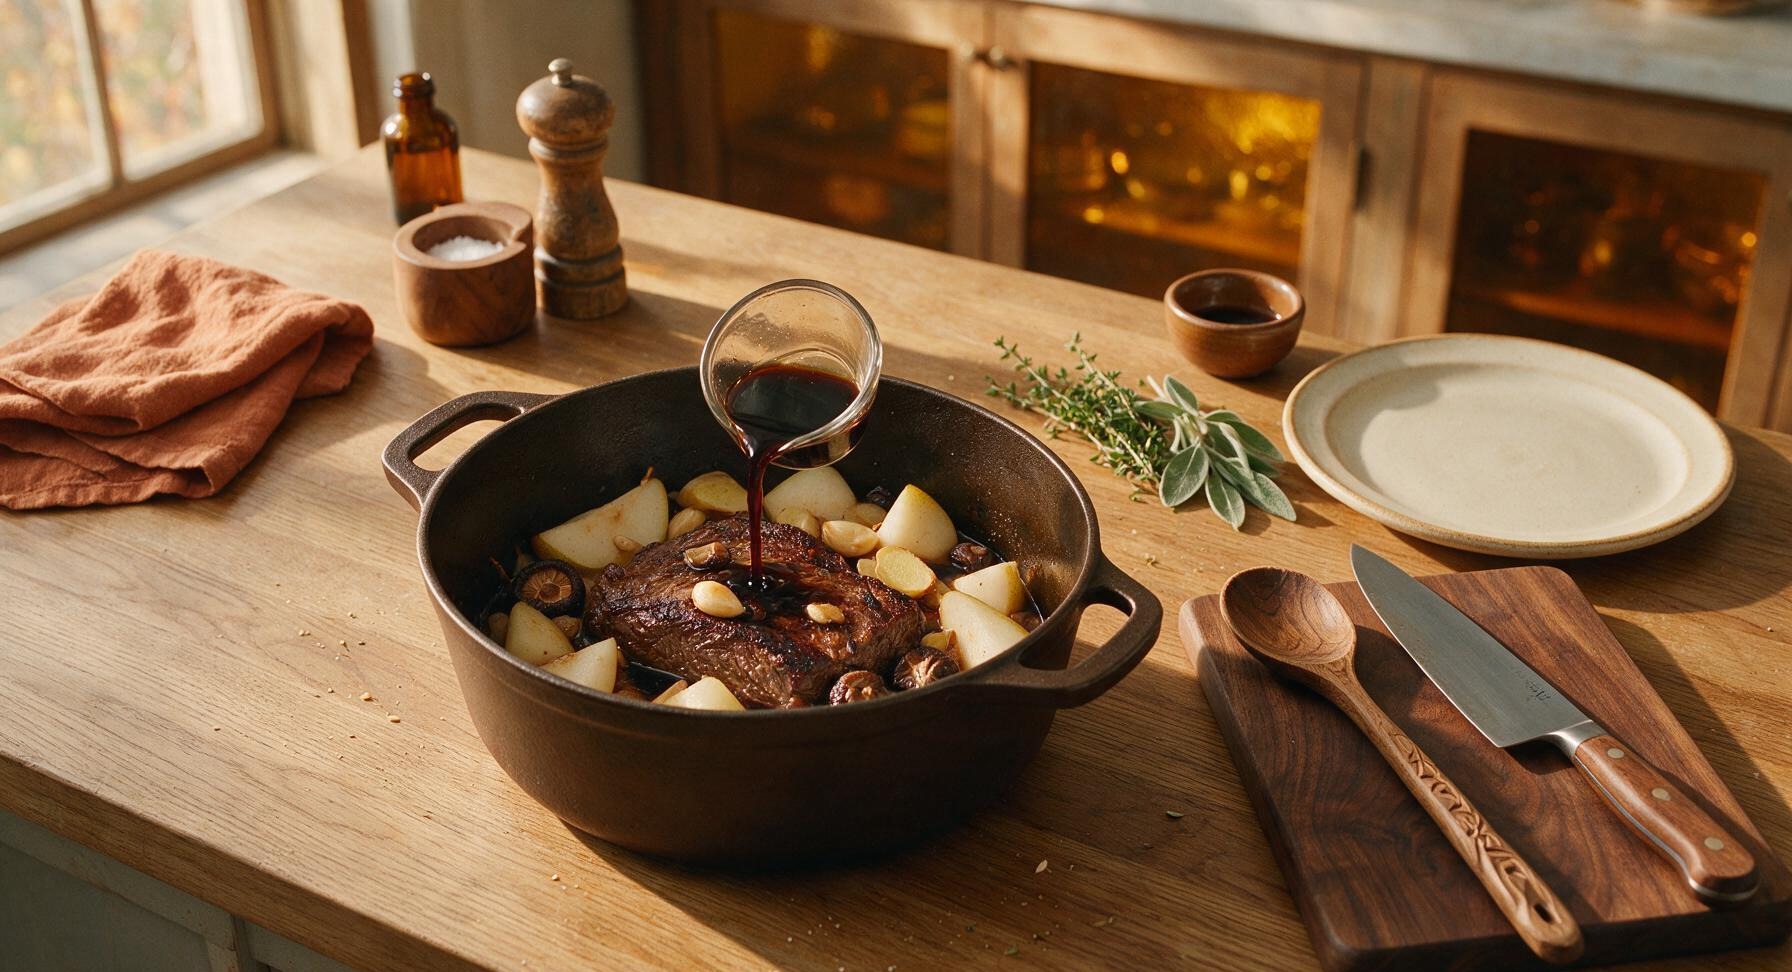
Step 3
step3:Add Braising Aromatics
4

Slow Braise Until Tender

Cover the Dutch oven with its tight-fitting navy lid, then transfer to a preheated oven set to 160C/320F. Braise for 2 full hours without lifting the lid, until the brisket is fully fork-tender: a fork inserted into the thickest part of the meat should slide in with zero resistance, and the meat should pull apart easily when prodded gently. Avoid braising at higher temperatures, as this will cause the muscle fibers to seize and become tough and stringy.
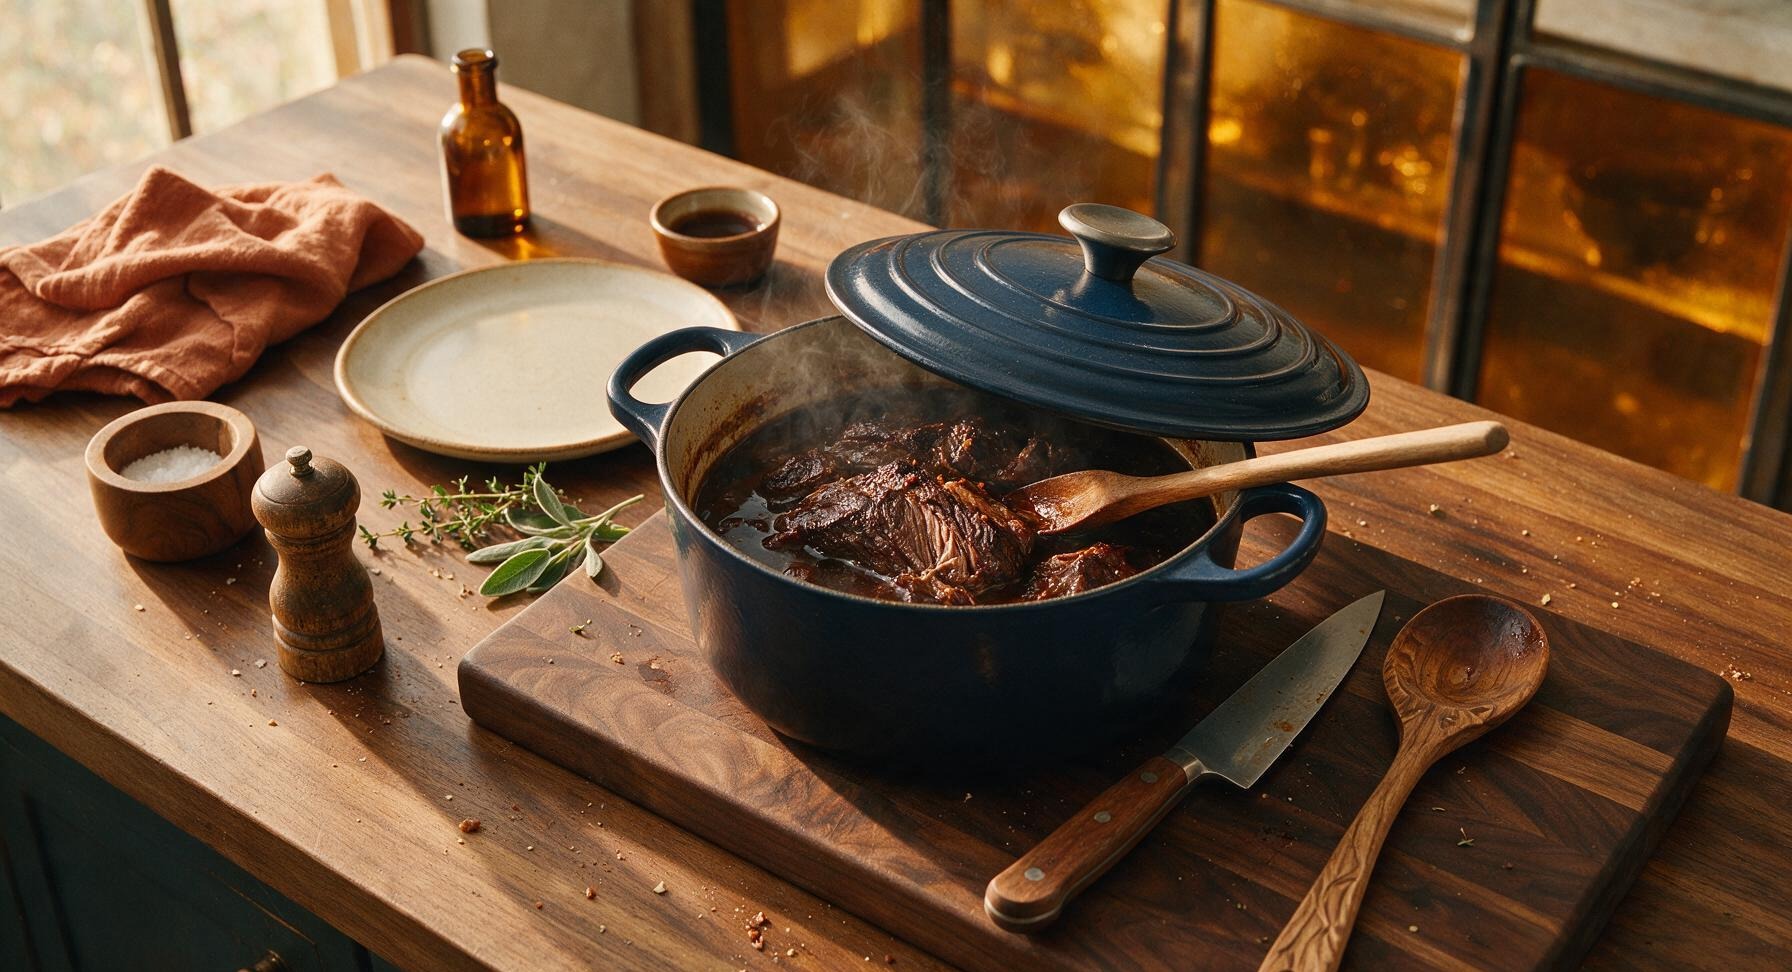
Step 4
step4:Slow Braise Until Tender
5

Rest Meat, Strain Sauce

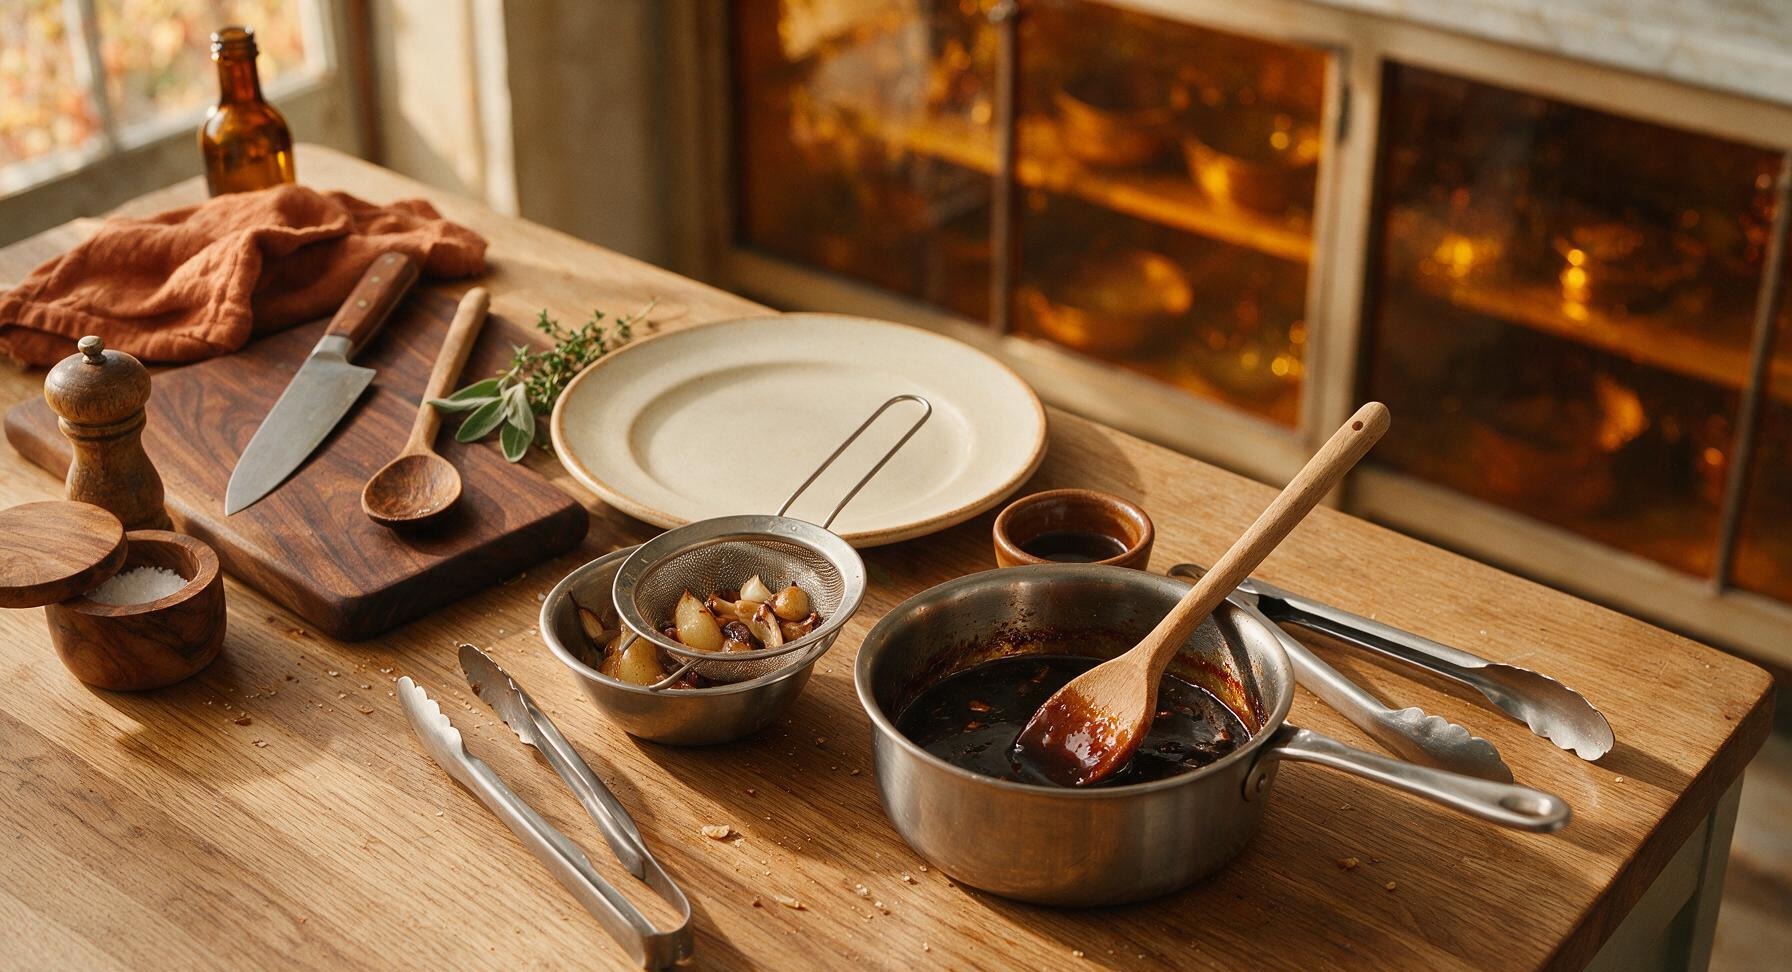
Use the stainless steel tongs to carefully lift the tender brisket from the braising liquid, transferring it to a clean plate to rest for 15 minutes, loosely tented with a small piece of aluminum foil to retain heat. While the meat rests, pour the remaining braising liquid through the fine-mesh stainless steel strainer into the small stainless steel saucepan, pressing gently on the cooked pear and aromatics to extract all flavorful liquid, then discarding the leftover solids. Simmer the strained sauce over medium heat for 5-7 minutes, until it reduces by 1/3 and coats the back of a spoon with a glossy, thick glaze. Stir in 1 teaspoon of toasted sesame oil once the sauce is removed from heat.
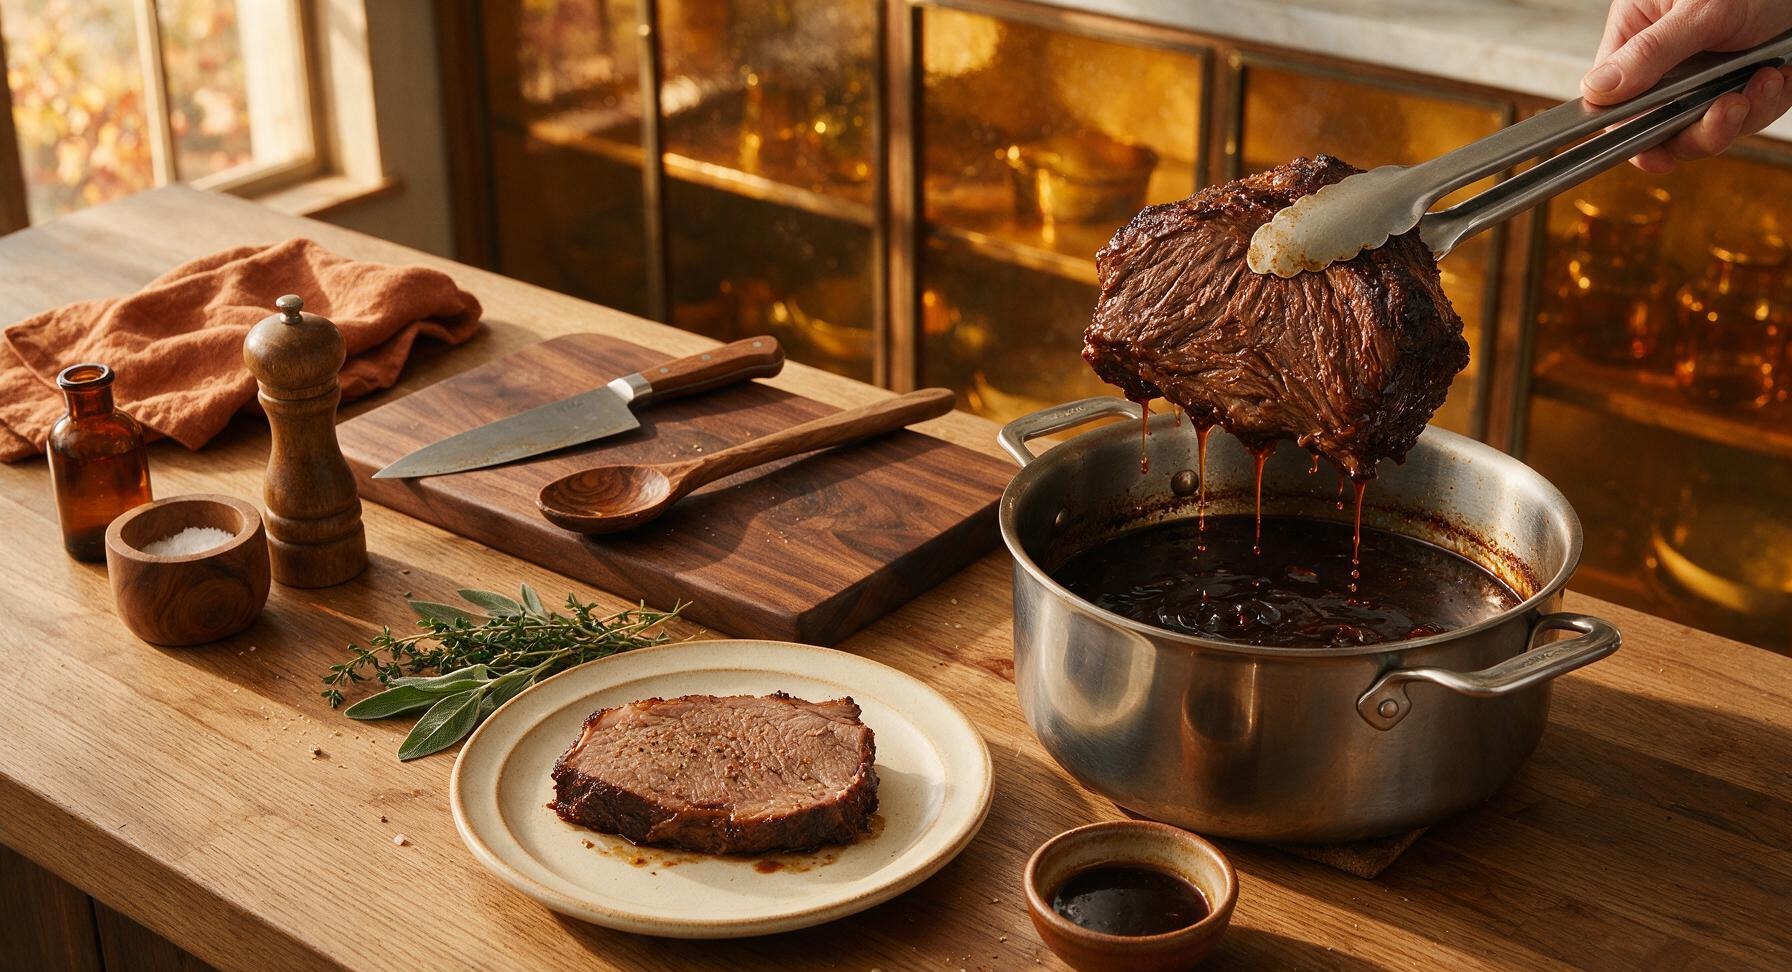
Step 5
step5:Rest Meat, Strain Sauce
Step 5
step5:Rest Meat, Strain Sauce
6

Slice Against the Grain

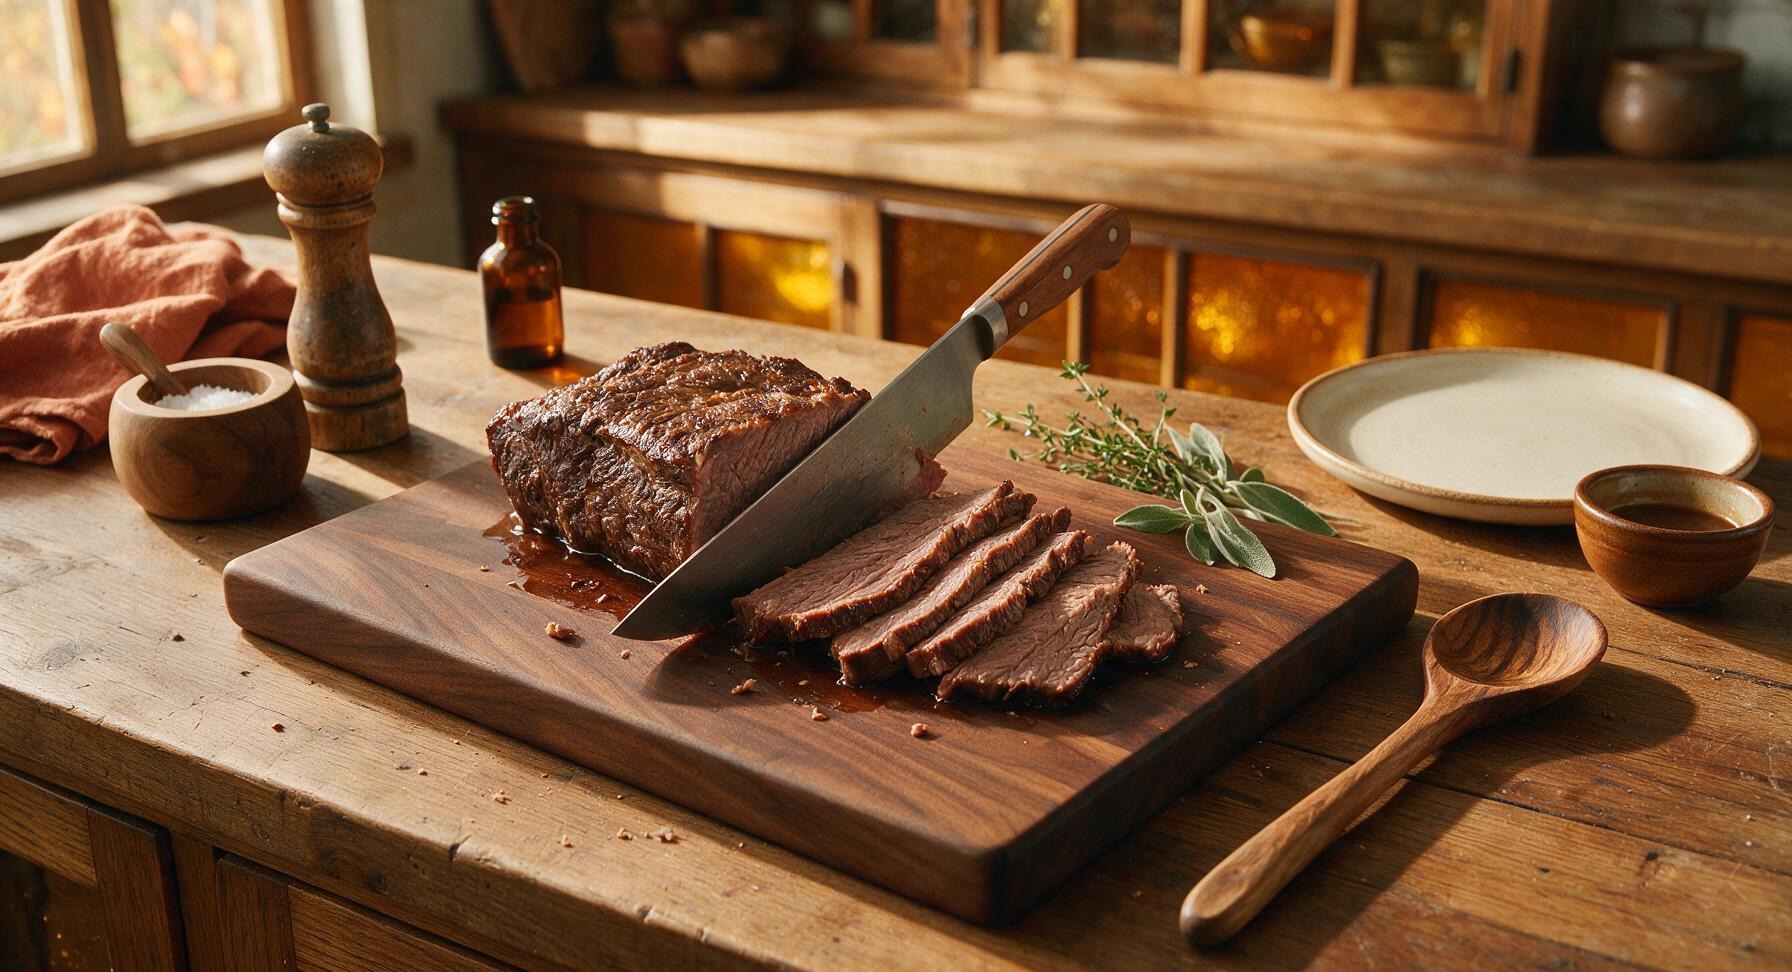
Once the brisket has rested for 15 minutes, transfer it back to the light maple cutting board. Identify the direction of the meat grain (the long, parallel lines of muscle fiber running along the brisket), then use the sharp chef knife to slice the brisket into 1cm (1/2 inch) thick slices, cutting directly perpendicular to the grain to ensure maximum tenderness. Trim away any overly large, soft pieces of remaining fat if desired.
Step 6
step6:Slice Against the Grain
7

Plate and Garnish

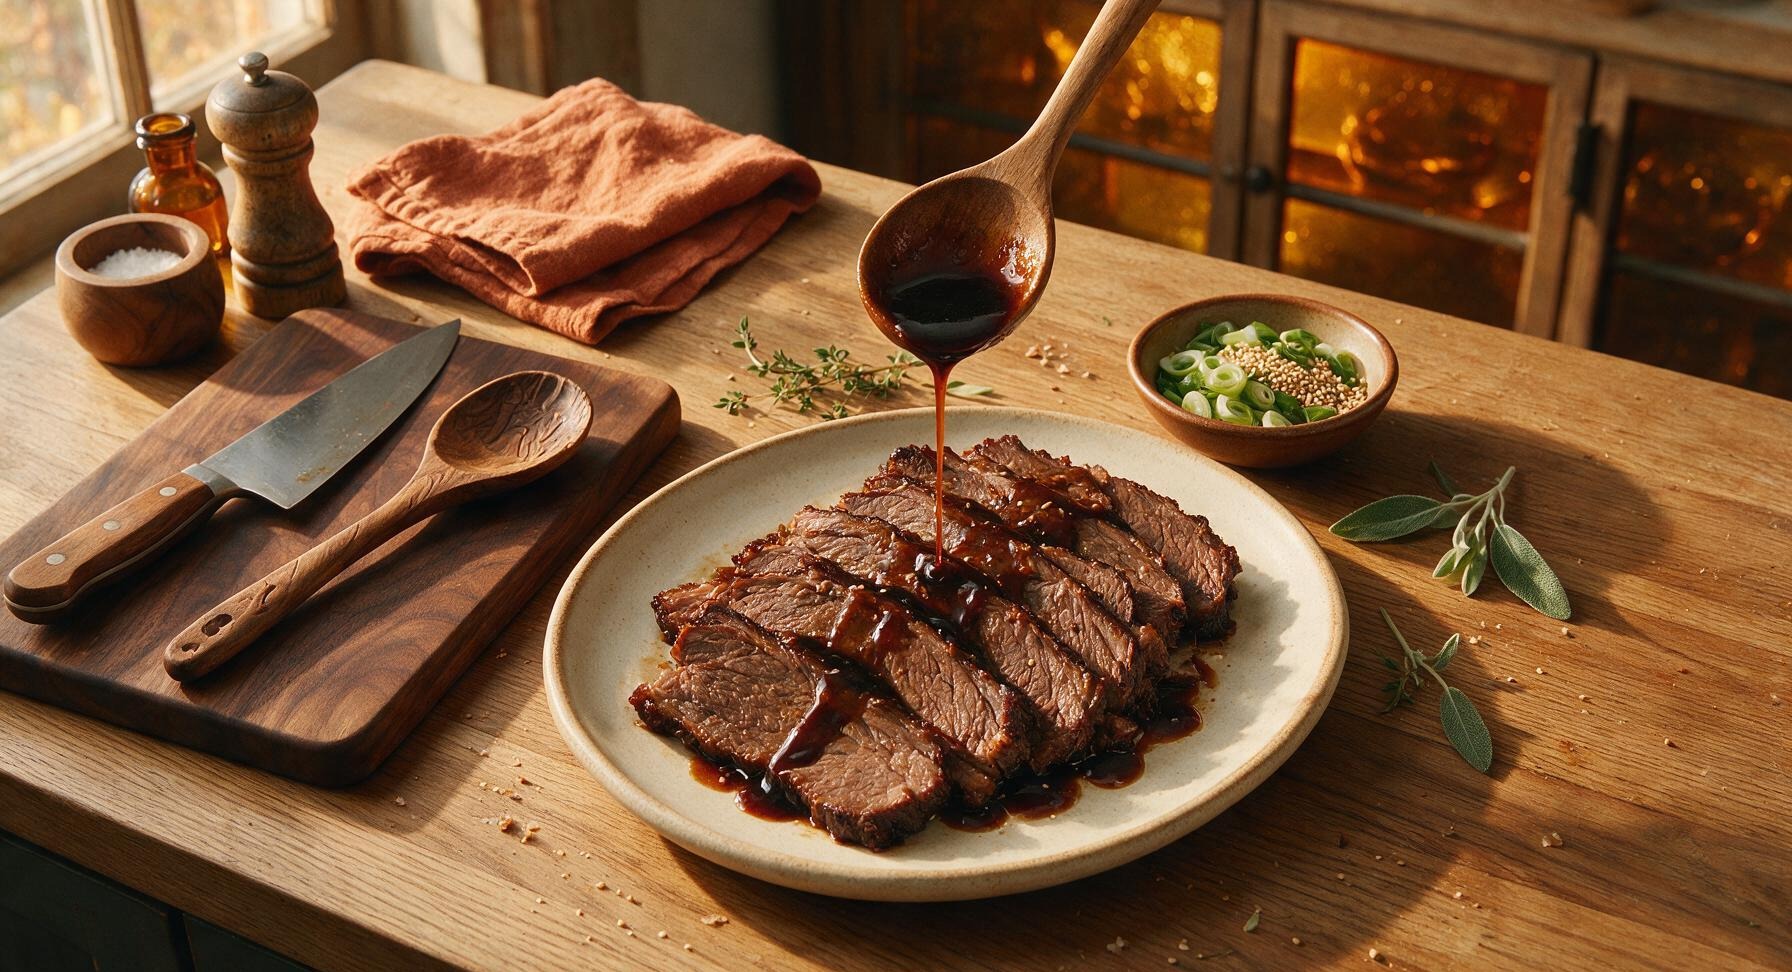
Arrange the sliced brisket in overlapping, slightly fanned slices across the center of the matte cream ceramic serving platter. Spoon the reduced glossy braising glaze evenly over the top of the slices, allowing it to drip down between the pieces of meat. Garnish with thinly sliced green onion tops and a light, even sprinkle of toasted sesame seeds. Serve warm, with extra glaze on the side in one of the small cream ramekins, alongside steamed rice and pickled vegetables if desired.
Step 7
step7:Plate and Garnish

Tips

1.Do not fully submerge the brisket in braising liquid: leaving the top 1/3 of the meat exposed allows the surface to caramelize slightly during the long braise, creating a deeper, more rounded flavor rather than simply boiling the meat.
2.Always slice cooked brisket against the grain: the long, tough muscle fibers in brisket break down during slow cooking, but cutting parallel to the grain will result in chewy, stringy slices even if the meat is cooked to perfect tenderness.
3.Korean pear adds more than sweetness to this recipe: the natural proteolytic enzymes in the pear act as a gentle meat tenderizer, breaking down tough brisket fibers to create a melt-in-your-mouth texture without the use of processed commercial tenderizers.


✨ You May Also Like

Main Course
🍜 United Kingdom

A showstopping classic of tender seared beef, savory mushroom duxelles, and crisp prosciutto wrapped in flaky golden puff pastry, baked to juicy perfection.

⏱️ 2 hours 1Main Course ★ 4.7
Main Course
🍜 India

Tender charred marinated chicken simmered in a rich, spiced creamy tomato sauce, this iconic Anglo-Indian curry pairs perfectly with basmati rice or warm naan.

⏱️ 50 minuteMain Course ★ 4.6
Main Course
🍜 Thailand

Classic tangy, sweet, and savory Thai stir-fried rice noodles with shrimp, tofu, and crunchy garnishes, balancing all five core Thai flavor profiles.

⏱️ 30 minuteMain Course ★ 4.5
Main Course
🍜 United Kingdom

Crispy golden beer-battered cod and fluffy double-fried chips, served with tangy tartar sauce and malt vinegar: the timeless, beloved British pub comfort classic.

⏱️ 45 minuteMain Course ★ 4.7
Main Course
🍜 Mexico

Smoky, chile-marinated pork tacos with caramelized pineapple, fresh cilantro, and lime: a beloved classic Mexican street food perfect for casual summer gatherings.

⏱️ 1 hour 45Main Course ★ 4.8
Main Course
🍜 United States

Crunchy Fritos corn chips layered with savory beef chili and melted cheddar, topped with cool, zesty fixings for a beloved, cozy Tex-Mex comfort food.

⏱️ 35 minuteMain Course ★ 4.8

korean brisket:Frequently Asked Questions

1.What cut of brisket works best for this slow-braised Korean brisket recipe? ▾
Stick with the flat cut of beef brisket as noted in the ingredient list—it has a consistent, even shape that cooks uniformly during long braising, without the uneven, heavy fat marbling of the point cut. Trim thick, hard external fat caps down to ¼ inch thickness before searing to keep the final braise rich but not greasy.
2.I can’t find Korean pear at my local grocery store—what’s a good substitute? ▾
Korean pear adds subtle sweet, fruity depth and natural tenderizing enzymes, so reach for a ripe Bosc or Anjou pear as your first swap, or a crisp, sweet Fuji apple if pears are out of season. Avoid super soft, overripe fruit, which will turn mushy in the braise and add an off-sweet, fermented note instead of bright, mild sweetness.
3.Why does this recipe call for low-sodium soy sauce instead of regular? ▾
Low-sodium soy sauce lets you control the salt level of the braise as it reduces over the long, slow cook time. Regular soy sauce concentrates dramatically as the liquid simmers for hours, often leading to an overly salty, briny glaze that masks subtle notes of pear, garlic, and ginger. You can always add a pinch of salt at the end if needed.
4.How long does it actually take for the brisket to get that fall-apart tender texture? ▾
Plan for 3 to 3.5 hours of low, slow braising at 325°F (160°C) in a covered Dutch oven for a 3 to 4 pound flat cut brisket. Resist the urge to crank the heat to speed things up—high heat makes muscle fibers seize and turn tough, even with longer cook time. It’s done when a fork slides into the thickest part with no resistance.
5.Do I need to peel the Korean pear before adding it to the braising liquid? ▾
Yes, peel and core the Korean pear before grating or chopping it to add to the braise. The peel has a slightly tough, fibrous texture that won’t break down fully during cooking, and can leave little gritty bits in your smooth, glossy glaze. Grate the pear flesh for the best integration of its sweet flavor and tenderizing enzymes.
6.Can I make this brisket in a slow cooker instead of using the oven? ▾
Absolutely! Sear the trimmed brisket on all sides first to build deep, savory flavor, then add it to your slow cooker with the braising ingredients. Cook on the LOW setting for 6 to 7 hours until fork-tender, then transfer the liquid to a small pot to simmer and reduce into a thick glaze on the stovetop before serving.
7.Why is my brisket still tough even after hours of cooking? ▾
Tough brisket almost always comes down to one of two issues: either you cooked it at too high a temperature, which made muscle fibers seize and squeeze out moisture, or you didn’t cook it quite long enough. Brisket is full of tough connective tissue that needs low, steady heat to melt into silky gelatin—give it another 30 to 45 minutes, and it will soften right up.
8.How much garlic and ginger do I need, and can I use pre-minced jarred versions? ▾
For a 3-pound brisket, use 8 to 10 lightly crushed whole garlic cloves and a 2-inch knob of fresh ginger, peeled and sliced thick. Skip pre-minced jarred garlic and ginger if you can—they have a flat, slightly metallic taste that gets amplified during long braising, and won’t deliver the bright, aromatic punch of fresh alliums.
9.Should I fully submerge the brisket in braising liquid while it cooks? ▾
No, you only need enough liquid to come ⅓ to ½ of the way up the side of the brisket for a proper braise. Fully submerging the meat will boil it instead of letting it steam and tenderize gently, leading to watered-down flavor and a mushy texture. Keep the pot tightly covered so trapped steam does most of the cooking work.
10.Can I make this brisket ahead of time for a dinner party? ▾
This braised brisket actually tastes better made 1 to 2 days ahead! Let the cooked brisket cool in its braising liquid, then cover and refrigerate it. The fat will solidify on top for easy removal, and the meat will absorb more of the soy, pear, garlic, and ginger flavor as it chills. Slice and reheat gently in glaze before serving.
11.How do I get that glossy, sticky glaze on the finished brisket? ▾
Once the brisket is fork-tender, remove it from the pot to rest, then pour the braising liquid into a small saucepan. Skim off any excess surface fat, then simmer the liquid over medium heat for 8 to 10 minutes until it reduces by half and coats the back of a spoon. Brush this reduced liquid over sliced brisket right before serving for that perfect shiny finish.
12.What’s the best way to store leftover braised brisket? ▾
Store leftover sliced brisket and its glaze in an airtight container in the refrigerator for up to 4 days, or freeze it for up to 3 months. Make sure the meat is fully submerged in a bit of glaze to keep it from drying out in storage. Avoid leaving brisket out at room temperature for more than 2 hours to follow basic food safety guidelines.
13.How should I reheat leftover brisket so it doesn’t dry out? ▾
The best way to reheat leftovers is low and slow: place sliced brisket and its glaze in a covered baking dish, add a splash of water or low-sodium soy if the glaze is extra thick, and bake at 300°F (150°C) for 15 to 20 minutes until heated through. Skip the microwave if you can—it heats unevenly and can turn tender meat rubbery in spots.
14.My braising liquid turned out way too salty—how can I fix it? ▾
If your reduced glaze is too salty, stir in a tablespoon of unseasoned rice vinegar, a tiny pinch of extra grated pear, and a quarter cup of low-sodium beef broth or water to dilute the salt level. Taste as you adjust, adding small amounts at a time so you don’t water down the rich umami flavor entirely.
15.What does the Korean pear do in the recipe, besides add sweetness? ▾
Beyond its mild, honeyed sweetness, Korean pear contains natural proteolytic enzymes that help break down tough muscle fibers in the brisket, leading to extra tender, juicy meat without the harsh, bitter aftertaste of commercial meat tenderizers. It also adds subtle fruity depth that balances salty soy and sharp garlic and ginger notes.
16.Do I really need to sear the brisket before braising it? ▾
Yes, don’t skip the searing step! Pat the trimmed brisket completely dry with paper towels, then sear it on all sides in a hot, oiled Dutch oven for 3 to 4 minutes per side until deep golden brown. That caramelized crust adds layers of nutty, savory depth to the braising liquid you can’t get from raw, unseared meat, no matter how long you cook it.
17.What are the best sides to serve with this brisket, per the recipe notes? ▾
Serve sliced, glazed brisket over fluffy steamed short-grain white rice, with bright, tangy pickled sides to cut through the rich, savory meat. Quick pickled radishes, cucumber kimchi, or classic napa cabbage kimchi all work beautifully—their bright acid balances the umami glaze and keeps every bite feeling light, not heavy.
18.Should I slice the brisket against the grain when serving? ▾
Always slice braised brisket against the grain, in ¼-inch thick slices, after it’s had 15 to 20 minutes to rest. Slicing against the grain cuts through the long, tough muscle fibers, making every bite feel tender instead of stringy, even if you cooked the brisket perfectly. Slicing with the grain will leave meat chewy no matter how tender it is.
19.Do I need to add extra sugar or honey to get that classic sweet-savory Korean braise flavor? ▾
No, you don’t need any added refined sugar, honey, or corn syrup for this recipe! The grated Korean pear adds all the subtle, fruity sweetness you need to balance salty soy and aromatic garlic and ginger. Adding extra sweetener will make the glaze cloyingly sweet, masking the deep, savory umami that makes this brisket so satisfying.

Comments (5)

3 days ago

OMG this slow-braised Korean brisket is a total game changer! I made it for our Sunday family dinner last weekend and even my super picky 8 year old asked for seconds. The meat was fall-apart tender after the full braise time, and that sweet-savory sauce? I mopped it up with rice and roasted veggies, no leftovers at all. Will absolutely be making this for our next neighborhood potluck! Only note: I added a tiny extra splash of rice vinegar because I love a little tang, worked perfectly.

2 days ago

So glad your family loved it, Liz! Adding a splash of rice vinegar is such a smart tweak, that little bright tang cuts through the richness of the brisket so well. It’s always a hit at potlucks too—pro tip, make a little extra sauce to drizzle over sides if you’re bringing it to a crowd!

1 day ago

Second the potluck rec! I brought this to my office potluck last month and people were begging for the recipe before I even left. I didn’t change a thing, followed the cook time exactly and it turned out perfect.

1 week ago

Really solid recipe, perfect for my weekly meal prep! I was worried the 2+ hour cook time would be a pain on a Sunday, but most of it is hands off so I could knock out chores while it braised. The only reason I’m not giving 5 stars is I found the sauce a touch too sweet for my taste, next time I’ll cut the brown sugar by a tablespoon or so. Otherwise the brisket texture was chef’s kiss, reheats amazingly all week long.

5 days ago

Thanks so much for the honest feedback, Mitch! So glad the recipe worked well for your meal prep—this is one of my go-to prep recipes too because it holds up so well in the fridge. Cutting back the brown sugar is a great adjustment if you prefer less sweet, you can also swap a little of it for extra gochujang for more heat if that’s your vibe!

yesterday

SO good!!! I’ve tried a bunch of Korean brisket recipes from other sites and this one is hands down the best. The braising liquid is so flavorful, I even boiled it down after taking the brisket out to make a thicker glaze to brush on top. Served it with kimchi fried rice and pickled cucumbers, my boyfriend said it’s better than the brisket at our local KBBQ spot. 10/10, no notes.

2 weeks ago

Okay, full transparency: I’m a total newbie in the kitchen and I was nervous to tackle this since it says medium difficulty, but it was way easier than I thought! My only mishap was I accidentally bought a brisket that was a little bigger than the recipe called for, so I added 20 minutes to the braise time. It still turned out incredible! Do you think this would work with pork shoulder too?

1 week ago

I tried it with pork shoulder last week when I couldn’t find brisket at the grocery store and it worked amazingly! Just trim the extra fat off first, same cook time basically, the sauce soaks right in. So good for sliders too!

30 minutes ago

Made this last night for my roommate’s birthday dinner and we both ate way too much lmao. The depth of flavor from slow braising is unreal, I loved how the pear in the marinade tenderized the meat so well. Only heads up for other people: make sure your Dutch oven is actually oven-safe before you stick it in! I almost had a disaster when I realized my pot’s handle was plastic, oops. Still transferred it to a baking dish covered in foil and it turned out fine, just a little extra hassle.

5 minutes ago

Oh no, so glad you were able to save it before the plastic handle melted! That’s such a good reminder for folks to double check their cookware—if you don’t have an oven-safe Dutch oven, a deep baking dish covered tightly with foil works perfectly, just like you did. Happy belated birthday to your roommate!

just now

Oh my god I did the exact same thing with my Dutch oven last month! Total facepalm moment, but the brisket was so good I didn’t even care about the near disaster. Adding extra gochujang next time for more heat, can’t wait.



