
korean garlic chicken

title 1
korean garlic chicken
⏱️ cook time 25 minutes
🍽️ servings 4
⚡ Difficulty medium

intro

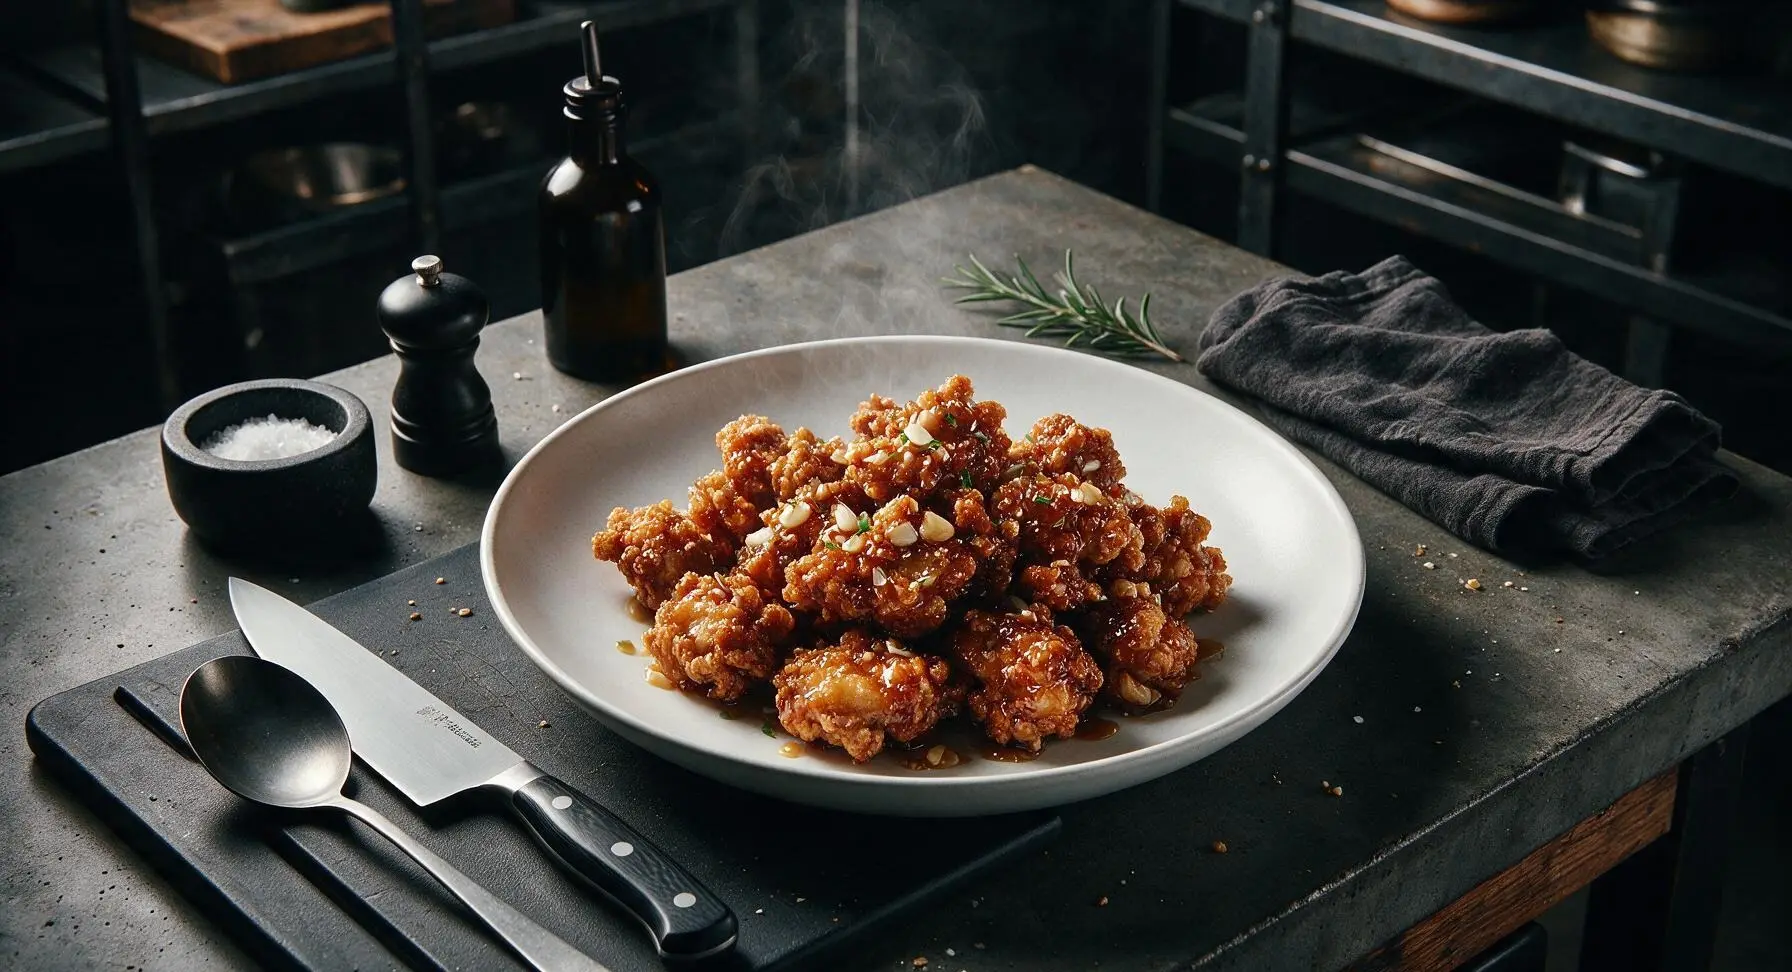
Shatteringly crisp double-fried chicken bites coated in sticky, savory-sweet garlic glaze, with juicy tender interiors—this addictive Korean classic is made for sharing.

Ingredients
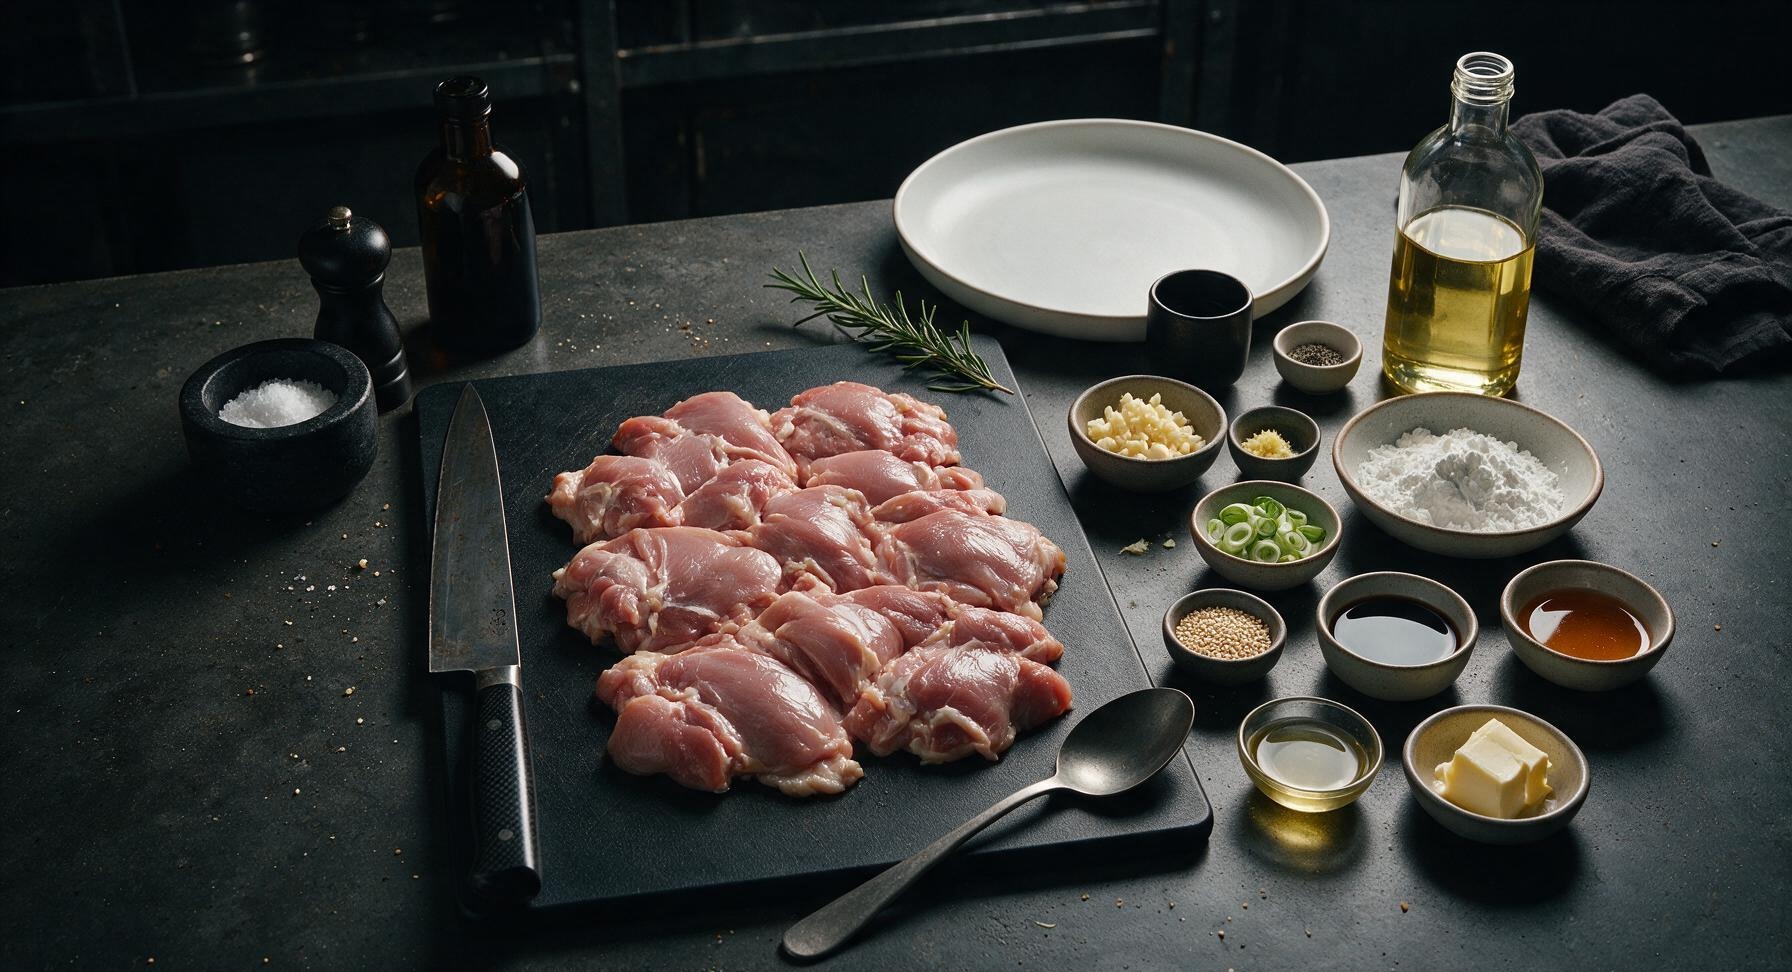
Boneless skinless chicken thighs, trimmed 680g (1.5lb)
Cornstarch 1 cup
Kosher salt 1 tsp
Ground black pepper 1/2 tsp
Canola oil (for frying) 4 cups
Fresh garlic, minced 3 tbsp (8 cloves)
Low-sodium soy sauce 3 tbsp
Honey 2 tbsp
Unseasoned rice vinegar 1 tbsp
Fresh ginger, grated 1 tsp
Toasted sesame oil 1 tsp
Unsalted butter 2 tbsp
Toasted sesame seeds 1 tsp
Green onions, thinly sliced 2 tbsp

Steps

1

Prep and Season Chicken

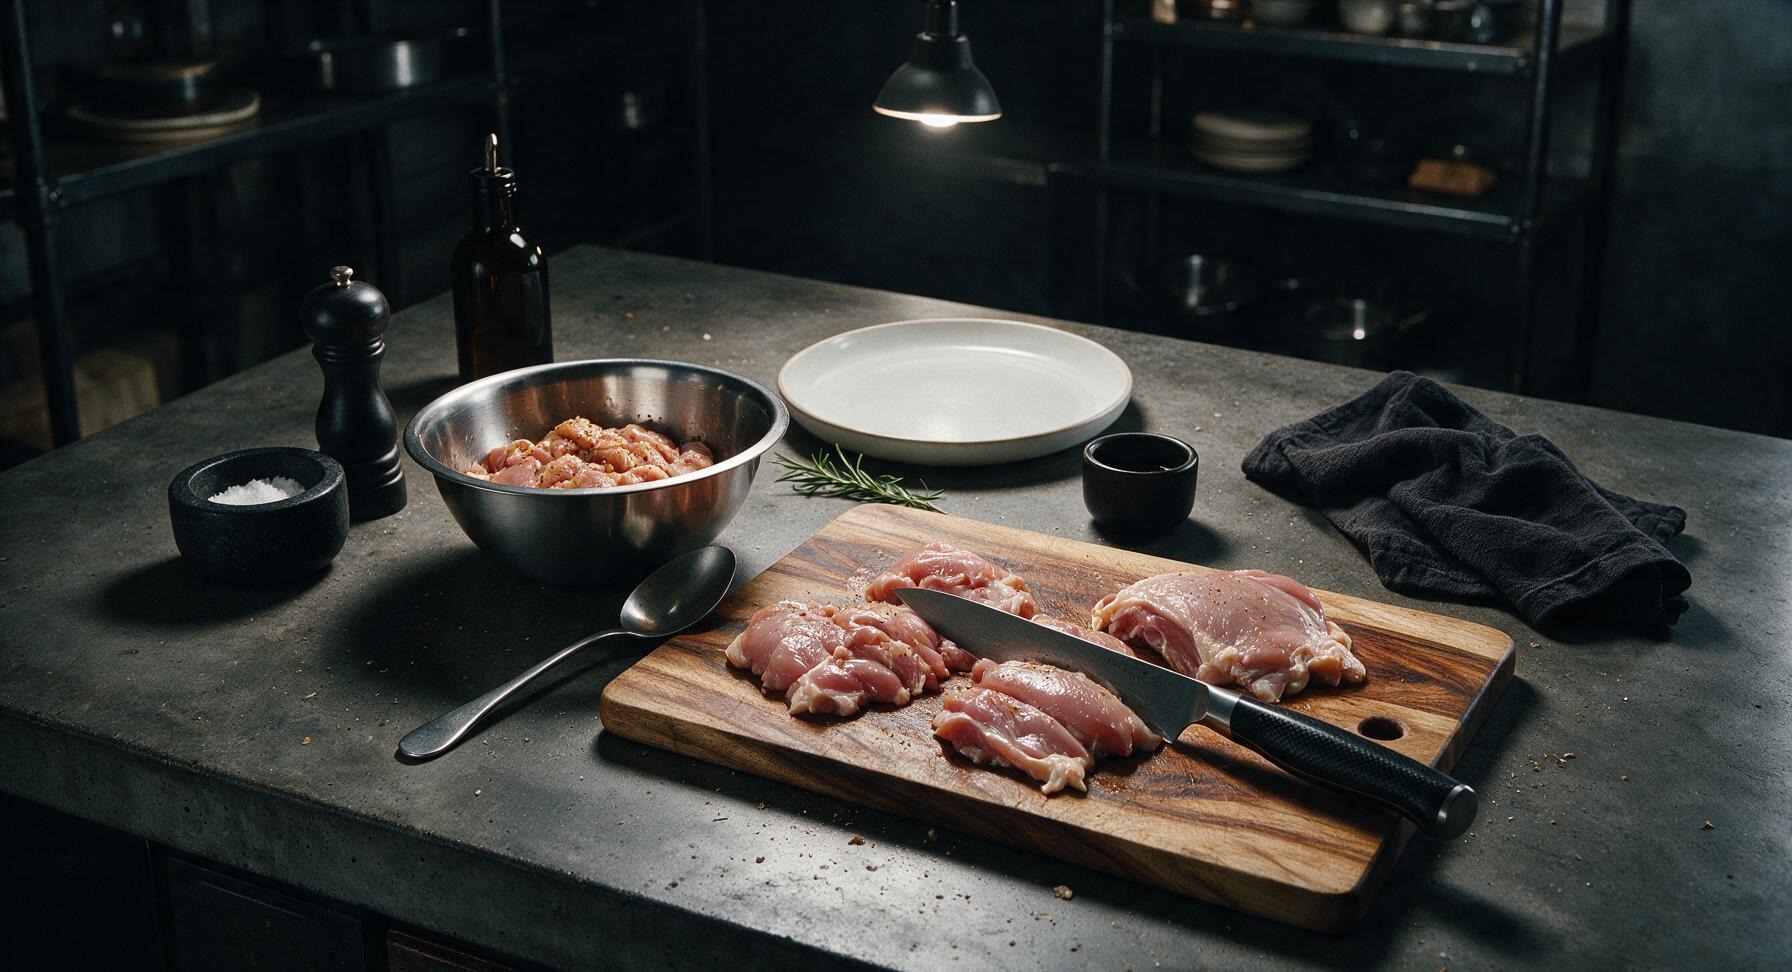
Place the acacia wood cutting board at the center of the counter, lay trimmed chicken thighs on the board, and use the chef knife to cut chicken into uniform 1.5-inch bite-sized pieces, removing any remaining hard fat deposits. Transfer cut chicken to the 5-quart stainless steel mixing bowl, add 1 tsp kosher salt and 1/2 tsp ground black pepper, toss to coat evenly. Let rest 10 minutes at room temperature to allow seasoning to penetrate the meat.
Step 1
step1:Prep and Season Chicken
2

Coat Chicken in Cornstarch

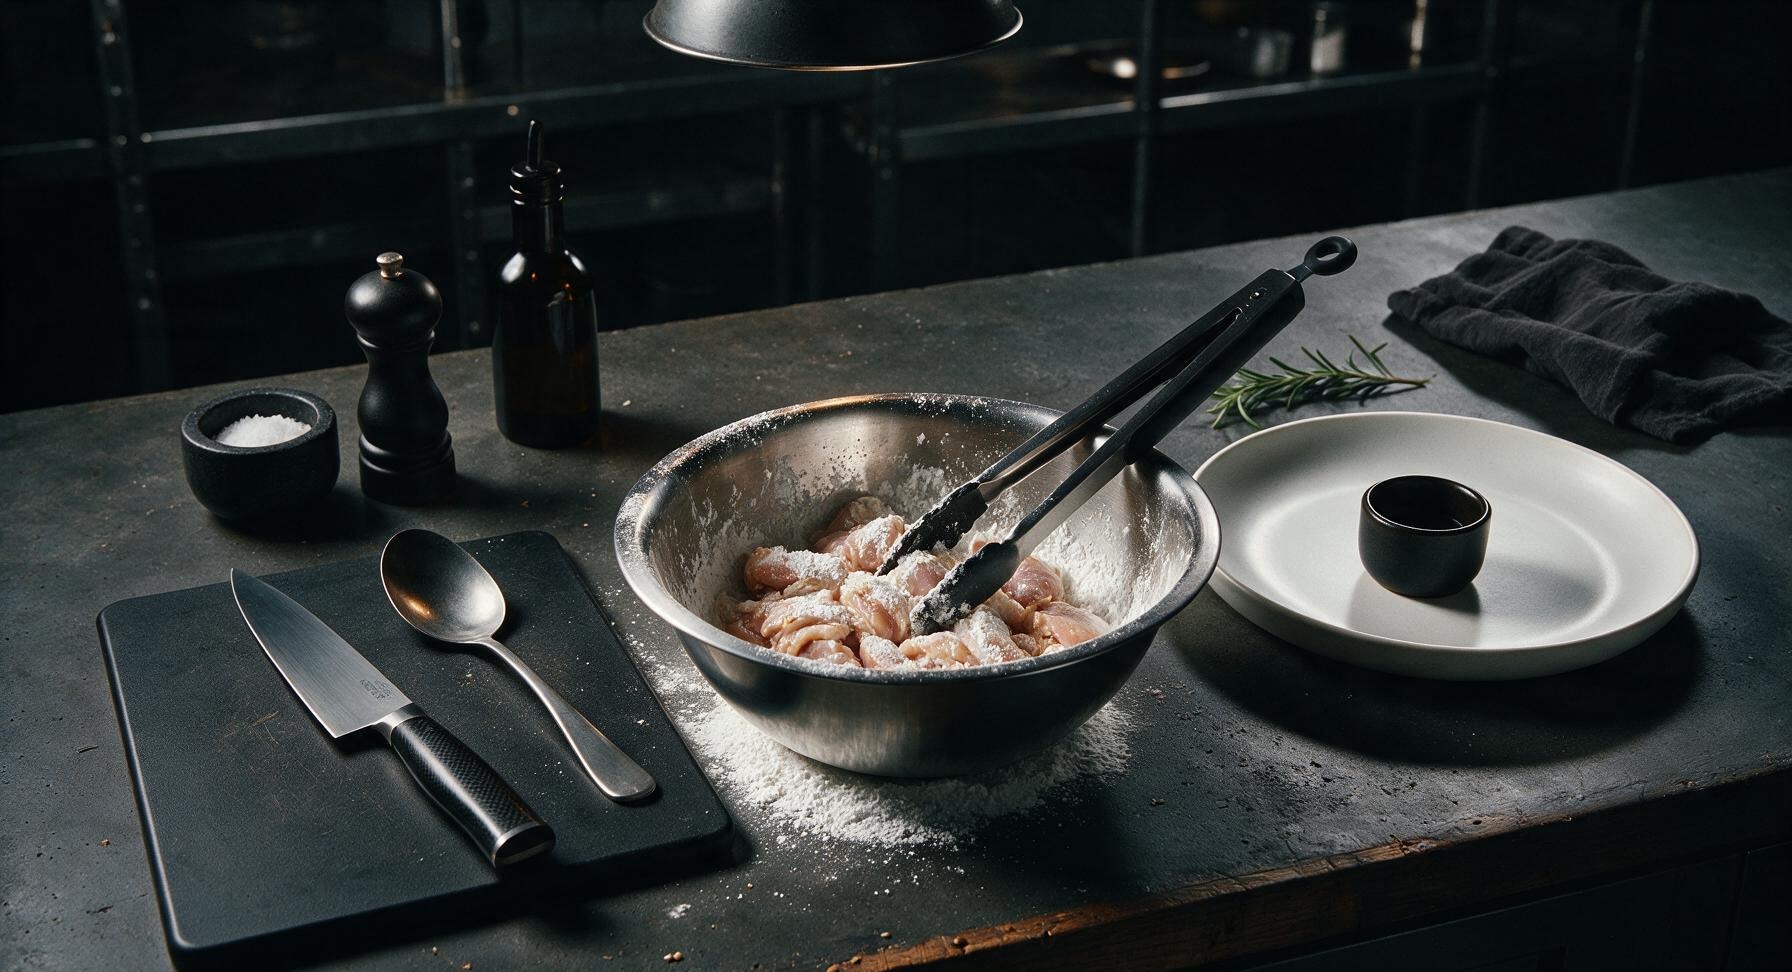
Add 1 cup cornstarch to the mixing bowl with the seasoned chicken. Toss thoroughly using the silicone-tipped tongs until every piece of chicken is fully coated in a dry, powdery layer of cornstarch, pressing gently to help the starch adhere to the meat surface. Let coated chicken rest 5 minutes so the starch forms a slightly sticky, damp coating that will not fall off during frying.
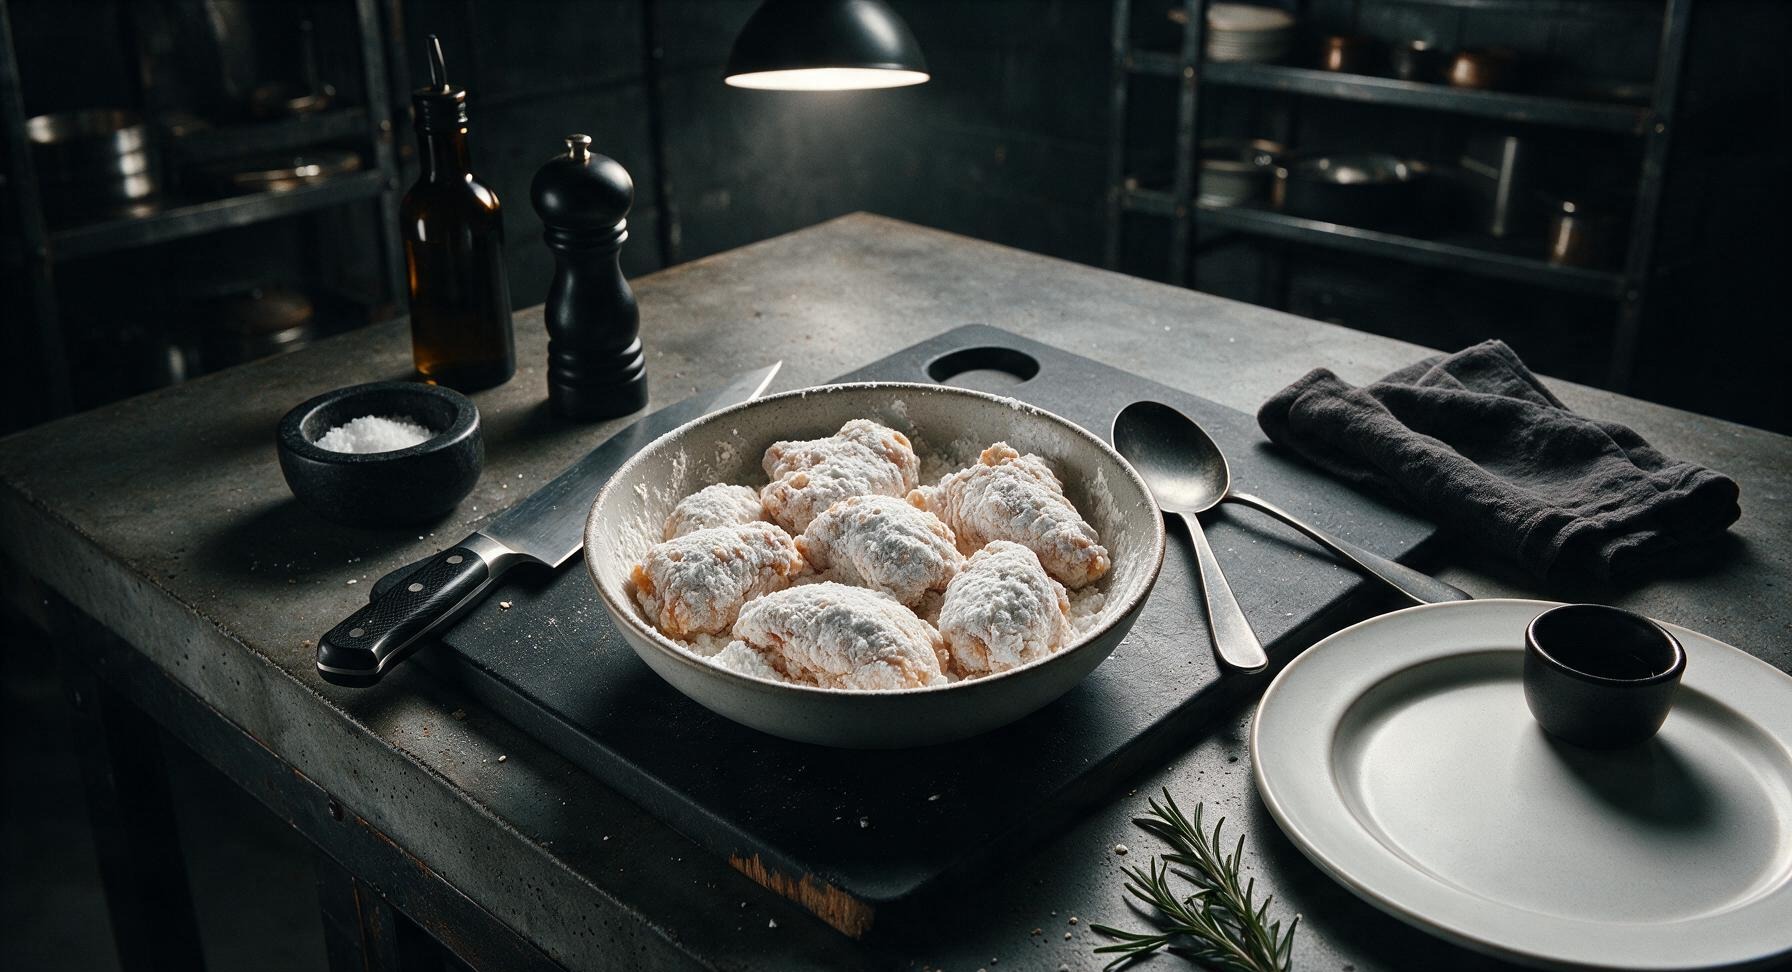
Step 2
step2:Coat Chicken in Cornstarch
Step 2
step2:Coat Chicken in Cornstarch
3

First Fry Chicken Pieces

Pour 4 cups canola oil into the carbon steel wok positioned on the center-right gas burner, heat oil to 340°F (170°C). Move the acacia wood cutting board to the back right counter to hold fried chicken. Working in 2 batches to avoid overcrowding the pan, use the wire skimmer to lower coated chicken pieces gently into the hot oil. Fry for 4 minutes per batch, until pieces are pale golden and cooked about 80% through, with a soft but set crust. Remove first batch to the cutting board while frying the second batch.
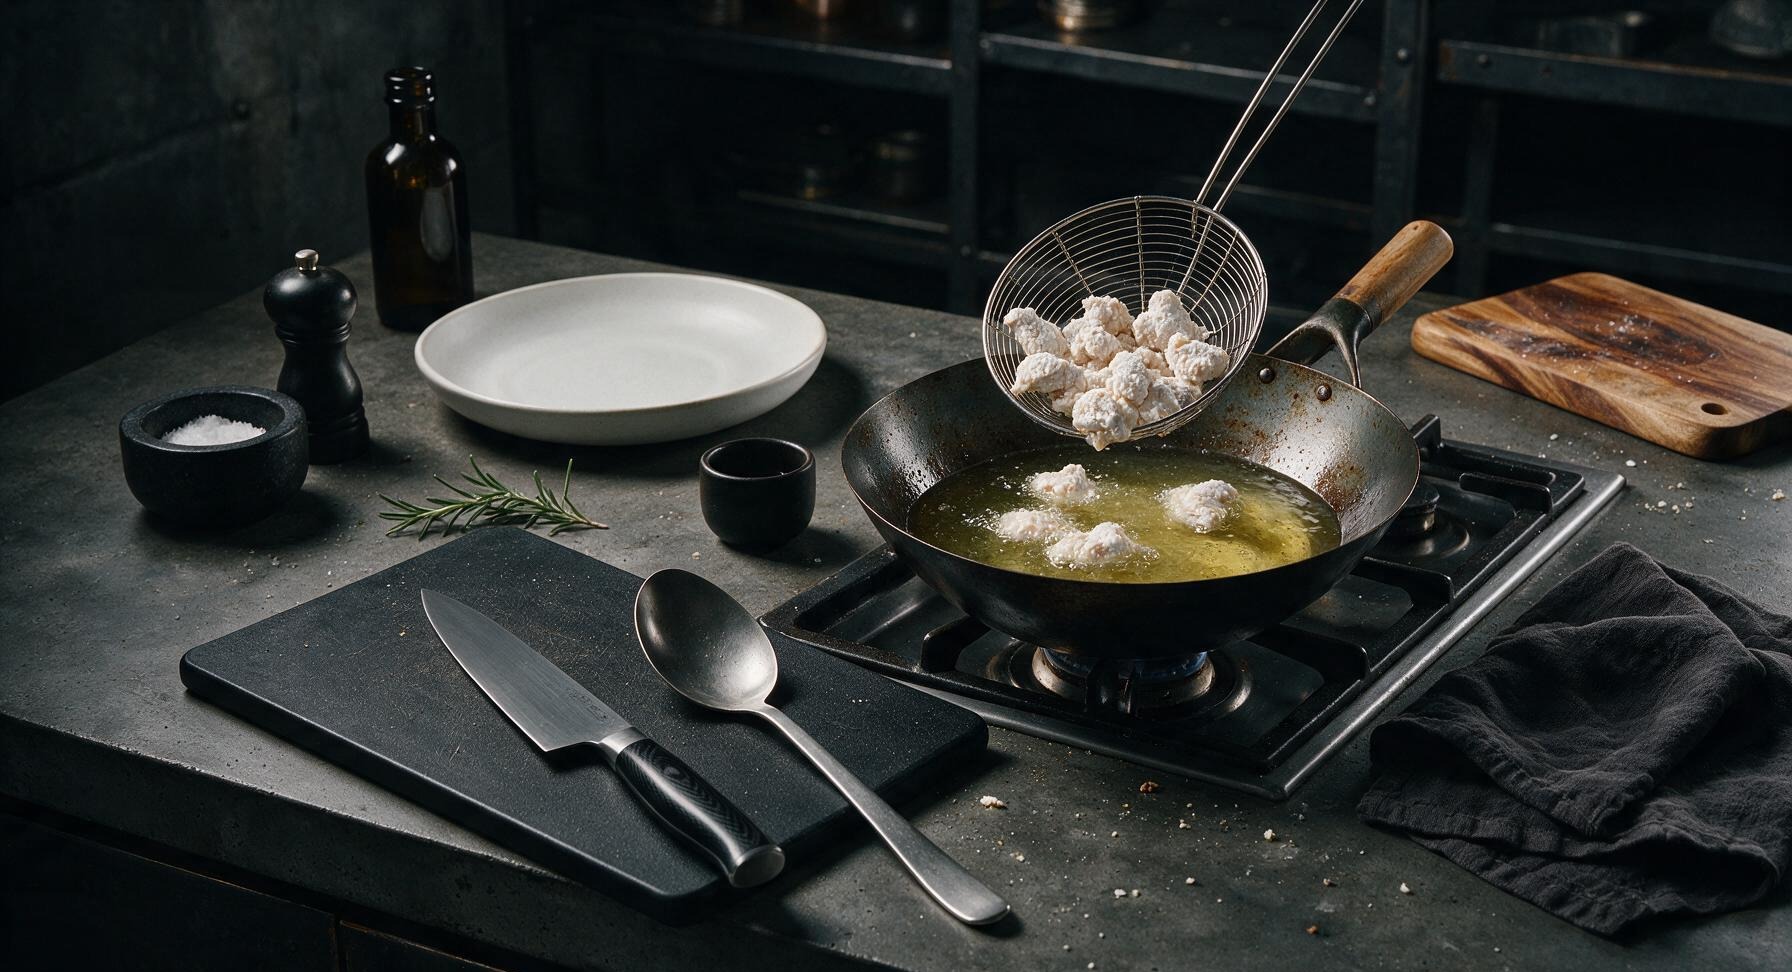
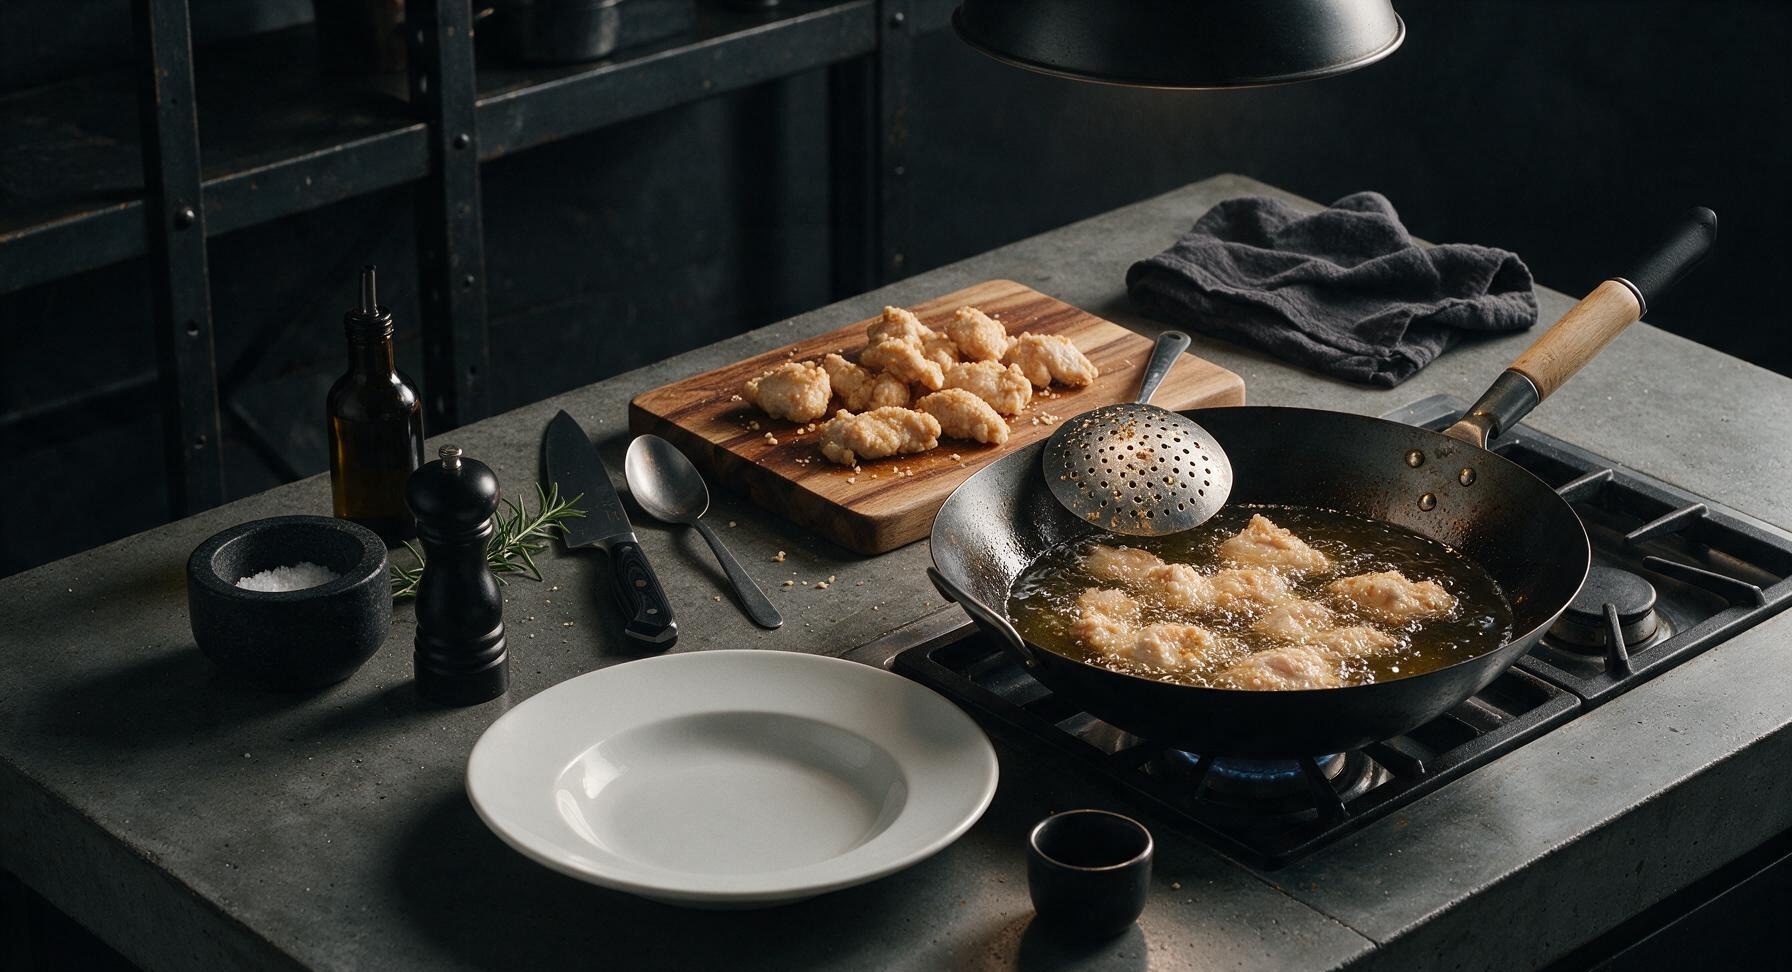
Step 3
step3:First Fry Chicken Pieces
Step 3
step3:First Fry Chicken Pieces
4

Cook Garlic Soy Glaze

While the second batch of chicken completes its first fry, place the 1.5-quart stainless steel saucepan on the back burner over medium-low heat. Add 2 tbsp unsalted butter, melt until foamy, then add 3 tbsp minced garlic and 1 tsp grated ginger, sauté for 30 seconds until fragrant—do not let garlic turn dark brown, as it will become bitter. Stir in 3 tbsp low-sodium soy sauce, 2 tbsp honey, 1 tbsp rice vinegar, and 1 tsp toasted sesame oil. Simmer for 2 minutes, stirring occasionally, until glaze is slightly thickened and coats the back of a spoon, then turn heat to the lowest setting to keep warm.
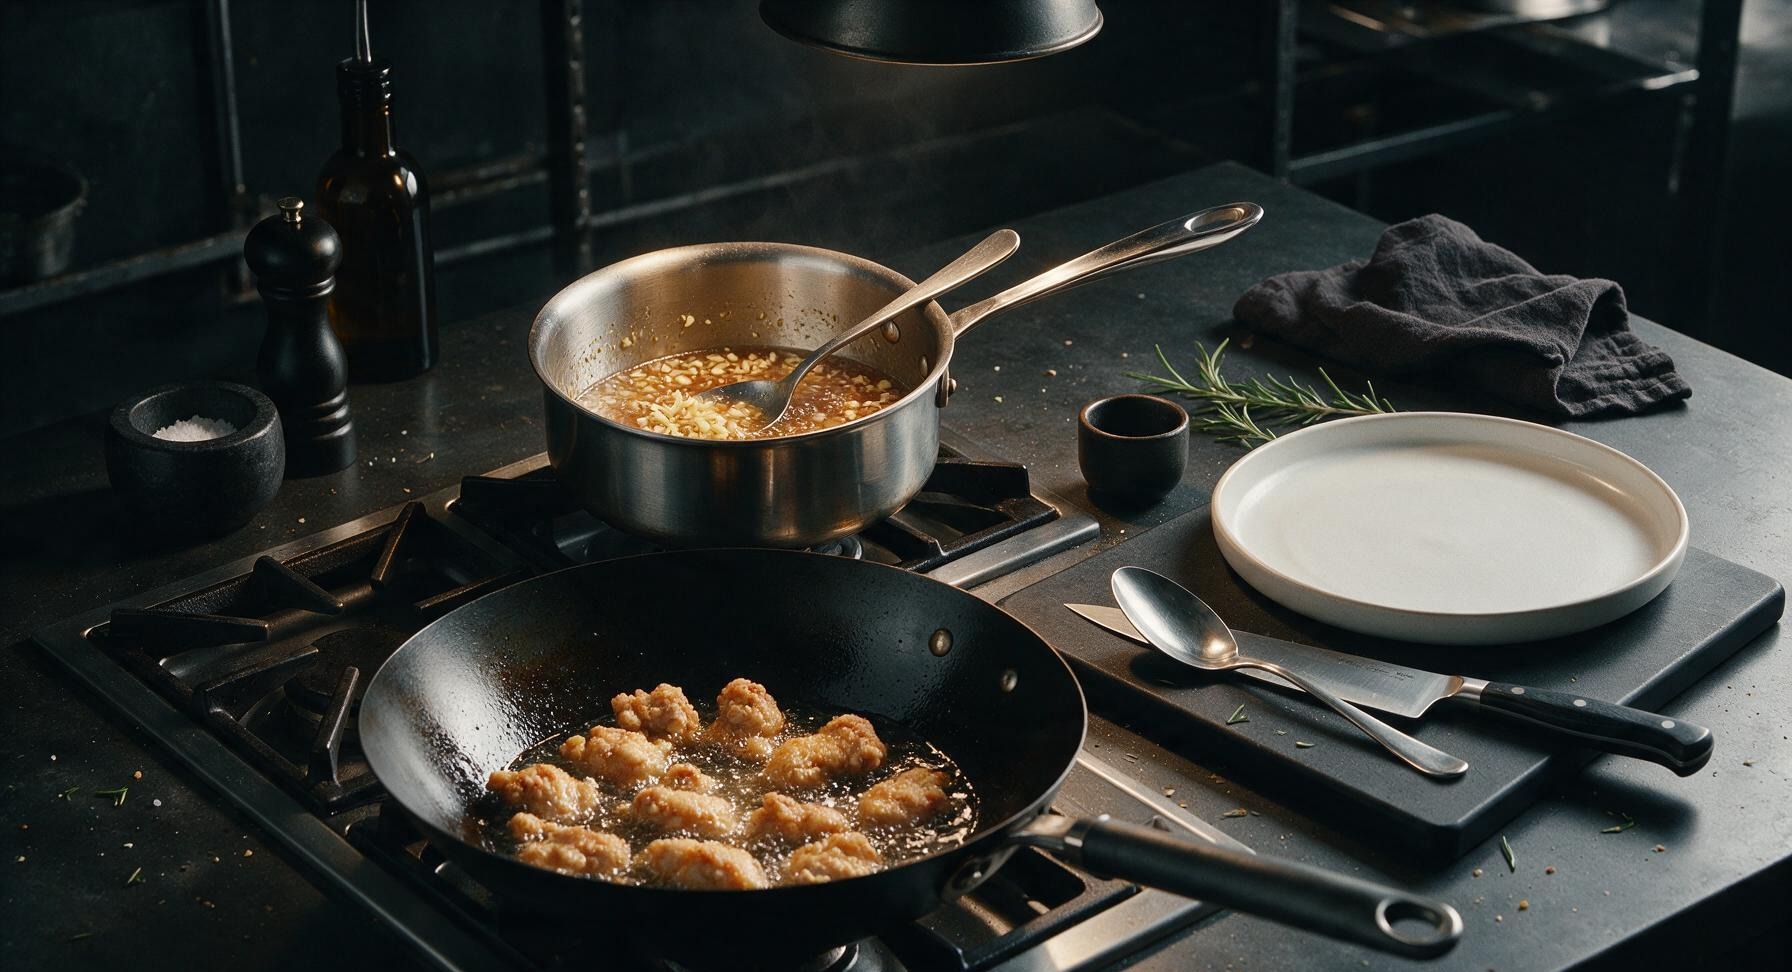
Step 4
step4:Cook Garlic Soy Glaze
5

Double Fry for Crispness

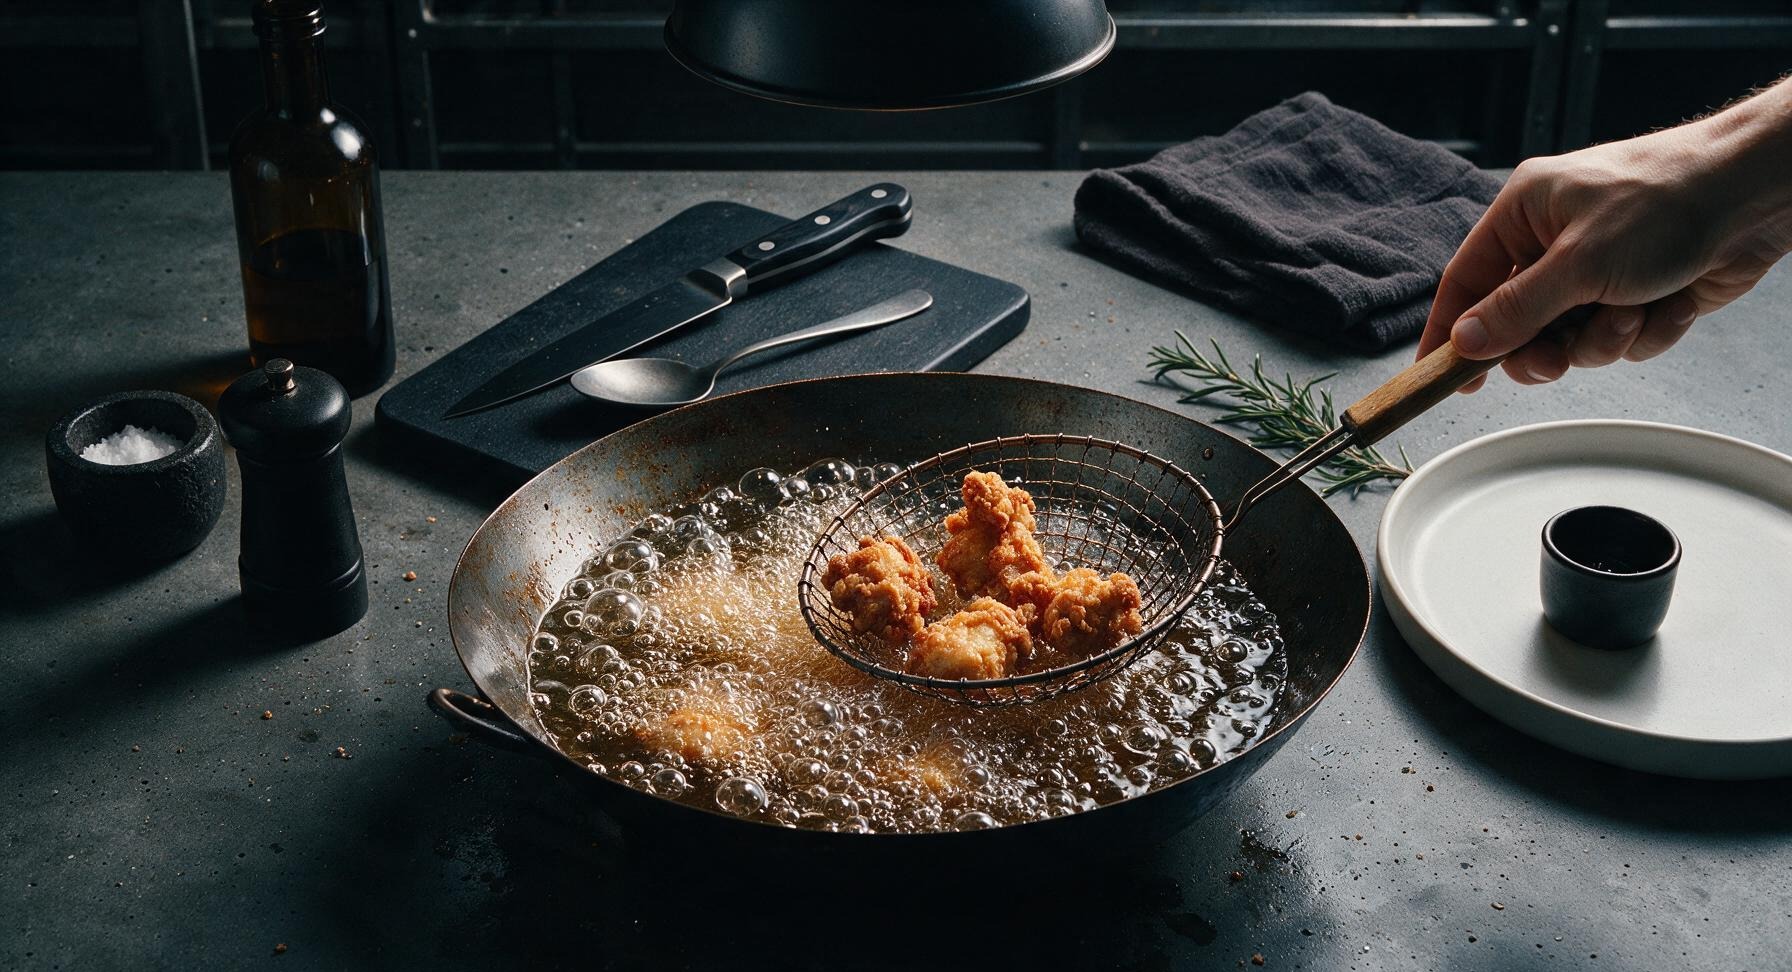
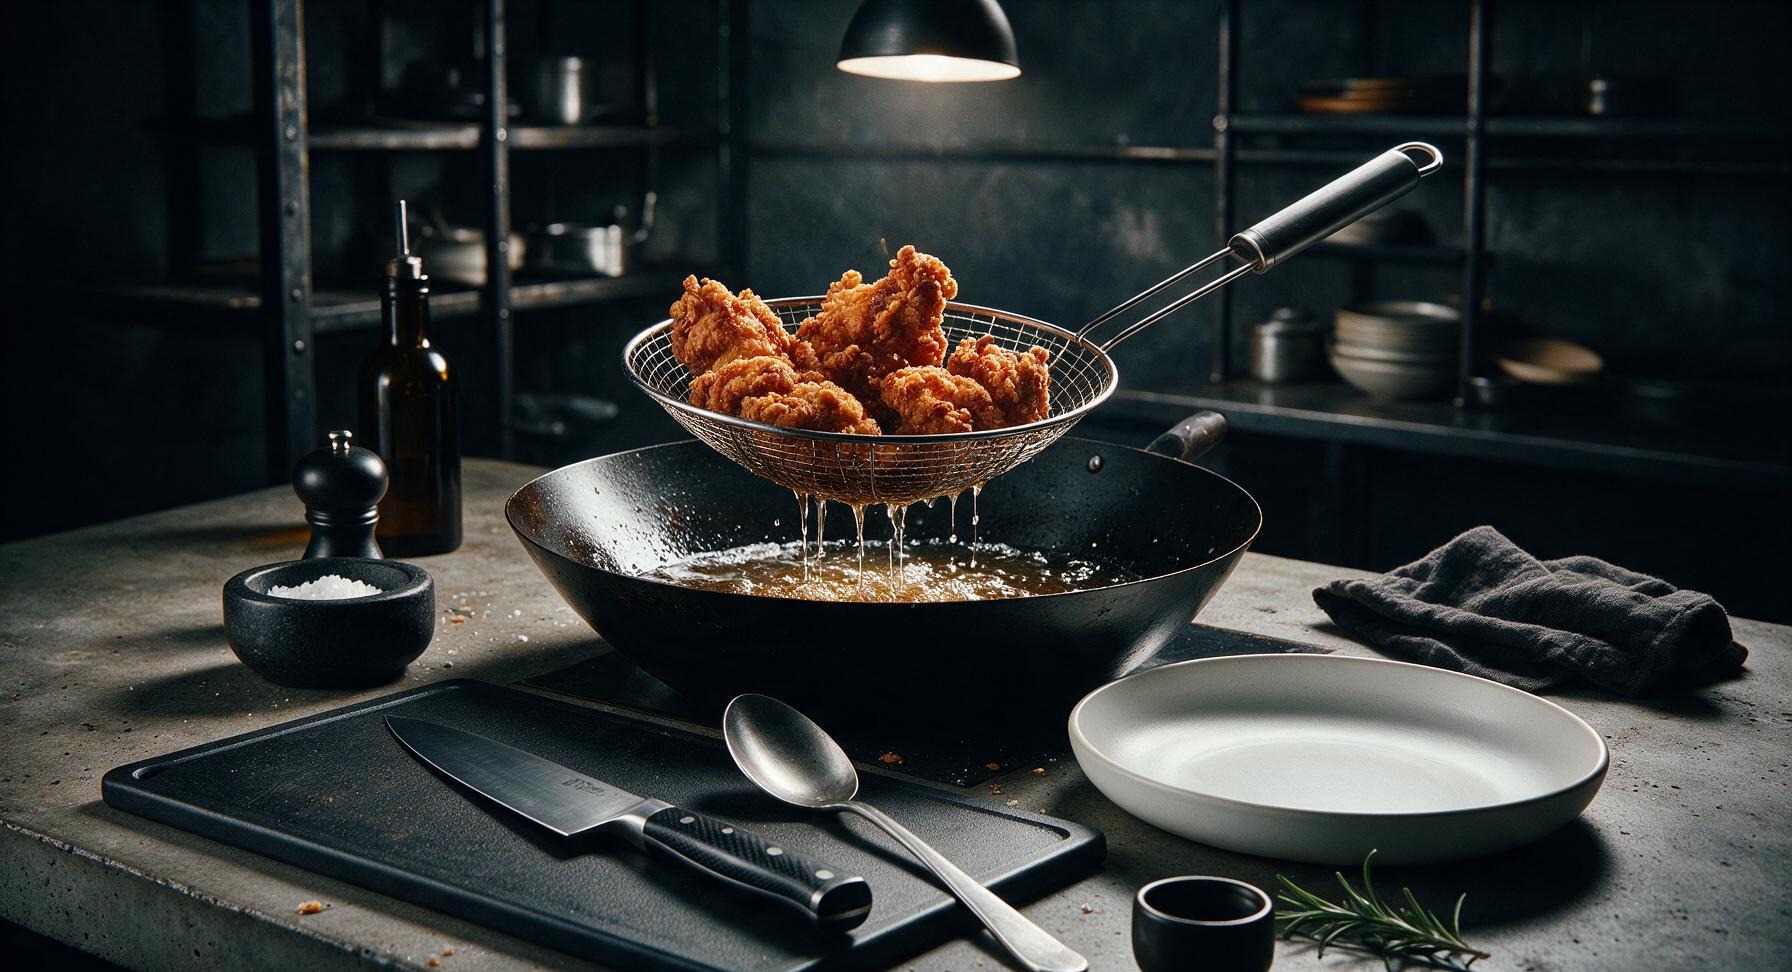
After all chicken has completed its first fry, increase oil temperature in the wok to 375°F (190°C). Return all partially fried chicken pieces to the hot oil in one batch (the higher temperature will prevent excess oil absorption and create a shatteringly crisp crust). Fry for 3 minutes, until chicken is deep golden brown, with a textured, crunchy outer crust. Use the wire skimmer to lift chicken out of the oil, shaking off excess oil, and hold for 10 seconds to drain over the wok.
Step 5
step5:Double Fry for Crispness
Step 5
step5:Double Fry for Crispness
6

Toss Chicken in Glaze

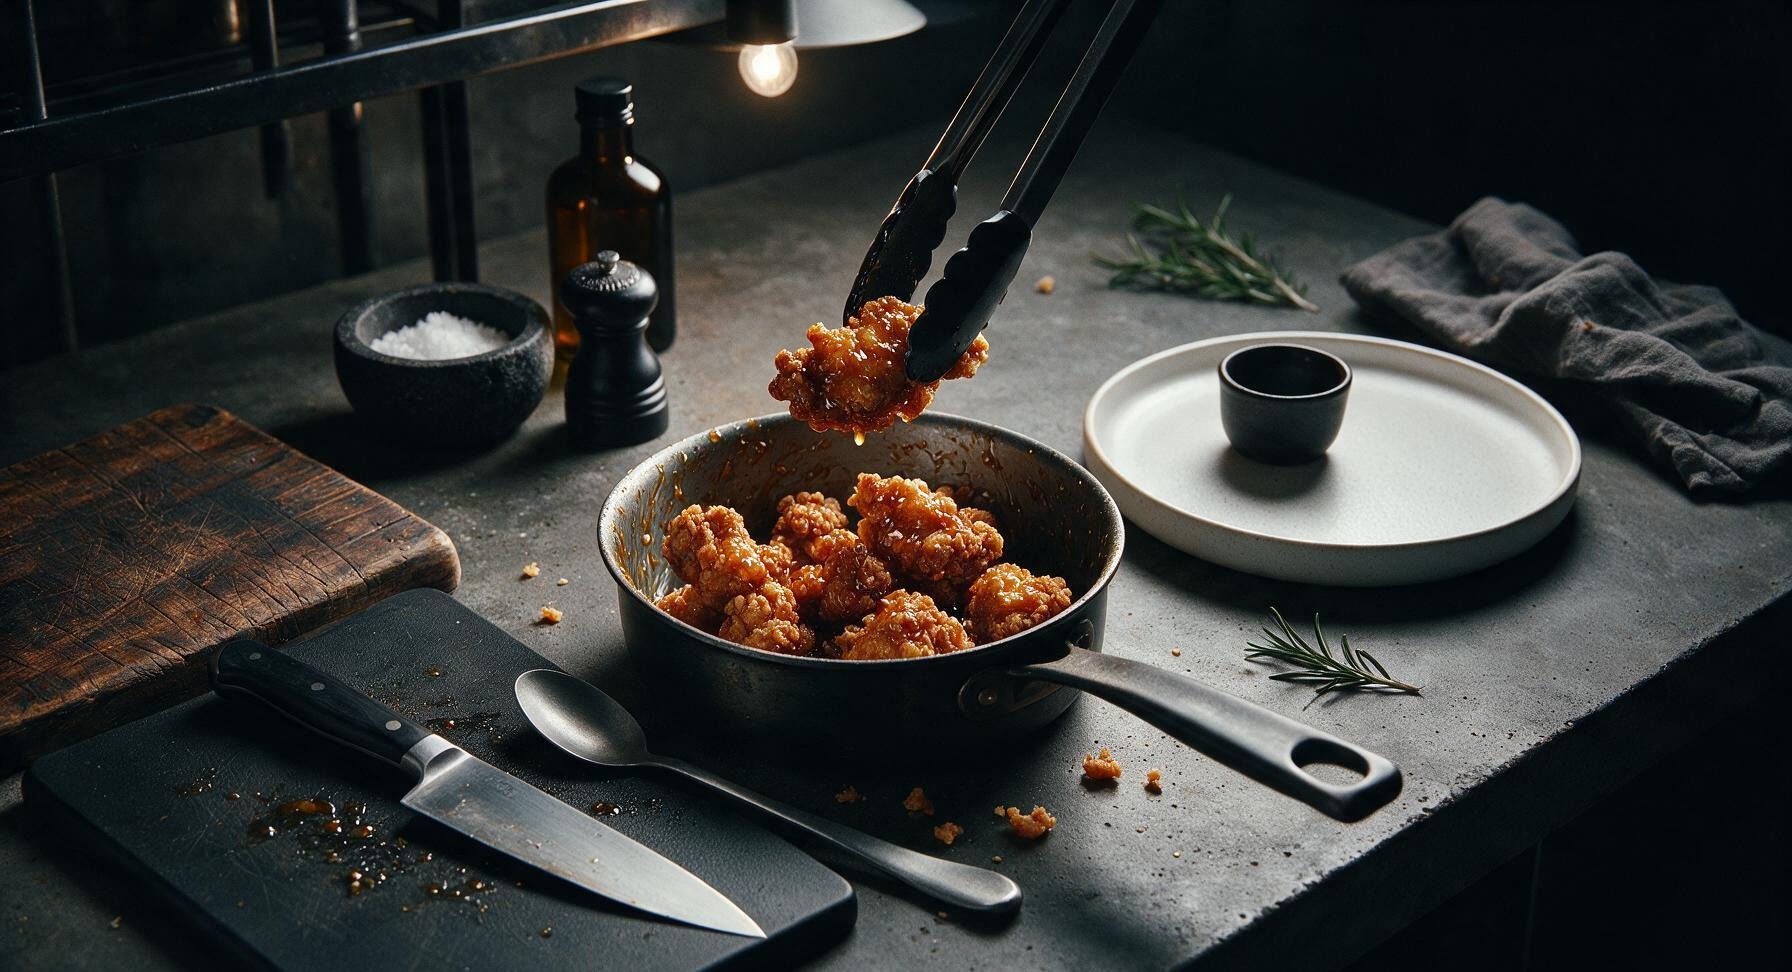
Transfer the hot, freshly double-fried chicken directly from the oil into the saucepan with the warm garlic glaze. Use the silicone-tipped tongs to toss chicken rapidly for 30 seconds, until every piece is evenly coated in the glossy amber glaze, taking care not to toss so hard that the crisp crust breaks off.
Step 6
step6:Toss Chicken in Glaze
7

Plate and Garnish Dish

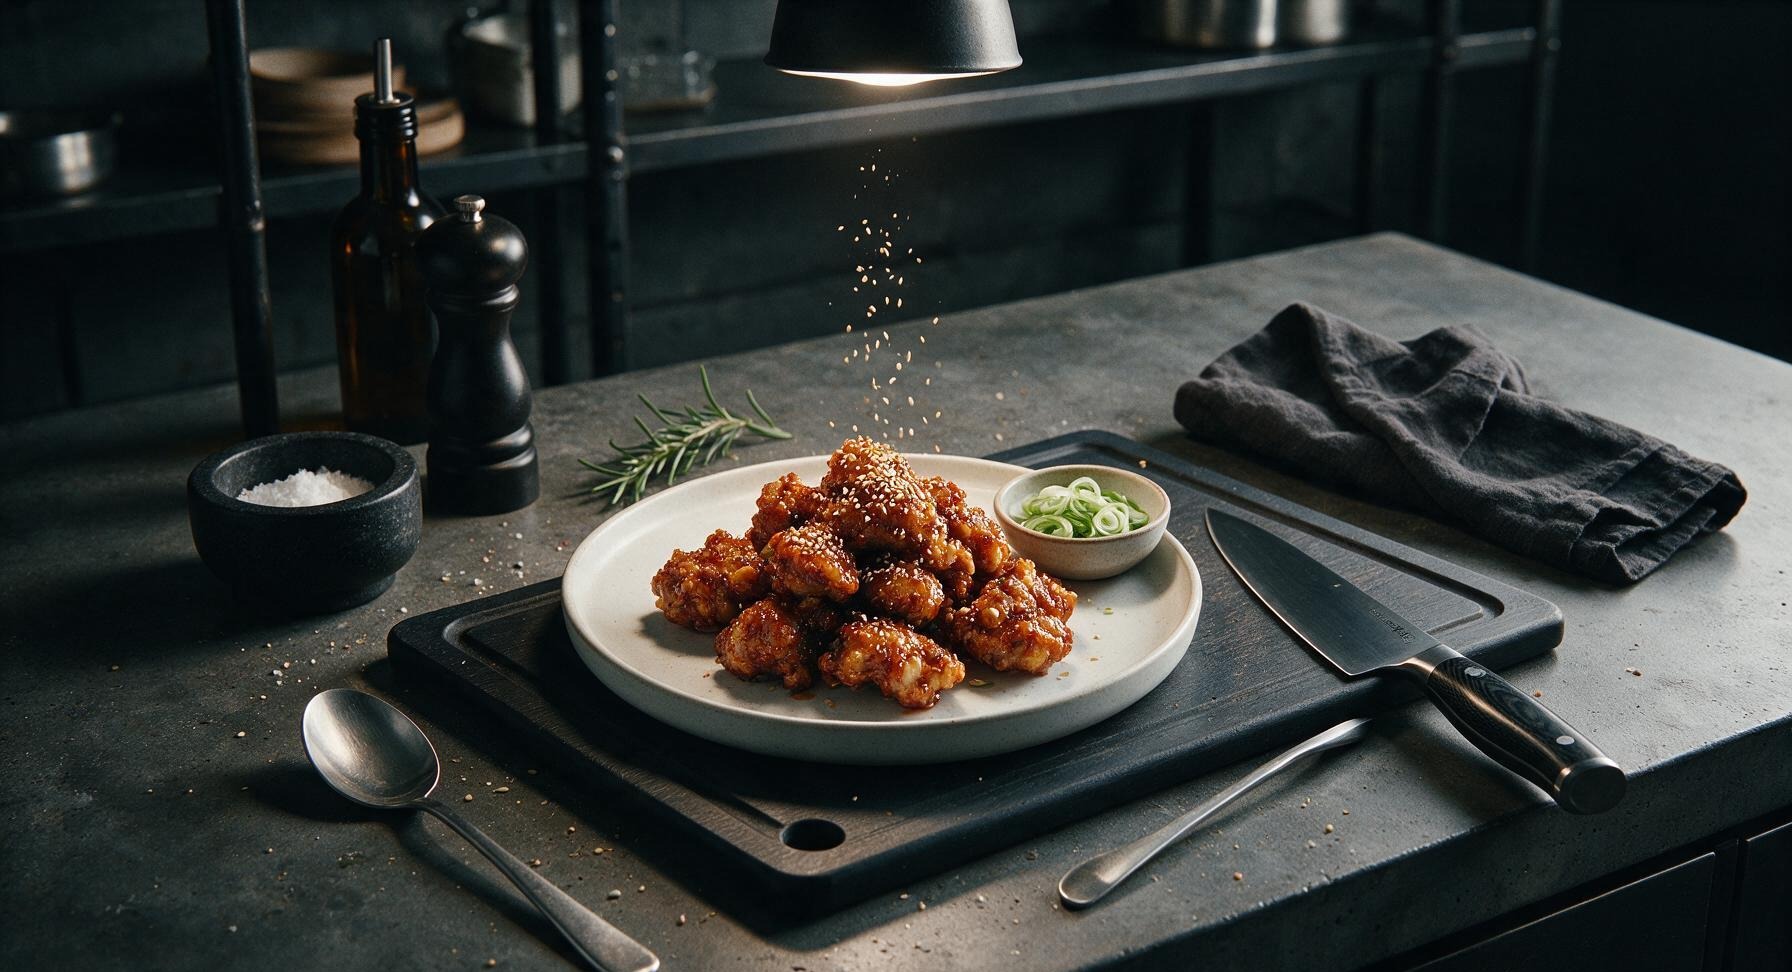
Transfer the glazed chicken to the matte off-white ceramic coupe serving plate positioned center counter, piling pieces loosely in the center. Sprinkle 1 tsp toasted sesame seeds and 2 tbsp thinly sliced green onions evenly over the top. Serve immediately, while the crust is still crisp and the glaze is warm.
Step 7
step7:Plate and Garnish Dish

Tips

1.Use boneless, skinless chicken thighs instead of breast: Thighs have a higher fat content that stays juicy and tender even through high-heat double frying, while lean breast meat will dry out quickly and become tough.
2.Never overcrowd the wok during frying: Adding too many chicken pieces at once can drop oil temperature by 50°F or more, leading to soggy, grease-soaked crust instead of the signature shatteringly crisp texture. Fry in 2 small batches for the first fry if needed.
3.Toss chicken in glaze immediately after the second fry: The hot, porous crisp crust will absorb just enough glaze to stick evenly without turning soggy; if you let chicken cool for more than 1 minute before tossing, the glaze will slide off instead of clinging to the crust.


✨ You May Also Like

Main Course
🍜 United Kingdom

A showstopping classic of tender seared beef, savory mushroom duxelles, and crisp prosciutto wrapped in flaky golden puff pastry, baked to juicy perfection.

⏱️ 2 hours 1Main Course ★ 4.7
Main Course
🍜 India

Tender charred marinated chicken simmered in a rich, spiced creamy tomato sauce, this iconic Anglo-Indian curry pairs perfectly with basmati rice or warm naan.

⏱️ 50 minuteMain Course ★ 4.6
Main Course
🍜 Thailand

Classic tangy, sweet, and savory Thai stir-fried rice noodles with shrimp, tofu, and crunchy garnishes, balancing all five core Thai flavor profiles.

⏱️ 30 minuteMain Course ★ 4.5
Main Course
🍜 United Kingdom

Crispy golden beer-battered cod and fluffy double-fried chips, served with tangy tartar sauce and malt vinegar: the timeless, beloved British pub comfort classic.

⏱️ 45 minuteMain Course ★ 4.7
Main Course
🍜 Mexico

Smoky, chile-marinated pork tacos with caramelized pineapple, fresh cilantro, and lime: a beloved classic Mexican street food perfect for casual summer gatherings.

⏱️ 1 hour 45Main Course ★ 4.8
Main Course
🍜 United States

Crunchy Fritos corn chips layered with savory beef chili and melted cheddar, topped with cool, zesty fixings for a beloved, cozy Tex-Mex comfort food.

⏱️ 35 minuteMain Course ★ 4.8

korean garlic chicken:Frequently Asked Questions

1.Why use boneless, skinless chicken thighs instead of chicken breast for this recipe? ▾
Boneless, skinless chicken thighs are ideal because their subtle intramuscular fat keeps interiors juicy and tender even through two rounds of high-heat frying, unlike lean breast which dries out easily. They also have a richer, savorier flavor that pairs perfectly with bold garlic glaze, and hold up well to the thick cornstarch coating without turning tough.
2.Do I really need to double-fry the chicken to get that signature shatteringly crisp texture? ▾
Yes, the double-fry method is non-negotiable for that classic crisp crust. The first lower-temperature fry cooks the chicken through and drives off excess surface moisture, while the second higher-temperature fry browns and crisps the cornstarch coating, creating a crust that stays crisp under sticky glaze instead of turning soggy immediately.
3.Can I use all-purpose flour instead of cornstarch for the chicken coating? ▾
All-purpose flour won’t give you the same light, ultra-crisp crust as cornstarch for this recipe. Flour has higher protein content that forms gluten when moistened, creating a denser, bready coating that softens quickly under the sticky glaze. If you’re in a pinch, use a 50/50 mix of flour and cornstarch, but 100% cornstarch delivers the best texture.
4.What size should I cut the chicken thigh pieces for even cooking? ▾
Aim to cut your trimmed chicken thighs into uniform 1 to 1.5-inch cubes. This size ensures every piece cooks through evenly during the first fry, gives you the ideal ratio of crisp outer crust to juicy tender interior in every bite, and prevents tiny thin pieces from burning while larger chunks stay undercooked in the center. Pat pieces dry before coating for extra crispness.
5.What temperature should the canola oil be for each frying stage? ▾
For the first fry, heat canola oil to 325°F, and cook coated chicken pieces for 4 to 5 minutes until pale golden and cooked through. Let chicken rest 5 minutes, then crank oil to 375°F for the second fry, cooking pieces 2 to 3 minutes until deep golden and shatteringly crisp. Always use a clip-on thermometer to keep oil temperature consistent.
6.Can I reuse the canola oil after frying the chicken? ▾
You absolutely can reuse canola oil for future frying projects! Let the oil cool completely to room temperature after cooking, then strain it through a fine-mesh sieve lined with cheesecloth to remove all burnt cornstarch crumbs and chicken bits. Store strained oil in a sealed, opaque container in a cool, dark spot for up to 1 month, discarding it if it smells rancid.
7.Why does my cornstarch coating fall off the chicken while frying? ▾
Coating falloff usually comes down to three easy-to-fix issues: first, you didn’t pat chicken pieces fully dry before tossing with cornstarch, so the coating can’t adhere. Second, you didn’t let coated chicken rest 5 to 10 minutes before frying to let the cornstarch set. Third, you stirred the chicken too soon after adding it to oil, before the crust firmed up.
8.How much kosher salt and black pepper should I add to the cornstarch coating? ▾
For the most balanced flavor, add 1 teaspoon of kosher salt and ½ teaspoon of freshly ground black pepper per pound of trimmed chicken thighs to your cornstarch coating. This lightly seasons the crust itself without over-salting the dish, since the savory garlic glaze adds another layer of flavor. You can always add a pinch more salt to finished glazed chicken if you prefer.
9.Can I bake this chicken instead of frying it to cut down on oil? ▾
You can bake a lighter version, but note it won’t have that signature shatteringly crisp double-fried texture. Toss cornstarch-coated chicken pieces with a light spray of canola oil, arrange them on a wire rack set over a baking sheet, and bake at 425°F for 25 minutes, flipping halfway, before tossing with glaze. Finish with 2 to 3 minutes under the broiler for extra crispness.
10.How do I keep the chicken crisp after frying before tossing it with glaze? ▾
To keep fried chicken crisp before glazing, arrange pieces in a single layer on a wire rack set over a baking sheet, and hold them in a 200°F oven while you finish frying all batches. Never stack pieces directly on paper towels or cover them with foil, as trapped steam and condensation will soften the crisp crust in minutes. Toss with warm glaze right before serving.
11.What’s in the classic savory-sweet garlic glaze for this chicken? ▾
The classic sticky glaze balances savory, sweet, and bright garlic flavor: it typically combines low-sodium soy sauce, brown sugar or honey for sweetness, 2 to 3 tablespoons of minced fresh garlic, a small splash of rice vinegar for brightness, and sometimes a tiny pat of unsalted butter for a glossy, rich finish. Simmer it just until thick enough to coat the back of a spoon.
12.Can I make this recipe with bone-in chicken pieces instead of boneless bites? ▾
You absolutely can use bone-in, skin-on chicken pieces like wings, drumsticks, or bone-in thighs if you prefer! Just adjust frying times to account for thicker, bone-in cuts: do the first 325°F fry for 8 to 10 minutes until chicken reaches 160°F internally, rest 10 minutes, then do the 375°F second fry for 4 to 5 minutes until crisp before tossing with glaze.
13.Why is my fried chicken greasy instead of light and crisp? ▾
Greasy fried chicken almost always traces back to oil that’s too low, which causes the coating to absorb oil instead of searing immediately into a crisp crust. Overcrowding the frying pot is the most common cause of sudden oil temperature drops, so fry in small batches. Let excess oil drip off on a wire rack for 1 to 2 minutes after frying to cut down on greasiness.
14.How do I store leftovers, and what’s the best way to reheat them to keep the crust crisp? ▾
Store leftover glazed Korean garlic chicken in an airtight container in the refrigerator for up to 3 days. To reheat and bring back as much crispness as possible, arrange pieces in a single layer in an air fryer at 375°F for 3 to 4 minutes, or on a wire rack in a 400°F oven for 8 to 10 minutes. Skip the microwave, which turns the crust soggy and rubbery fast.
15.Do I need to marinate the chicken first before coating it in cornstarch? ▾
You don’t need to marinate the chicken to get juicy, flavorful results, since the glaze packs tons of bold garlicky, savory-sweet flavor. If you do want extra depth, you can toss cut chicken pieces in a quick 30-minute marinade of soy sauce, grated garlic, and a pinch of ginger, but pat chicken completely dry before coating in cornstarch to prevent coating falloff.
16.Can I use a different frying oil if I don’t have canola oil? ▾
If you don’t have canola oil on hand, reach for any neutral, high-smoke-point oil that can handle 375°F frying temperatures without burning or developing off-flavors. Good options include regular vegetable oil, refined peanut oil, or avocado oil. Skip extra-virgin olive oil, toasted sesame oil, or other low-smoke-point oils, as they will burn and give chicken a bitter taste.
17.How do I keep the garlic in the glaze from tasting bitter? ▾
Bitter garlic glaze happens when you cook minced garlic over too-high heat for too long, letting it turn dark brown and burnt. Cook garlic for the glaze over medium-low heat for just 30 to 45 seconds until it smells fragrant and pale golden, then stir in your soy sauce and sweetener. The small splash of rice vinegar also balances sharp, harsh raw garlic bite.
18.What are the best side dishes to serve with this Korean Garlic Chicken for sharing? ▾
This shareable chicken pairs perfectly with bright, tangy sides that cut through its rich, sweet-savory flavor: classic picks include crisp Korean pickled radish, tangy quick cucumber kimchi, fluffy steamed white rice, and cold, light beer. For a fun spread, add a side of creamy gochujang dipping sauce or a simple green salad with rice vinegar vinaigrette.

Comments (9)

2 days ago

OMG this Korean Garlic Chicken was a total game changer for our weeknight family dinner! My 3 picky boys went back for seconds and didn’t even complain about the “fancy” sauce. I doubled the garlic because we’re all garlic fiends at our house, and it was SO good. Will absolutely be adding this to our regular rotation!

1 day ago

Same! I doubled the garlic too when I made it last week, my whole house smelled amazing for hours after cooking. Did you serve yours with plain steamed rice or mix in any veggies?

1 day ago

So happy your boys loved it! Doubling the garlic is 100% the right call if you’re garlic fans — I do the exact same thing when I make this for my family. It pairs perfectly with steamed rice and quick pickled cucumbers if you want to round out the meal next time!

3 days ago

I made a big batch of this for my weekly meal prep on Sunday, and it held up so well all work week! The glaze didn’t get soggy at all, even when I reheated it in the office microwave between meetings. Only small tweak: I cut the soy sauce by about a teaspoon because I’m watching my sodium, and it still tasted fantastic. 10/10 for easy meal prep!

2 days ago

Great call on adjusting the soy to fit your dietary needs! So glad it worked for meal prep — it’s one of my go-tos for busy work weeks too, since the garlicky flavor actually gets better as it sits in the fridge for a day or two.

1 week ago

I was super skeptical because I usually only get Korean fried chicken as takeout, but this baked version? Total banger. I was worried it wouldn’t be crispy enough, but following the tip to pat the chicken totally dry before cooking made all the difference. Brought it to a friend’s game night potluck last weekend and people were practically begging me for the recipe before they even finished their first bite!

5 days ago

Ooh I’m making this for our neighborhood block party potluck next weekend! Did you use chicken thighs or breasts? I’m worried white meat will dry out in the oven if I’m not careful.

4 days ago

Love that it was a potluck hit! For anyone worried about crispiness, patting the chicken dry and making sure your oven is fully preheated before you put the pan in is non-negotiable. Thighs work great for extra juiciness if you’re nervous about breasts drying out, just adjust cook time a minute or two if you use larger cuts!

yesterday

Tried this last night for date night, flavor was incredible but I messed up the sauce ratio a little — added too much honey at first so it was way sweeter than I expected. Fixed it by squeezing in a little extra rice vinegar and a pinch of red pepper flakes, turned out great anyway. Definitely paying closer attention to the honey measurement next time, but even my “I don’t like sweet chicken” boyfriend ate two full pieces.

5 days ago

My 13-year-old granddaughter has been begging me to make “that viral garlic chicken” she saw on TikTok for weeks, so I gave this recipe a shot. It was so easy to follow even for someone who doesn’t make a lot of Korean food! We ate it with roasted broccoli and buttery white rice, and she said it was better than the takeout we get from the place downtown. Thank you for the wonderful, straightforward recipe!

4 days ago

This makes my whole day! So glad you and your granddaughter enjoyed it — there’s no better compliment than being better than local takeout, honestly. The roasted broccoli side sounds perfect with it, I’ll have to try that next time I make this for my niece.

30 minutes ago

Game. Changer. I’ve been trying to find more non-boring chicken recipes that don’t require a million weird specialty ingredients, and this is it! I had almost everything in my pantry already, only had to pick up a small tub of gochujang from the grocery store. The sticky garlic glaze is to die for, I literally licked my plate clean no shame. Even my cat was trying to steal a bite off my plate, that’s how good it was.

5 minutes ago

Right?! I was so worried I’d have to run to three different Asian markets to track down specialty ingredients, but my regular grocery store had gochujang right in the international aisle! It’s so worth picking up, I use it in veggie stir fries all the time now.

just now

So glad it was easy to throw together with pantry staples! Gochujang is such a workhorse ingredient — once you have it you’ll find a million ways to use it, I promise. Try tossing a little of the leftover glaze on roasted Brussels sprouts sometime, you won’t regret it.

2 weeks ago

I make this at least once every two weeks now, it’s become my go-to lazy Friday night dinner! I love that it only takes 25 minutes total, so I don’t have to spend forever in the kitchen after a long work day. I add a handful of toasted sesame seeds and sliced green onion on top before serving, and it feels fancy enough to serve to guests even though it’s so low effort.

1 week ago

So happy this has become a regular for you! Toasted sesame seeds and green onion are my go-to garnish too, it adds such a great pop of flavor and color without any extra work. It really is perfect for those nights you want something tasty without a huge time commitment, which is exactly why I love this recipe so much.

2 hours ago

Update for anyone who saw my earlier question: I made this for the neighborhood block party potluck like I planned, and it was the first empty dish on the whole table! I used boneless skinless thighs like Chef Admin recommended, tossed on extra sesame seeds and green onion for garnish, and had three different neighbors stop by my house the next day to ask for the recipe link. Total win!

1 hour ago

That’s amazing to hear! Thank you so much for sharing the recipe with your neighbors, that means the world. The sesame seed and green onion garnish is such a nice touch, it makes the dish look so much more impressive for how easy it is to pull off.

just now

Just pulled this out of the oven and had to hop on to leave a review before I even finish my first bite! The glaze is so sticky and garlicky, exactly what I was craving after a long day of running the kids to soccer practice. I added a little extra gochujang because I love a tiny kick of heat, and it’s perfect. Can already tell this is going to be a new family favorite — my husband is already leaning over my shoulder asking when I’ll make it again.



