
korean ground beef bulgogi
intro
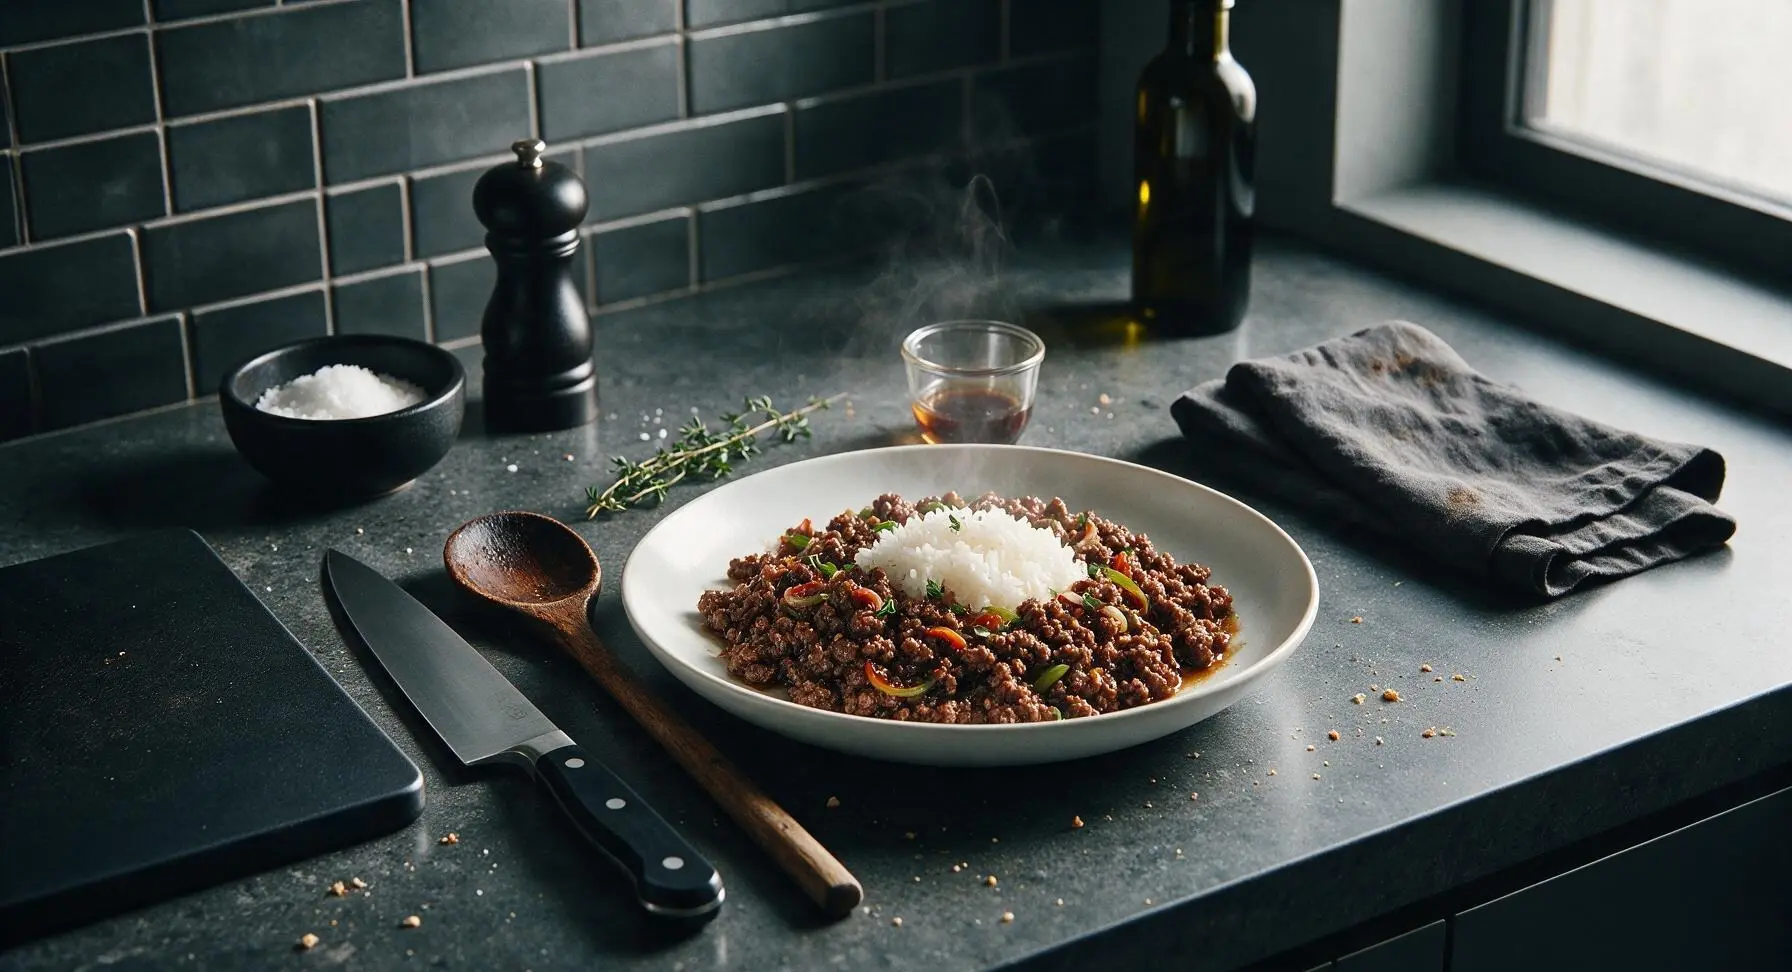
Sweet-savory, glossy umami Korean ground beef bulgogi, tender and deeply flavored, ready in 25 minutes. A cozy, adaptable weeknight staple perfect over steamed rice.
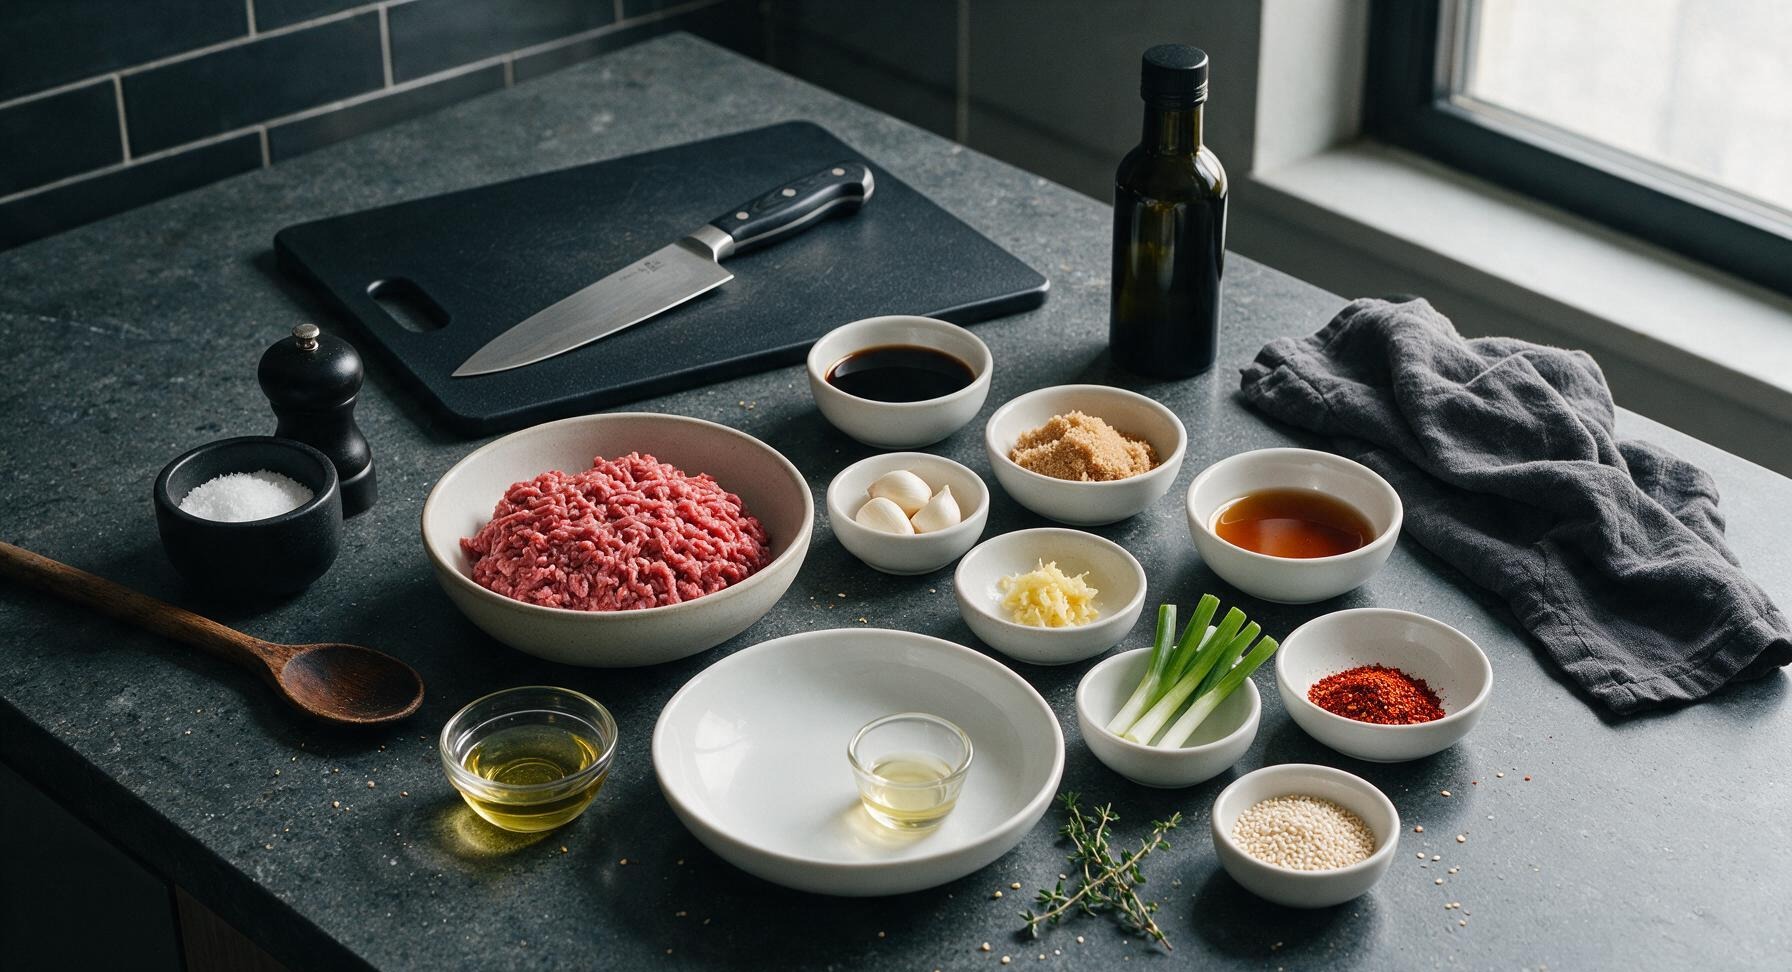
Ingredients
Steps
Prep Aromatic Ingredients
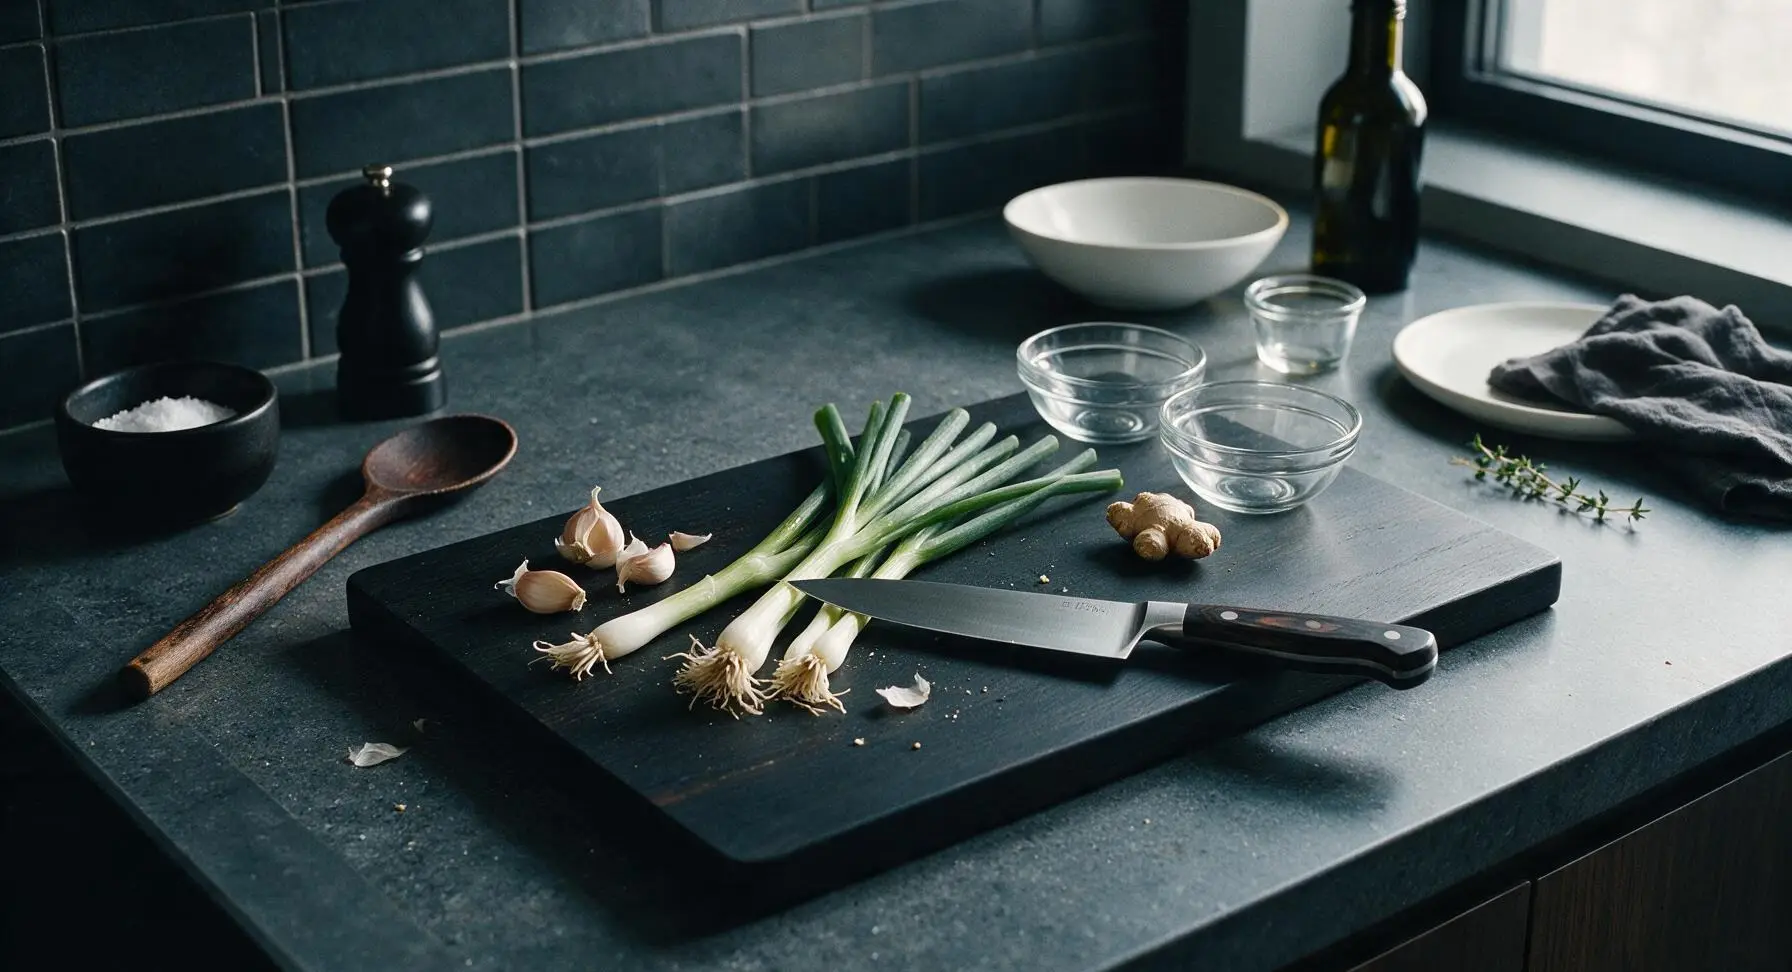
Place green onions, garlic, and ginger on the acacia wood cutting board. Use the chef knife to trim green onion root ends, then thinly slice, separating firm white/light green parts from tender dark green tops; set dark green tops aside in a small glass dish for garnish. Peel garlic and mince finely, peel ginger and mince 1 teaspoon very fine to match garlic size. Collect minced garlic, ginger, and white/light green onion slices in a separate prep bowl.
Mix Bulgogi Sauce
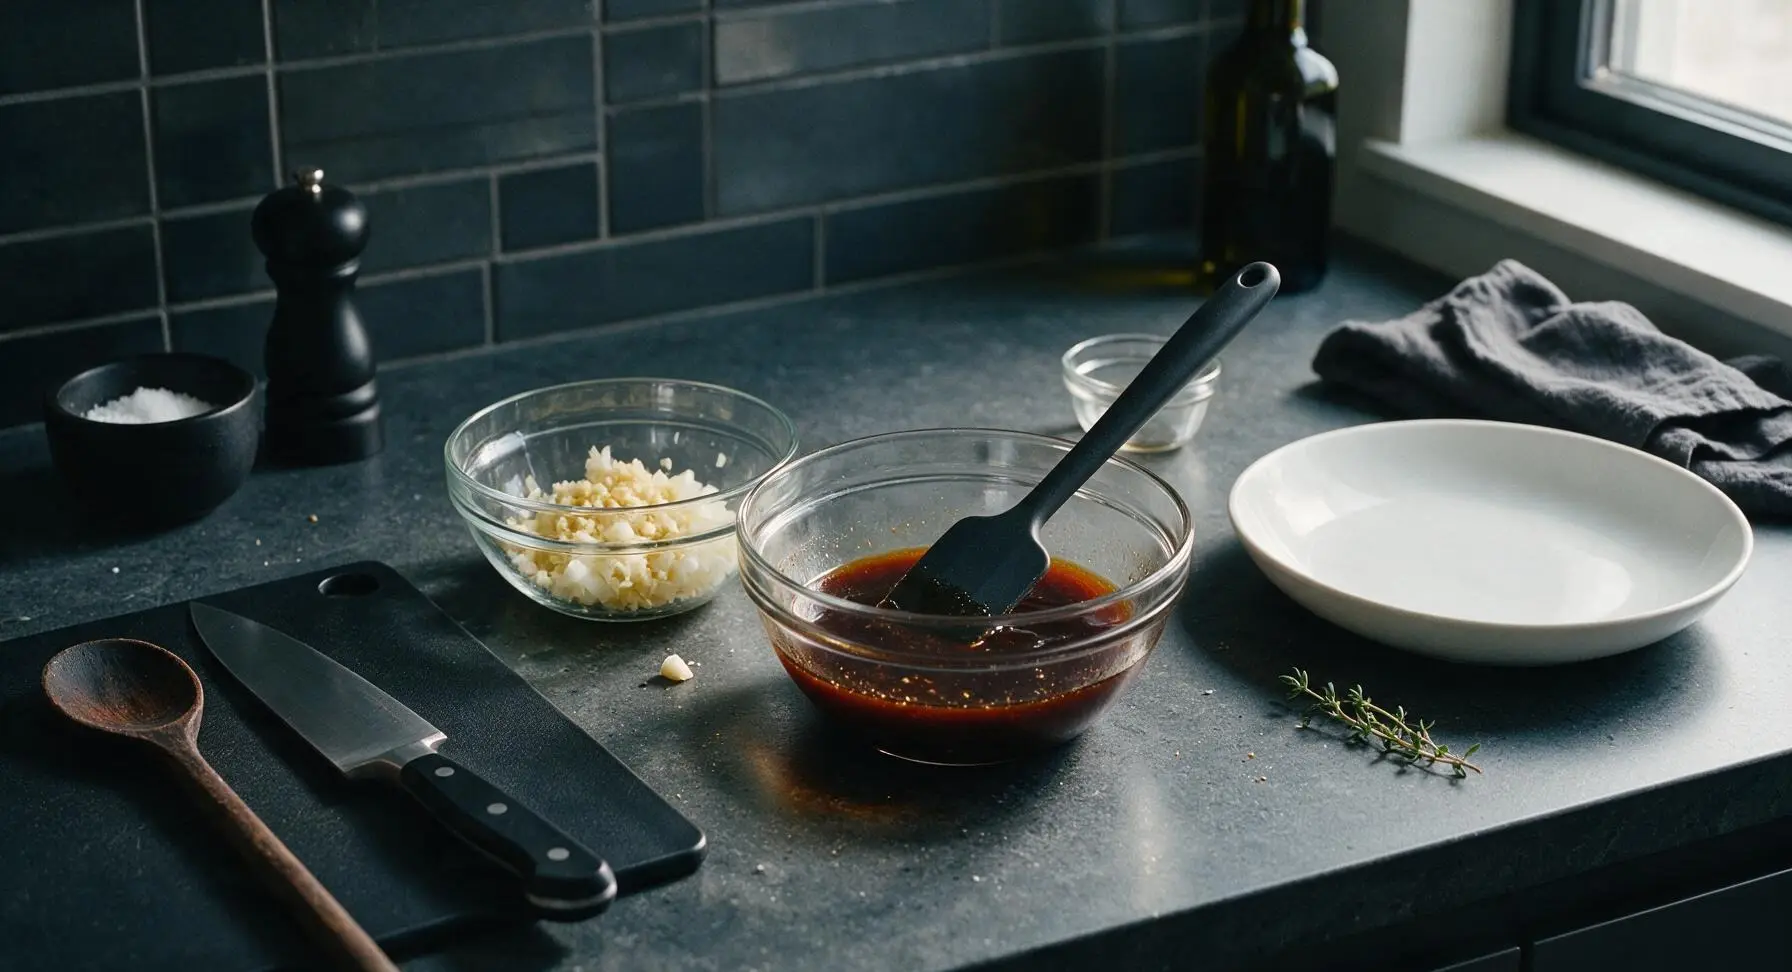
In a second glass prep bowl, combine low-sodium soy sauce, packed light brown sugar, toasted sesame oil, and gochugaru (if using for mild heat). Stir with the silicone spatula for 30 seconds until brown sugar is fully dissolved, with no gritty granules left at the bowl bottom. Stir half the prepped garlic, ginger, and white onion mixture into the sauce, reserving the other half for sautéing.
Heat Wok and Oil
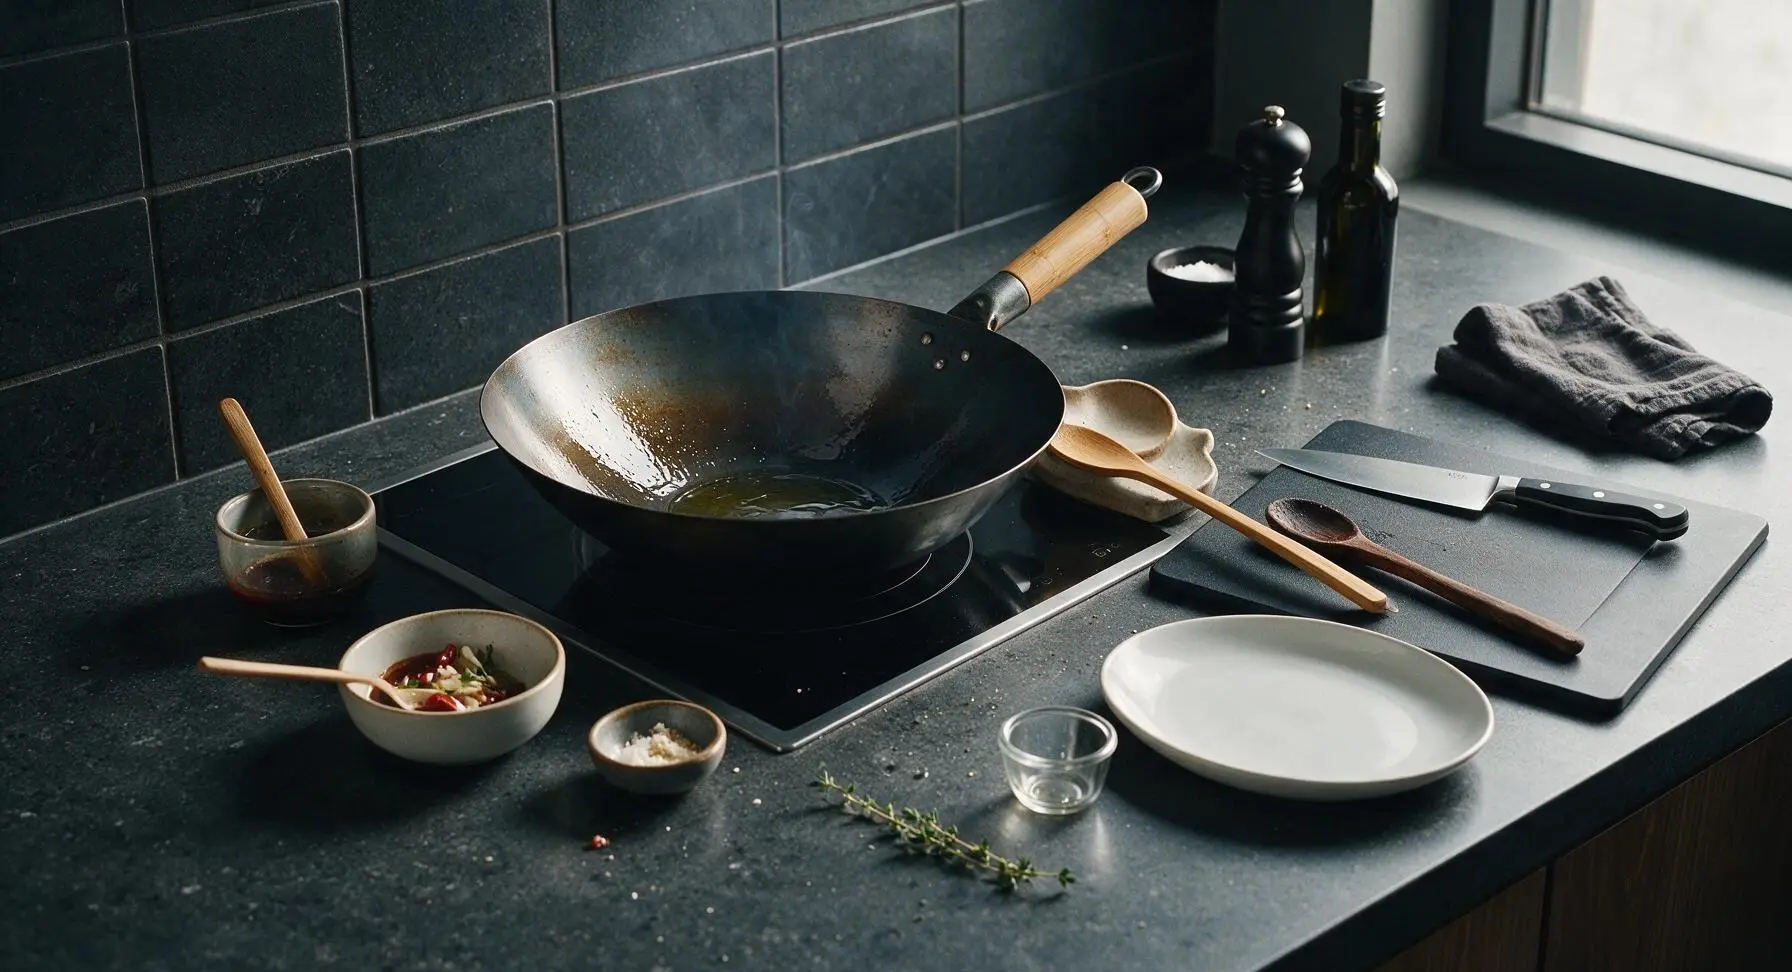
Set the carbon steel wok on the center-back induction burner, turn heat to medium-high (175C/350F). Add neutral cooking oil, and heat for 2 minutes until oil shimmers and releases a thin, faint wisp of smoke. Swirl the wok to coat the bottom and lower sides evenly with oil.
Sauté Reserved Aromatics
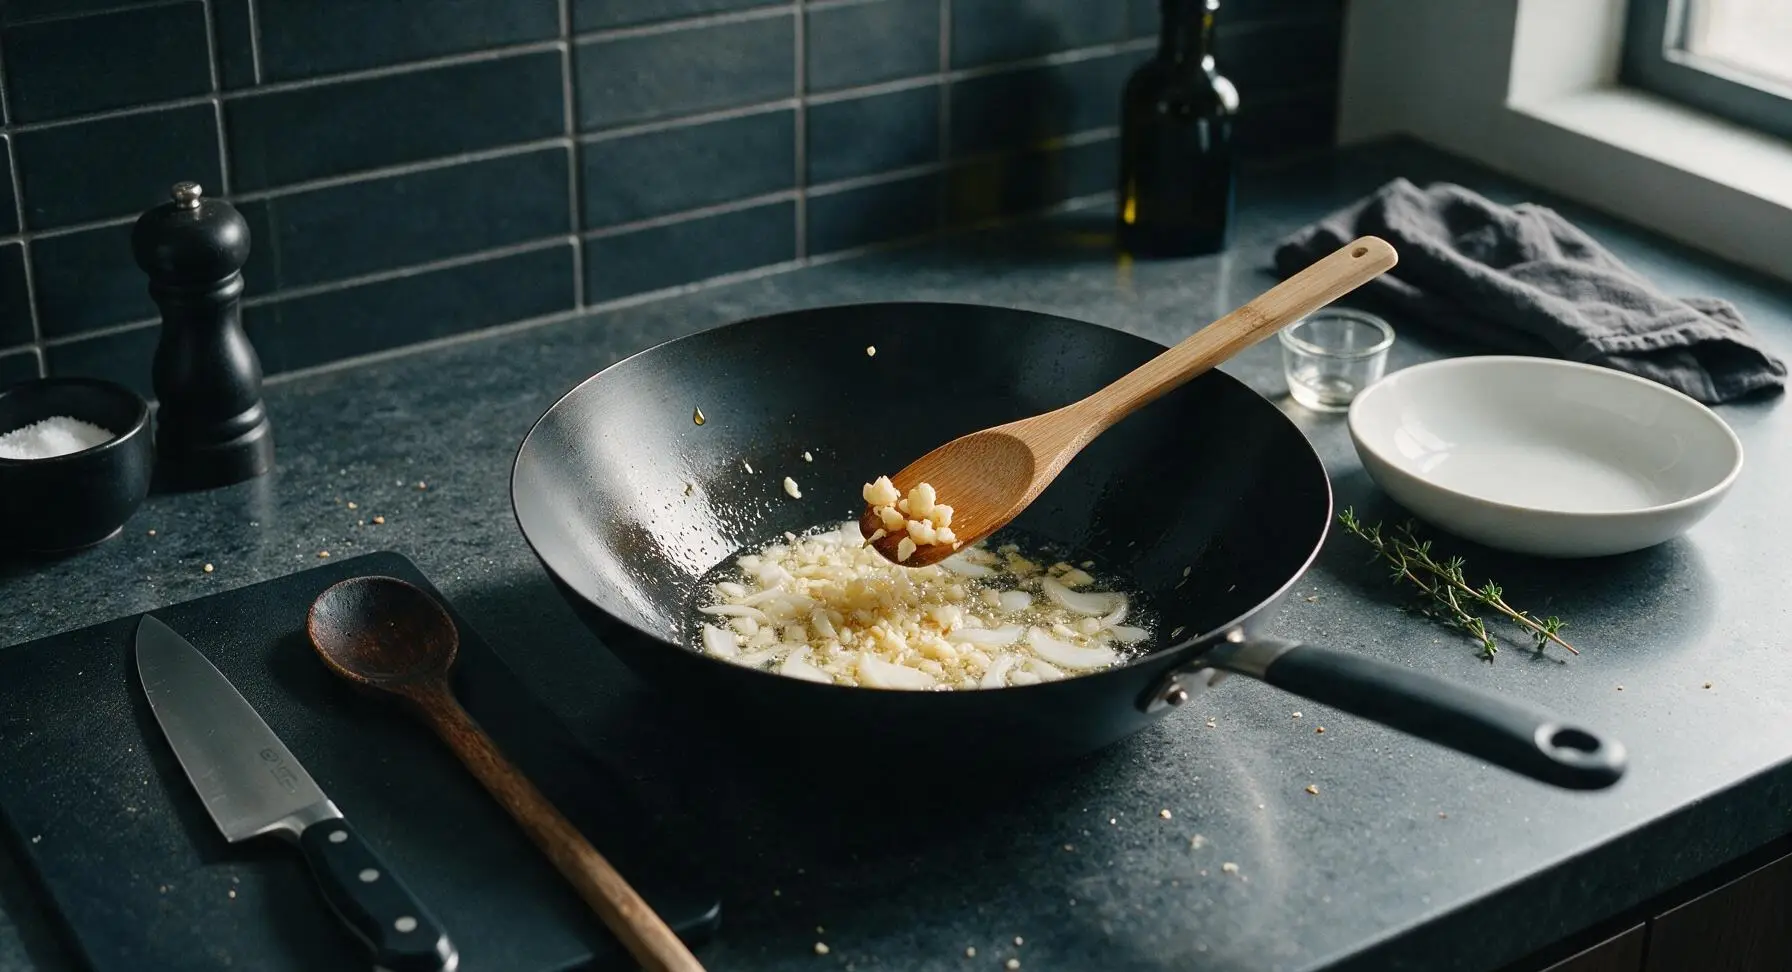
Add the reserved half of the minced garlic, ginger, and white/light green onion pieces to the hot oil. Stir constantly with the bamboo spoon for exactly 30 seconds, until aromatics release a bright, savory fragrance and just turn pale golden. Watch closely to avoid burning garlic, which will turn bitter; reduce heat immediately if edges turn dark brown.
Brown Ground Beef
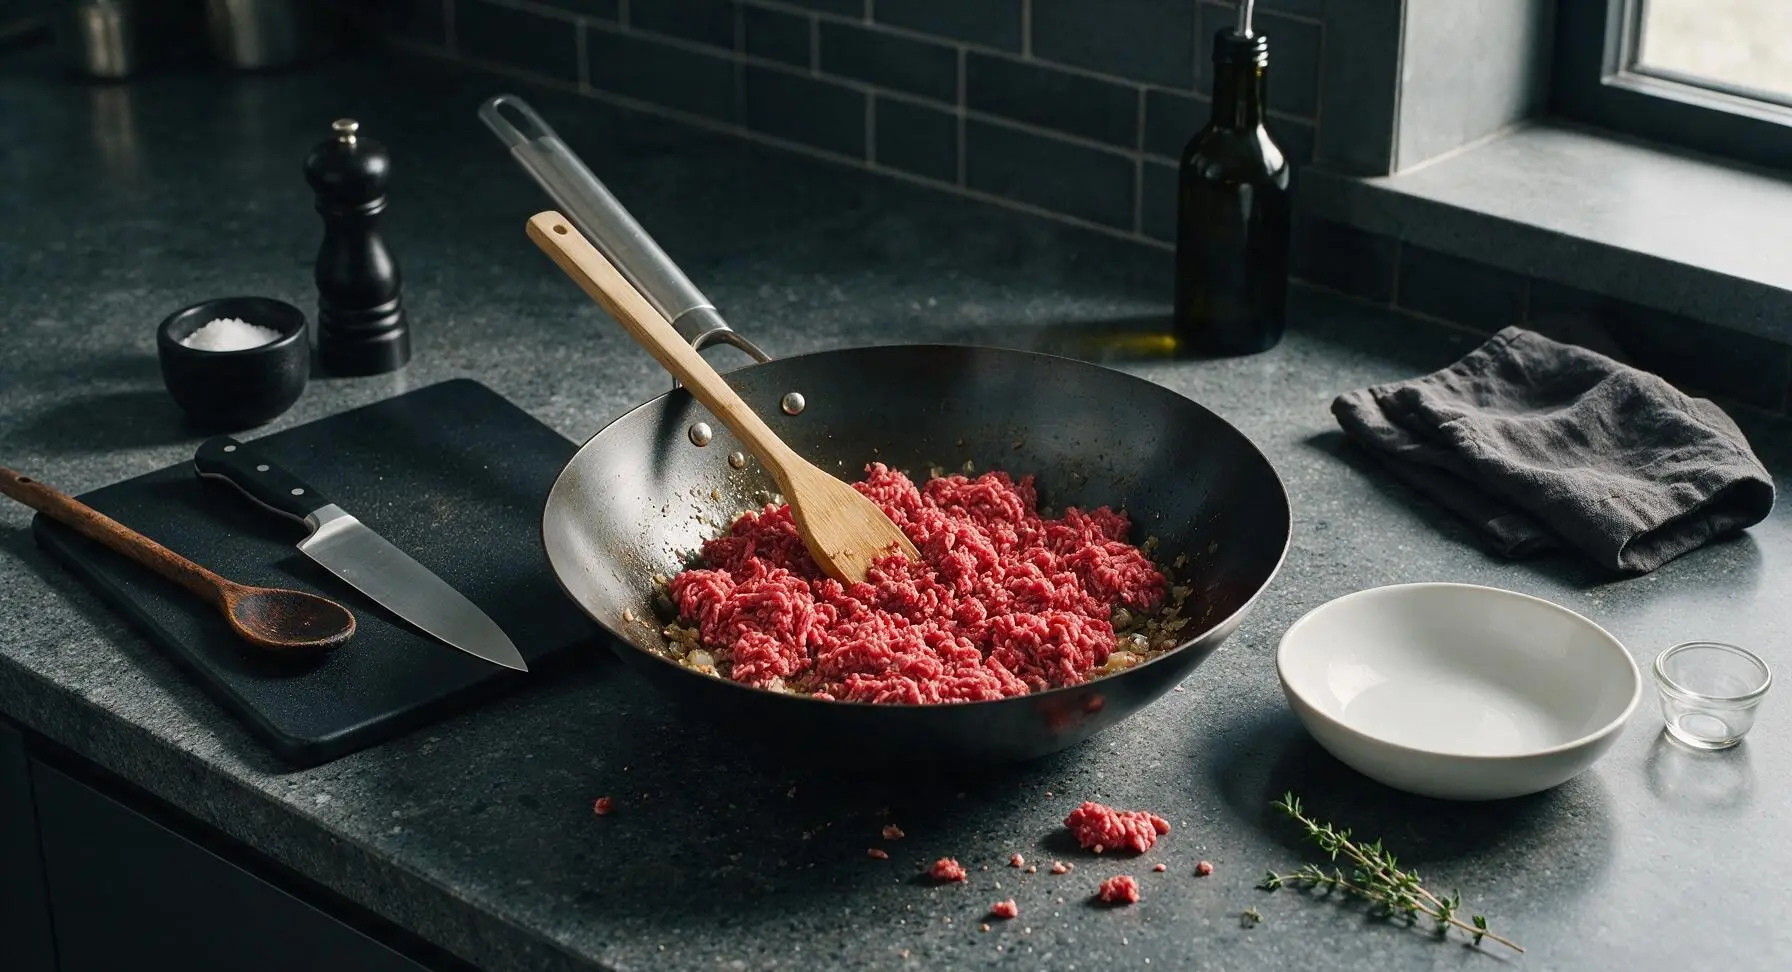
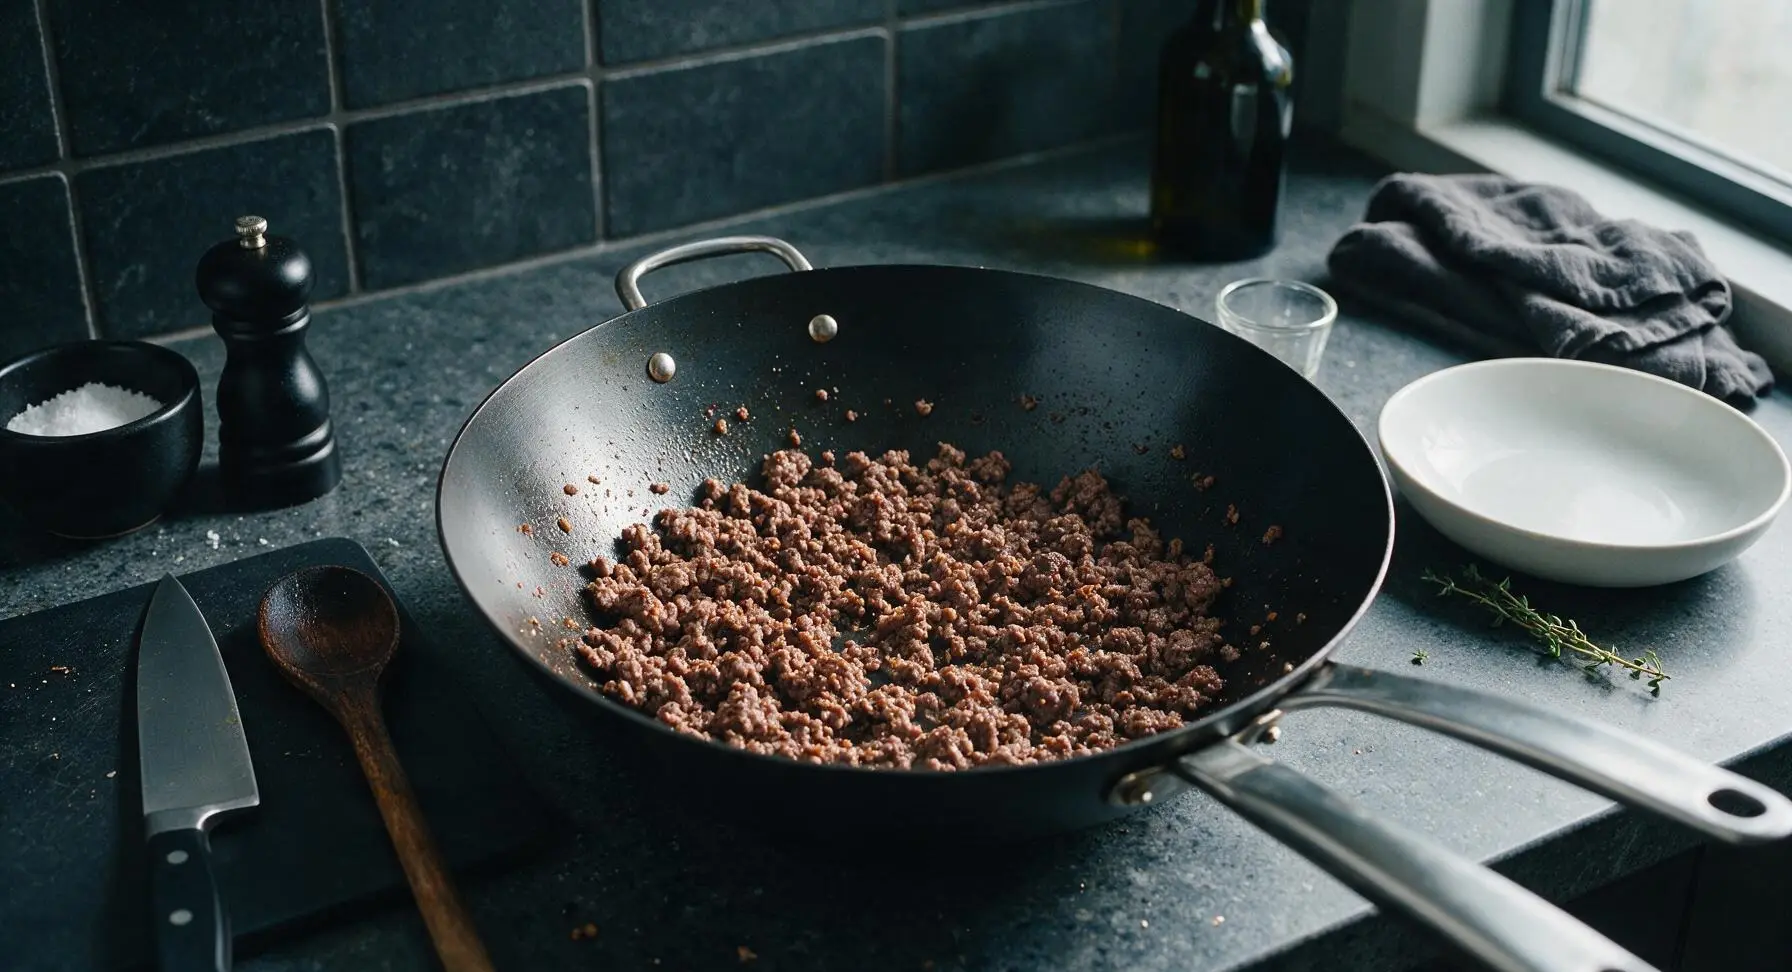
Add the full 500g of lean ground beef to the wok, breaking it into small, even crumbles with the edge of the bamboo spoon. Cook for 5-6 minutes, stirring occasionally, until beef is fully browned with no pink remaining, and all liquid released from the beef has fully evaporated. Drain any excess rendered fat over 1 teaspoon to keep the dish from feeling greasy.
Simmer Beef in Sauce
Pour the prepared bulgogi sauce over the browned beef, stirring constantly to coat every crumble evenly. Reduce heat to medium, and simmer for 2-3 minutes, stirring occasionally, until sauce thickens into a glossy, clingy coating that sticks to each beef crumble, with no loose pooling liquid left at the wok bottom. Turn off the heat.
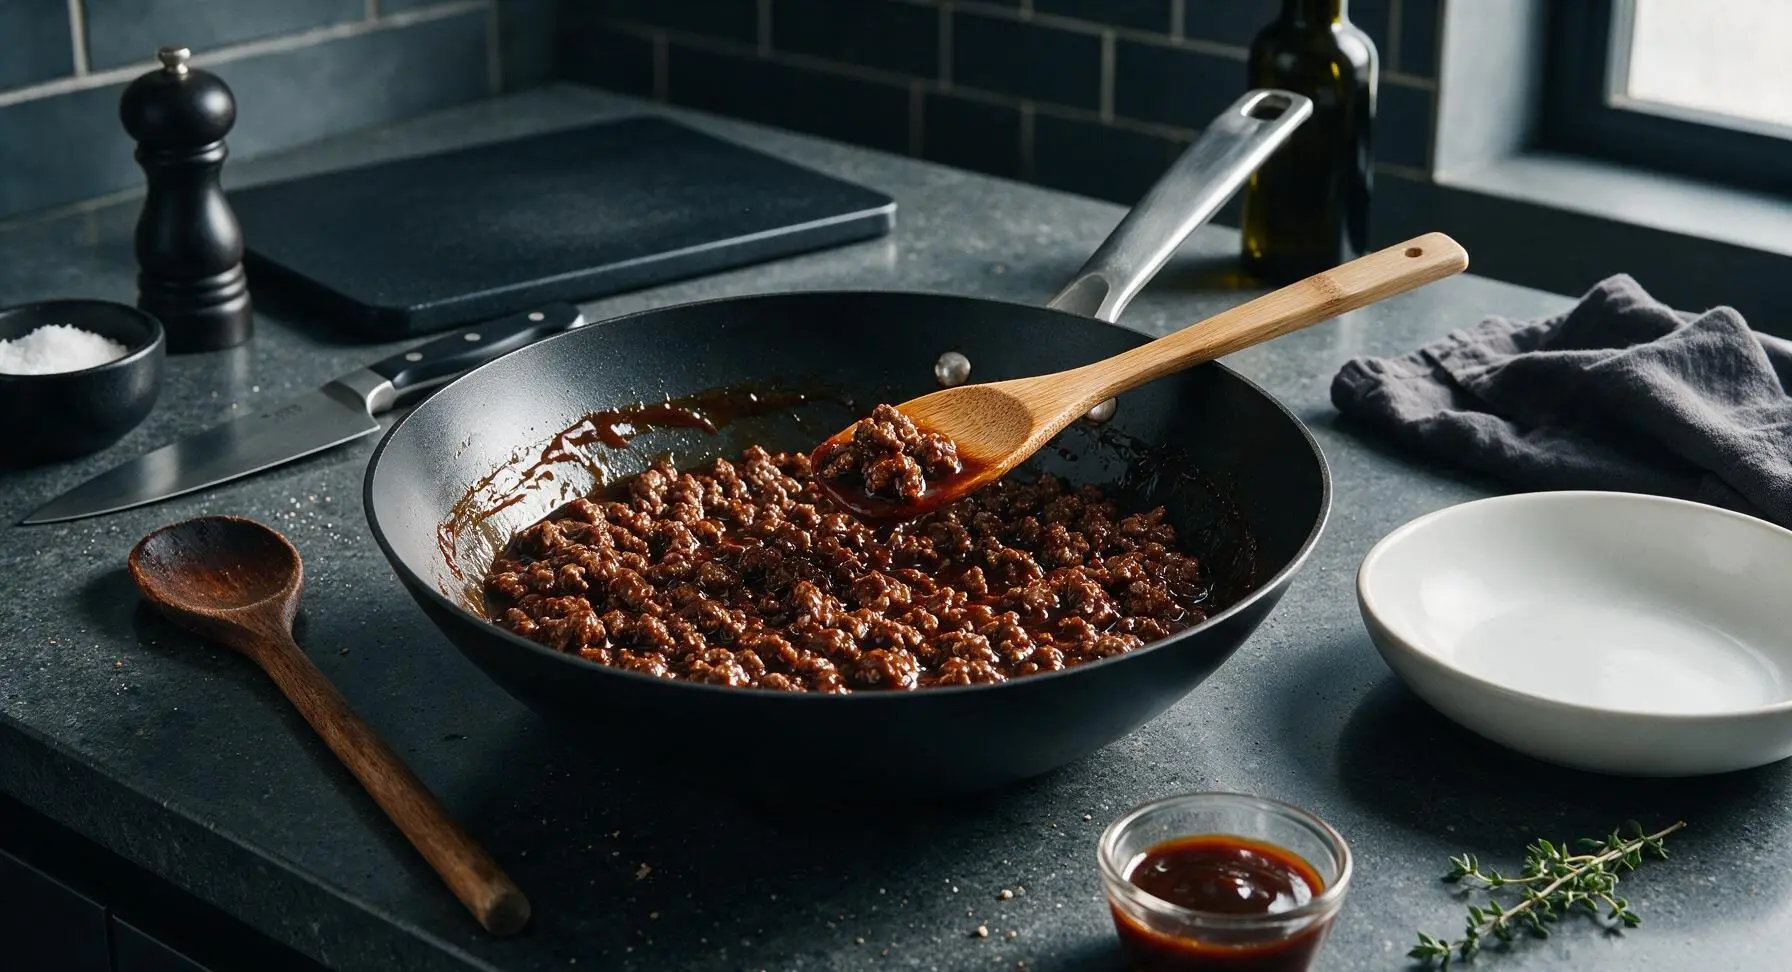
Plate and Garnish
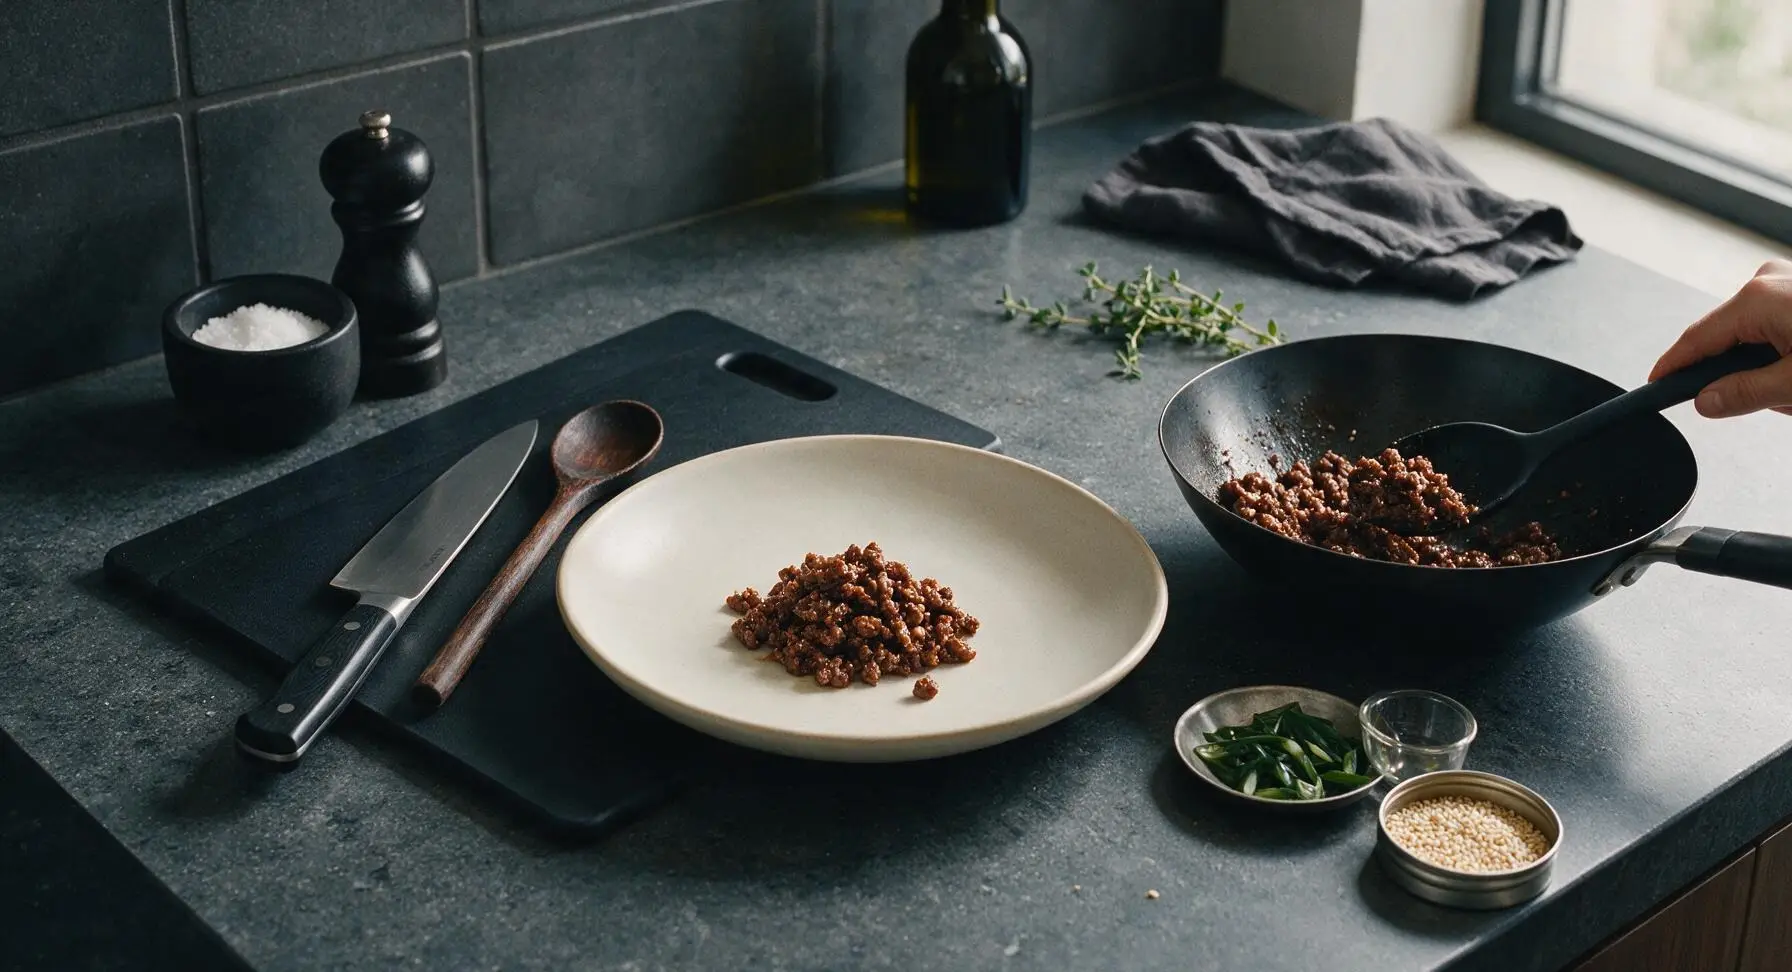
Use the bamboo spoon to transfer the sauced beef to the matte warm off-white ceramic dinner plate, mounding it slightly off-center. Sprinkle the reserved dark green onion slices and toasted white sesame seeds evenly over the top. Let rest 2 minutes before serving, paired with steamed white rice and quick pickled vegetables if desired.
Tips
2.Reserve half the raw aromatics to add directly to the sauce instead of sautéing all of them: Sautéing half builds a deep, nutty flavor base, while the raw aromatics in the sauce add a bright, fresh garlic-ginger kick that keeps the dish from tasting flat.
3.Wait for the sauce to thicken fully before turning off the heat: The sauce is ready when you can drag your bamboo spoon across the wok bottom and see the bare metal for 2 full seconds before sauce flows back. Runny sauce will slide off the beef and make served rice soggy.






OMG this is such a game changer! I threw this together last night for my family after soccer practice and it was done in literally 12 minutes like the recipe said. My 8 and 10 year old ate two servings each over rice, even asked for leftovers in their lunch today. Will 100% be adding this to our weekly meal prep rotation!
Wait this is SO easy I made it in my dorm kitchen between study sessions? No fancy equipment, just a skillet, took me 10 minutes flat even with me stopping to check my flashcards. Tastes just like the bulgogi I get at my favorite K-town spot in the city for a fraction of the price. Obsessed!
I brought this to our neighborhood block party potluck last weekend and people were hovering over the dish asking for the recipe before I even set it down! I doubled the batch and served it with little lettuce cups for people to make wraps, zero leftovers by the end of the night. 10/10
I swapped the regular soy sauce for coconut aminos and served this over cauliflower rice to keep it low carb, and it was chef’s kiss. My husband who swears he hates “diet food” went back for thirds. Can’t believe how quick this comes together on busy work nights.
Okay full transparency I burn almost everything I make, but this was foolproof! I followed the recipe exactly, didn’t overcook the beef, and my roommate said it tasted like takeout. Only thing is I accidentally added a little too much garlic, oops, but it was still delicious. Will be making this again for sure.
This is now my go-to meal prep protein for the week. I make a big batch every Sunday, portion it out with rice and roasted broccoli, and it holds up so well all week. Way cheaper than buying lunch out every day, and I don’t get bored of it even after eating it 3 days in a row. Game changer for real.
I added a tablespoon of gochujang to the sauce to give it a little heat and it was *chef’s kiss*. The base recipe is perfect as is, but the extra kick was exactly what I wanted. Served it with kimchi on the side and it felt like a full restaurant meal in 12 minutes, are you kidding?!
I made this for my grandkids when they came over for dinner last night and they were raving about it! Even my pickiest granddaughter who only eats chicken nuggets ate a whole plate and asked for seconds. The recipe was so simple I didn’t even have to pull out my fancy cookbooks, just threw it in the pan while the rice cooked. Wonderful recipe.
Wait a second, 12 minute cook time? I thought that had to be clickbait but I timed it last night and it was actually done in 11 minutes from when I turned the stove on to when I was plating it. Perfect for those nights when I get home from work late and don’t feel like spending an hour in the kitchen. So flavorful too!
I used gluten free tamari instead of regular soy sauce and it came out perfectly! I’ve been missing bulgogi since I went gluten free a year ago, and this tasted exactly like what I remember from my favorite Korean spot. Didn’t have to make any other adjustments, it was perfect.
I made this for my date last night because I wanted something that tasted impressive but didn’t require me to be in the kitchen all night, and she thought I slaved over it for hours! We ate it with rice, quick pickled cucumbers, and a little soju on the side. Total hit, she already asked when I’m making it again.
I calculated the cost per serving for this and it’s like $2.50 a plate? Are you kidding? Ground beef is so cheap, I already had all the sauce ingredients in my pantry, and it tastes better than takeout that costs $15 a serving. This is going to be a staple for me when I’m trying to save money at the end of the month.
I’m the person who never eats leftovers because I think they taste sad, but I ate the leftover bulgogi for breakfast this morning with a fried egg on top and it was maybe better than it was last night? No notes, this recipe is perfect.
I tossed in a bag of frozen mixed stir fry veggies with the beef to add some extra greens and it worked so well! Didn’t add any extra cook time because the veggies thawed super fast in the hot pan, and it made the meal feel way more balanced without any extra effort. 10/10.
I made a triple batch of this for my Super Bowl watch party this year, served it in sliders with a little slaw on top, and people went crazy for it. It held up great in the slow cooker on warm for the whole game, and I only had one tiny slider left at the end of the night. Will be making this for every game day from now on.
I was really nervous to make this because I’m still learning how to cook, but the steps were so straightforward! I didn’t have rice so I served it over ramen noodles, and it was so good I almost ate the whole pan by myself. Who knew I could make something that tastes this good?
I loaded this up with extra toasted sesame seeds and sliced green onion on top, just like the recipe suggested, and the little crunch made such a big difference! The sauce is perfectly balanced—sweet, salty, a little umami, not too strong. I’ve already shared this recipe with three of my coworkers who asked what I brought for lunch.
I used to order Korean bulgogi takeout at least once a week because I thought it was too hard to make at home, but this is better than the takeout by my house and takes a fraction of the time. I’m kicking myself for not finding this recipe earlier! Saved so much money already this month just by making this instead of ordering out.