
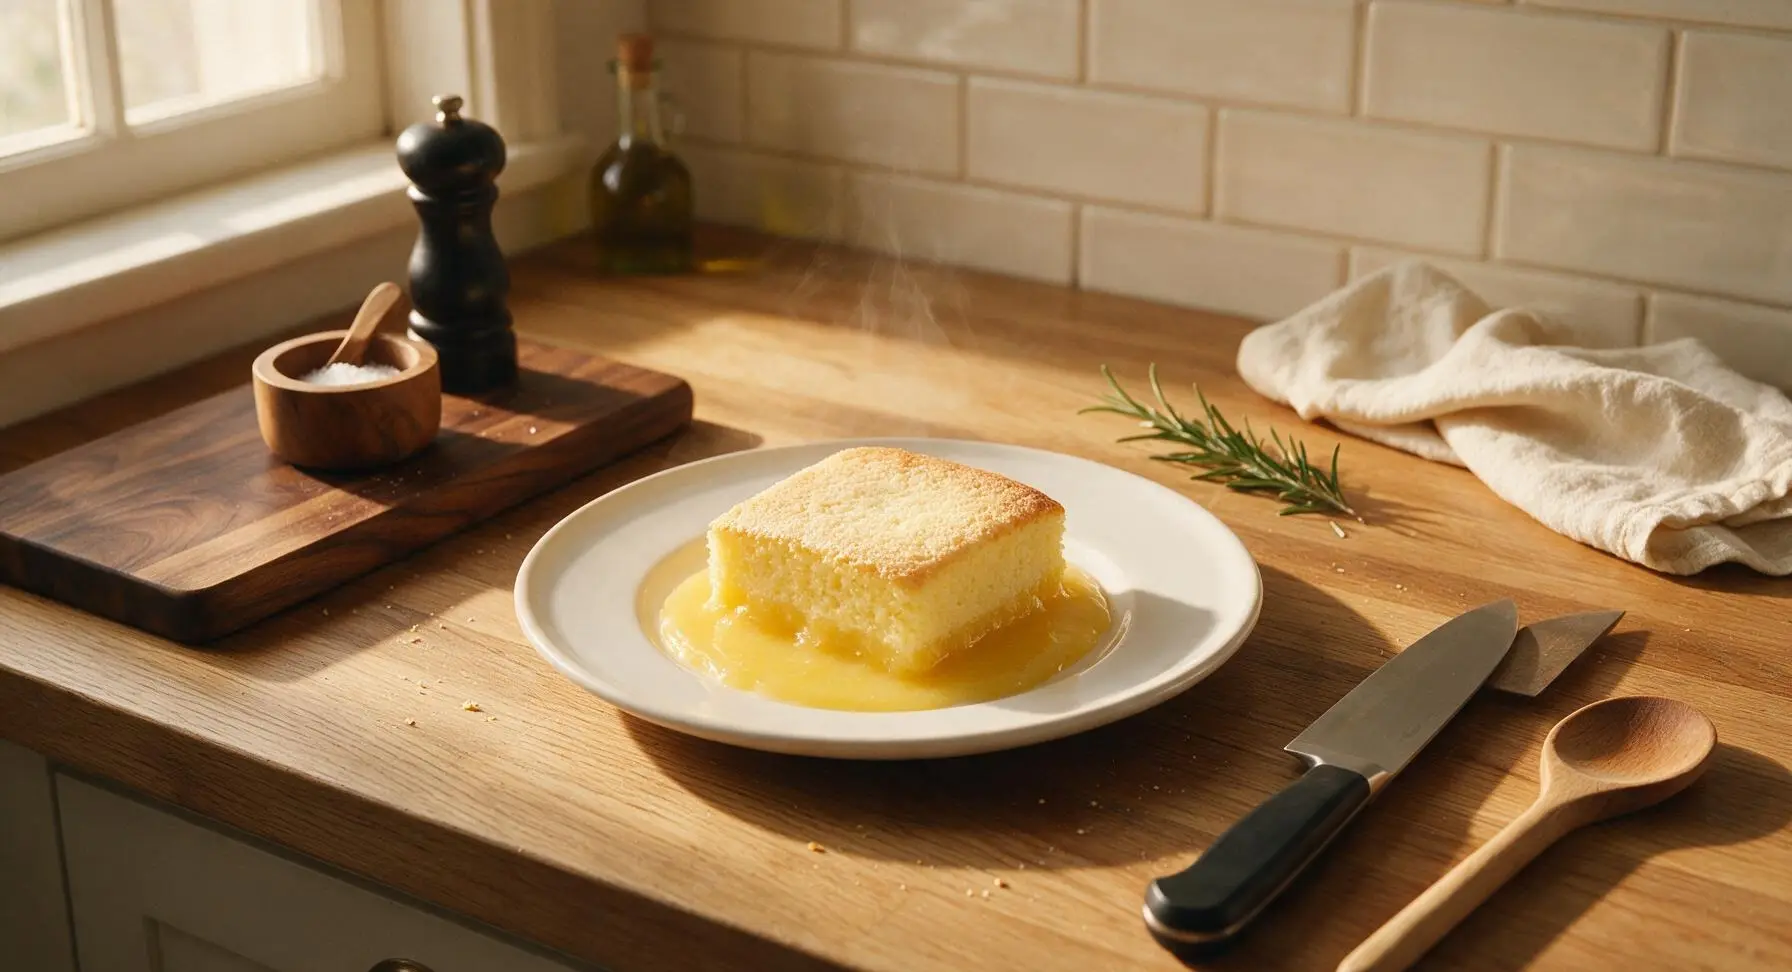
lemon delicious

title 1
lemon delicious
⏱️ cook time 40 minutes
🍽️ servings 4
⚡ Difficulty easy

intro

A magical self-saucing lemon pudding with a light, fluffy golden sponge top and tangy, silky lemon curd base, bright with fresh, zingy citrus flavor.

Ingredients
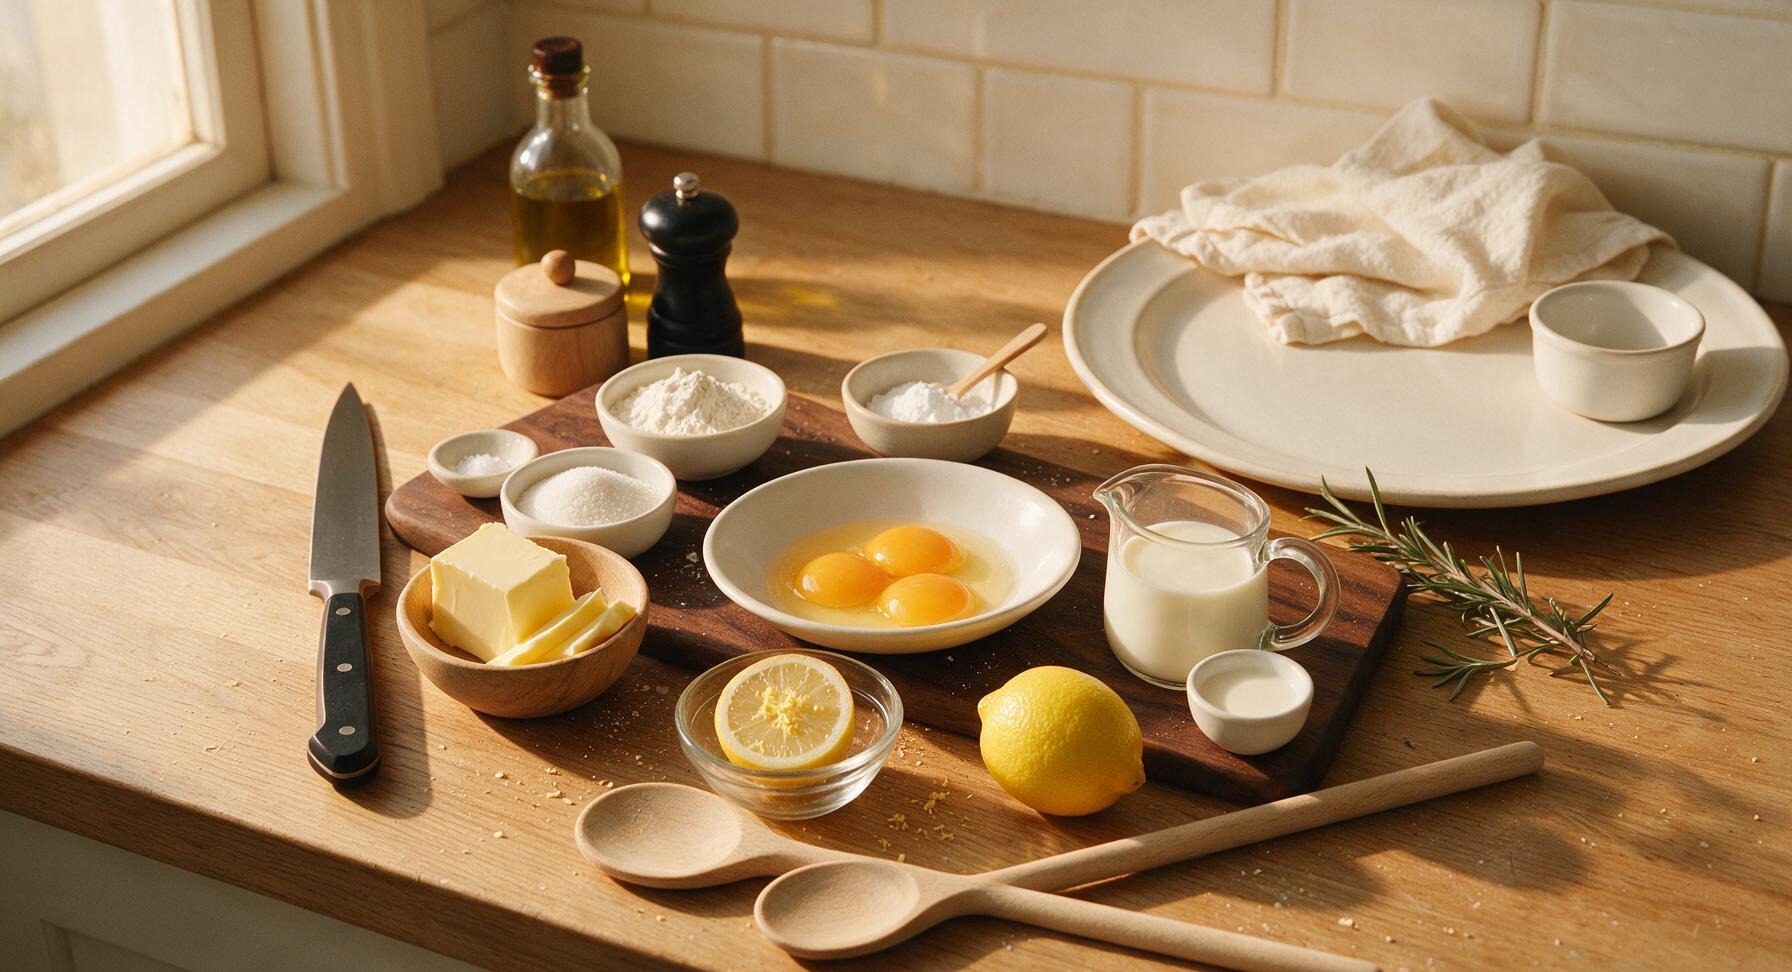
Unsalted butter, softened 50g
Caster sugar 150g
Fresh large lemons (for zest and juice) 2 (≈120g each)
Large eggs, room temperature, separated 3
Self-raising flour, sifted 60g
Full-cream whole milk, room temperature 180ml
Fine sea salt 1 pinch
Icing sugar, for dusting 1 tsp

Steps

1

Prep Oven and Baking Dish

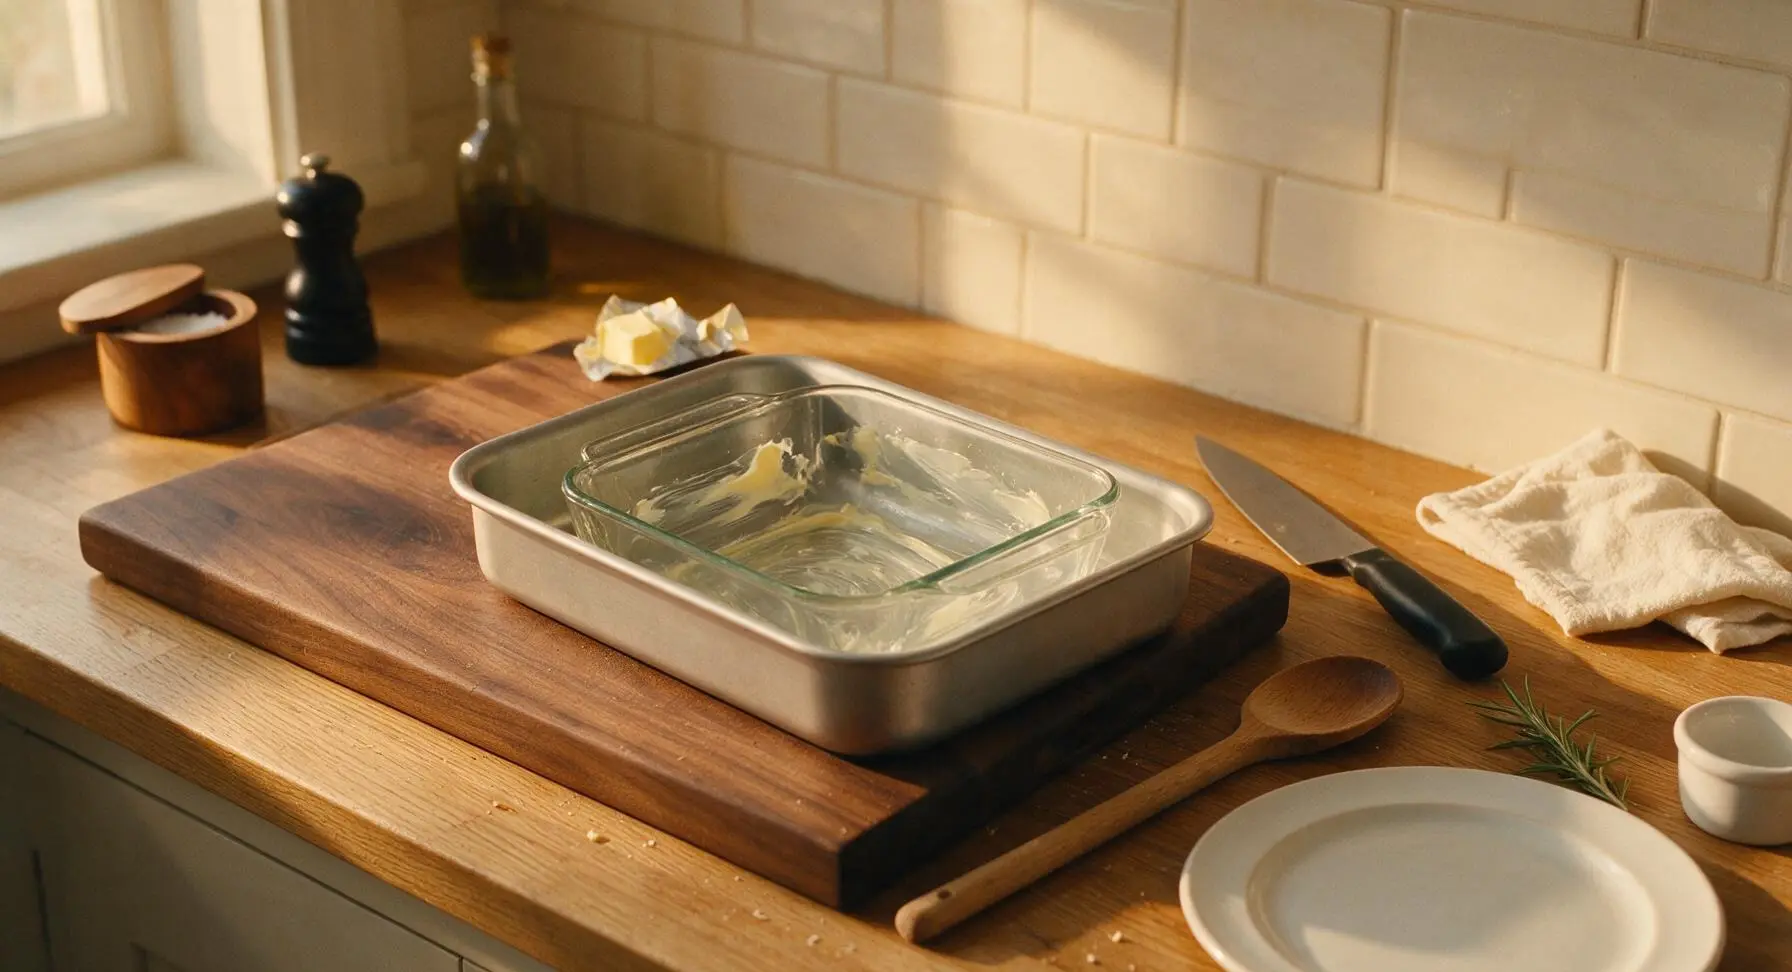
Preheat your oven to 180°C (350°F, gas mark 4). Use a small knob of the softened butter to lightly grease the entire inner surface of the 20cm square clear glass baking dish, then nestle the dish inside the high-sided metal roasting pan to prepare for the water bath. Boil a full kettle of water and set it aside for later use.
Step 1
step1:Prep Oven and Baking Dish
2

Zest and Juice Lemons

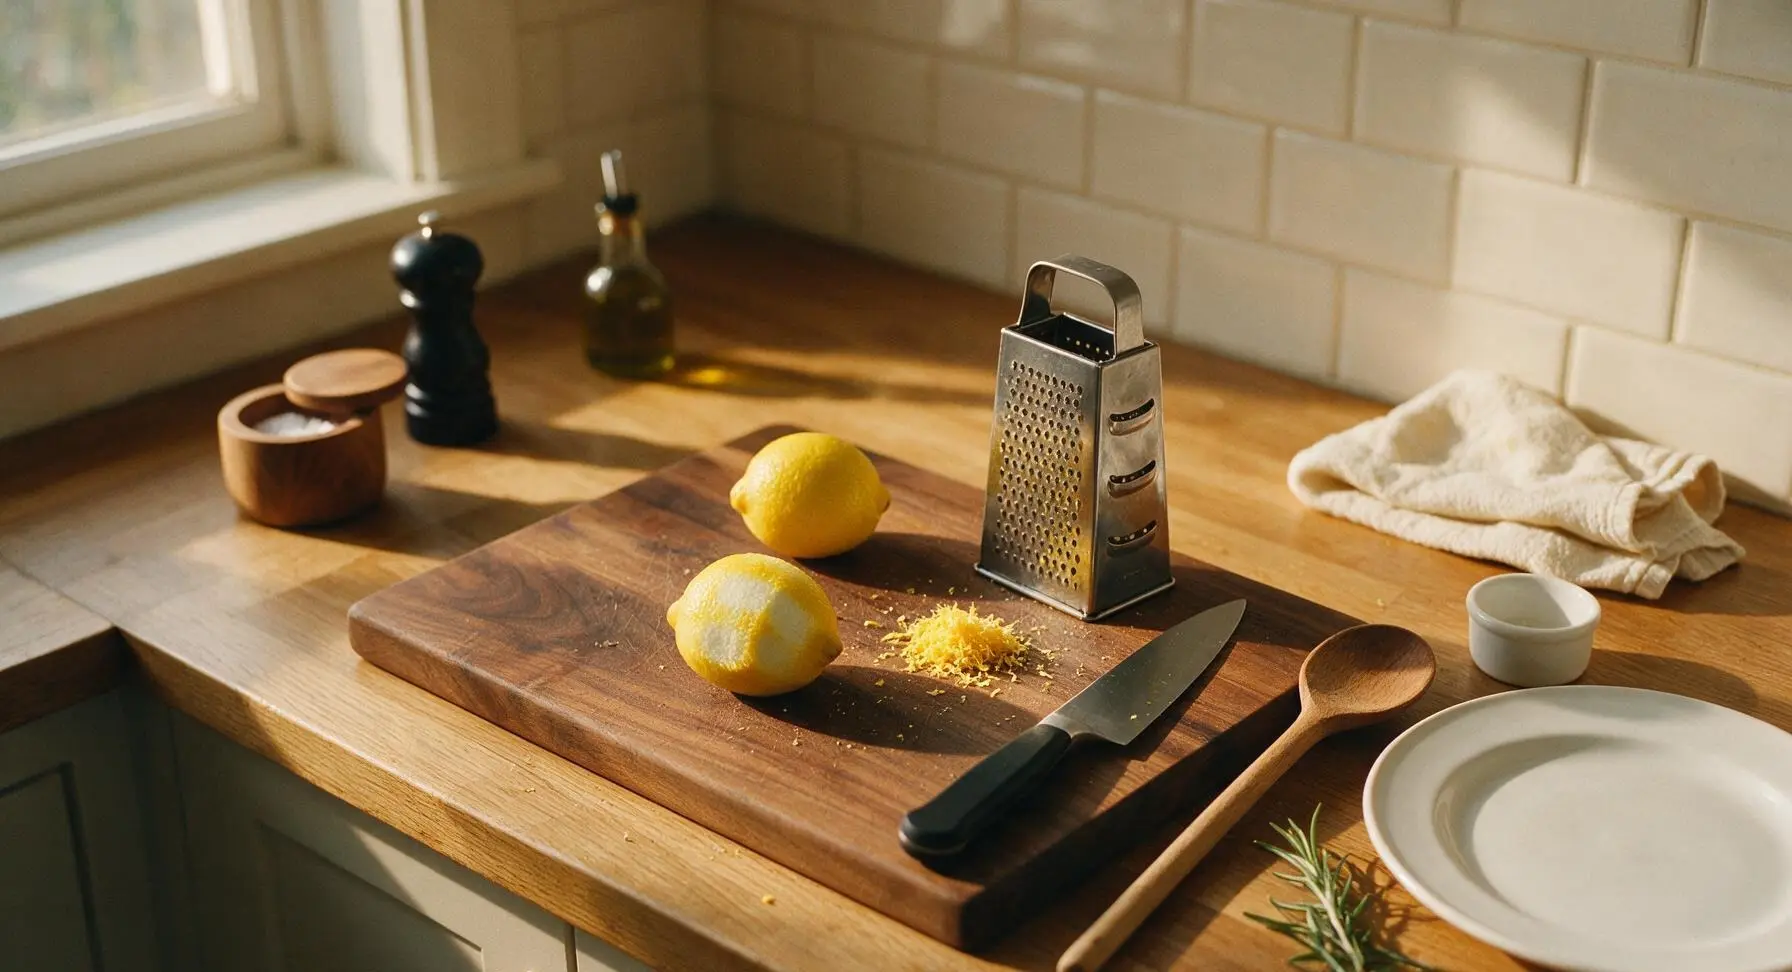
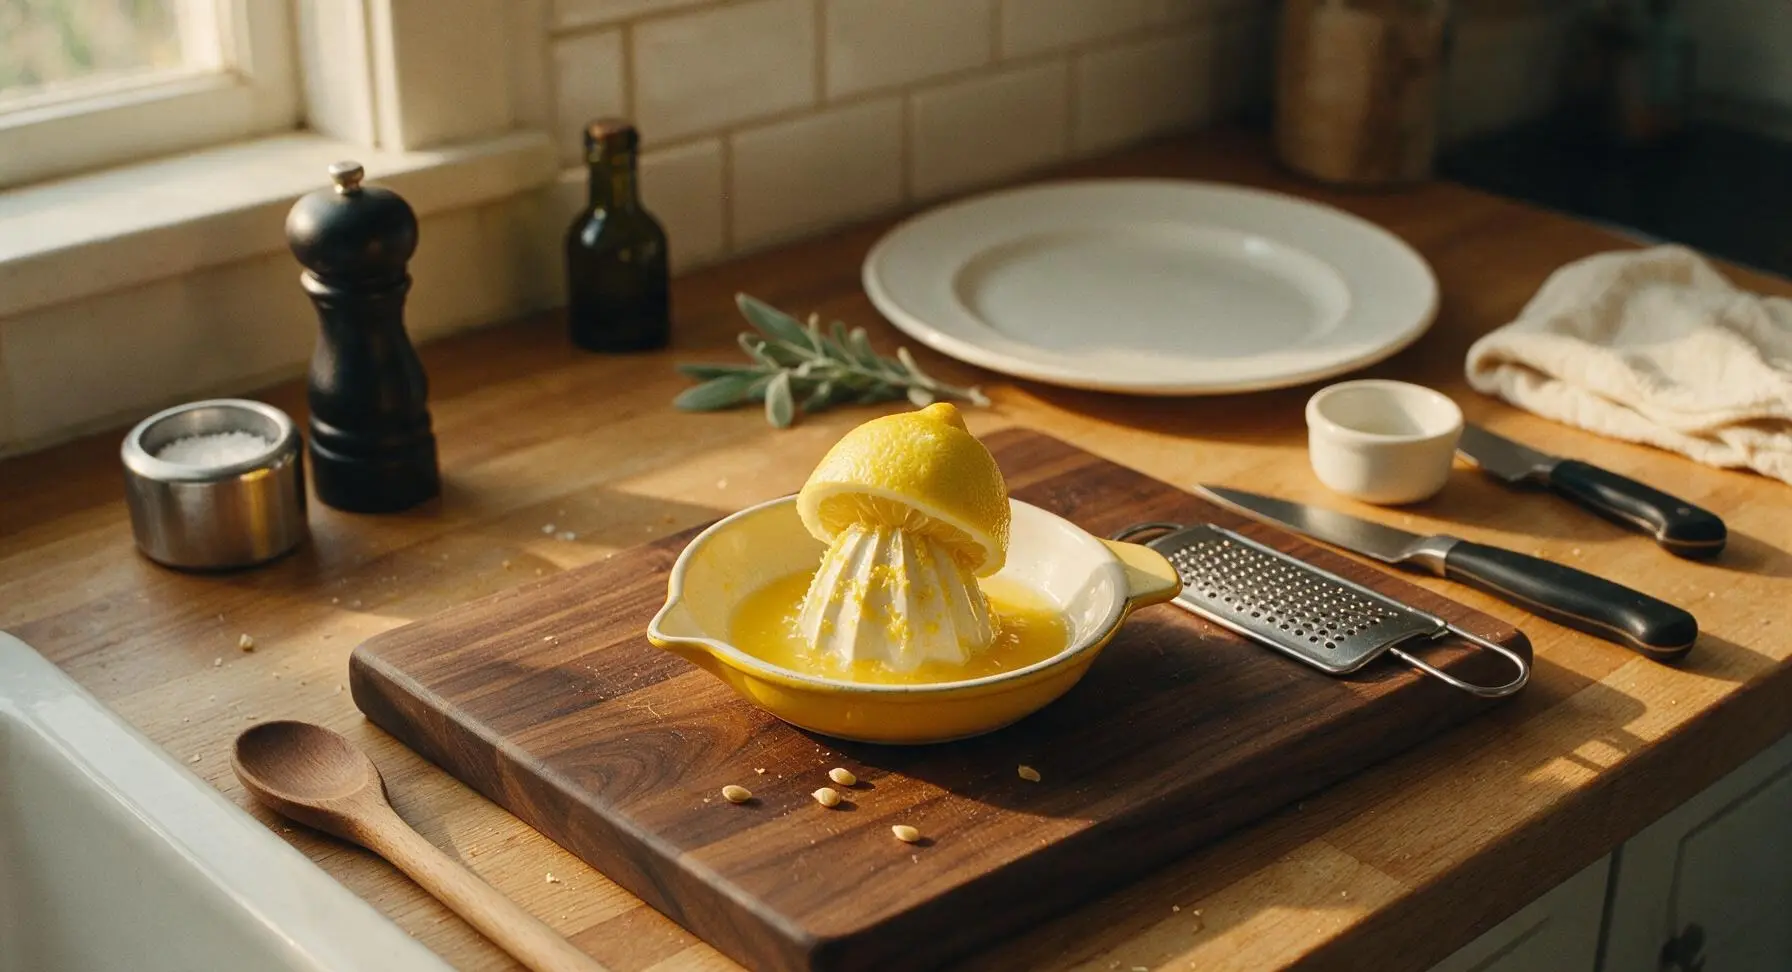
Set the stainless steel box grater on the right edge of the maple cutting board. Zest both whole lemons to collect 2 tablespoons of fine, bright yellow zest, taking care to only grate the outer yellow peel and avoid the bitter white pith underneath. Use the paring knife to cut the zested lemons in half, then squeeze them with the yellow enamel citrus juicer to collect 80ml (1/3 cup) of fresh juice, straining out any loose seeds. Set zest and juice aside separately.
Step 2
step2:Zest and Juice Lemons
Step 2
step2:Zest and Juice Lemons
3

Cream Butter and Sugar

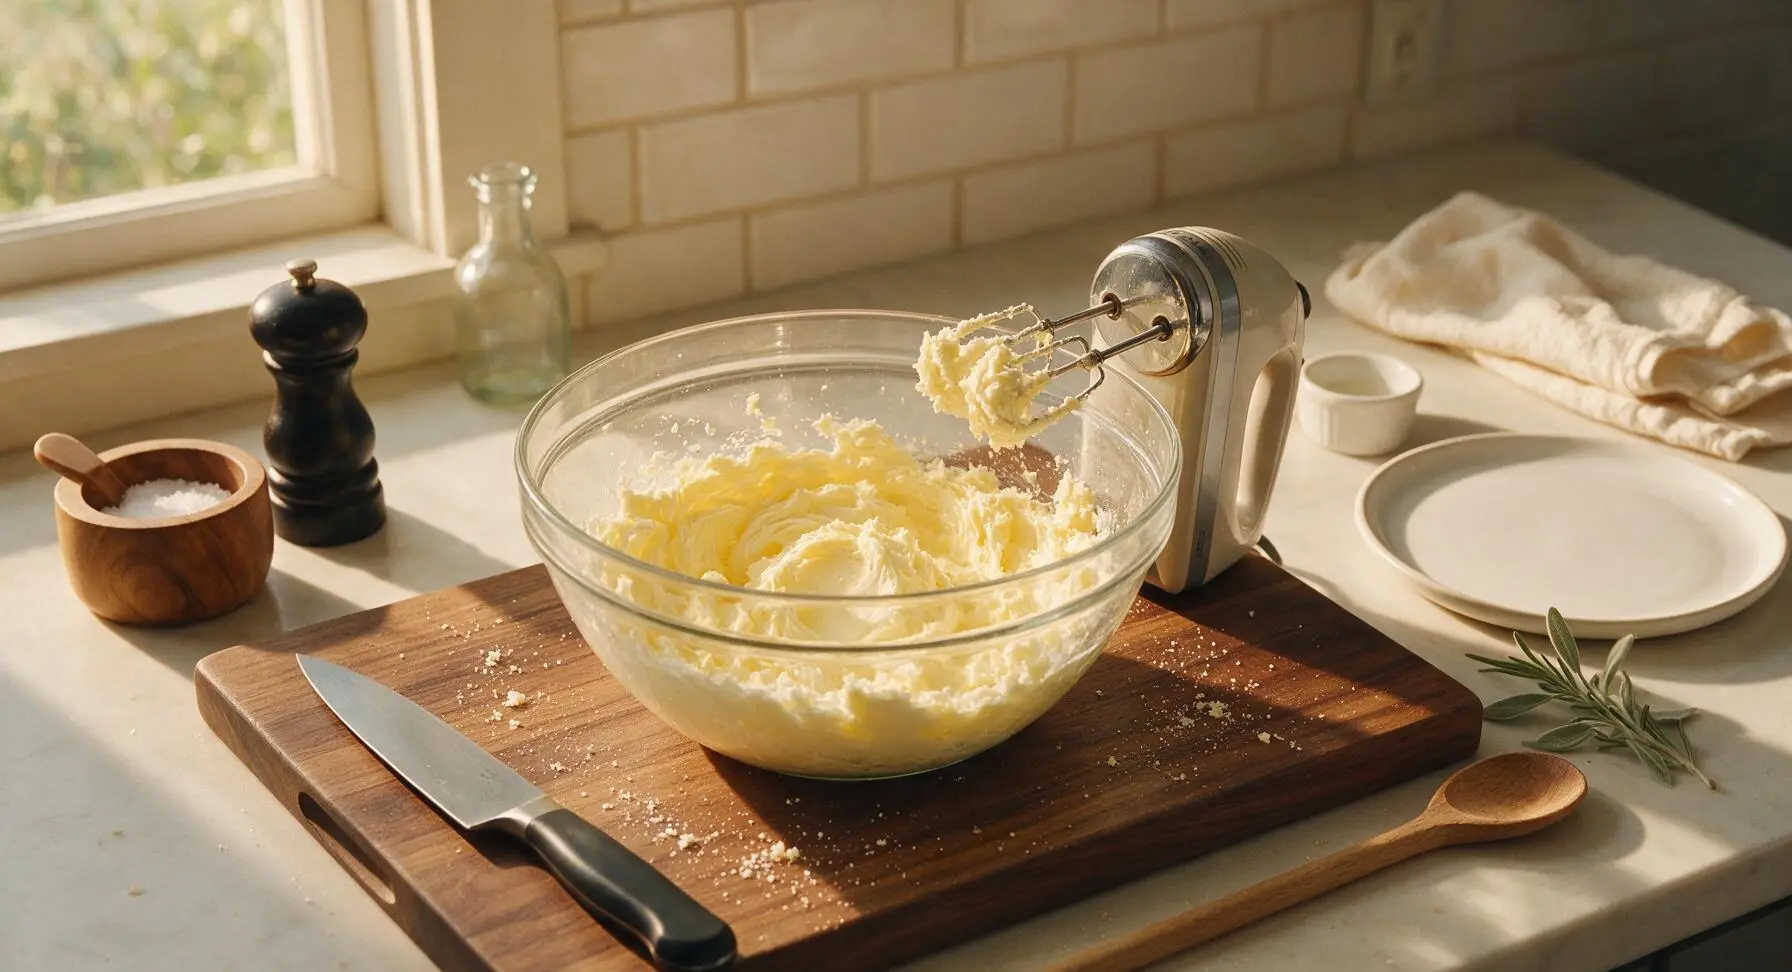
Place the remaining softened butter and 100g of the caster sugar into the large clear glass mixing bowl. Use the handheld electric mixer on medium speed to beat the mixture for 2–3 minutes, stopping to scrape down the bowl sides once halfway through. The finished creamed mixture will be pale, fluffy, and light lemon-yellow, with no gritty texture when you rub a small amount between your fingertips.
Step 3
step3:Cream Butter and Sugar
4

Combine Yolk Base

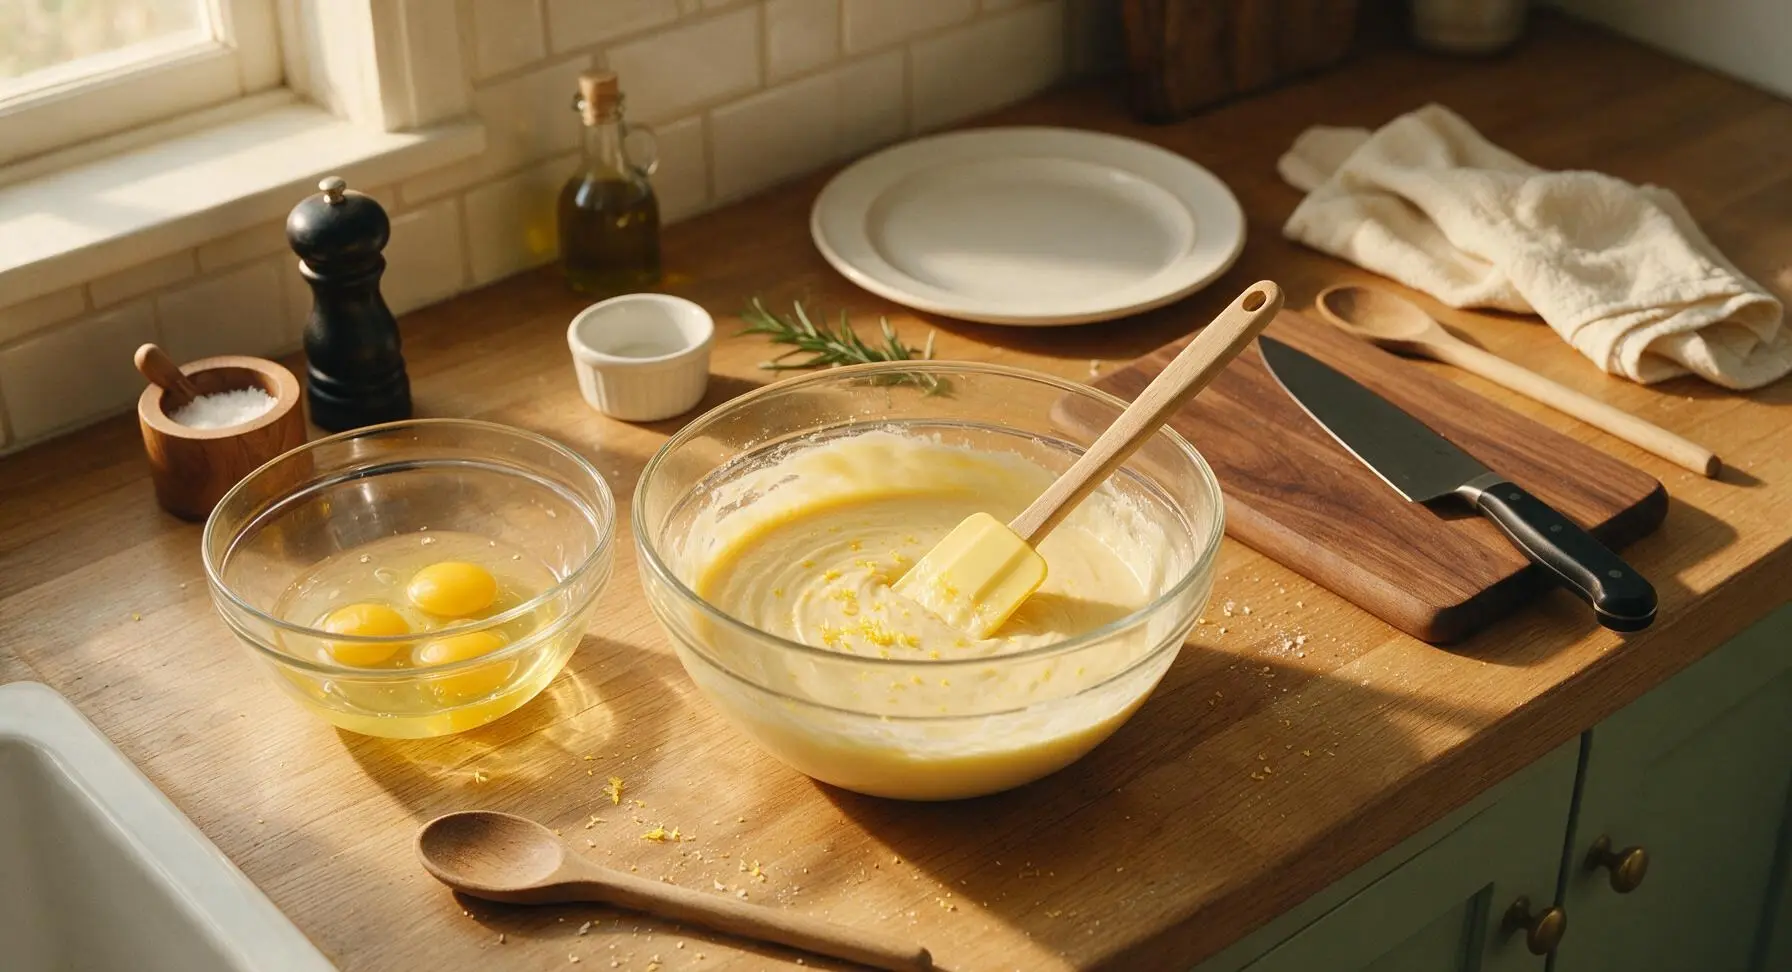
Separate the 3 room-temperature eggs, adding the yolks directly to the creamed butter mixture and placing the whites in the clean medium glass mixing bowl (set whites aside for later). Add the reserved lemon zest to the butter mixture, beating on low speed for 30 seconds until just combined. Alternately add the sifted self-raising flour and whole milk in 3 equal batches, stirring gently with the pale yellow silicone spatula to avoid lumps, then stir in the fresh lemon juice and pinch of sea salt. The finished base will be thin, smooth, pale yellow, and flecked with zest.
Step 4
step4:Combine Yolk Base
5

Whip Egg Whites Stiff

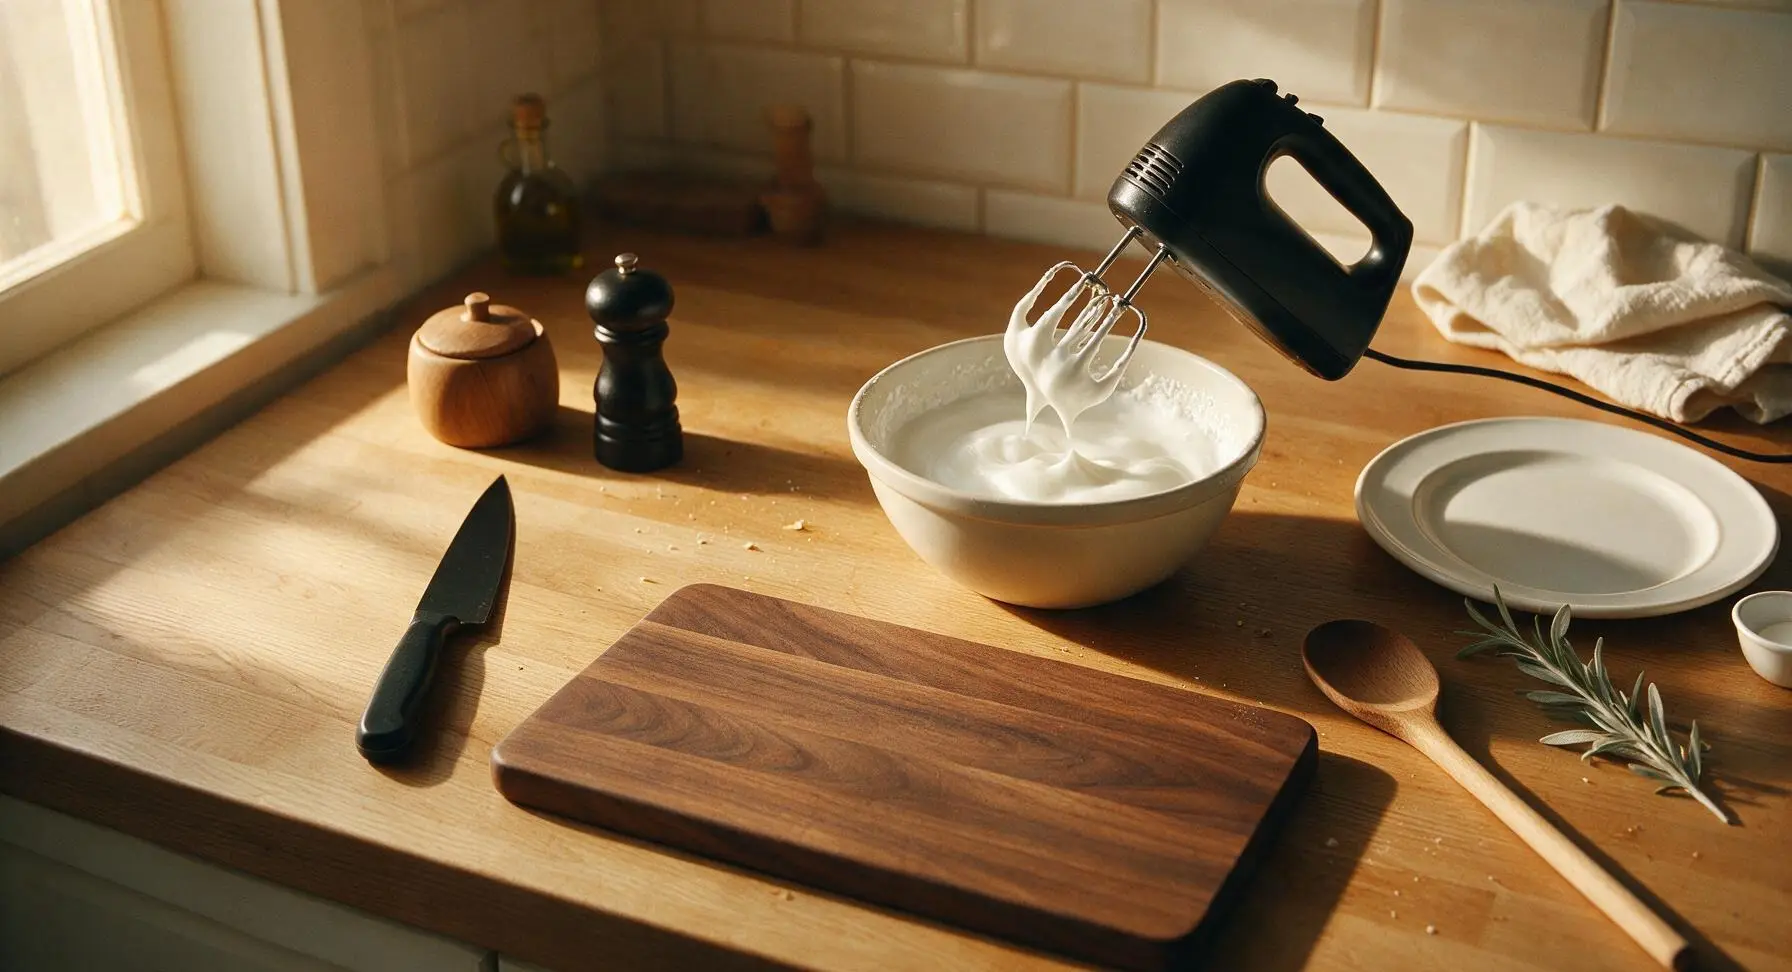
Confirm the medium mixing bowl holding egg whites is completely dry and free of grease (any residue will prevent proper whipping). Use the cleaned handheld electric mixer on high speed to beat the whites for 2–3 minutes until soft, glossy peaks form. Gradually add the remaining 50g caster sugar 1 tablespoon at a time, beating continuously for another 1–2 minutes until stiff, glossy peaks form that stand straight up when the mixer is lifted, with no gritty undissolved sugar remaining.
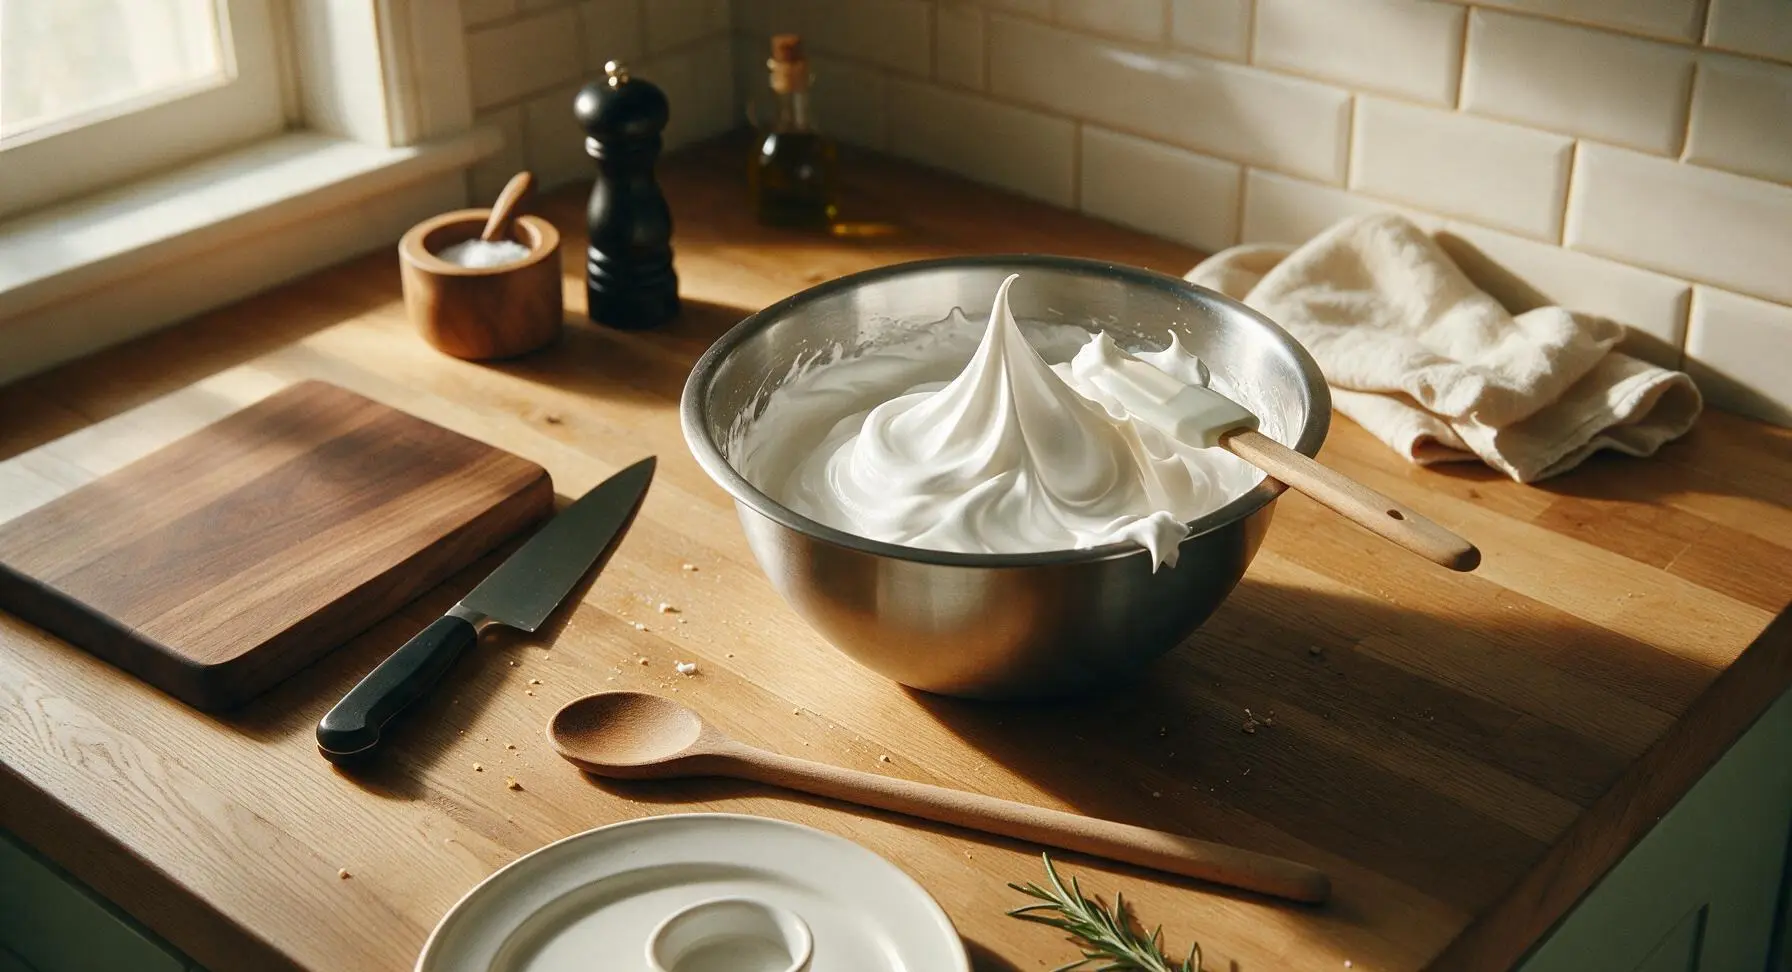
Step 5
step5:Whip Egg Whites Stiff
Step 5
step5:Whip Egg Whites Stiff
6

Fold Meringue Into Batter

Add one third of the stiff meringue to the lemon batter in the large bowl, stirring vigorously with the silicone spatula to lighten the dense batter (this initial addition does not require gentle folding). Add the remaining meringue in two equal batches, folding gently by cutting through the center of the batter, scraping the bowl bottom, and folding the mixture over the top, until just combined. Stop folding when only a few small white streaks of meringue remain — overmixing will deflate the air bubbles and create a dense pudding.
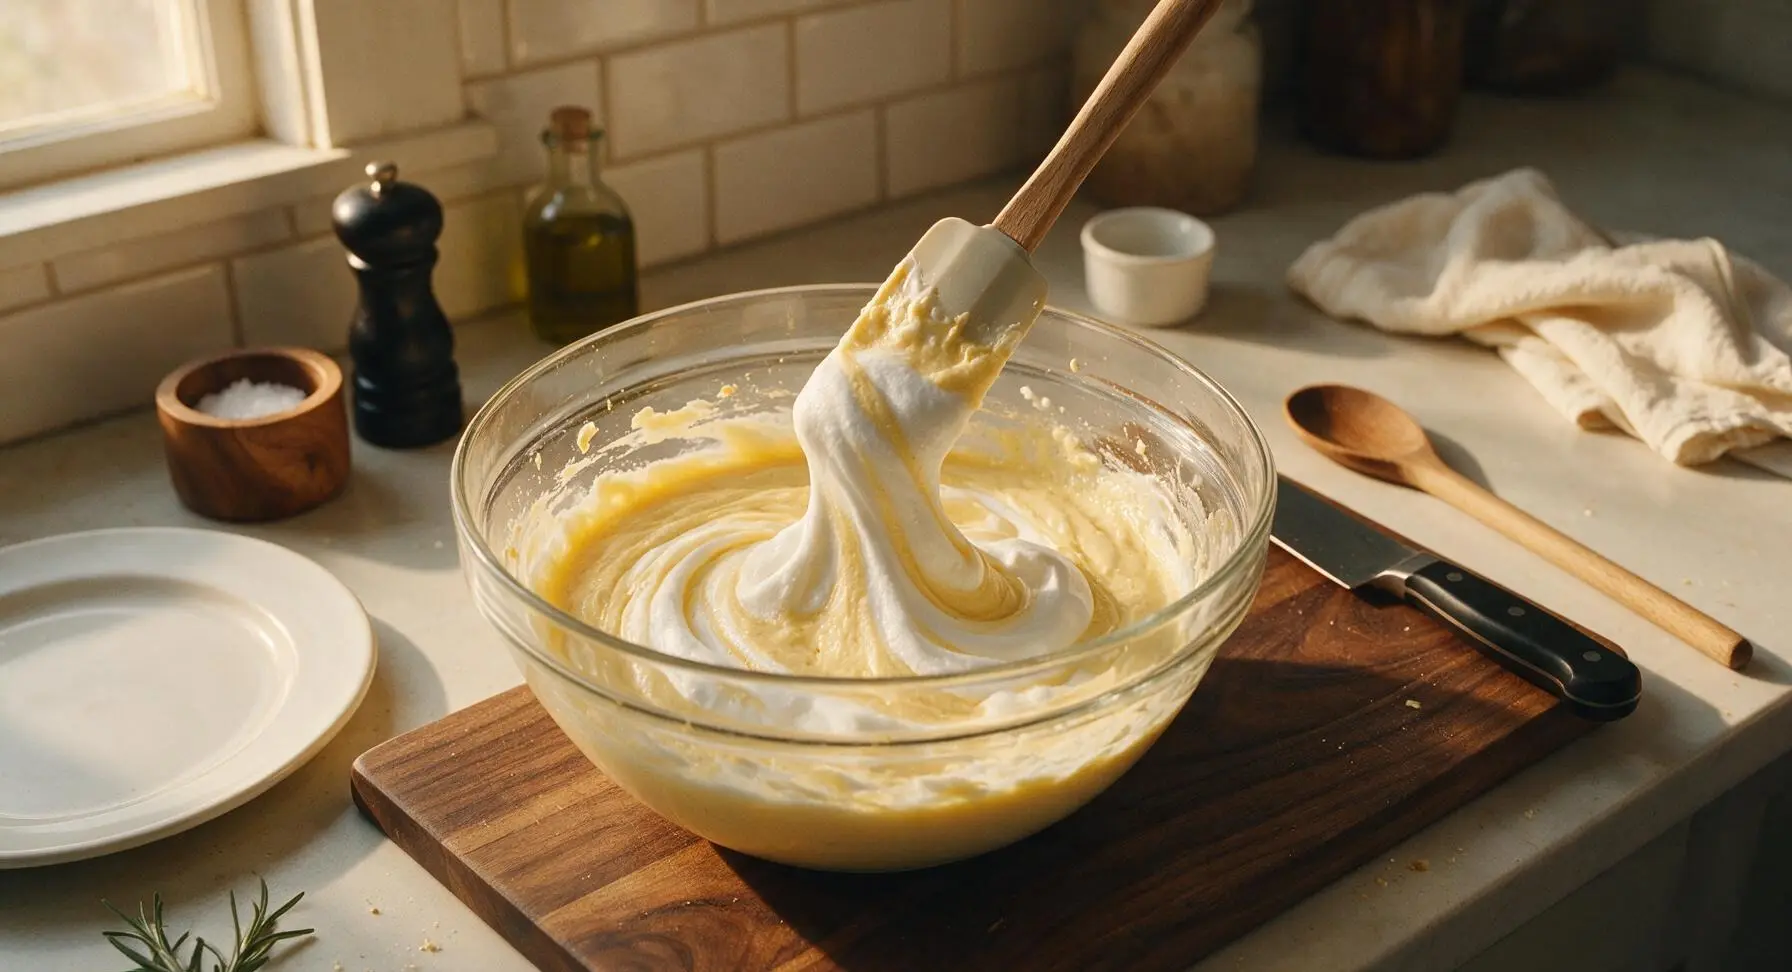
Step 6
step6:Fold Meringue Into Batter
7

Assemble Water Bath

Pour the completed light, airy batter gently into the greased glass baking dish, smoothing the top lightly with the spatula. Pull the middle oven rack out slightly, set the roasting pan holding the baking dish on the rack, then carefully pour boiling water from the kettle into the roasting pan until the water reaches halfway up the sides of the glass dish. Take care not to splash any water into the batter, as this will create soggy spots in the finished pudding.
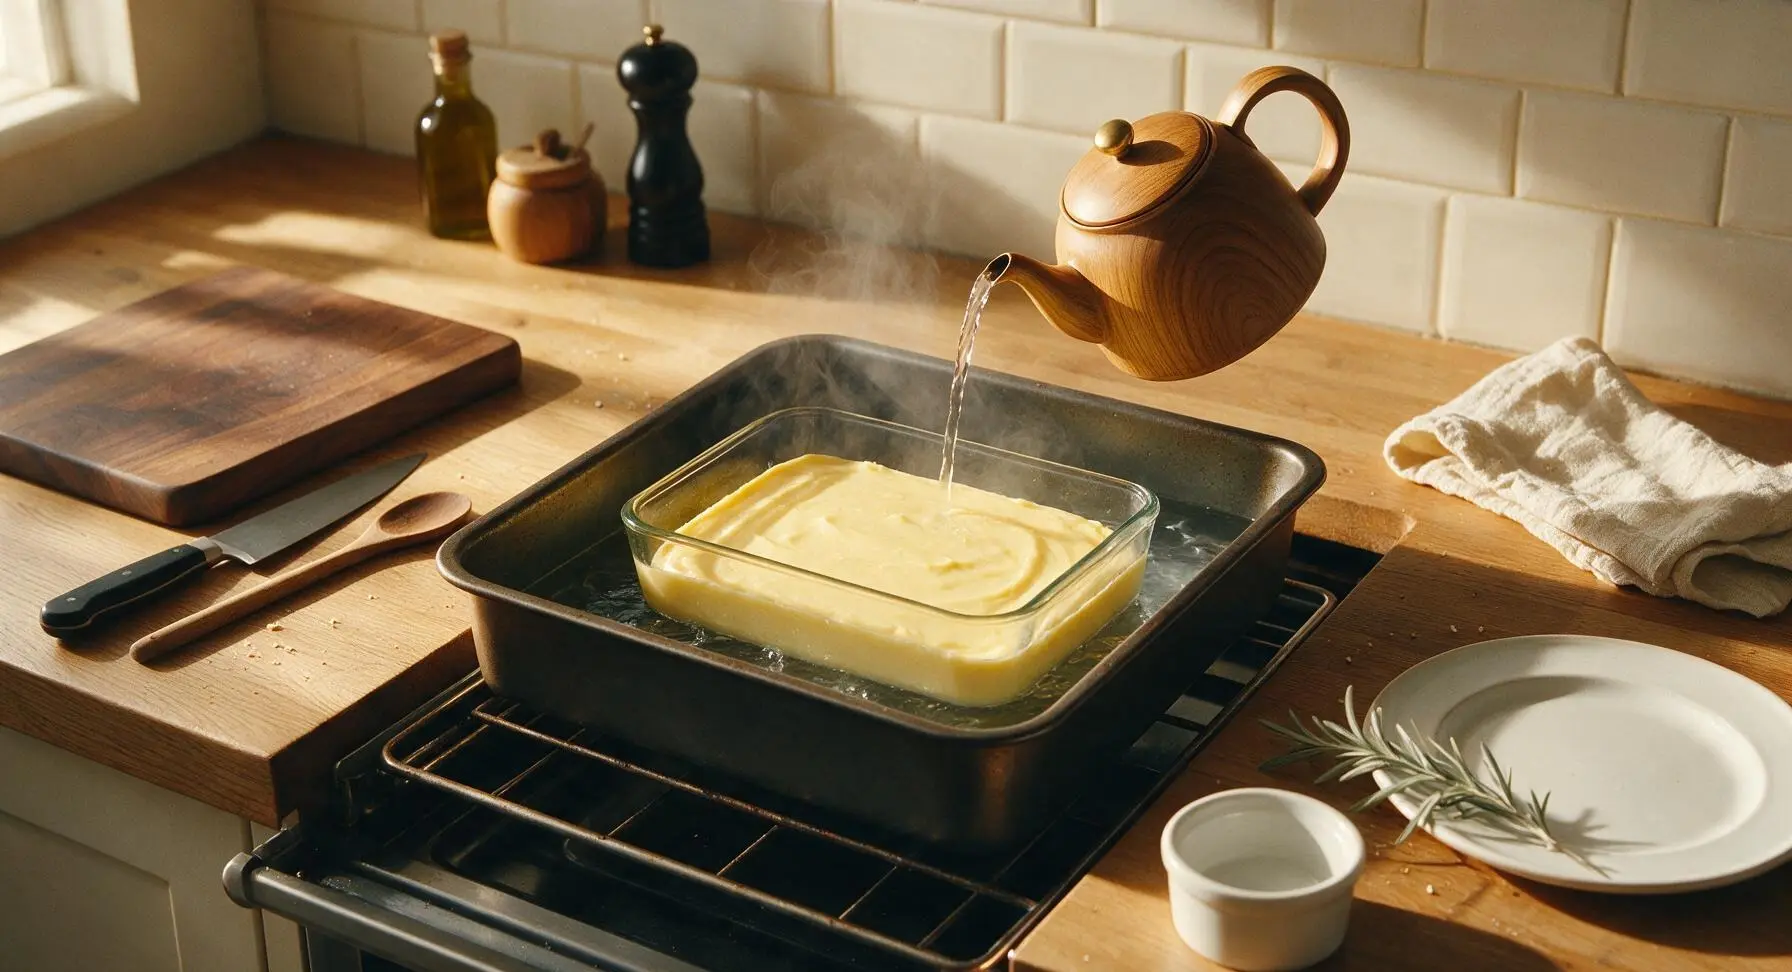
Step 7
step7:Assemble Water Bath
8

Bake Until Golden

Carefully slide the oven rack back into place, close the oven door, and bake for 38–40 minutes. The pudding is finished when the top is deep golden brown, springy to a light touch, and a skewer inserted 1cm into the sponge top comes out clean (do not insert the skewer all the way to the bottom, as the lower curd layer will remain soft and liquid). Lift the glass dish out of the hot water bath and set it on the cutting board to rest for 5 minutes before serving.
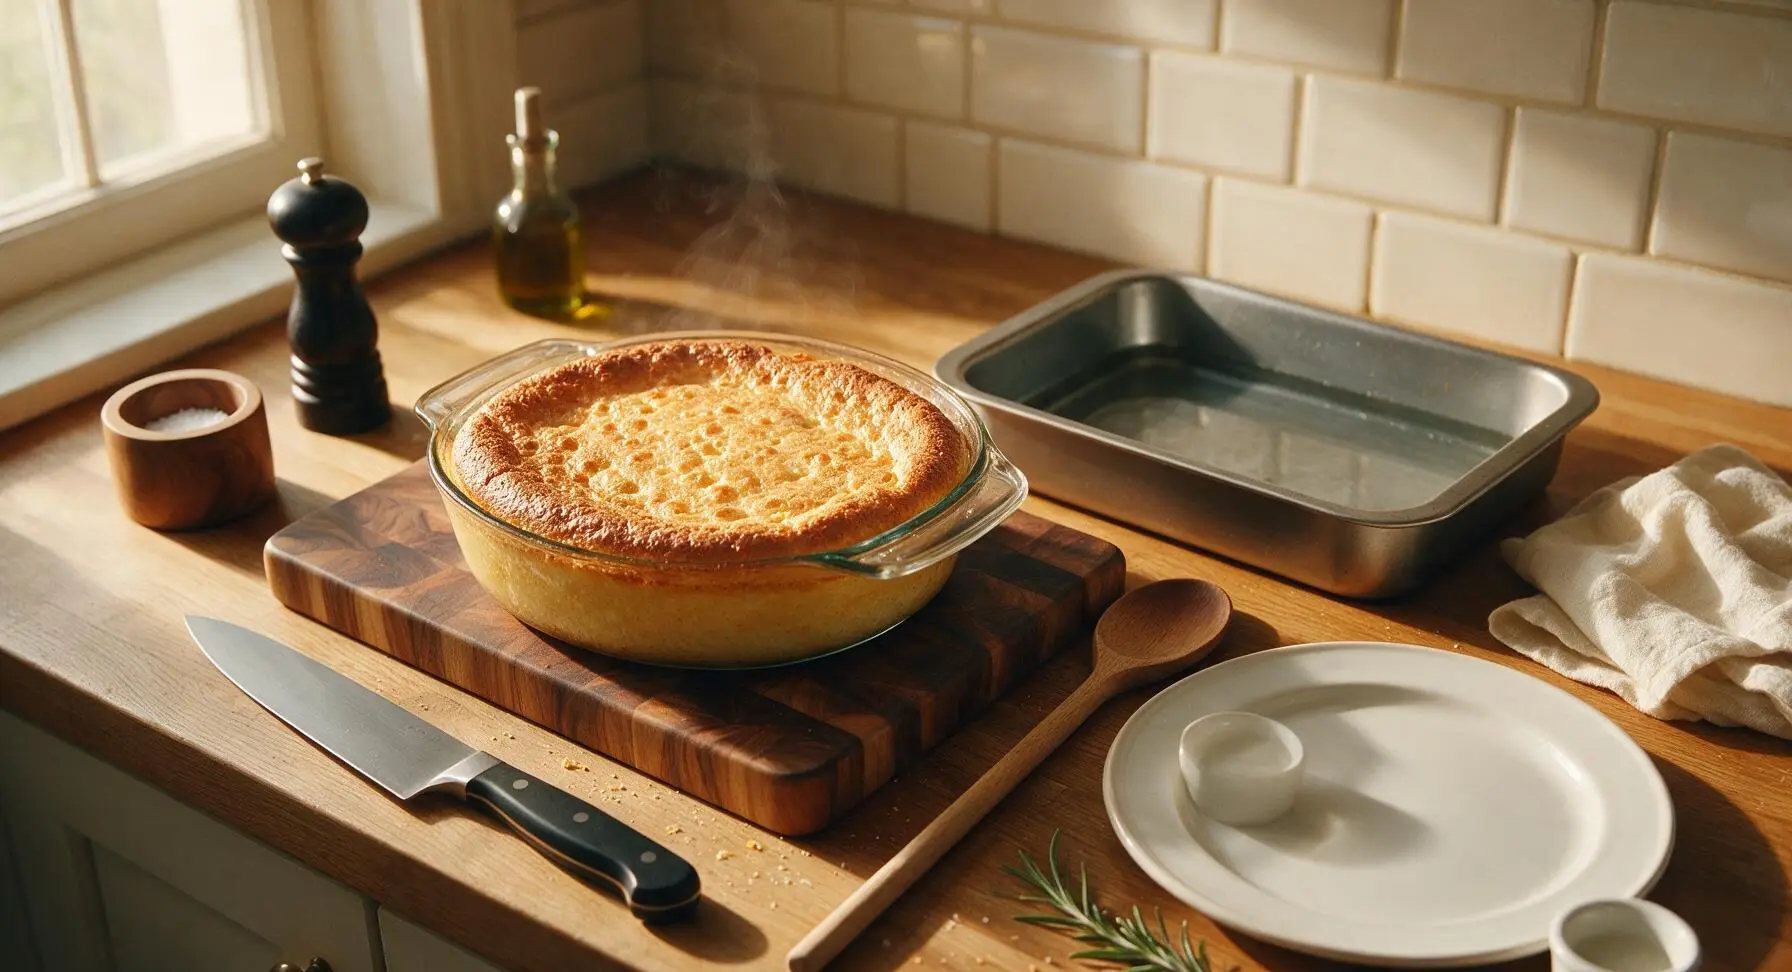
Step 8
step8:Bake Until Golden

Tips

1.Use room temperature eggs and milk for this recipe: cold ingredients can cause the creamed butter to seize and harden, leading to a dense, heavy sponge instead of a light, fluffy top, and will prevent egg whites from whipping to their full, voluminous potential.
2.Do not overfold the meringue into the batter: the air bubbles trapped in the whipped egg whites create the light sponge top and help the pudding separate into distinct fluffy sponge and silky curd layers as it bakes. A few remaining white streaks of meringue are perfectly fine, as they will disappear during baking.
3.Ensure no trace of egg yolk or grease gets into the egg whites before whipping: even a single drop of yolk or residual oil on the mixing bowl will break down the protein structure in the whites, preventing them from forming stiff, stable peaks and leading to a flat, dense pudding that does not rise properly.


✨ You May Also Like

Desserts & Baking
🍜 Italy

Creamy, coffee-kissed classic Northern Italian no-bake dessert, with layers of rum-spiked mascarpone cream, soft ladyfingers, and a rich cocoa dusting.

⏱️ 4 hours 3Desserts & Baking ★ 4.7
Desserts & Baking
🍜 France

Flaky, shatteringly crisp, buttery French croissants with golden exteriors and soft, airy layered interiors, perfect for pairing with coffee for a special morning treat.

⏱️ 12 hours Desserts & Baking ★ 4.5
Desserts & Baking
🍜 United States

Warm, spiced baked apples topped with a fluffy golden biscuit crust, this cozy dessert pairs perfectly with vanilla ice cream for cool-weather comfort.

⏱️ 55 minuteDesserts & Baking ★ 4.6
Desserts & Baking
🍜 United States

A star-spangled classic American blueberry pie with buttery flaky crust and bright sweet-tart filling, perfect for summer patriotic gatherings.

⏱️ 1 hour 25Desserts & Baking ★ 4.7
Desserts & Baking
🍜 United States

A beloved no-bake regional Maine candy with a chewy coconut-potato center coated in rich dark chocolate, a New England holiday staple since the 1870s.

⏱️ 2 hours 3Desserts & Baking ★ 4.8
Desserts & Baking
🍜 France

Luxuriously creamy, floral frozen custard made with aromatic Tahitian vanilla beans, boasting a smooth, rich texture that melts slowly on the tongue.

⏱️ 3 hours 3Desserts & Baking ★ 4.5

lemon delicious:Frequently Asked Questions

1.What makes Classic Lemon Delicious different from regular lemon cake or lemon curd? ▾
This iconic self-saucing pudding magically separates as it bakes, no manual layering required! You’ll end up with a light, fluffy golden sponge top with a soft, cake-like crumb, sitting above a bright, tangy, silky lemon curd base. It’s not dense like a loaf cake or loose like standalone curd—it hits the perfect textural balance of both in one spoonful.
2.Do I really need to use room temperature eggs for this recipe? ▾
Yes, room temperature eggs are non-negotiable here for the best texture. Cold egg whites won’t whip to as high, stable a volume for that light, fluffy sponge top, and cold yolks won’t incorporate smoothly with butter and sugar, leading to lumpy batter that won’t separate properly during baking. Pull eggs out 1–2 hours early, or submerge them in warm tap water for 5 minutes if you’re short on time.
3.Can I use bottled lemon juice instead of fresh lemons? ▾
I strongly recommend sticking to fresh lemons for that bright, zingy, authentic flavor—bottled juice has a flat, muted, sometimes slightly metallic taste that will dull the tangy curd base. You’ll need both the zest (for deep, aromatic citrus flavor) and juice anyway, so grabbing 2–3 fresh large lemons means you won’t need a backup bottled product at all.
4.Why do I need to separate the eggs for this recipe? ▾
Separating eggs is key to that signature two-layer texture. The egg yolks mix into the base to create a rich, creamy foundation that sets into silky lemon curd as it bakes, while whipped egg whites are folded gently into the batter to lift the top layer into that light, airy, fluffy golden sponge. Skipping this step will leave you with a dense, single-texture pudding.
5.What happens if I forget to sift the self-rising flour? ▾
Sifting self-rising flour removes small lumps and aerates the flour so it incorporates smoothly into the batter without overmixing. If you skip sifting, you might end up with dry flour clumps in your finished sponge top, or overmix the batter to break up lumps, which deflates whipped egg whites and leads to a dense, heavy top instead of a light, fluffy one. It only takes 30 seconds, so don’t skip it!
6.Can I use regular granulated sugar instead of caster sugar? ▾
Caster (superfine) sugar dissolves faster into both the butter and egg whites for a smoother batter and more stable meringue, which helps the layers separate cleanly. If you don’t have caster sugar, you can blitz regular granulated sugar in a food processor for 10–15 seconds to break it down to a finer texture. Avoid coarse sugar, which won’t dissolve fully and will leave a gritty texture.
7.Can I use salted butter instead of unsalted butter here? ▾
You can, but you’ll want to adjust salt levels to avoid an overly salty pudding. If using salted butter, skip any extra pinch of salt you might otherwise add to balance the sweet and tangy flavors. Unsalted butter lets you control the exact salt content, which is important here because bright lemon flavor can be easily thrown off by too much salt masking that fresh citrus zing.
8.How does the signature self-saucing separation happen while baking? ▾
The separation happens thanks to differences in batter density as the pudding bakes in a water bath. The lighter, air-filled egg white-heavy portion of the batter rises to the top to set into fluffy sponge, while the denser, yolk and lemon-heavy portion sinks to the bottom and cooks into smooth, silky curd. There’s no fussy manual layering required—the oven does all the work for you!
9.What size baking dish works best for Classic Lemon Delicious? ▾
A 1.5-quart (6-cup) deep ceramic or glass baking dish is ideal for this recipe. It gives the batter enough room to rise into that fluffy sponge top without overflowing, and conducts heat gently enough that the curd base sets silky-smooth without curdling or getting grainy. Avoid shallow dishes, as they won’t give you enough depth for that distinct two-layer split.
10.Do I have to bake this in a water bath? ▾
Yes, a water bath is critical for getting that perfect silky curd base and evenly baked sponge top. Baking the dish set inside a larger pan filled halfway up with hot water creates gentle, moist, even heat that prevents the curd from curdling or getting rubbery, and stops the sponge top from browning too fast before the center is fully set. It’s a small extra step that makes a huge difference.
11.How do I know when my Lemon Delicious is done baking? ▾
You’ll know it’s ready when the top is light, puffed golden brown and springs back gently when you touch it lightly with a fingertip. The center will still have a slight, soft jiggle (that’s the curd base underneath!) rather than being completely firm like a regular cake. If the top is set and golden, pull it out—residual heat will finish setting the curd as it cools slightly.
12.Why did my pudding turn out as a single dense layer instead of two separate layers? ▾
That almost always traces back to one of three small missteps: your egg whites weren’t whipped to stiff, stable peaks before folding, you overmixed the batter and deflated all the air from the whites, or you skipped the water bath leading to uneven heating. Next time, whip whites until they hold stiff peaks, fold gently just until no white streaks remain, and use a proper water bath.
13.Can I make this recipe gluten-free? ▾
Absolutely! Swap the regular self-rising flour for a good quality gluten-free self-rising flour blend (look for one with xanthan gum already added to help the sponge hold its structure). Sift it twice before adding to keep the batter light, and fold extra gently when incorporating whipped egg whites to keep as much air as possible for that fluffy top texture.
14.Can I prepare Classic Lemon Delicious ahead of time? ▾
This pudding is best served warm, about 10–15 minutes after it comes out of the oven, when the curd is silky and the sponge is light and fluffy. You can prep separate components (zest lemons, separate eggs, measure ingredients) up to a day ahead, but don’t assemble and bake it more than 2 hours before serving, as the curd will thicken too much and the sponge will deflate as it sits.
15.What’s the best way to serve Classic Lemon Delicious? ▾
Serve it warm, spooned straight from the baking dish so every serving gets a bit of fluffy sponge top and tangy curd base. It pairs beautifully with a dollop of softly whipped unsweetened cream, a scoop of vanilla bean ice cream, or a light dusting of powdered sugar on top. Skip heavy, rich sauces—they’ll overpower the bright, fresh lemon flavor that makes this pudding so special.
16.Can I add other flavors or mix-ins to this classic recipe? ▾
You can make small tweaks without losing that classic lemon magic! Add a tablespoon of finely grated fresh ginger to the batter for a warm, spicy kick, stir a handful of fresh blueberries into the base before baking for a berry-lemon twist, or add a teaspoon of vanilla extract to round out citrus flavor. Just avoid heavy, dense mix-ins that will weigh down the sponge and prevent clean layer separation.

Comments (7)

2 days ago

OMG this was SO good! I made it for our Sunday family dinner last night and even my super picky 7 year old asked for seconds. That tangy lemon top with the soft, creamy pudding layer underneath? Total game changer. I didn’t even have to run to the store, I had all the ingredients in my pantry and fridge already. 10/10 will be making this for our neighborhood potluck next month!

yesterday

Wait did you use regular granulated sugar or the superfine stuff? I tried a lemon dessert last week and the texture came out grainy, wanna make sure I nail this one for my kid’s soccer team snack.

2 hours ago

Great question! Regular granulated sugar works perfectly here—just make sure you whisk it really well with the butter and lemon zest before adding the other ingredients to avoid that grainy texture. It’s also key to not overbake it so the bottom pudding layer stays nice and creamy!

3 days ago

Super easy recipe, total win for meal prep! I baked this on Sunday and portioned it out into little ramekins to grab for quick weeknight treats after work. The only tweak I made was adding a tiny extra splash of lemon juice because I love that extra zing. Will definitely be adding this to my regular rotation.

2 days ago

Love that extra lemon juice tweak! That’s such a smart call for fellow citrus superfans. Portioning into ramekins is genius too, I’m definitely stealing that idea for my own weekly meal prep.

1 week ago

Took me 40 minutes exactly like the recipe said, no fancy skills needed! I brought this on a weekend camping trip with friends and everyone was raving about it. Light, not too sweet, perfect after a long day on the trails. Knocked a star off only because I forgot to dust a little powdered sugar on top like the pic shows, but that was totally my bad. Only thing is I wish I’d made a double batch, it was gone in 10 minutes flat.

yesterday

Y’all, I was skeptical a lemon dessert this easy could actually taste this good but I was proven so wrong. Made this for my book club meeting yesterday and half the ladies asked for the recipe before they even finished their first bite. Served it with a little dollop of freshly whipped cream and it was chef’s kiss.

2 hours ago

Wait were you at the book club in Atlanta?! I had this lemon dessert yesterday and I’ve been searching for the recipe ever since! It was literally the best thing I’ve eaten all month.

30 minutes ago

That was me!! So glad you loved it, it’s this exact recipe—so easy you can whip it up for your grandkids this weekend no problem!

5 days ago

As someone who can barely boil water without burning it, this recipe was so doable! I made it for my dorm floor potluck and everyone thought I was some secret baking genius. No fancy equipment needed, just a mixing bowl and a baking dish, which is perfect for tiny dorm kitchens. 10/10 no notes.

3 days ago

That makes me so happy to hear! This recipe was designed to be totally approachable for bakers of all skill levels, so it’s awesome to hear it worked out perfectly in a dorm kitchen. Next time try adding a few fresh berries on top for an extra pop of flavor!

2 weeks ago

Made this last night to have alongside my morning coffee all week and it’s *chef’s kiss*. The balance of tart and sweet is exactly what I look for in a lemon dessert, not cloyingly sweet like so many other recipes I’ve tried. It holds up really well in the fridge too, no soggy layers or weird texture changes after a couple days. Will be making this all summer long.

5 minutes ago

Really solid recipe! My whole family loved it at our backyard cookout this weekend, the kids went back for thirds even. The only issue I had was my top layer got a little darker than I wanted because my oven runs a little hot, so I had to tent it with foil about 25 minutes in. Flavor was still 10/10 though, will absolutely make it again, just adjust the temp a touch and keep a closer eye on it next time.

just now

Great call tenting with foil if your oven runs hot! Oven temps can vary so much between models, so it’s always a good idea to check on it around the 25 minute mark. So glad the flavor still hit the spot for your family cookout!



